Blood Bowl 2021 Season
Recommendations: 45
About the Project
A new year, a new season of Blood Bowl and the undying hope to be able to start a league beyond the confines of my mothership! I will document my painting progress and even provide game reports from a newby perspective...
Related Game: Blood Bowl
Related Company: Games Workshop
Related Genre: Sports
This Project is Active
The Snivelling Nosepicking Menace - Part 3
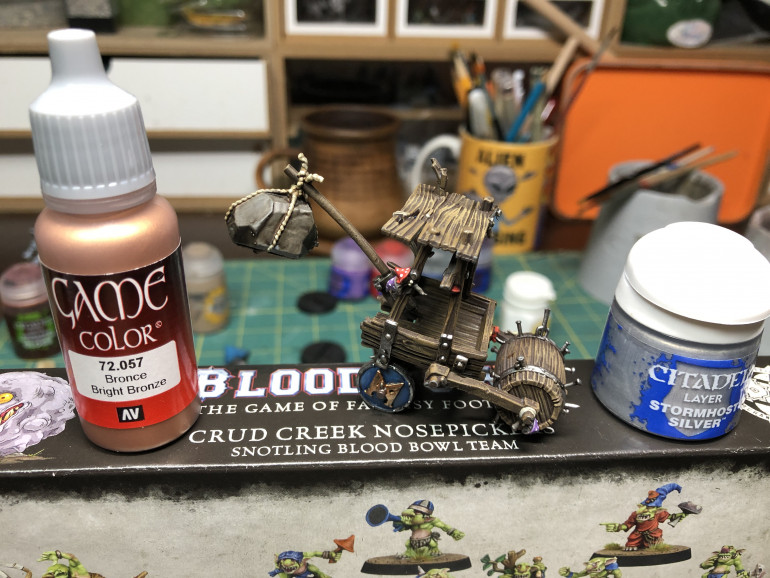
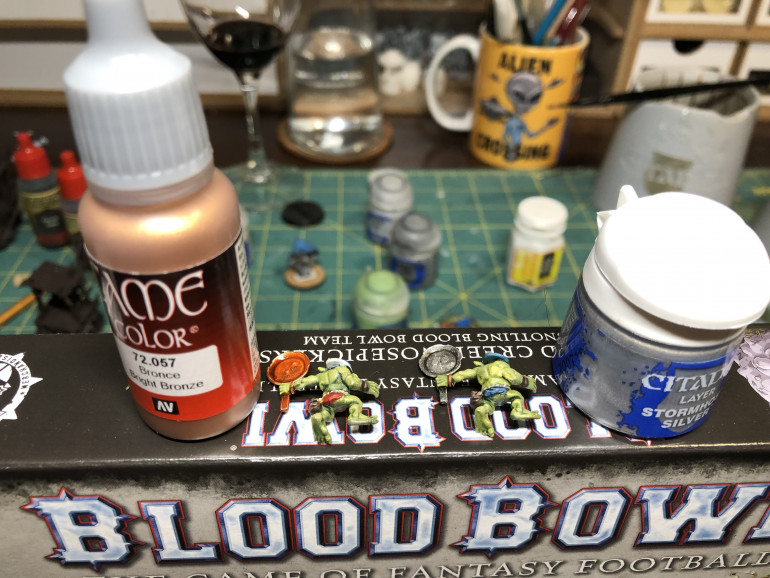
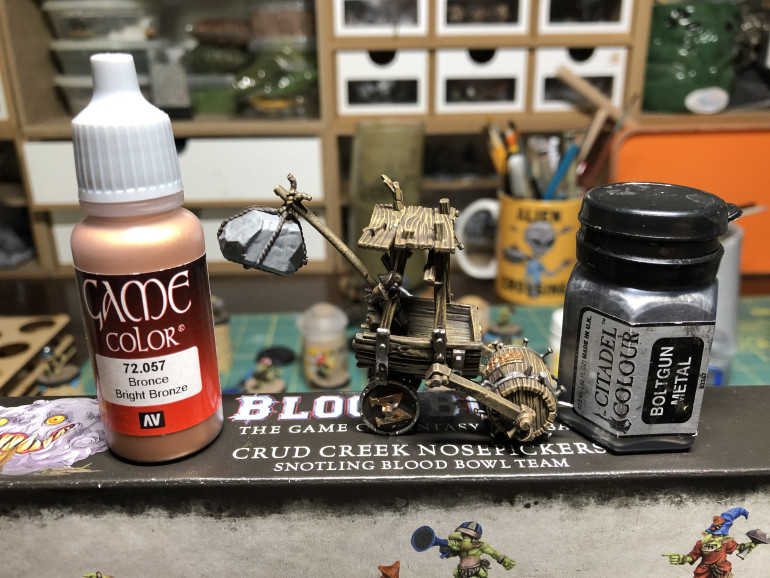 Apply Bronze and raww metal color of choice to the metallic parts. I suggest reserving the bronze color for the front wheel stamp and the rear wheel letter.
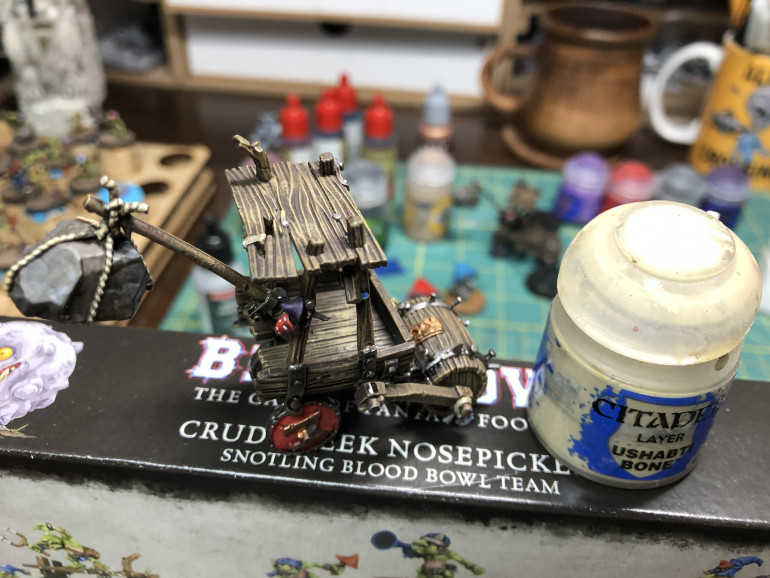
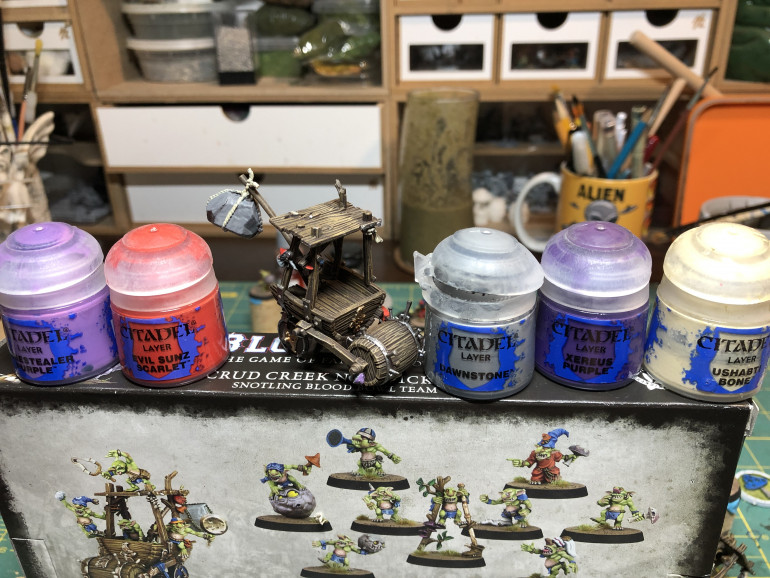 Now apply the details, gray for the stone and mushroom stalks, red, blue, purple (whichever else you want) for the mushrooms and beige (Ushabti Bones) for the ropes. There are lots of details thus this step should take you a while. Use a fine or well pointed brush.
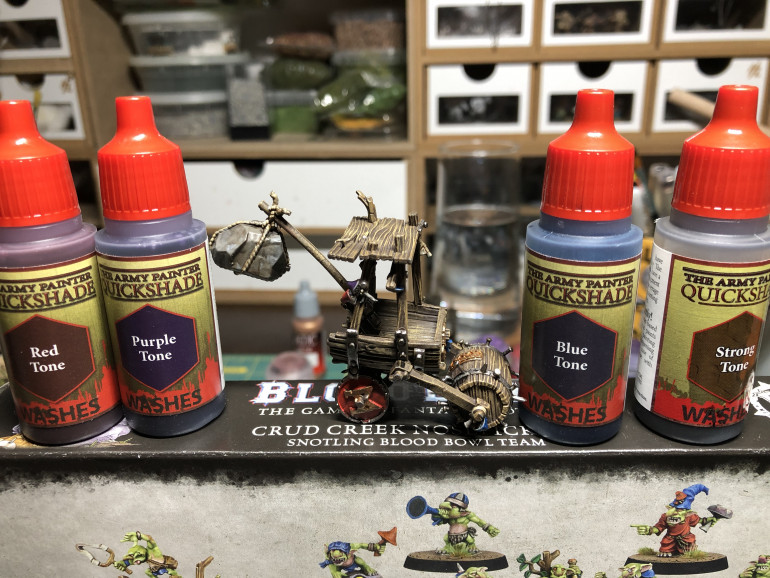 When details are done, apply shades with the appropriate color washes . By default, Army painter Strong tone is a good go-to shade.
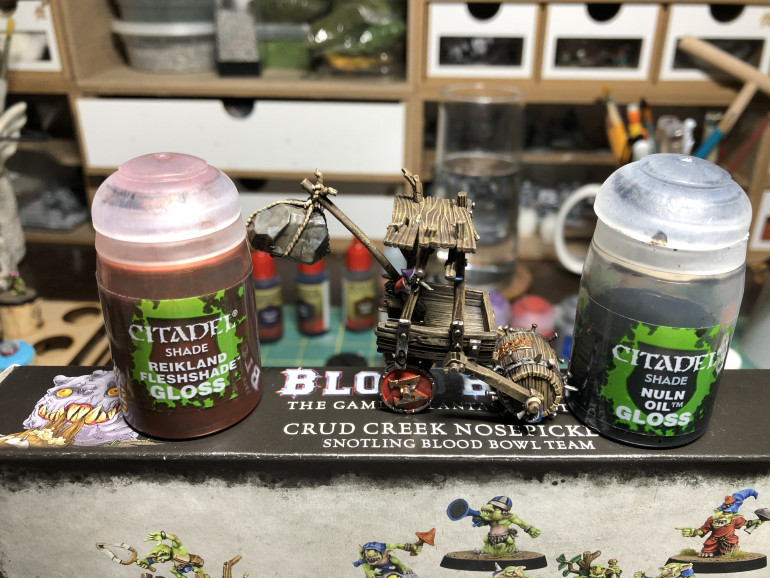 For metallic tones, use Nuln Oil Gloss and Reikland Fleshade Gloss (good for any bronze/brass/gold tones).Using gloss washes maintains the glossiness of the metallic color and does not dull its shine.
Glue the pumpwagon riders to the pumpwagon, dry fitting them first to ensure optimum placement. I suggest gluing them on prior to varnishing so as to reinforce the bond with varnish.
The Snivelling Nosepicking Menace - Part 2
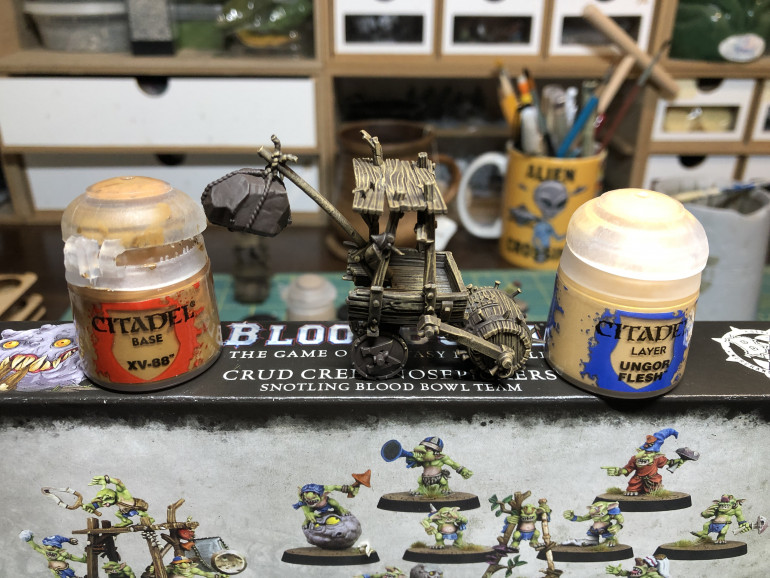
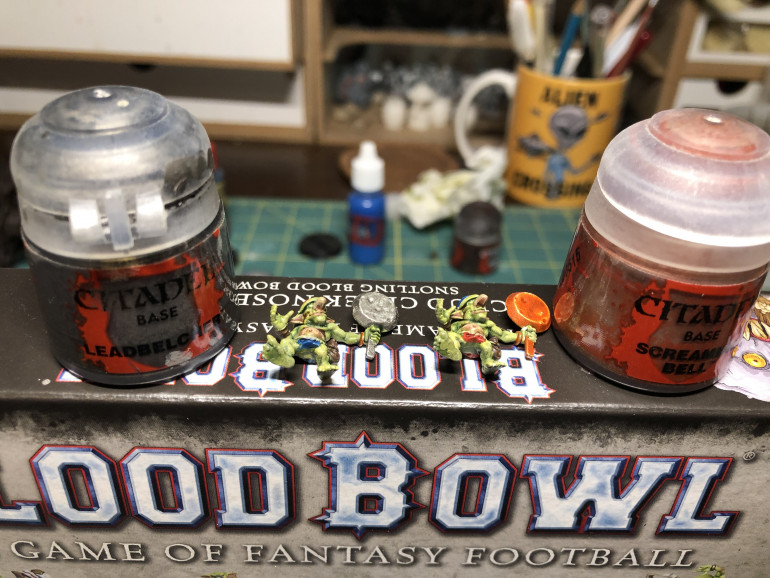 Raw metal objects/buckles/jewelry were given a basecoat of Leadbelcher and any copperish objects were given a coat of Screaming Bells
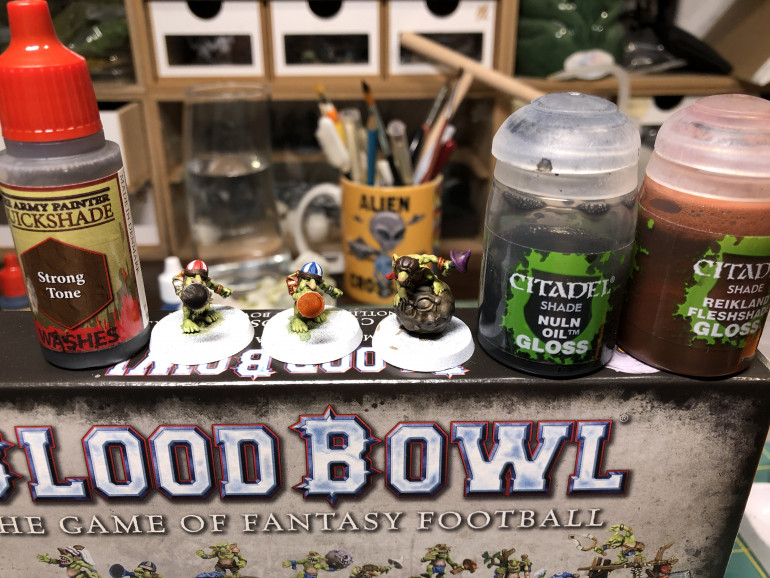 Shading was kept to its simplest approach by using Army Painter Strong Tone for all but raw iron and copperish metallic surfaces, which were given a wash Nuln Oil Gloss and Reikland Fleshade Gloss respectively
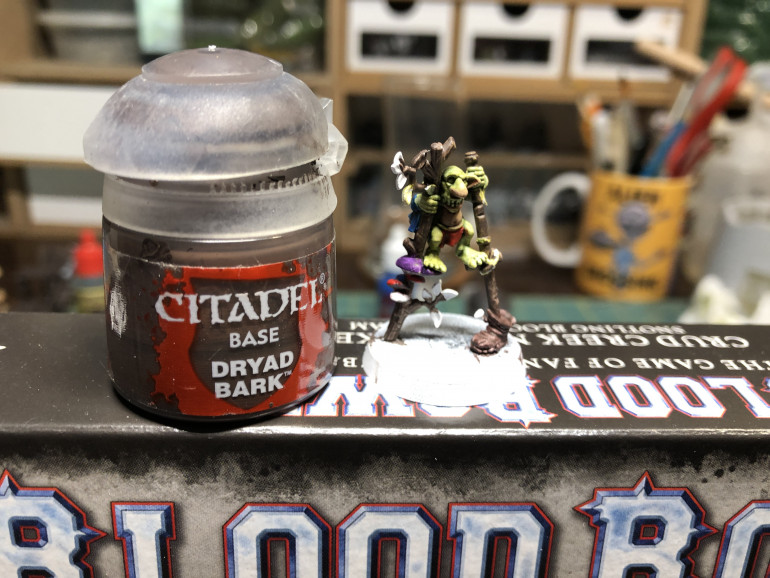
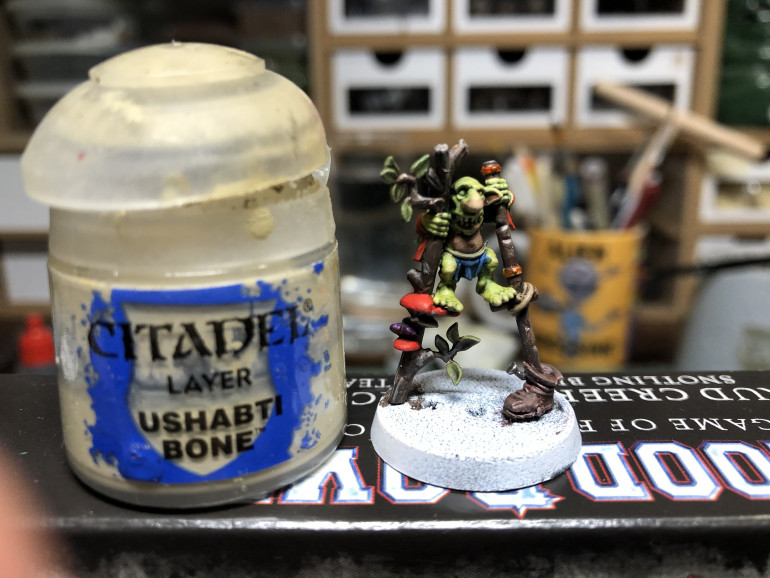 Wood was highlighted with Ushabti Bone. A little highlight goes a long way so as to give volume to the stilts.
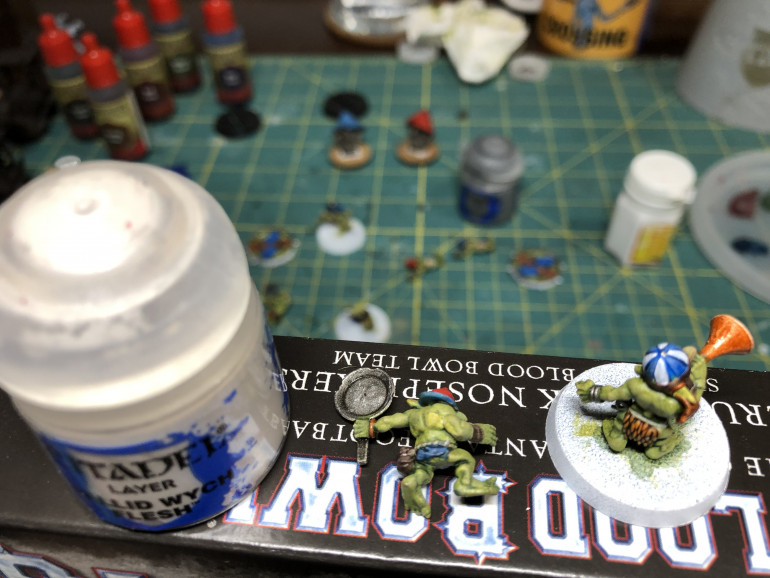 Belts and other ties were highlighted with Pallid Wych Flesh, to give these accessories some volume. I suggest dotting them with a fine brush.
The Snivelling Nosepicking Menaces - Part 1
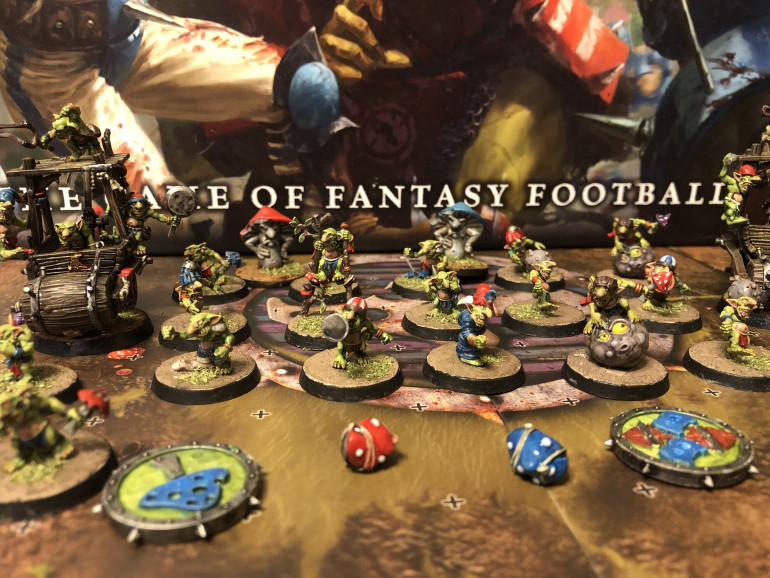
First on my list of Blood Bowl teams to paint this year were the Snotlings (you can tell I care not for winning, just having a good time). I immediately picked an acronym (SNM) which I then had to make sense of. The end result is not too far off 🙂
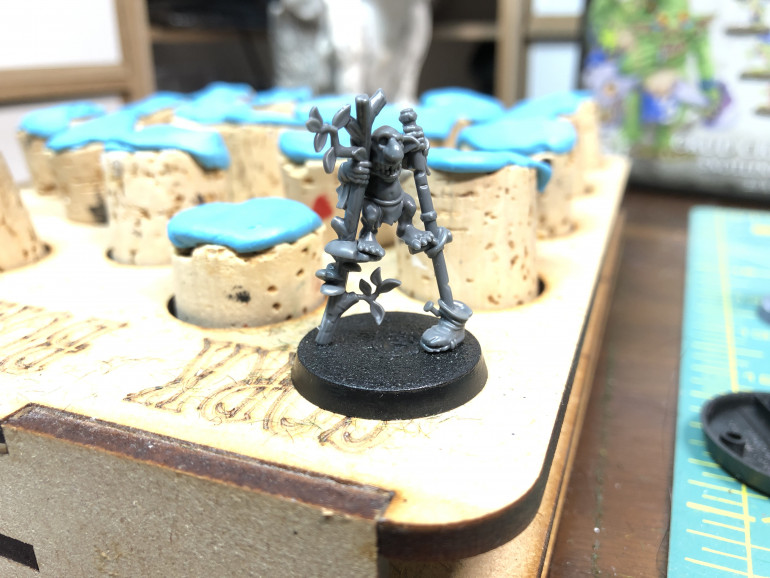
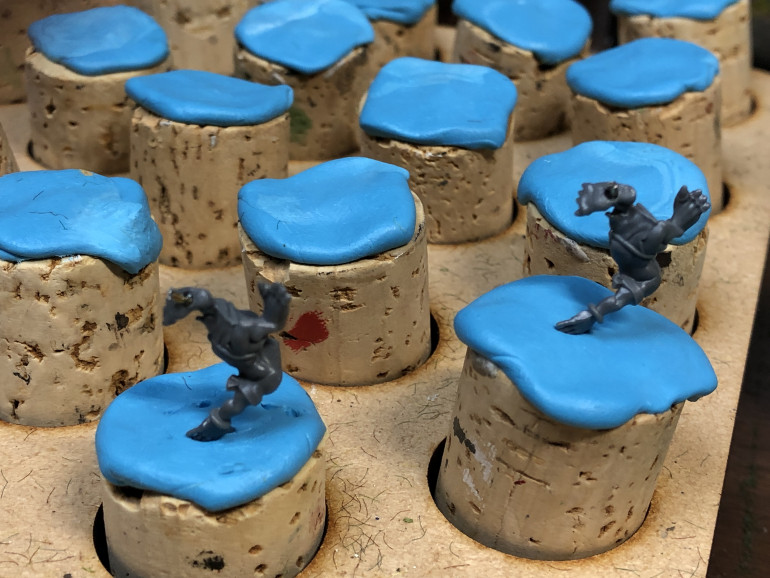
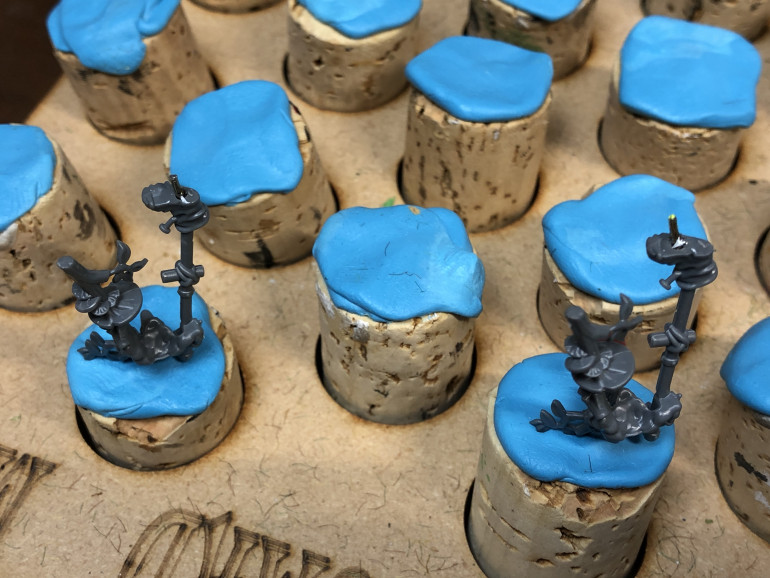 First, despite their size, several of the miniatures cried for pinning, as I am am rather adverse to performing miniature surgery in the midst of a game. The stilt walkers are but one example of the players I had to pin to their base for more sturdiness.
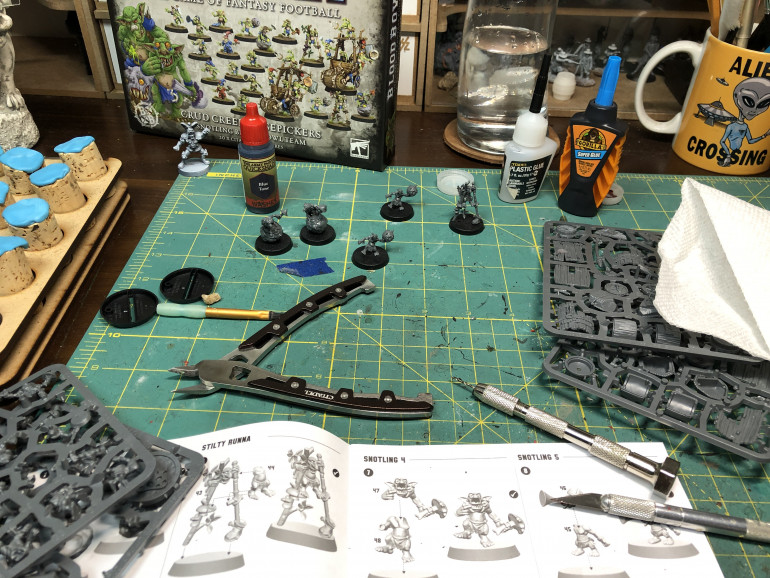 Given the amount of players and the great number of parts involved in the pump wagon, I would not recommend this kit for a beginner. The wagon are quite finicky and require patience and meditation practice :)
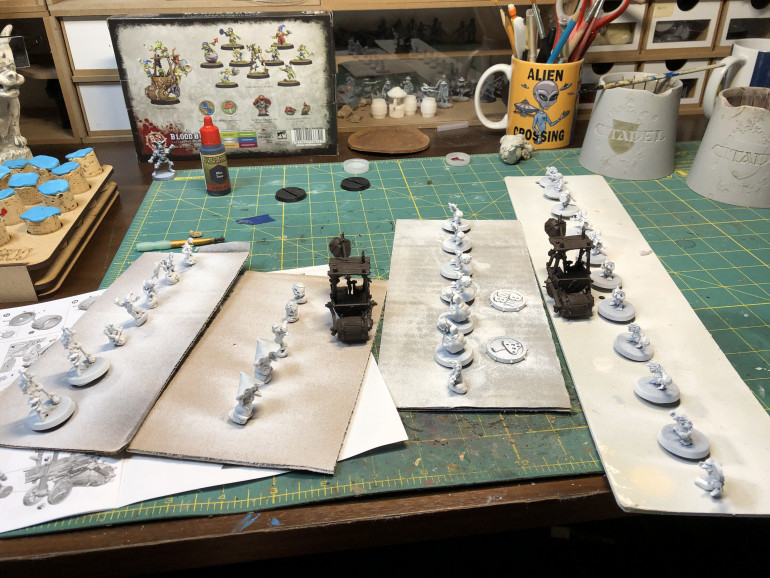 I did not bother with zenital priming, given the player size and gave the assembled wagons a brown primer.
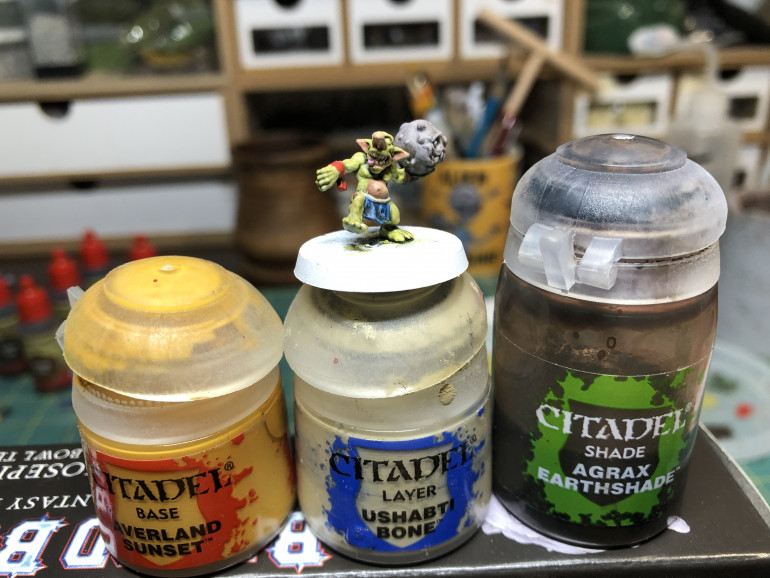
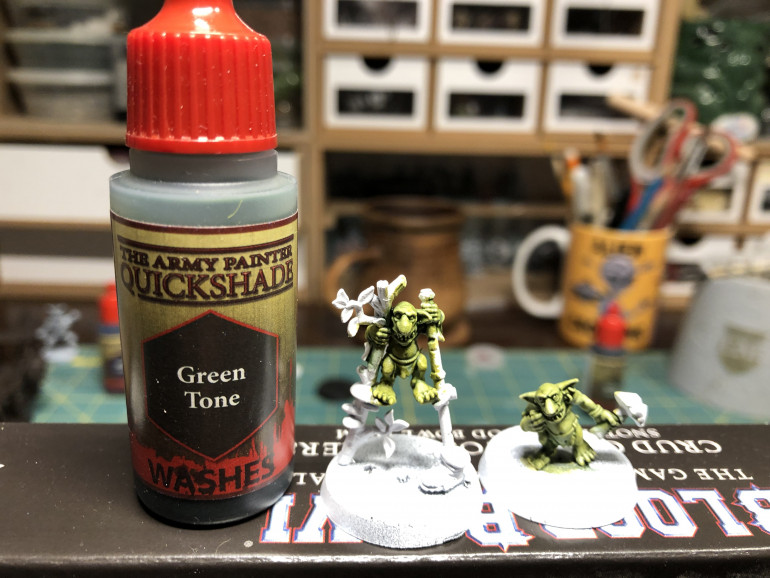
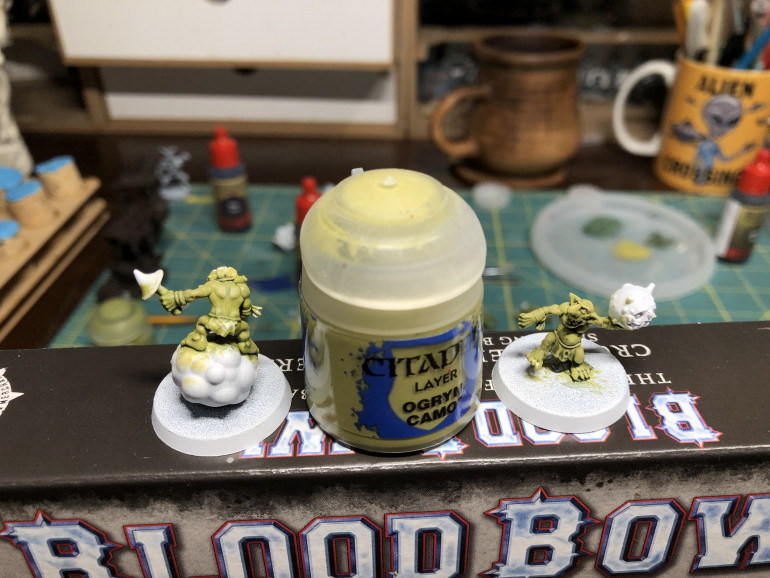
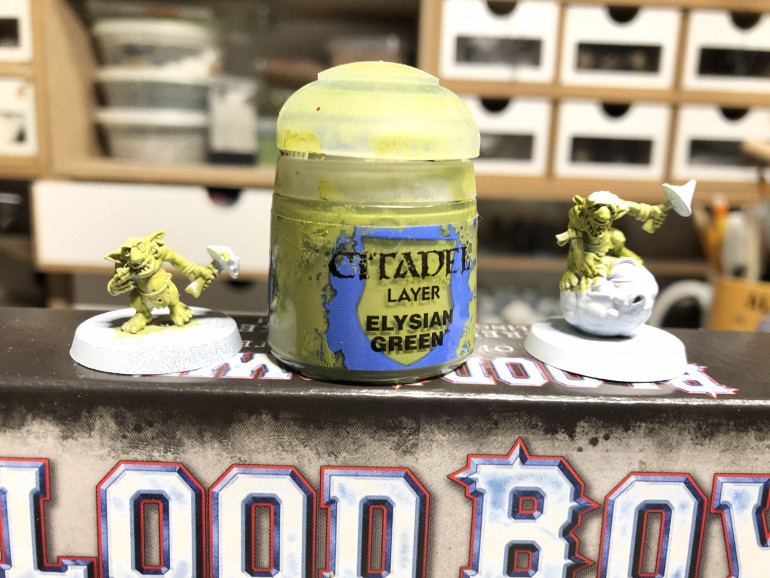 For this team, I will break my regular approach and complete the skin first, given the fact it covers most of the miniature and will be easier to deal with first. I choose Elysian Green for the base.
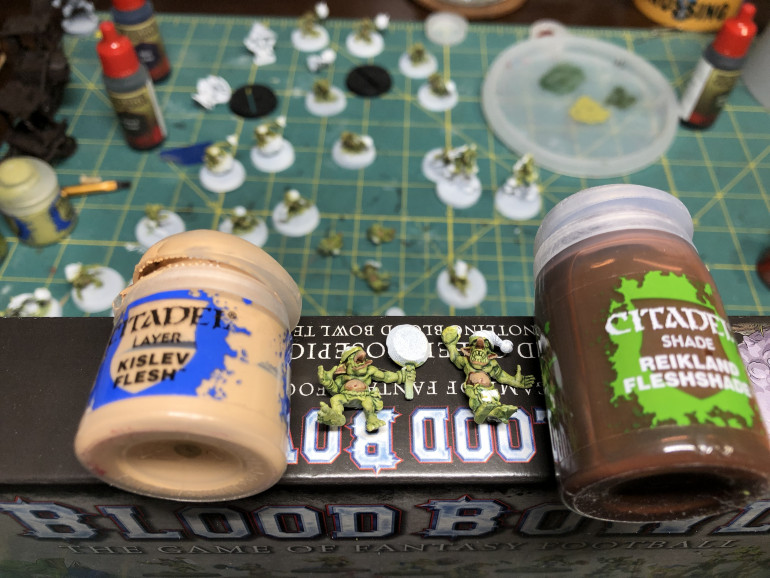
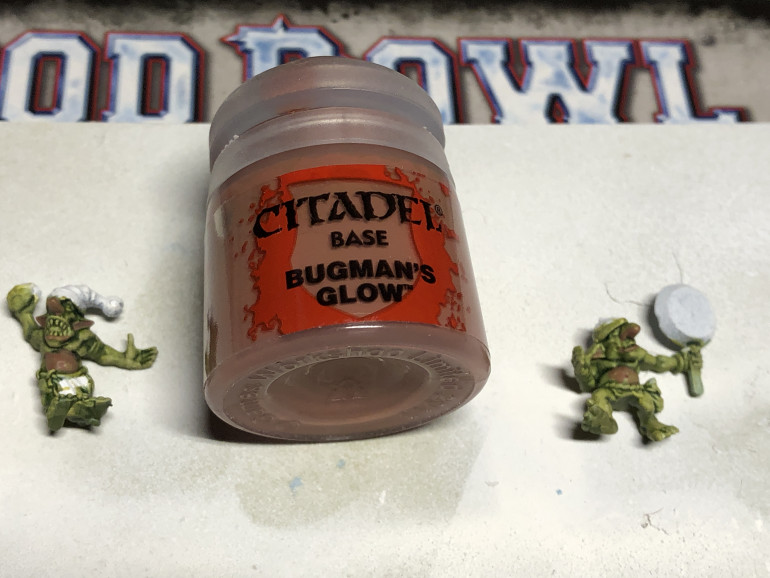 Now for the players' belly, undernose, lips and lower eyelids: I decided on a base of Bugman's glow. Note that this step can be skipped if you are really in a hurry to field the team, as the players are so tiny, but it would be a pity as it gives them some interesting character.


