No Droids Here!
Recommendations: 403
About the Project
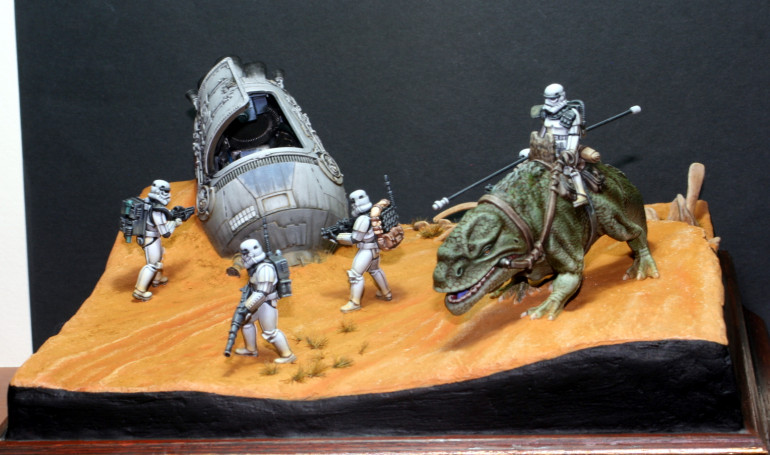
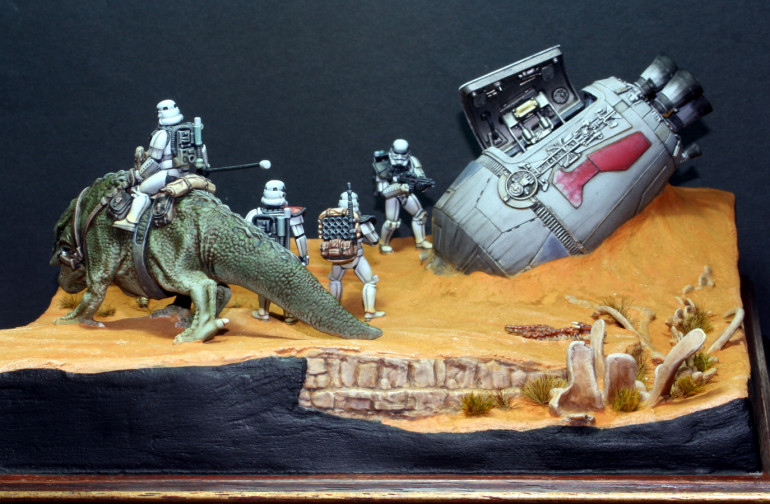
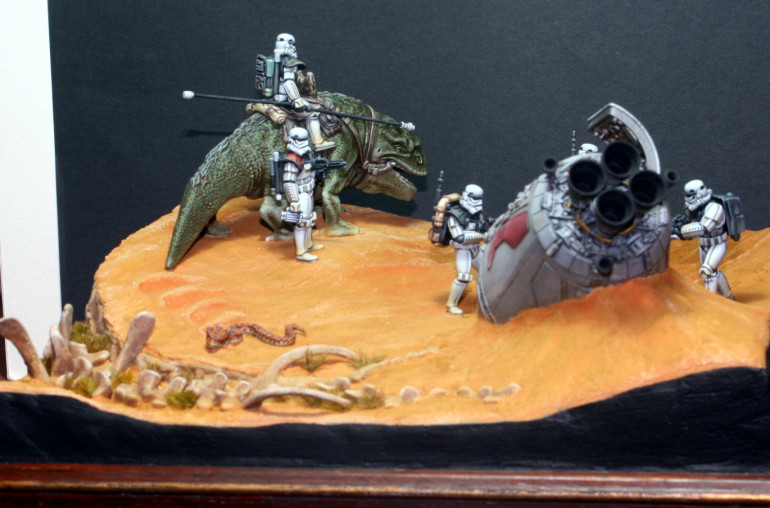
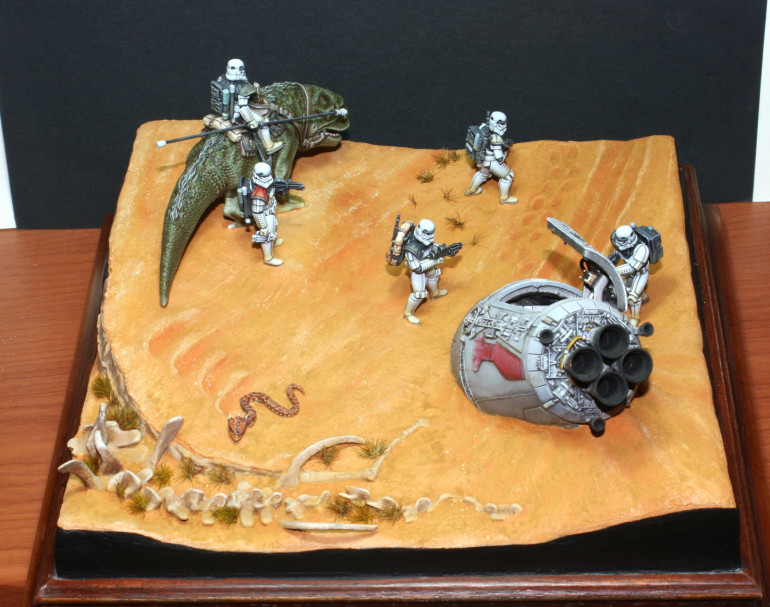
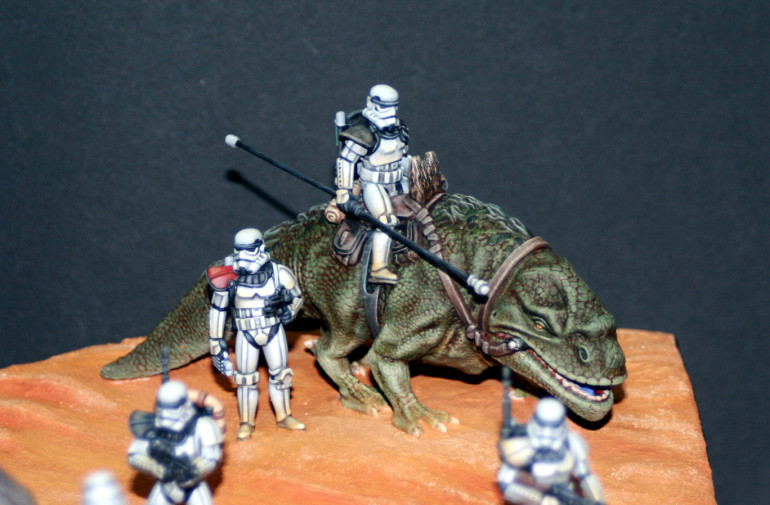
A simple Star Wars diorama inspired from episode four - A New Hope.
Related Game: Star Wars: Legion
Related Company: Fantasy Flight Games
Related Genre: Science Fiction
This Project is Completed
Choosing the Concept.
Hi everyone,
I have decided to start another diorama, after just finishing The Adventures of Frank & Lilly. This time I wanted to do something in the wonderful world of science fiction, and what better genre than Star Wars.
I went where it all started for me in 1977 and choose something from episode four – A New Hope.
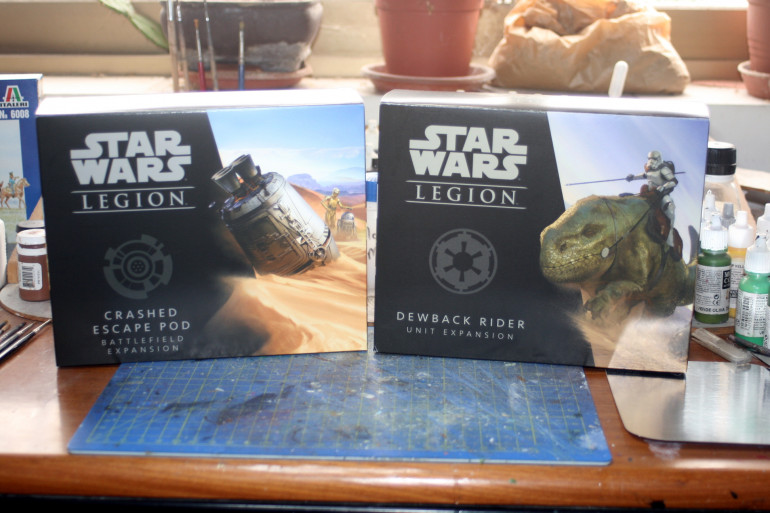
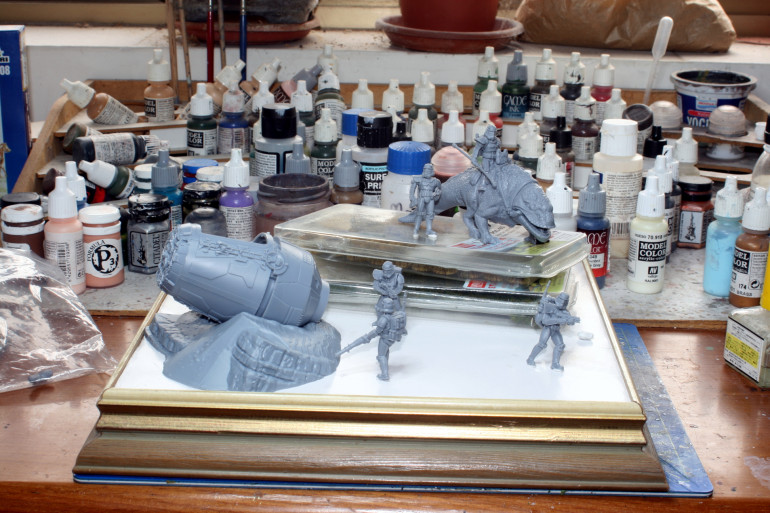
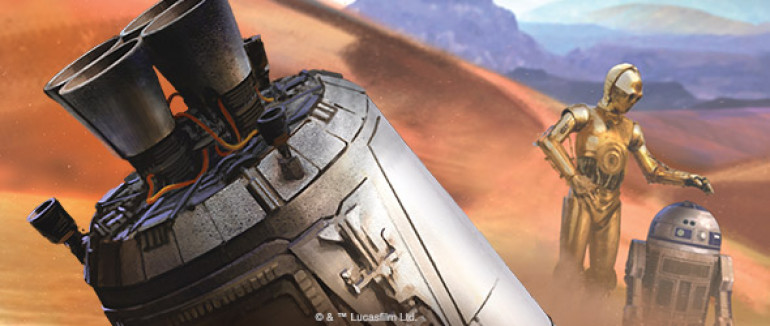
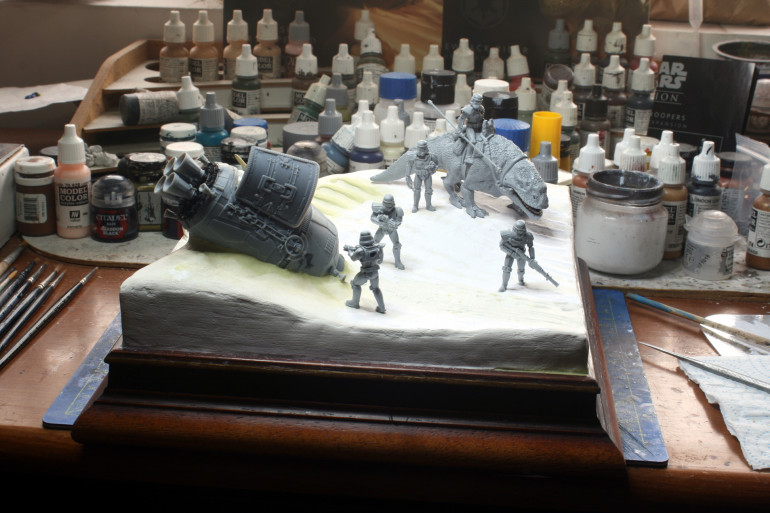
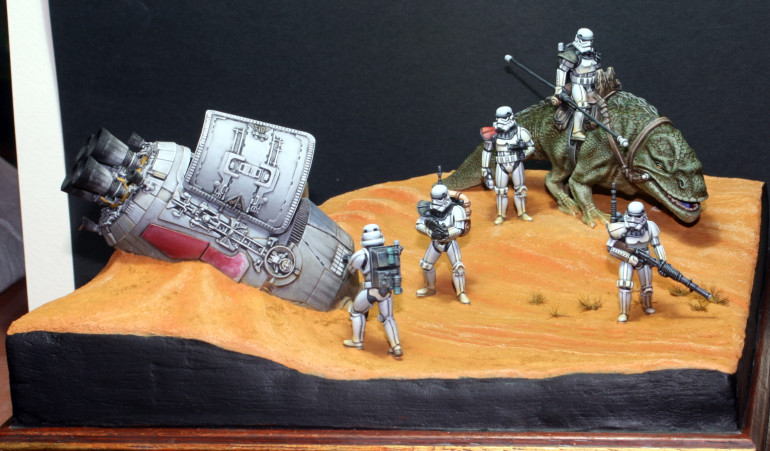
Usually, I choose depending on what models are available. This is where Star Wars Legion came in. This game had all the models I needed to recreate the scene where the Storm Troopers are investigating the drop pod in which C3PO and R2D2 escape in.
This is a simple diorama and most of the work will be painting of the models. This is intended, as I wanted something relaxing before continuing with my 15mm Dwarf Army and my 1/72 French Napoleonic army.
The frame-base in the pic above is what I will probably go with. I believe in building dioramas as compactly as possible, and I am felling that the area is a bit too wide. I might decrease the area bit – I don’t know as of yet.
If you think I should decrease it or leave it as is, then let me know. You just might help me decide.
Until next post,
NR
Creating Interest
Hi everyone,
The focus of this diorama revolves around the escape pod and the dewback, so I have to make sure that they draw in the viewer.
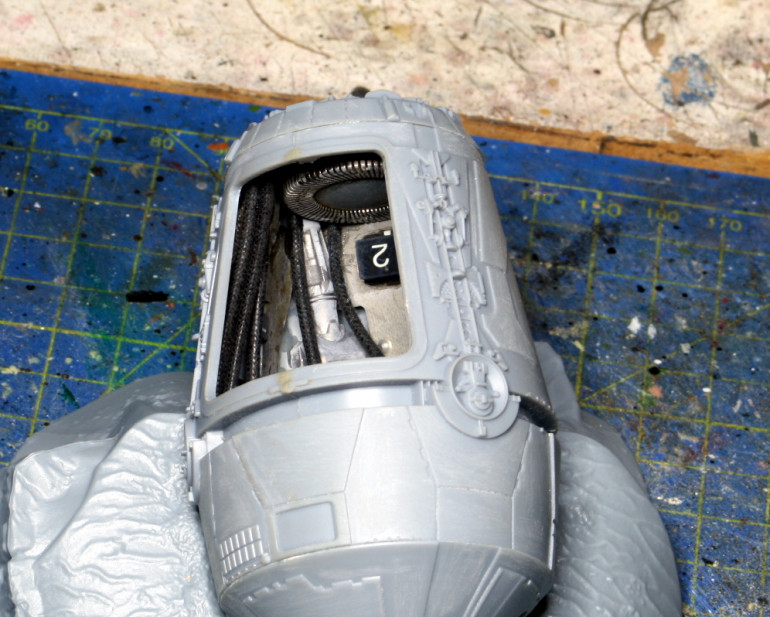
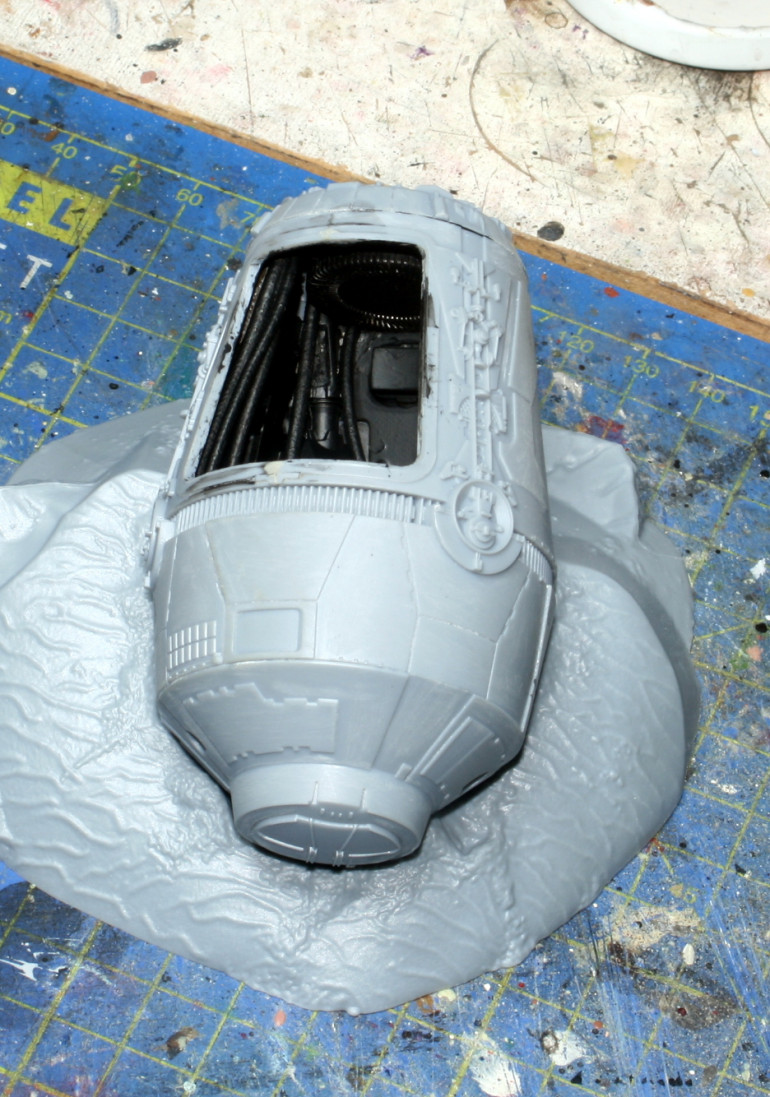
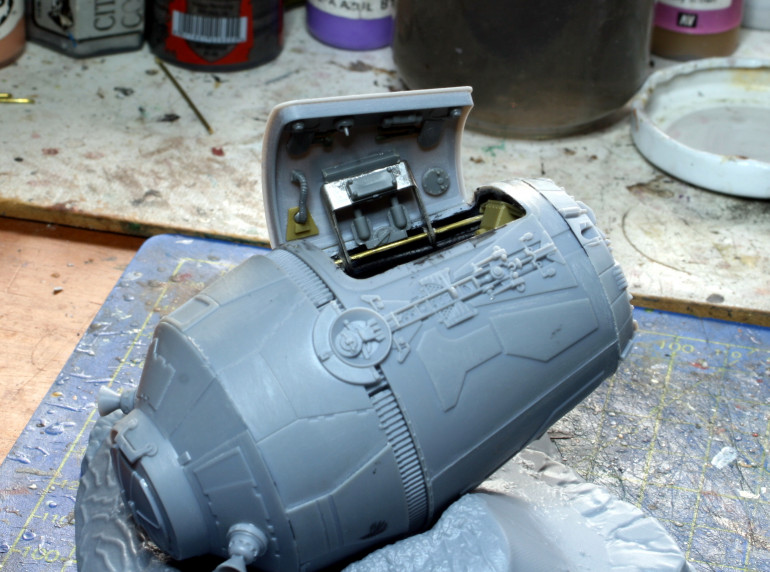
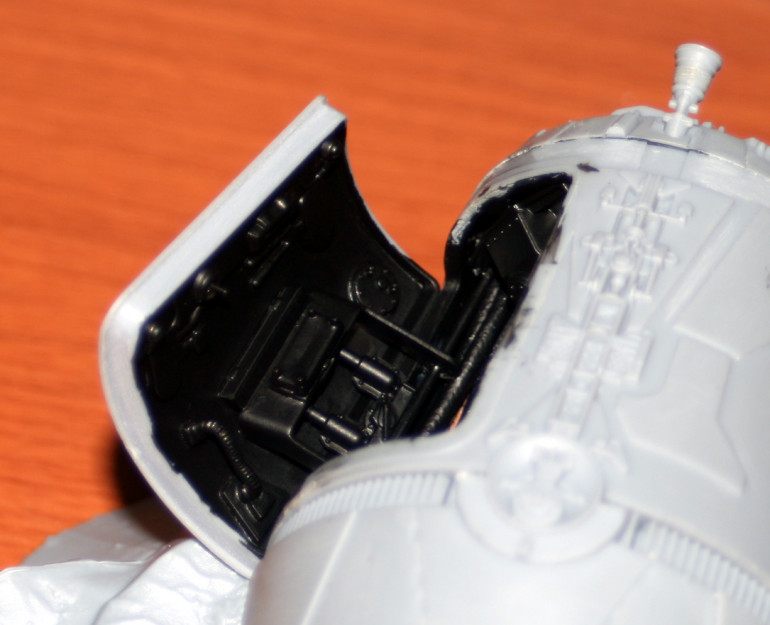
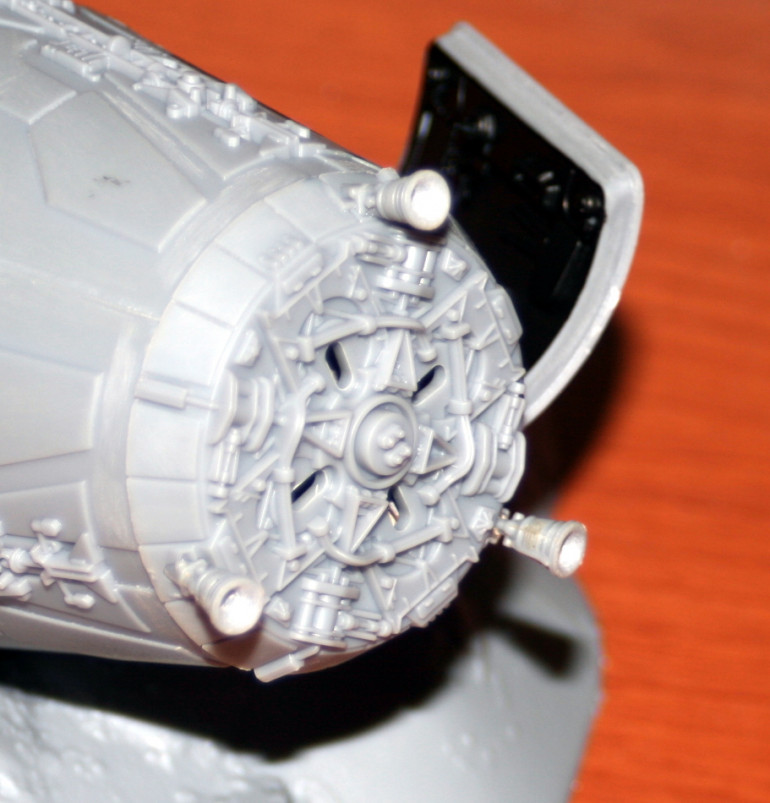
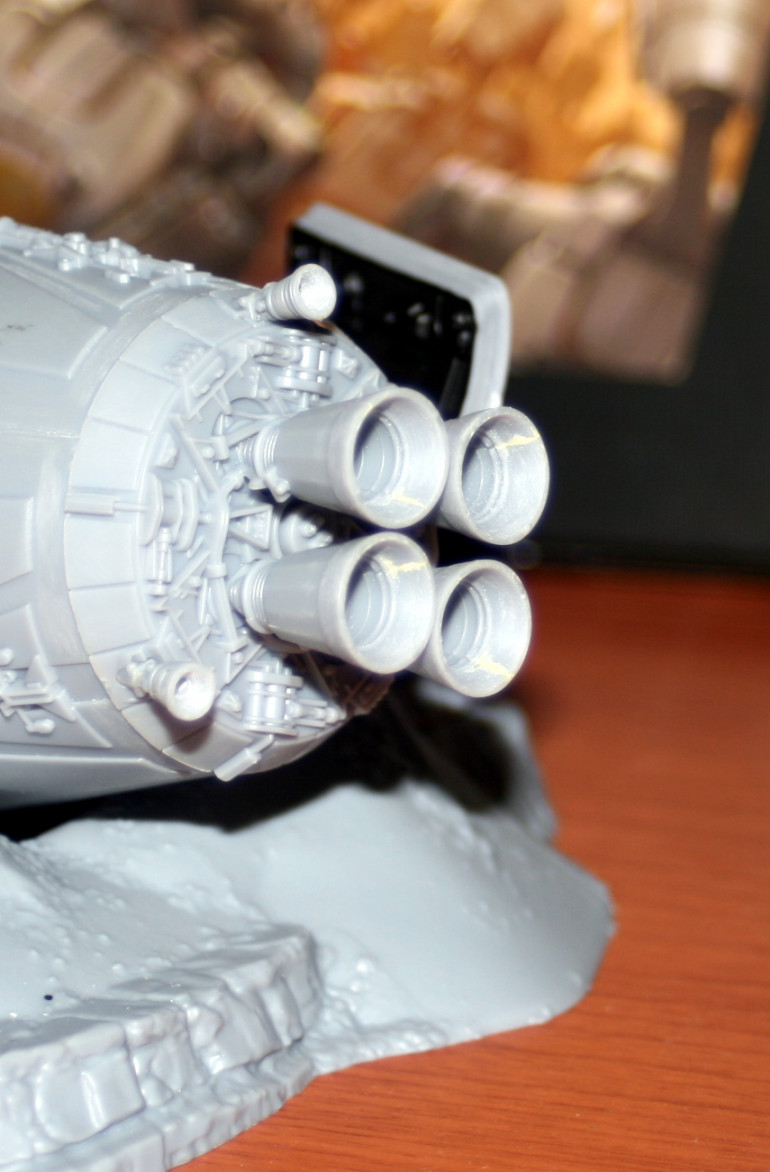
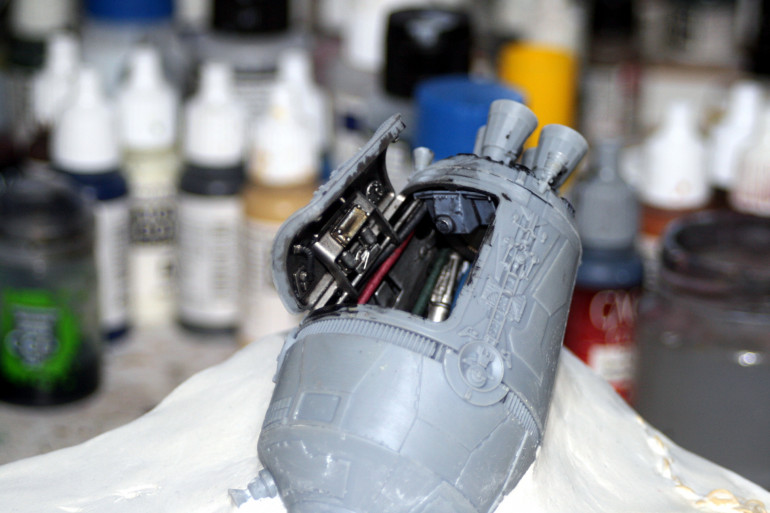
The escape pod is nicely detailed, but flat on the inside. I wanted the pod to be open, so I had to create some visual interest in the interior.
I did this the old fashioned way by digging into my bits box and looking for bits and pieces to stick on. I am told that is how Lucas Film built the Millennium Falcon. If it’s good for the goose…..
That’s all for today. In the next post I will show the work on the Dewback.
Regards,
NR
Working on the Troopers
Hi everyone,
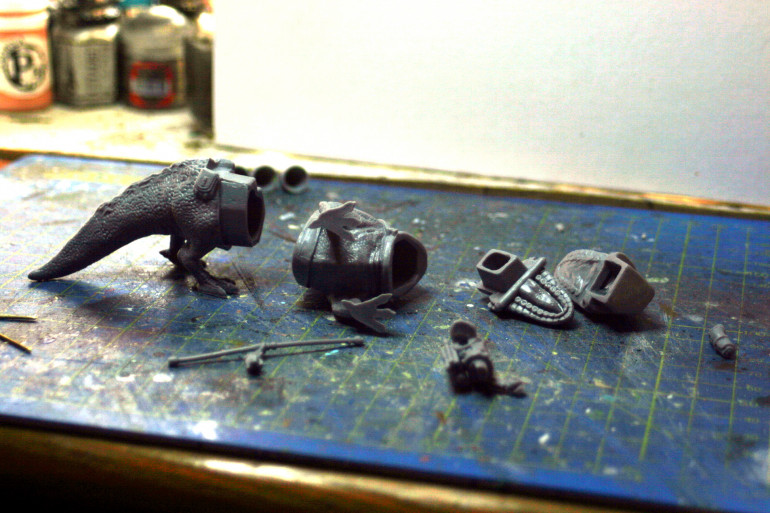
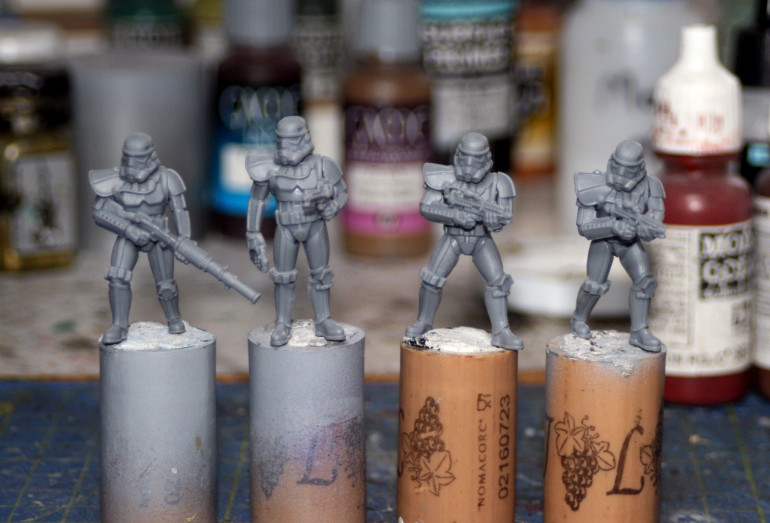
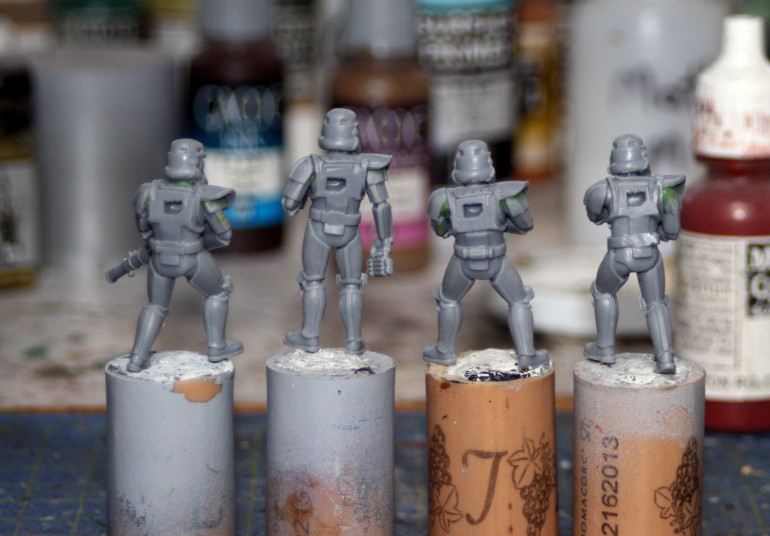
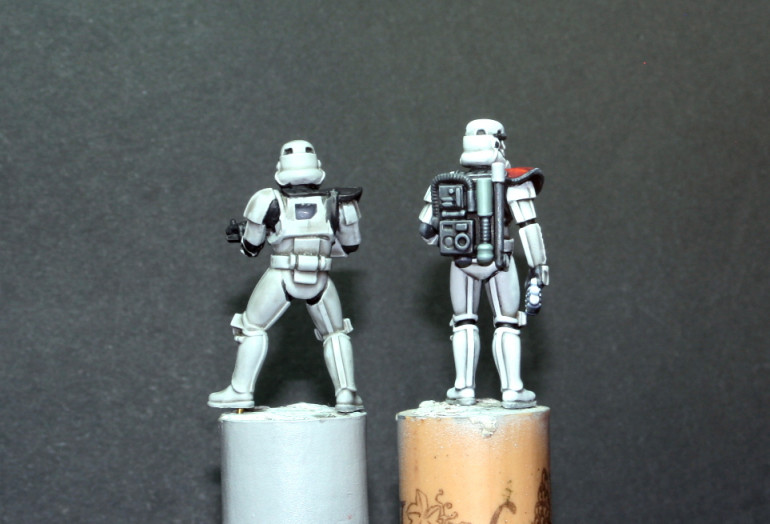
I started to work on the Storm Troopers; cleaning them up and getting them for painting. I have to say, I have rarely needed to do so much cleaning up on a model as I did on these Storm Troopers. This is the first time I have worked with these products, and I wonder if I just got a bad batch or are they all like this?
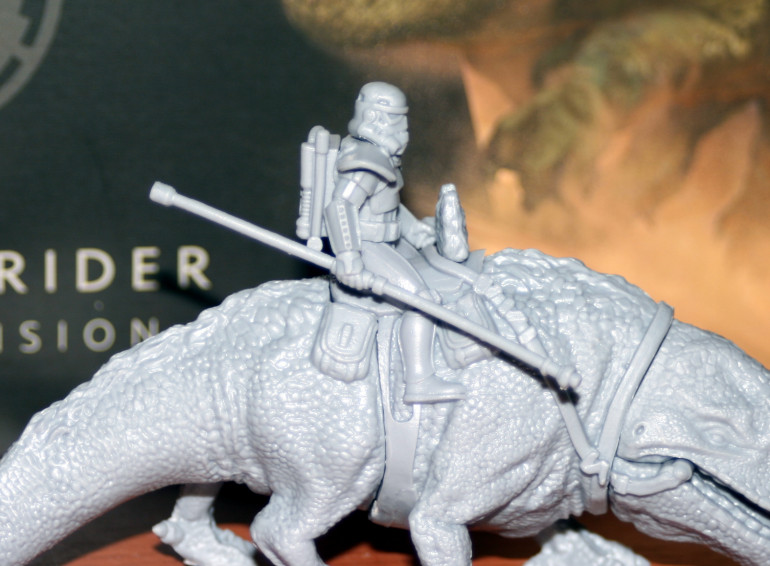
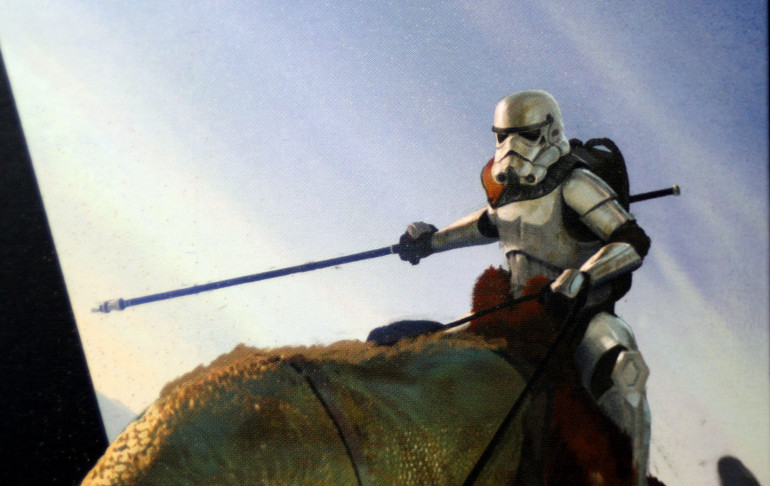
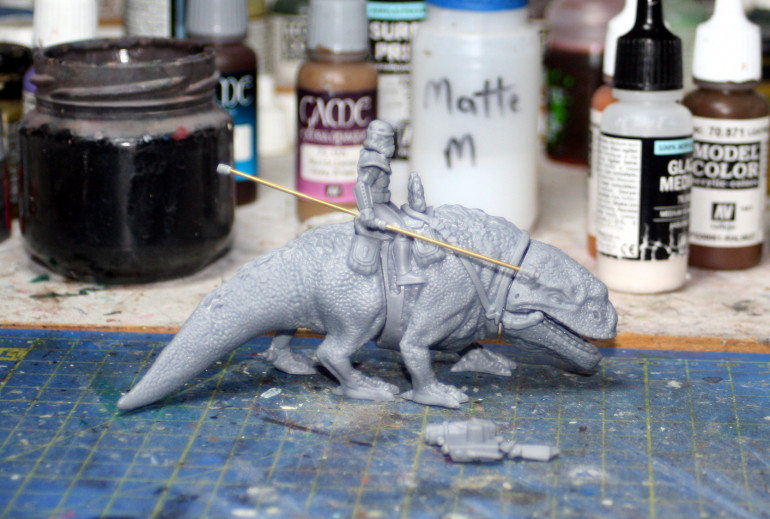
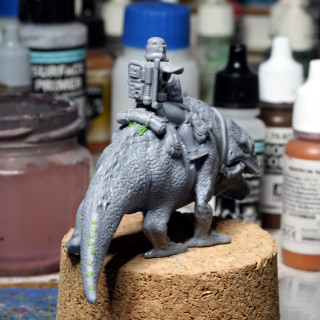
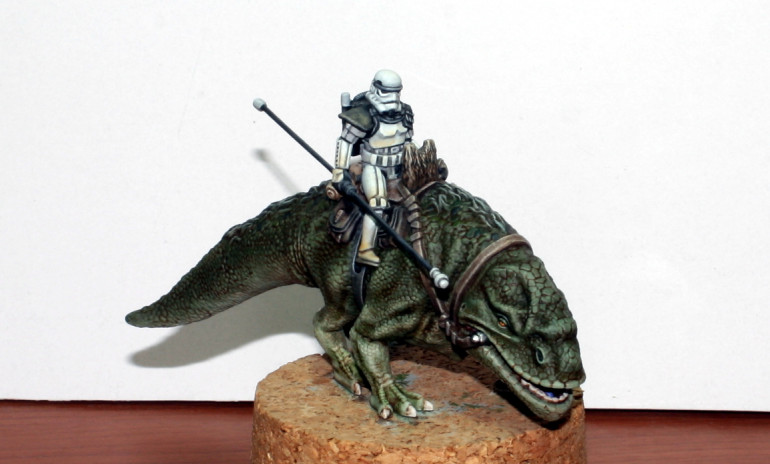
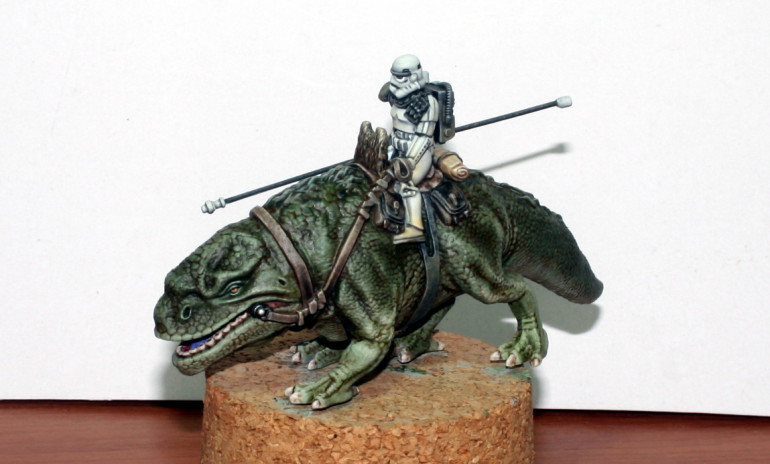
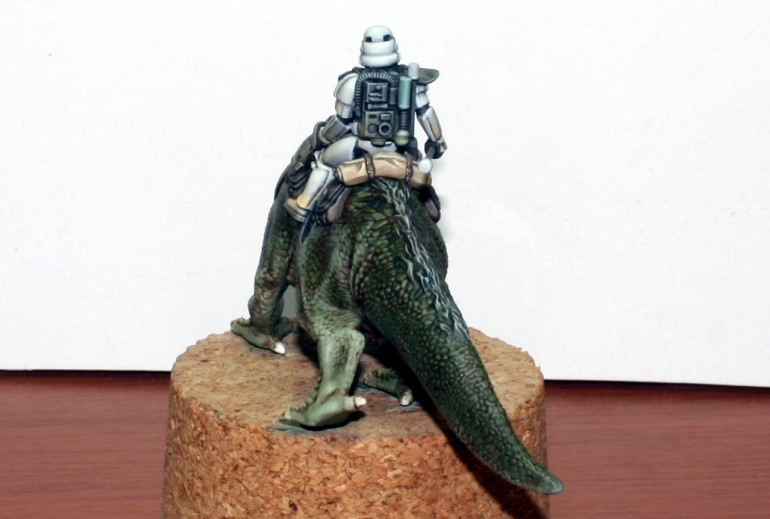
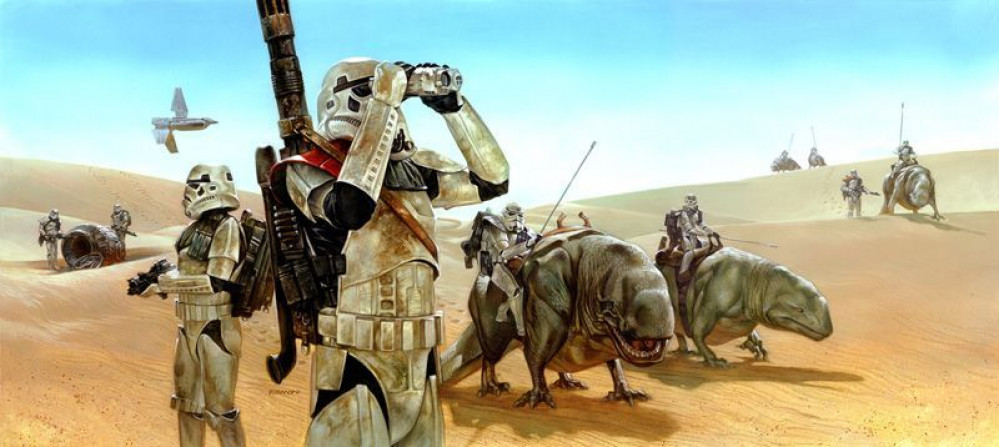
I also decided to modify the dewback rider slightly to look more like the art. After I added green stuff in order to cover up the connection points.
That’s all for this week. Stay tuned for next week.
Best regards,
NR
Some more work on the base.
Hi,
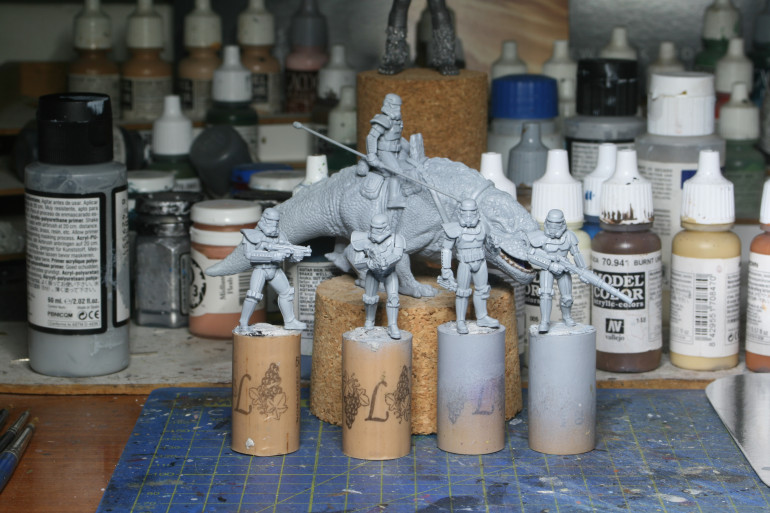
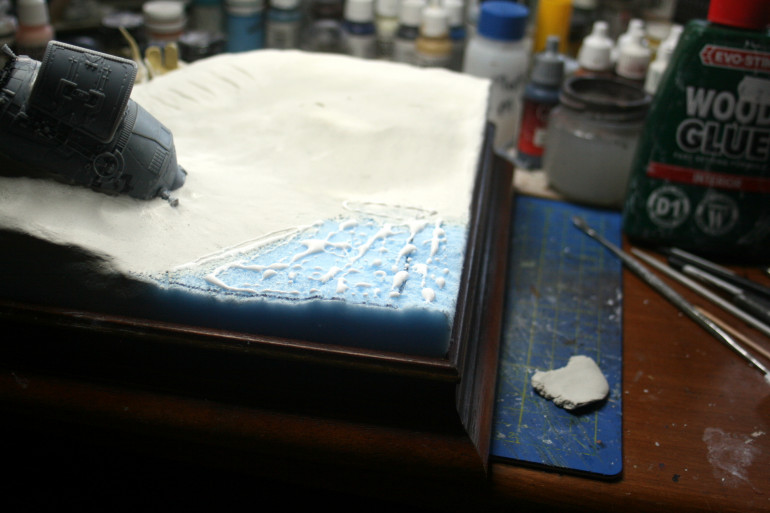
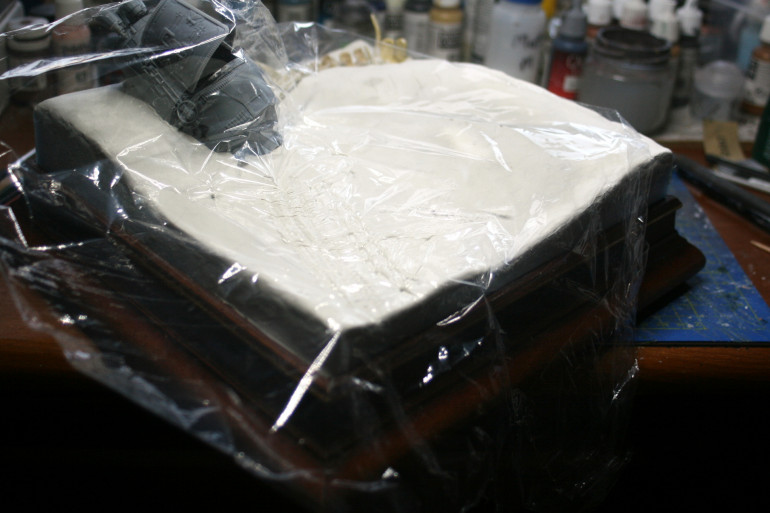
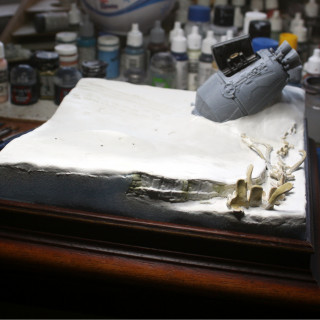
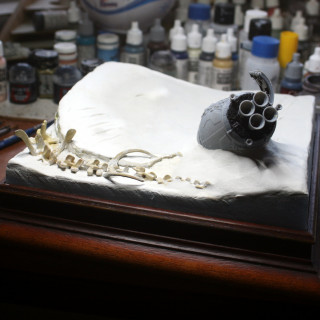
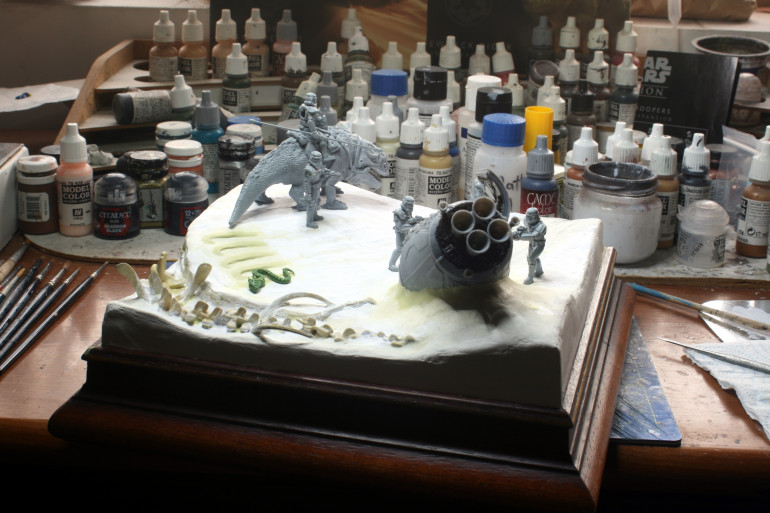
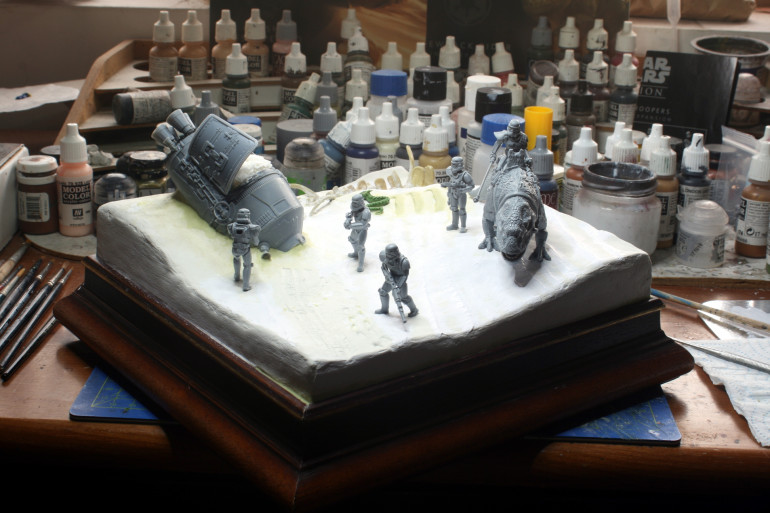
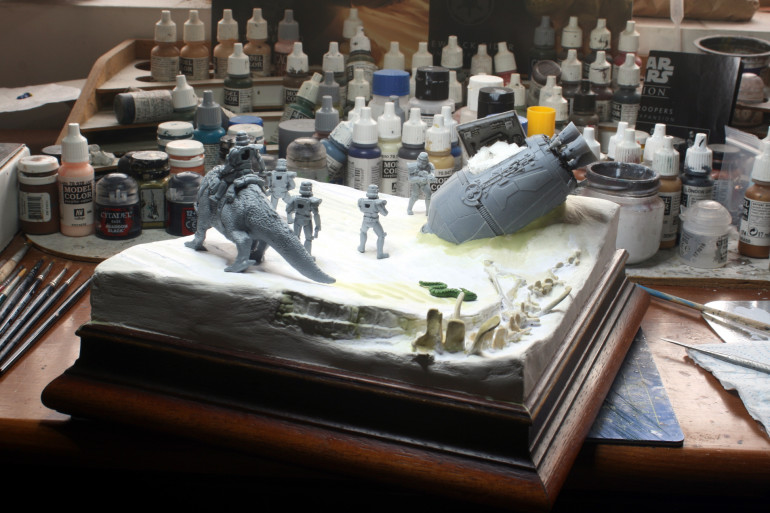
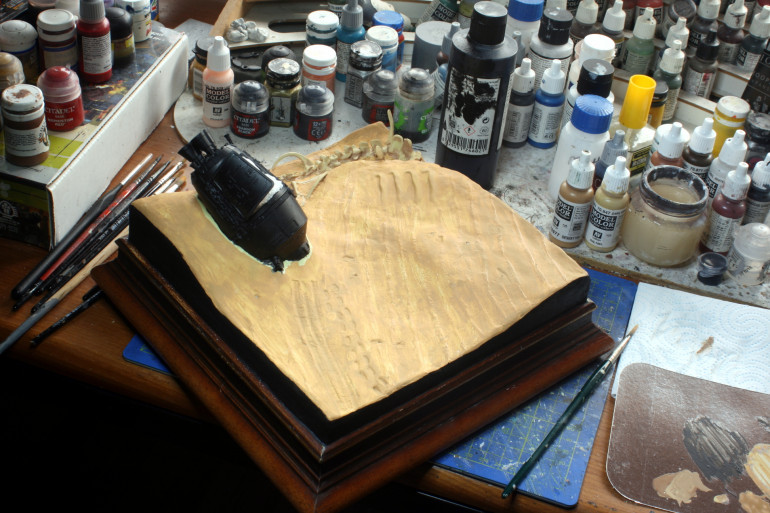
I managed to get some more work done on this project. I finished priming the models and painted the interior of the drop pod. I also attached everything and started to cover the base with DAS air drying putty.
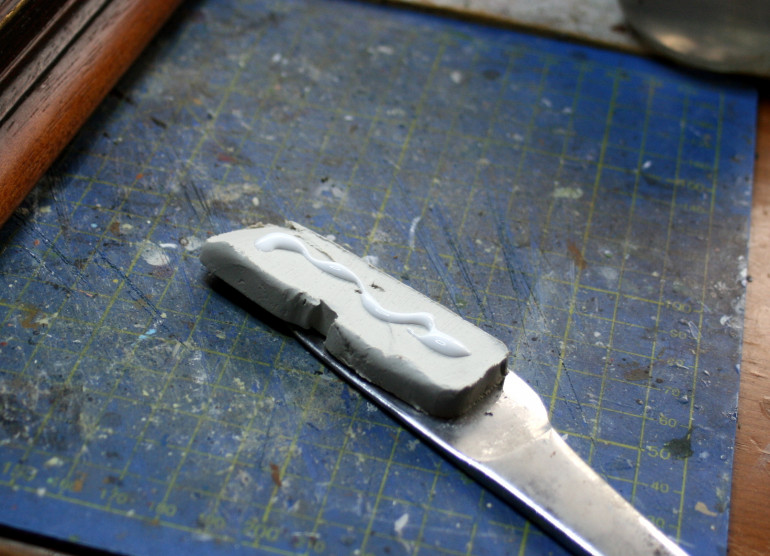
The problem with this putty is that it tends to shrink and crack – a lot. In order to minimize this you need to :
1] Knead the putty with PVA white wood glue.
2] Add PVA white wood glue to the surface before attaching the putty.
3] Let the putty dry slowly in a cool area.
I find that following these 3 rules help to reduce the cracking and shrinking.
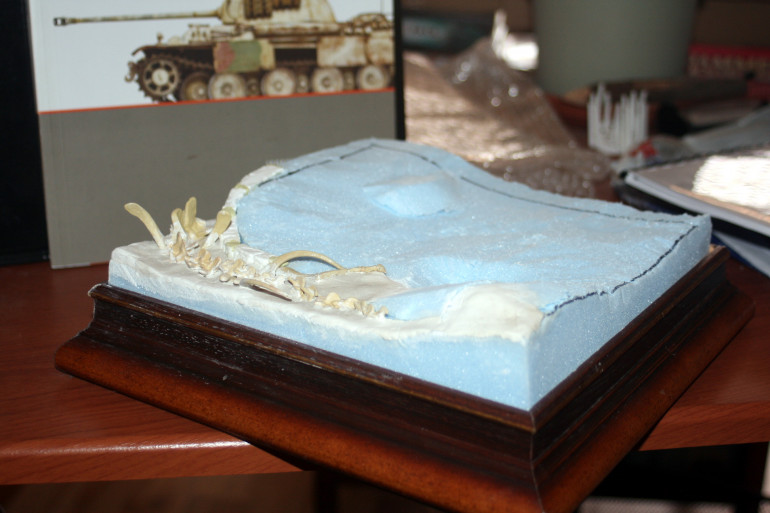
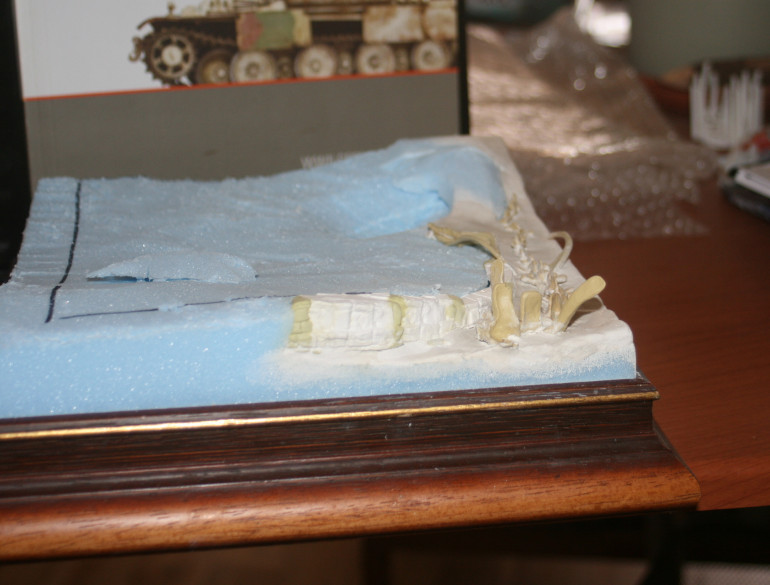
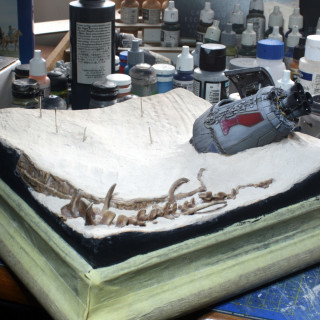
Noticing that the base was very empty at the back corner, therefore I decided to reduce the frontage of the diorama by 2cm and add a skeleton for some extra interest.. I know there was no monster skeleton at the pod site, but in the re-re-edited movie there is a monster skeleton in the sands. So I said to myself, ‘What the heck!’
In order to make track markings of R2D2 and C3PO I placed a piece of celloplastic they use for cooking on the wet putty base and pressed the models into it. I also finalized the position of the models.
Now I have to leave the whole thing to dry properly. There will be cracks, and the DAS will pull away from the skeleton and the pod. After this happens I will simply fill in the cracks with milliput softened with methylated spirit.
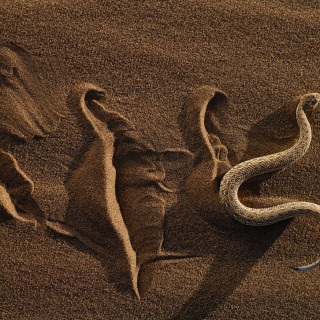
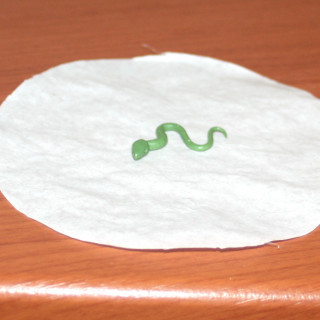
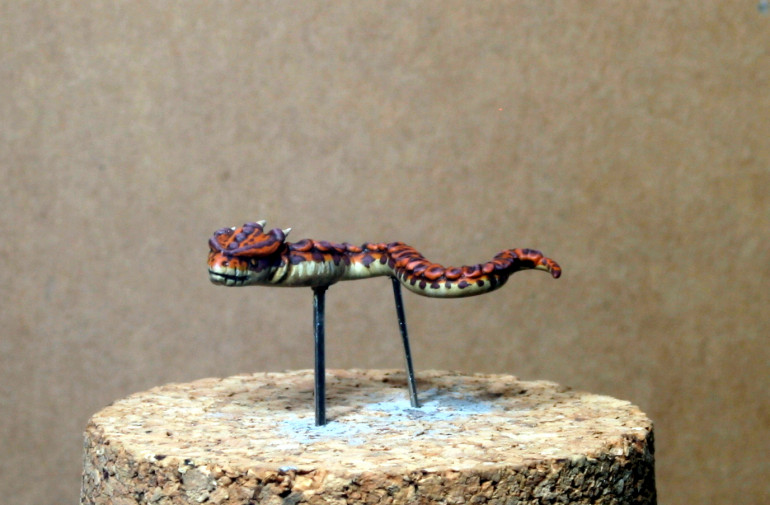
In the meantime I also decided that the skeleton was not enough so I sculpted a small snake like creature I am calling it a snakdillo! If I add a fin, then I will call it a shnakdillo! The inspiration comes from the desert sidewinder snake. The sculpt still needs a lot of work.
Until next time, my best regards,
NR
Got Some Extra work In.
Hi everyone,
So I managed to get some hobby in between work. The DAS putty has dried completely. There were a few hair line cracks and as predicted, the air drying putty pulled away from the escape pod and skeleton. After filling them in with modelling paste and milliput, I did another dry fit for the last time.
I also finished sculpting the Shnakdillo which now does not look like a little swimmer anymore – at least I hope so! lol.
When I was satisfied, I started painting up the base. For now I have only managed to paint base coats. Hopefully I will post more latter in the week.
That’s all for now.
NR
Ignore - It is a double entry.
Hi ,
Ignore this post, for some reason it posted twice. If someone from the OTT team can remove this entry – then please go ahead. I could not manage.
NR
Escape pod and fossil are ready.
Hi everyone,
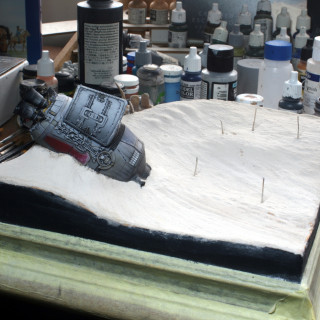
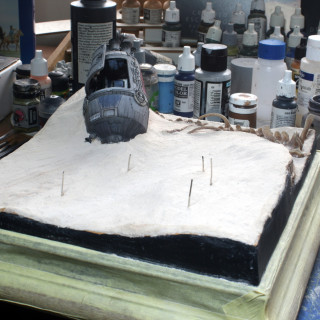
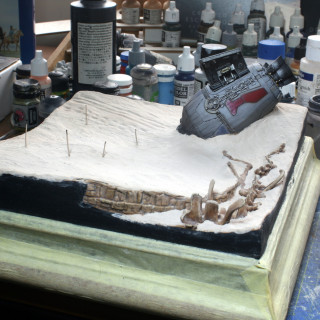
So I have finished painting the escape pod and the skeleton/fossil, as well as the rock wall. I also grouted the base for the sand effect. I still had some beige grout I bought sometime ago. Since I paint the grout in projects I chose beige because it is a neutral colour.
Now I just have to paint up the sand, but before I do that I have to start painting up the storm troopers. Hopefully, by the end of next week I will have one or two to show you.
Until then, keep safe and my best regards,
NR
Small Steps
Hi everyone,
This week has been quite busy work-wise, but I did have a couple of hours here and there to use for hobby. So I managed to paint up one of the figures. Hopefully I will get more done over the weekend.
Until then best regards and take care,
NR
80% There
Hi everyone,
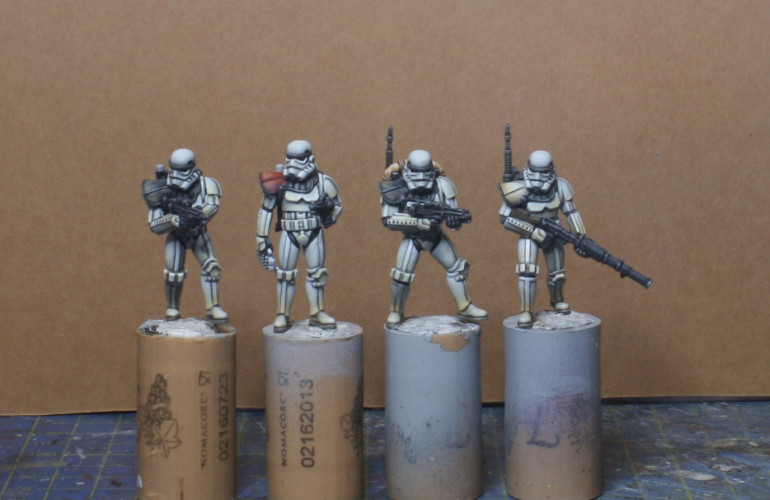
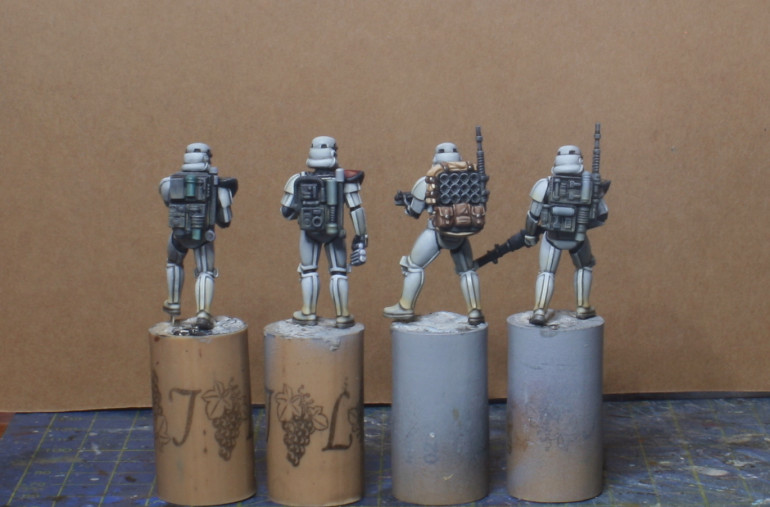
So this project is nearly finished, but I still have a few hurdles to go. What I have done is finished painting the ground troops and added the few layers of weathering to the troops.
I also finished painting up the shnackdillo as well, and then dry fitted the models to the base and took a few photos. I then glued the models to the base and modelled them to the base with some grout.
Next week I will post and show the finished Dewback rider. Then the week after I will paint up the sand and present the finished model.
Until then my best regards and I hope you enjoy the photos,
NR
Dewback Rider is Ready
Hi everyone,
So I managed to finish the Dewback Rider over the weekend and I took some pictures before attaching the model to the base and filling the gaps at the feet with grout.
The last step is to paint the base. This is probably the most daunting task, because I have to make sand look somewhat interesting.
What I can say for sure is that I won’t post again until I finish this project, so the next post will be the last. I will then continue painting my 1/72 Napoleonic French army for the Peninsular (1812 period).
I nearly went crazy painting this army, so I took a 3 month break and worked on other more relaxing projects like this one. Now though, I need to soldier on and continue with the French.
Until the next post, keep safe and my best regards,
NR
Project Finished
Hi everyone,
I have finished another project, for better or worse, and I have already started a new one.
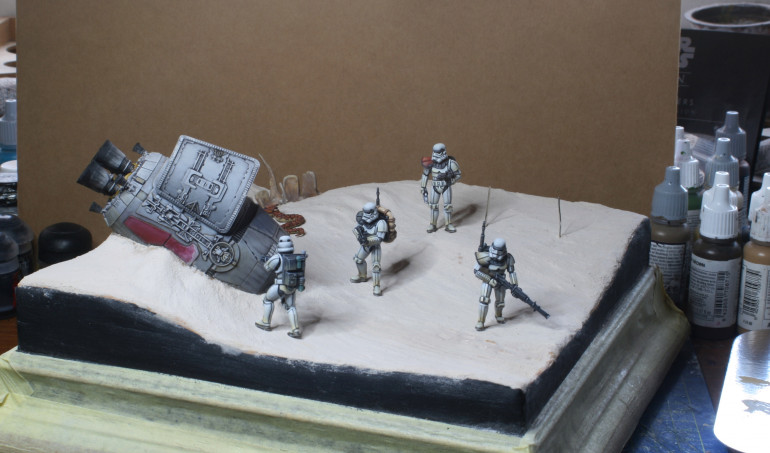
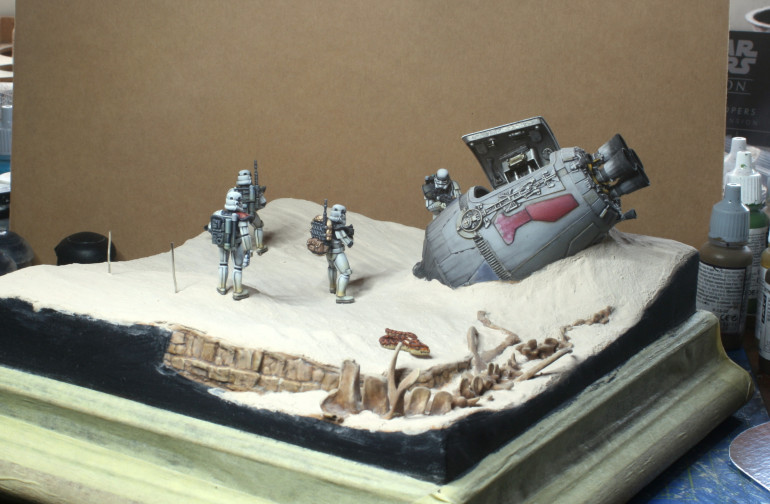
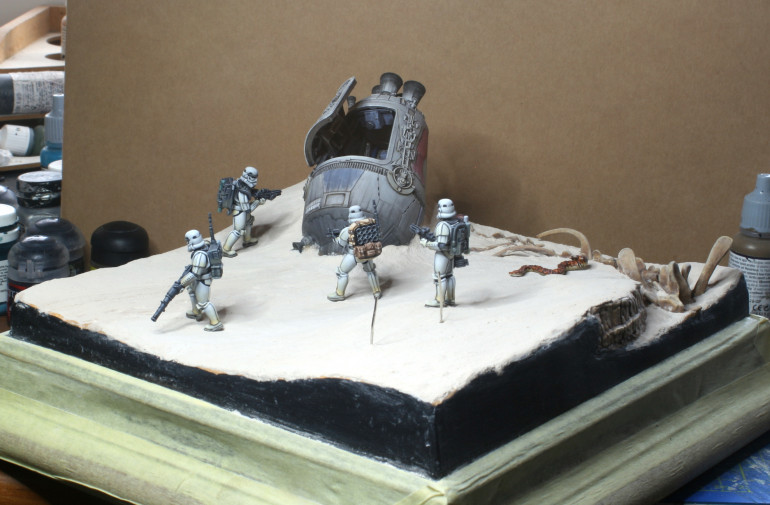
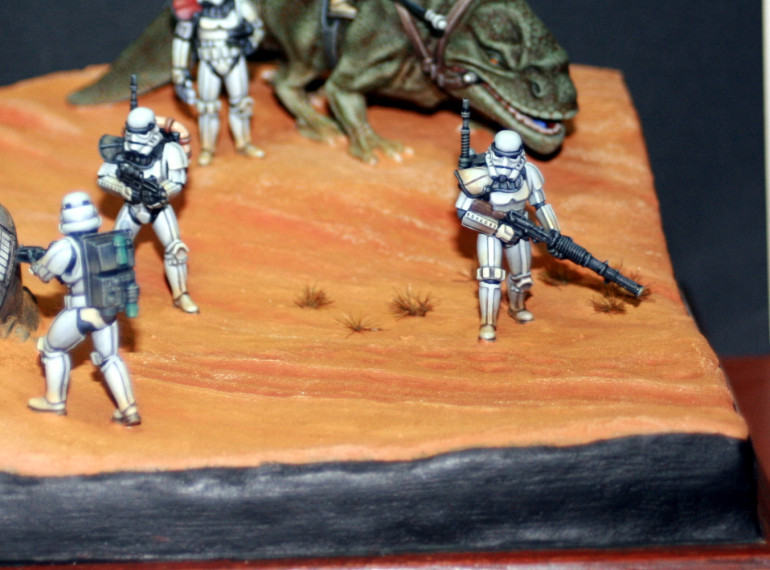
In the meantime, I present ‘No Droids Here’, my latest diorama. I began this diorama because I thought it would be easy and relaxing, but when I came to do the sand effects I was quickly corrected. Trying to make sand look interesting is not easy.
Well, I hope you like it. Until my next project be safe and take care.
NR


