Undying Artificers (Necrons)
Recommendations: 26
About the Project
This project follows the building, painting, and play of a Warhammer 40k (9th Edition) Necron army. Join us as we follow the Awakening, Mustering, Decay, and eventual fall into Madness of Amonhotep IV and the Undying Artificers.
Related Game: Warhammer 40,000
Related Company: Games Workshop
Related Genre: Science Fiction
This Project is Active
Canoptek Scarab Swarms
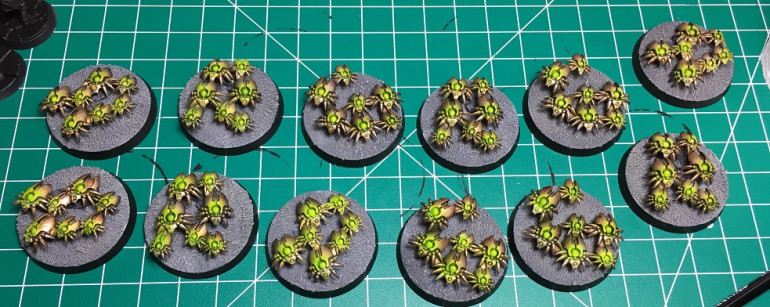
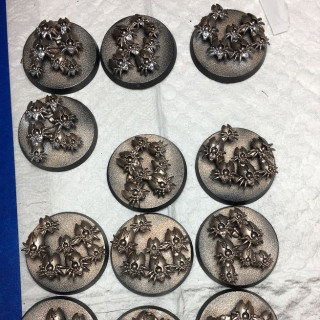
So I just finished 12 bases of Canoptek Scarab Swarms. For my Crusade Army we are running one minimum size unit (3 bases) and one maxiumum size unit (9 bases). Why? Well sometimes when playing you often have two or so Power Level left over. For instance let’s take the following Combat Patrol List.
- 10x Necron Warriors with Gauss Flayers (6PL)
- 10x Necron Warriors with Gauss Reapers (6 PL)
- 1x Necron Overload (6 PL)
- 3x Skorpekh Destroyers (5 PL)
That comes out to 23 Power Level, leaving us 2 left over! Having a minimum sized unit in your Crusade Order of Battle gives you a whole other maneuver element. This new unit can either camp a backline objective – or potentially contest/take an enemies backline objective – for instance they might be able to defeat a unit of Guardsmen or Cultists.
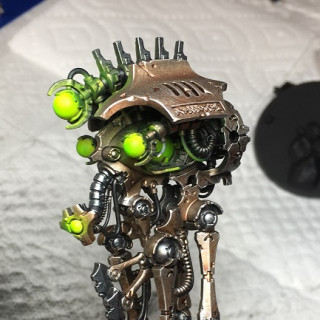
These models were painted in the Szarekhan color scheme and were super fast to complete.
- Undercoat Vallejo Black Primer
- Airbrush GW Runelord Brass
- Airbrush Highlight GW Canoptek Alloy
- Airbrush Vallejo Game Air Silver on the Faces Only
- Wash Model with GW Cryptek Armorshade Gloss (Diluted 1:2 with Water)
- Airbrush Orb with Liquitex Titantium White
- Paint “Eye” with Vallejo Model Color White
- Airbrush Orb with GW Tesseract Glow
- Paint “Eye” with GW Tesseract Glow
Bases were done in a simple style.
- Base with Astrogranite Debris
- Drybrush with Grey Seer
- Drybrush with Tyrant Skull
- Rocks Painted with Vallejo Model German Grey
- Rocks Highlighted with Grey Seer
- Base Rim with Abaddon Black
Convert to the Oil Wash - This is the Way!
Often while painting a miniature you will want to paint the recesses or depressions on a miniature a different color. This will enhance the definition on the miniature and make the discrete details on the miniature stick out. Usually you accomplish this by painting the raised areas with brighter colors . . .
- You paint the miniature with a mid-tone
- You wash the part with Nuln Oil (or other appropriate wash)
- You Drybrush with midtone
- You Drybrush with your highlight color
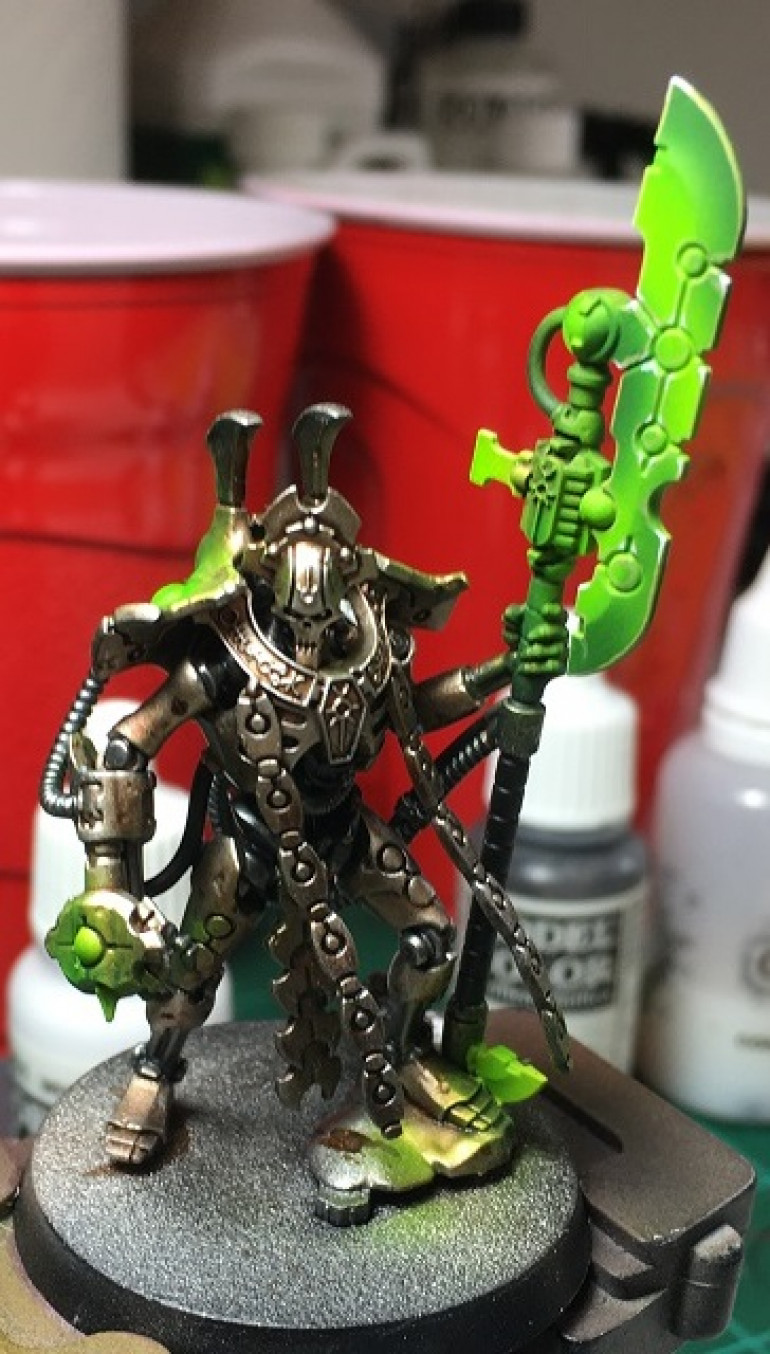
This is the typical process when you are trying to quickly get a miniature painted to a “Tabletop Plus” standard. However if you are like me and you’re using an airbrush to improve both your blends and your speed – you will often be spraying in such a way that both the raised and recessed area of a miniature will be covered. Case in point below – my Necron Overlord:
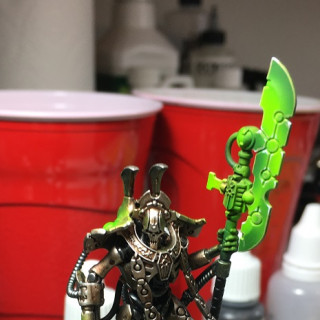
The part of the model in question is the Hyperphase Glaive – his melee weapon in his left hand (right side from your point of view). The Glaive was painted in the following manner to get a creamy blend that I could not replicate by brush (primarily because I suck).
- Airbrush Liquitex Titanium White (Acrylic Ink)
- Airbrush Vallejo Black Green onto reflective parts
- Filter the entire area with GW Tesseract Glow
- Edge Highlight GW Ogryn Camo
- Spot Highlight Vallejo White
Overall the blade looks good but lacks definition. And we simply can’t take Nuln oil to the model because we will lose all that sweet sweet blending and fluorescent highlighting.
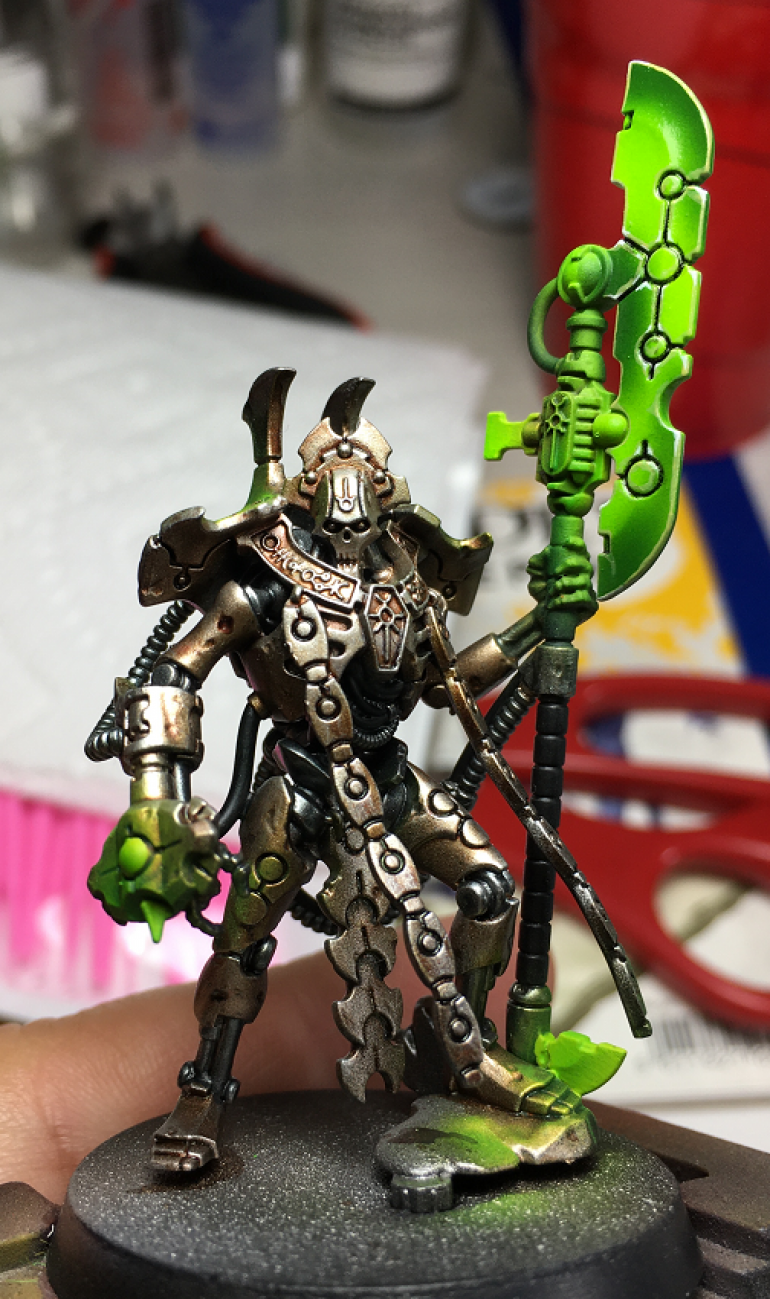
So what’s the answer? Oil Washes baby!!!! I’m not going to type up a whole article for you instead I’m going to link you to this amazing video then show the finished Glaive and my supply list below.
Every Day a Step Closer to Reclaiming the Galaxy
One of the biggest things with painting a Warhammer Army is to stay heavily dedicated to getting at least a little bit painted every night/day. Making a little progress every day or at least three days a week can make Army painting go quickly. Here’s what I have managed in the past 24 or so hours.
- Basecoated 12x Scarab Swarms
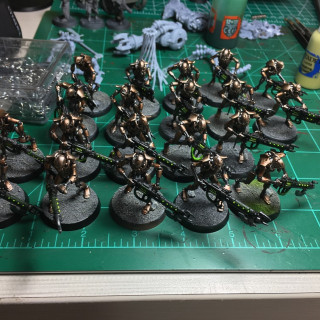
- Based 15x Necron Warriors – still need the base rims painted
- Painted the Blade on my Necron Overlord – Needs an Oil wash to get the lowest spots
It’s not a ton of progress but small steps here and there is how you get a great looking Army. Without further ado – progress pics!
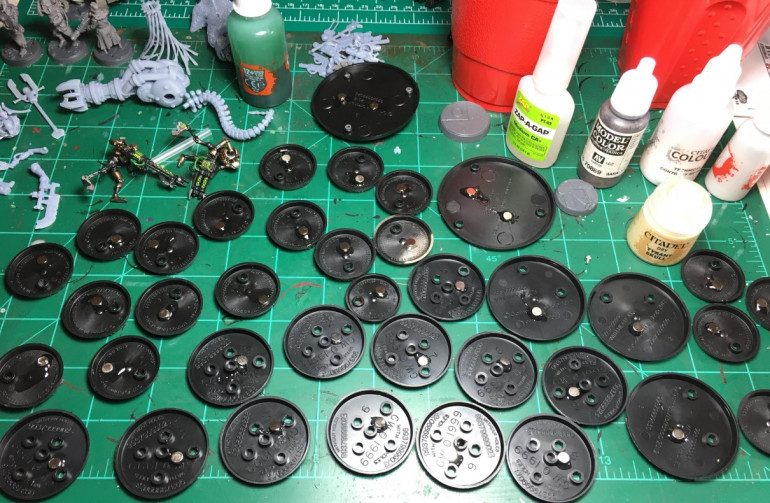
Starting with Magnetization
Magnetizing – it is something that I have done before, but this time – I’m determined to do it right. In the past I have magnetized by using superglue and small rare earth magnets – tragically, I ran into a few problems using this method:
- Super glue kind of sucks as a heavy duty adhesive, it is extremely common for it to become brittle and break over time.
- Some of the rare earth magnets you can buy are crazy strong.
- Green stuff isn’t a great epoxy for heavy duty work either.
This resulted in after a few months – many of my magnets falling off of my miniatures, sticking to their transport cake pan. However – as the saying goes: Failure Breeds Success . . . or at the very least it breeds another try.
So what will we be magnetizing today? My Necrons of course – some say the true Good Guys of the the Warhammer 40k galaxy, others, those with less charitable voices, calls us deranged, insane, and even the sole cause of the current galaxies state.
With two Indomitus boxes to start off my collection – we’ll trying to magnetize almost the whole batch in one go. Which means:
- 40x Necron Warriors
- 2x Necron Overlords
- 12x Scarab Swarms
- 2x Royal Wardens
- 2x Plasmancers
- 6x Skorpekhs
- 2x Viral Construct
- 4x Cryptothralls
- 1x Heavy Lokhurst Destroyer (present from one of my buds)
- 1x Skorpekh Lord
I know what you are thinking . . . where is the second Skorpekh Lord? And where is the Canoptek Reanimator. Well I forgot to take them off the painting station . . . so . . . they will get magnetized another time. Now I bet you are wondering how I set did the magnetizing. Well I followed a guide from youtube of course! Really the secret is using two part epoxy which is far stronger than glue.
Here is the supply list:


