Falling Star
Recommendations: 107
About the Project
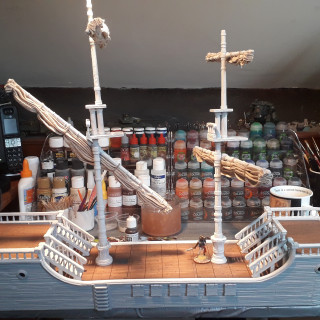
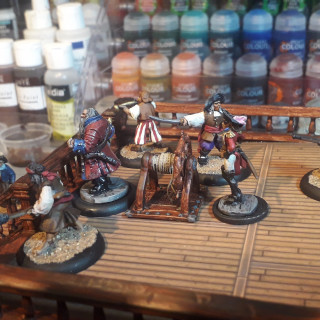
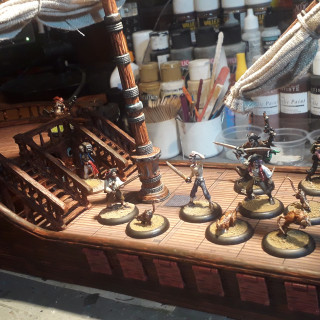
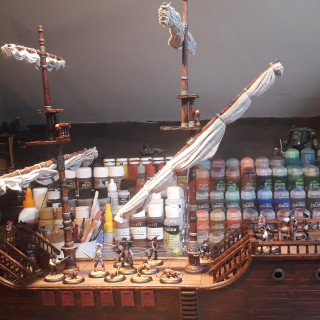
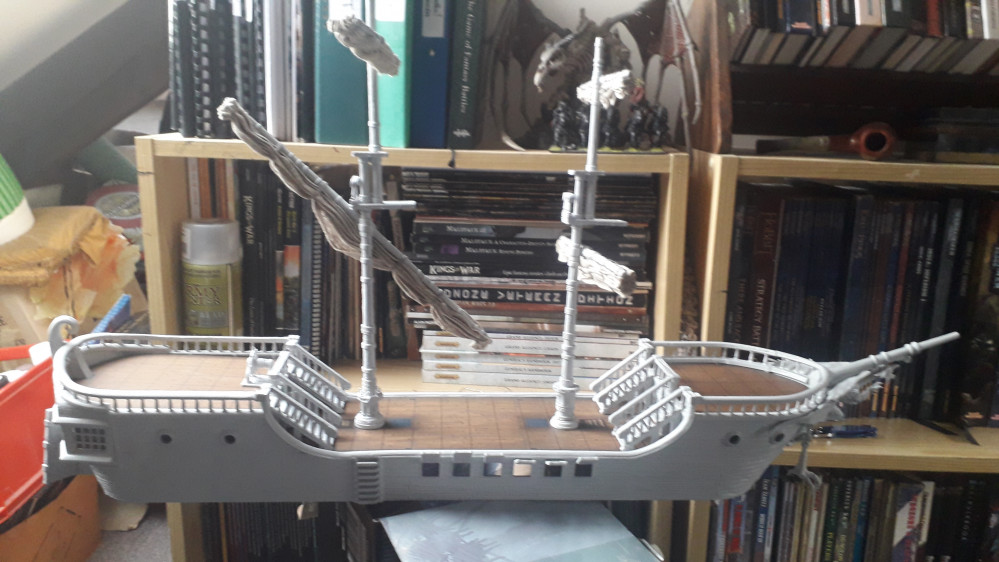
My wife bought me the Falling Star sailing ship by Nolzur's (Wizkids) as a Christmas present this year. I couldn't wait to get it painted up!
Related Game: Dungeons & Dragons
Related Company: WizKids
Related Genre: Fantasy
This Project is Completed
Getting started
This was a BIG project. The ship is nearly 3 feet long. So I had to make a few decisions.
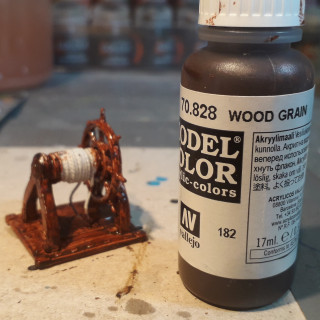
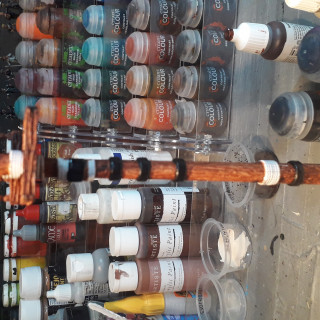
Firstly, I am not a fanatic. I am firmly of the best kind of paint job is one that is DONE, rather than perfect, so I didn’t want to have to hand paint a lot of detail in boring areas – such as wood grain, So I wanted to be able to use a big brush on those areas. The problem is that on some areas, such as the planking along the side, the woodgrain detail is fairly smooth, so wouldn’t show up well, and even if it did show, wouldn’t be convincing with my usual technique of wash and drybrush to highlight. So Having pondered for a bit, I decided on using Vallejo’s “Wood Grain” paint. This dries in a “streaky” effect and gives a wood grain effet (at a reasonable distance) on plain areas. Much better than freehanding the woodgrain on such a big area! So I decided to try it out on a small area first to see what it would look like. Fortunately the steering wheel piece is separate, so made a perfect trial piece. And if it failed, then repainting wouldn’t be too much of a pain!
Ship's wheel
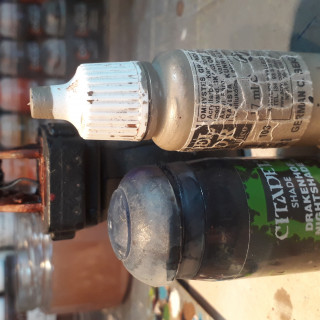
So I tackled the wheel with the wood grain, and also chose Vallejo German Camo Beige with a Citadel Drakenhof Nightshade wash as my rope colours
Mast
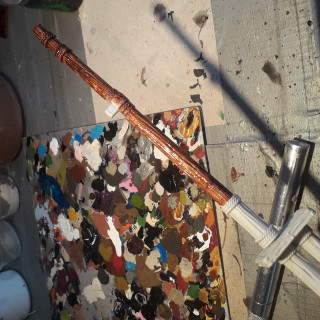
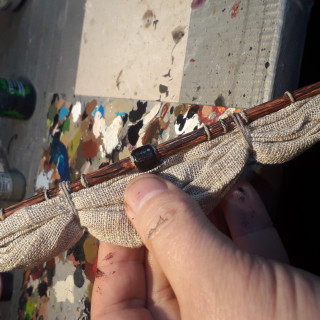
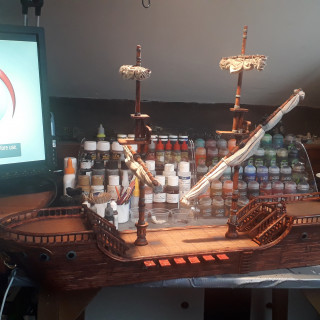
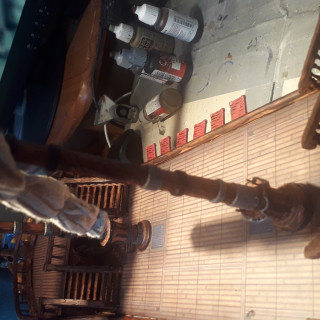
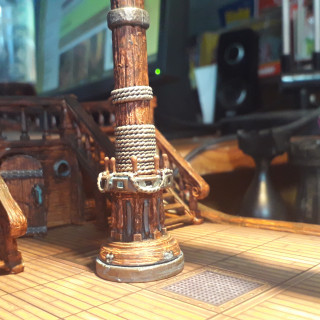
So having done the wheel, and been satisfied with it, once it had dried, I thought the next logical thing to tackle were the masts. These are magnetic and click into place on the deck nicely. However the spars “click” onto specific lugs. This meant that they could be painted separately, but I had to take care not to clog the lugs up with paint otherwise they wouldn’t fit. Also the spars have cloth sails (some sort of linen I think) already attached. Which is nice, but made painting a bit fiddly. In the end I had to paint them a strip at a time, let that dry, swivel the sail around onto the dry painted bit and paint the next stripe. Fortunately the paint didn’t take too long to dry, but this was the first occasion I wished that they hadn’t pre-assembled the ship quite to the extent that they had.
To hull and back
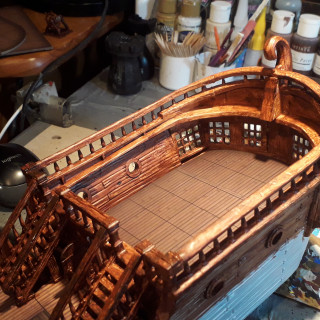
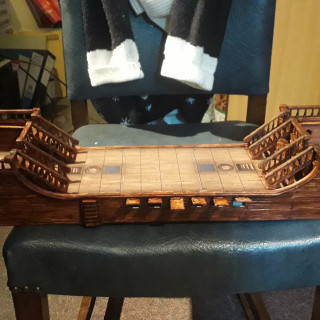
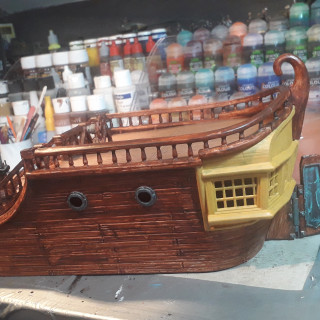
So the next stage was the hull itself. A lot of brown! Fortunately most of it could be tackled with a big (1″) brush.
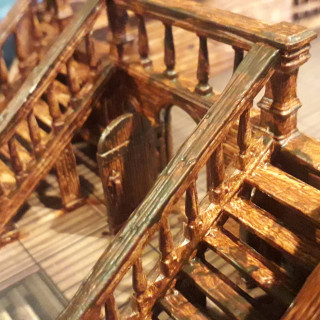
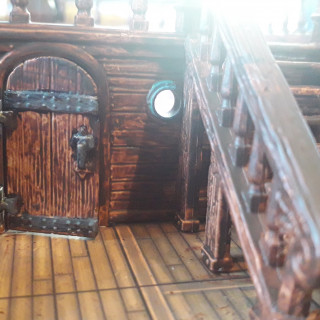
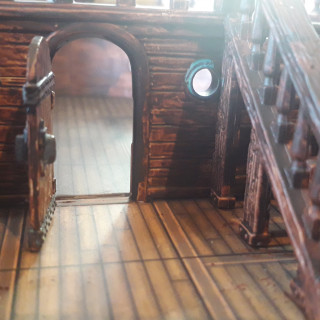
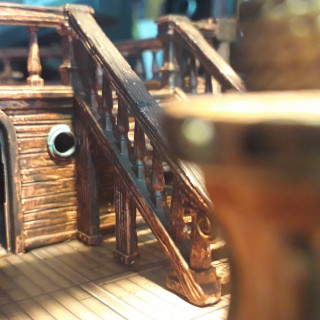
The only fiddly bit was under the stairs. As this was pre-assembled with a detailed cardboard deck, getting at the bits behind the stairs was a complete PITA. Again I wished they hadn’t bothered pre-assembling the model for this bit!
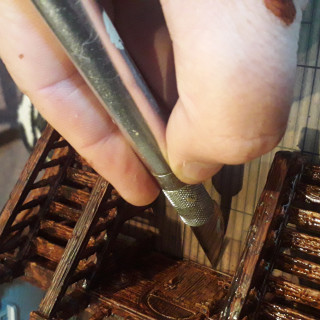
Fortunately, the card is really, really high quality and covered with a water-resistant layer of varnish or something. That meant that where paint had splodged on it, I was able to scrape it off carefully with a hobby knife.
Completion
This all only took 2 days, which surprised me. The finishing items were mainly the metalwork.
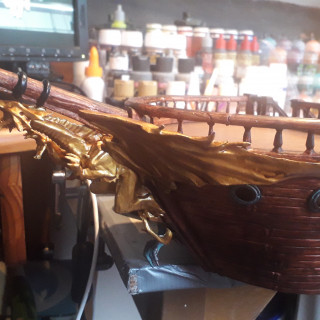
I decided to paint the figurehead gold, as was common in the 18th century where figureheads were often gilded. so used Citadel Retributor Armour, glazed with a Citadel Seraphim Sepia wash.
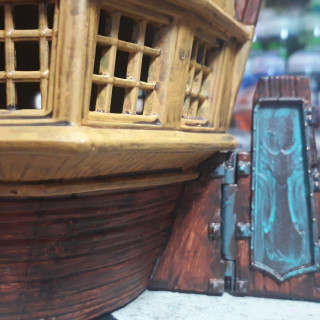
The portholes, hinges and fittings, and the anchor I decided to paint as weatherbeaten bronze – so used Vallejo Tinny Tin with a wash of Nihilakh Oxide.
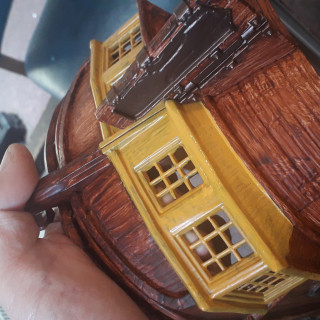
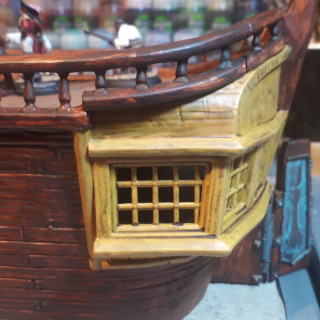
I also decided to add a dash of colour at the gun ports – painting the covers Citadel Wazdakka Red with a Citadel Agrax Earthshade wash, and the Captain’s cabin windows Citadel Averland Sunset with a Citadel Agrax Earthshade wash.


