Terrain Tutorial – DIY Pylons and Orbital Debris
Recommendations: 46
About the Project
I've whipped up some rather neat terrain elements for a game I am working on and would like to share the process with you! The project will show two unique ways to assemble a pylon, one focusing on recycling hobby supplies and the other reusing some plumbing hardware for free texture.
Related Genre: Science Fiction
This Project is Completed
Welcome to the Project
Hello and welcome to the project. I began this undertaking to practice tutorial writing. I am working on a small wargame and want to include some hobby tutorials in the book to help get people started in the game.
The game revolves around a series of objective structures called Uplink Pylons or Uplink Stations. These serve as flags signaling planetary ownership in the far future land-grab of my setting.
Key design principles:
- Easy to Make
- Utilitarian Scifi Design
- 50mm or Smaller Base
Paintpot Pylon Terrain Tutorial
Welcome to my tutorial on making this DIY piece of Scifi Terrain! Materials list below but feel free to branch out with whatever resources you have at home.
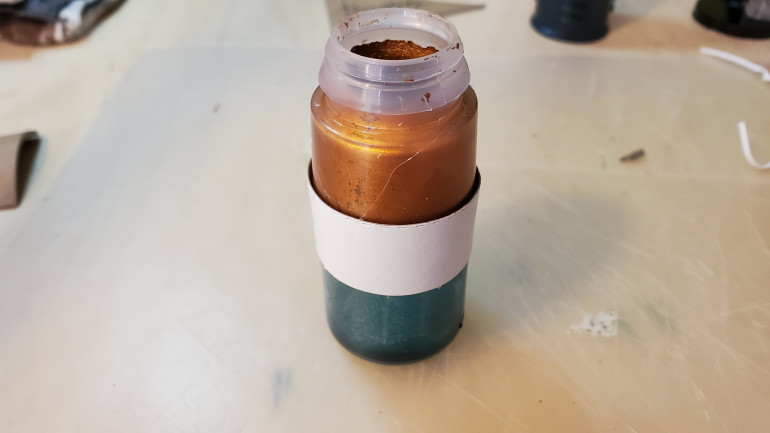
- Empty Citadel Paint Pots – I used one standard size and one contrast size
- 2mm Chipboard -I had this in bulk for a project but cereal box will do
- Spare Scifi Bits for Decor
- A base of your preferred size
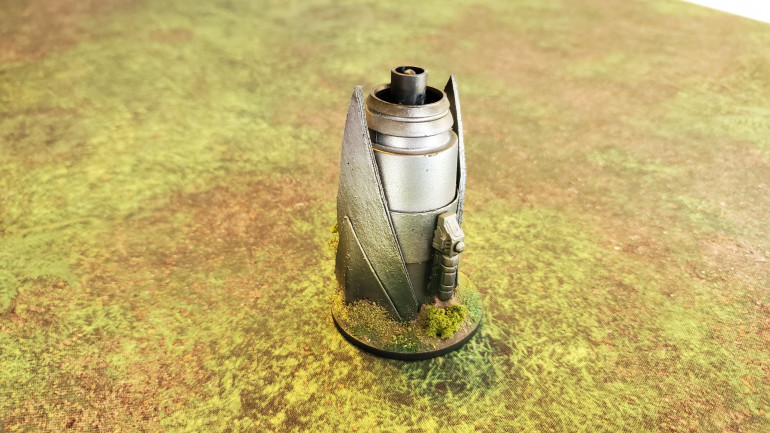
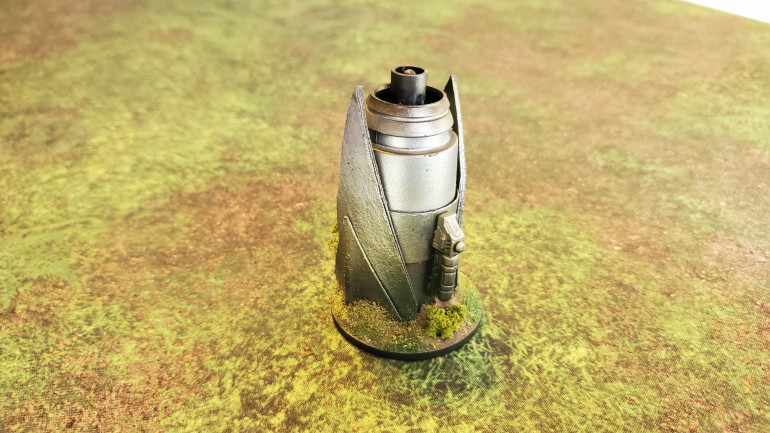
I made these pieces to support a game I am working on, they serve as large survey markers in a far-future landgrab. In the game the solar system is seeded with such probes by the central government, so I wanted a look that captured a simple mass producible design.
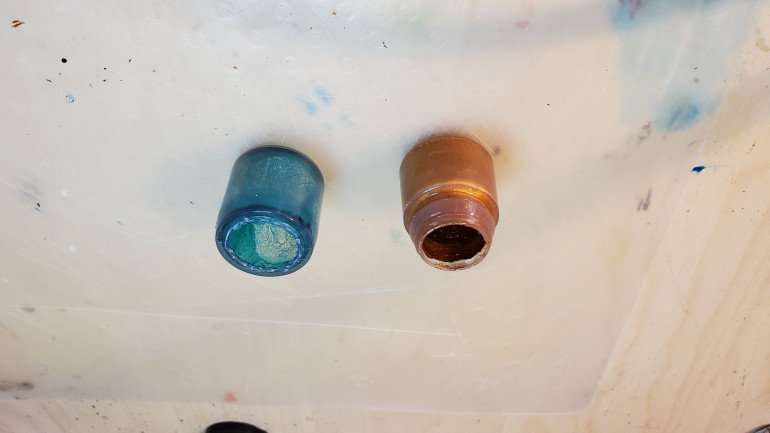 Removing the neck of one paint pot will allow the two pieces to stack more securely. After a bit of cleanup I hot glued the two pieces together and added a strip of cardboard to mask the seam.
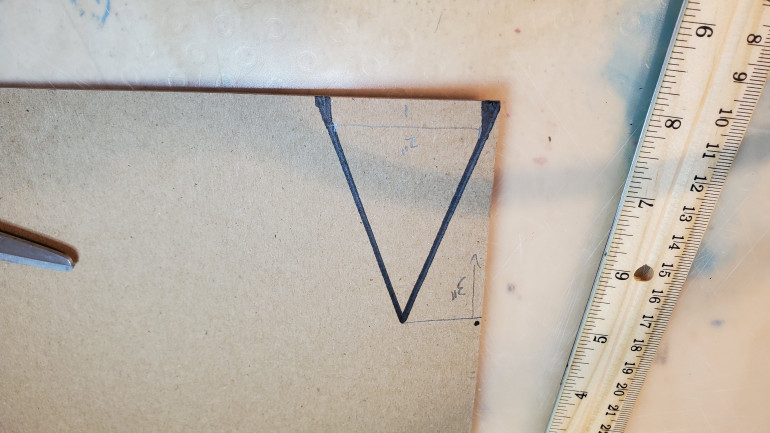 I then traced a simple profile onto some chipboard. These pieces will serve as the aerodynamic heat shields of the unit so I went with a simple triangular shape to accentuate the height of the unit.
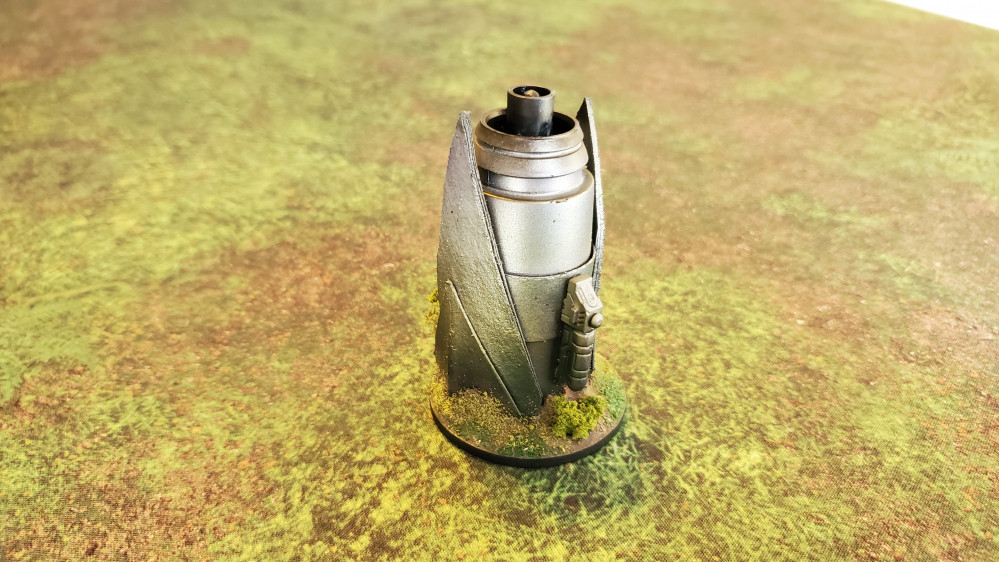
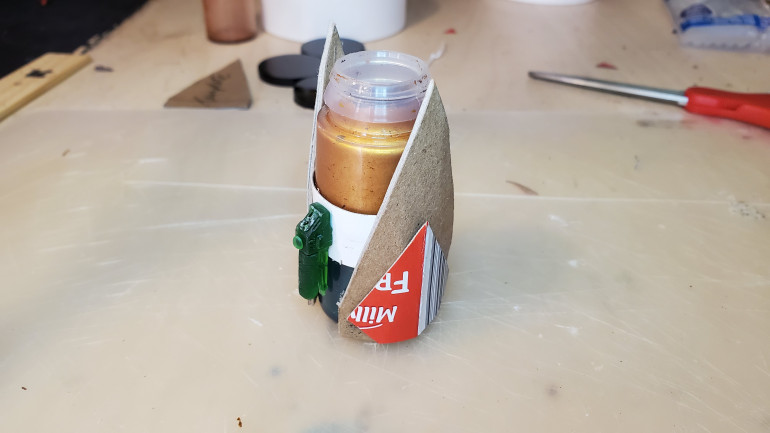 I cutout the profiles and formed them around the paint pot tower. Secure the profiles to the base of the paint pots with hot glue. This should allow the profiles to flare off a bit from the unit to create some volume. I layered on some additional card to breakup the panel surface.
I wanted a simple paint scheme to continue the theme of mass-produced government equipment. The steps below were done through an airbrush to save some time but would work equally well with a large brush.
- Matte Black Primer (full coverage)
- Vallejo Model Color Silver (75% coverage sprayed from above)
- Colored Inks near the bottom to suggest the unit discolored as it entered the planet’s atmosphere.
Basing was done in flock and mosses to match my existing game mat from Deep Cut Studio.
Hose Adapter Pylon Terrain Tutorial
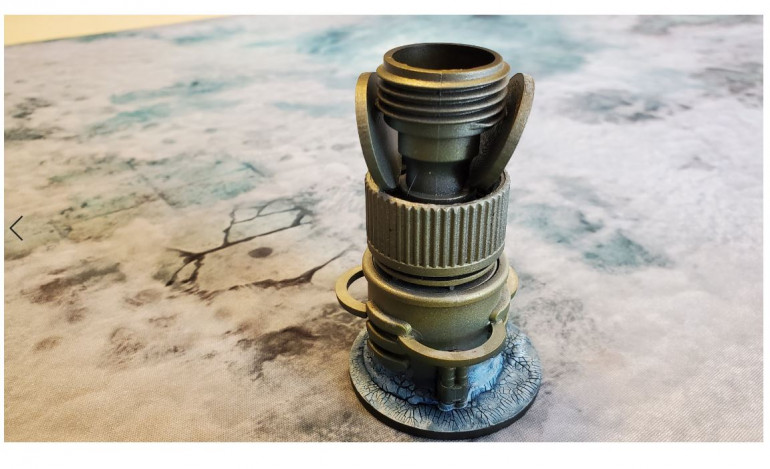
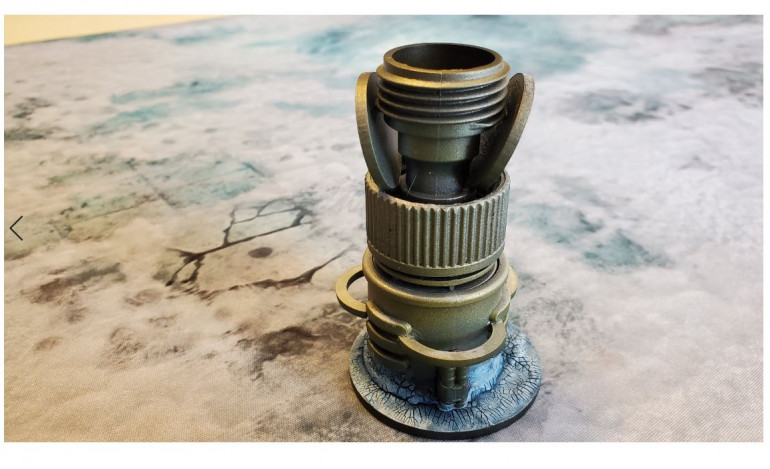
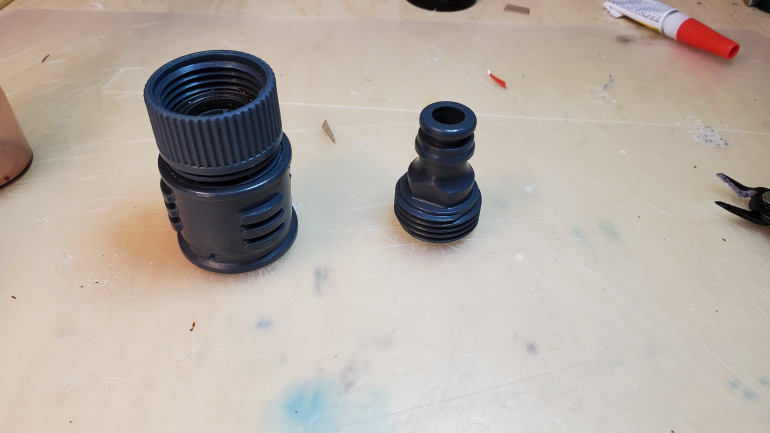 Months ago I bought this adapter for connecting a hose to a pool filter, unfortunately the size was incorrect. It splits into two pieces so I had some options on how to configure the final layout. The pieces were then assembled with hot glue. Narratively this design could differ from the Paint Pot version to support different atmosphere needs or the next generation of probes.
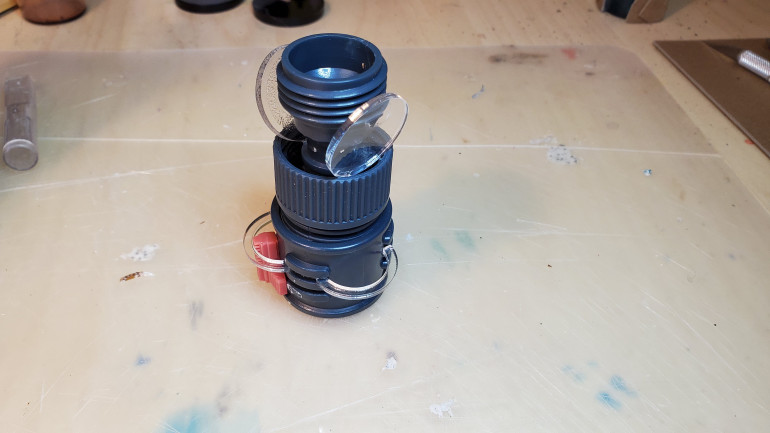 This assembly started with plenty of details, so I did not feel the need for explicit paneling as I created on the Paint Pot Pylon. In their place I've attached some acrylic scraps from a friend's laser cutter and some bits.
The paint scheme used here closely follows the process used in the Paint Pot Pylon tutorial as I continued the mass manufactured aesthetic.
- Matte Black Primer
- Vallejo Silver from above
- Cool Colored Inks from below
- A light dusting of white paint from so the panels might appear coated (think white paint on the Nasa Shuttle Craft)
- Some warm tones near the open thruster at the top (bit of an experiment, I would leave it off in my next attempt)
For basing I used Citadel’s Mordant earth, repainted in layers of white and blue to blend in with my Frostgrave mat from Deep Cut Studios.
Thanks for reading,
DreadlordDon


