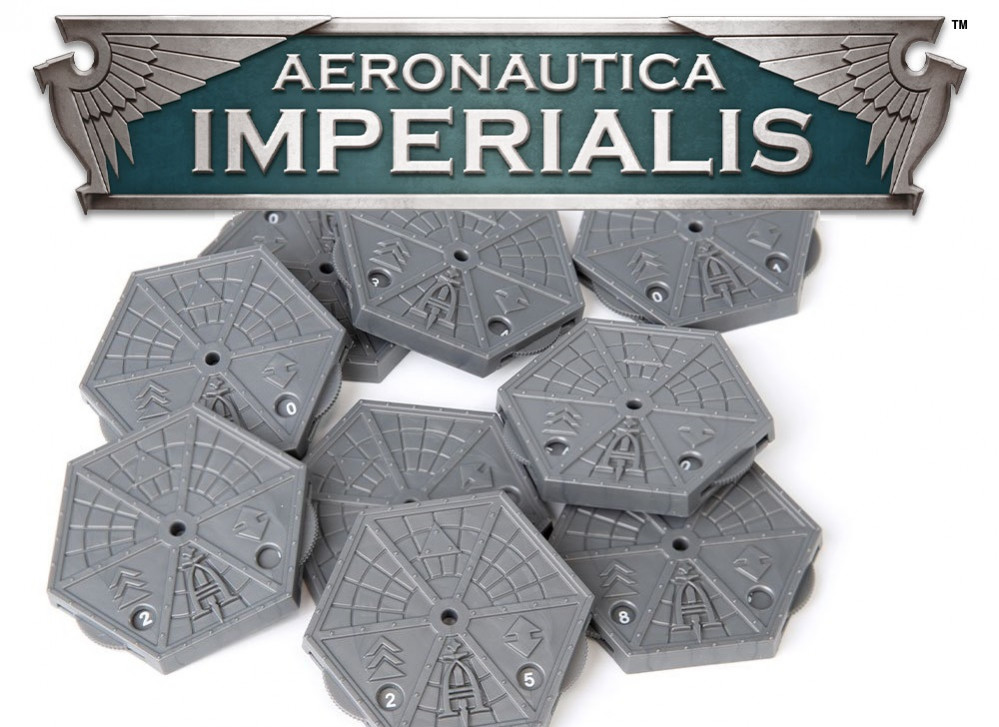
Aeronautica Imperialis Bases
Recommendations: 59
About the Project
Painting options for the bases in the Aeronautica Imperialis game.
Related Game: Aeronautica Imperialis
Related Company: Games Workshop
Related Genre: Science Fiction
This Project is Active
Version 2
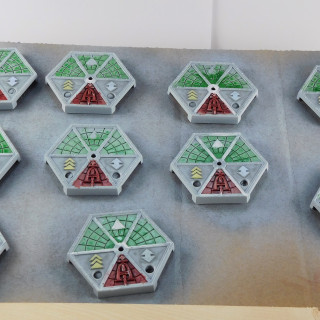
The dark green bases looked okay, but looked to be distracting when the model was attached. Version two of the bases are going to be lighter and cloud like.
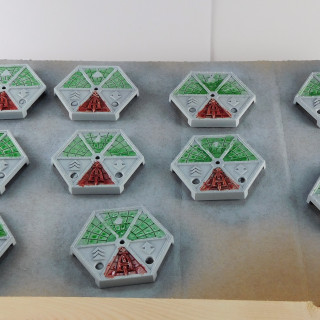
The plan is to start with a really light grey, then added a thinned version of red and green sections. The red and green section provide a quick visual orientation of the base.
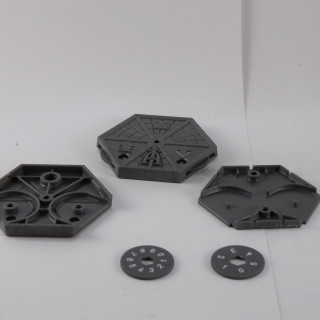
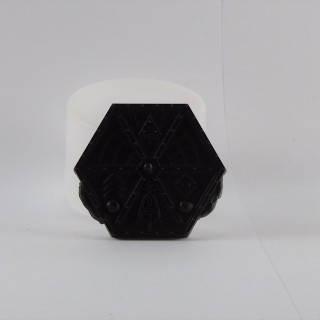
Step 1. Disassemble the Bases. There is a top and bottom half and two dials. Very carefully used thin flat blade screw drive to pry the top and bottom halves.
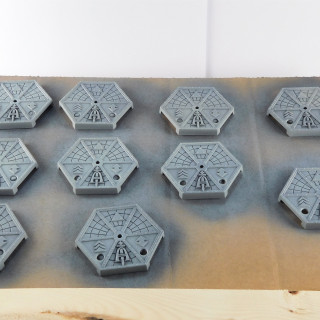
Step 2. Attach the top halves to piece of cardboard with blue tack.
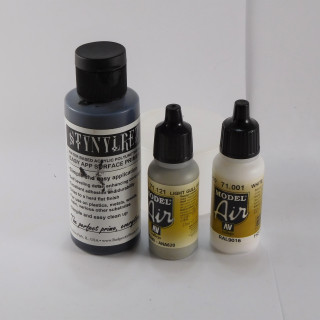
Step 3. Prime Black.
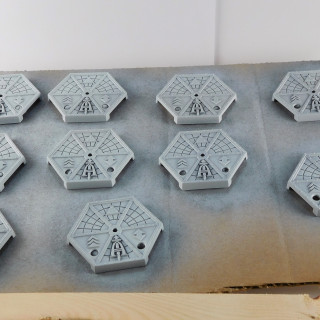
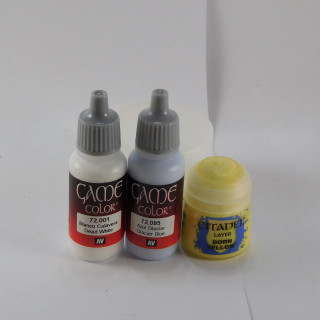
Step 4. Zenith with a medium grey (Vallejo Light Gull Grey).
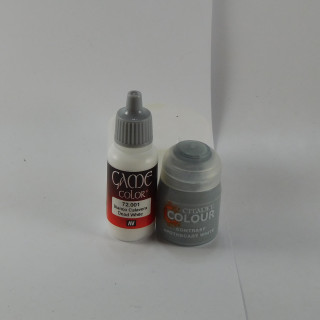
Step 5. Zenith with white (Vallejo White).
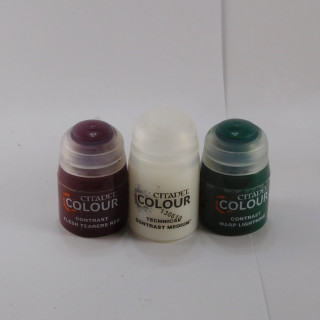
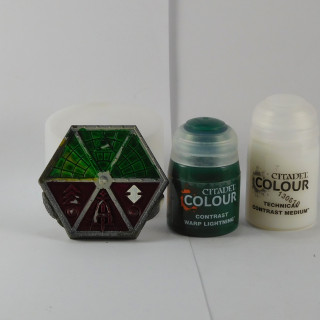
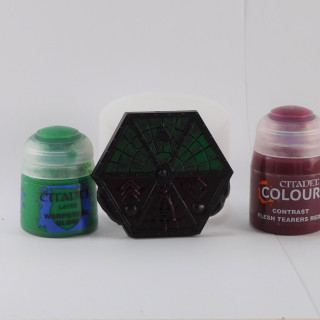
Step 6. Using a mix of contrast green and contrast medium, paint the front panels of the base. Mix 2 parts green with 1 part contrast medium.
Step 7. Using a mix of contrast red and contrast medium, paint just the aft most panel of the base.
Note: for step 6 and 7 try to be neat, but later steps will clean this up.
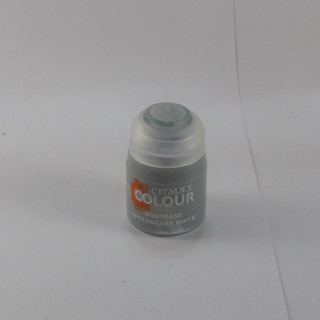
Step 8. Paint the two remaining panels with Apothecary White Contrast. This has a slight grey tint.
Step 9. Paint the altitude icon a light blue (Vallejo Azul Glaciar).
Step 10. Paint the speed icon a light yellow (GW Dorn Yellow).
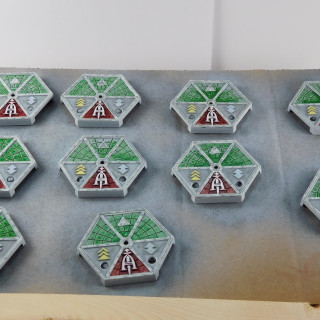
Step 11. Tough up any mistakes made in step 6 and 7. This is to make sure the “frame” is painted white.
Step 12. Paint the Aeronautica Imperialis logo white.
Step 13. Use Apothecary White Contrast to pick out the rivets.
Step 14. Paint a Roman Numeral onto the triangle piece in the front panel. This is to help identify the aircraft. Roman Numerals being made of straight lines are easier to paint than numbers, but numbers would work. Alternately, decals could be used.
Step 15. Coat with a clear varnish.
Step 16. Reassemble the bases. When looking on the bottom half, the altitude dial is on the right and has numbers zero to five. The speed dial is on the left and has numbers zero to nine.
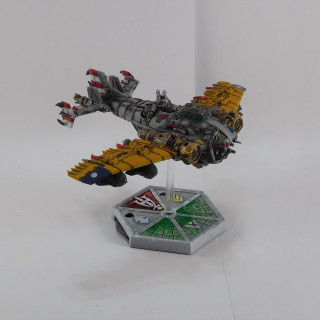
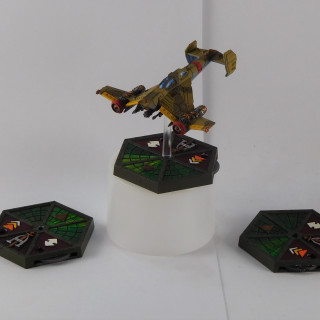
Last picture is of a Grot Bommer on the painted base. This paint scheme for the base does not distract from the aircraft.
Batch Painting
After doing the prototype, it became apparent a few things required some changes. The contrast paints are transparent, and thus the black primer made things dark. Also desired to have radar sweep lines added.
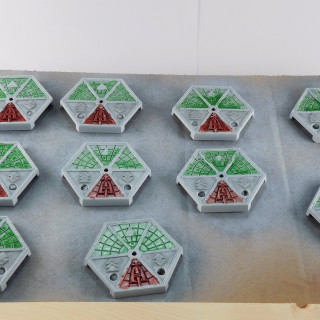
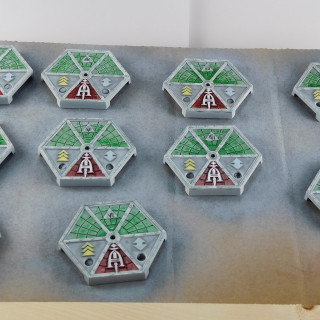
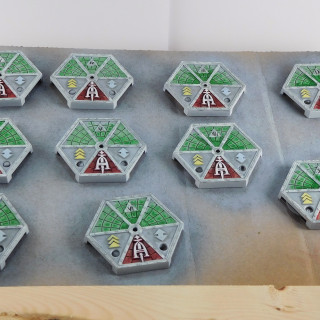
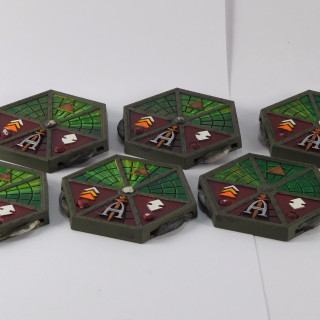
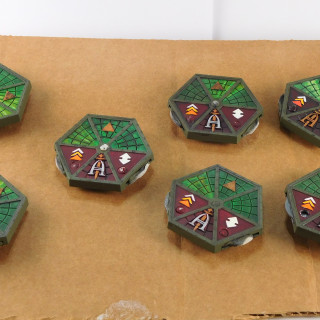
Here is the production painting of the Aeronautica Imperialis bases.
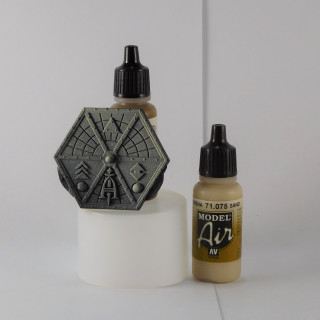
First step was to mask off the dials and the number windows. Second step prime the bases black (no picture). Third step is to do a dusting or zenith painting of light tan colour.
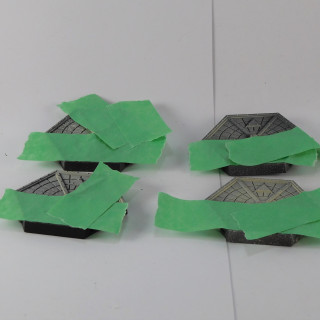
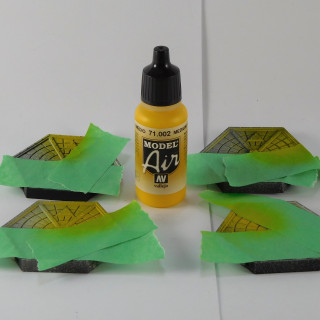
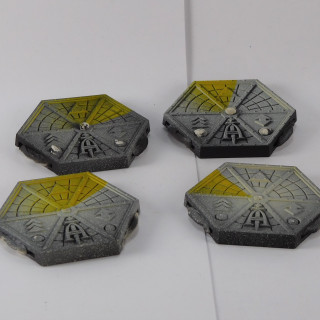
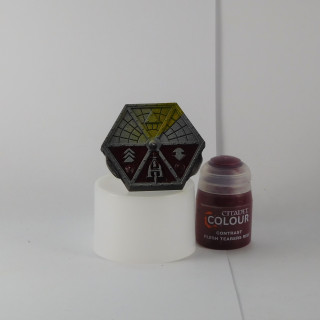
Fourth step was to mask an area to the radar sweep using painter’s tape. Yellow paint was airbrushed on with an attempt to make a gradient of the yellow. The paint was allow a few moments to dry before removing the painter’s tape.
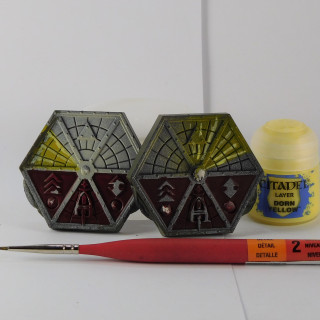
The aft portion of the base was painted contrast red. Attempts was to be neat, but later step will clean this up. Light yellow lines radiating from the centre were painted in the yellow areas; again this was help simulate the radar sweep effect. The lines where kept thin and start at the darkest part of the yellow area. The forward portion of the base was painted with thinned contrast green paint. The contrast medium was used as the thinner. The contrast green should be thinned enough to see some of the yellow underneath.
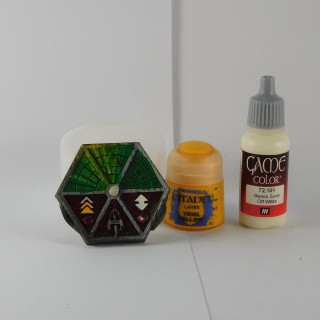
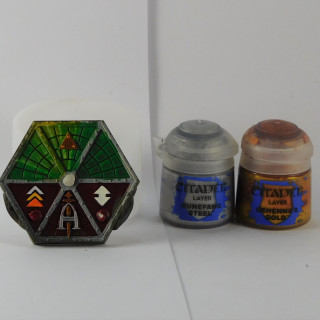
Now for the details… White paint was applied to the elevation. The speed icon is made of three chevrons, the top chevron was painted white, the middle chevron was painted yellow and the bottom chevron was painted orange. The Aeronautica Imperialis icon was painted in metallic; the “A” was painted silver and the sword painted gold. The triangle in the forward section was also painted gold.
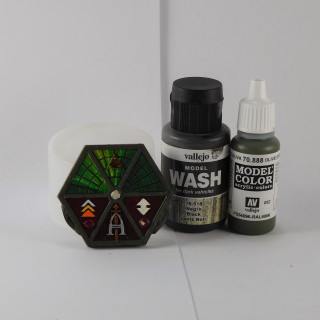
The frame between the windows was painted olive drab. A light black wash was applied to the base; this was to help show the rivets and the gradients in the radar windows.
The finished bases where given a clear coat of varnish. All the masking was removed. Below is a picture of a finished base holding an Avenger Strike Fighter.
Prototype Single Base
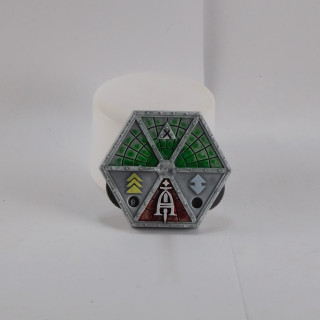
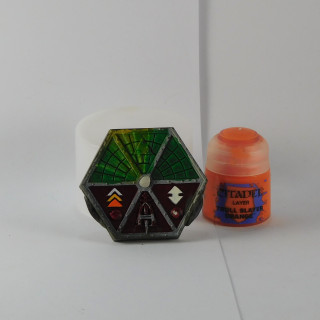
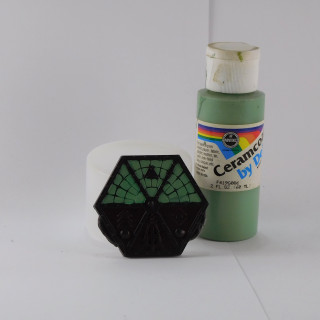
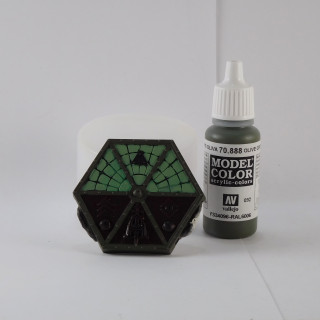
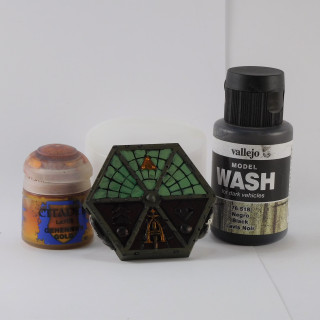
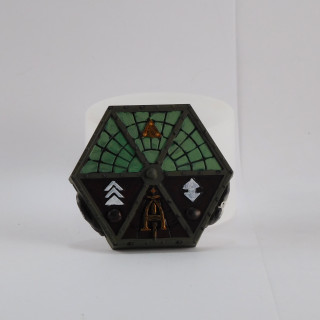
First step was to use blue tack to mask off the holes and dials. The base was then primed black. The back half was painted with contrast red. The came out rather dark which is what was aimed for. The front half was painted a green and then received a second coat of a lighter green.
The frame section was painted an Olive drab. The logo and the strange triangle bit where painted gold. A blackwash was used to pick out the rivets and the panel lines in the radar. Lastly a the speed and elevation icon was painted white.
Might want to chain the radar screen green and adjust a few of the colours for the next bases.
The idea...
After painting several of the miniatures in the Aeronautic Imperialis games, those grey plastic bases started to look a little boring.
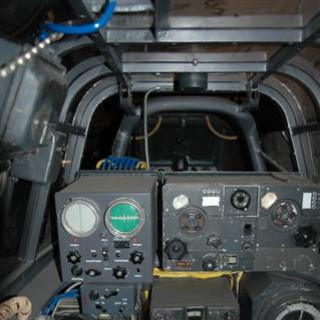
The question is how to paint the bases. First thought, the bases look a bit like an instrument in an aircraft, specifically like a radar screen.
Below is a link to a youtube view of what someone else did. There are some ideas that I stole. I like the idea of having the front half of the base with the green radar screen and the back half with a red radar screen. This would give a quick visual que as to the orientation of the base. This colour choice was copied from what other painters.
https://www.youtube.com/watch?v=5nb2FqMr3e8
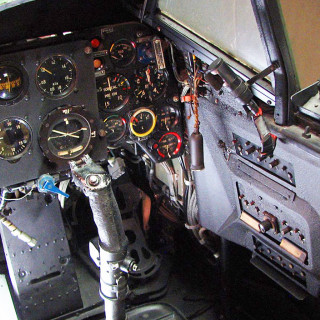
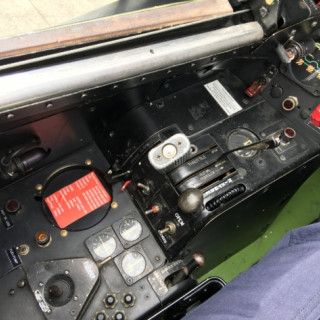
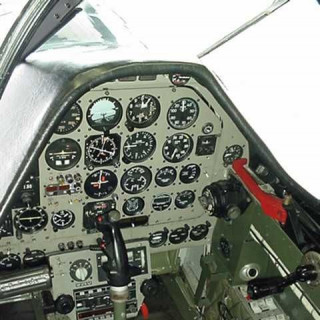
A google search yielded some images of aircraft instruments. The search was focused on instruments in spitfires. These instruments typically have black or green frames; probably due to the process of anodizing the aluminum frame.
Other paints may have used black or silver as the frame, I wanted to be different so I used green.
Some of the radar instruments from back in the day had a light green screen. Which goes back to the idea I stole from the youtube video.
So my concept is to have a light green radar scope on the front half, red radar scope for the back half with an olive green frame. This would be for my imperial aircraft.
My ork and Tau aircraft will get a different colour scheme.
Above are some random pictures of world war two instrument panels and/or radar panels.


