Dan’s 3D printing
Recommendations: 45
About the Project
Adding 3D printing to my hobby toolkit.
Related Genre: General
This Project is Active
Adding a UV curing station
When I first bought a 3D printer I also bought a reel of UV LEDs. I lined a shoe box with tin foil then coiled the LEDs around the walls to make my own curing box. However it never seemed to make a difference. I suspect the UV LEDs weren’t the correct frequency.
It didn’t bother me too much as I found keeping the models a bit rubbery meant I was less likely to break off delicate bits and the texture wasn’t a problem as I was going to spray the model anyway.
That all changed with my current project where I hope to leave the models as bare resin on display. I looked on Amazon for the curing box with the largest internal volume and found the SUNLU UV curing box (https://www.amazon.co.uk/Curing-Printer-360%C2%B0Rotating-Control%EF%BC%8CWork-Intelligent/dp/B08H7Y1HQY/ref=pb_allspark_dp_session_sims_pao_desktop_3/260-0132837-6295333?pd_rd_w=OJWhH&pf_rd_p=a80b8663-76e7-42fc-9cdf-f601eec9bc07&pf_rd_r=N13RWA0HR58DVV33T1GJ&pd_rd_r=f849ac98-ddb9-4359-bd9e-bc95b92a6382&pd_rd_wg=oBlRF&pd_rd_i=B08H7Y1HQY&psc=1).
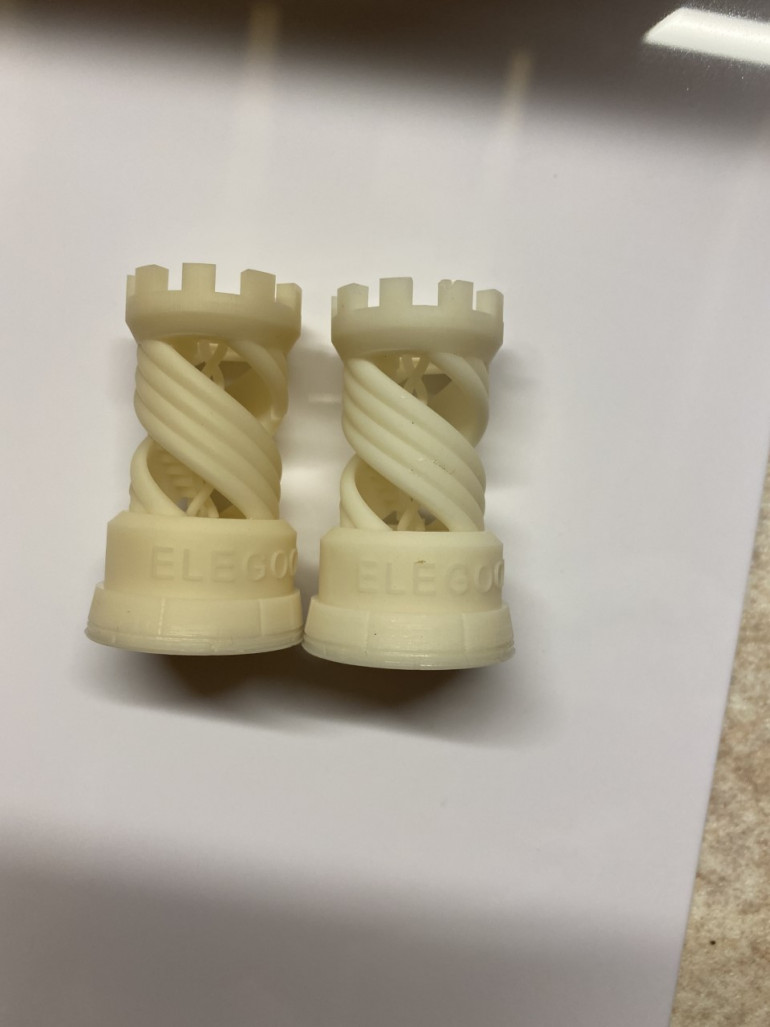
It took a few minutes to put together (don’t let the “DIY” description put you off). My first test was to cure one of the rook test prints for 5 minutes. I had two identical copies of this that I printed in the same print run when I setup my new printer.
The one on the left has been cured while the one on the right has not. Hopefully you can see the cured one has a more yellow appearance. The cured one also feels like a hard plastic, whereas the uncured one feels more rubbery to the touch. So it would seem the curing station works well.
That means my current 3D printing process is as follows:
- Print model
- Remove supports
- Ultrasonic bath of isopropanol for 5 minutes
- Leave to dry (usually while next print runs)
- UV curing for 5 minutes
Time for a new printer
My Sparkmaker has broken again and this time I’ve had enough. Both cooling fans stopped working at the same time, which suggests to me the fault lies with the PCB. Guess what is the only part you can’t buy a replacement for from the Sparkmaker website? Actually I think the damage was done because I didn’t think to stop using the heating mat when we got into the warm weather and now I’ve overheated the PCB (which is located at the very bottom of the printer, right above the mat).
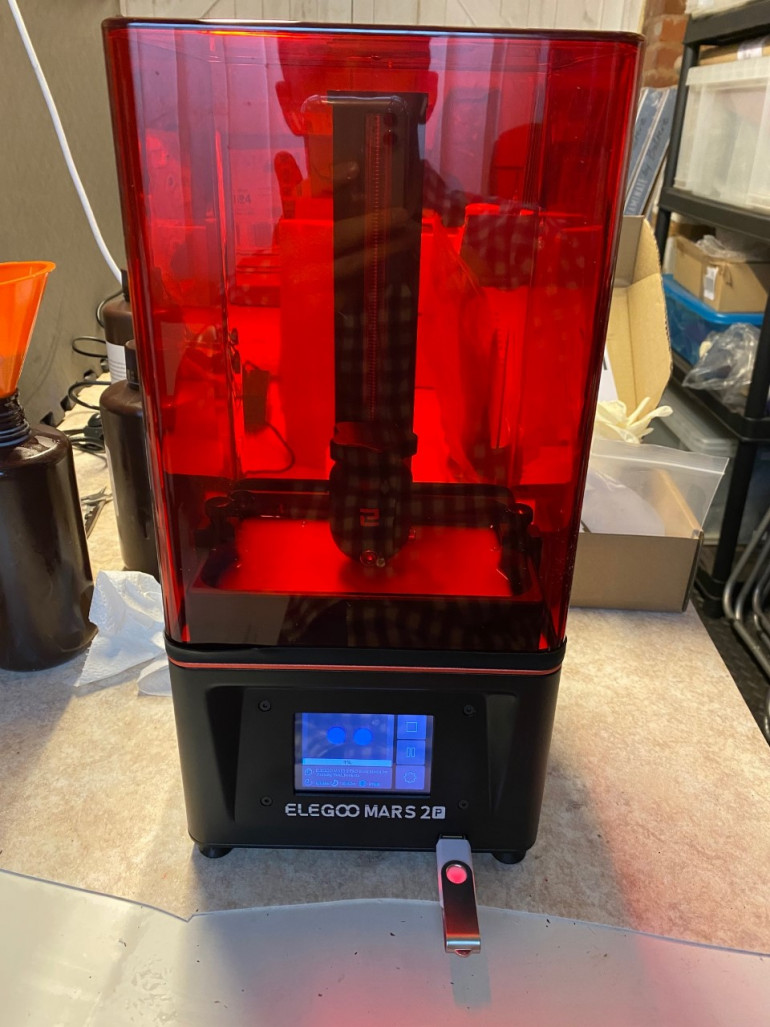
Even if a replacement PCB were available I’ve been tempted for a while to upgrade so this was the final push. I bit of browsing last night and then I settled on getting an Elegoo Mars 2 Pro. It has a slightly bigger build area but more importantly is more of a commercial product rather that an electrical hobbyist product. I’m not expected to be replacing parts myself and the interface is touch screen rather than non-existent. Cure time per layer is also about four times faster.
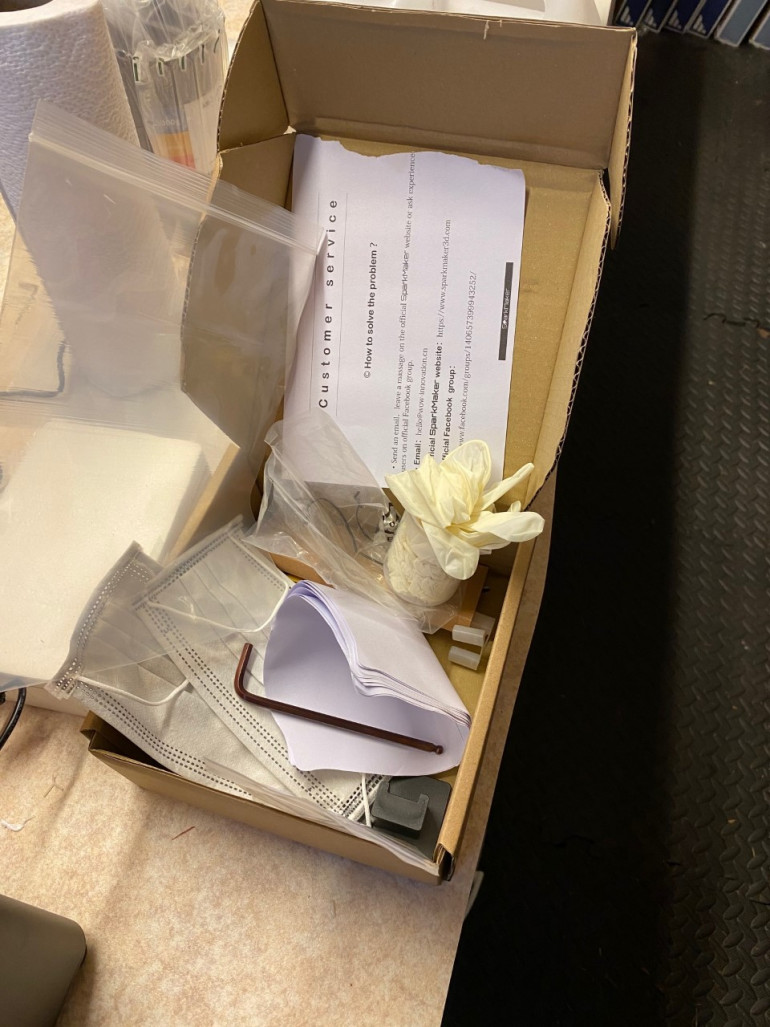
The printer took about 30 minutes to setup and get printing from out the box and also came with all the accessories needed for printing (although by now I already own all these anyway). If I were brand new to operating a 3D resin printer though this would be great.
Perils of using old resin
Despite my efforts at winterproofing my printer I ended up taking a five month gap in 3D printing. The printer was workable, but I didn’t particularly have anything I wanted to print so I took a break and before I knew it time had flown by.
I wanted to print and paint another 75mm mini as a palette cleanser so I decided to get the printer up and running again.
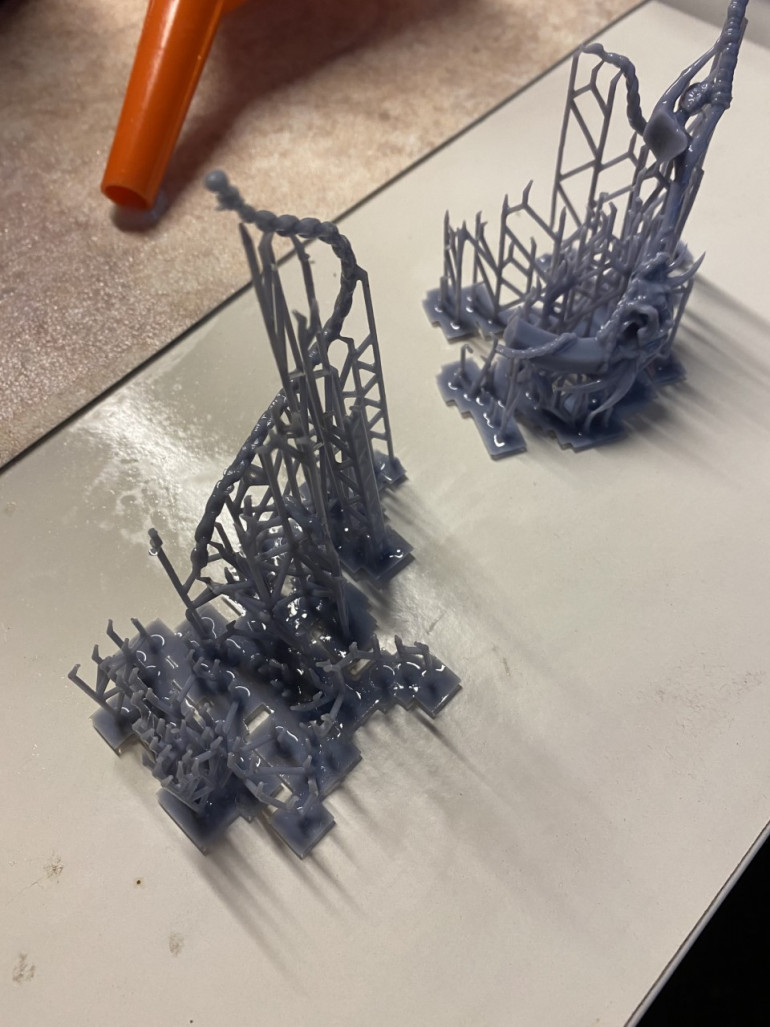
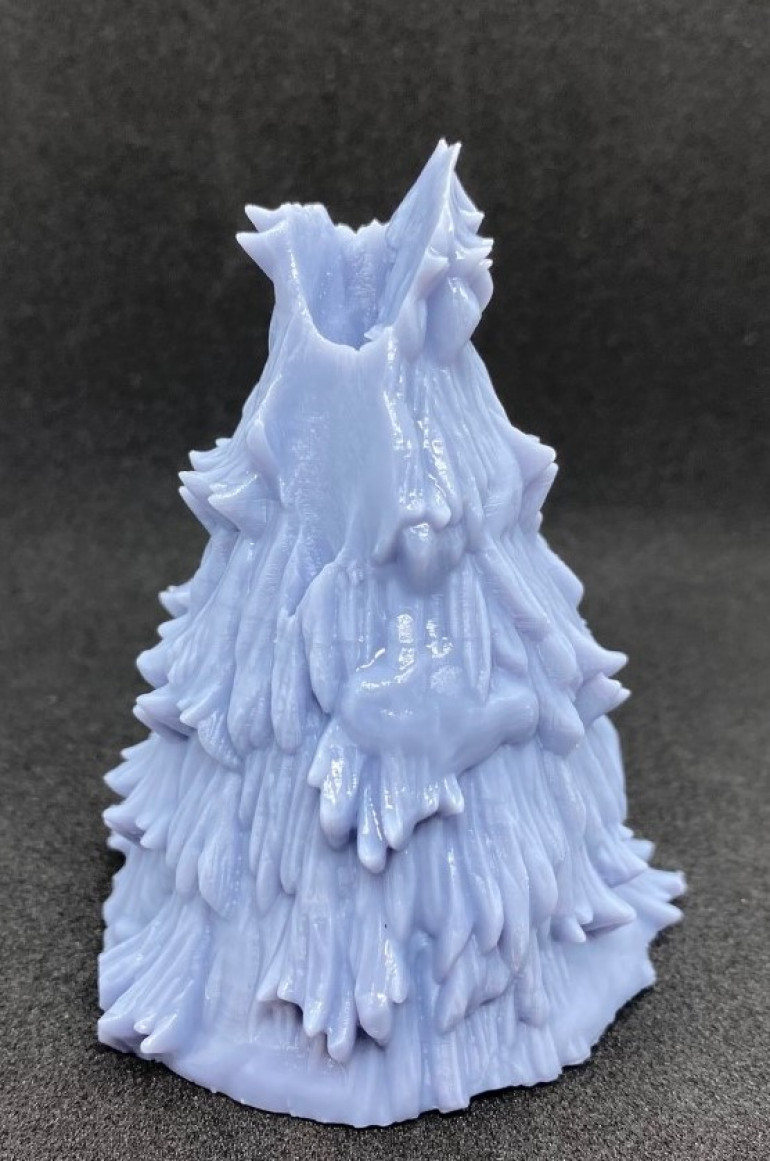
That’s when the problem started. I had failed prints for about two weeks straight, running one or two prints per day. You can see the sorts of failures I was getting in the picture above. The scaffold would print fine, and perhaps a few of the finer elements would print, but the main bulk of the model would always break off at some point and remain stuck to the FEP film in the printer.
I tried dialling up the exposure time, changing the FEP film, switching to a new bottle of resin, and re-orientating the model. Eventually I got the model I wanted to print with the perfect angle in the printer, but as soon as I tried the next model I was back to square one.
In the end I solved the problem. While researching these types of failure I read that using old resin (either a bottle left open over six months or one past its expiry date) could be a problem. I had discounted this since I’d opened a fresh bottle that was in date and it had not helped. However, the resin I used to begin with (which I had opened in December) and the new one were both from the same batch and due to expire in a month or two. When I switched to another bottle I opened in December but that had over a year to go before expiry suddenly every print started working again.
My conclusion is that having a bottle open for six months isn’t necessarily a problem, but as resin approaches its expiry date the “sweet spot” for getting prints to work gets smaller and smaller. You might be able to get it to work if your scaffold design and orientation is perfect, but it will be easier if you use a fresher resin.
Winterproofing my 3D printer - part 3
I’ve had several successful prints now so I’m going to call my winterproofing a success. My garage is cold enough that I can see my breath, so only a few degrees Celsius. The temperature inside by foam box is 10 degrees, but the mat is 30 degrees. The heat must be passing up through the heater and warming the resin bath effectively.
Winterproofing my 3D printer - part 2
Well it seems the reptile heating mat worked. I left the printer running over night. The weather got particularly frosty that day but the print did not suffer from the resin curing problem again.
The print did fail but the cause was the print sticking to a damaged part of the FEP film. When I tried to scrape it off the film actually tore open. It wasn’t until this weekend that I had the time to replace the film and get the printer up an running again.
Winterproofing my 3D printer - part 1
I’ve been running my 3D printer for several months pretty much constantly and had got to the point where I felt confident getting reliable prints, or at least fixing and avoiding the common problems.
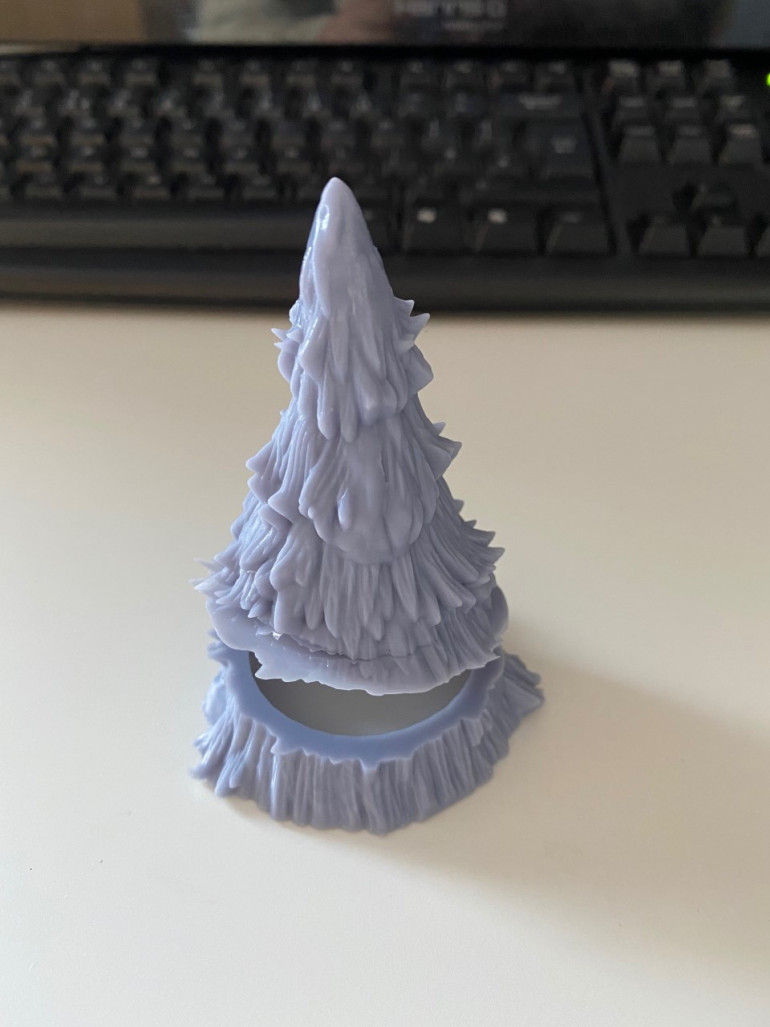
I was starting to print terrain to go with my Dweghom force, so I was repeating the same prints over and over, when suddenly they all started to fail like in the picture above. A layer fails to adhere to the model and instead sticks to the FEP. Eventually it starts sticking to the print again, but you end up with these large gaps.
I had actually seen this before when I first changed resin from the one supplied by the manufacturer with the printer, to Elegoo resin from Amazon. I solved that by increasing the cure time slightly.
The sudden failure to print corresponded to winter kicking in here in the UK and the temperature dropping. My printer is in an unheated garage and so is susceptible to changes in temperature.
A quick google search confirmed that this can be a problem. Cold resin not only cures slower but will also not flow as well in the resin vat.
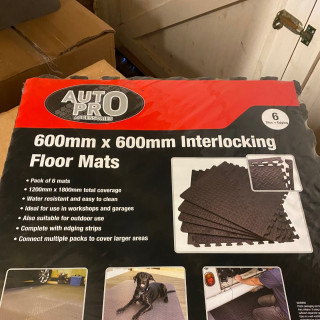
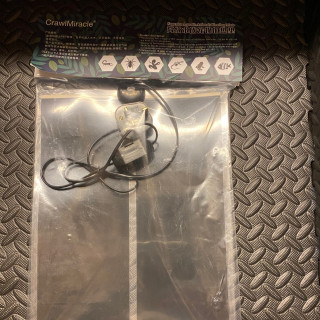
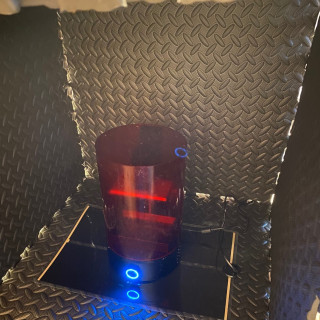
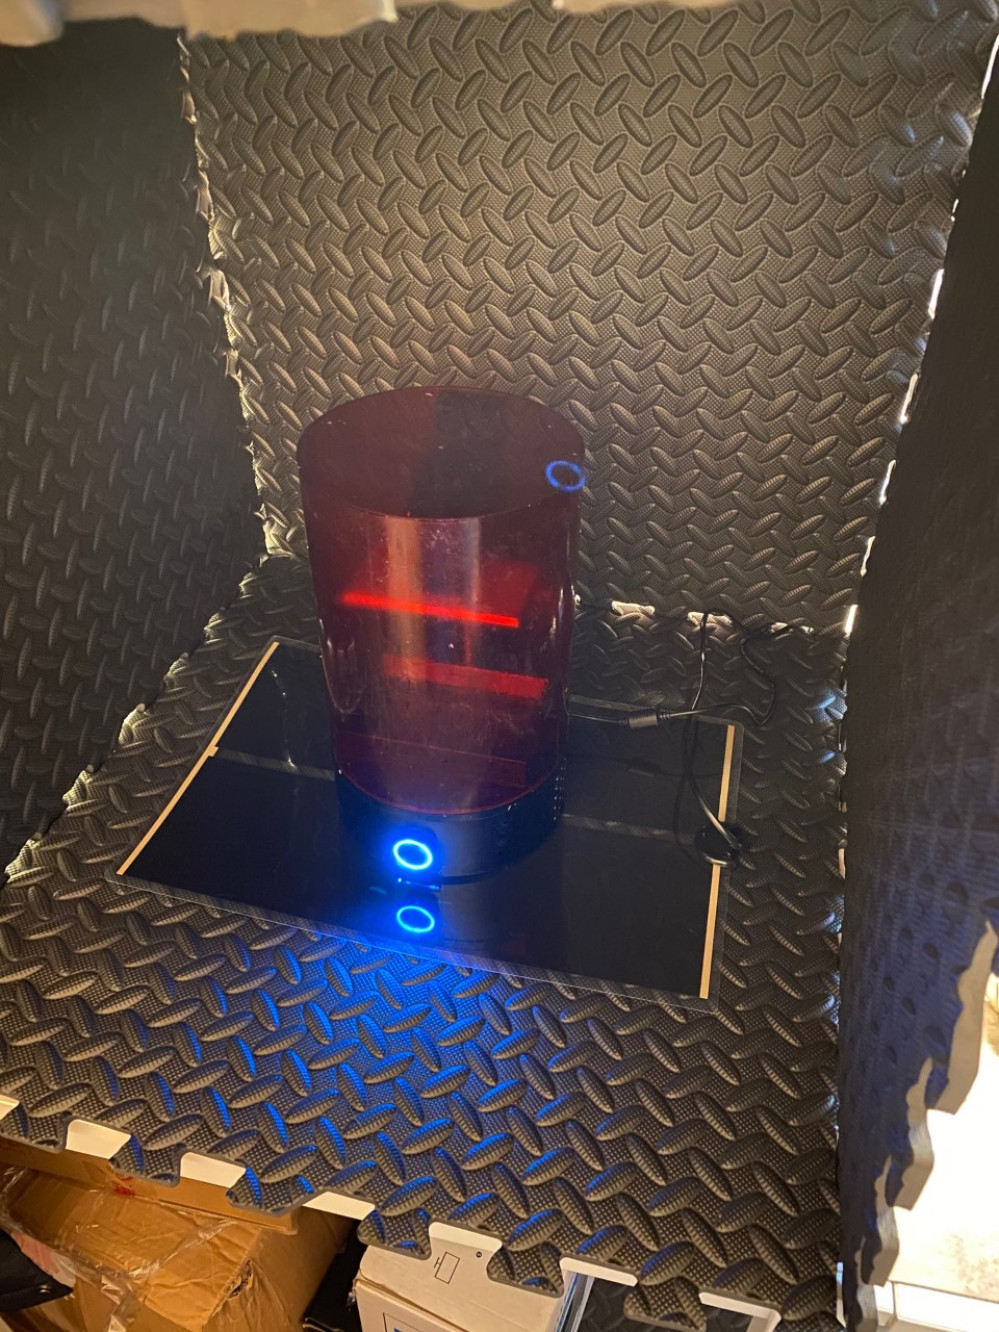
My solution was to buy a 20W reptile heating mat from Amazon (https://www.amazon.co.uk/gp/product/B08FXBT67D/ref=ppx_yo_dt_b_asin_title_o01_s00?ie=UTF8&psc=1). I had a pack of foam floor mats left over from when I put them down on my garage floor. I assembled these into a cube, placed the heater underneath the printer and then sealed it up. I also have a thermometer on the way to put in there, but it hasn’t arrived yet.
Total expenditure so far is £29.43.
I’ve got it warming up right now and will start printing the tree again later today.
Let’s see how it turns out.


