Duel of the Fates
Recommendations: 187
About the Project
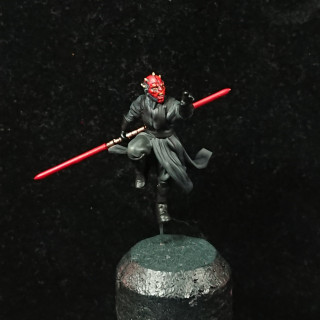
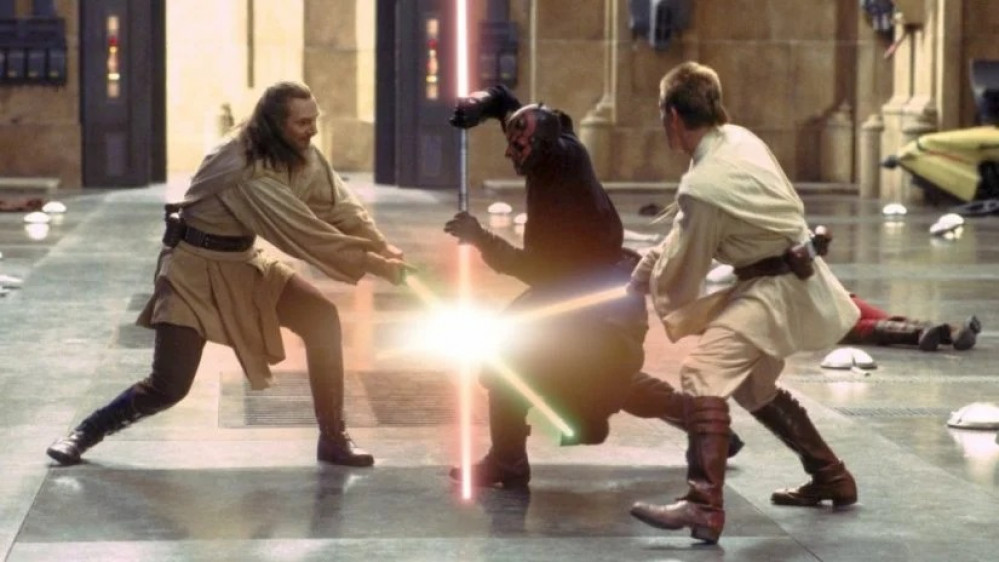
I have a next door neigbour who is mad about Star Wars. I have a new 3D printer. It's also nearly Christmas. Oh and did the OTT crew mention something about a lockdown leisure suit or something With these things in mind, I have decided to create something to give as a gift. I shall be recreating the Duel of the Fates (or an impression thereof) in miniature, all courtesy of the 3D printer. This isn't the first time I have attempted this, but it's the first time I will be relying entirely on 3D printed components.
Related Genre: Movies
This Project is Completed
Model Selection
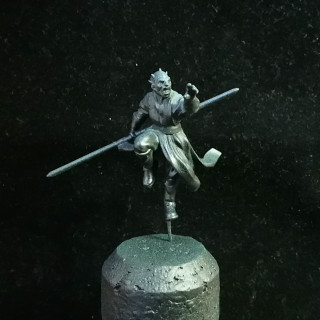
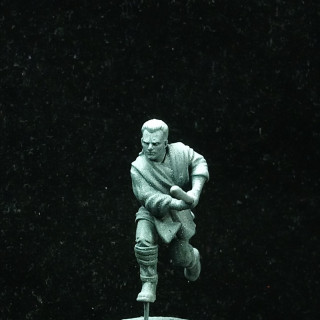
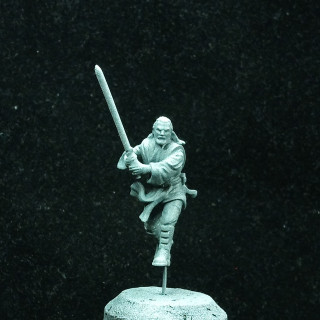
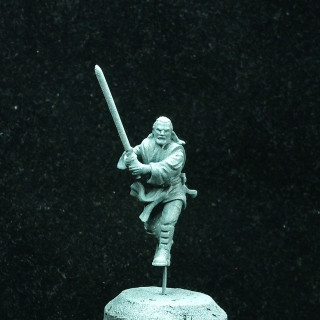
The first step was obtaining the models and it just so happens that Skull Forge Studios have a nice set of STLs perfect for the task – The Catalyst Set. Obviously that step is relatively easy, as is printing them off. I did try to photograph the finished prints but a mixture of the lighting and the slightly reflective nature of the resin meant that my shitty phone camera wouldn’t focus on them. So I primed all three of them. In terms of printing they were a breeze, they printed first time without any issues, I don’t really have anything to say about that. I am not a 3D printing expert by any stretch of the imagination
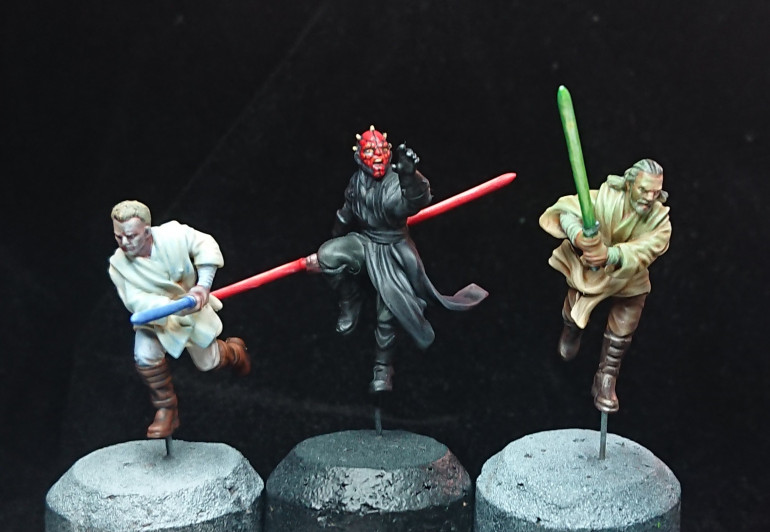
I will be mostly focusing in on a single miniature at a time so you probably won’t see any photos of Qui Gon or Obi Wan for a few days, maybe a couple of weeks. However this is the three prints together.
For Obi Wan and Qui Gon I used a 3 stage prime, starting with black all over, then mechanicus grey from 90 degrees and finally corax white from the top. For Darth Maul, I went for a black prime and then used some mechanicus grey from directly above. Even though Darth Maul’s face is a very vibrant red and also near the top of the model, I didn’t want the black robes of to be highlighted too much by the white, so I decided I would manually base coat the red areas if needed before painting.
The Best Star Wars Villain
Before I start a note on paints. All of the paints used are from the Citadel Range unless I specifically mention otherwise.
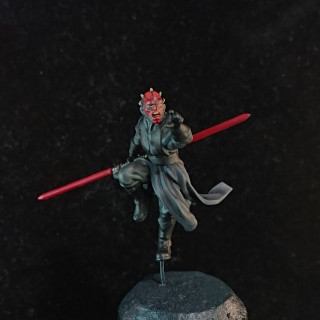
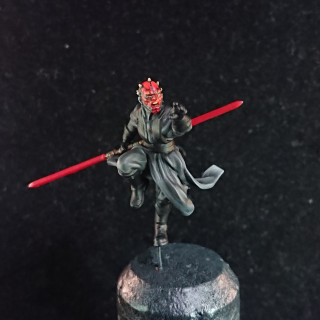
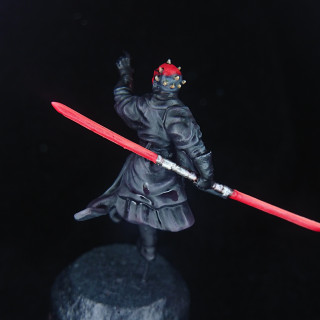
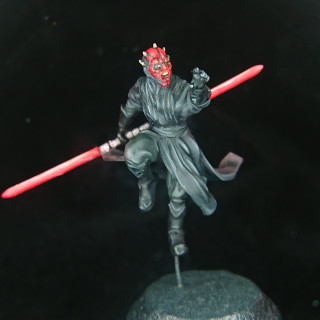
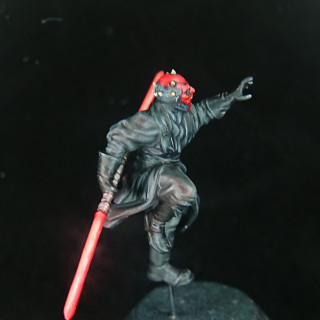
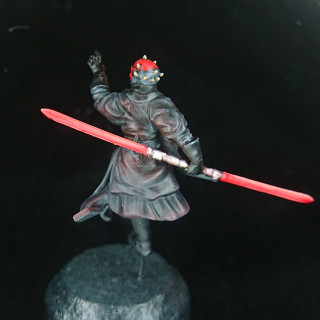
I decided to go with Darth Maul first, more to get it out of the way than anything else. I think Darth Maul is probably my favourite Star Wars villain and killing him off was such a wasted opportunity. Don’t get me wrong, Christopher Lee as Dooku was still excellent, but Darth Maul had a rawness about him – he was scary like Darth Vader was scary but he had awesome lightsaber moves. And Star Wars is nothing without laser swords and star fighters.
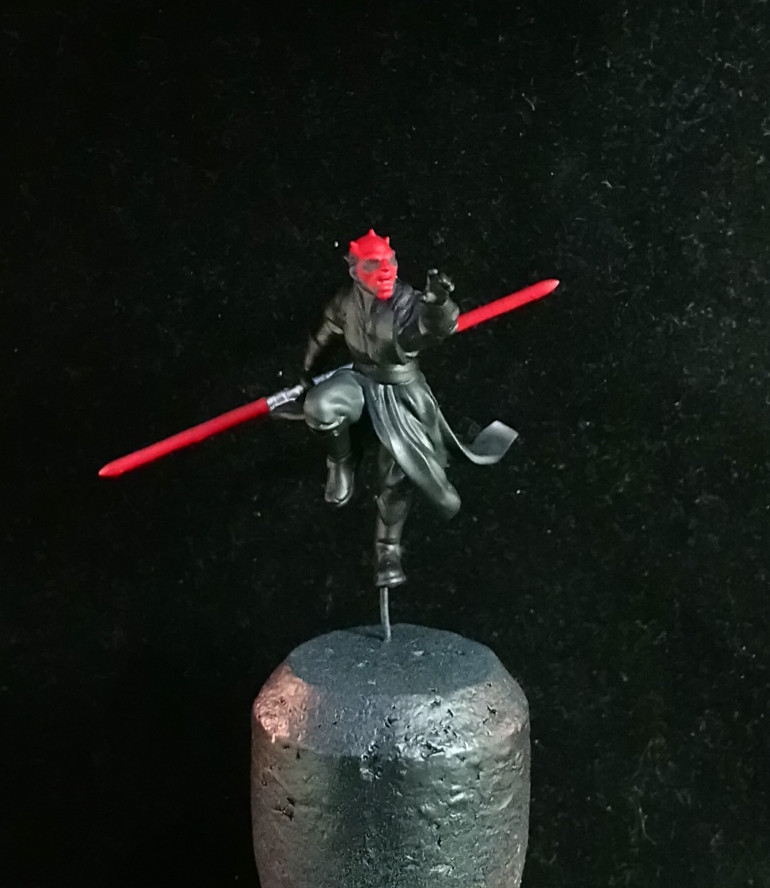
Being clad entirely in black, I do not relish the task as black is not a colour I am particularly good at painting. The first thing I did was to block in all of the main colours, which was kind of interesting I suppose, given that most of the model will be black.
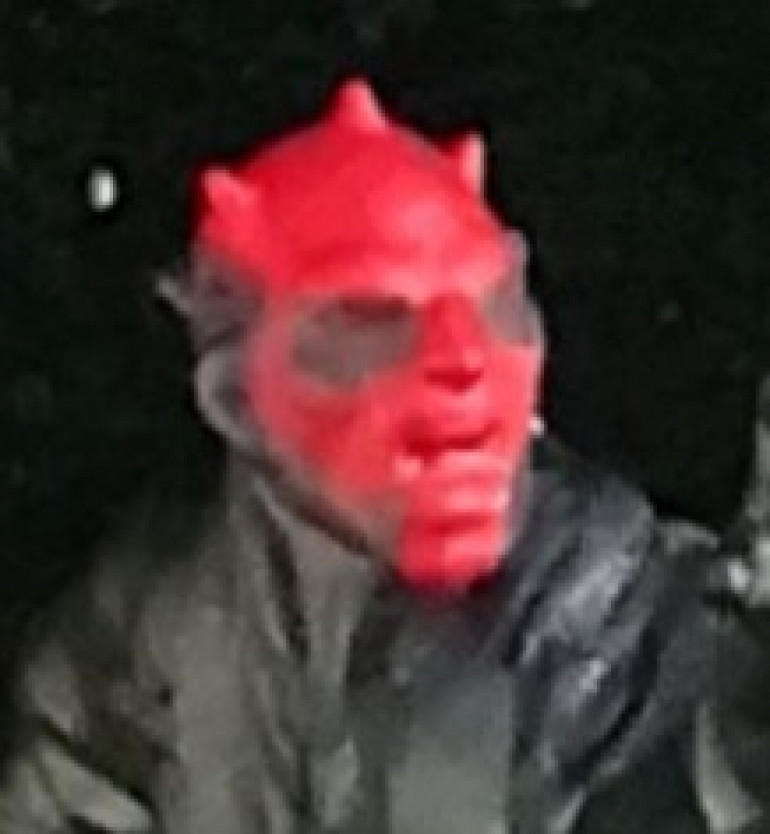
I used Mephiston Red for the face, which I painted entirely in red before going back over with Corvus Black (which is essentially charcoal grey) to pick out the main areas of tattoo. The final lines, which are far too small for my skills to be able to highlight, I will paint on at the end. I used the same shade for the lightsaber, with the handle being painted using Iron Hands
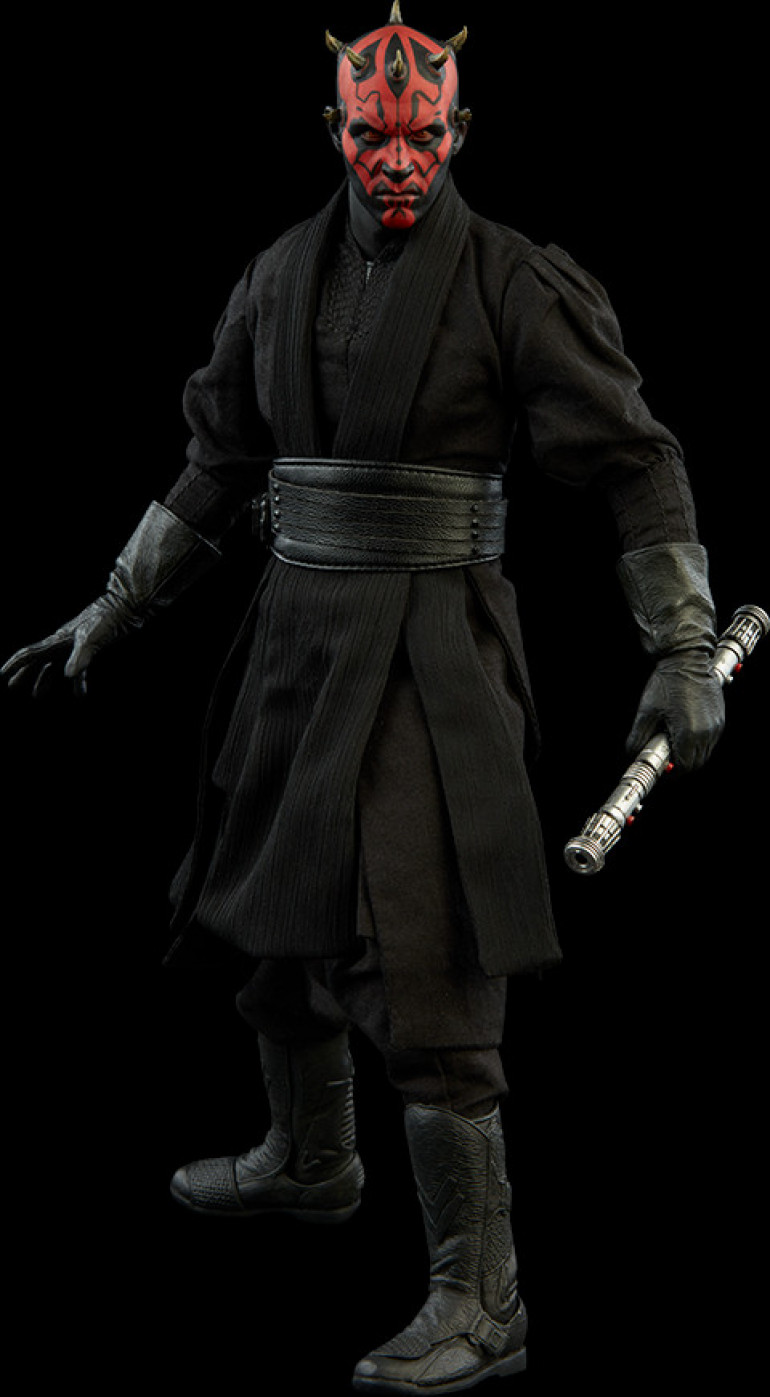
The next task was trying to figure out how exactly to differentiate between the sea of black that is his clothing. So I found myself a reference image
There are some areas that stand out based on texture:
- Boots, Gloves and Waist Girdle
- Coat/Robe
- Trousers
- Tattoos
It’s quite hard to see from the picture but the trousers are actually a very dark grey, quite a warm tone. Leather areas are all going to be naturally more reflective, The skin has a slight blue/grey tinge to the highlights and doesn’t seem as dark in the shadowed areas. Finally that leaves the robes themselves, which represent the bulk of the model and can be considered to be the “background” of the piece onto which the rest of the detail appears.
So I went with the following choices.
For the robes I simply used the Black Templar contrast paint which acted as a very strong wash, but left some nice lighter areas on the upper parts of the torso – the camera hasn’t really picked up on that.
For the leather I then applied a coat of Abaddon black which looks surprisingly stark against the robes.
For the tattoos I used Corvus Grey but would highlight by mixing in some blue greys
Finally for the trousers I mixed some Death Korps Drab with some Corvus Black to warm it up a little and create a more browned appearance.
Again my camera let me down 🙁
The Face of the Devil
Before I start a note on paints. All of the paints used are from the Citadel Range unless I specifically mention otherwise. You will also have to excuse the bad camera work. It’s getting better but trying to focus on such a small area as the face was a bit of a challenge for my camera.
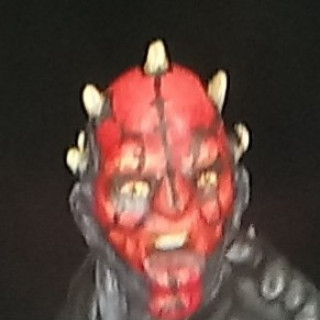
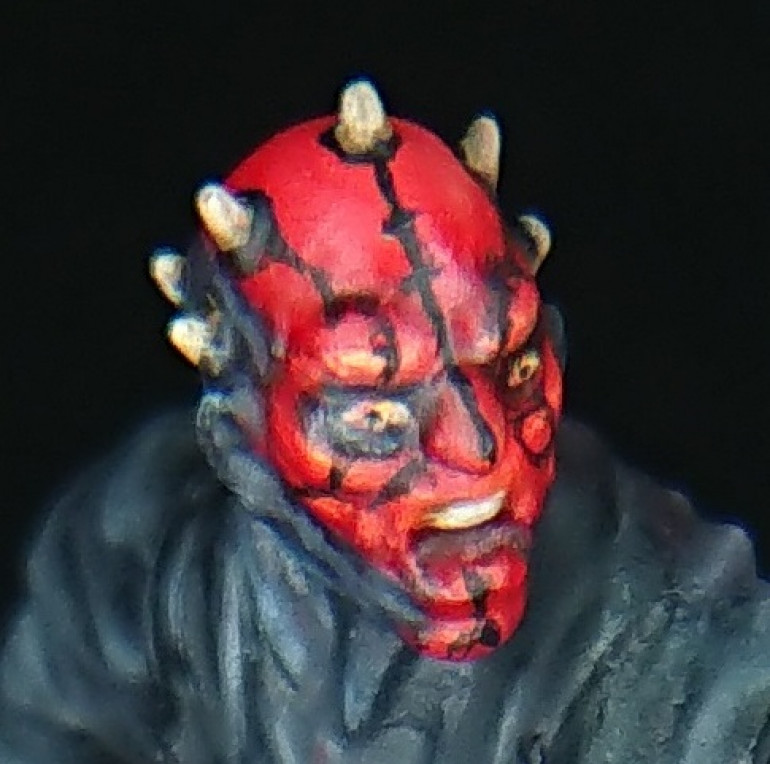
After I blocked in all the colours, I decided I would focus on each area in isolation and proceeded with the face. This presents a real challenge because of the tattoos, which I knew in advance I was not skilled enough to recreate faithfully so would have to create an impression of the tattoos.
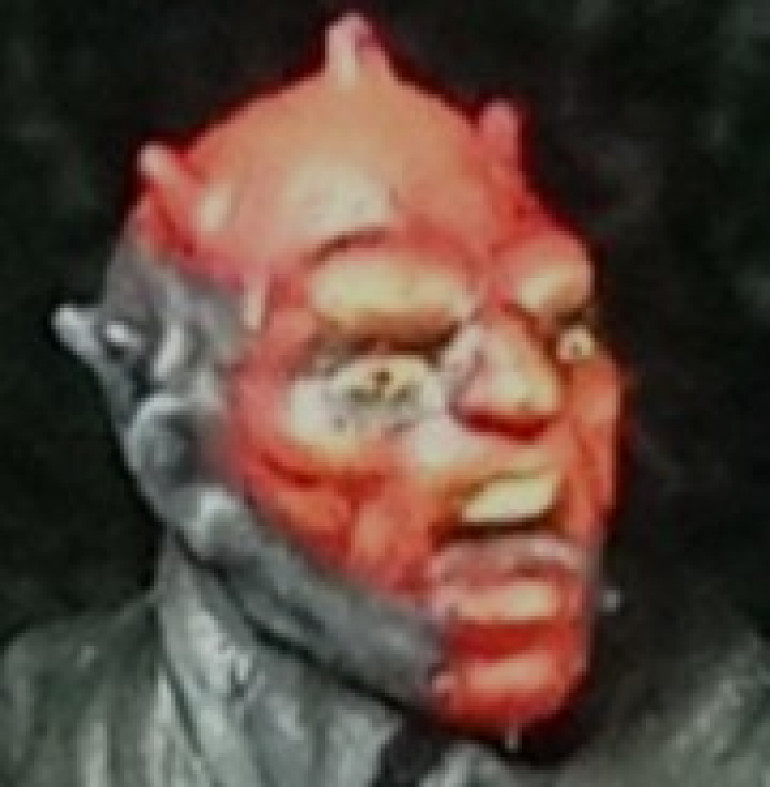
So I first washed the black areas with a mixture of Nuln Oil and Drakenhof nightshade to create the a slight blue sheen. The red I mixed a wash using Blood Angels Red and Flesh Tearers Ref contrast paints, thinned down with Lahmian medium.
Then I took the original base colours to start the highlights. For the tattoos, Corvus Black, and added small amounts of Fenrisian Grey to lighten it and build up layers of hightlights, especially on the jawline and ears.
For the skin, Mephiston Red which was then highlighted up using Evil Suns Scarlet, Wild Rider Red, Fire Dragon Bright and then the latter mixed with a little yellow (can’t remember which one lol).
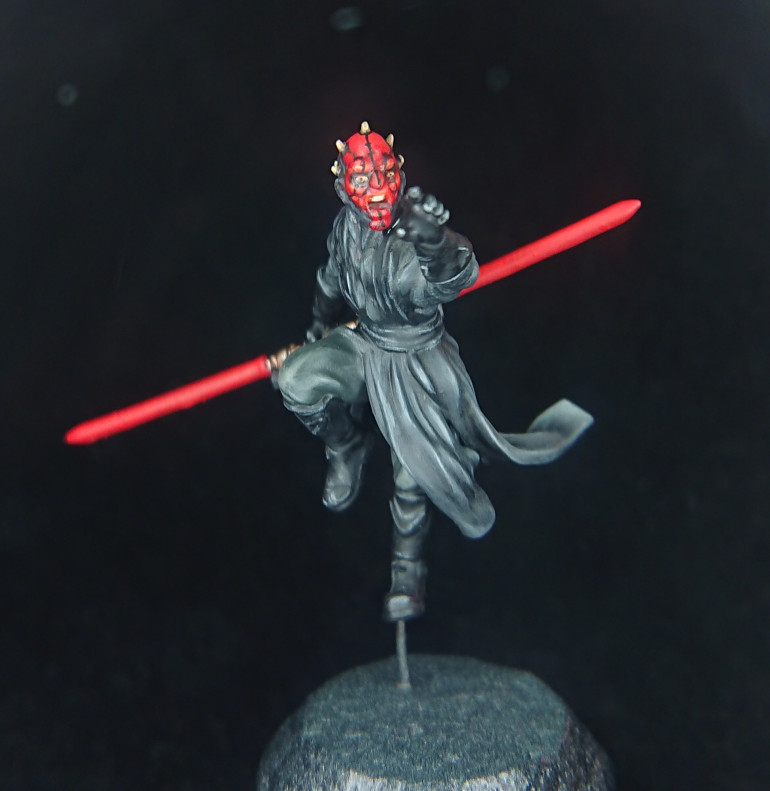
Finally I painted the eyes. Rather than using the standard format of black and white, I wanted a more yellow look so I used Ushabti Bone as the base, which I then put a very thin glaze of red over. For the iris I painted a dab of Evil Sunz Scarlet red into the middle onto which I then used Flash Gitz yellow to paint an even smaller dab. To do this you really need to thin the paint. To finish off I used the smallest brush I could get my hands on, a Windsor and Newton Series 7 miniature size 000 and I put a tiny prick of black in the middle. Normally when you paint eyes you would not paint the iris and generally you want to try and make sure there is no white showing around the top and bottom of the pupil as doing so tends to create the impression of a manic stare. However in this case, if you look at the pictures of Darth Maul, he generally has tiny, contricted pupils, possibly a side effect of theatrical contact lenses.
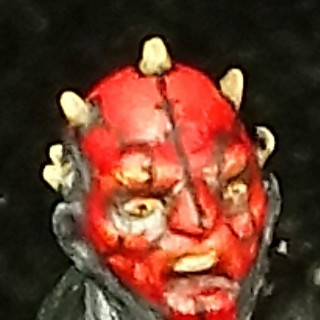
And that left me in a somewhat scary position, one of those “do or die” moments. I was really happy with the way the face had turned out, especially the eyes, even if the camera wasn’t particularly helpful in showing that off. But it’s not really Darth Maul without those tattoos. So I was faced with a decision, whether to leave it as it is – looking quite good but with a noticable absence – or to chance painting the tattoos and risk buggering up the whole thing and having to start again. In the end, with some trepidation, I decided to try and paint some tattoos. I think they came out ok – they’re not an exact match to the originals but they’re close enough to create the impression of the tattoos.
The last step was to paint the horns, which was done by painting them all with XV-88 and then giving them a highlight of Ushabti bone and tiny dab of whitescar at the very tip.
And with that the face is concluded and I am off to give my eyes a rest.
UPDATE
I managed to capture a better image of the face. I won’t go into the details of how but I have definitely found a way to improve the photography.
I See Some Robes and I (don't) Want To Paint Them Black
Before I start a note on paints. All of the paints used are from the Citadel Range unless I specifically mention otherwise.
I work long hours and my daughter stays at weekend so my opportunities for lie ins are few and far between so every week or so I just crash, and that was last night. Having had a night off due to just being tired, I pushed on with the bit of the project I was looking forward to the least. Darth Maul’s black robes. I hate black. I find it difficult to paint and I am rarely happy with the results; also because it’s not particularly interesting, it’s hard to maintain focus. But it needs doing all the same and, when it’s done its out of the way.
In a previous post I identified 3 major areas of his outfit – Robes, Trousers and leather (belt and gloves). So not only do I have a lot of black to paint, I have 3 shades of it 🙁 People often say when you paint black or white the trick is to remember you’re not painting black or white. I approach it differently; when you are painting black, you only need to concern yourself with the highlights, and when you paint white you need concern yourself with the shadows. So in this case, to achieve the effect of three different shades I opted for 3 shades of grey
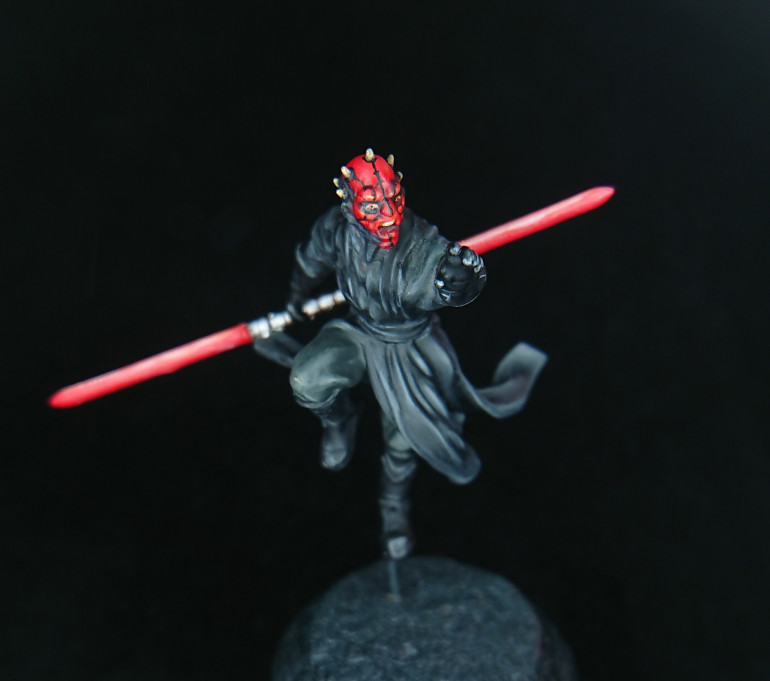
The robes are the bulk of the model and they will take up the majority of this update. These I did using Corvus Black as the first highlight, this was applied quite liberally which lightened the overall tone. I then mixed in a little Eshin Grey to the Corvus black, about 50/50 to provide a mid-highlight and then highlighted again with pure Eshin grey. To finish off I added a few very fine highlights using Mechanicus Grey. I have taken photographs of the progress of this, however trying to photograph black is proving quite challenging.
For the trousers I had originally used a mixture of Death Korps Drab with some Corvus Black which created a slightly brown shade of grey. To highlight that I added a little skavenblight dinge and then a little more for a second highlight. The final highlight was done using pure skavenblight dinge. Fairly simple really and the final result is a dark grey.
The Leather I did some fine highlights using mechanicus grey before doing an edge highlight using dawnstone. Then I Washed it down with Nuln Oil to create very dark colour with just the bright highlights showing.
Overall, the results are passable, I am not overly happy with the highlights on the leather.
I also took some time to do the Lightsaber. Due to time constraints I didn’t actually take step by step photos of this. However I can talk you through it.
I painted the entire blade in Evil Suns Scarlet as the orginal base colour of Mephiston Red is far too dark. Next I painted a wide stripe of Wildrider Red along the upper edge of the blades, from hilt to tip, and then a thin stripe of the same on the lower edge. This pattern of a wider stripe at the top and a thinner stripe at the bottom would be repeated for all steps, so I won’t keep repeating myself. The colour progression from Wildrider Red was done by adding some Luganath Orange (where the hell to they get these names?) in gradual stages working all the way up to pure luganath orange, painting slightly thinner stripes onto the blade each time. Then at the very end I painted a very thin white stripe along the top edge, but not along the bottom. I then used a red glaze to soften the transitions
And that’s it for today. Hopefully you can see the details on Darth Maul’s face a little better now
The End of Maul
Before I start a note on paints. All of the paints used are from the Citadel Range unless I specifically mention otherwise.
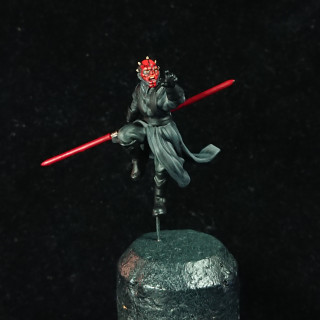
Darth Maul was pretty much completed yesterday, however I wanted to do some lighting effects on him. This is a fairly quick update to show how I did that.
I started by thinning some Carroburg Crimson with Lahmian Medium to turn it into a glaze – about 50/50. I then painted the whole of the back of the model using this, which served to just warm up the entire surface. Onto this I painted successive layers of thinned down Bloodletter, again 50/50 with lahmian medium to build up very subtle layers of colour. I used at least 5 layers (I Actually lost count) using more layers in some areas to create areas of greater and lesser intensity. This was done in areas where there is a swelling or that are naturally closer to the blades.
Hope you like it.
Qui Gon Jinn
Because if of work commitments and the holiday season I never really got a chance to complete the project. I finished the build but simply didn’t have the time to finish writing it up. However I now find myself with a little free time and I have all the pictures saved.
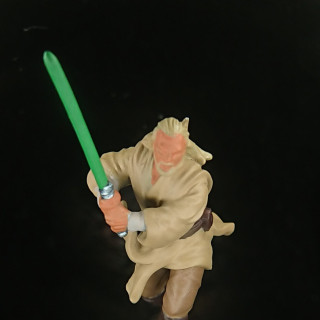
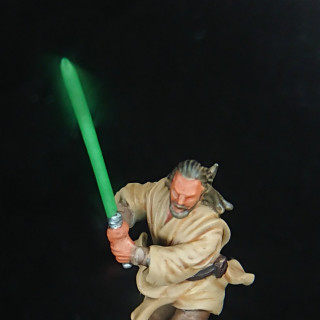
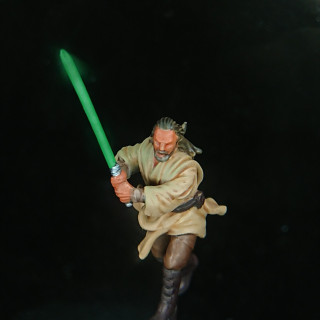
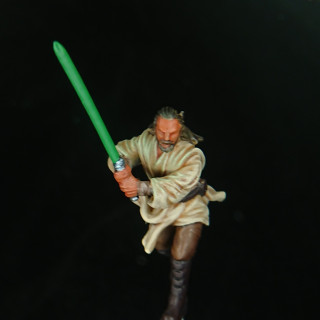
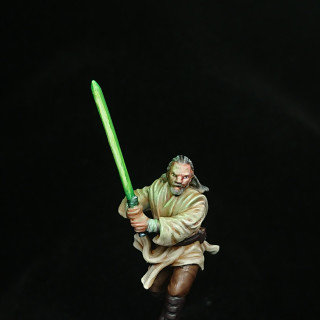
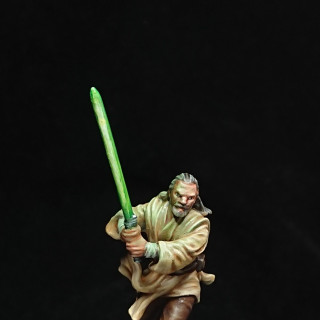
So I will start with Qui Gon Jinn. To paint the robes I used a simple cream colour scheme which is basically the same as bone. It’s a Zadri Dust base, followed by a sepia wash and then successive layers using Ushabti Bone, Screaming Skull and White Scar. However in order to really bring out the lightsabre’s glow, I mixed a tiny bit of Warplock green into each layer and highlighted areas Close to the blade with that.
To get Qui Gonn’s slightly tanned/ruddy complexion I used Ratskin flesh as the base rather than bugmans glow and a reikland flesh wash before highlighting up with the usual Cadian flesh and Kislev flesh. As with the robe I used a little warplock green mixed into each tone the side of his face and highlighted the skin with that.
The trousers were painted with a mix of Steel Legion Drab and Mourfang brown with an Aggrax wash which I then highlighted using the original base colour and then with a little steel legion drab.
Finally the boots are Rhinox Hide washed heavily with Aggrax to get a really dark brown colour and then edge highlighted with with Gorthor Brown and Baneblade brown to try and create a reflective look. Despite the simplicity of Jedi attire, their boots are usually spotless.
Finally I did the blade using Warplock green, highlighted up with moot green and then a little Dorn yellow. I then glazed it with a green glaze which I also thinned down and applied in two coats to the areas previously highlighted using grewn tinted layers to give a subtle glow effect
Overall I was really pleased with the lighting effects on this, it’s a real step on from previous attempts at OSL. It was time consuming but so rewarding and I am really glad I spent the time on it.
Obi Wan Kenobi
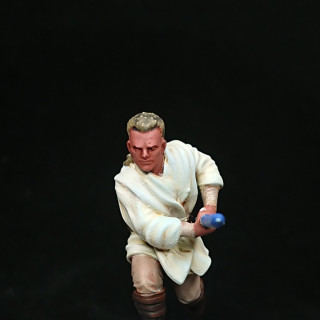
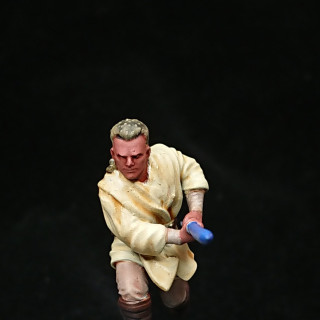
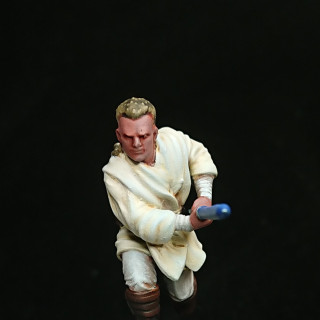
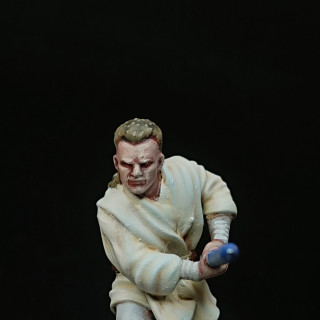
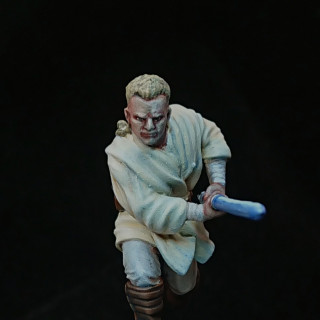
I did Obi Wan last and I used some of the things I learned painting Qui Gon Jinn (which technically I learned from Sorastro painting the Obi Wan from Imperial Assault). The challenge with Obi Wan was trying not to make him look like a ghost as his Padawan outfit is incredibly pale with different shades of white/grey. For the robes I started with white mixed with a little bit of screaming skull and for the pants I used Rakarth Flesh. The skin was painted with Bugmans Glow and the boots in Mournfang Brown. The lightsabre blade was done in Caledor Sky
After that I applied the washes. I used Reikland flesh on the skin and trousers and used Sepia on the robe. The boots were given a heavy coat of aggrax earth.
To highlight the top I started with the base tone and worked up to pure white by mixing in additional white after each layer
The trousers I highlighted up using the base colour and then up to Pallid Wytch flesh again by just adding more of the lighter shade in after each layer.
The boots I highlighted using Mournfang Brown to give a nice warm tone and then used a little skrag brown at the end.
Finally I highlighted the skin up using Cadian Flesh and Kislev flesh.
I also used the same technique here as I did with Qui Gon, mixing a little blue into each layer foe any areas that are close to the lightsabre. However the base tone was too dark so I opted for a different shade of blue, mixing a little Hoeth Blue into the layers.
For the blade I highlighted up using Alaitoc Blue, Hoeth blue and finally Blue Horror.
The final step was a blue glaze applied to the blade which I again thinned and applied to the areas previously highlighted with blue tinted layers.
Although I am happy with the results, I feel like the blue glow is a little too dark, and I am fairly sure it’s not the wash, I think the blue tone was too dark for the white robes and ultimately created a darker tone than the surrounding un-lit areas. Also I think the sculpting on the face isn’t quite as good as the Qui Gon model. However it’s still decent result.
And before I progress, here’s the three antagonists together.
3 For Lloyd
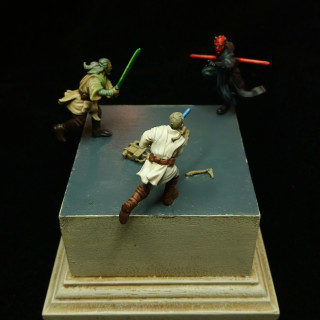
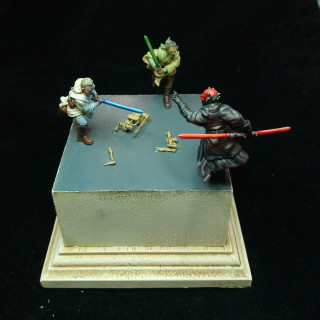
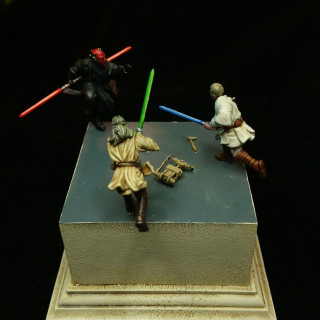
With all three models complete the only thing that was left was to mount them on something. I purchased a nice plinth from Model Display Products which I sprayed zandri dust and drybrushed with Ushabti bone. I then painted the top with mechanicus grey. Originally I was going to put some scenics on the base but when it arrived it wasn’t quite as I thought, or rather the miniatures took up more space than I envisioned and with 3 miniatures to mount it started to look really crowded with extra stuff added to the floor. So in the end I settled for a couple of bits of damaged battle droid to break up the emptiness.
After mounting all the miniatures and photographing it, I also realised that apart from the plinth (which I justify on the grounds that it is intended to be an ornament), @Lloyd will probably love this – whichever way you view this, you can see an arse.
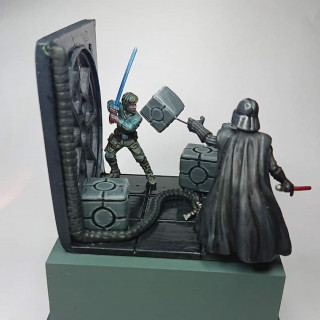
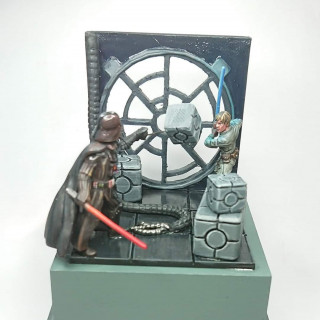
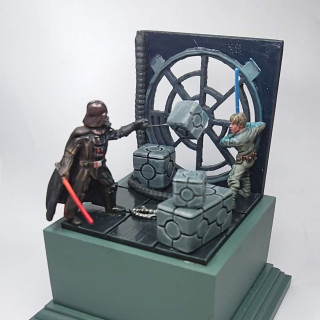
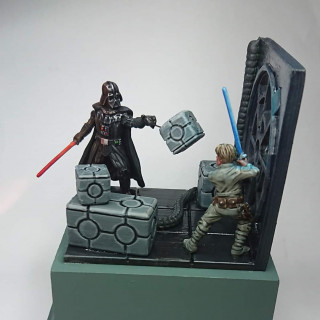
That’s pretty much all I have on this. Project completed. My Star Wars fan neighbor really liked it and it will also look pretty good on his desk, right alongside the diorama I gave him earlier this year, which I didn’t do a project for but will put some images below. This one, having only two miniatures afforded a lot more space for scenic elements and the scene from the film was a little more claustrophobic with Luke essentially backed into a corner.


