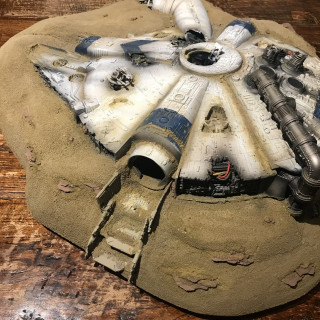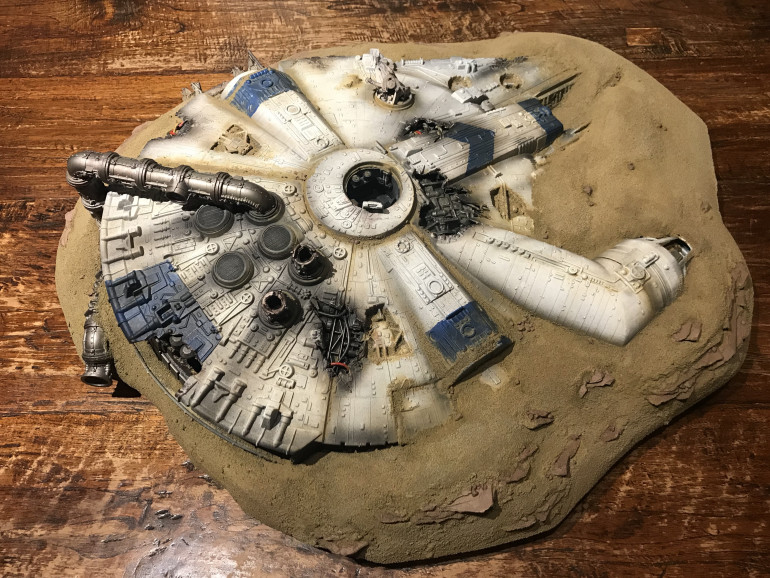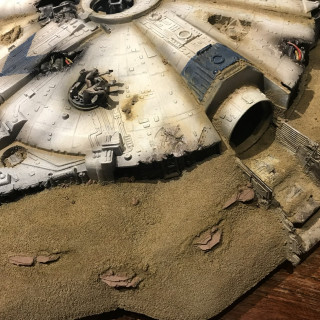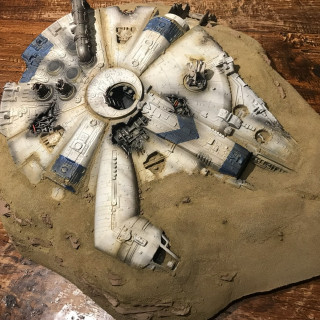
‘Fate of the Stellar Envoy’
Recommendations: 262
About the Project
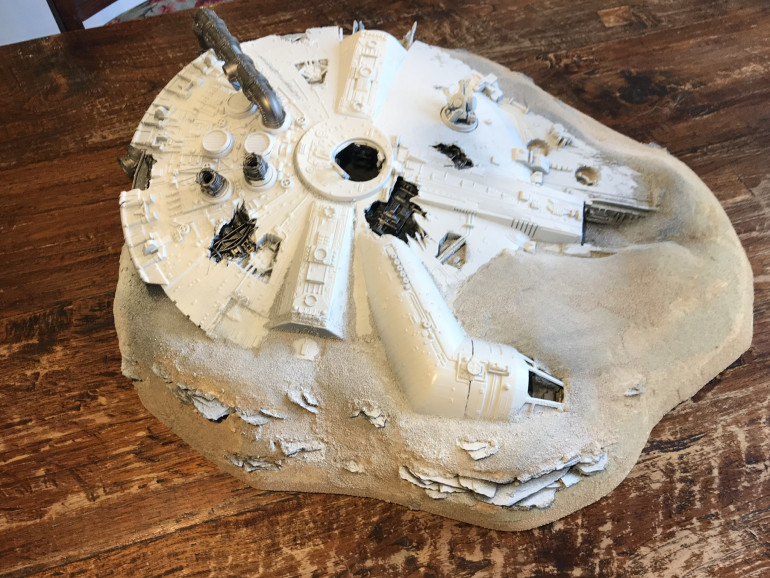
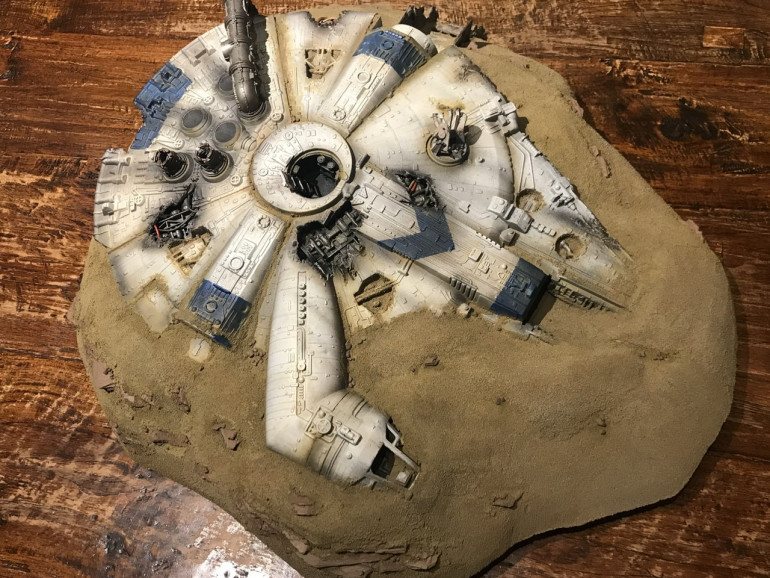
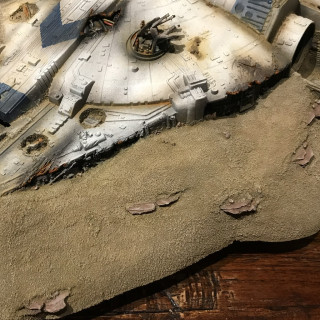
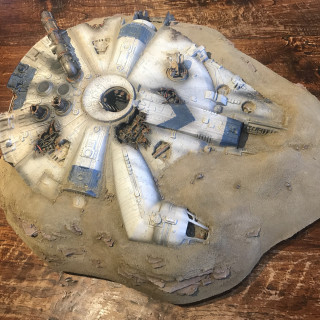
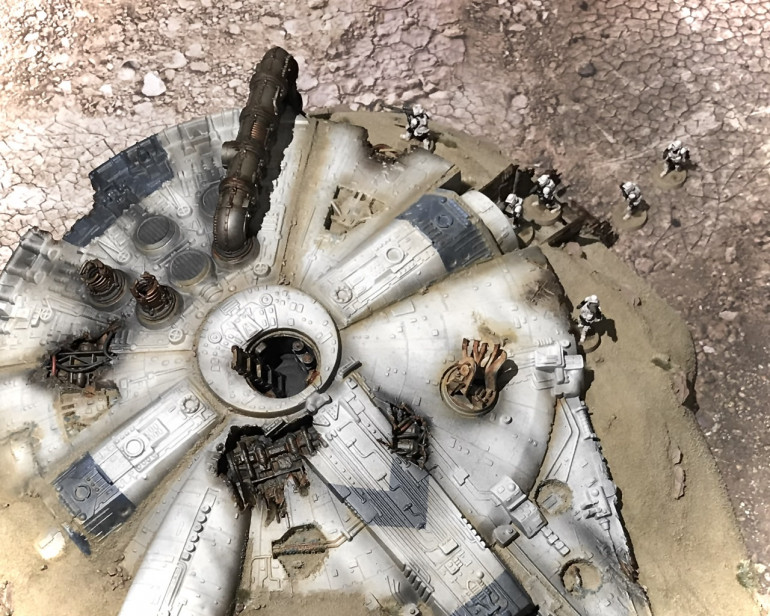
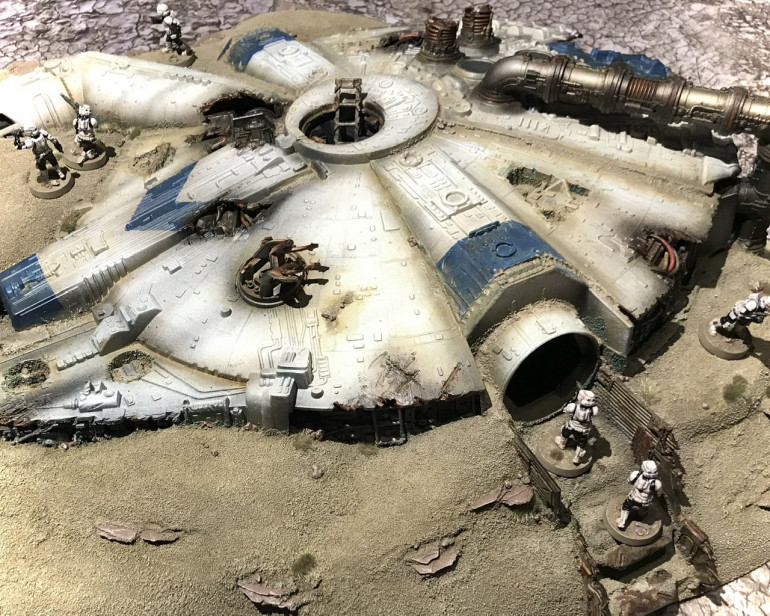
A friend of mine built this incredible piece of Star Wars Legion scenery out of an original (1978-1985), damaged Kenner Millennium Falcon. I offered to paint it for him!
Related Game: Star Wars: Legion
Related Company: Fantasy Flight Games
Related Genre: Science Fiction
This Project is Completed
Priming
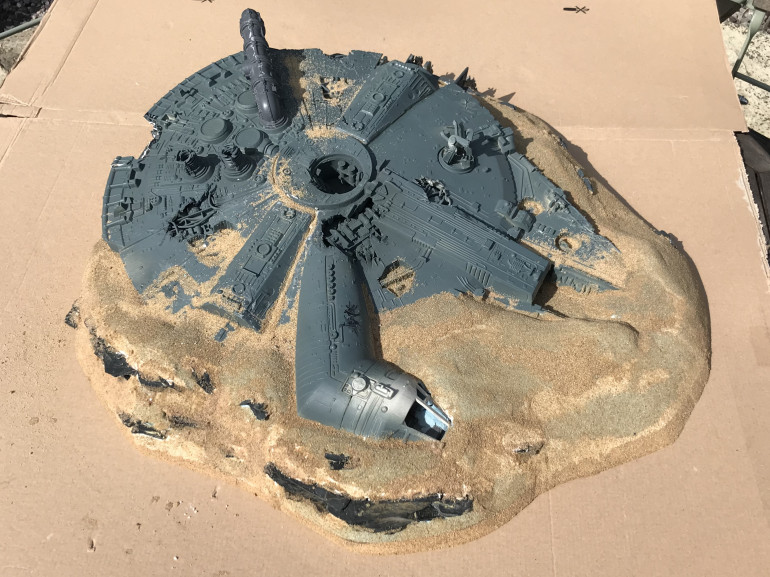
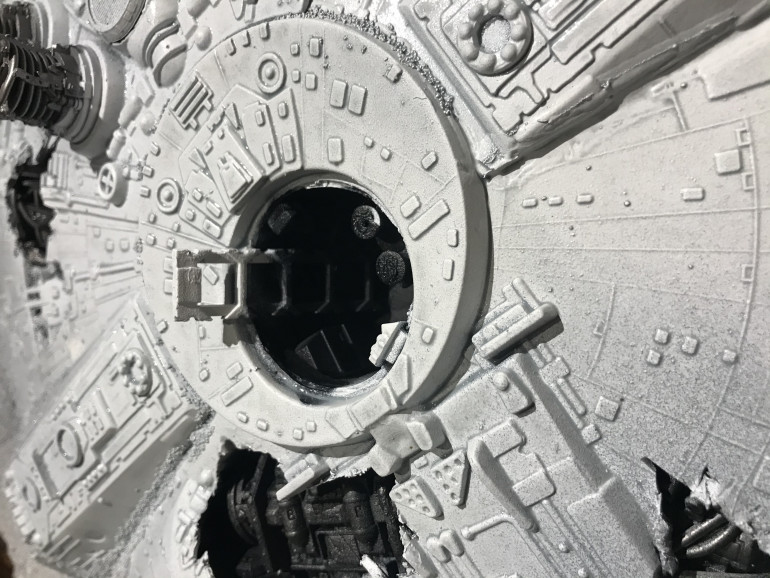
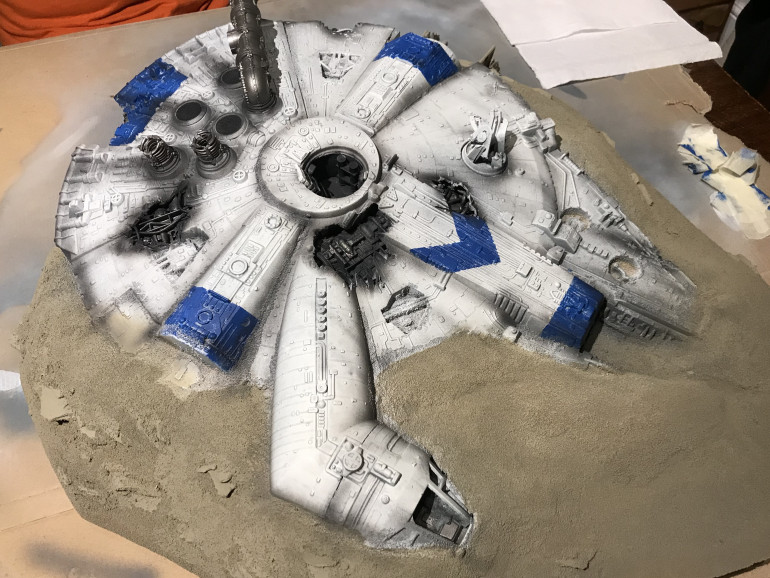
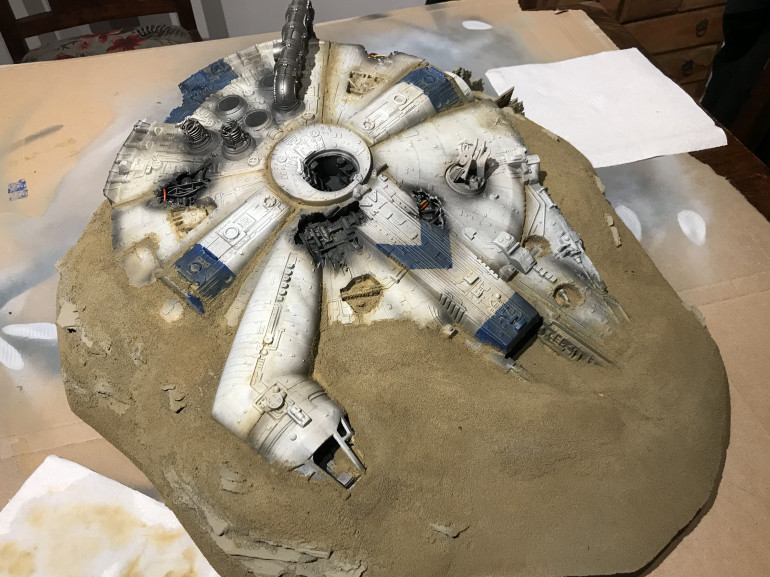
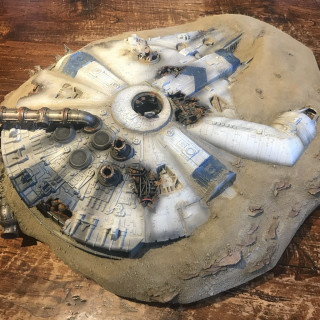
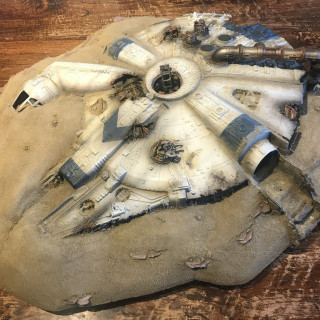
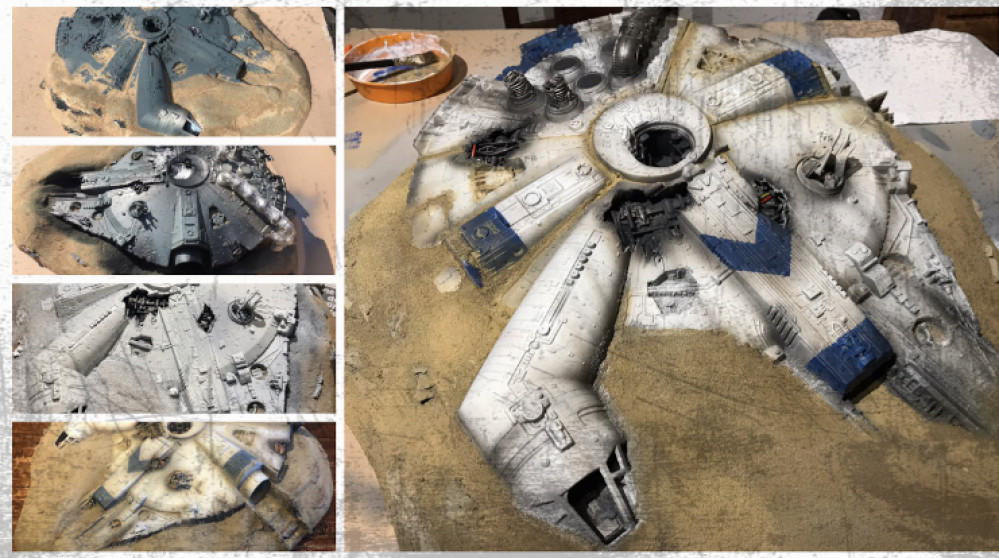
My work on this scenery piece began after its construction and I took the following photo before I began priming the model for painting. It had already been given several coats of grey primer while it was being built.
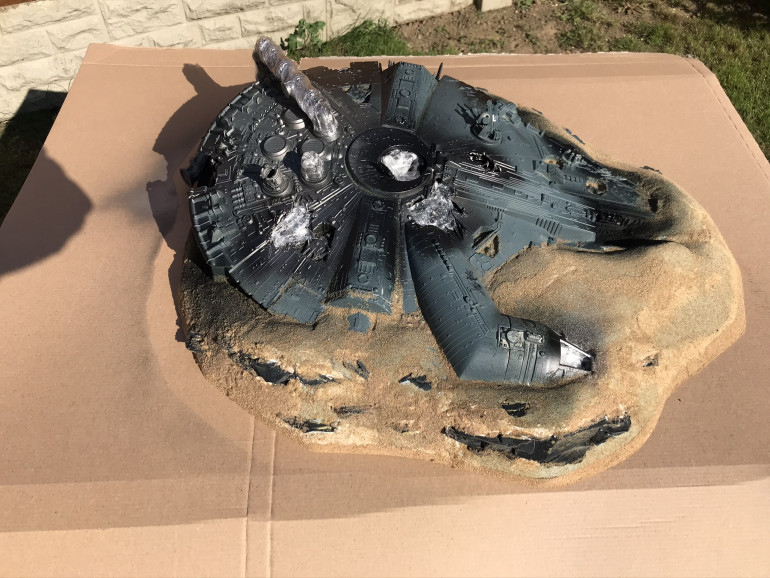
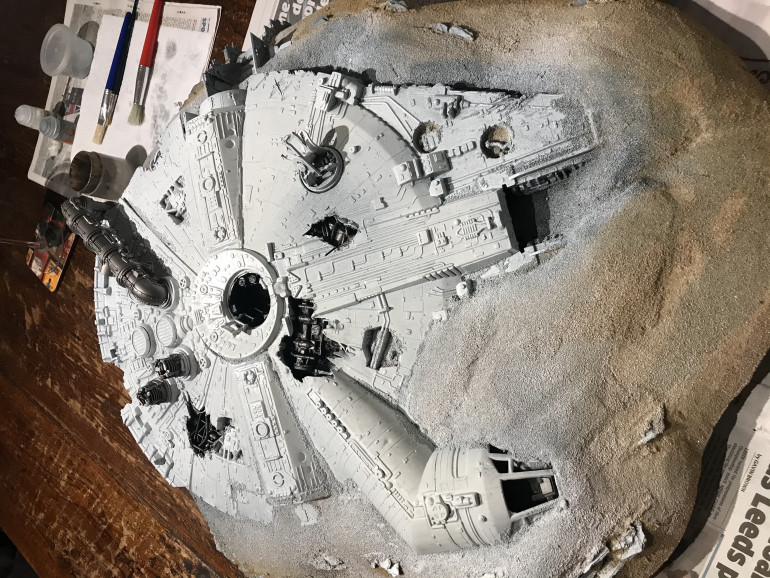
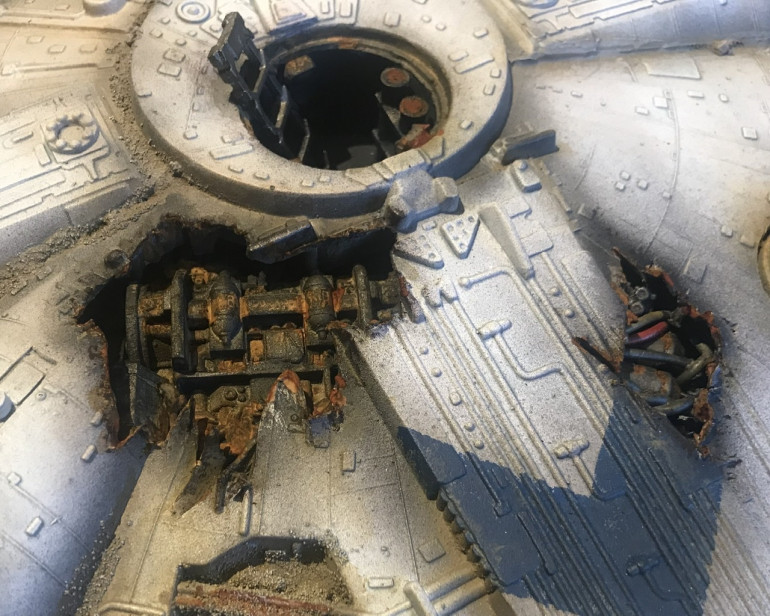
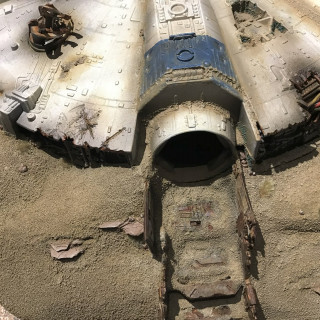
I began by spraying the damaged areas and deep recesses with black, along with the pipe work and generator coming out of the engine. The pipes and exposed areas of machine parts, were then dusted over with Lead Belcher.
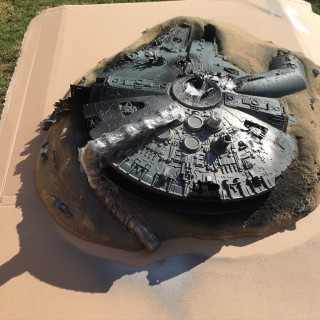
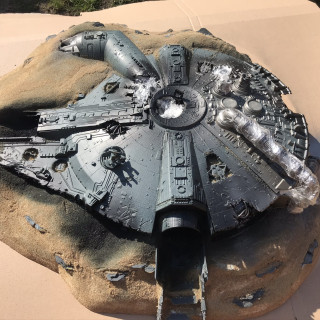
Once this had dried I used clingfilm to loosely mask off the areas I wanted to keep black or silver.
Next I used a white spray can to cover the rest of the ship. For this stage I only sprayed from above the model so that I would retain the dark black and grey areas in the underside.
Contrast and Markings
Once the primer was fully dried I gave the white areas of the ship two coats of Contrast Apothecary White which I thinned heavily with Contrast Medium.
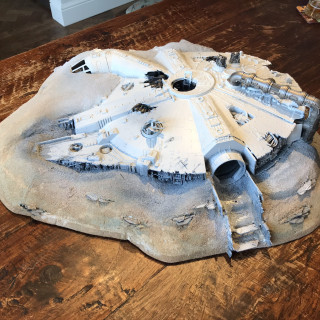
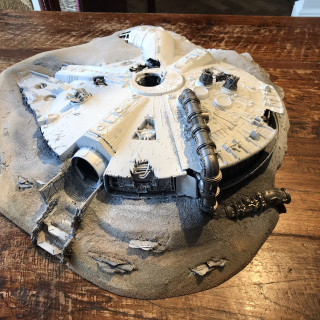
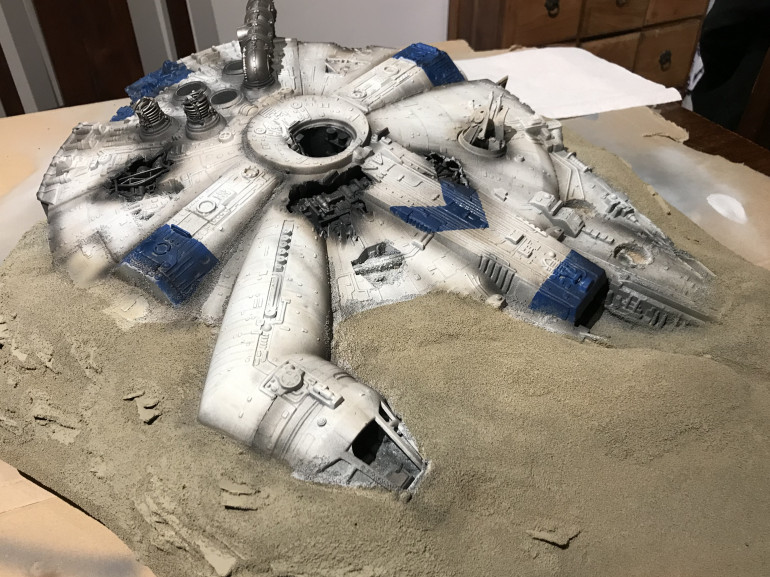
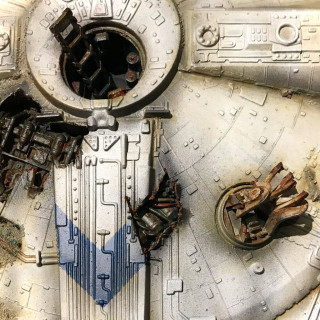
Next I used a khaki spray paint to cover the sand, being careful not to get too much on the ship. Then I added the blue markings by creating stencils out of masking tape. I used sponge to apply the paint, creating a broken, weathered appearance.
Once the masking tape had been removed I broke out the airbrush and began weathering the hull and engine ports with black.
I worked back over the Black with Agrax Earthshade wash, run through the airbrush.
Sand and Stones
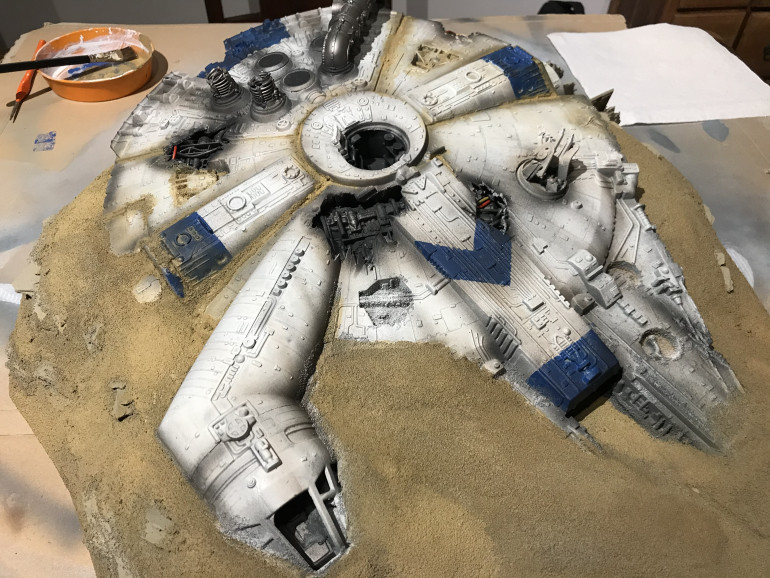
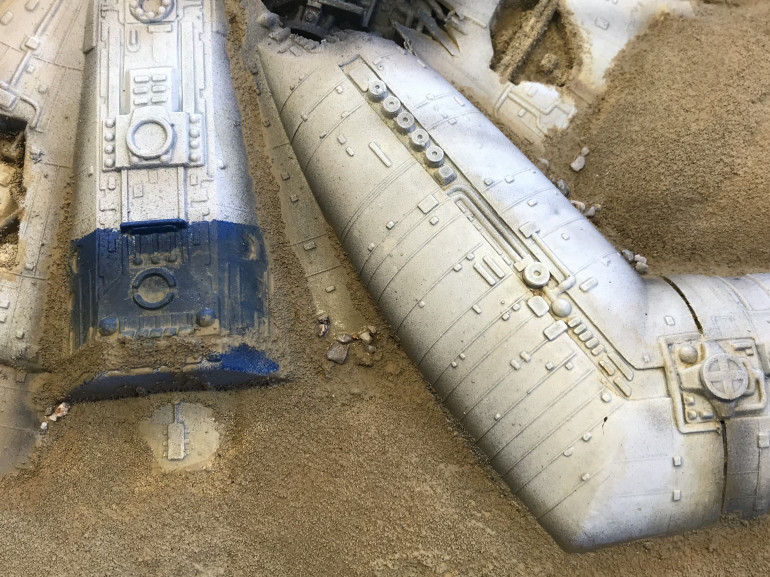
I began to work over the sand with a thinned down Armageddon Dust texture paint. Where the sand met the ship, pure Armageddon Dust was built up to create a more blended effect.
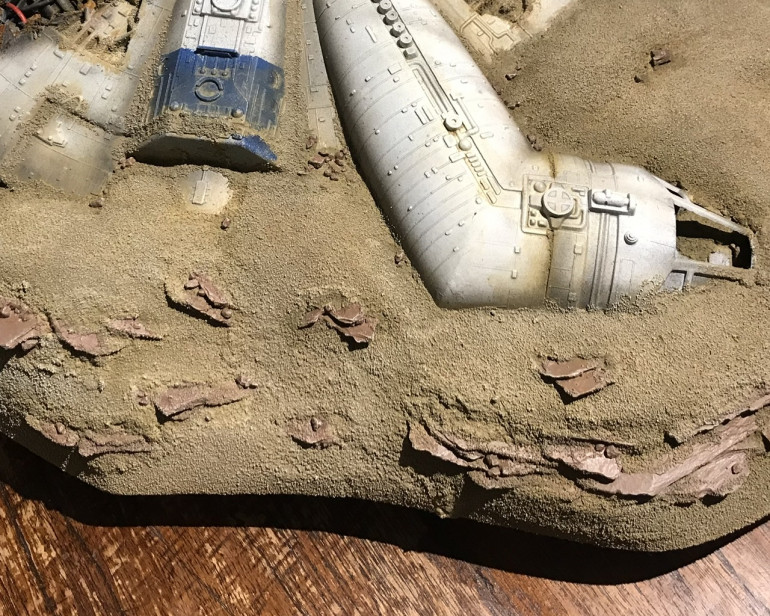
At this stage I felt that the large areas of sand looked a little plain and so I began gluing small stones in piles around the wreck and scattered across the sand bank.
Working into the Details
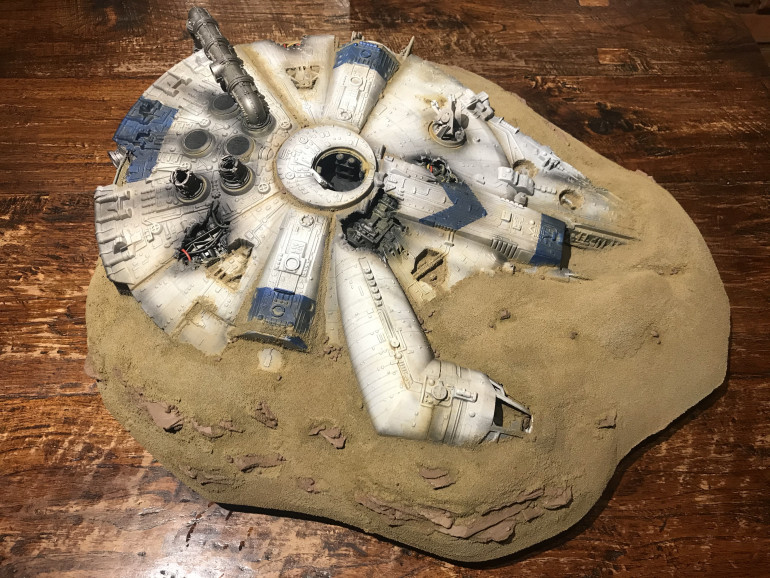
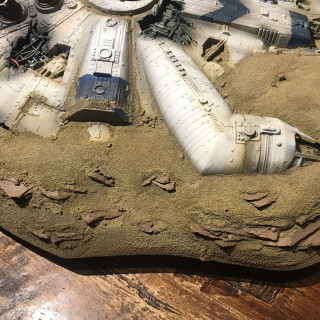
My next step was paint in all the rocks and smaller pebbles that had been added. For this I used a pinky brown colour to contrast with the sand and the ship itself. I also used more Armageddon Dust to settle the rocks in to the surrounding sand, as well as on a few places across the hull where it looked as though sand would’ve settled.
Next up I used a sponge and an old stippling brush to add rust damage, first with Rhinox Hide and then Lead Belcher.
I continued to use Lead Belcher with a dry brush on the exposed areas of ship internals and the pipe work that extends from the engine.
Finishing the Sand and Adding Rust
With the sand and stones base coloured, my next step was to wash over them with Agrax Earthshade. For this I used the airbrush again.
Once the Agrax had dried I began the lengthy task of dry brushing the sand and rocks. I also added a bit more silver to the exposed engine parts.
After the all the dry brushing I needed some fun so I began applying Model Mates Rust Effect to the exposed metal work. This stuff is liquid magic!
More Rust and a good coat of Varnish!
I really enjoyed working with the Model Mates rust effects and felt they added to the eroded look of the wreck.
Once I finally finished with the rust I gave the whole model a good coat or two of varnish. It is after all a scenery piece and will have to endure the rigours of gameplay. Once the varnish had dried I added some grass tufts to break up the sand and add a little more colour.
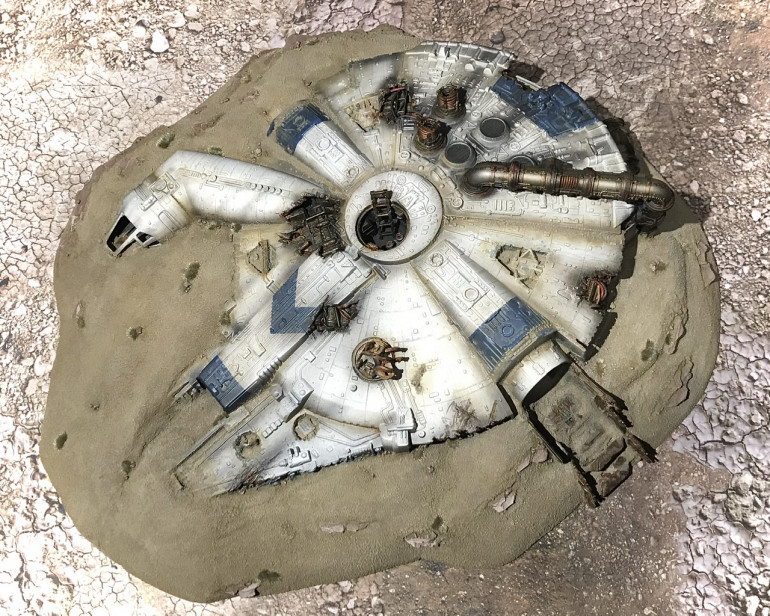
And with that the Envoy was finally completed and ready to form the centre piece of a very Star Warsy battlefield!


