144artist Populates the Damocles Sector or Creating a System Agnostic Science Fiction Miniatures Collection
Recommendations: 1051
About the Project
I am finally building the science fiction miniature and terrain collection I have been imagining for many years which is about time as the amount of kits, bits, and bobs I've squirreled away is staggering. This will range from ancient alien ruins to new colonies to hive cities to high tech metropolises as well as beings that might inhabit them. Part of how I brainstorm and plan is to create imaginary places for the things I am coming up with. With the amount and variety of sci/fi terrain I plan to pursue, an entire system is required. So, colonists and supplies are loaded, co-ordinates set, prepare to launch nanobots and terraforming factories, the colonization of the Damocles Sector has begun.
Related Genre: Science Fiction
This Project is Active
Time to Get Back to Scratch Building.
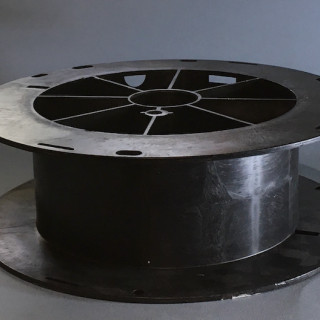
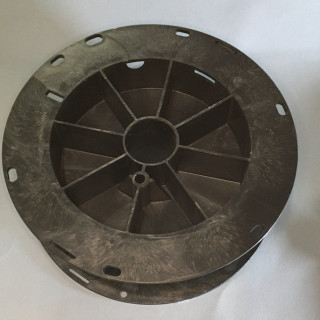
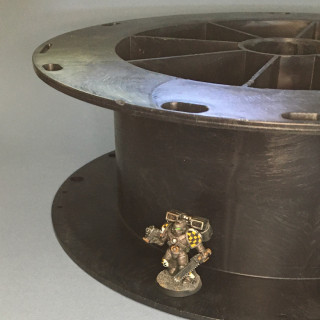
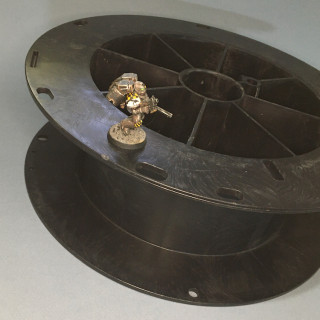
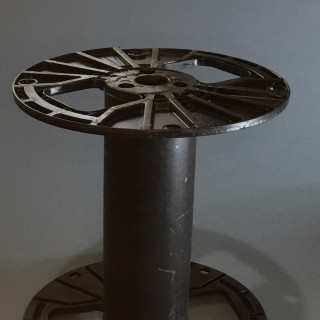
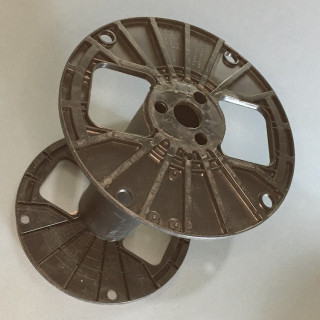
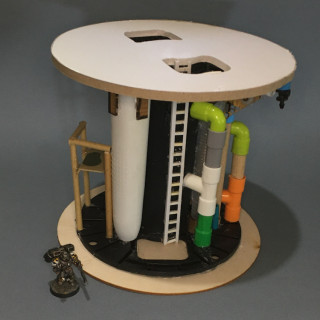
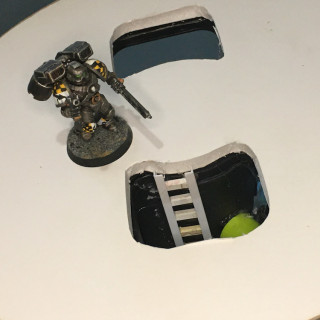
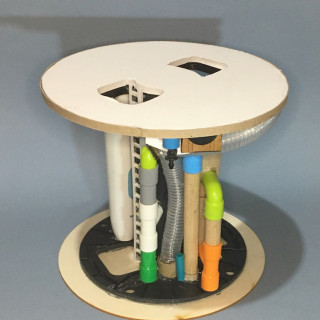
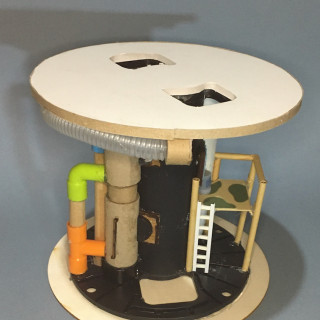
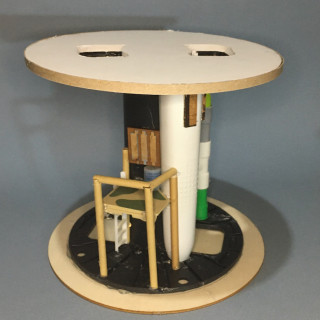
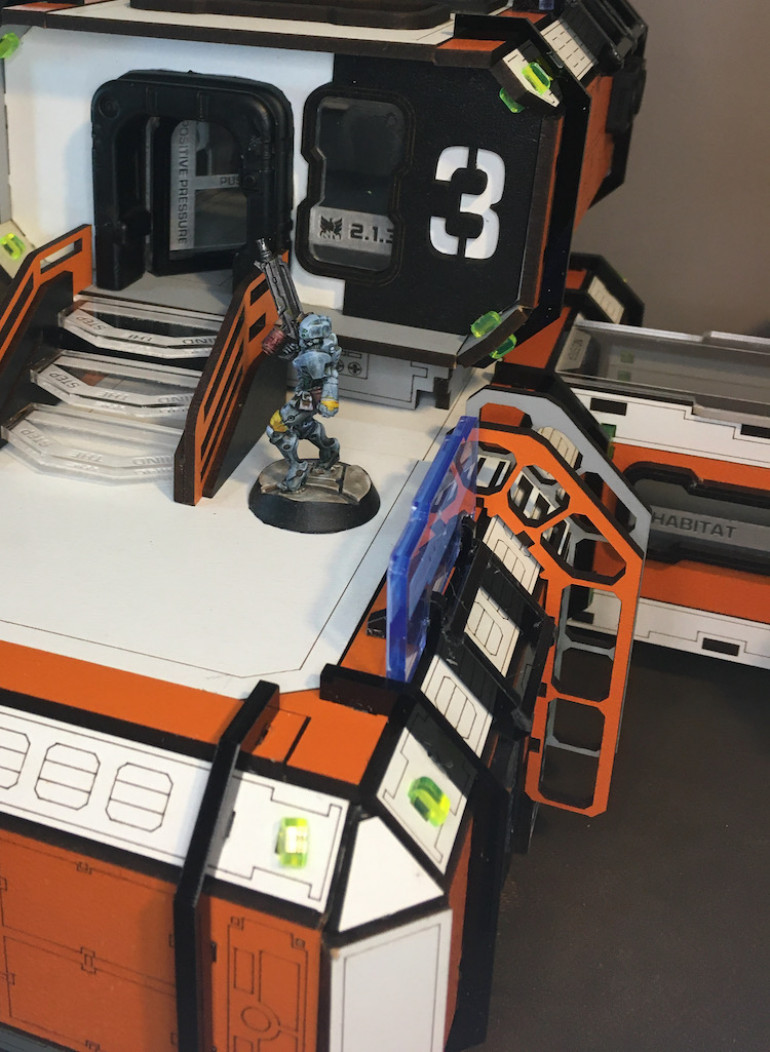
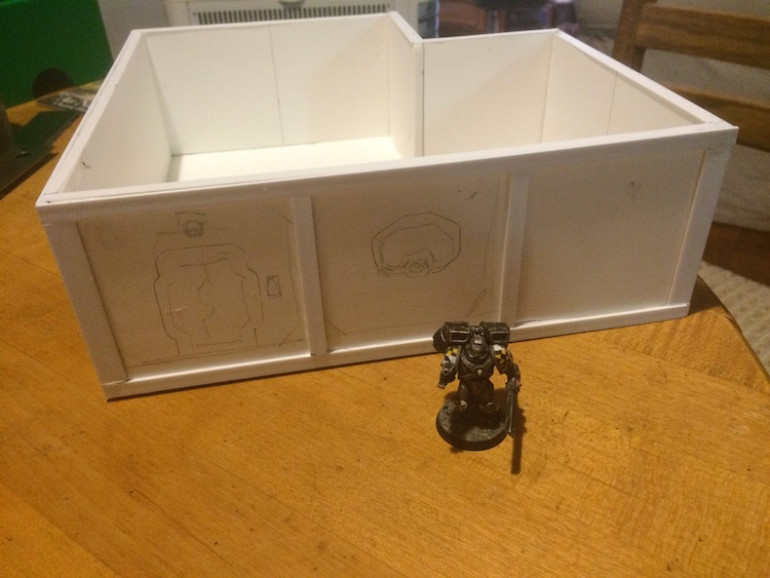
Now that I’ve got some MDF kits done and finally finished painting the Habitat Unit I could spend some time playing with some of my Bits Boxes as well as some of the bigger pieces I see as starting points. I’ve had these big plastic spools literally rolling around the garage for years (as well as a couple more I can’t seem to locate yet) and am continually collecting bits. Old plastic building toys and cheap toy plumbing are wonderful resources. I didn’t get a scale shot of the tall spool before I started gluing things down but the Old School Space Marine in a couple Work In Progress shots is helpful. As with the Habitat Unit, my collection of Trash Bash Bits doors and windows is proving to be a priceless resource.
Order received, order completed.
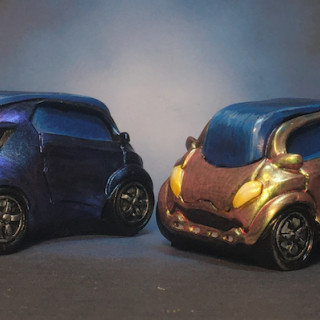
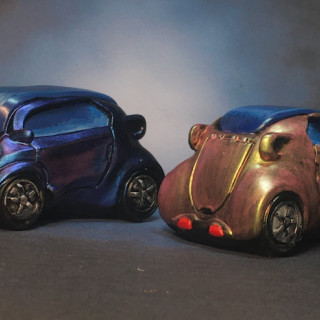
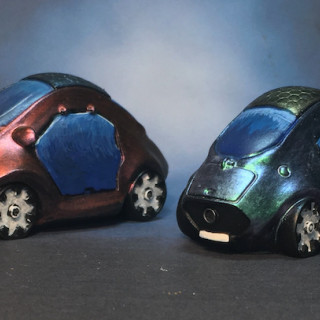
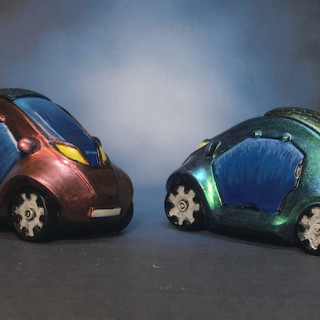
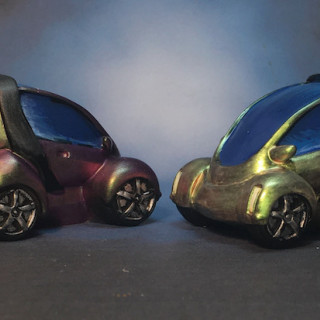
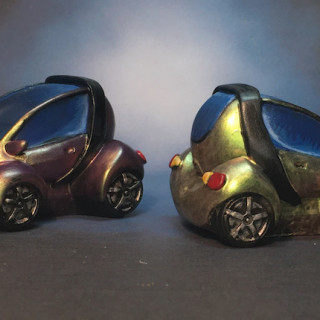
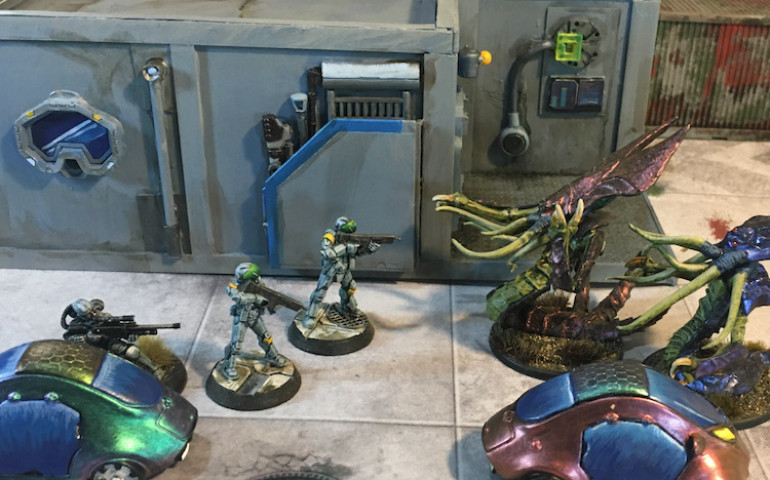
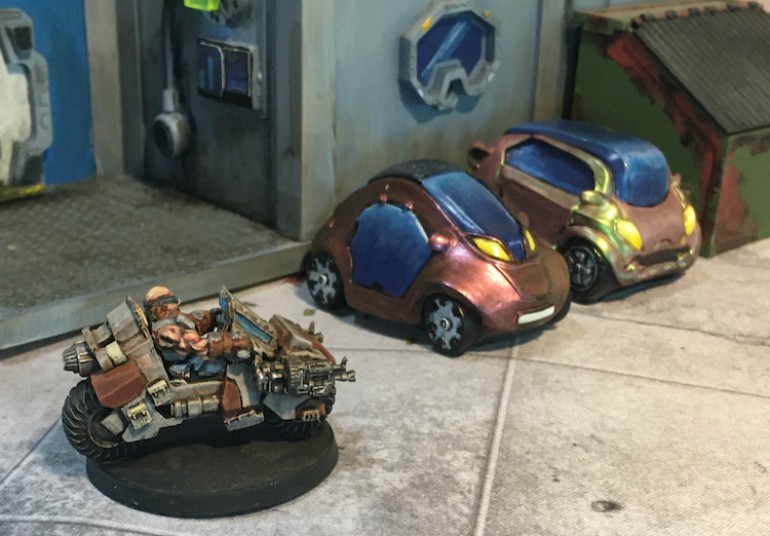
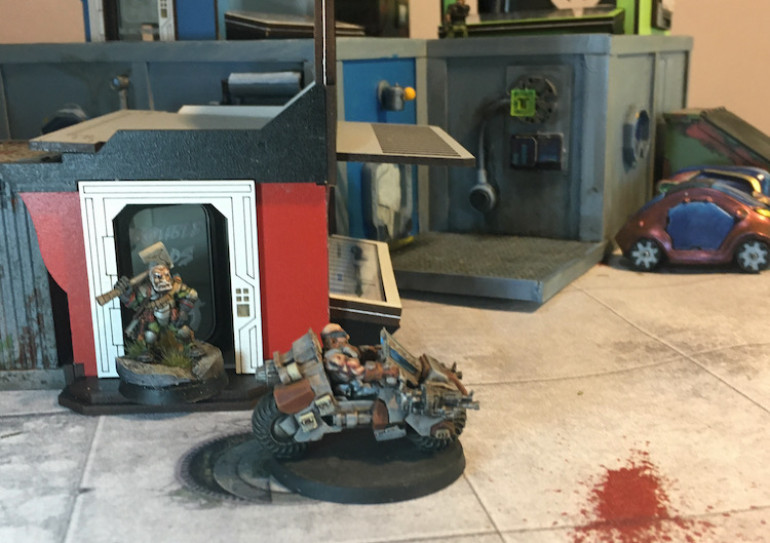
How convenient that I have six cars and six color shifting paints. Made decisions quicker and as these were the last pieces I had picked up in the Antenocitis Workshop sale I didn’t want them sitting around in decision purgatory. I just can’t justify buying new things that become “future projects” when I already have tons of those and would much rather store finished terrain than packages of possibilities. So with that in mind I worked through assembling what I now think of as Anten Base and spent three days cutting, gluing, and pealing TONS of tape. Finally I could get back to the painting table and these six cars were the first things I tackled.
Habitat Unit Finished
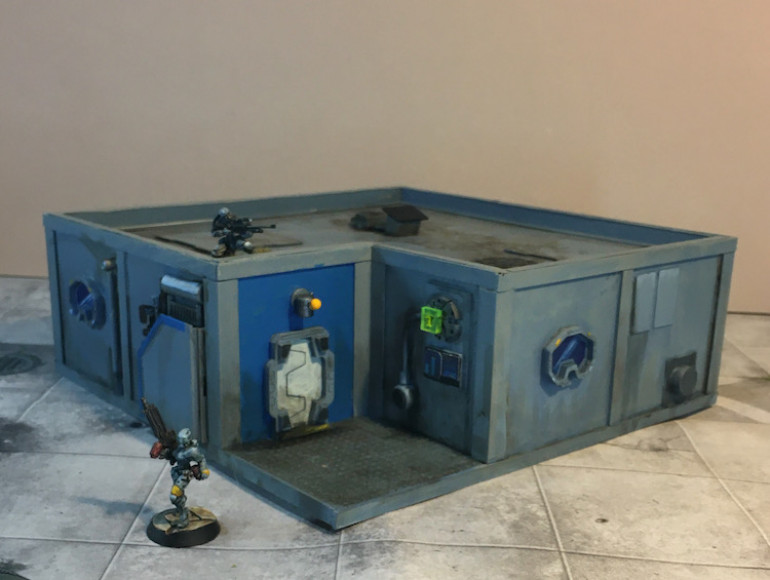
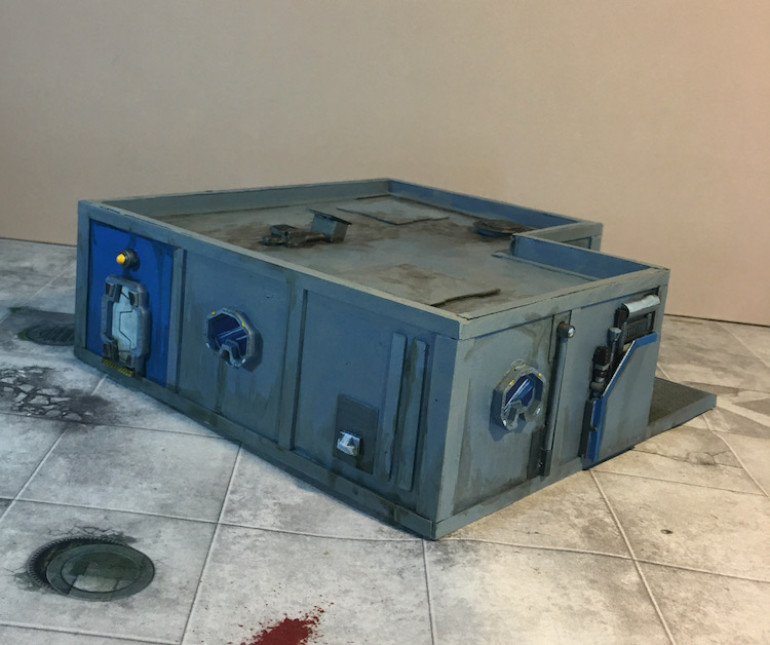
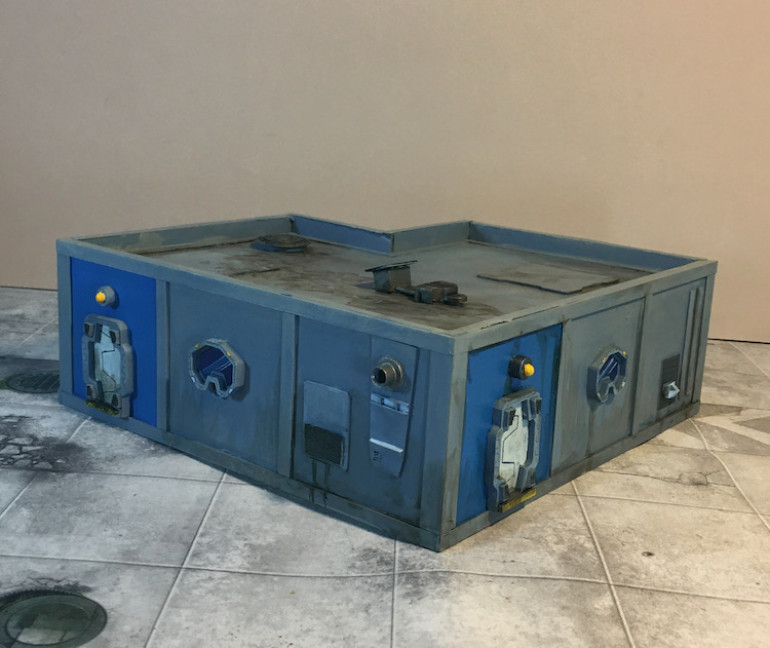
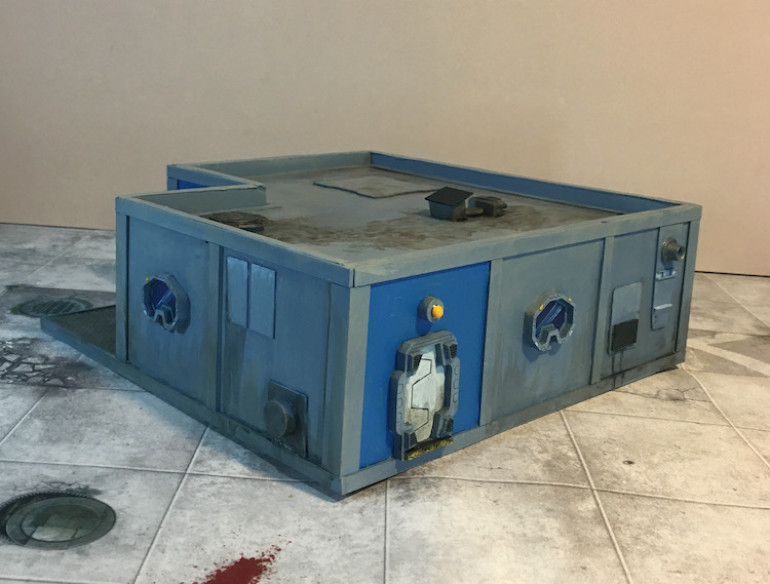
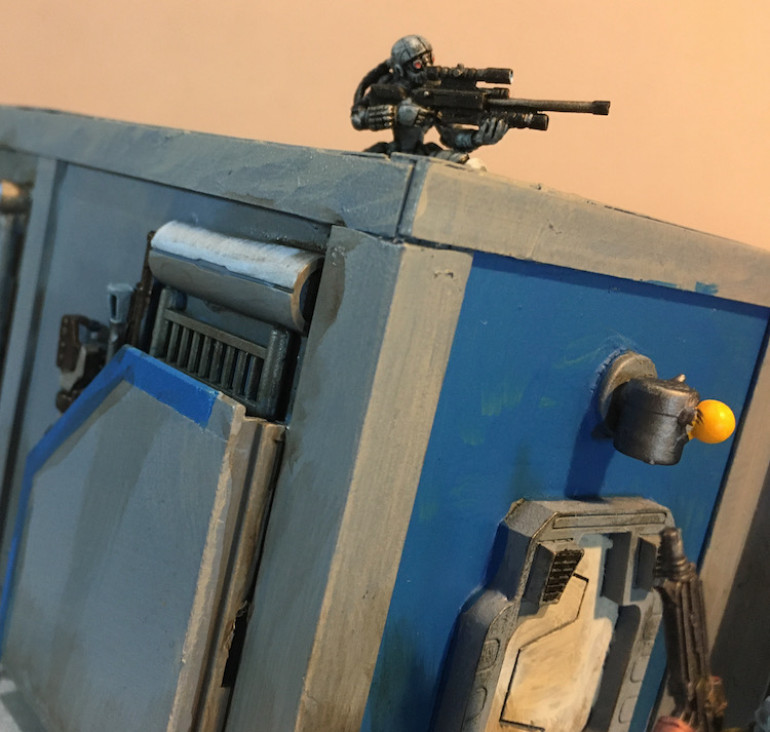
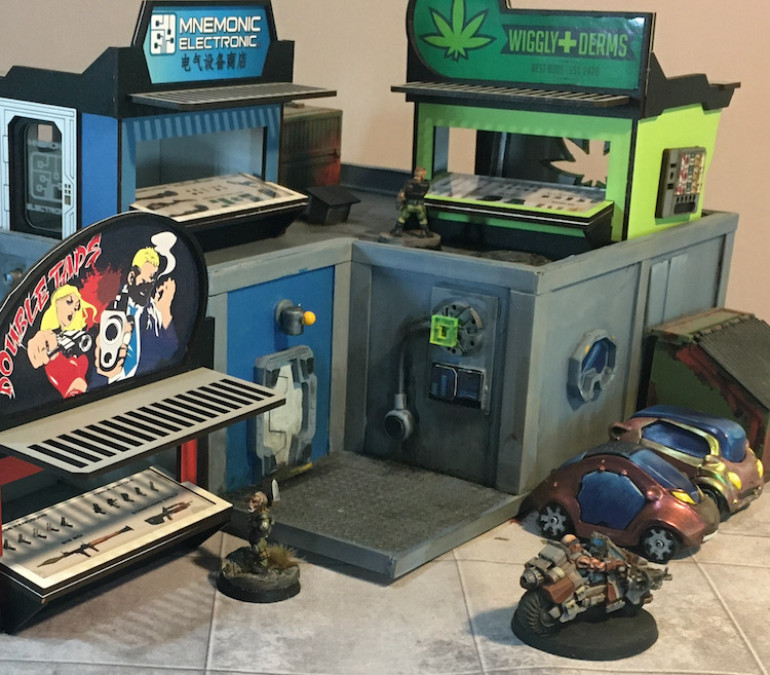
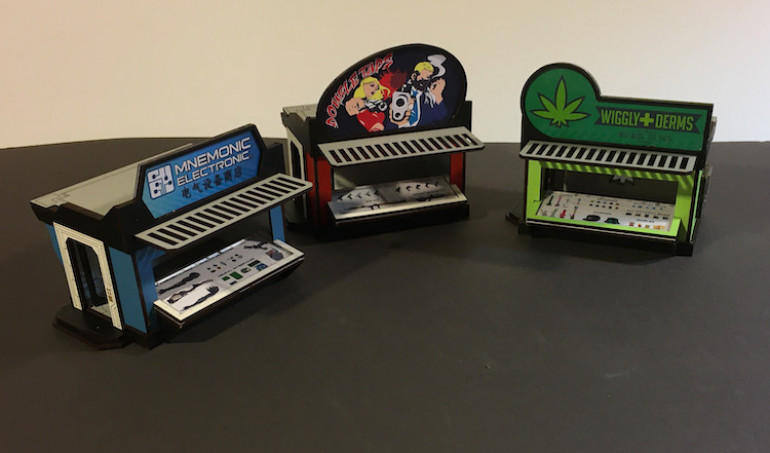
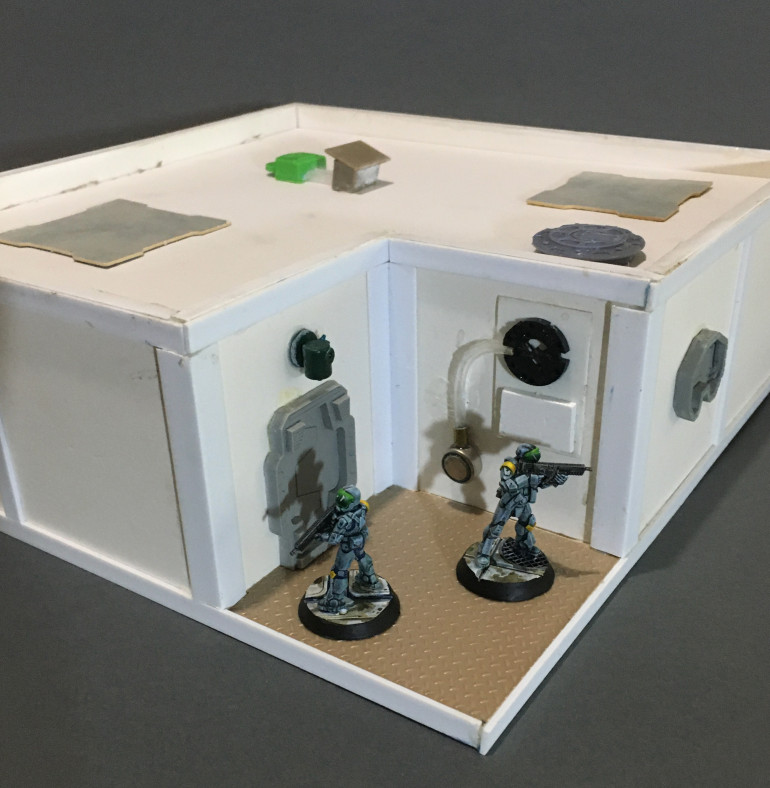
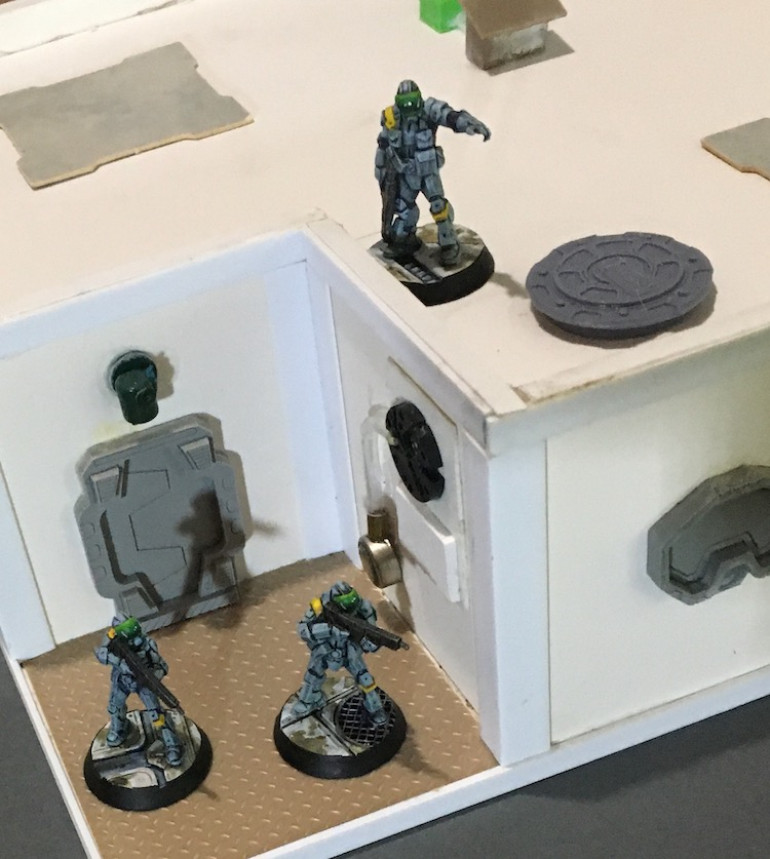
I finally finished painting and weathering the scratch built Habitat Unit that had been sitting on my table for a long time, a very long time. Fairly simple but I think it looks good. The grit and grime really helps it look good. As I mentioned in a long ago blog post, I designed it to fit in with the piles of Deadzone and Makitainers waiting to become terrain (soon, my plastic friends, soon). I think it will fit in well. I know it looks good with the Antenocitis Workshop Tiny Traders I picked up so will need to make some more. Next I want to play around with something more industrial looking.
The Colony Grows
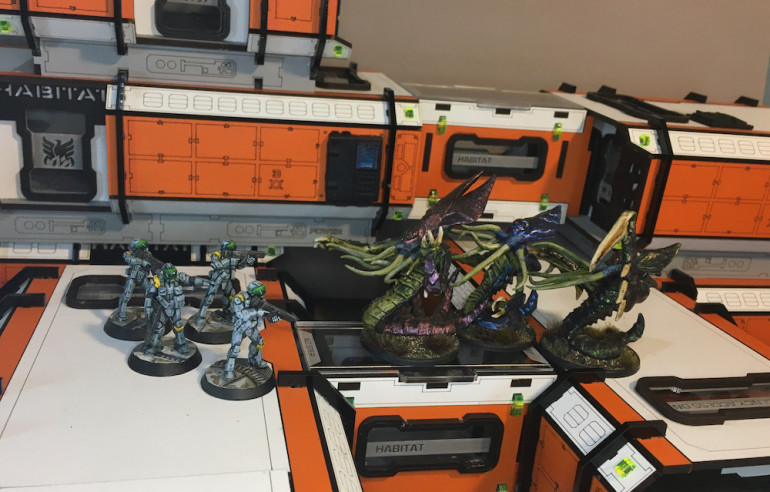
I’ve gotta admit, I love pre-painted terrain. Sure the pieces will look even better with some weathering on them but they are table ready and look great. Once you build a couple they really start to go quickly too. I really will have to pick up more pieces in the future. Now I have resin cars to paint.
Antenocitis Workshop Has a Sale
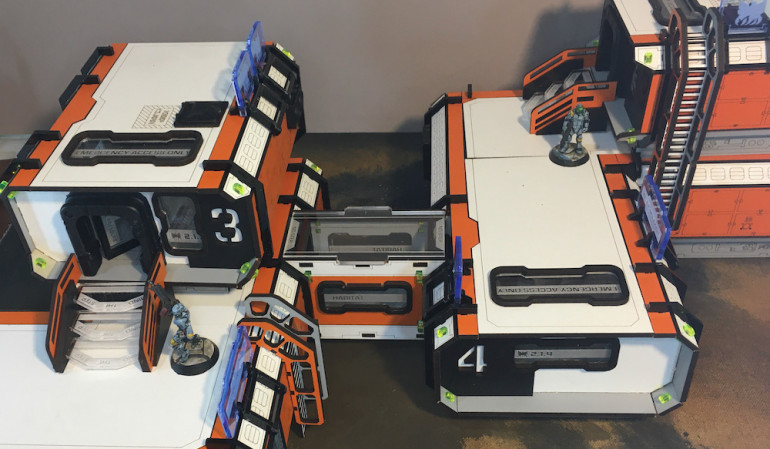
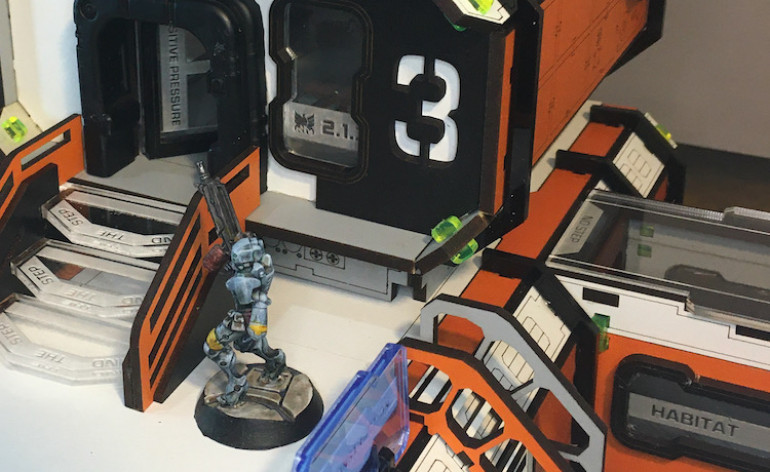
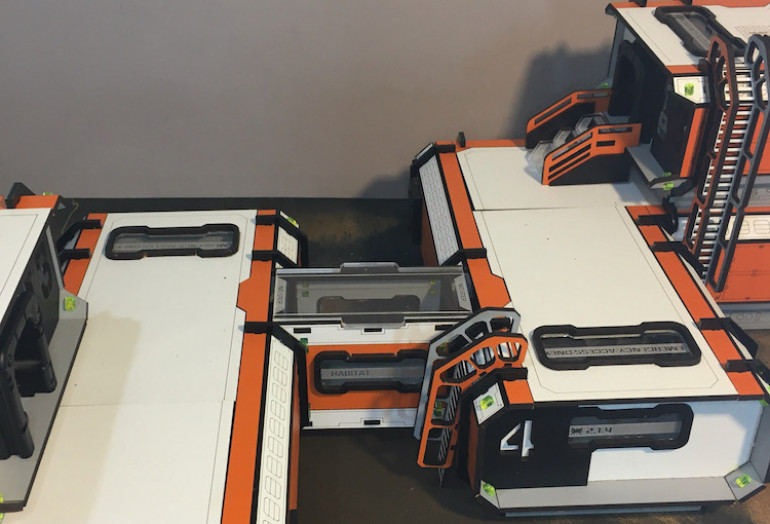
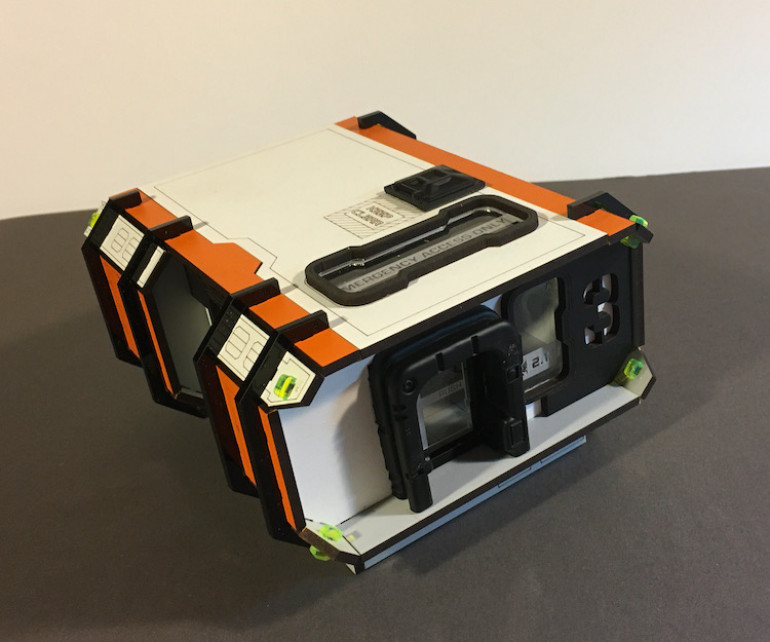
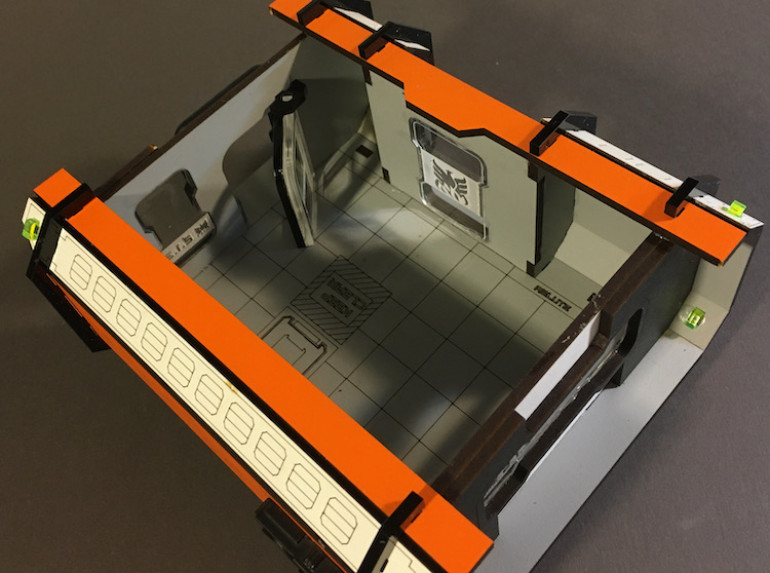
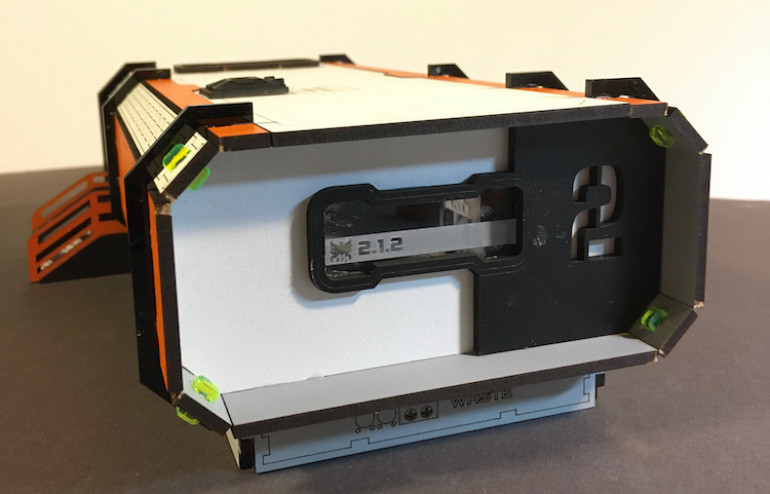
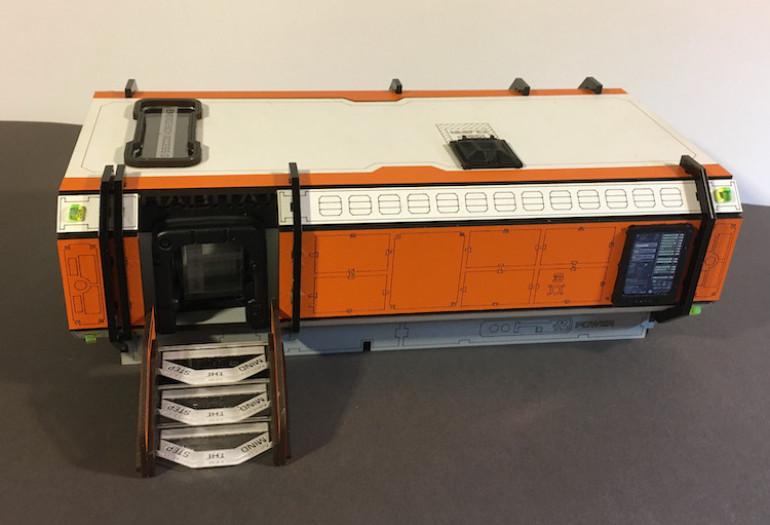
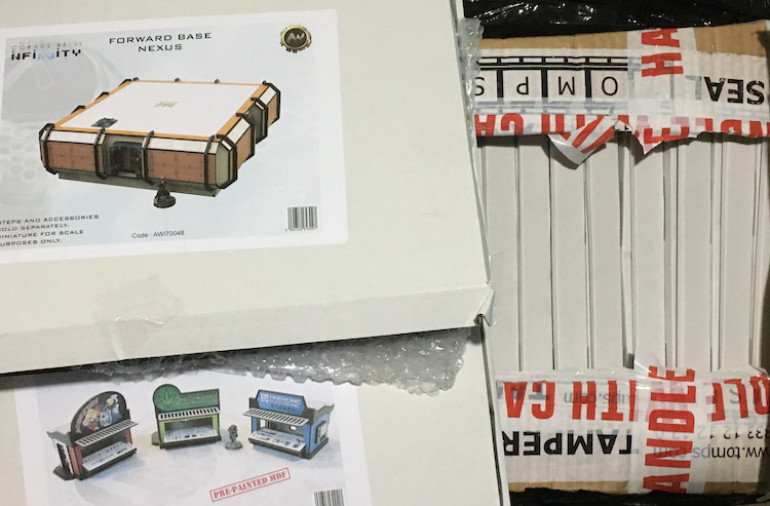
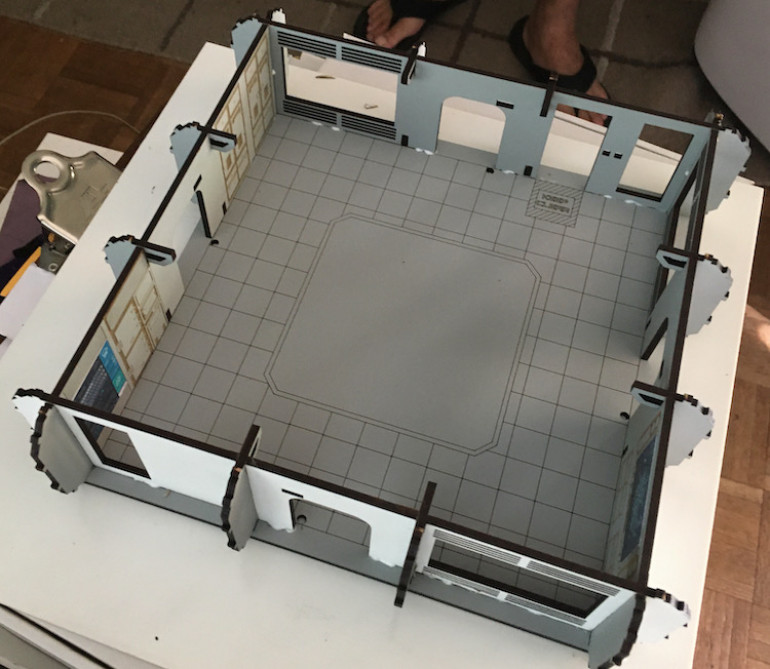
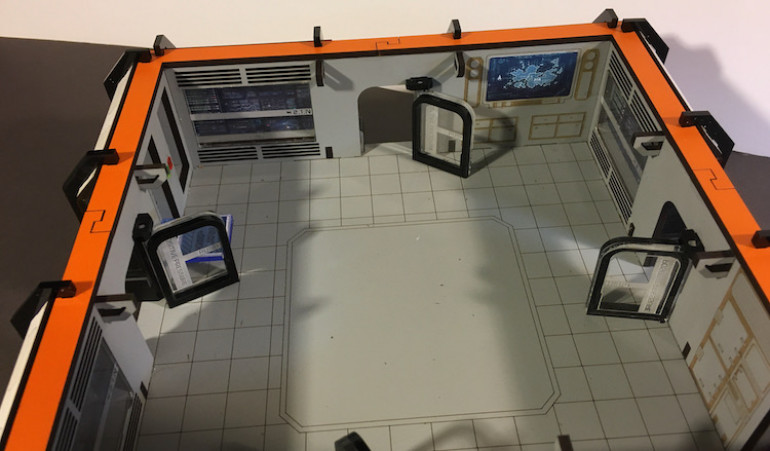
As the title states, Antenocitis Workshop (https://www.antenocitisworkshop.com) has a big sale going and I have long drooled over their pre-painted terrain and resin cars. Because I don’t have enough projects and really needed an excuse to delay painting the foam core building (not really, it is being painted in small bursts) I placed an order. I didn’t really think about how much was in it until the big box full of smaller boxes arrived. I knew I couldn’t, in good conscience, just put these in a plastic bin for “later” and began assembly immediately with the Tiny Traders and the Nexus piece. Most sets come with printed instructions that look a bit out of order but work. The big Nexus building has instructions online and I heartily recommend following them as it is a slightly complex kit.
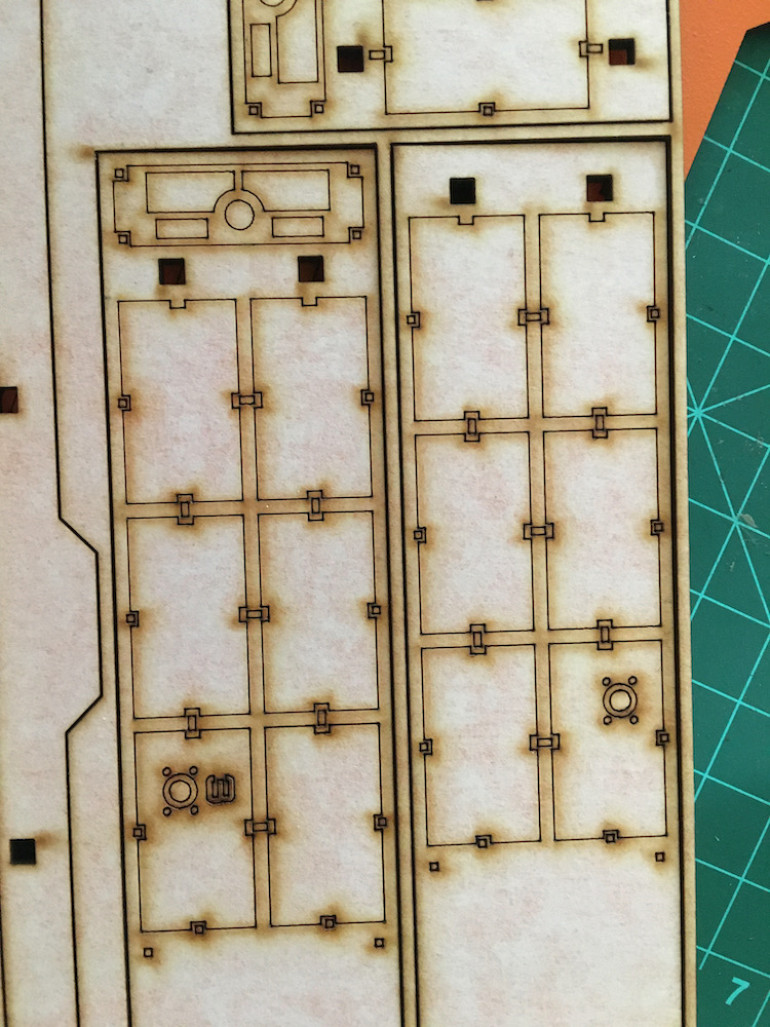
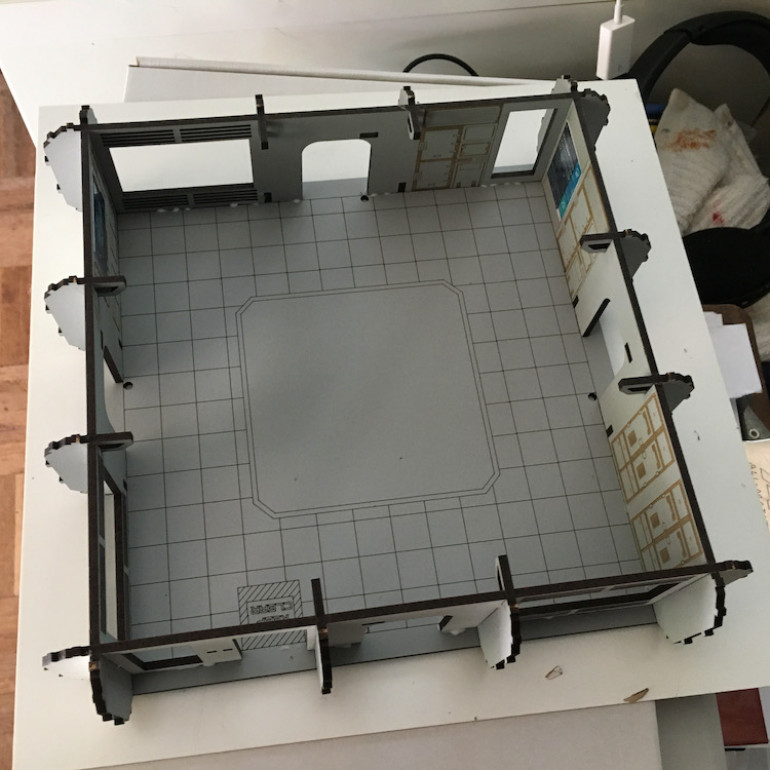 Be careful when removing the pieces from their frames and Dry Fit everything to make sure you have the pieces matched correctly.
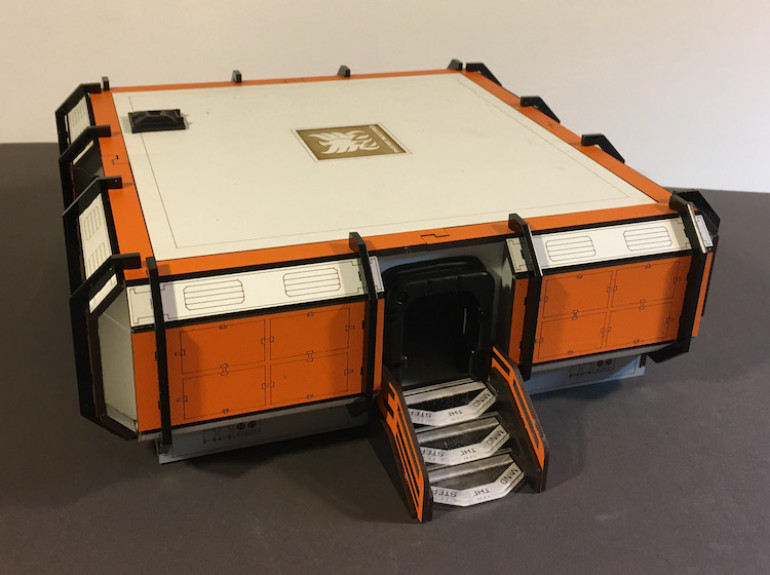 Such a cool design and table ready when assembled. I will add weathering to the set once it's all complete.
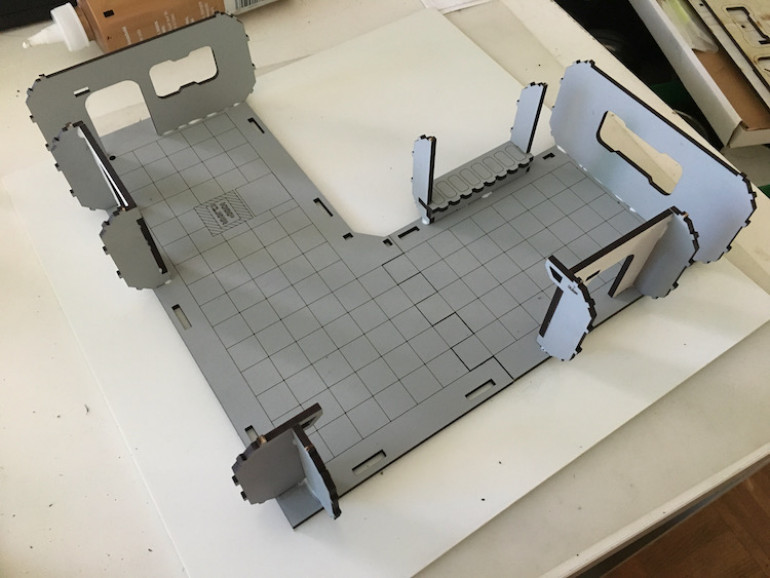 All the units are designed around a similar structure so once you have assembled one the rest go quicker.
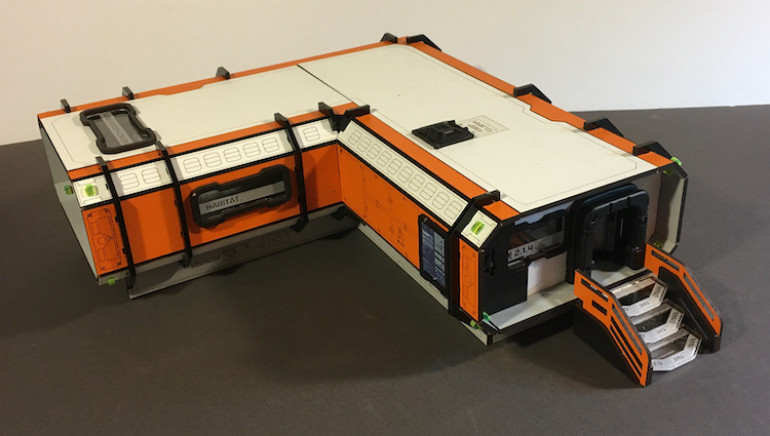 Pay attention to the subtle differences in the black plastic banding pieces as there are actually two slightly different cuts.
More Mercenaries Hanging Around
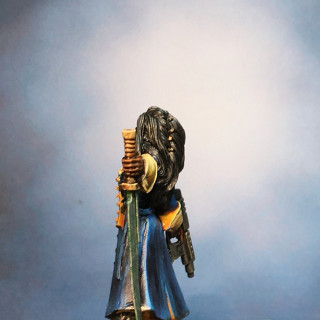
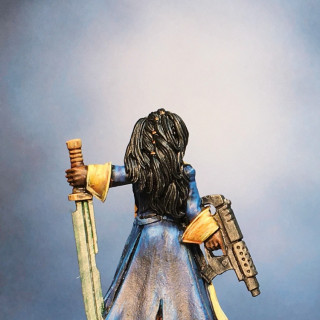
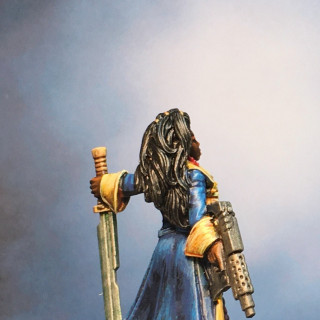
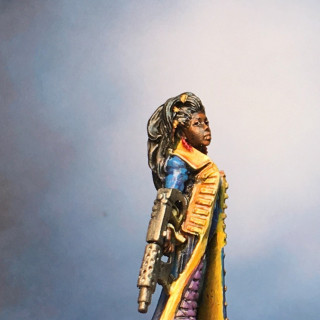
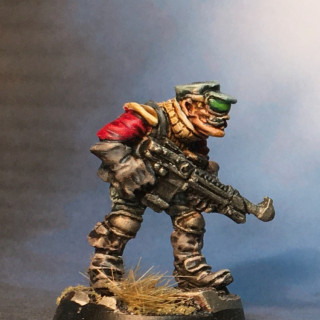
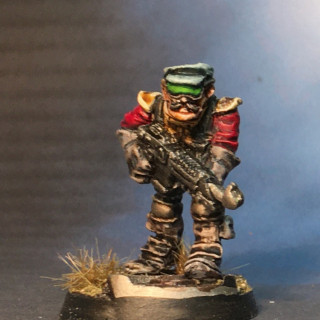
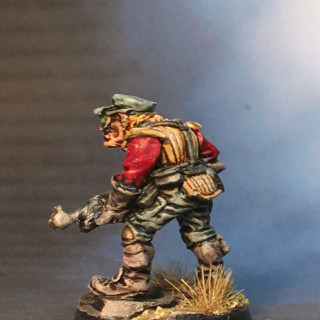
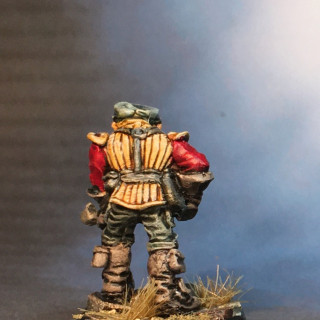
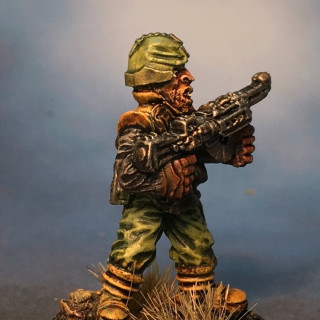
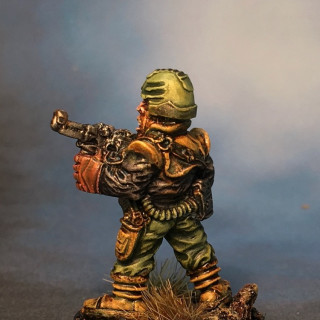
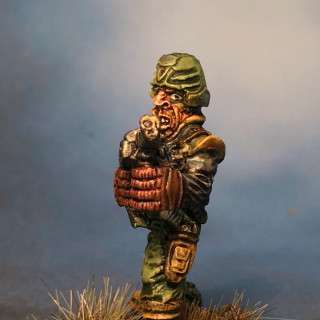
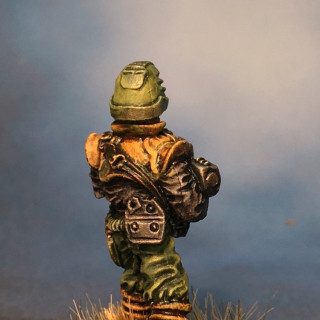
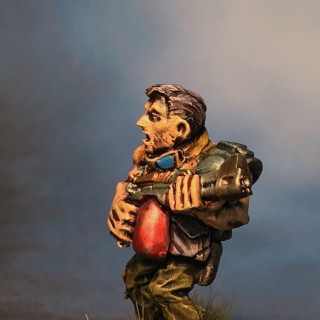
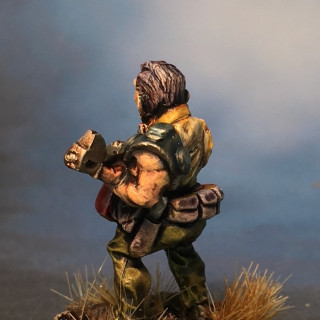
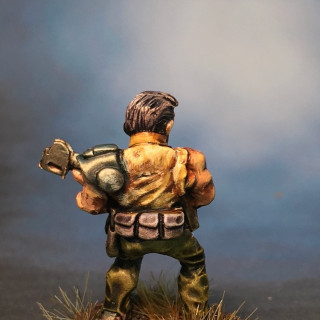
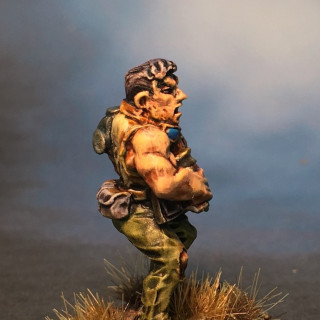
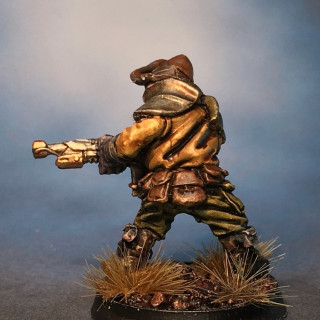
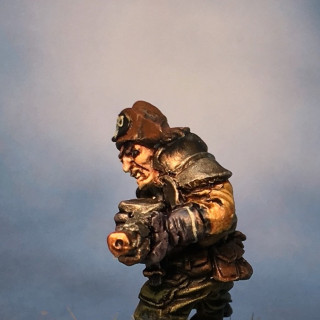
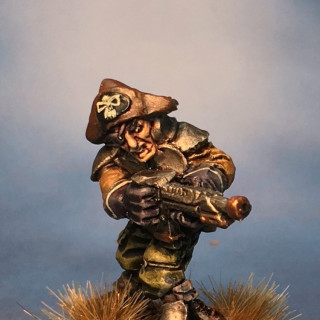
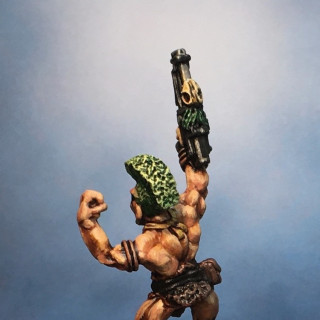
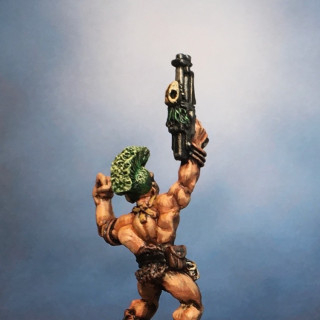
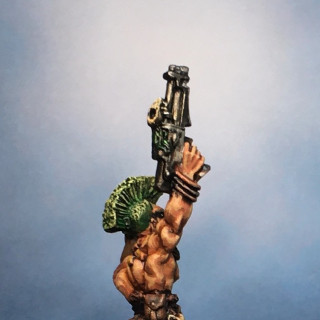
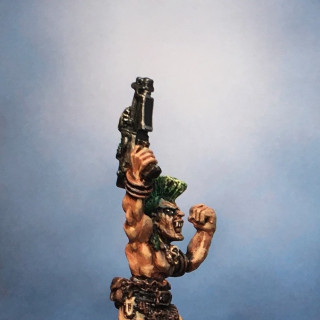
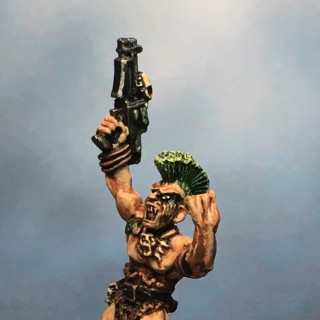
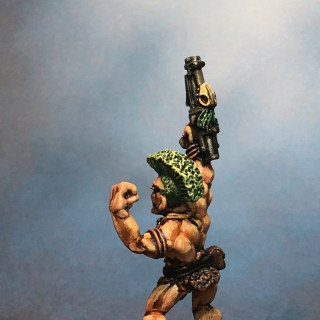
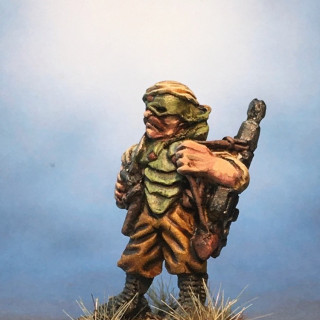
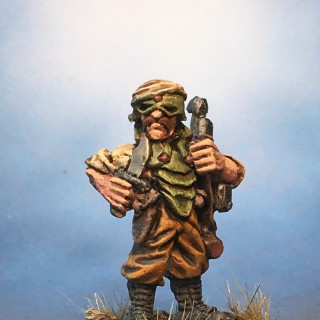
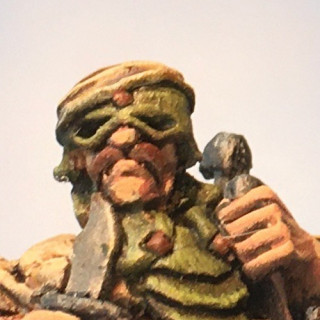
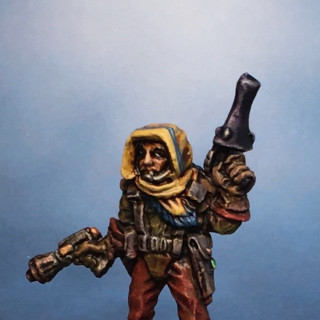
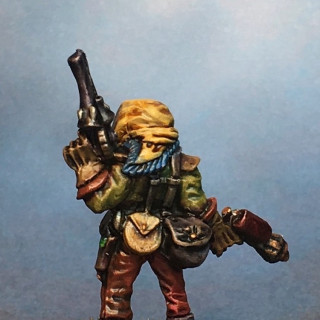
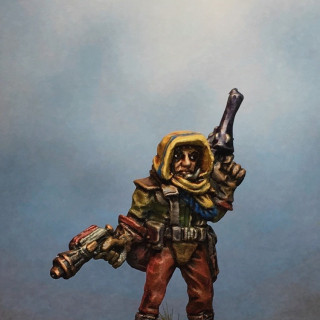
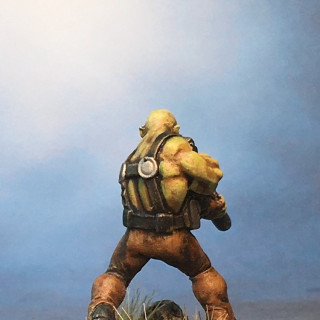
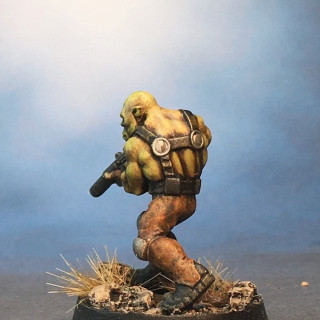
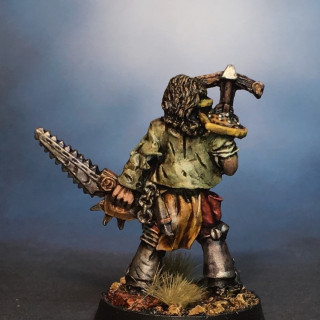
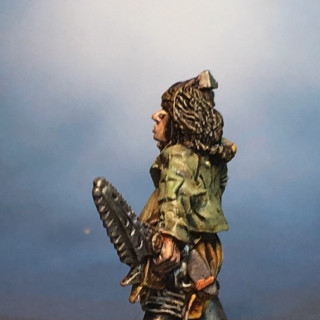
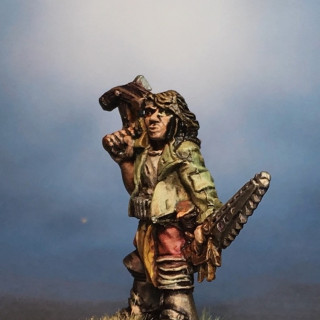
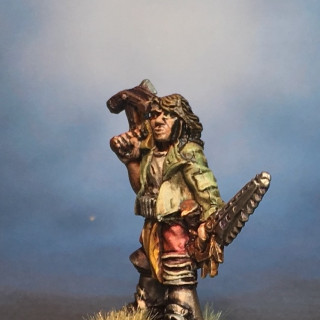
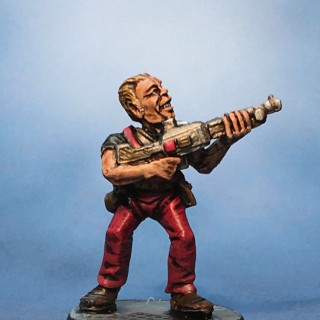
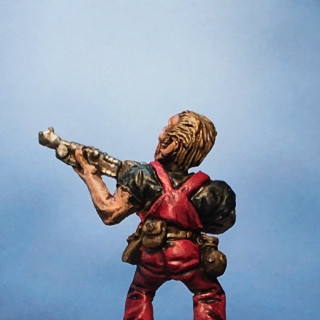
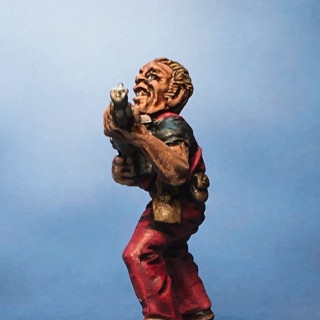
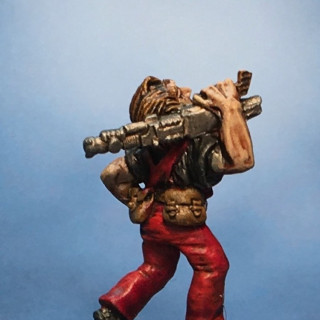
I find painting random sci/fi figures is an excellent way to avoid painting terrain. I’m not avoiding painting the tab unit, just making decisions. I’ll get back to it but for now I find myself inspired by all this Stargrave talk. The first figure is a Hasslefree that I need Hunter. The title (Captain, Rogue Trader, Inquisitor, etc) depends on the game but she is clearly capable and in charge. The rest are old school Games Workshop minis from deep in the Vault of the Unpainted. Maybe crew, maybe opponents I don’t know. What I do know is that nothing says retro GW quite like checkerboard and that Finished is my favorite color now days.
Specialist Snipers Arrive
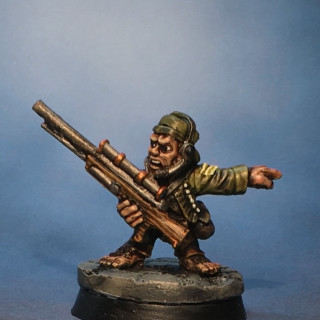
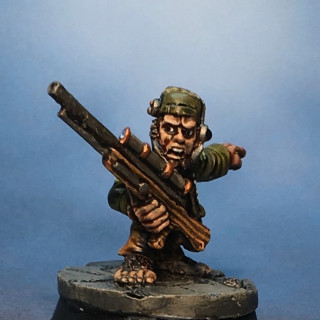
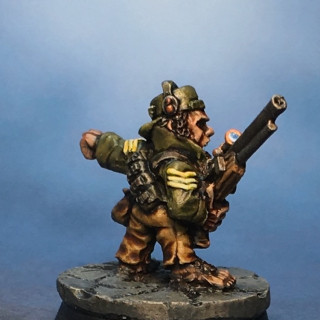
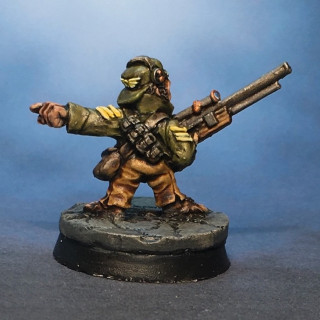
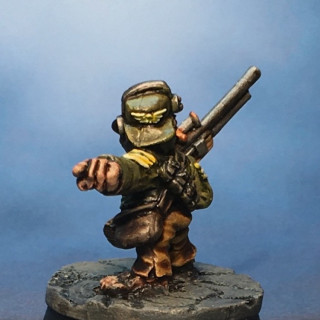
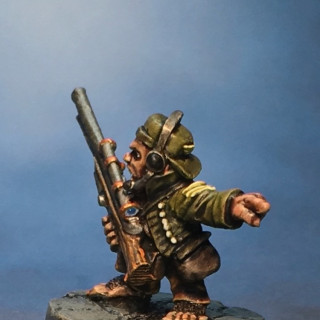
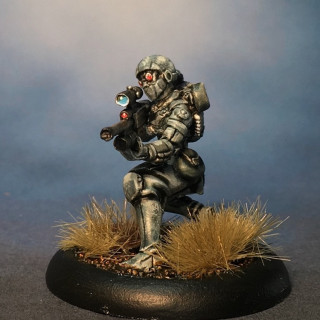
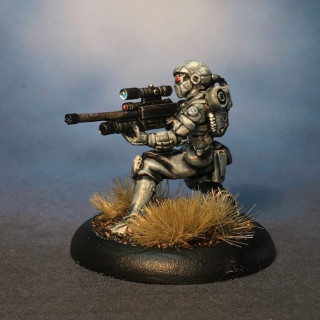
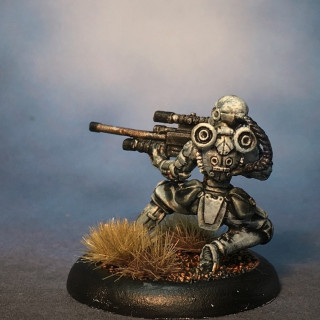
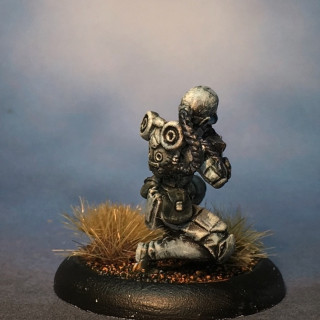
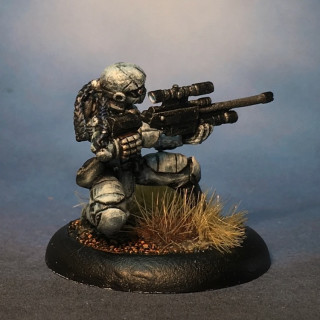
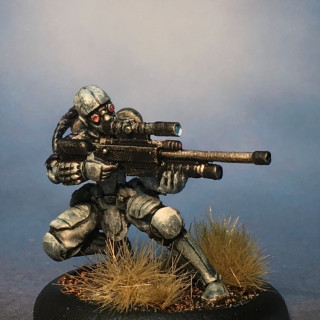
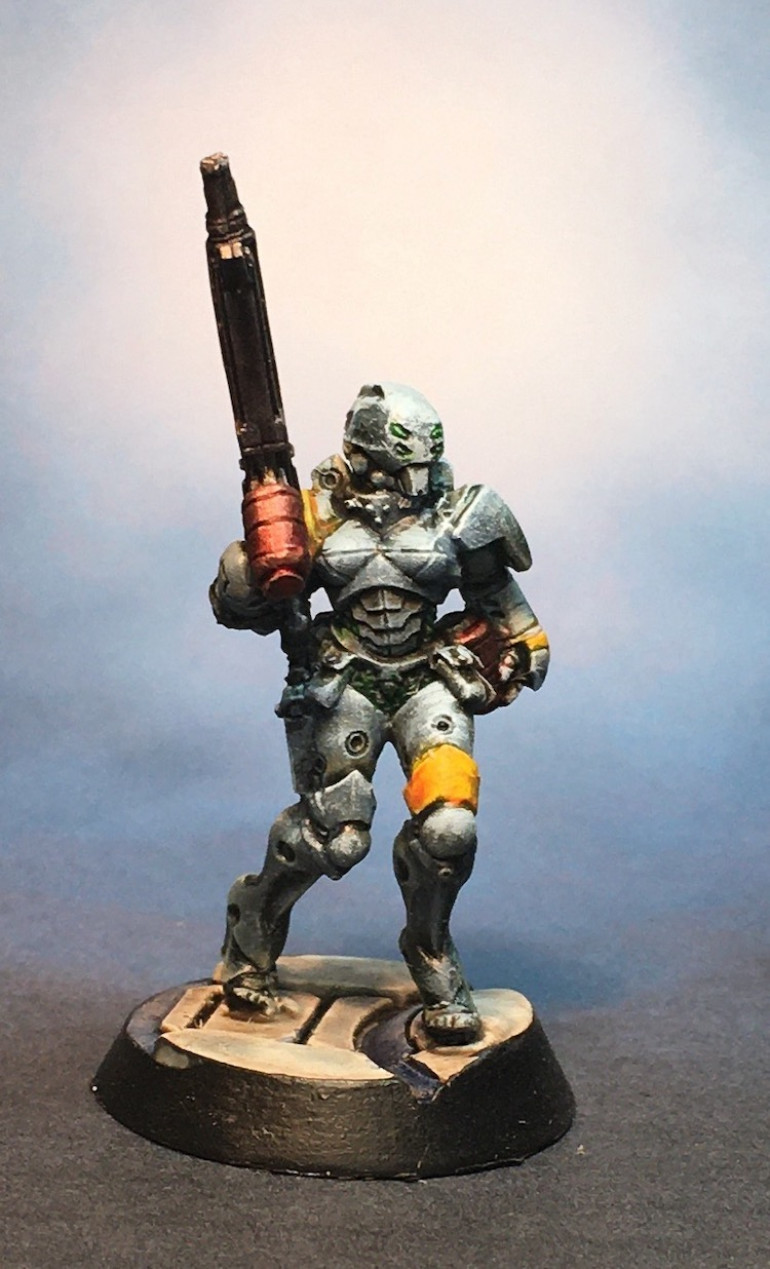
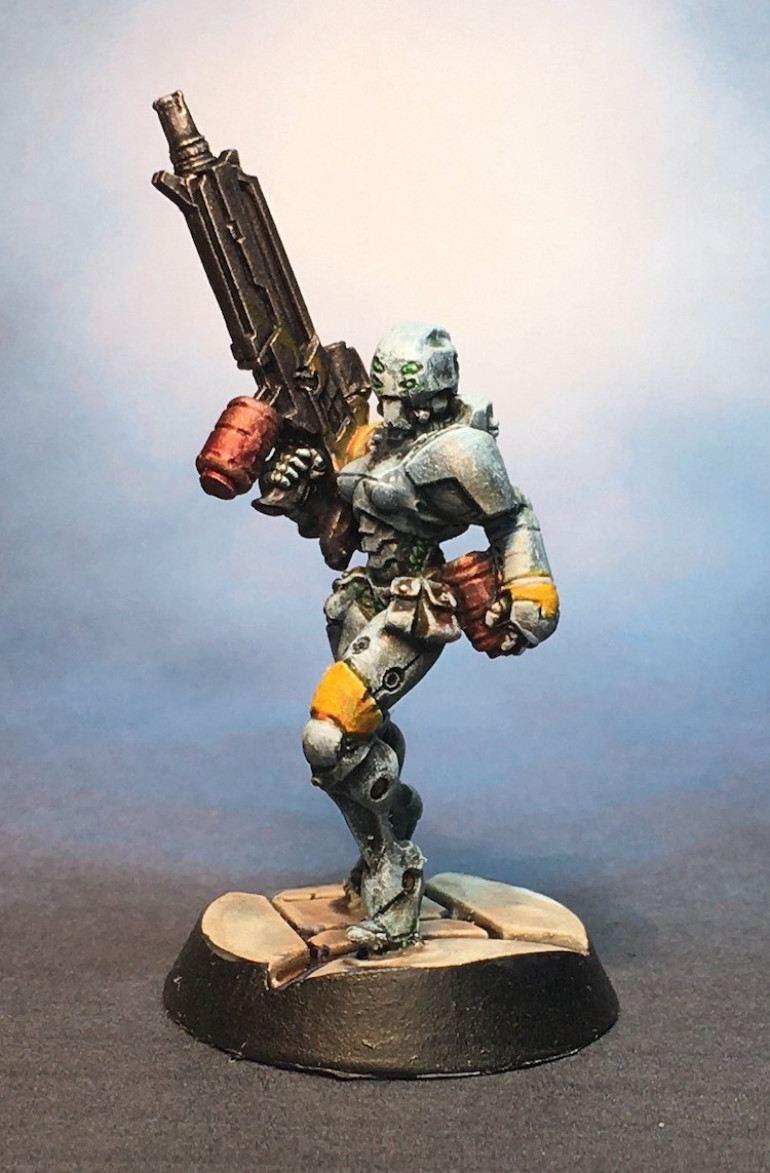
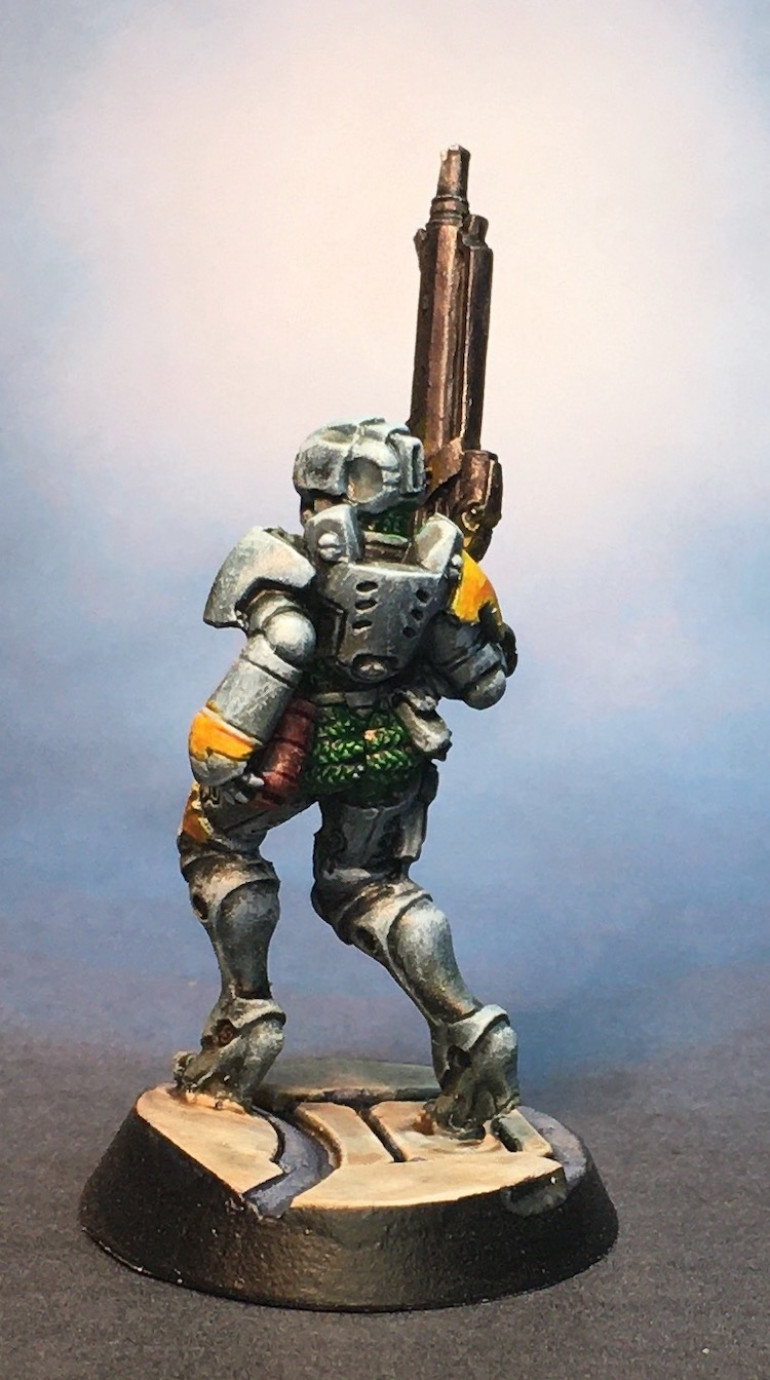
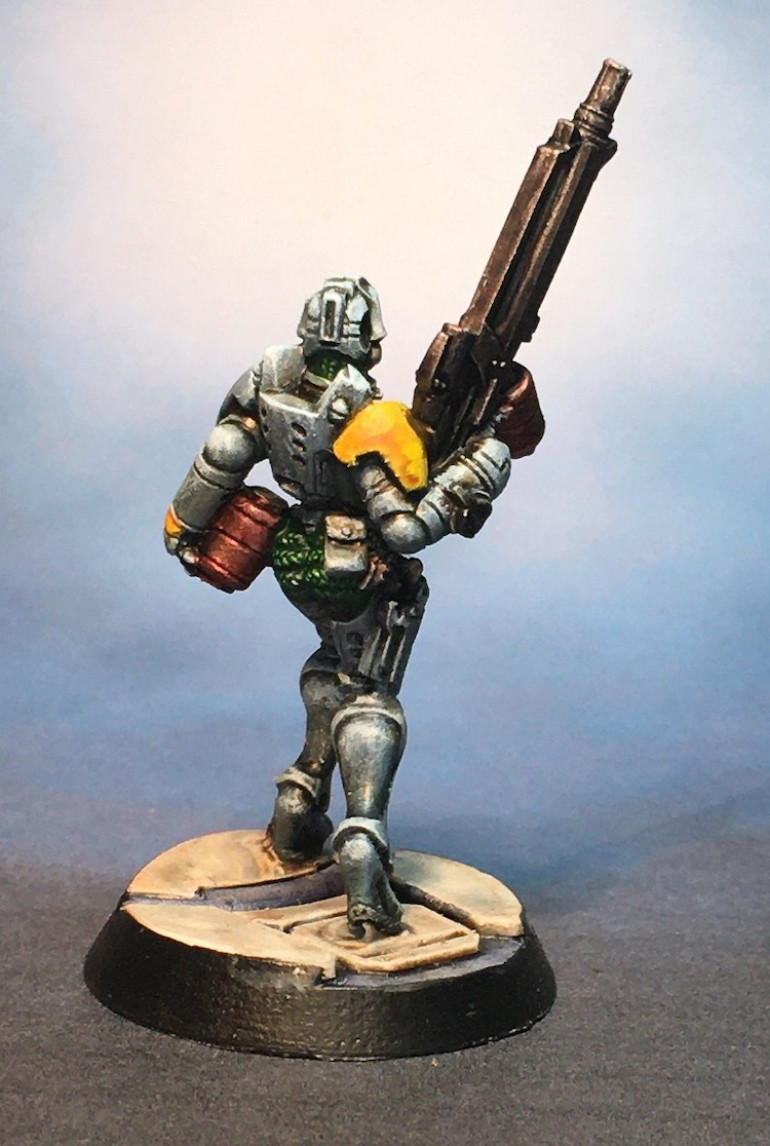
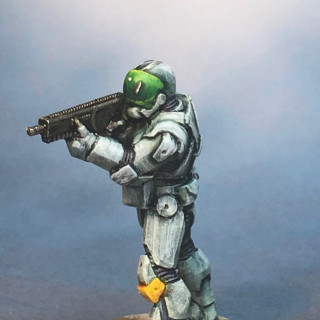
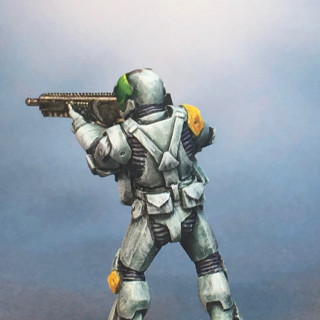
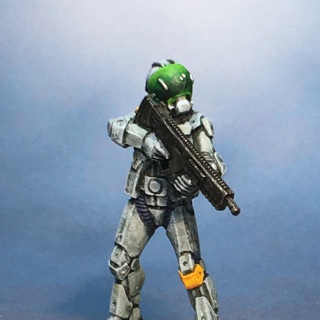
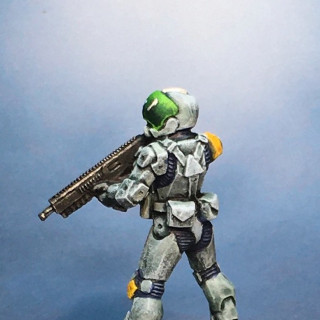
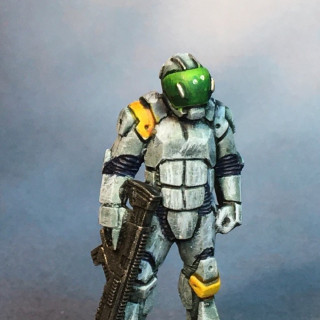
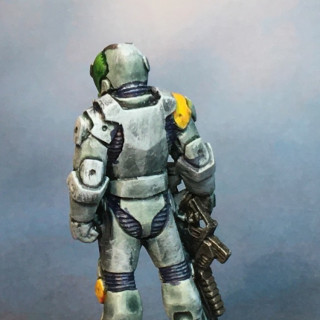
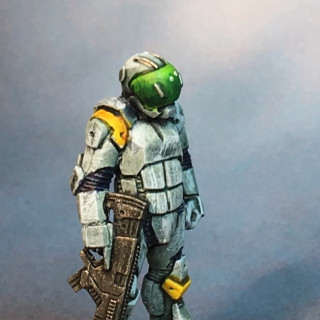
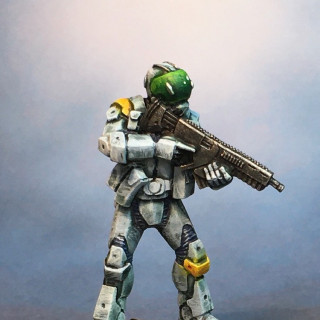
I’ve got two snipers finished. The ratling sniper is an old Citadel mini while I’m not sure about the other one. It might be for Infinity. Whoever produced it, I think she will look great with my First Contact Squad so I painted her to match them.
Gotta say, I’m getting rather excited about Star Grave coming out as I have probably got enough minis finished to get started.
More Banders or Gangers Game System Depending
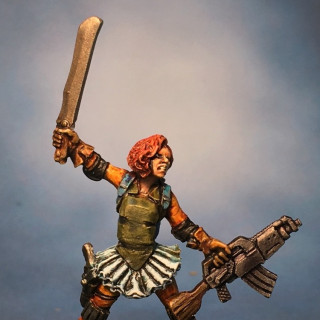
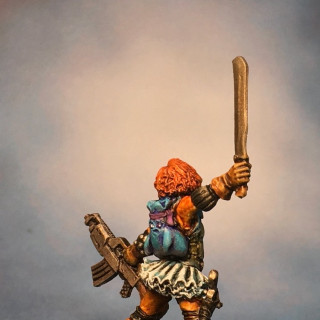
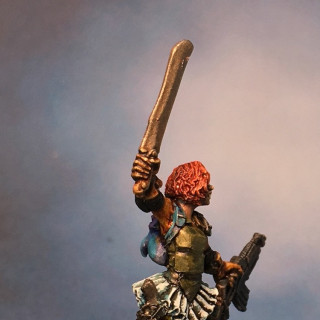
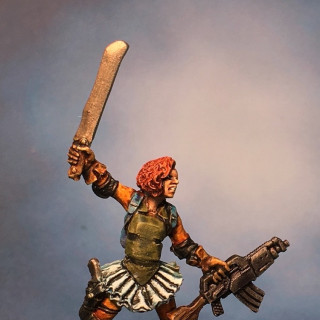
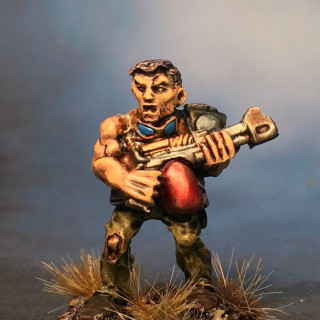
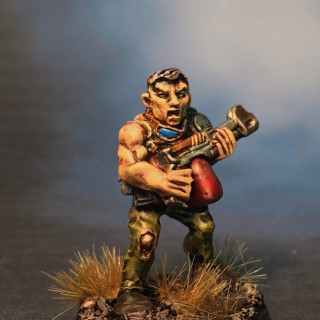
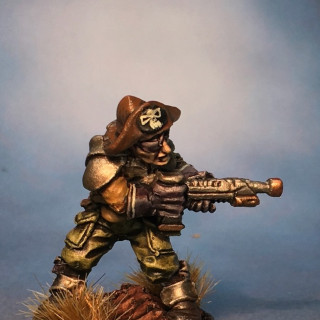
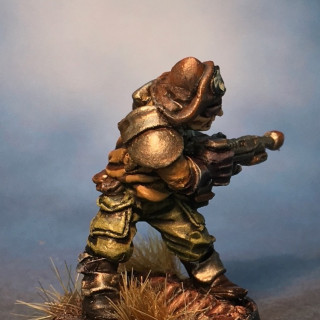
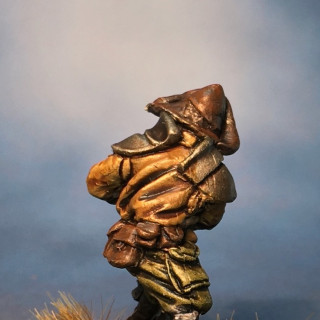
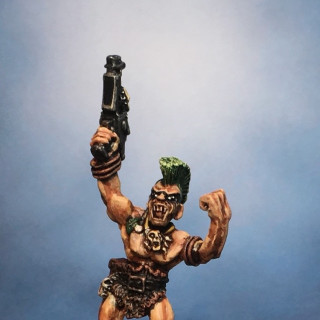
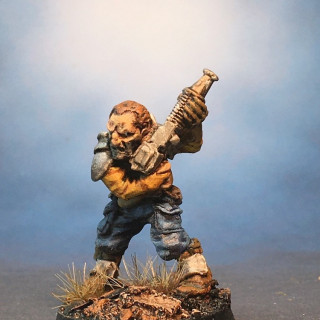
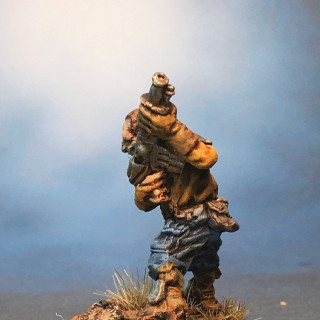
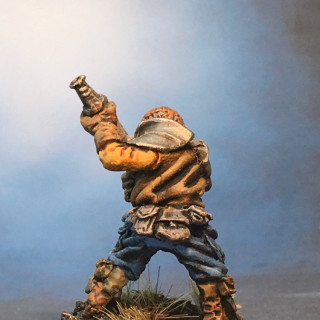
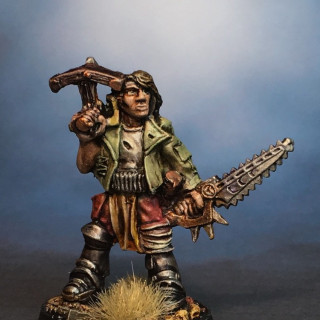
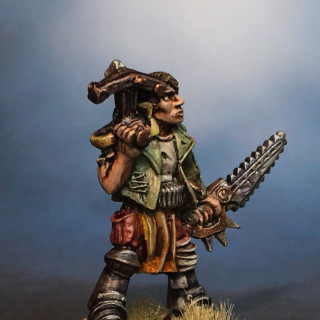
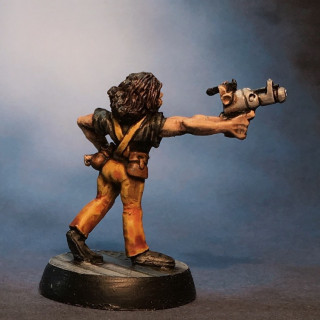
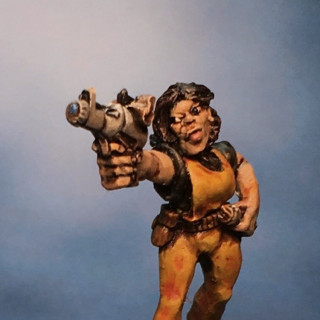
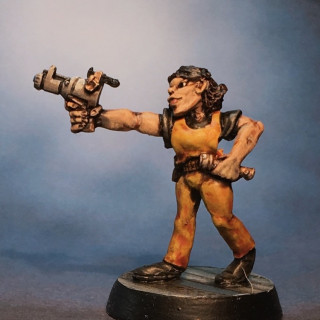
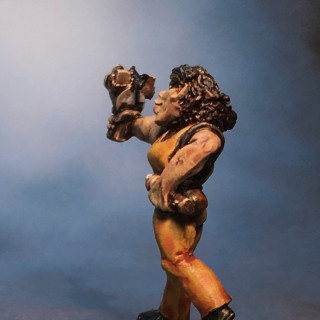
This is another mix with the first being a Kev White sculpt for Bad Squid Games. She will make a great squad leader. Following her is another mix of very old school Citadel Rogue Trader minis.
Banders Find Strength in Numbers
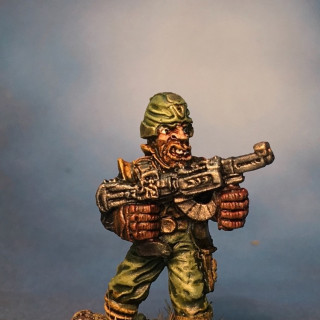
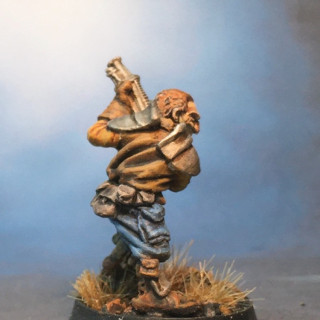
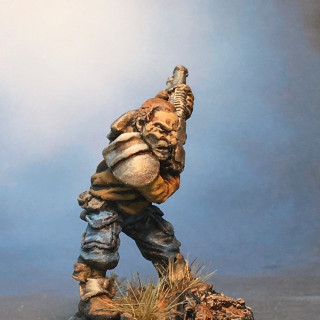
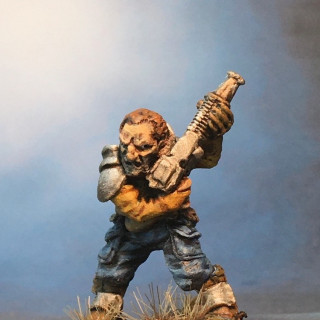
The massive cloud of debris, planetoids, asteroids, ancient ships, and who knows what else that stretches over half the binary system that is Damocles had been known as The Band for as long as anyone could remember. Those who brave the countless dangers of the region can find fabulous wealth, alien technology, or ignoble death. These individuals are called Banders and form groups of fiercely independent, well armed prospectors. Not just humans find safety in numbers with aliens and androids often being found within their ranks.
Of course these minis will work for any science fiction gang members or armed colonists.
Some Paranoid Citizenry
The more developed planets are covered in massive cities and industries. These are some of the regular citizens living and working therein. Not all the systems running every city are to be trusted however. The miniatures are ancient Citadel minis from their Paranoia line. As it has been decades since I last played that hilarious role playing game so I don’t remember what order the colors were in security clearance. I went with red and yellow as they looked good to me.
Creepy Aliens Sighted
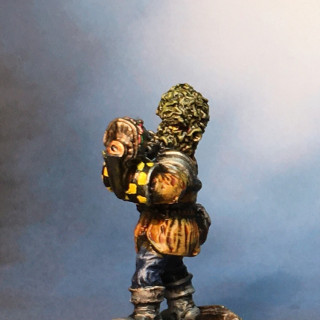
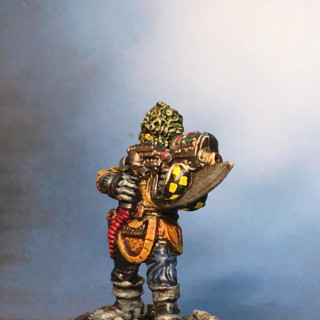
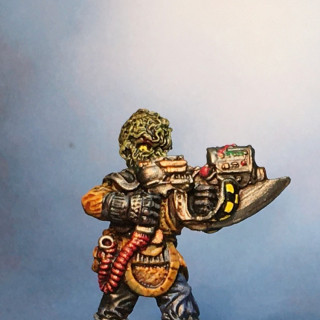
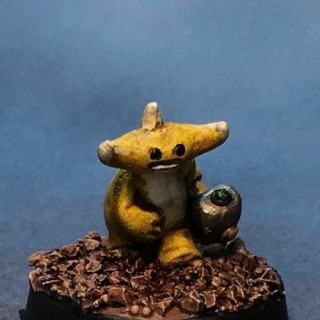
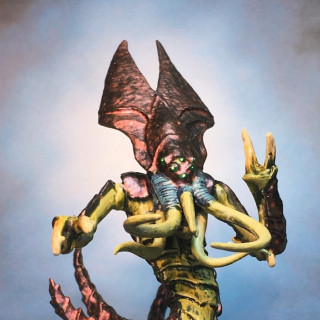
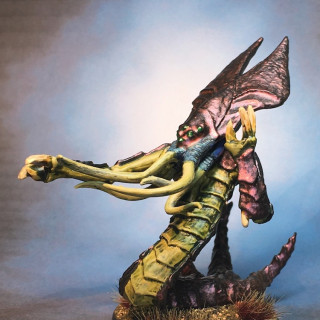
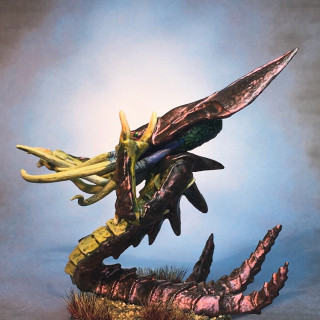
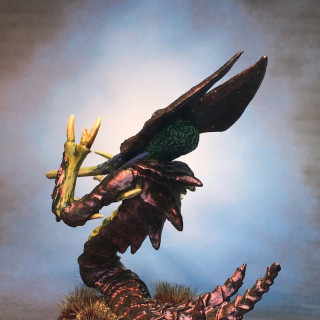
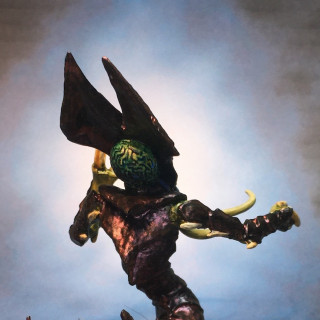
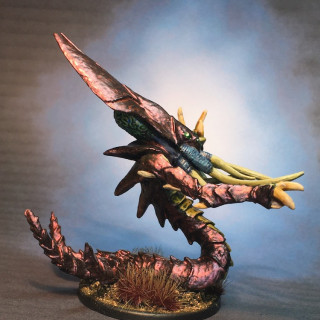
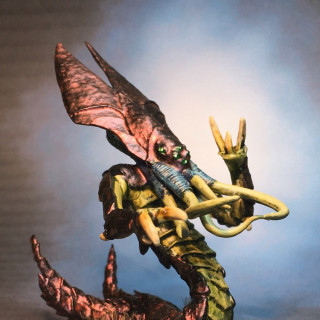
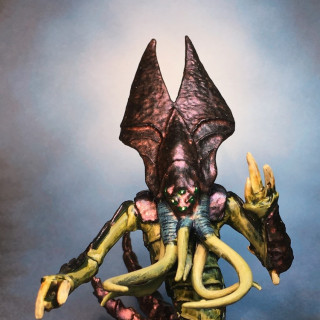
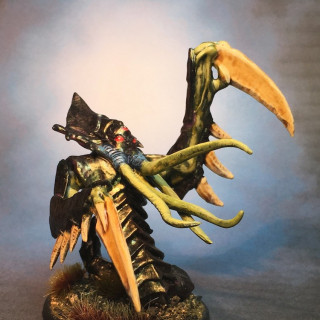
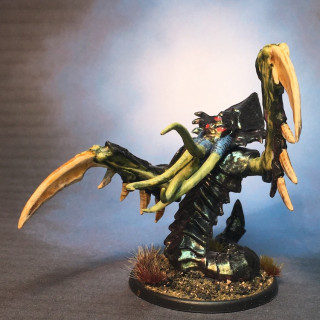
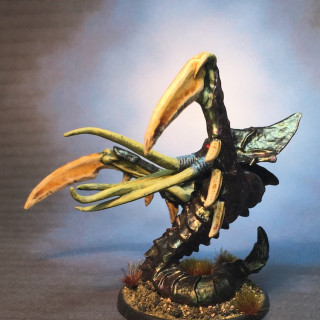
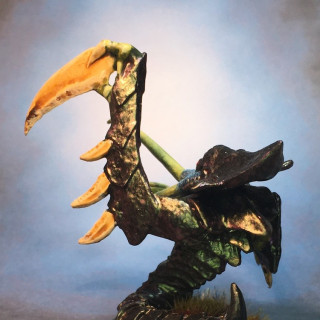
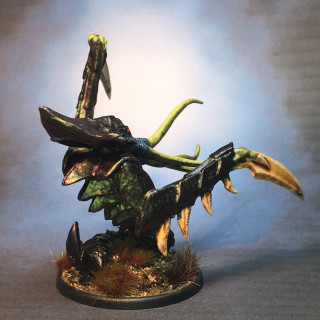
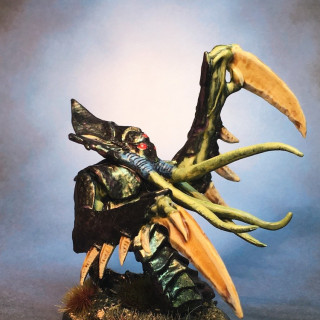
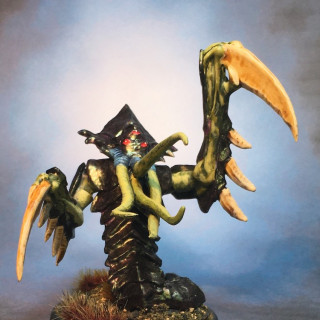
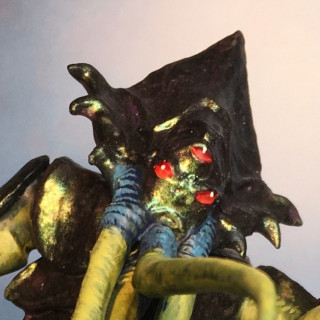
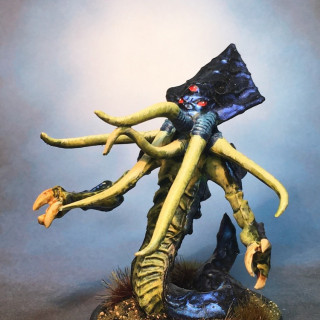
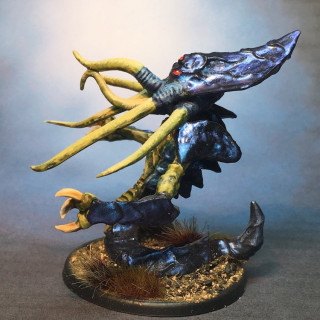
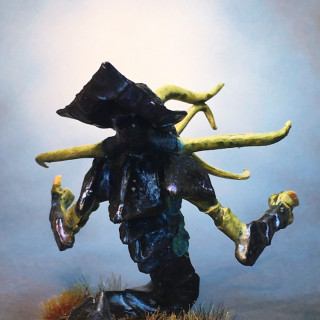
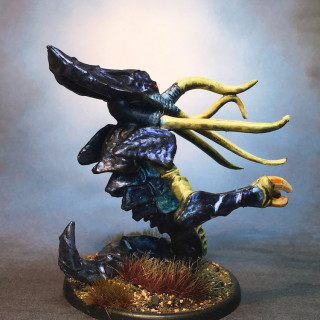
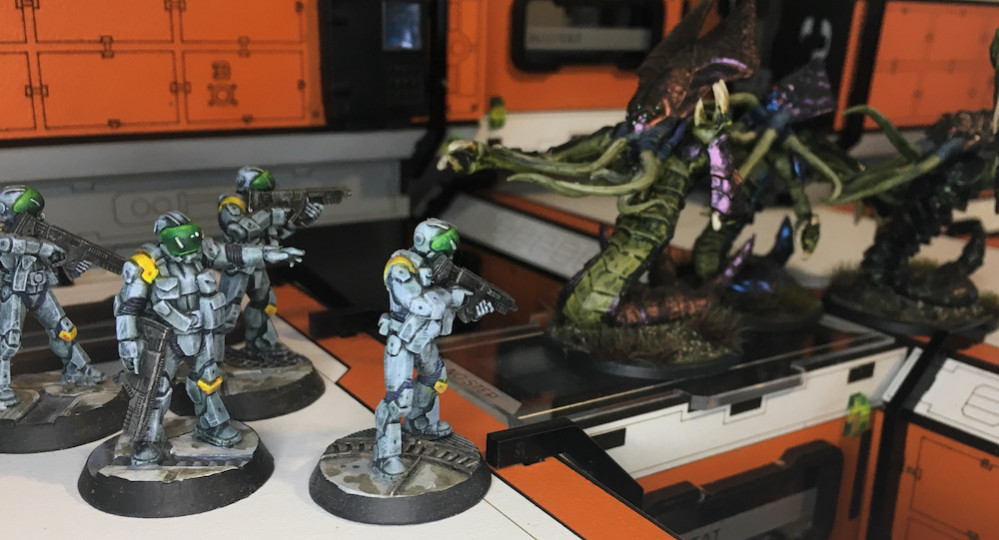
Reaper calls these guys Bathalians though I am unfamiliar with either their name or design. They were part of the Bones3 rewards if memory serves, and offered another opportunity to use some of Vallejo’s Color Shifter paints. As there three were each unique from one another I went with three different colors. Like Ridley Scott’s Alien, these guys look to combine armor with dexterous speed and I can see them being encountered throughout the Band both on the planetoids and within the floating alien wreckage. They are more than a little creepy and I might need a few more of the green guy with the monstrous blades.
Big Gun for Team Bravo
Depending on what a first contact team discovers there maybe a need for more fire power. This lethal lady is an Infinity figure I won in a drawing years ago (a decade even) and finally got around to painting. I didn’t like the “bunny” ears she came with and she fits in with my Hasslefree team better without them so left them off. She’s got range as well as armor piercing explosive rounds so Team Bravo knows she has them covered.
Rusty Cargo Container
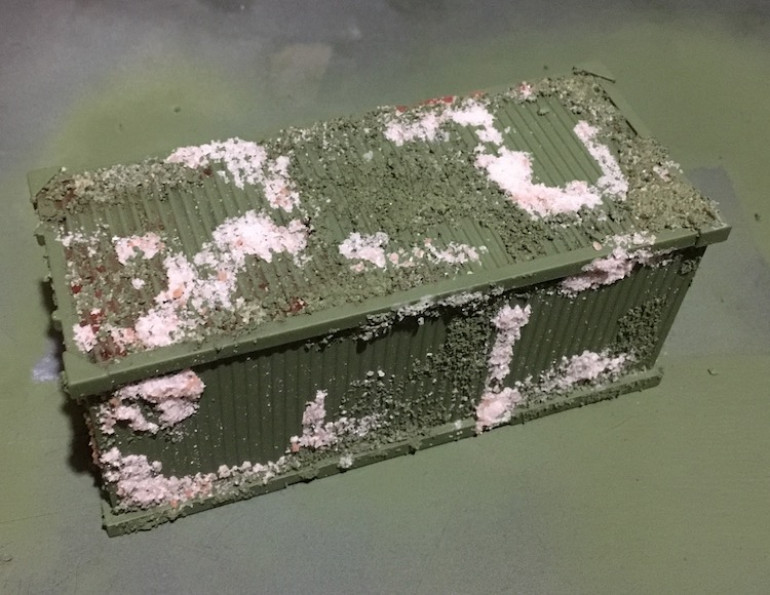
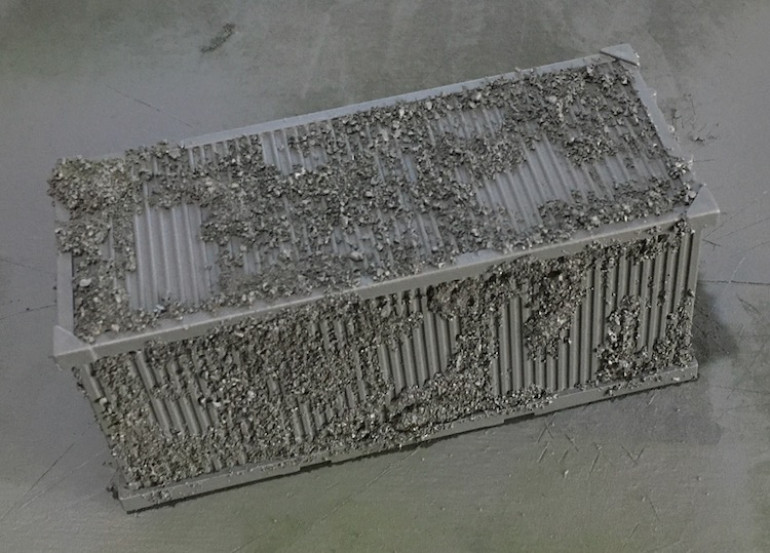
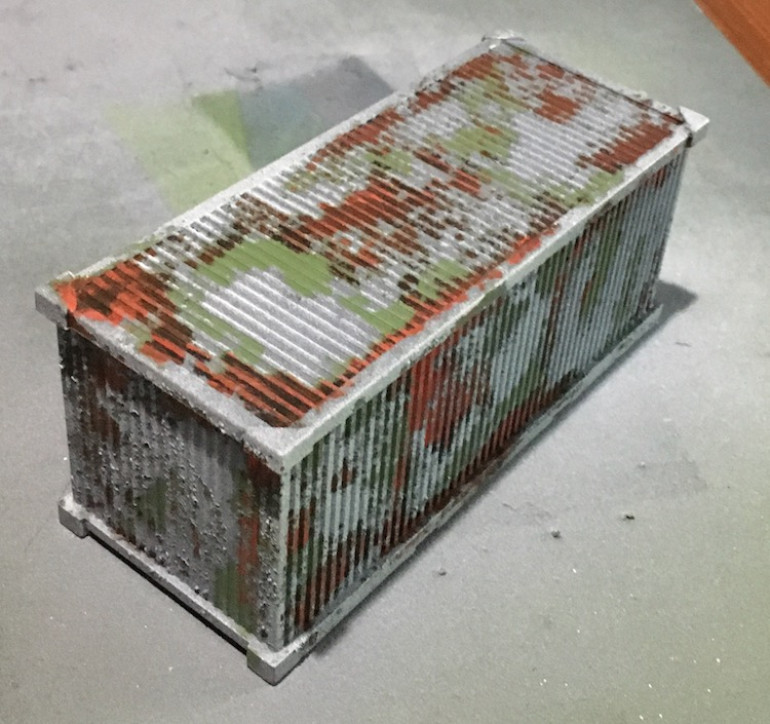
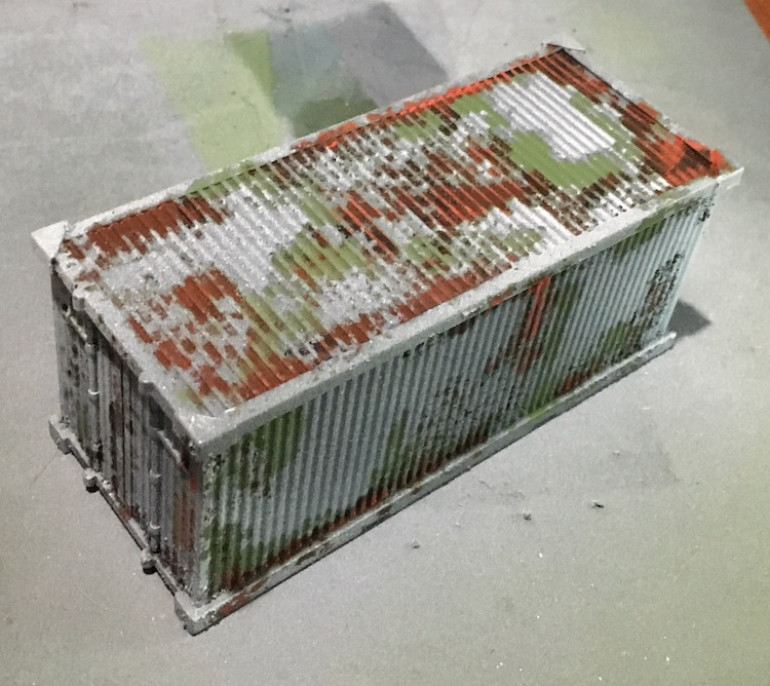
So I decided to try adding another layer of paint to the salt method in order to give the surface a repainted look as well as rust. I used the cargo container that came with the Bones3 Kickstart rewards and I think it came out rather well, all in all. I did add a dusting of white to the grey before I scrubbed the salt off. I have a lot to learn/figure out but feel confident of further success. It is such a simple technique with a lot of potential.
Primer Hides a Lot of Sins
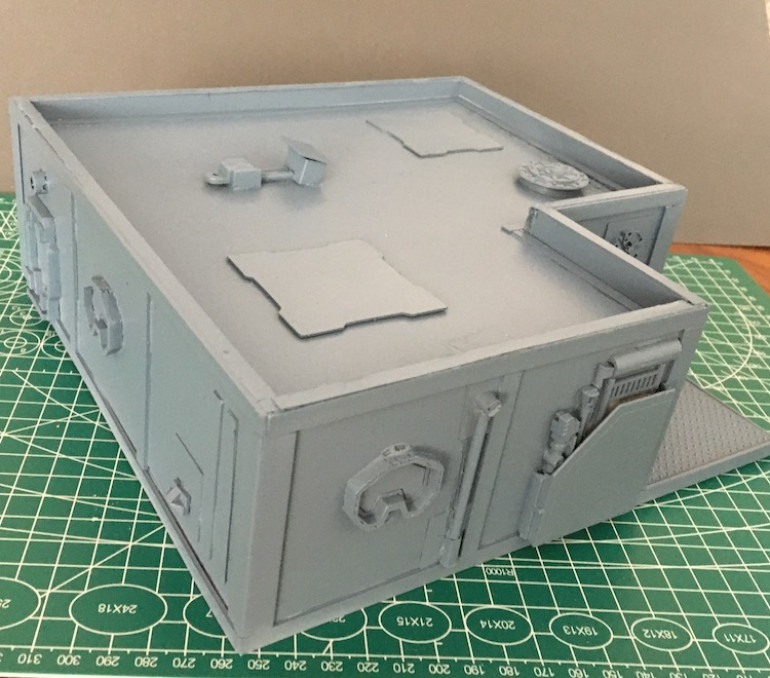
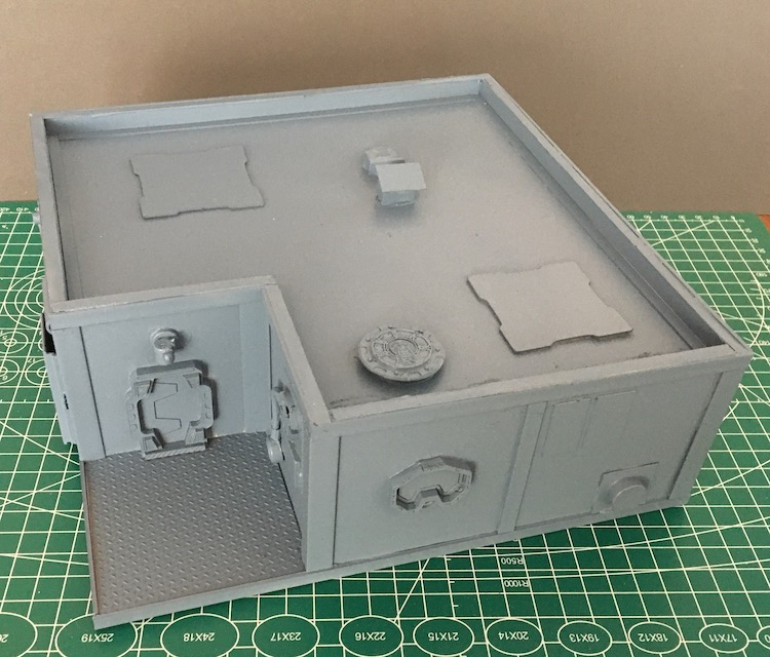
Enough details to prime, I picked Army Builder’s Wolf Grey. Funny but just that makes it look more like a building. Now I’ve got some painting to get started.
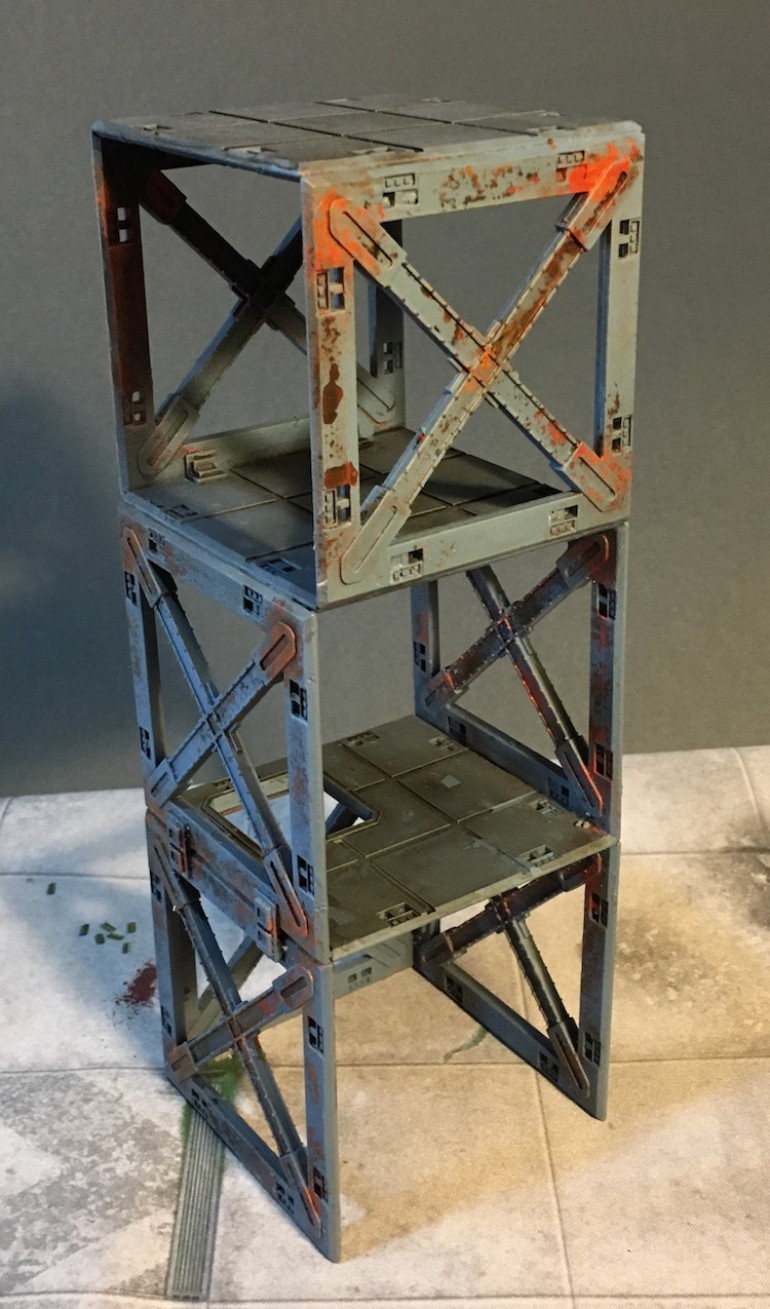
Deadzone Tower Test Build
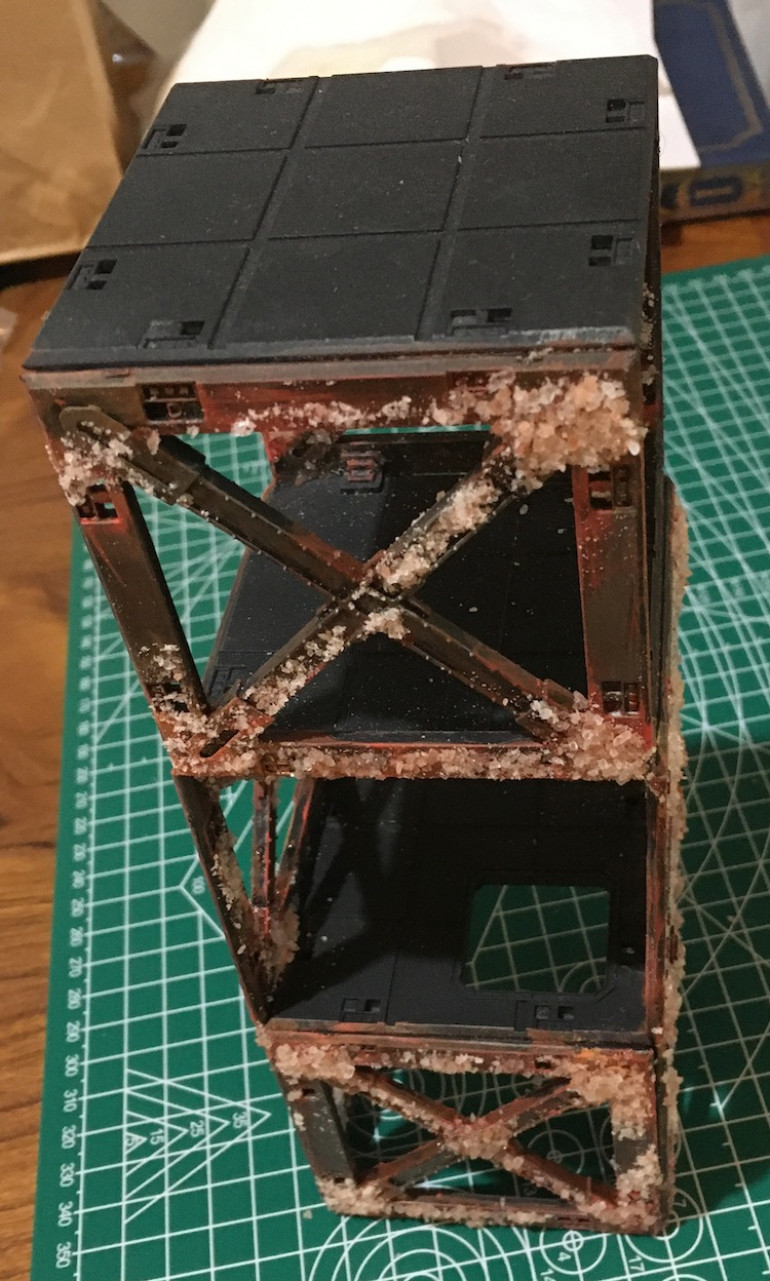
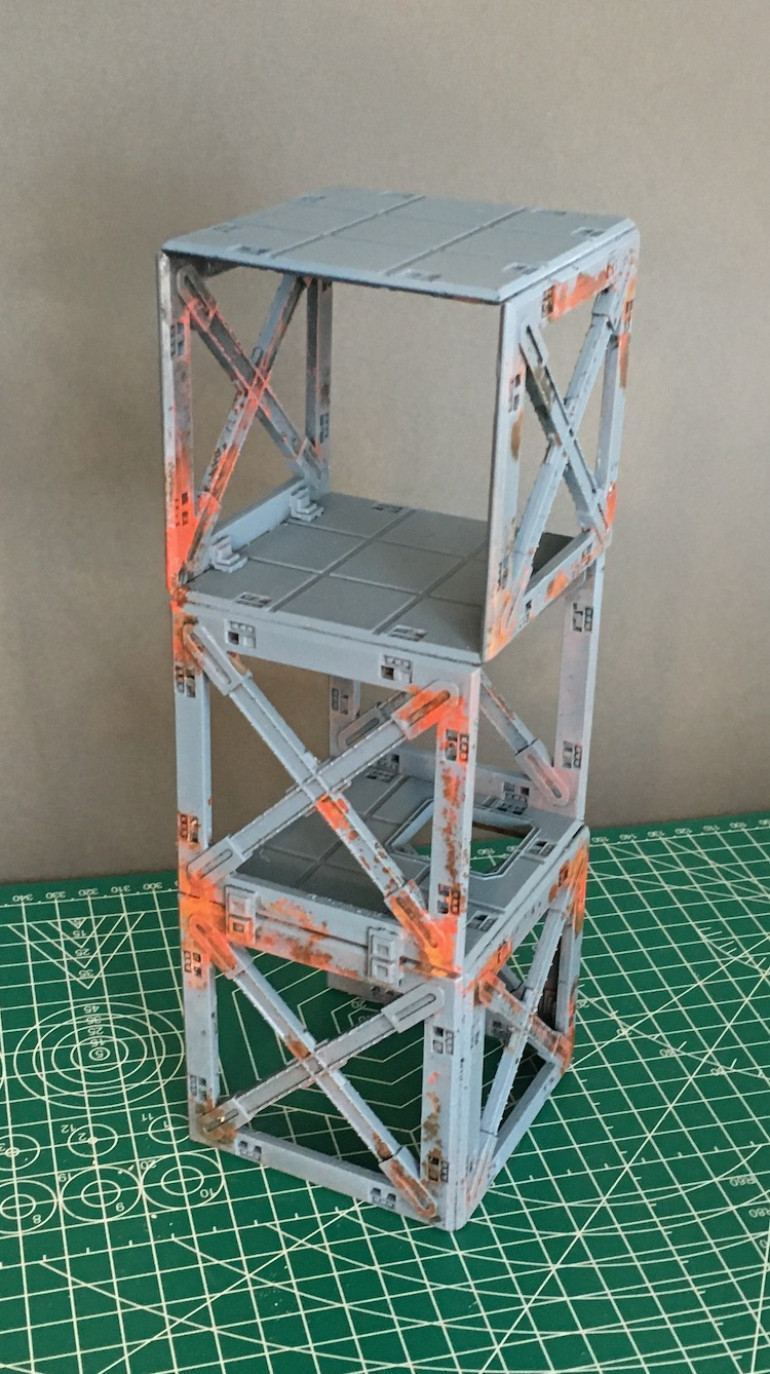
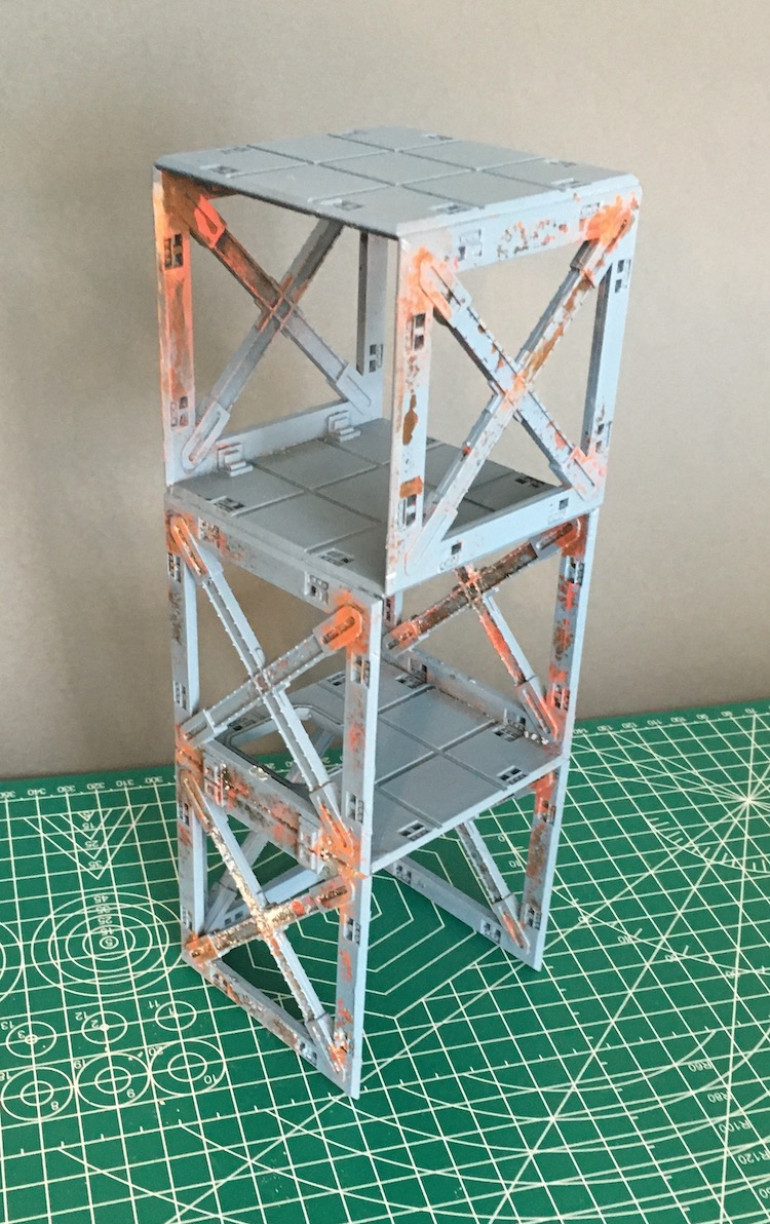
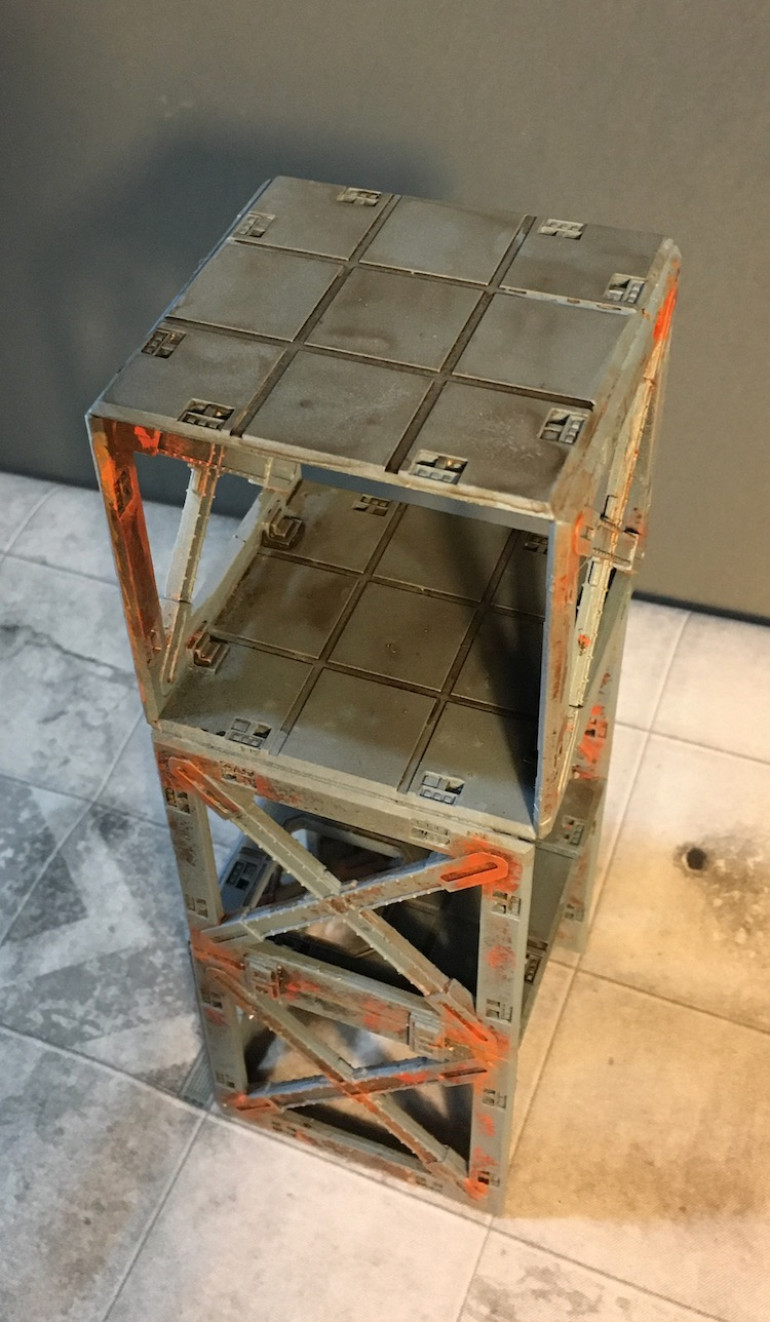
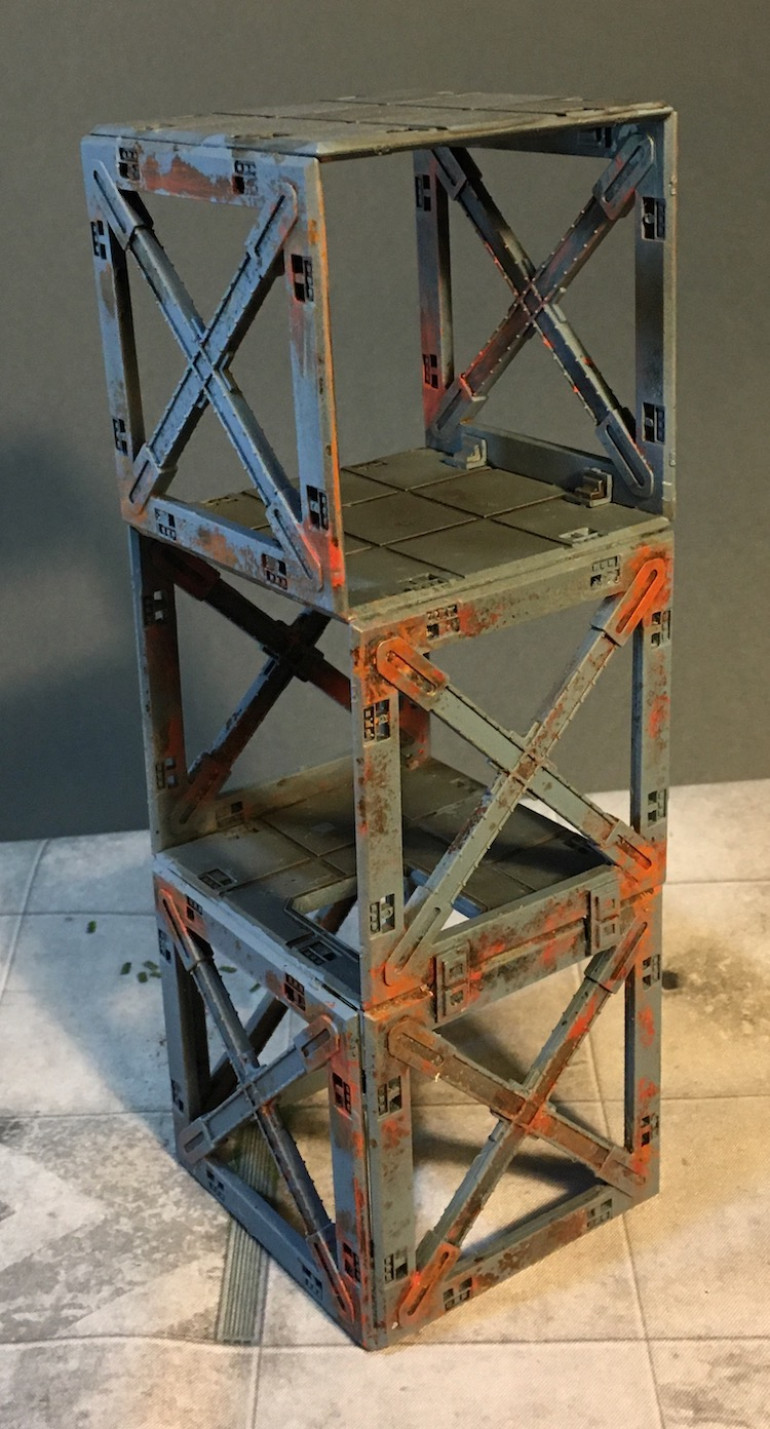
After playing around with the pieces from Mantic’s Deadzone Kickstart I wanted to build a simple structure I could paint and add to the “Generic Forms” section of my collection. This is stuff going back to the original Necromunda where pieces were interconnecting structures that served no discernible purpose, generic equipment, ladders, and doorways. Great stuff for representing a complex industrial area. While I like their concept that the Deadzone pieces are like Lego in that one can build and take apart structures as the scenario or mood dictates, reusing everything in new creations, I prefer to have more permanent stuff so I can paint and weather it. I used the salt method to rust the tower up. I knocked the piece over just before I was about to spray the grey on. This knocked off most of the salt so I had to reapply and wait before I could use the grey. Make a note, salt is delicate before covered in paint.
It's Time For Some Details
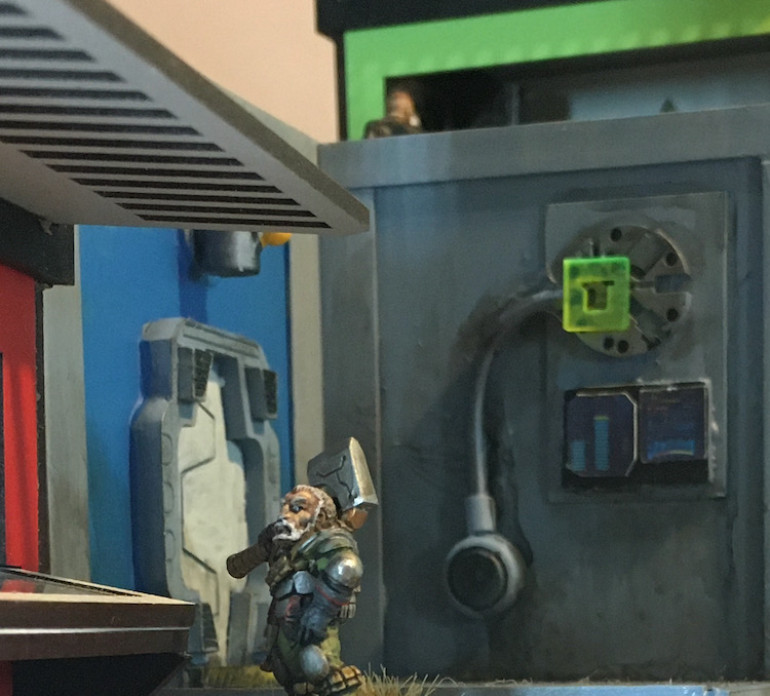
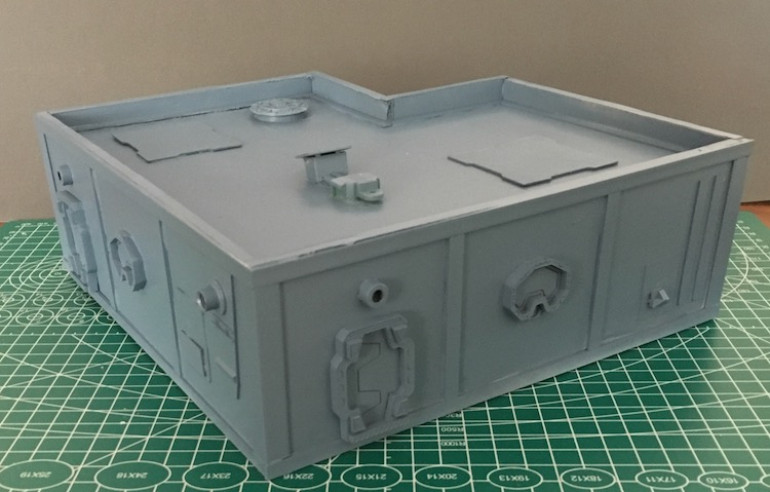
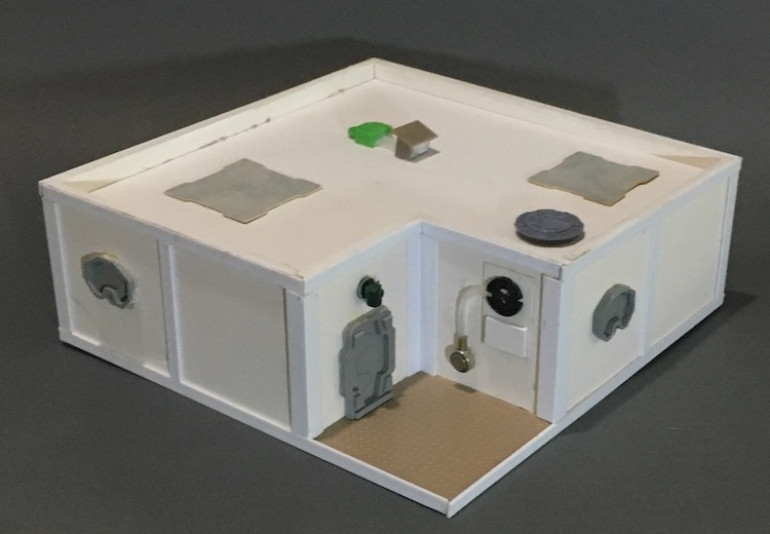
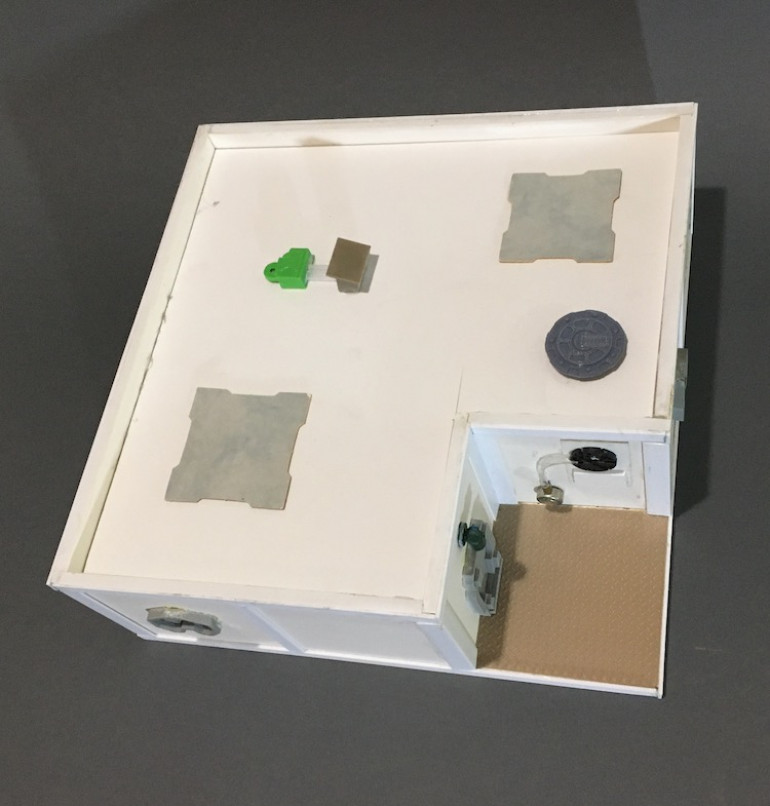
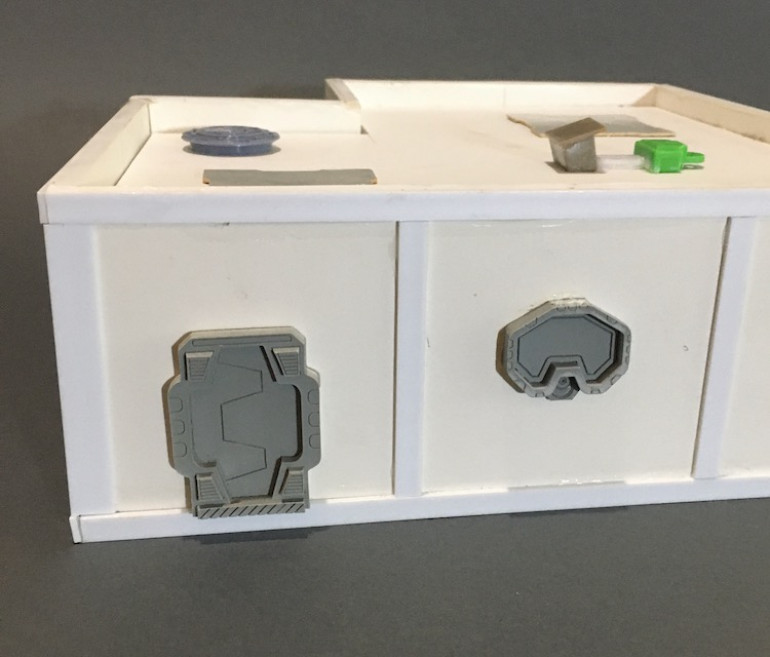
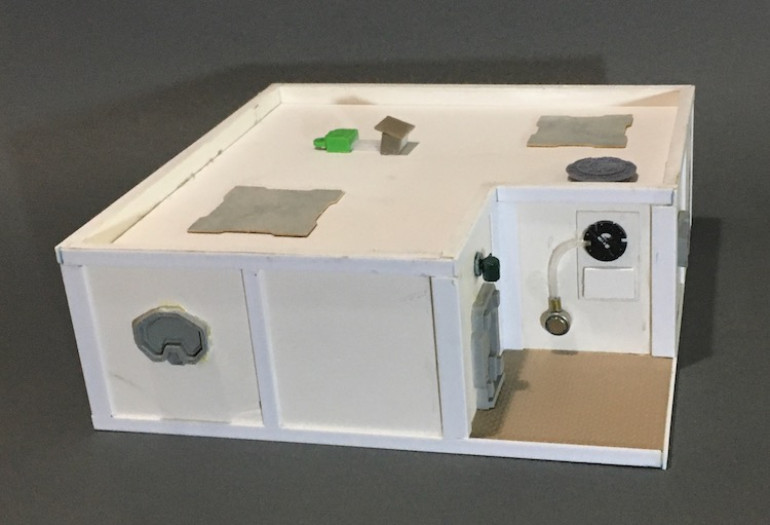
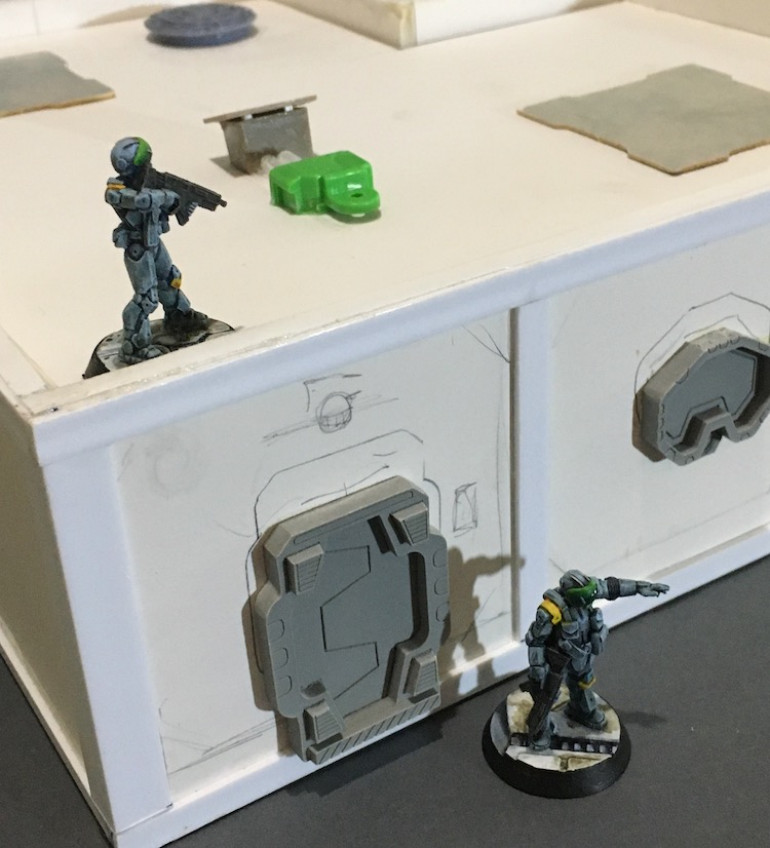
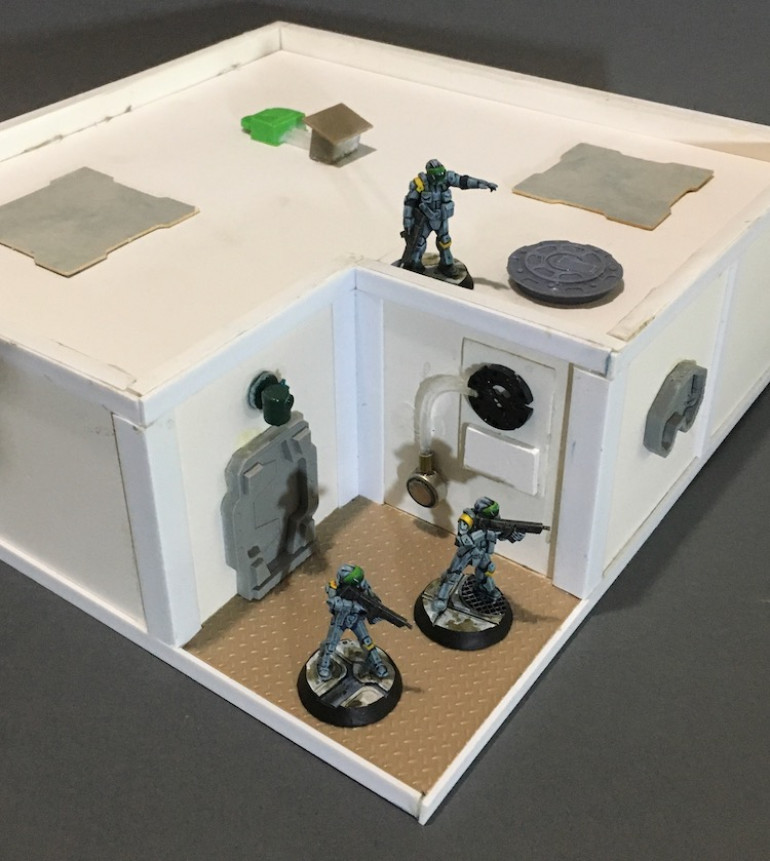
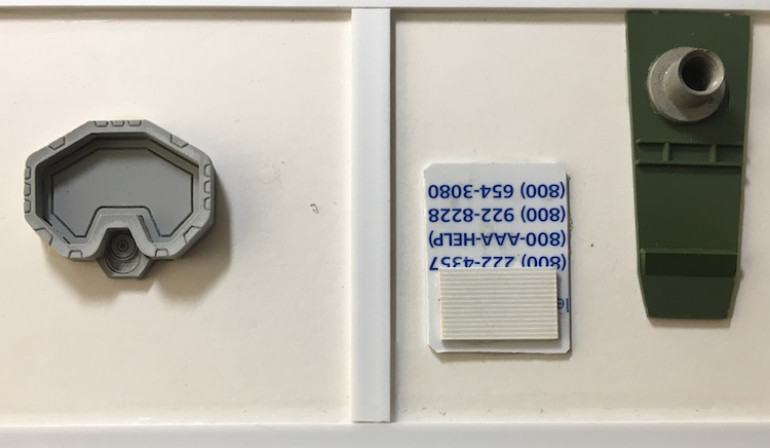
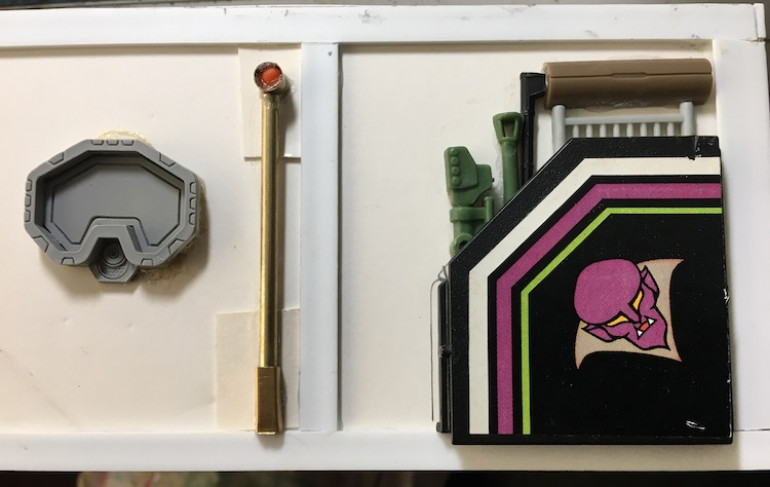
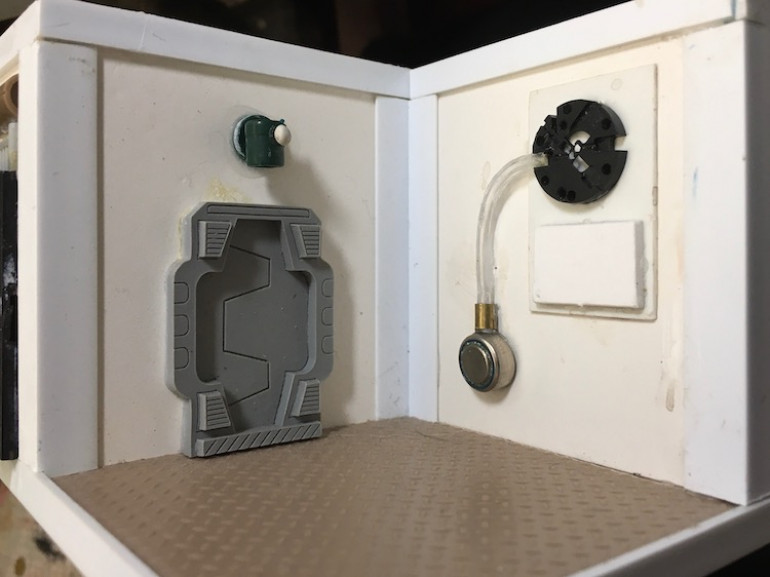
With the basic form built out of foam core it was time to dig through the bits boxes to find things to add texture to the building’s surface. I can imagine the colonists adding on machinery and devices as they need them. I left the roof unattached so I can use the interior once I decide what I want it to look like. I also kept the details the roof to a minimum as I want to be able to stack other things there. The windows and doors are those resin pieces from Trash Bash Bits while everything else is whatever looked interesting. Still want to add more but I like how it is coming along.
Building a Habitat Unit
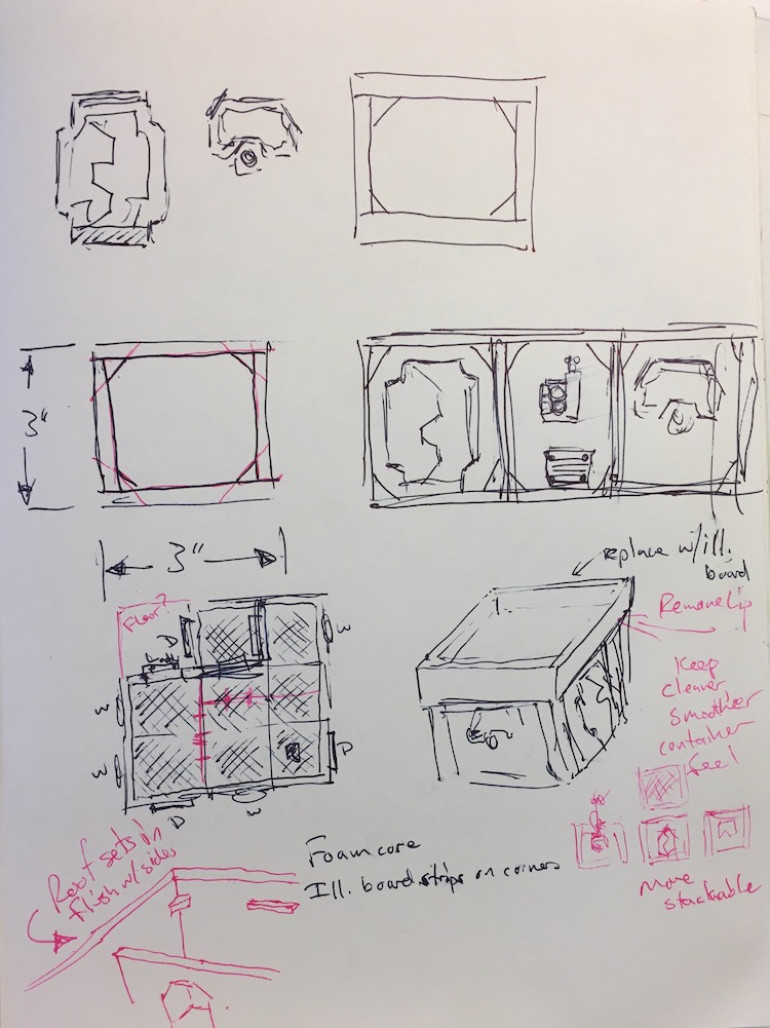
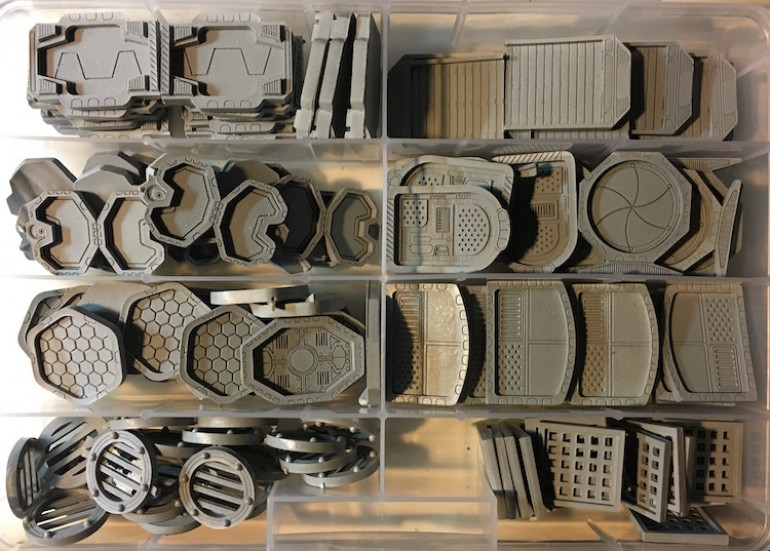
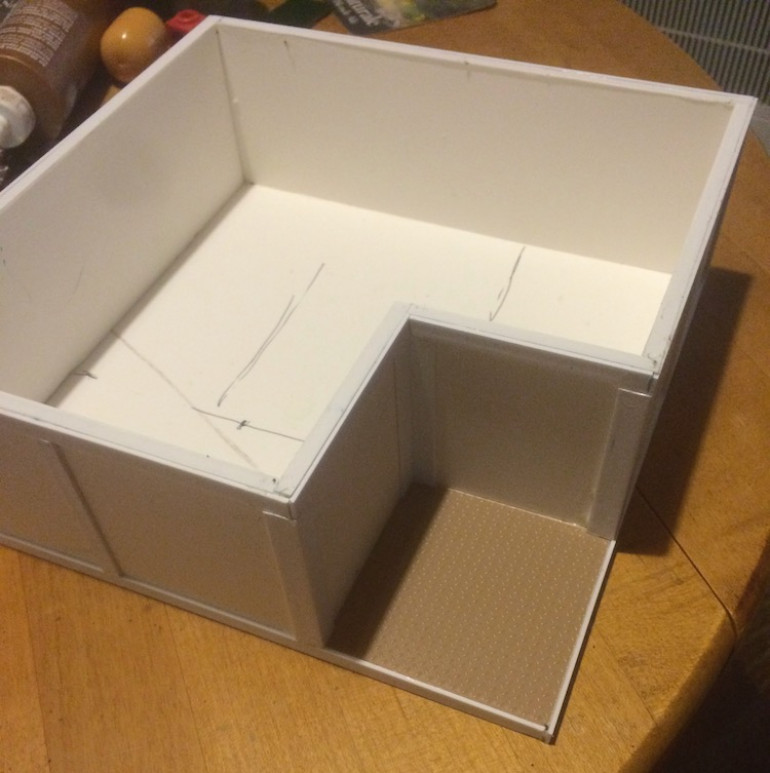
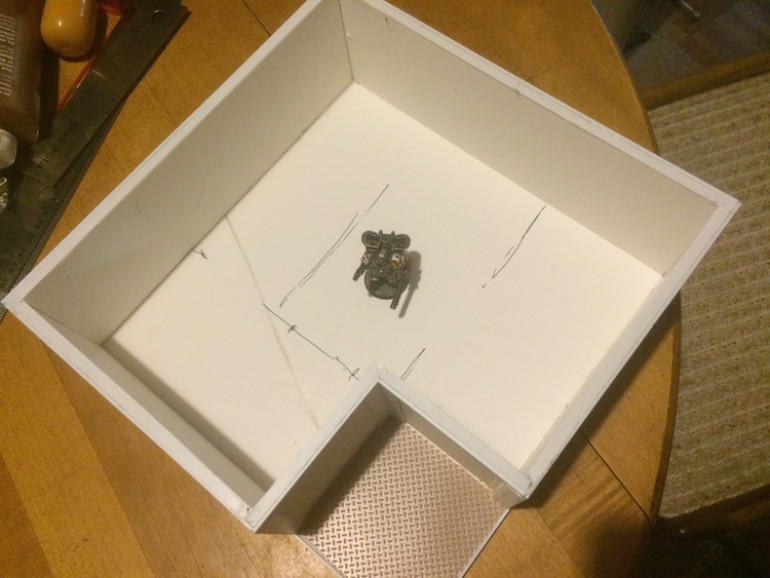
As if I didn’t have enough kits to build and as fun as they are I love building from scratch with whatever bits and pieces I have in my collection. One thing I have is a box full of doors, windows, hatches, and grates from Trash Bash Bits, a Kickstart campaign from way back. I think they will add a sense of unity to whatever I use them on. The first project I have in mind is a prototype of what I am calling Habitat Units as I see them as being assembled from the packing crates of the original colonists and then covered with all manner of equipment and doodads as needs require. I want to be able to stack them or things on them for more complex, more vertical battlefields so they need to be stable but lightweight. Since Necromunda set the precedent of 3″ squares and both my other sets followed suit I would start there. Foam core is one of my long time favorite materials and I have a bit on hand so that is what I plan to start with.
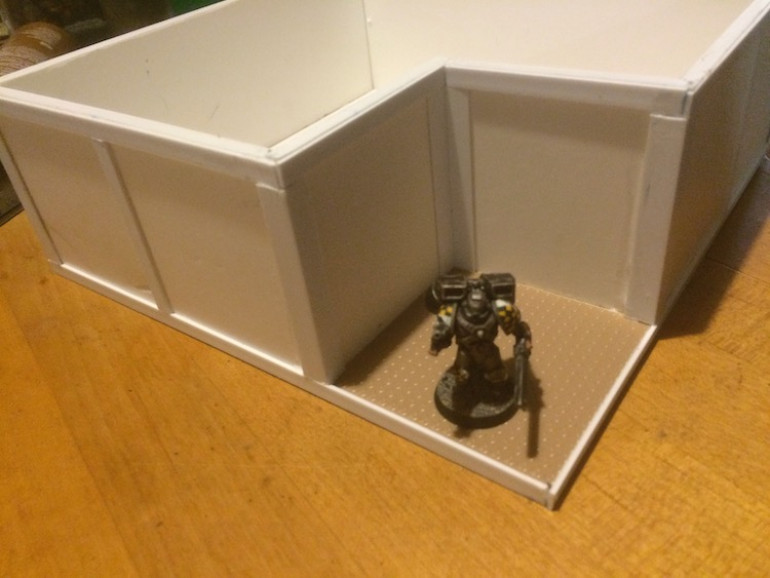 Foam core has styrofoam between two sheets of card which is delicate and susceptible to damage form spray primer so I sealed it with thin plastic strips.
Secret Weapon Deadzone Terrain Tiles
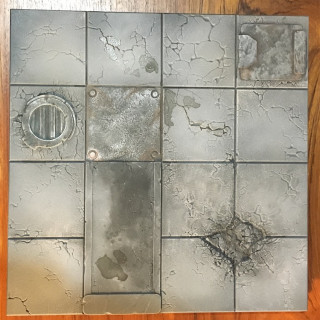
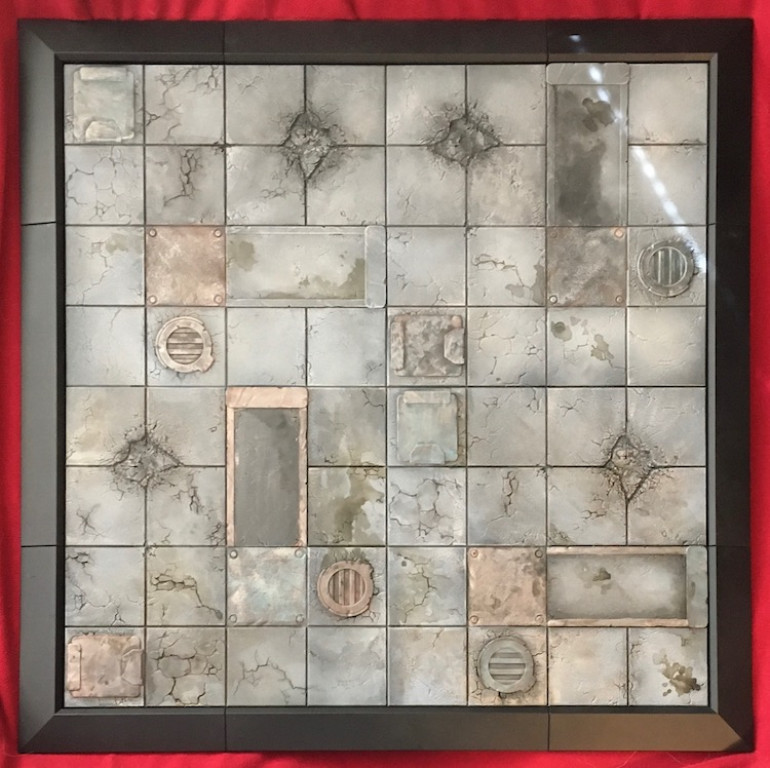
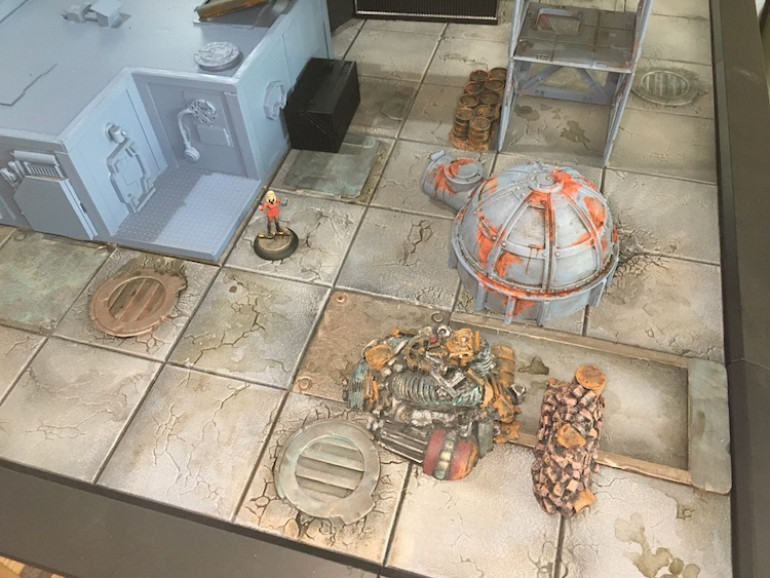
Way back when, Secret Weapon Miniatures ran a Kickstart campaign for their Terrain Tiles, one foot square plastic tiles that can be used to assemble battlefields of a number of genre’s. A set of four designed for Mantic’s Deadzone and including a frame were an Add On I decided I needed but only now am painting. (What? What primed sets still remain in the garage? What?) So here are the four boards individually shown in the gallery and the complete set with frame are next. A few with terrain scattered about as a visual test look pretty good already. Will be small battlefields as it is 2’x2′ but a definite start.
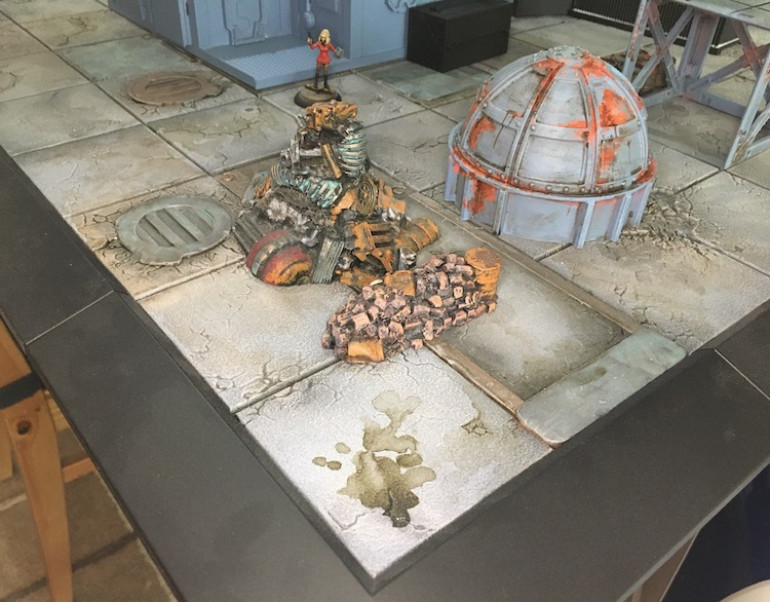
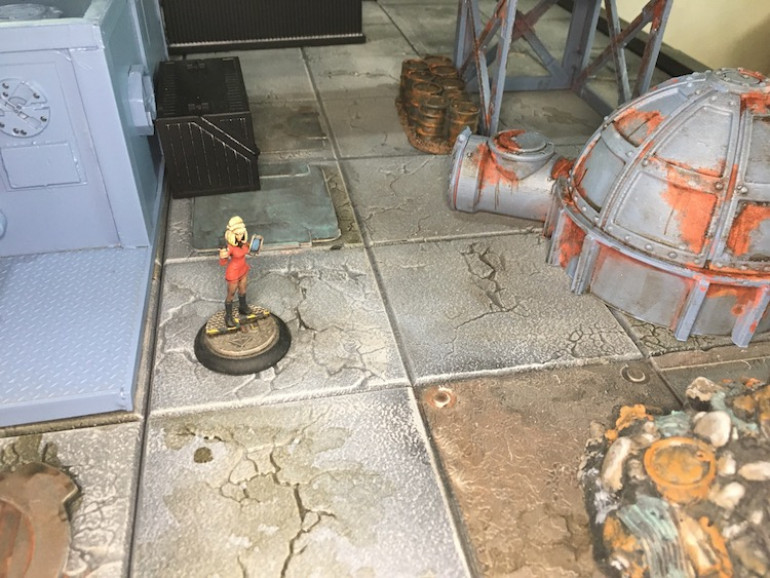
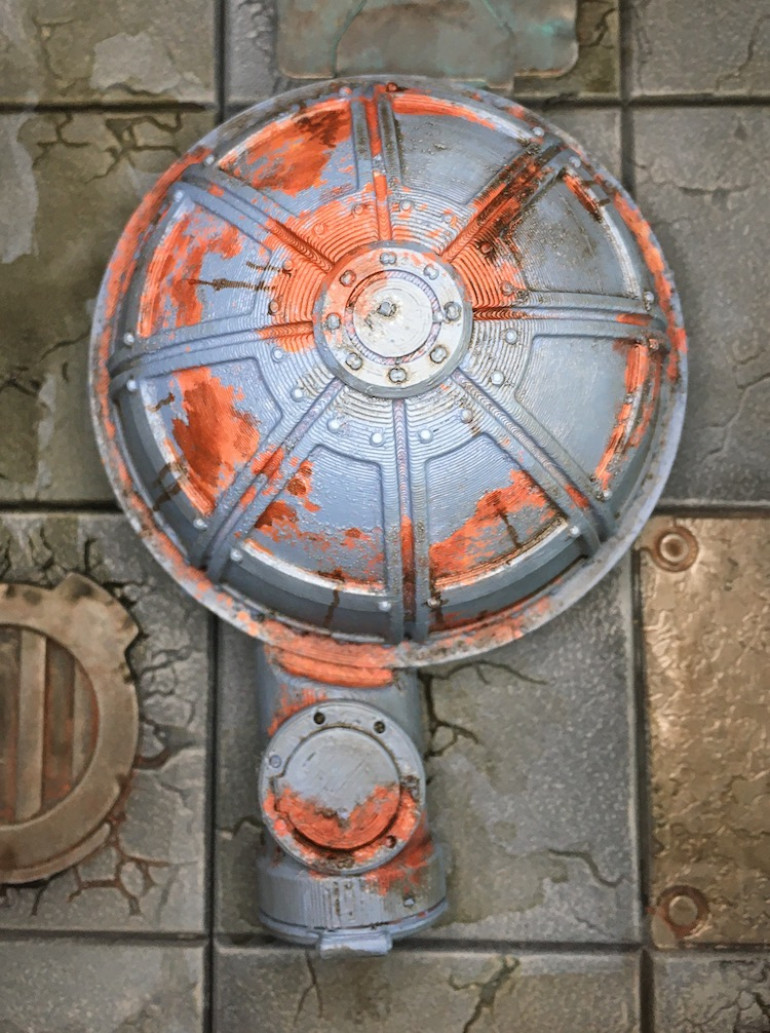
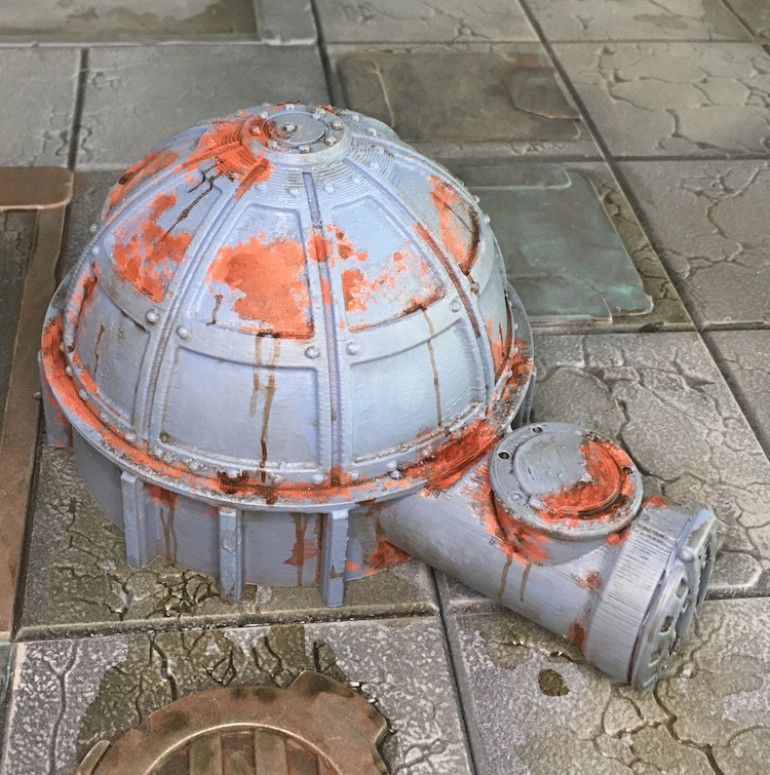
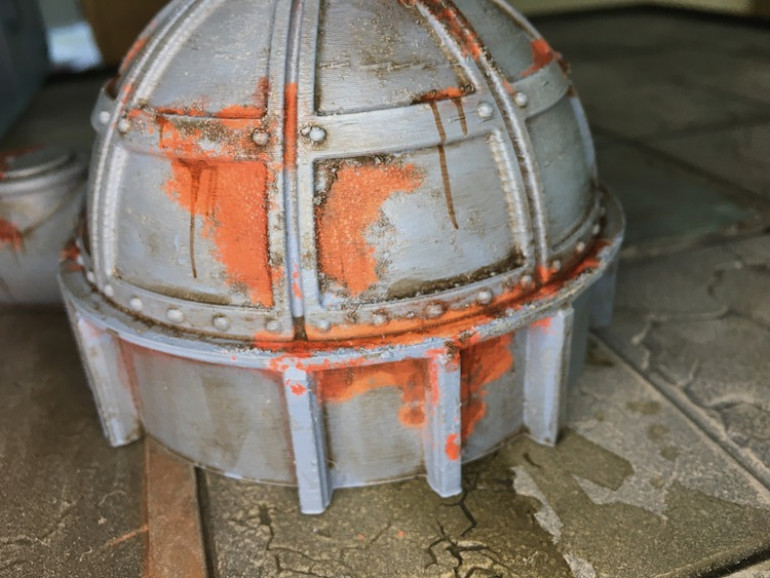
Trying Salt to Rust a Chemical Tank.
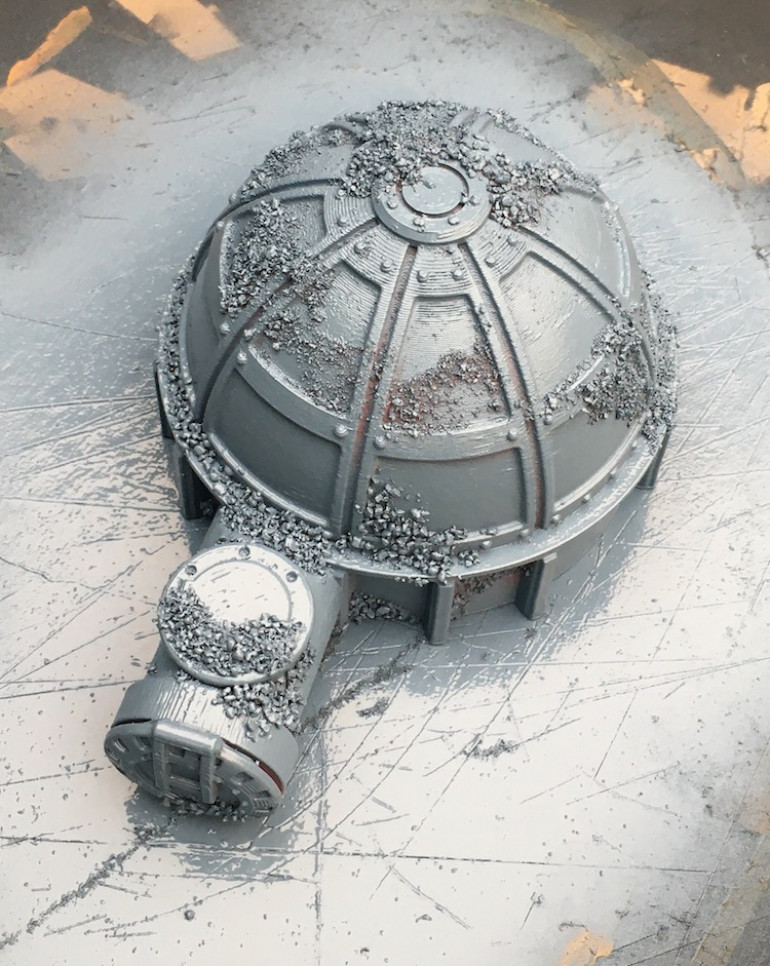
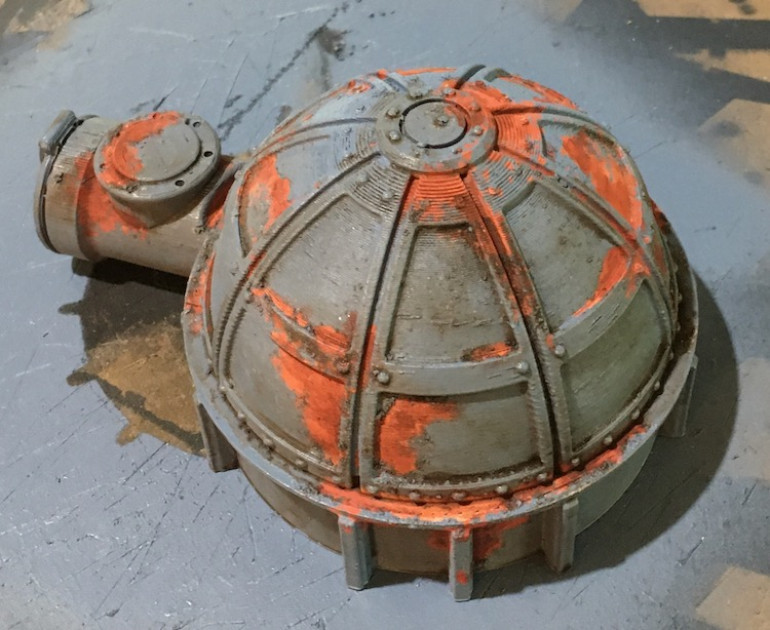
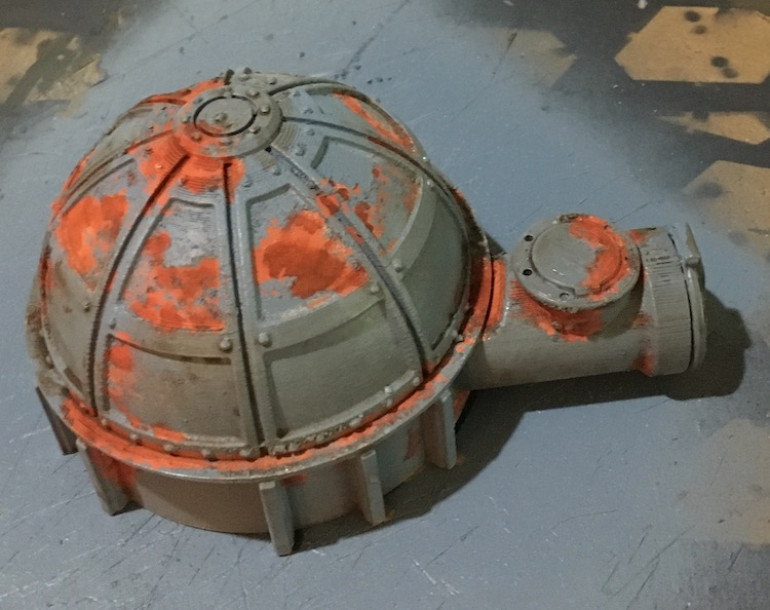
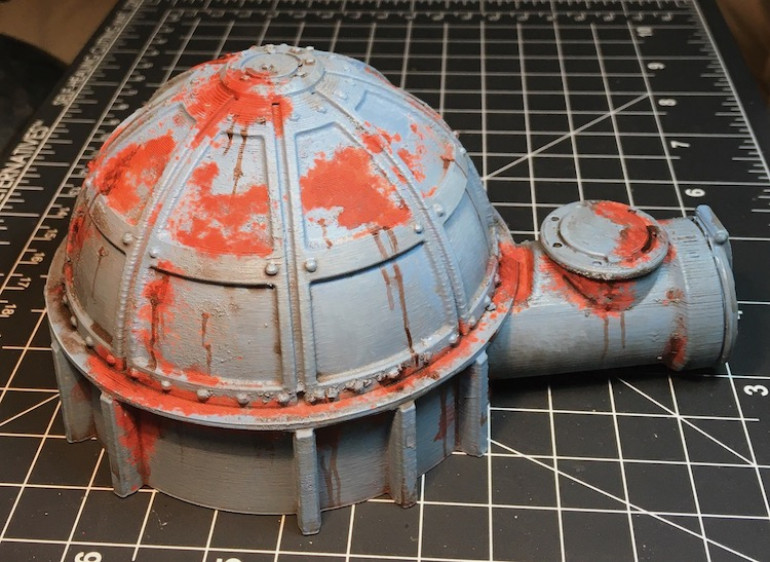
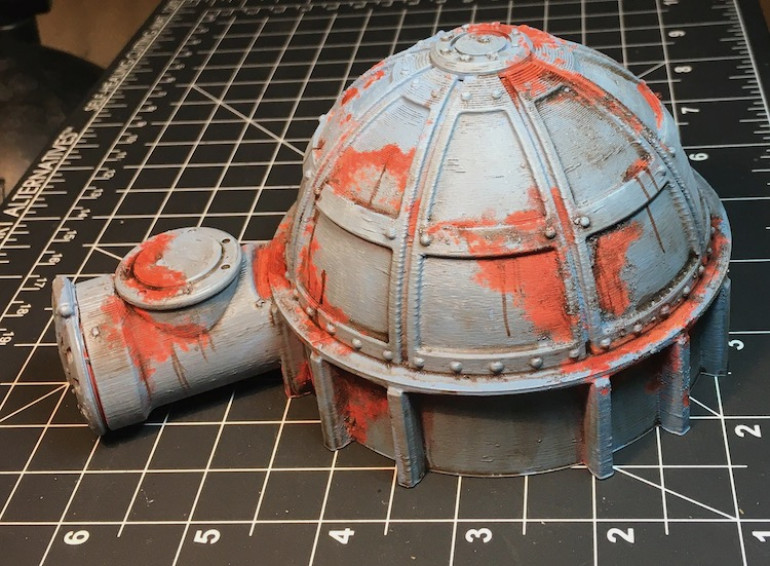
I picked up this model at a game convention years ago and knew it would be my test piece when I watched @avernos Gerry Can on using salt to simulate rust. I figured it might help mask or distract from the construction lines from the 3D print.
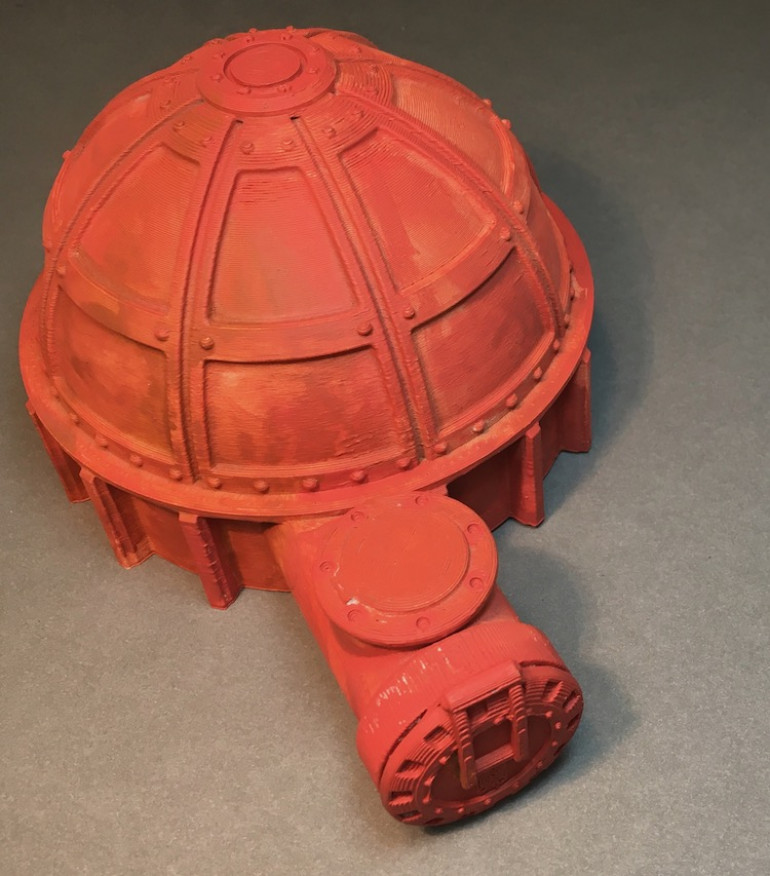 Primed in white then painted in a terracotta color. Will be sloppier next time to further variegate the color
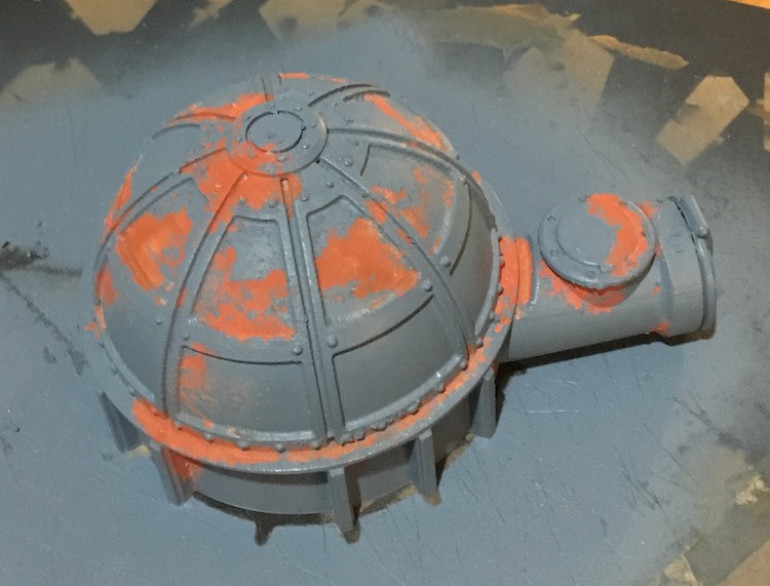
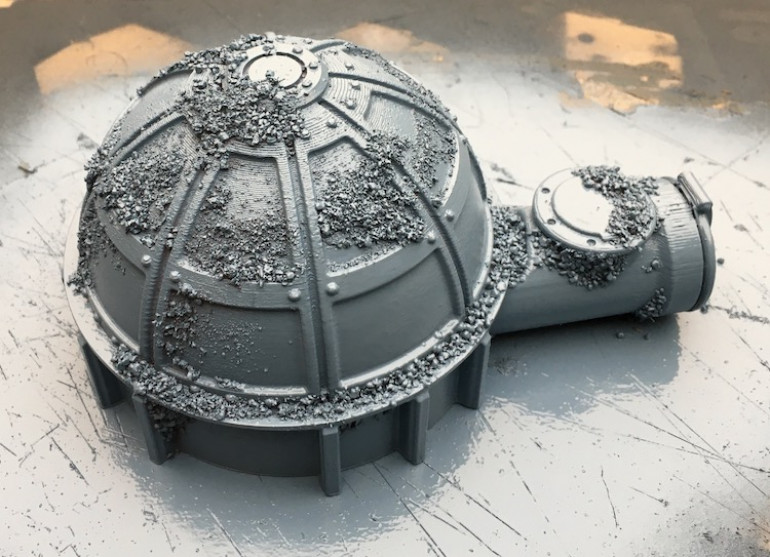 I brushed on water to select areas and poured salt over them. Then I sprayed them with Army Painter Wolf Grey.
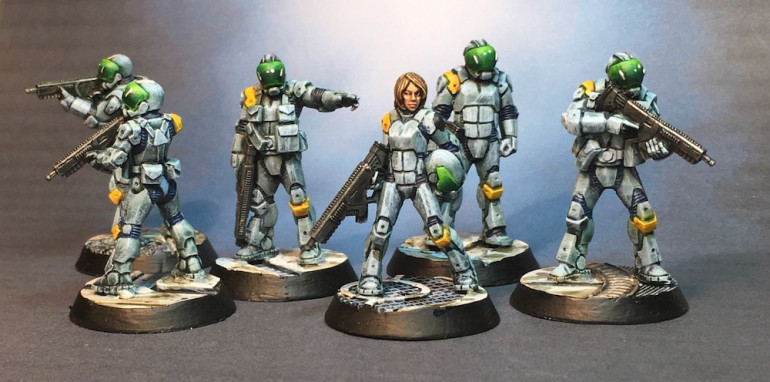
Encounter Team Bravo
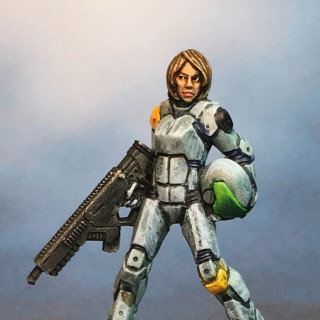
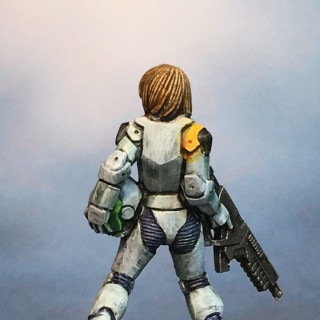
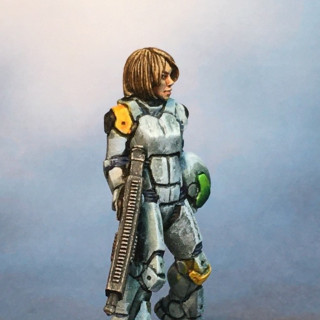
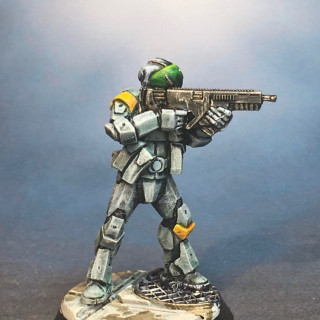
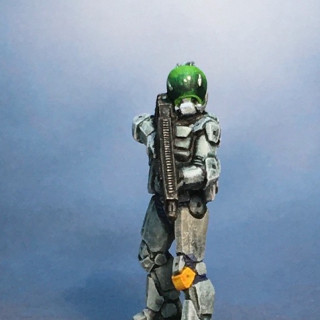
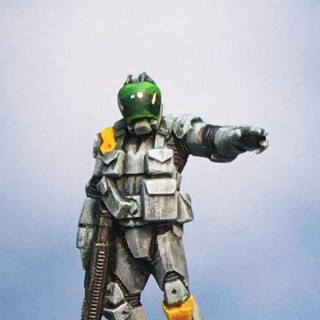
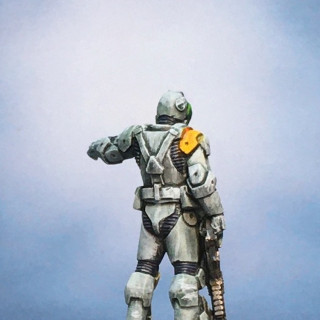
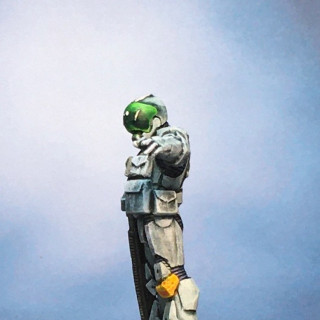
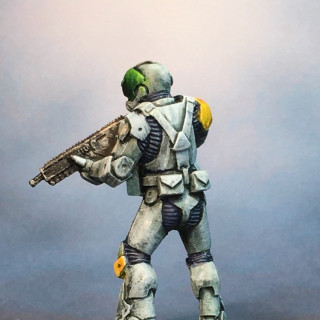
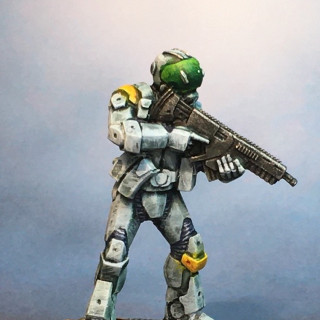
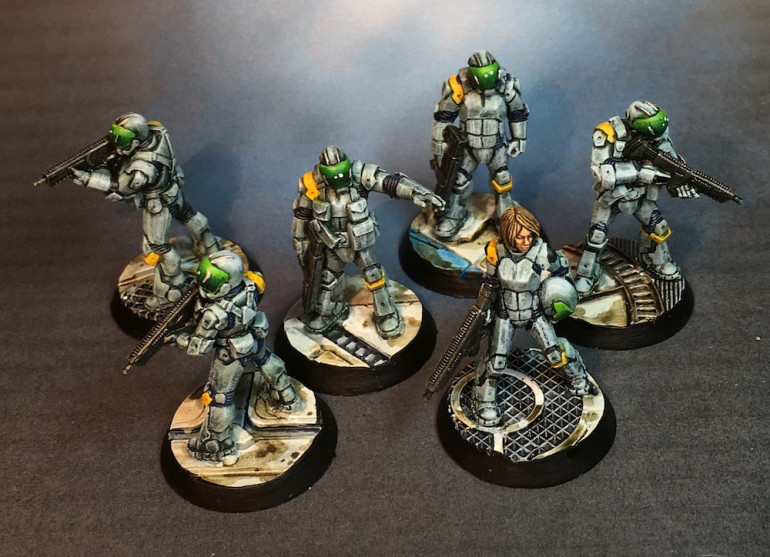
Whether it be initial contact on first landfall or exploring ancient wreckage floating in the Band highly trained and well equipped Encounter teams are a necessity. These Hasslefree Miniatures figures have been waiting in my collection for way too long and seem a great group to start with as they will be all over Damocles System. As usual with Kev White sculpts the details are clean and take Contrast Paint wonderfully.


