Knight Rider KITT diorama
Recommendations: 24
About the Project
"No more gold buttons until you add some movement or audio" said Gerry. LEDs on their own just don't cut it any more. So I had a crazy idea. It made me laugh. So I made it.
Related Genre: Science Fiction
This Project is Active
Adding the Larson Scanner
Zwooo-wooo. Zwooo-woooo.
That’s the sound of a Larson Scanner. You know the thing. The swooshing light, with the menacing zwooo-wooo sound. It turns out that a one Glen A. Larson loved his “Cylon eye” effect so much, he couldn’t help but use it for Knight Rider too!
I already had a go at making tiny little Larson Scanners for my 32mm animated cylons project and with quite some success.
But this is a bigger build. Which means a bigger scanner! Three LEDs? Not enough. Four? Are you kidding – who would use an even number? Ok, five then? Well, ok…. sounding interesting….. Screw it, let’s go for seven!
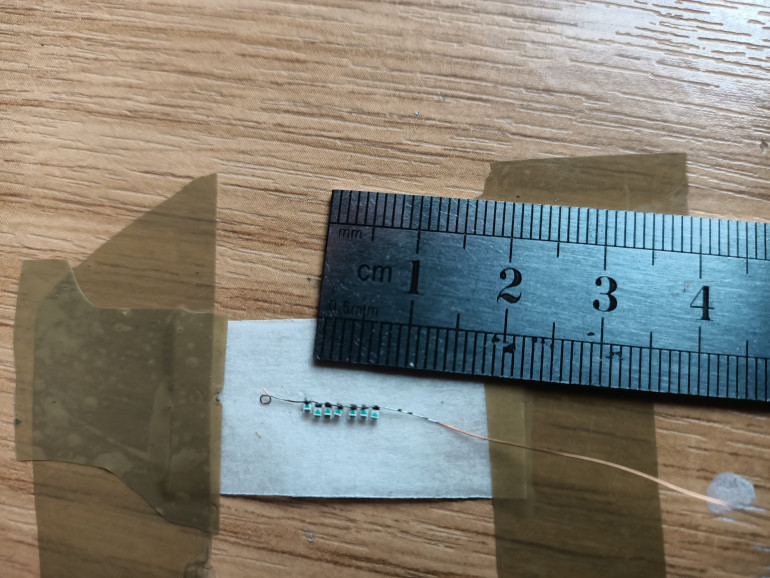
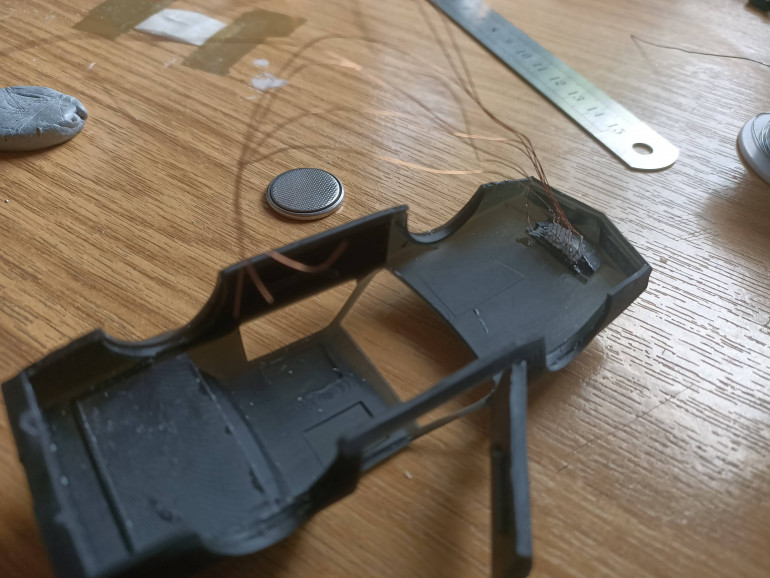
As with the Cylons, I stuck some tape (sticky side up) onto the table and pressed some tiny 0603 LEDs into it. Then soldered all the “ground” pins of the LEDs together using some stripped, enamelled copper wire
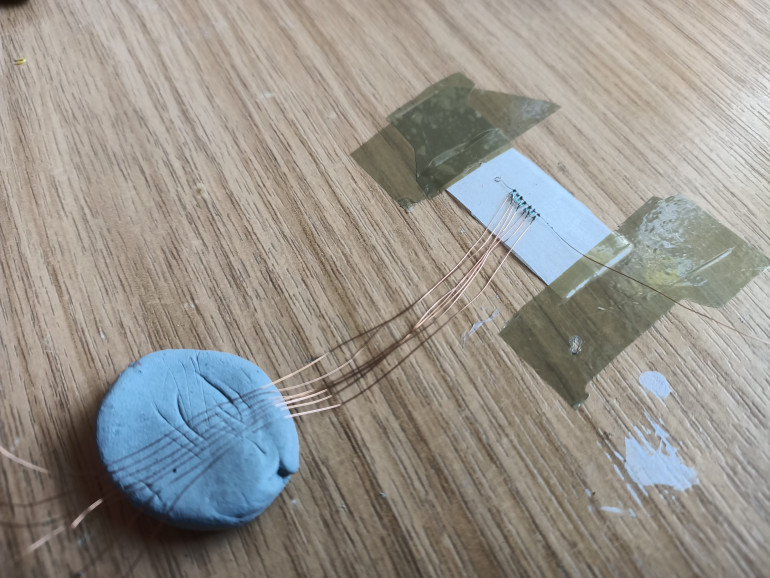
Then came the tedious task of soldering seven individual wires onto the anodes of each of the LEDs.
Actually, seven LEDs wasn’t really just a petulant accident. Trying to keep in mind the physical restrictions, I figured that I’d probably end up using a tiny PIC microcontroller – and given that it would be physically small, it’d only have a few i/o pins. Which means I’m likely to need to use a shift register to light the LEDs.
And the pin layout of any 575 shift register tends to have seven outputs on one side of the chip, and one, tucked away inbetween some of the other pins, on the other side.
So using just 7 LEDs makes more sense than eight (or more).
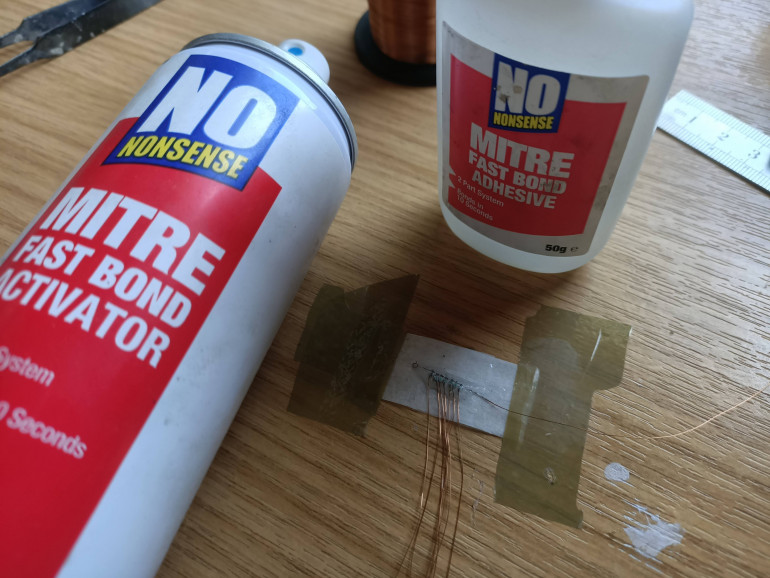
With all the wires tacked in place, I needed to secure them, since moving this thing around is likely to cause one (or more) wires to break off. The easiest way to do this was to simply cover the LEDs (and wires) with some super-glue gel, and hit the whole lot with some activator spray.
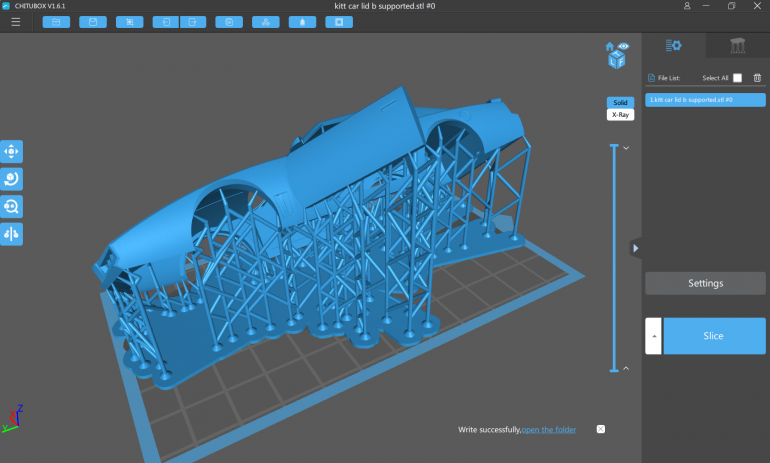
After printing a new roof for KITT (with plenty of supports, and making sure all the corner points were properly supported) I glued the LED strip to the underside of the bonnet.
Now it’s just a case of etching a PCB, attaching the microcontroller and shift register, connecting up all the wires, and keeping everything crossed that they all light up!
First (and subsequent) prints (yeah, it didn't quite work out first time!)
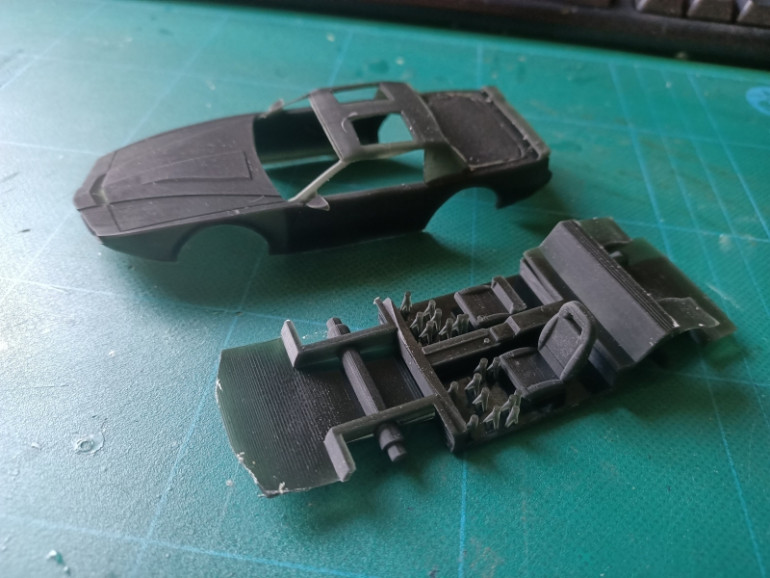
At first glance, the first print looked really encouraging. But only when you look closely do you realise it’s not quite right.
For a start, you can see that one of the seats has only partially printed. And all those little stubs around it? They’re supposed to be supports holding the dashboard up!
I thought I’d be a bit “clever” with the chassis and print it flat to the plate (instead of the usual 45 degree angle). It meant far fewer supports were needed – but also that the reduced overall height means a much quicker printing time (about 2hrs compared to the typical 4hrs+)
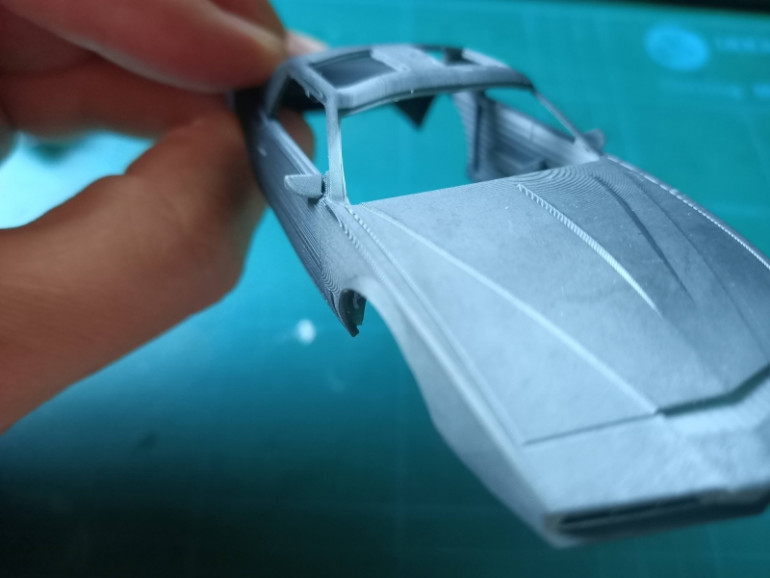
But it also turns out that relying on auto-supports for the car top (even though this part was angled at about 45 degrees) wasn’t the best idea – there are a couple of areas that really needed a little more support, to stop them deforming
And even though it was properly supported, this corner of the windscreen buckled as I was being a little carefree when removing the supports – the lack of material holding the roof made this section very soft and pliable, straight off the build plate.
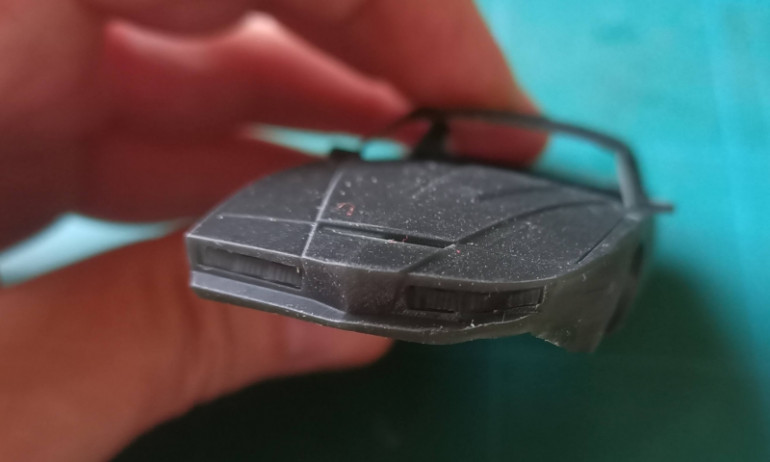
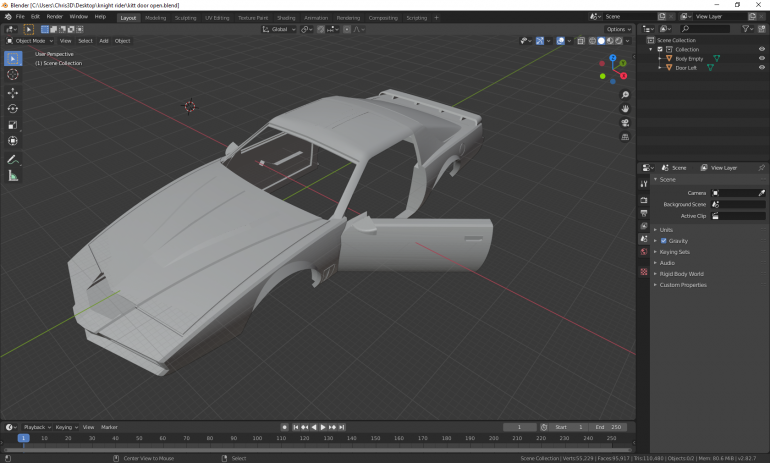
So, in Blender, I combined a few of the separate parts together, to give the roof some more structural strength overall. While I was in there, I noticed something I’d missed, even when inspecting the printed model: on the bonnet, there is only one raised shape, on the drivers side!
I did some quick boolean operations, and a bit of copying-and-pasting to make the bonnet look more symmetrical.
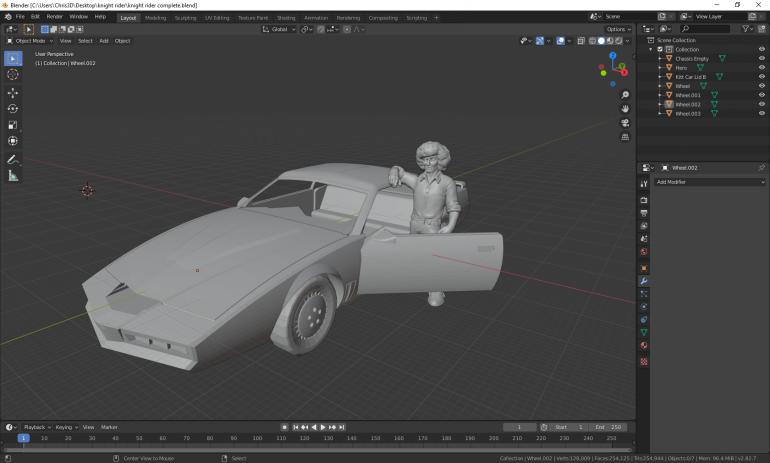
It was at this stage, I decided to do a little more posing of the car. Instead of a boring, static car (albeit with flashing lights in the front grill) I thought it’d look a little more dynamic with the drivers’ side door open – leaving us a nice little space for our Michael Knight model to fit!
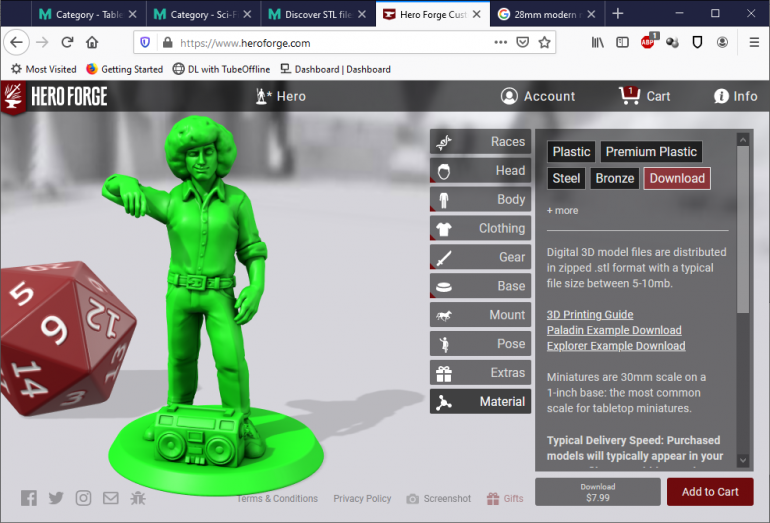
Heading over to Hero Forge (https://www.heroforge.com) I was really impressed with the quality and range of miniatures you can make with even the simplest of tweaks.
It took me a while to get my Michael Knight figure just right – but as soon as I found out how to change the hairstyles and discovered the “afro” setting, I reckon I had him!
I posed Michael with his arm in the air – when placed on the diorama, he’d appear to be lazily leaning against KITT’s roof. The slightly self-satisfied smirk (character faces can be given a range of expressions by simply moving a few sliders) just about finished the mini.
Printing KITT
After making a Larson Scanner for my 32mm Cylons on a previous project, I was still intrigued as to how far I could push the idea. Three tiny LEDs in a row were – to be honest – a pain in the butt to solder together.
They looked great, they sold the idea of a Larson Scanner in a tiny cylon helmet, but I still felt they hadn’t fully tested “soldering tiny little components for tabletop miniatures” to the fullest.
What I really fancied doing was making a 7-LED “swooshing display” and sticking it in something bigger…. like a Knight Rider/KITT car!
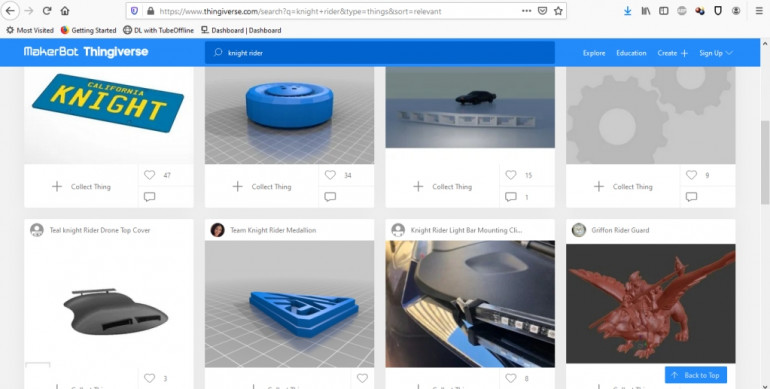
Searching Thingiverse for Knight Rider “things” returned a disappointing array of results. Most were for “car mods” – neo-pixel clip holders so you can stick your own “swooshing display” on the front of your actual car, or things to glue to the centre console of your dashboard to KITT in your own Ford Fiesta.
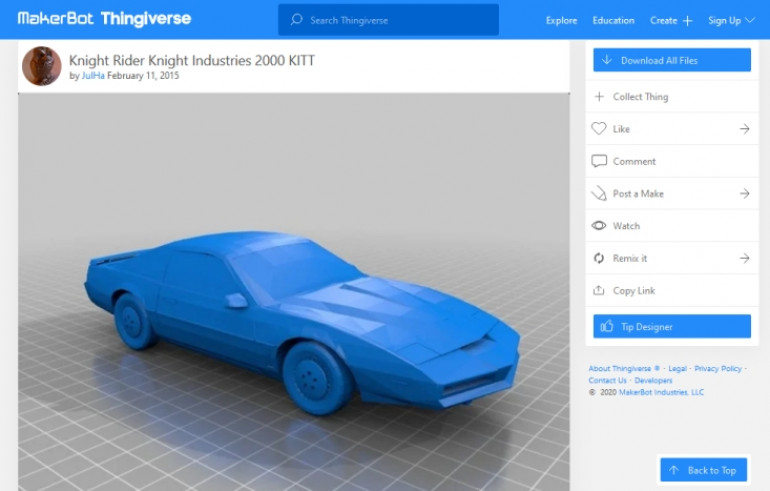
Searching for “KITT” returned some better results, but the tabletop sized miniature looked decidedly “lo-fi” with lots of sharp-edged facets; unless this was printed very small it was going to be unsatisfying
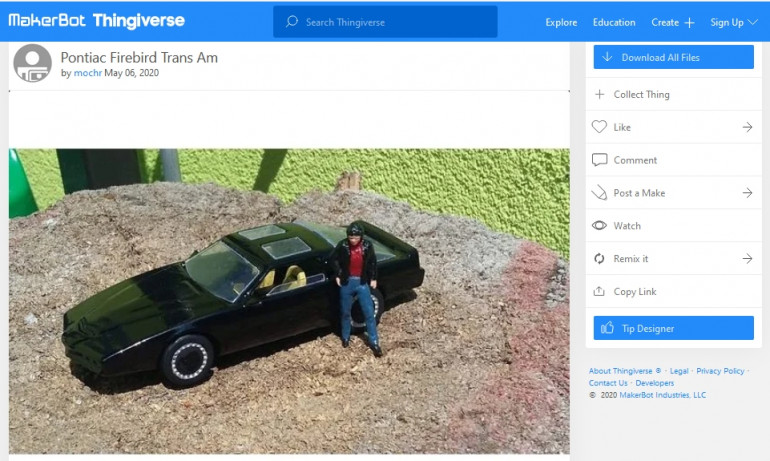
It was only by chance that one of the results was listed as “KITT Pontiac Firebird Trans-Am”. I searched for “Pontiac Firebird” and immediately found the model I was looking for!
The model (https://www.thingiverse.com/thing:4342622) was perfect! I had a separate chassis and the roof comprised of multiple parts – ideal for adding unnecessary electronics inside, then hiding them behind the multi-part interiors and so on.
The preview picture also included a shot of a tiny Michael Knight, complete with classic red shirt and leather jacket. What a great idea!
Sadly, Michael wasn’t included with this model’s download. But I had ideas for that already….






![TerrainFest 2024! Build Terrain With OnTableTop & Win A £300 Prize [Extended!]](https://images.beastsofwar.com/2024/10/TerrainFEST-2024-Social-Media-Post-Square-225-127.jpg)


