Manda’s (Amachan) Scorpitron
Recommendations: 195
About the Project
This is my progress painting my 3D printed Scorpitron.
Related Genre: Post-Apocalyptic
This Project is On Hold
Final bits.
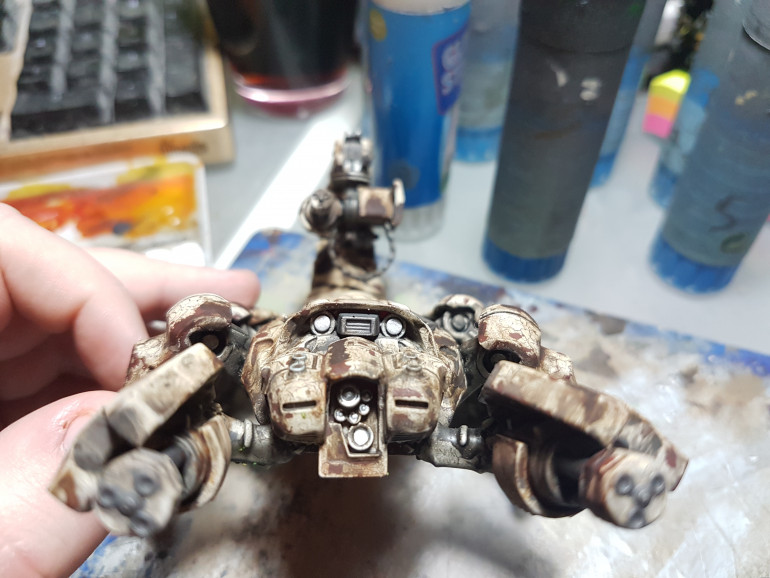
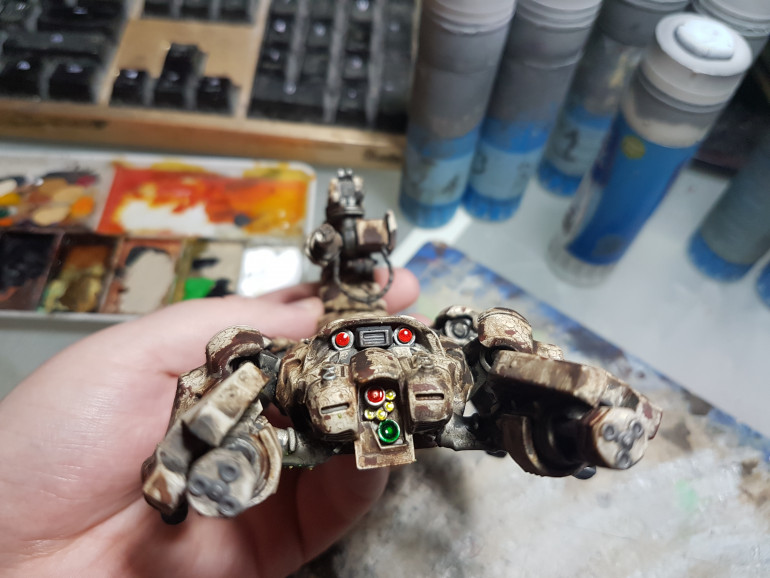
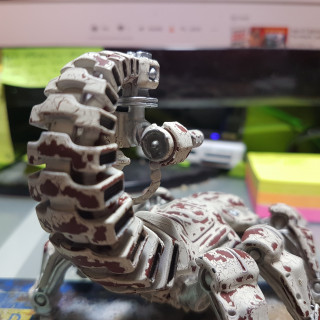
After I matt coated the model I painted the lenses on the model with some Vallejo Model Air Silver RLM01 (71.063).
I let that dry and then applied a blob of Tamiya Color Acrylic Paint Clear Green (X-25), Tamiya Color Acrylic Paint Clear Red (X-27) and Tamiya Color Acrylic Paint Clear Yellow (X-24) on the lenses where I wanted them.
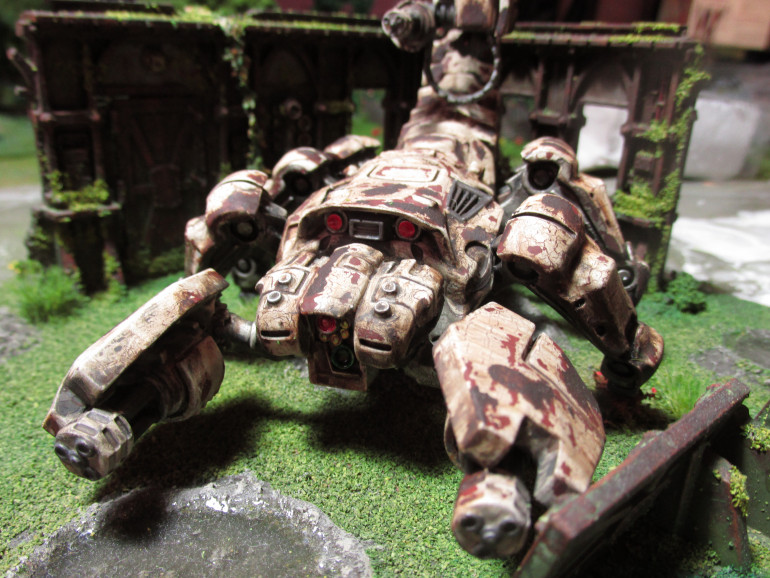
And that is the Scorpitron itself done. I now still need to do its base for which I will have to get a couple of supplies first.
Streaking!
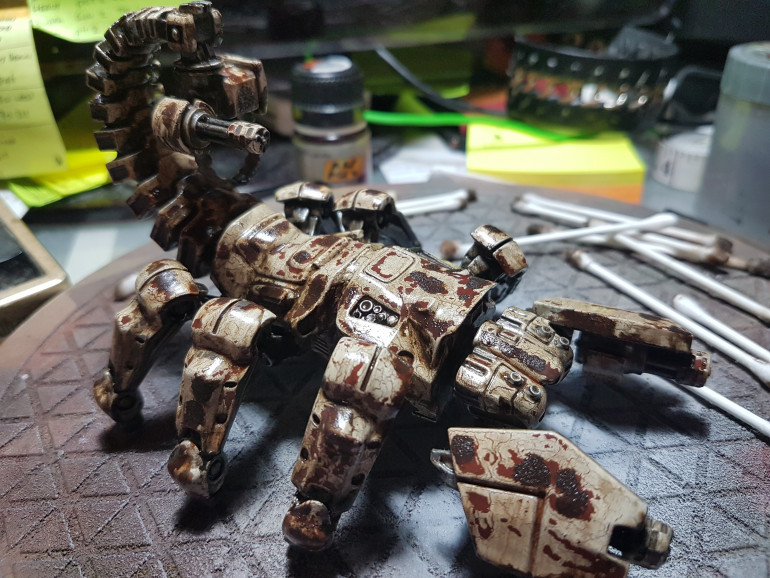
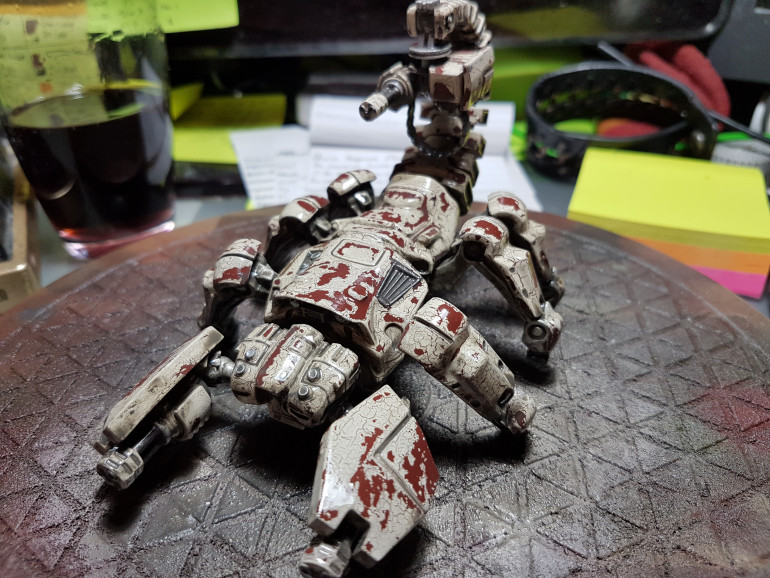
After I gloss coated the model I added a coat of AK Interactive Wash for Shafts and Bearings (AK 2032) on the exposed metal bits. I then added a bit of AK Interactive Rust Streaks (AK 013) on the heavier rust spots and streak it down from there. Next I applied some AK Interactive Streaking Grime (AK 012) streaking down over the whole model. I then used some cotton buds and some thinner to streak down everything in a streaky blend.
When this is dry I want to have a good look at where I am with the model and what I still want to do. I kind of lost track of what the original plan was that I didn’t write down.
A Bit of Corrosion
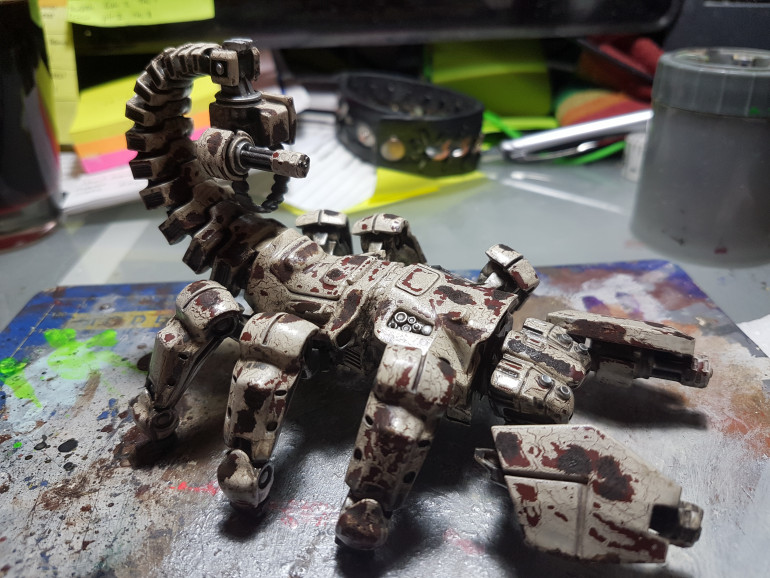
Small update on the Scorpitron, I decided that before I gloss coat it I stipple on a bit of Citadel Technical Typhus Corrosion (99189956010) over the heavier chipped areas.
Washing Up
I started by applying a liberal coat of MIG Neutral Wash (P222) with my airbrush over the whole model.
I let that dry for about an hour or so and grabbed some kitchen towel and some odourless thinner to wipe of most of it. I then used a couple of cotton buds to absorb a couple of pools and rub some off harder to reach areas. I still want weathering in the harder to reach areas, but I don’t want it plain grey. This needs to dry for at least 3 days and then I’ll gloss coat it and move on the next stage of weathering.
On a side note, I have decided that I will base this model. I got a round 130mm MDF base that I will use to make a diorama-esque base. But first, get the model done and then I’ll start on the base.
Detail Work
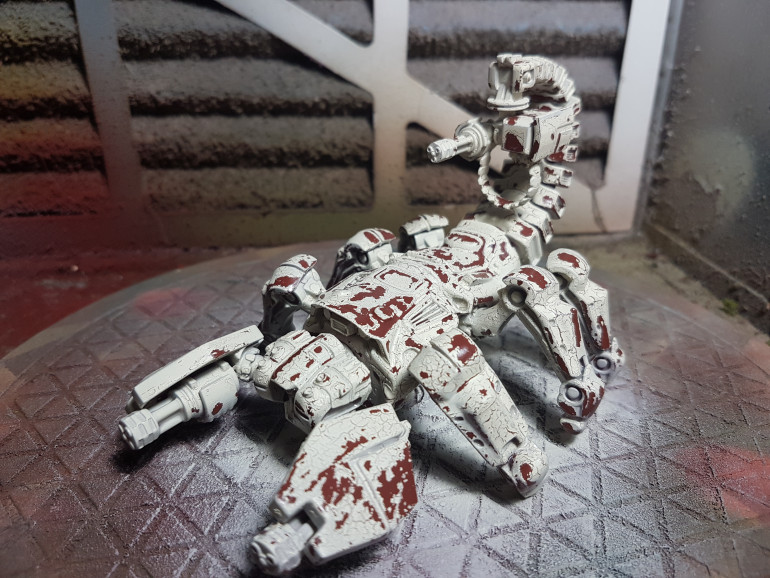
After I did all the chipping I matt coated the model. I used a matt coat because paint will stick better to it than a gloss and matt would be enough not to damage the chipping effect.
I started by painting all the barrels and vents in Vallejo Metal Color Burnt Iron (77.721) and the mechanical bits of the arms and legs with Vallejo Metal Color Pale Burnt Iron (77.704). I then painted a lot of the exposed metal details with Vallejo Model Air Steel (71.065) and a bit of Vallejo Model Color Oily Steel (70.865) on some other bits. The nubs under the legs I did in Vallejo Panzer Aces Dark Rubber (70.306) and painted the ammo belt on the tail gun with Vallejo Model Color Medium Sea Grey (70.870). And to finish the detail, I did the lenses in its head with some Vallejo Model Air Silver RLM01 (71.063).
As you can see I got all the detailing work done on the Scorpitron today, mostly metallics. Now I want to gloss coat this all and start playing around with some enamels.
Swimming Lessons.
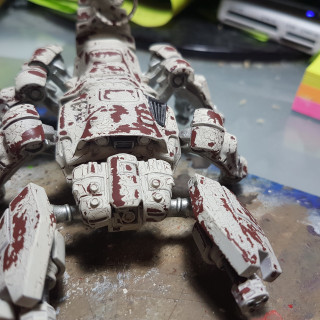
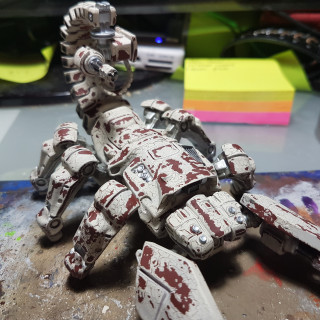
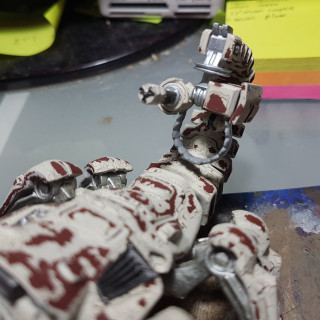
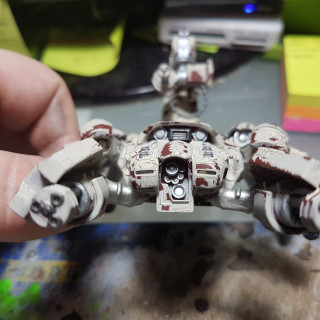
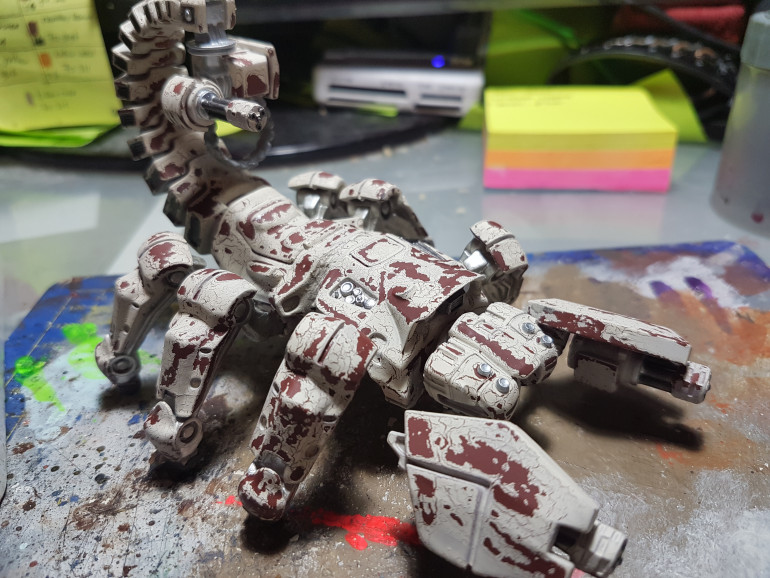
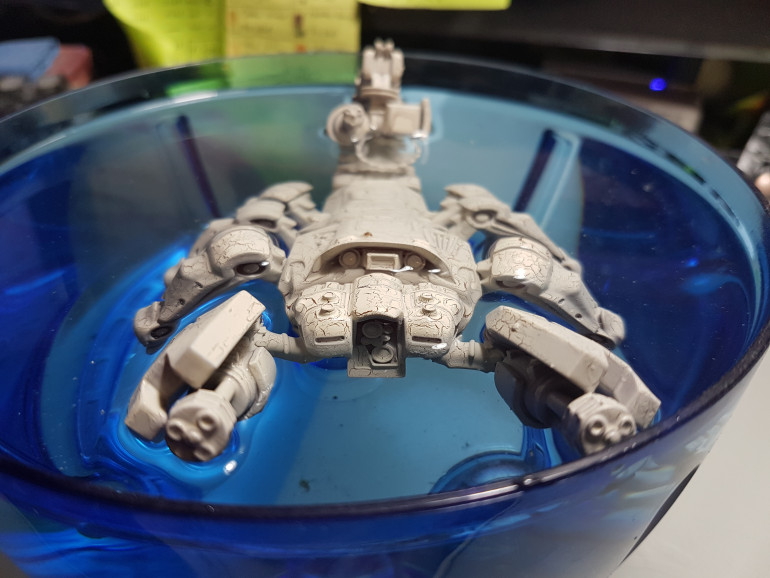
I soaked the Scorpitron in water for about a minute or so, this helps the paint layer gets loose a bit and I then rubbed an old toothbrush over the whole body to chip off the paint.
Scorpitron in White!!!
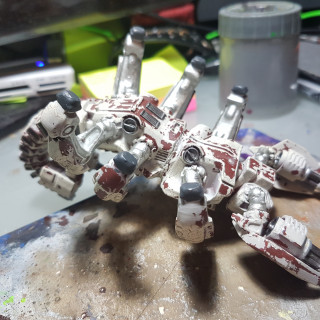
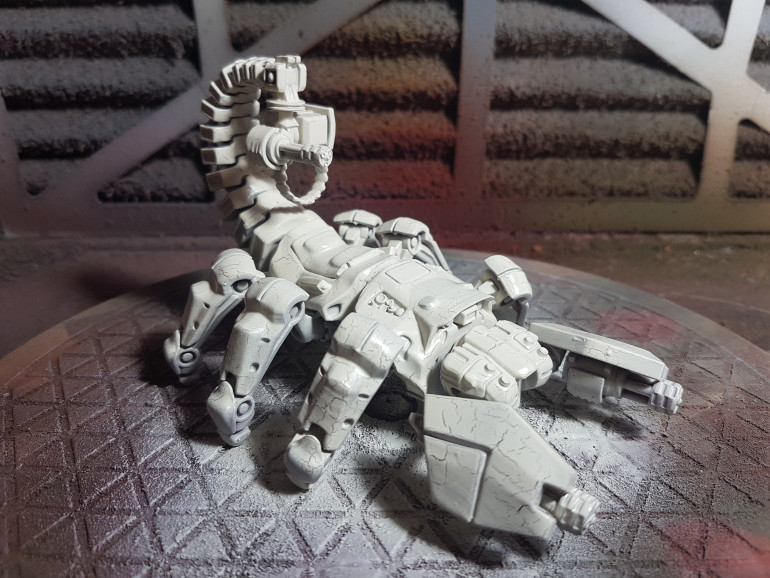
First off, after the primer dried I applied a coat of gloss varnish over the model and when that was cured a liberal coat of Vallejo Chipping Medium (73.214) applied with a brush. I feel that applying the chipping medium with a brush gets a far better coat on the model and gives a better effect. Now for the basecoat, I airbrushed on a coat of Vallejo Model Air Aged White (71.132) and as this is drying you can already see the paint starting to crack on the chipping medium. I love this effect, especially for post-apocalyptic stuff.
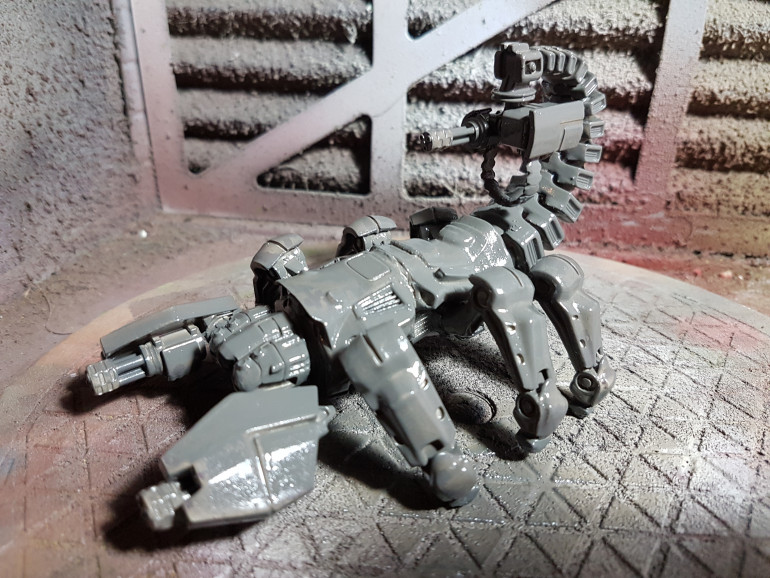
Scorpitron in Primer.
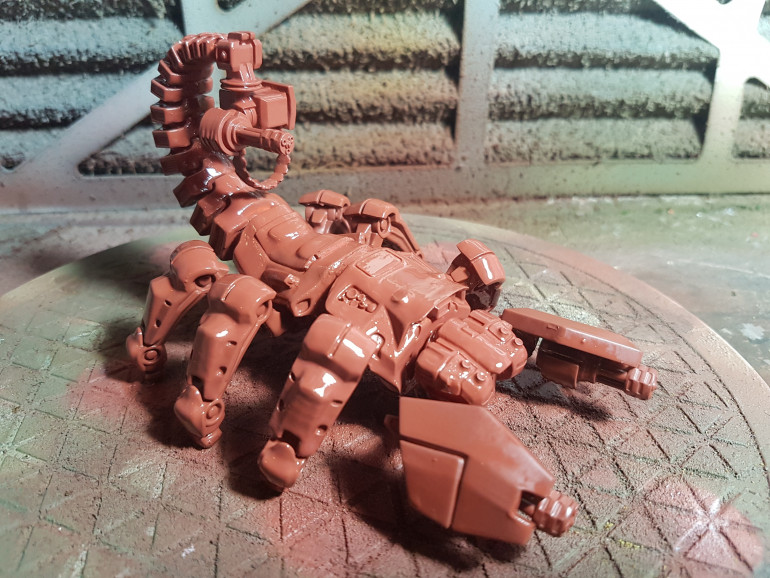
I primed the Scorpitron in Vallejo Surface Primer German Red Brown (73.605) as this will provide me with a nice base colour for the rust chipping I am going to do later.
What is this?
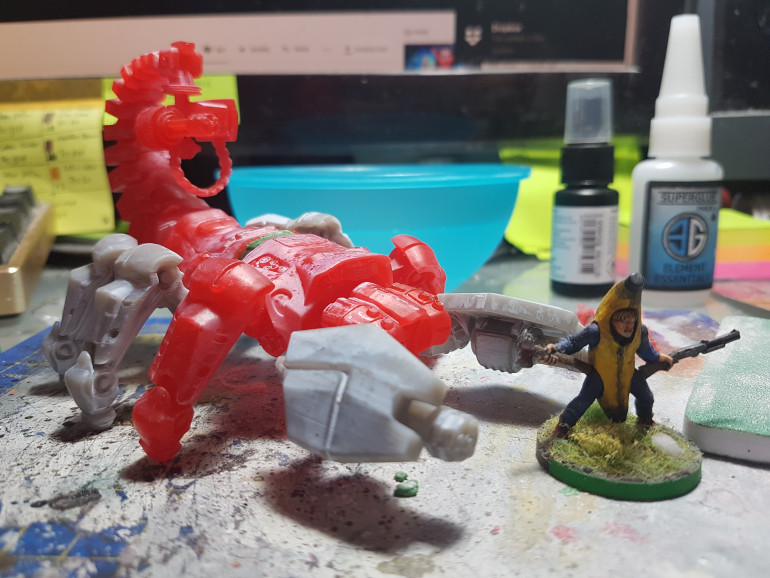
This is my progress painting my 3D printed Scorpitron. The model is the Scorpio Tank Mech from Ghamak printed at 300%. I will be painting it and weathering it and most likely writing a bit of rules for it for use in “This is Not a Test”.
I had a couple of issues with the assembly mostly due to my own fault. I printed the main body parts hollow with a 1mm skin. This was not thick enough and when trying to get it together it kind of broke at the connection point. I filled that area in with greenstuff and I don’t think it will be noticeable after painting. I didn’t print a new part because I was out of resin, so it will have to do for now.
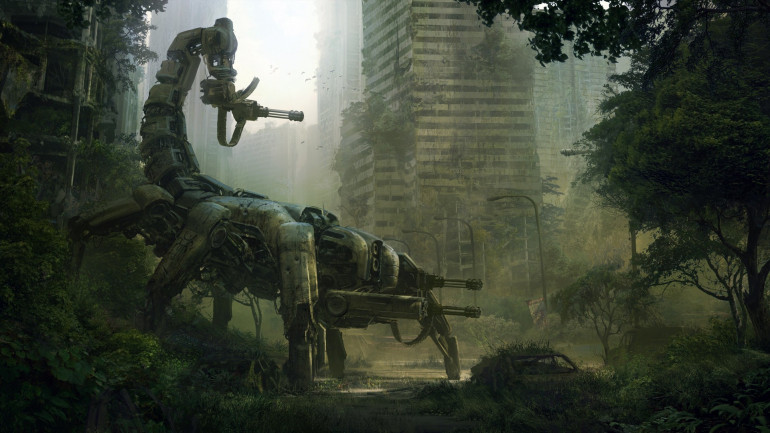
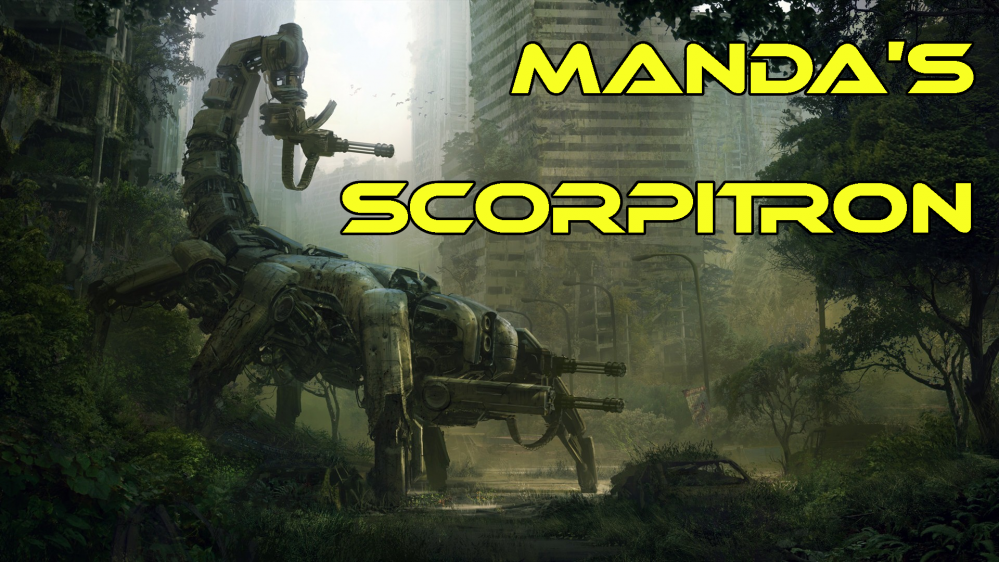
A Scorpitron is a robotic enemy encountered in the Wasteland video game series. My inspiration will mostly be drawn from Wasteland 2.
Scorpitron 2.0
“A massive combat walker mass-produced at the government bunker beneath Seal Beach, the Scorpitron is a frightening monster built for navigating any kind of terrain, including urban ruins, and bringing a terrifying amount of weaponry to bear on its targets. “
Banana man for scale.


