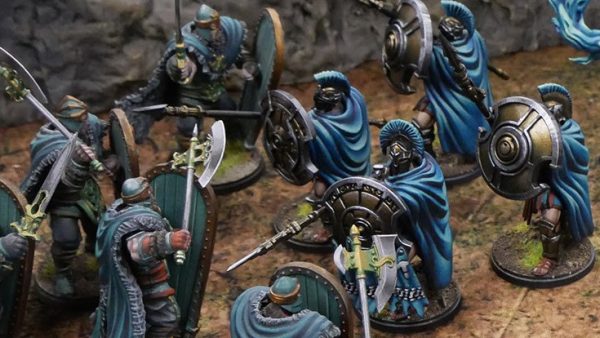
Dystopian wars table, terrain and fleets
Recommendations: 114
About the Project
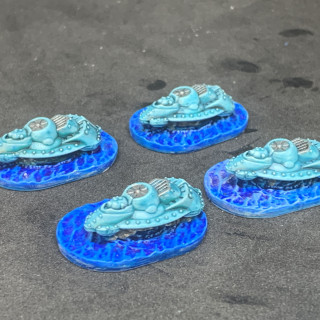
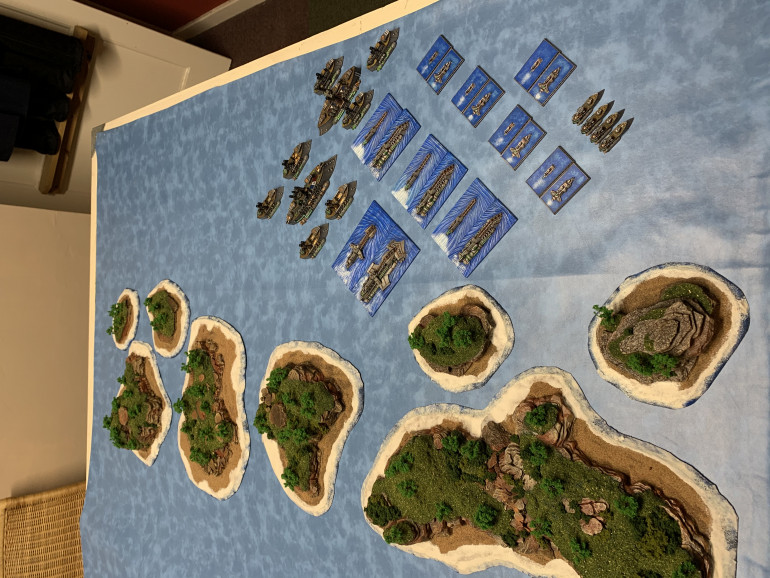
Tables done basic terrain done, now its time for the fleet to get some love
Related Game: Dystopian Wars
Related Company: Warcradle Studios
Related Genre: Steampunk
This Project is Active
The Enlightened are coming
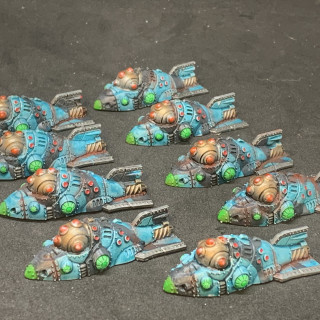
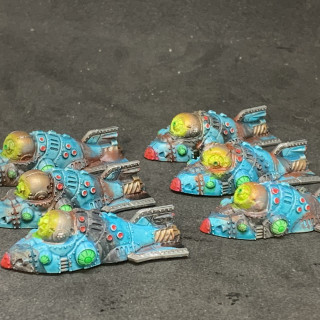
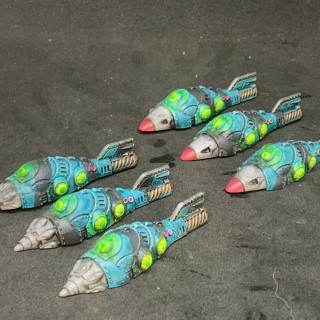
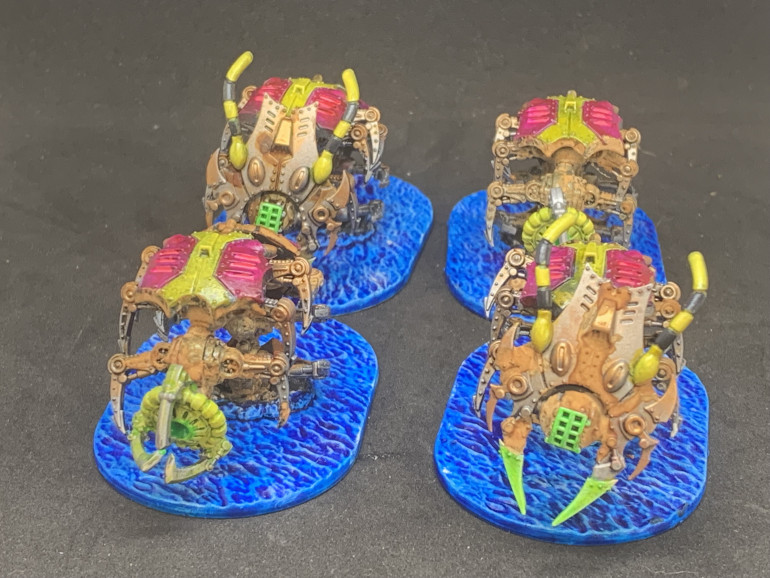
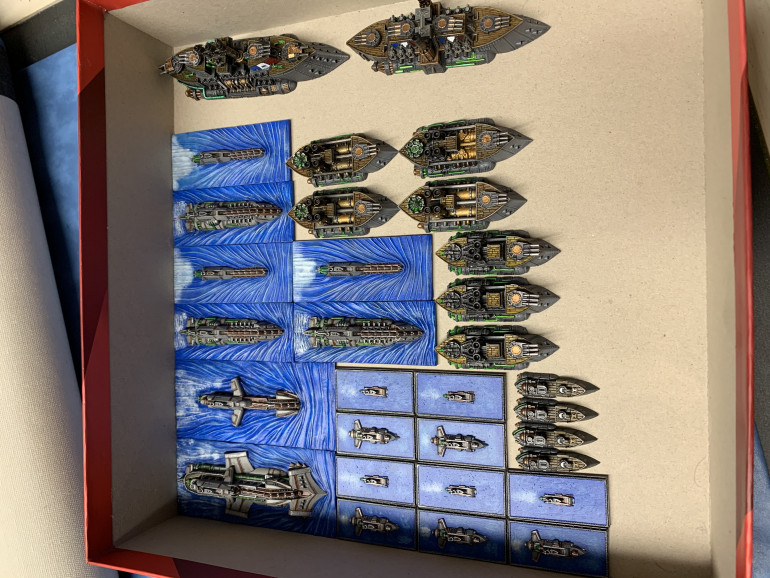
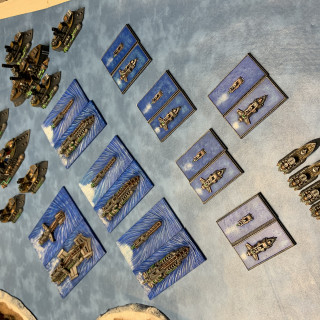
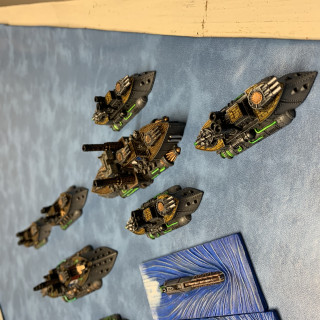
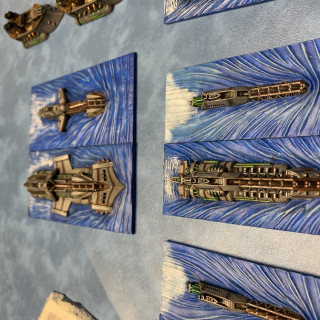
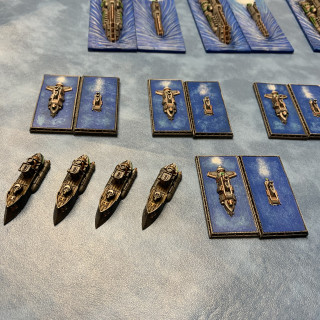
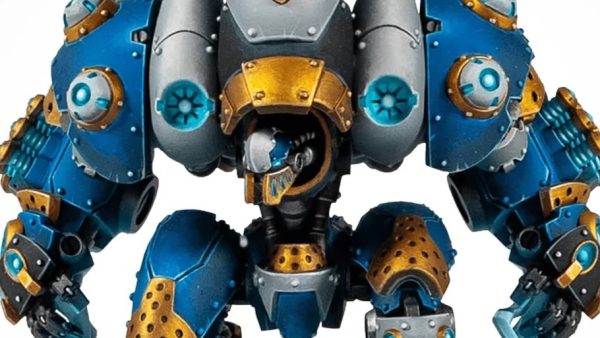
Well i discovered a thing, its called Pink Gin, and after imbibing a fair bit of this one hot sweaty evening i decided to paint some of my new dystopian wars fleet for the enlightened. i suppose my thinking was they are mad scientists so they will be painted mad and glow in the dark, mission accomplished.
i even gave them rust in places lol
as for my Kratos, well colour theory went out the window never to be seen again. they are mental and a warning to all youngsters that PINK GIN BAD!
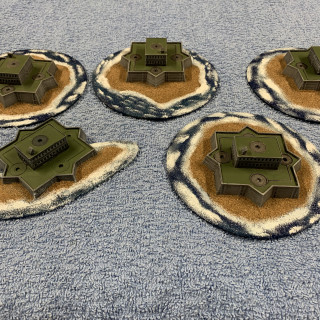
The terrain journey continues
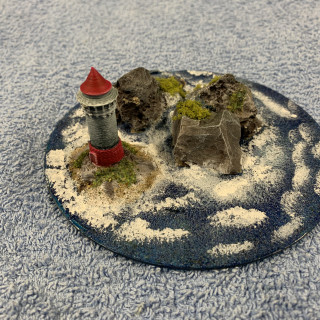
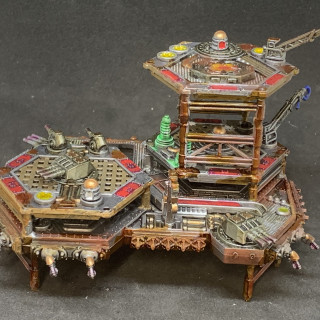
nothing fancy just a few 3D printed pieces finished off with basic modelling stuff.
The ice and snow effect was achieved simply using a white undercoat then a thinned blue wash, then a heavy drybrush with a brilliant white. At this point they still dont look right but dont worry they get better.
i used a wire cake rack suspended over a baking tray for the next part. Apply PVA glue all over place on the rack and give a good coat of snow flock , once dry apply a good coat of gloss varnish from a spray can then whilst sitting on the cake rack dust with a 50/50 mix of snow flock and polyfilla powder. when dry its a simple case then of spray and dust until you get your desired finish.
ooooooo modern stuff happens
well! with the new edition i bit the bullet and bought some new stuff i started off with the new hunt the promethius boxed set and gifted the commonwealth half to my mate who had shown an interest in starting in gaming once again after many years of nothing. i created a monster!
This put me in the position of starting a new fleet the enlightened, i hadnt even unboxed that when my mate had ordered his robots and rigs.
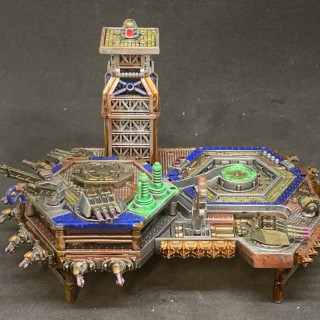
Although the rigs were lovely little kits we had a plan for a narrative campaign and i wanted a degree of kit bashing to fit in with this. i used some dropfleet commander spares to add some extra guns around its perimeter and also to simulate fenders to prevent boarding in key areas. its not everyones cup of tea but fits in with our ideas.
The painting.
i started off with a boltgun metal prime from a spray can
then nuln oil wash all over, once dried i added a watered down dark brown dipping formula shade then when nearly dry wiped off in key areas with a cotton bud.
it was then time for colour so simply added this in two coats a base and then subtle highlight
finally it was time to go batshit crazy with the rust effects using both powders and fluids. A really good one is modelmates or i think its renamed dirty down its magic in a pot.
ships get paint and islands
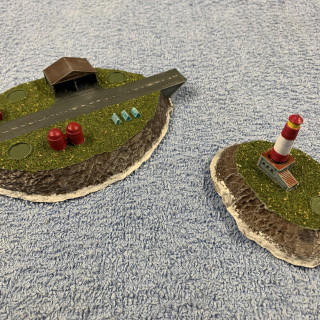
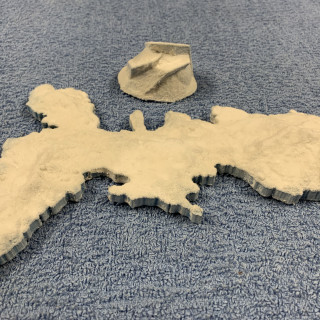
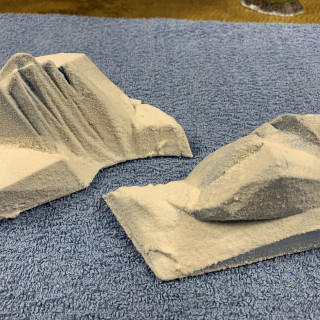
The islands were an easy addition for the table, i used the grotto floors from Printable scenery and printed them out.
Then using modelling air drying clay and simply filled in parts of them to form hills and valleys and whilst the clay was pliable stippled the surface to give the PVA something to grip too. all you have to do then is give the whole island its block colours and then apply your flocks and static grass over the top with a little PVA.
The playing surface.
while its nice to purchase a battle mat for every game sometimes you have to ask yourself is it really worth is and are there other options. i mean it is all one colour the sea and doesnt lend itself to staggering amounts of detail.
i started to look for other options and heres what i got for less than ten English pounds enough for a 6×4 gaming surface.
https://www.ebay.co.uk/itm/Printed-Faux-Leather-Fabric-Leatherette-Material-Leather-Clothing-Upholstery/381303964325?ssPageName=STRK%3AMEBIDX%3AIT&_trksid=p2057872.m2749.l2649
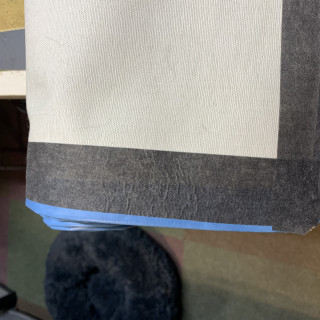
this fabric was next to nothing in cost for 2 meters when compared to a mat and all i did was trim it down to size leaving an inch extra to turn it over and form an edge. This was then sealed by the following, (Iron On Hem Tape 40mm wide hemming fusible one sided) another ebay purchase applied with the aid of an oddinary home iron.
Now before you go racing off to get your mums iron be aware of a few issues, you can melt the fabric if your not careful and the iron should never touch the fabric. Instead the heat is applied to the tape to seal the edge through a tea towel placed on top. if your young and not used to using an iron ask your mum or dad to do it for you its easy to get burnt.
once the tape is applied simply turn it over and its ready for tiny ships.




![Very Cool! Make Your Own Star Wars: Legion Imperial Agent & Officer | Review [7 Days Early Access]](https://images.beastsofwar.com/2025/12/Star-Wars-Imperial-Agent-_-Officer-coverimage-V3-225-127.jpg)
