The Thin Beige Line
Recommendations: 1077
About the Project
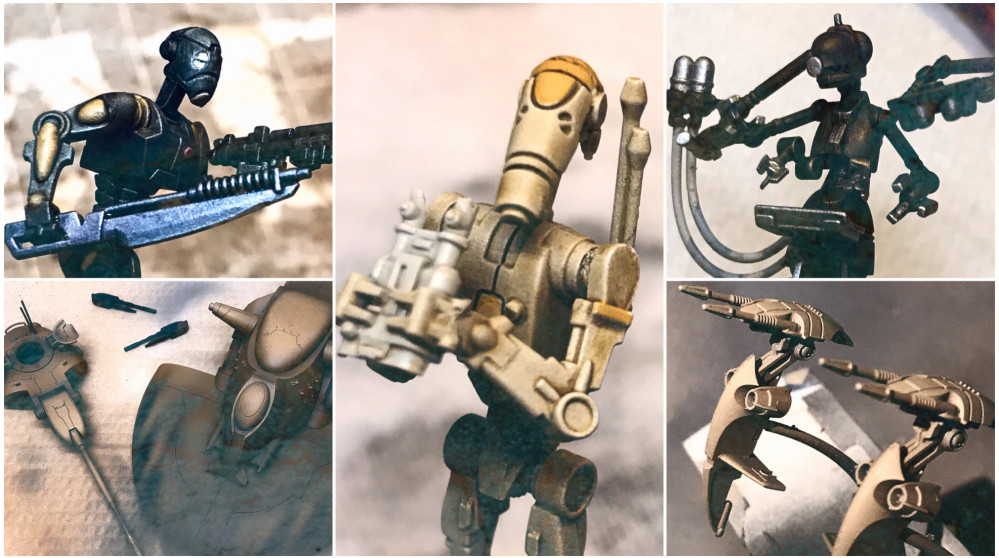
With a hoard of droids to paint, I need a process that is quick, repeatable and relatively painless!
Related Game: Star Wars: Legion
Related Company: Fantasy Flight Games
Related Genre: Science Fiction
This Project is Completed
Maul
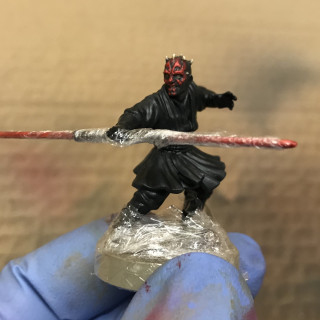
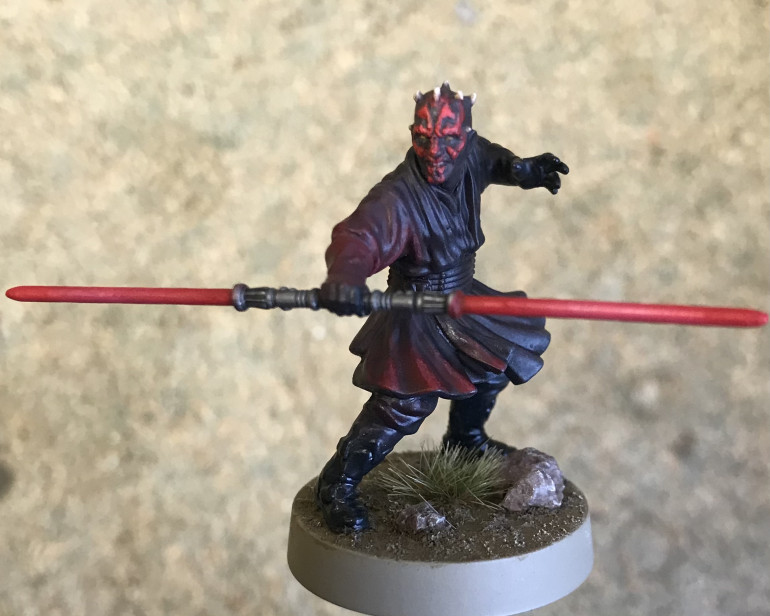
Next up we have the Sith Apprentice – Darth Maul.
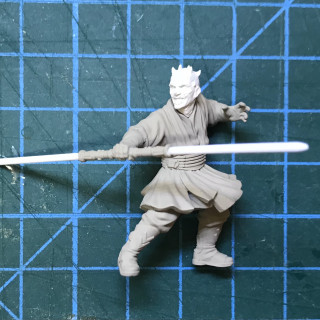
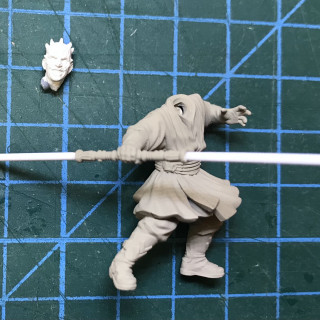
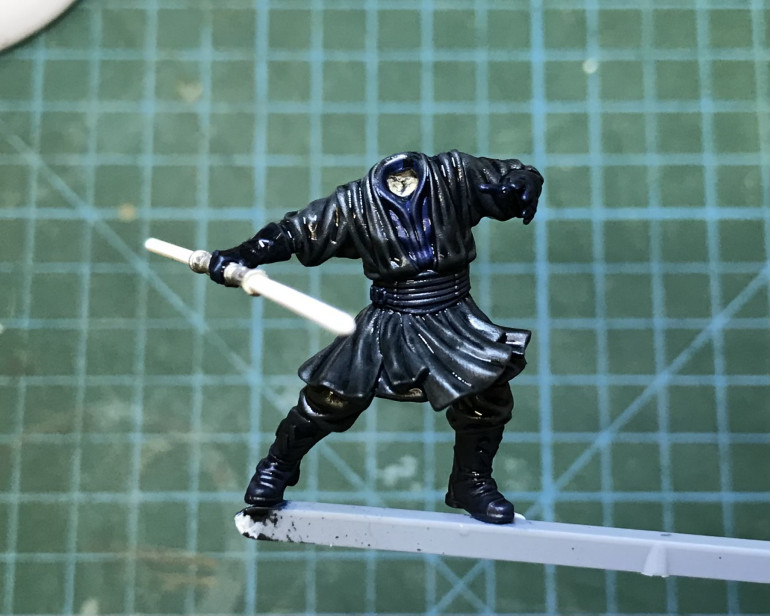
As I have no chance of getting him on the table any time soon, I thought I’d make things easier for myself and leave him semi assembled for painting.
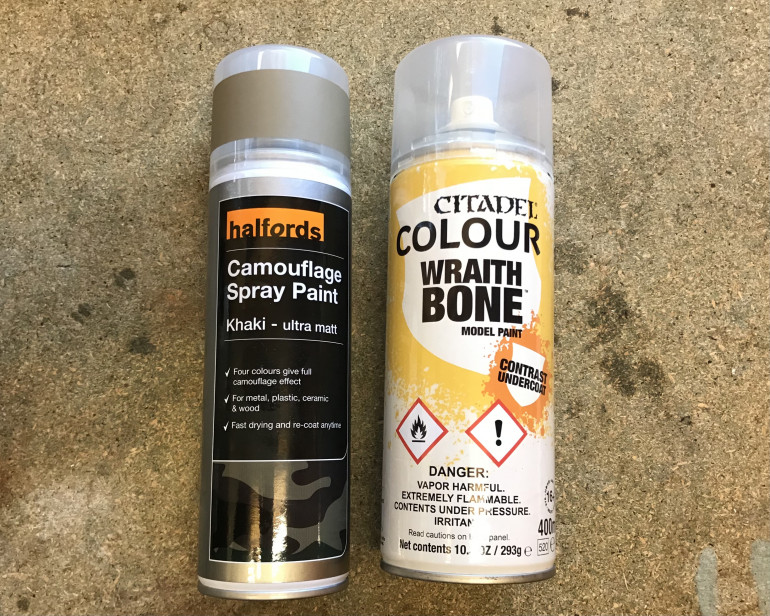
I began by spraying white over the lightsaber, in order to give the blades a bright base colour. I then masked the blades with tape before spraying the rest of the model with my standard Khaki primer. (I would’ve preferred to use grey for Maul but as I’d not been able to get to the shops for a while, I was running out of spray cans).
As the head fitted neatly into the collar, I found it convenient to keep it separate at this stage. This made it a simple matter to prime it with Wraithbone and put it aside while I worked on the body.
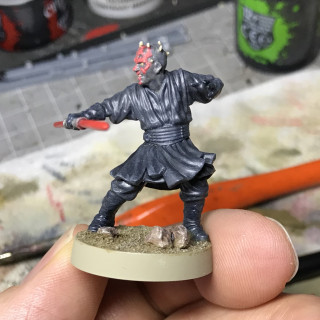
It has been my intention to keep the paint jobs for my Legion miniatures quick and simple and for Maul I’m going to try something different. Black is a difficult colour to work with but instead of highlighting up from black (which I would usually do in blue), I’m going to use blue as a base colour for the Contrast paint – Black Templar.
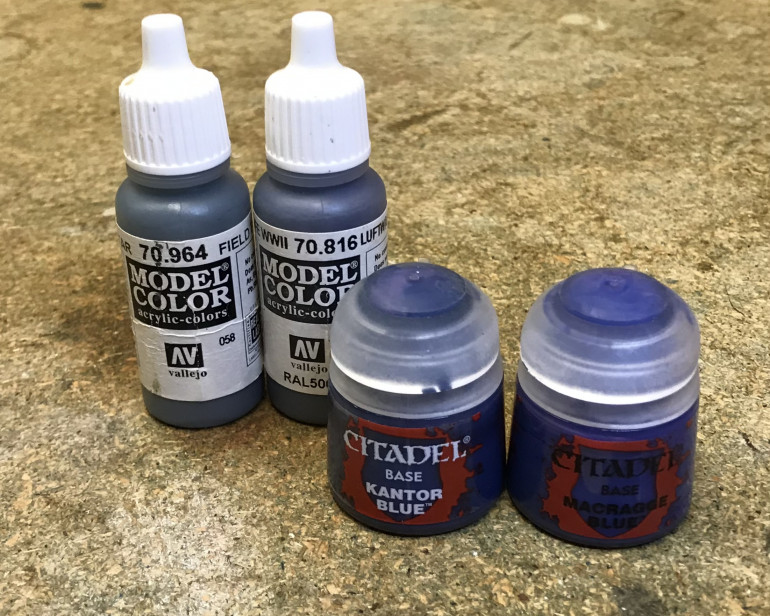
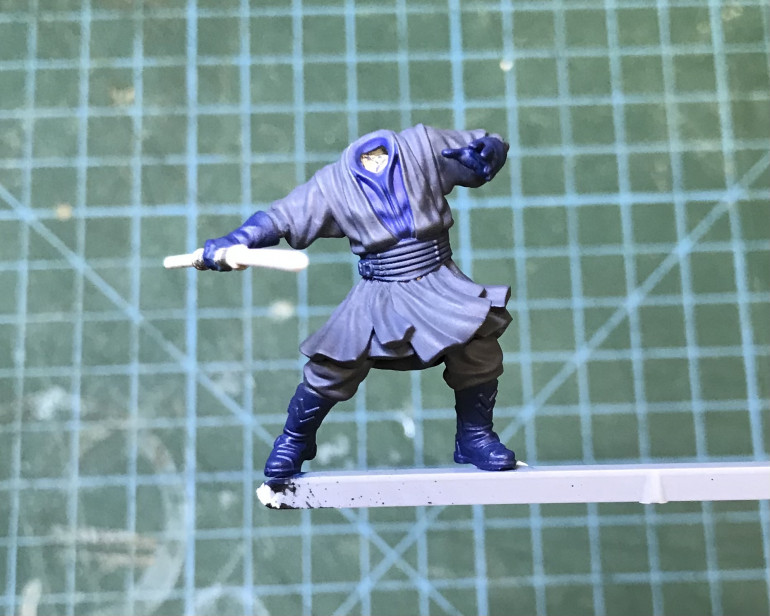
As Maul’s costume is entirely black, I have used several different blues to try and differentiate various costume elements. For the leather boots, gloves and belt I used GW Kantor Blue. The bulk of the robes were painted with Vallejo Luftwaffe Blue while the inner tunic was painted with GW Macragge Blue. I used the lighter German Field Blue to add a simple dry brush hight to the fabric areas.
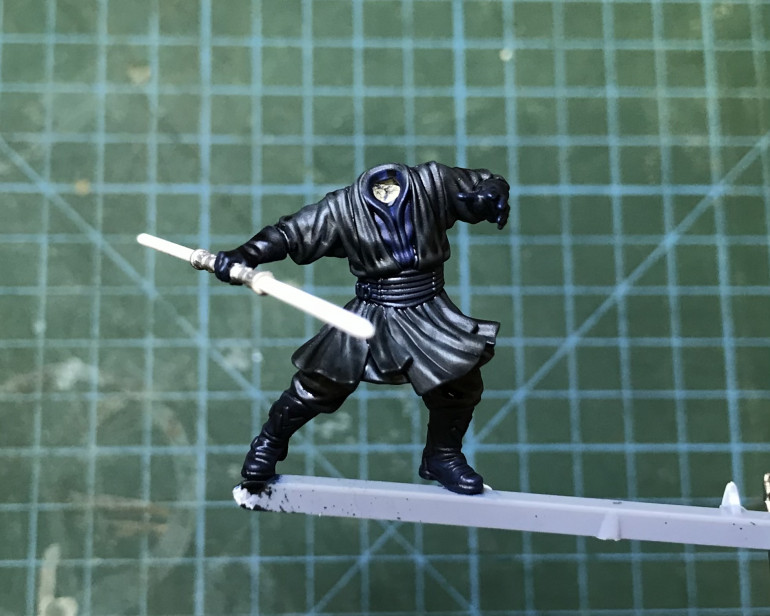
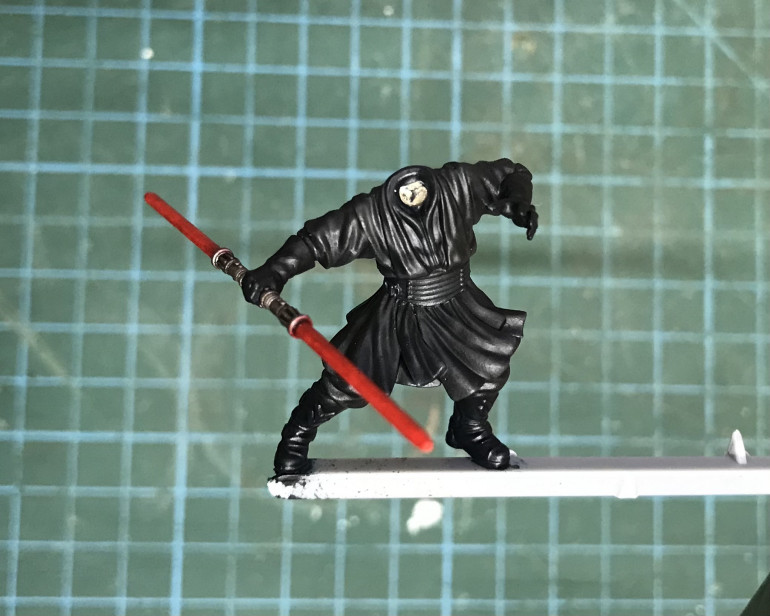
I left this to fully dry before working over the entire costume with a 1-1 mix of Black Templar and Contrast Medium. The Medium really prolongs the working time, which allowed me to cover the whole model before any one part began to dry. In the image below, you can see the paint is still wet!
Using the medium would also reduced the pigment. This meant I would have the option of stopping at one coat or going in with a second if I wanted to go darker. As the Contrast layer began to dry, the effects of the various blues became clearer.
War Paint
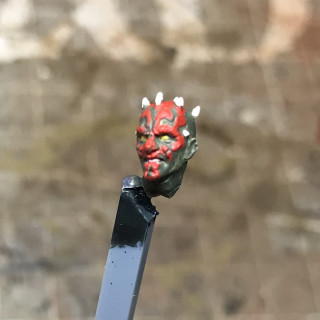
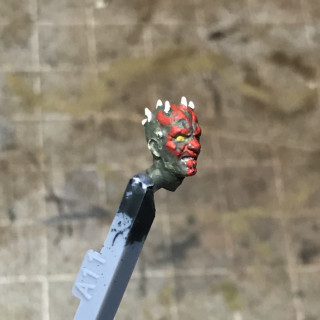
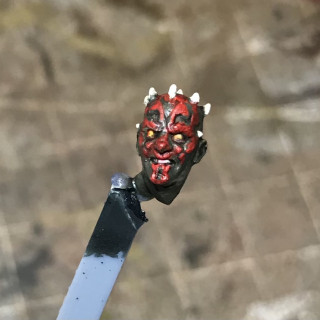
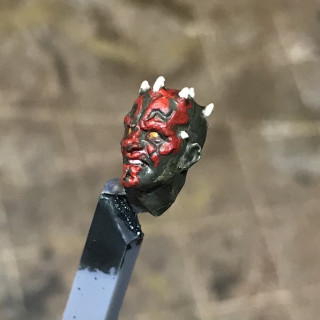
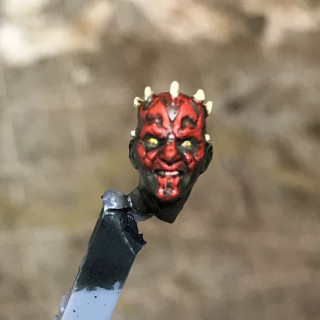
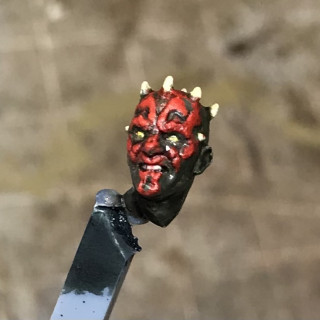
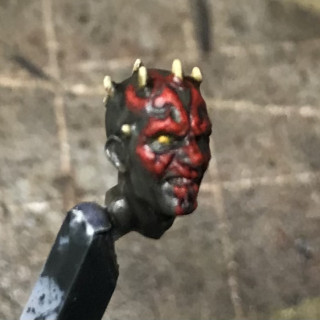
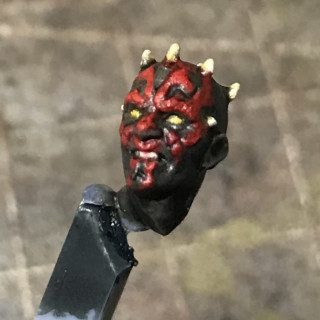
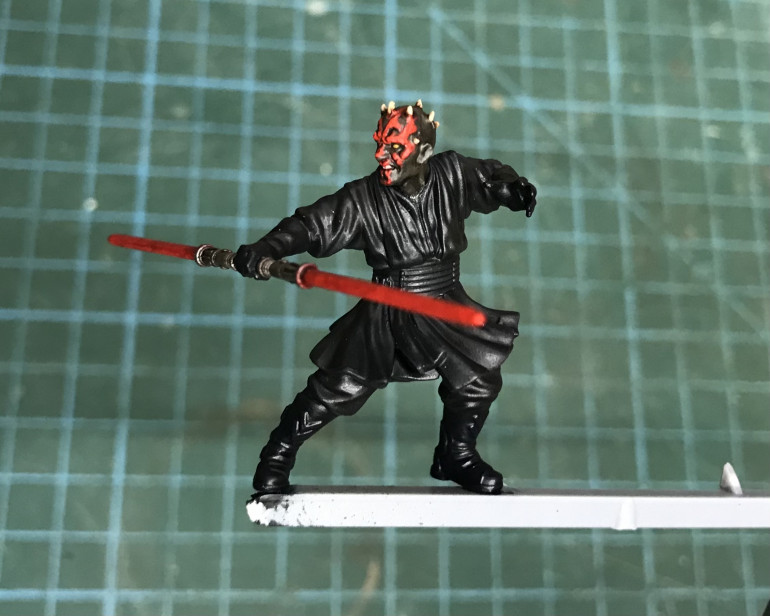
Between layers of black on Mauls body, I made a start on his head. I really struggled to make out the sculpted details at first but with each colour applied things became clearer.
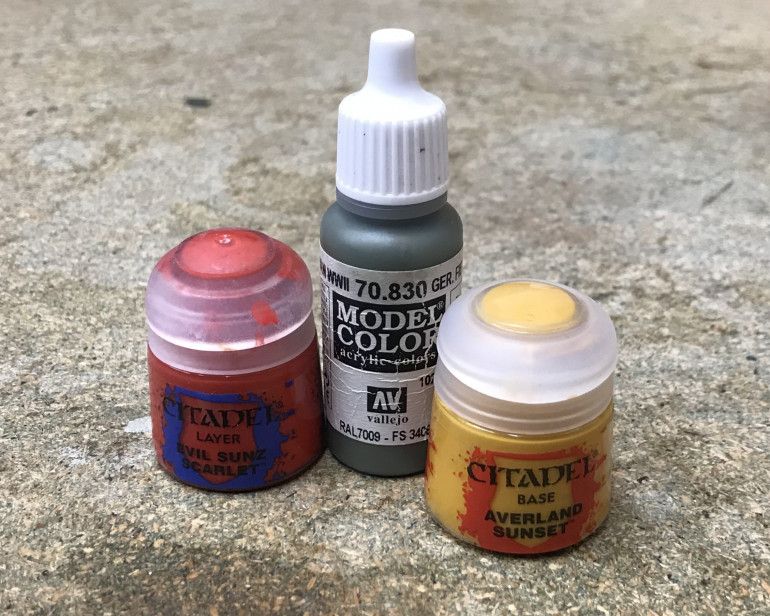
I began by roughly colouring the eyes with Averland Sunset. I then picked out the red tattooed areas with Evil Sunz Scarlet. The black parts of the tattoo were filled in with German Field Grey. I did my best to avoid the teeth and horns.
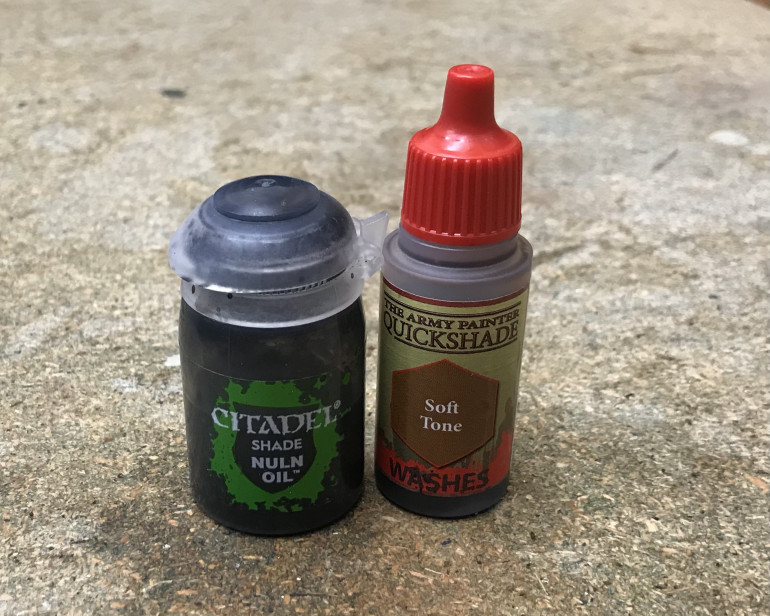
A wash of Nuln Oil was applied to the tattooed areas to bring out the definition and tone them down.
I worked back over all areas with the original colours, tidying up and adding highlights after the black wash.
A further, selective wash of Nuln Oil, followed by more tidying up and a wash of Soft Tone to the teeth and horns…
… then I went to rest my eyes!
The Phoggy Menace!
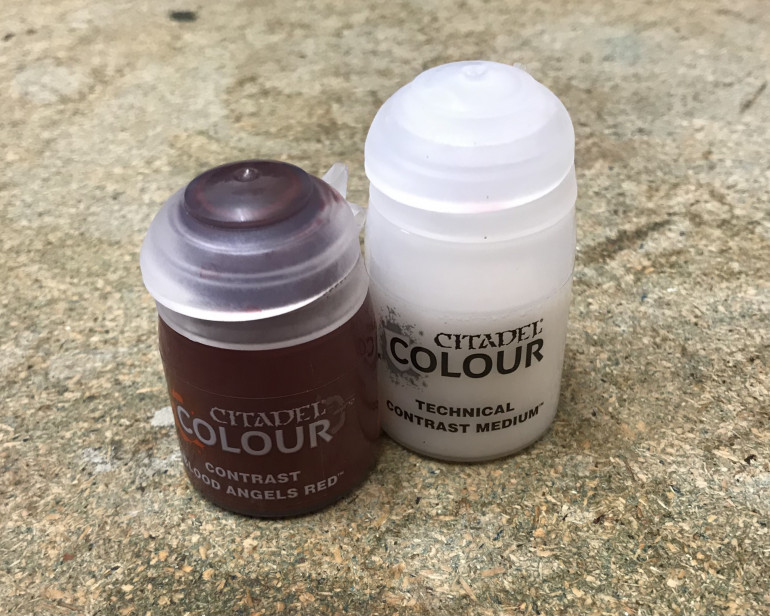
I’ve been working on a technique for lightsabers though it isn’t quite there yet. The idea is to build up consecutive thin layers of pigment, over a white primer. I’ve been using contrast Blood Angels Red, heavily thinner with contrast medium.
The effect isn’t bad but I think I’ll try with glazes next time. In addition to painting the lightsaber, I also gave Maul’s costume a light dry brush of the Luftwaffe Blue that I had used as the base coat. This was followed by a couple of washes of Nuln oil, applied with a little medium.
Once the head was reunited with the body, the model was based in the usual fashion. It was then that disaster struck!…
After applying my usual Vallejo Mat Varnish I was horrified to find it had dried to a cloudy finish. I’m not sure what caused this but a level head and a few careful washes of Nuln oil thinned with medium, removed the worst of the damage.
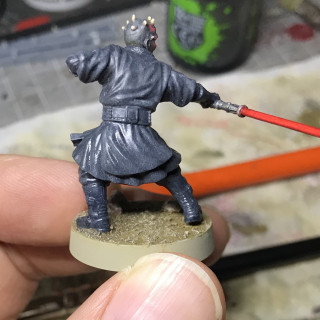
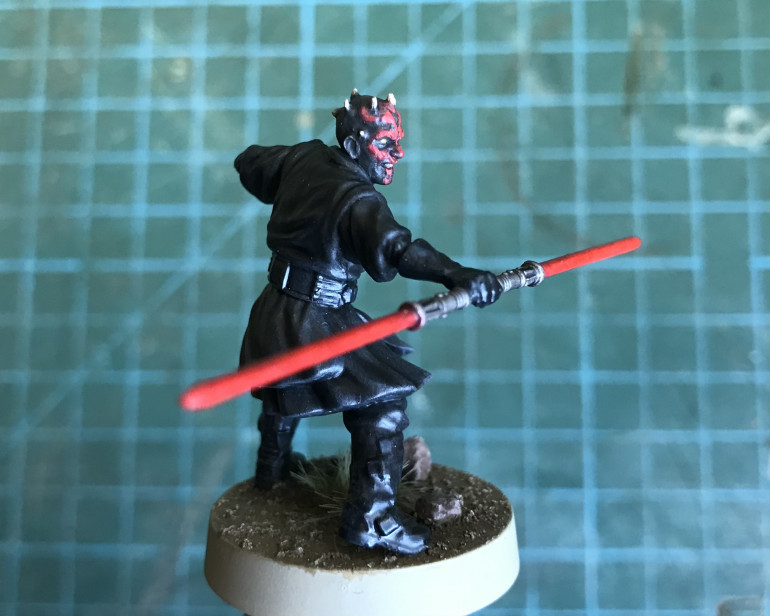
Unfortunately the above images don’t really show what is, admittedly a subtle blue highlight to the costume. A wash of Nuln Oil Gloss to the boots, gloves and belt, really helped represent the leathery elements of the costume and break up the form of the figure.
Specialist Personnel Expansion
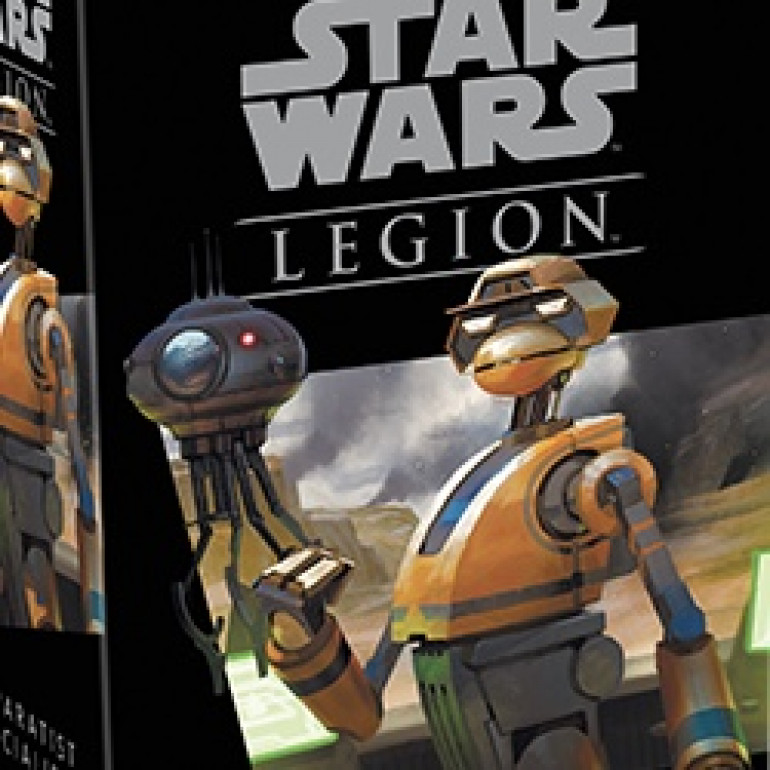
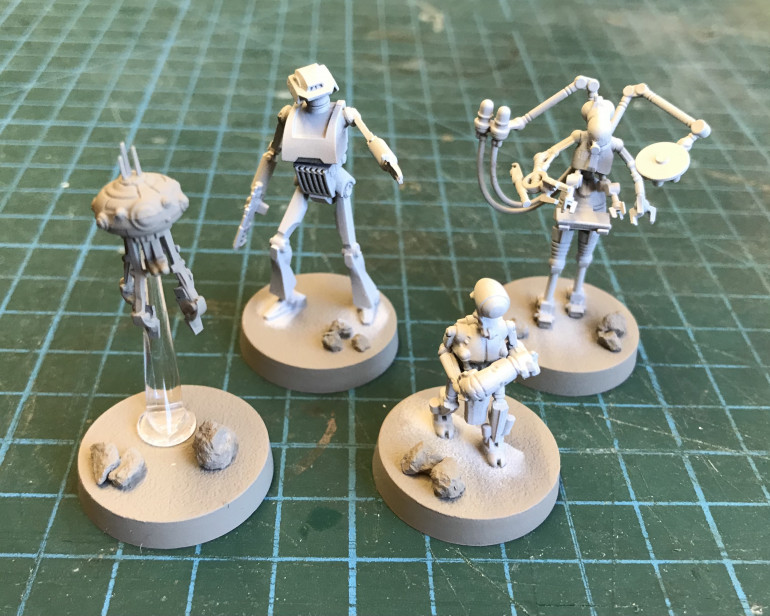
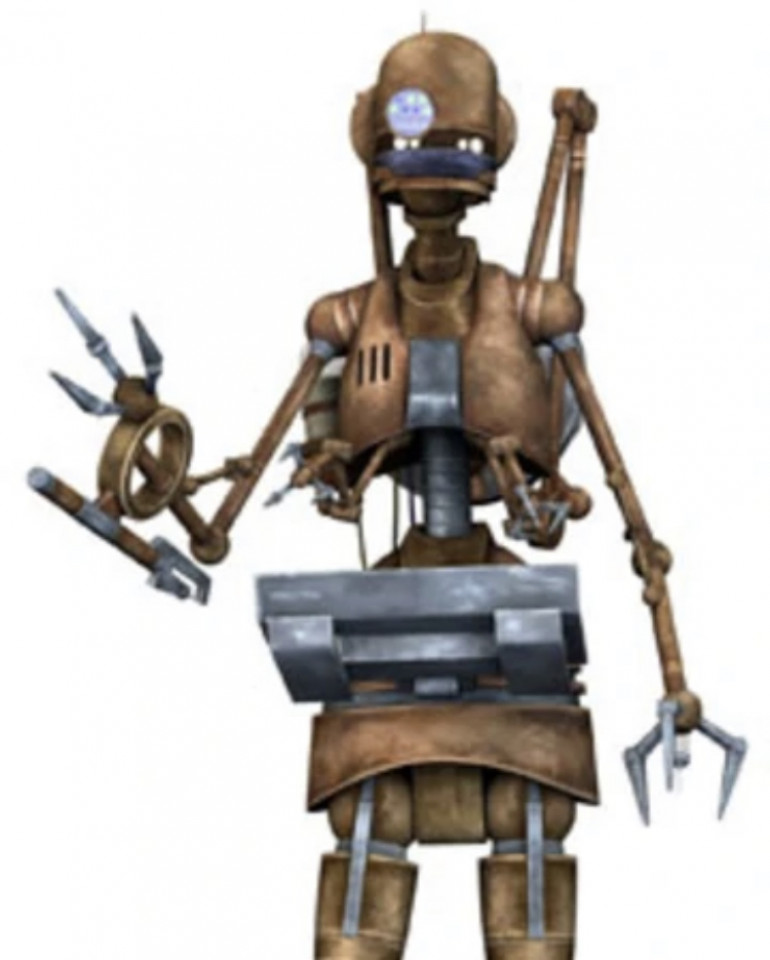
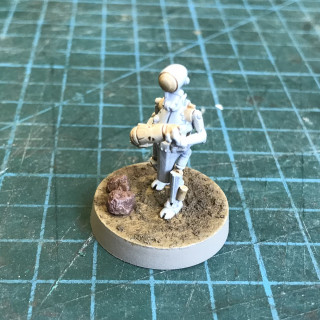
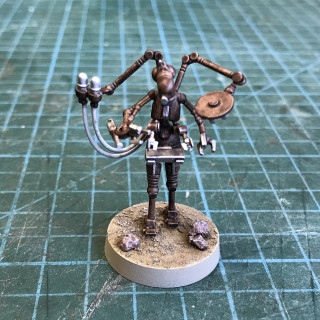
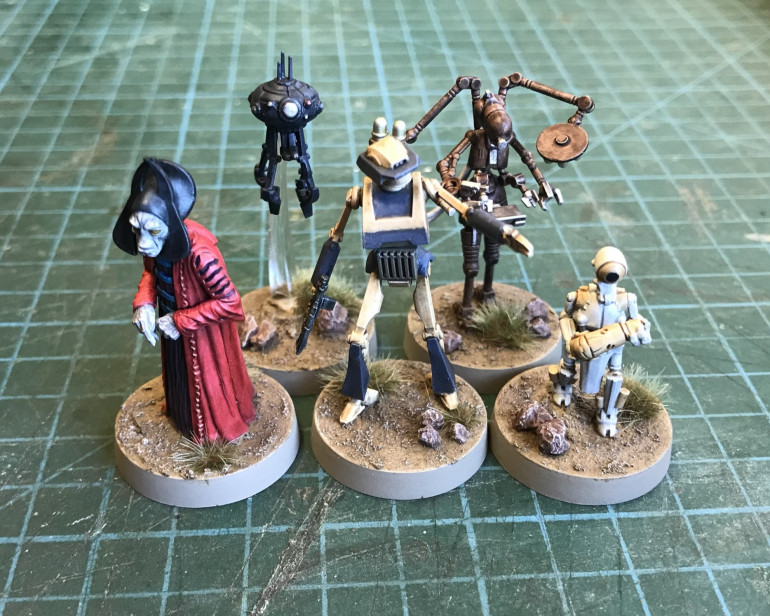
By the time I had finished Maul the next expansion had arrived in the post. These specialists droids add some interesting options to the army such as repair and heal actions.
Perhaps most notable is the T-series Tactical Droid, who is able to command your forces. This is a significant change of pace from the current general options of Dooku and Grievous.
With only four models to work through I wasted no time assembling the new droids and priming them in my usual fashion.
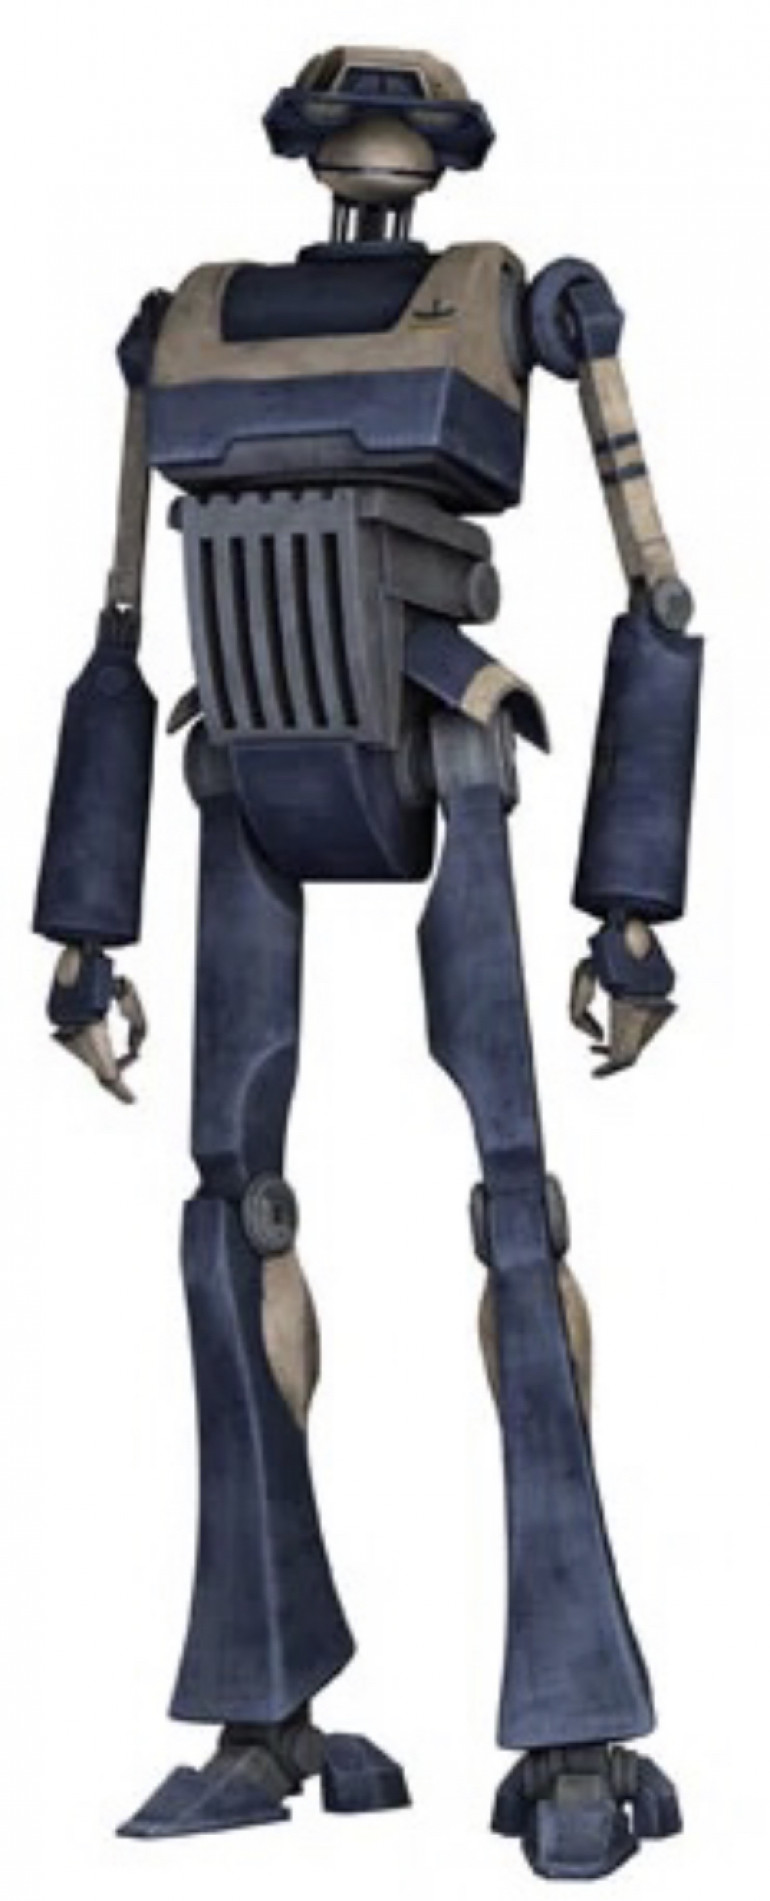
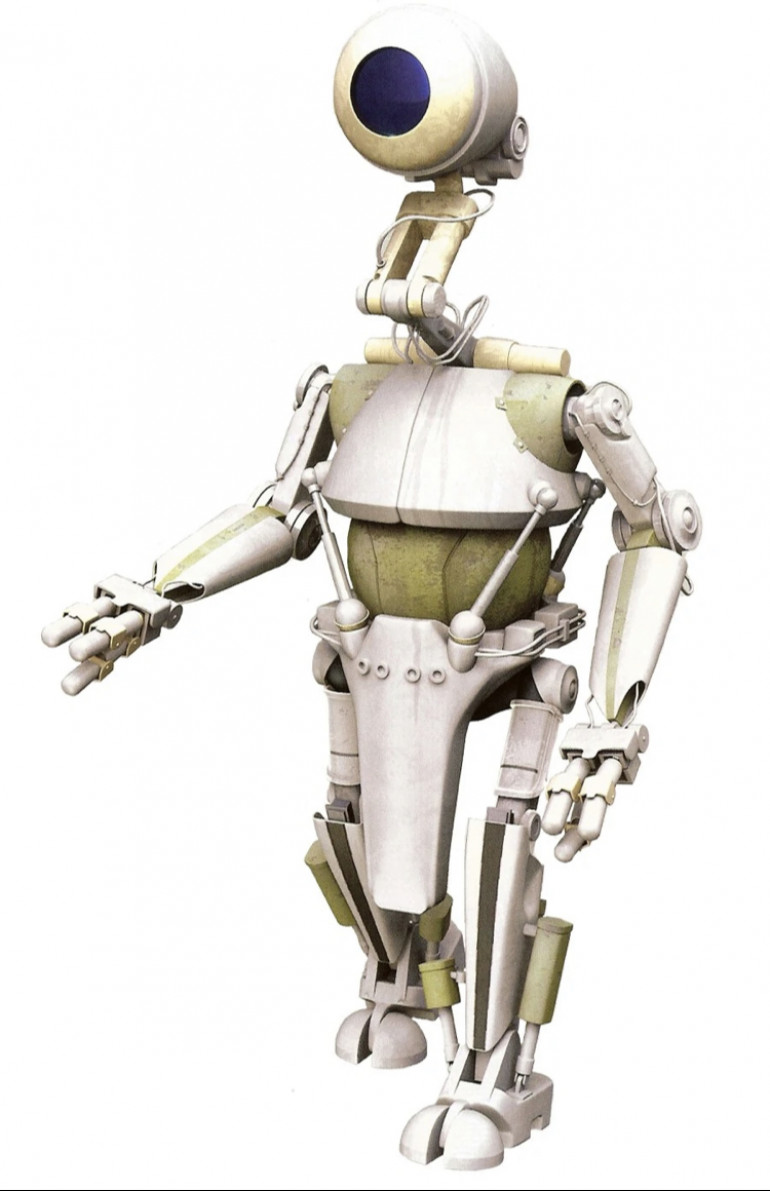
I was familiar with these droid types from watching the Clone Wars with my kids, but I wasn’t sure of their colour schemes. One of the great things about building an army from a universe as well established as Star Wars, is the wealth of reference you can draw on.
After a brief internet search I had some colour schemes that I felt would work with rest of my army.
In the meantime I spotted the Separatist Hostage from the Vital Assets Battlefield expansion. I had primed him a while back but never got around to painting him. Now seemed like a good time to add him to my painting tray.
Specialists Assemble
Making use of the Contrast paints that I have been experimenting with through this project, I was able to work through these models pretty quickly.
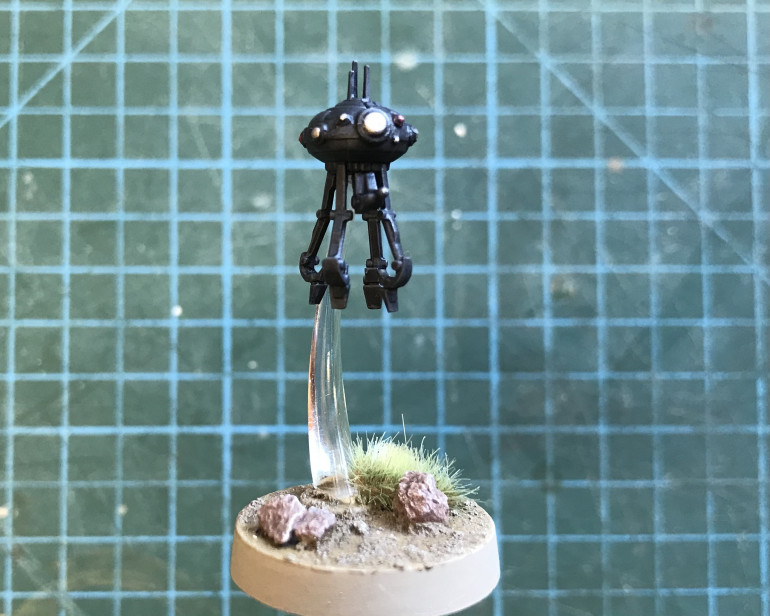
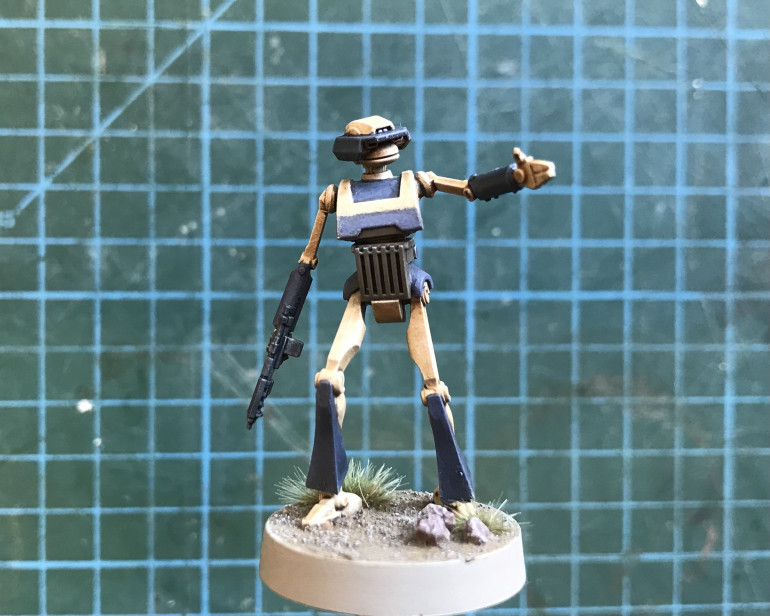
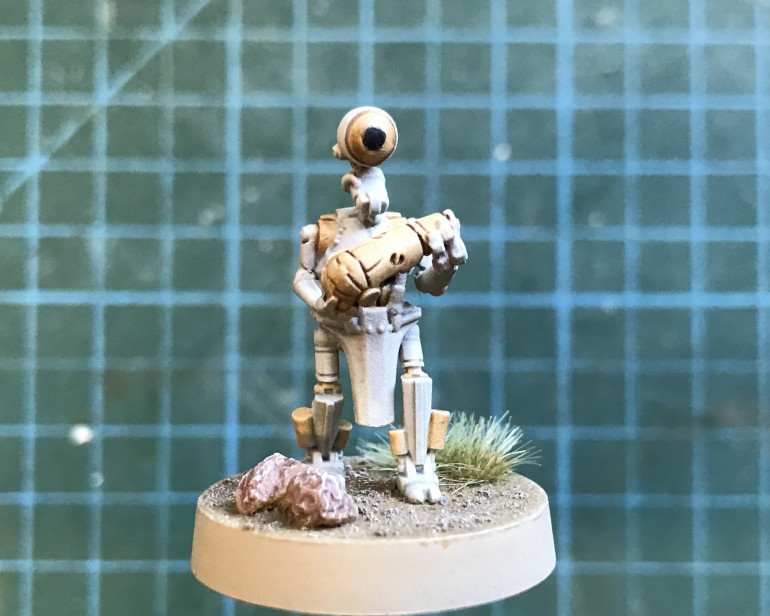
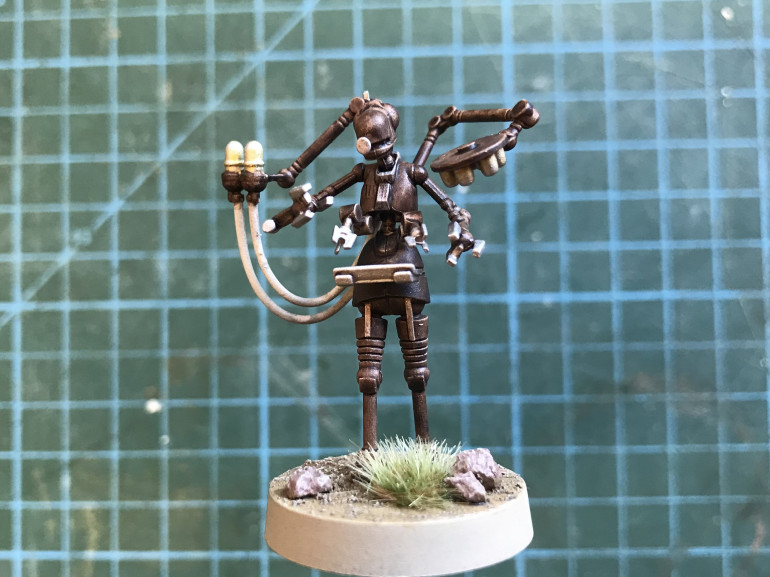
After blocking in the bases I began with the prob droid who was painted Luftwaffe Uniform Blue. This was also used for the markings on the T-series and his midsection was painted German Green Grey. The worker droids ball joints were painted Skeleton Hoard (along with the B1 head he is brandishing), and the Medical Droid was given a coat of Wyldwood before the claws and instruments were picked out in Ironbreaker.
Following the same process I had used for the Sith Viper Droids, the probe droid was given a coat of Black Templar, followed by a light dry brush of the Luftwaffe blue.
The lighter areas of the T-Series were painted with Skeleton Hoard, to tie him in to the colour scheme of the B1’s and these were also washed with Soft Tone. A wash of Nuln Oil over the blue and grey areas, followed by a light dry bush of the original colours and he was done!
The remaining white areas of the worker droid were painted all over with Apothecary White and his eye lens picked out in Black Templar. Soft Tone was used on the beige areas, aim line with the B1’s earlier process.
The Medical droid was given an all over wash of Agrax before the silver elements were highlighted with Runefang Steal. I used the Apothecary White on the dangling leads and a few washes of Soft Tone over the medical vials to represent the fluids inside!
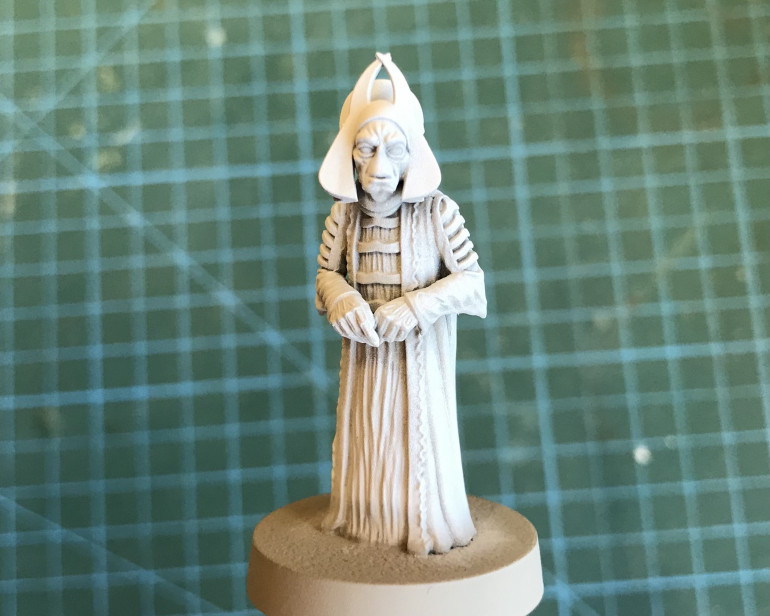
Neimoidian Hostage
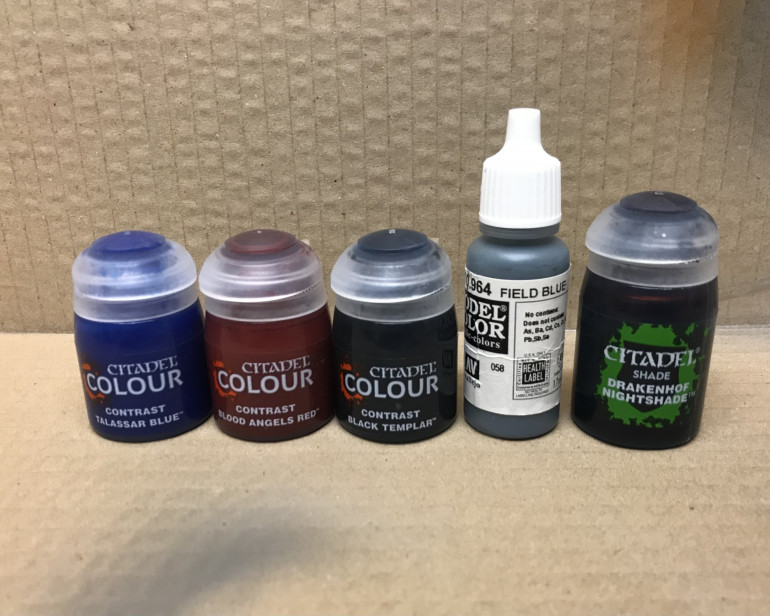
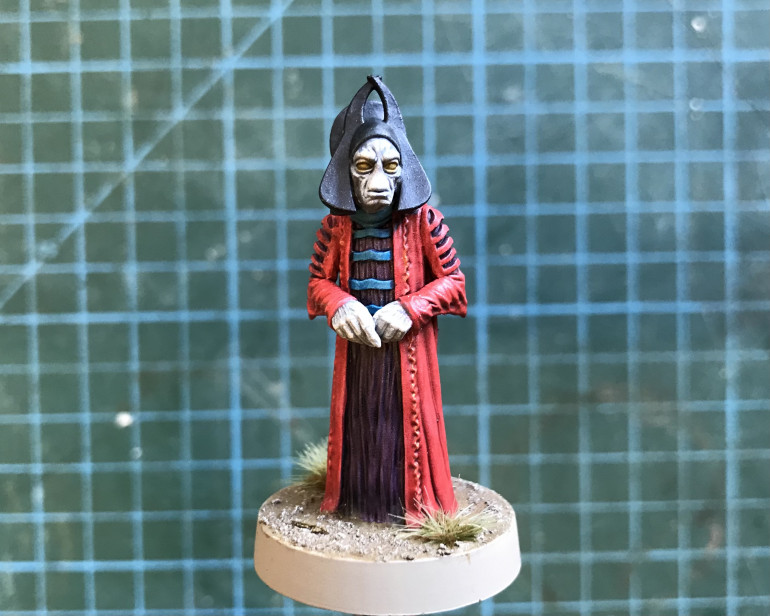
The Neimoidian Hostage from the Vital Assets Expansion was a really simple paint job. It was so quick I didn’t think to take any photos along the way! I gave the robes two coats of Contrast Blood Angels Red, thinned with Medium. A single coat of Balthasar Blue was used for the collar and the straps that run across his chest. As I didn’t have a purple the two previous colours were mixed in roughly equal quantities, with Sokol of medium, for the purple under cloak.
The hat was Black Templar. The face and hands were done by thinning the Vallejo Field Blue with water and wash medium, to create a wash. This was applied directly over the Wraithbone primer in a couple of thin coats. I used Darkenhof Nightshade wash on all areas of the robes and used it sparingly around the eyes and wherever the skin met the costume. The eyes were simply washed with Soft Tone to the desired colour. (Gryphon Sepia would achieve the same result). A little Gold was used along the hem of the robe.
The Neimoidian makes a nice addition to the personnel expansion and could be used as a stand in Separatist general by using the T-Series unit card.
The Final Push
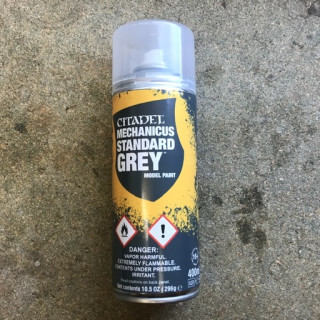
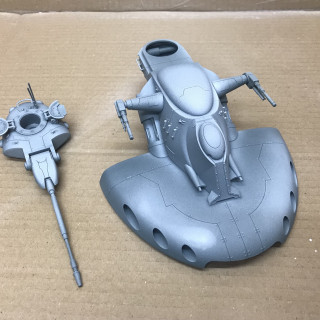
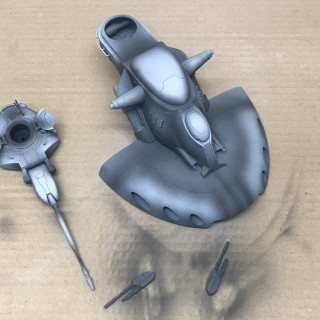
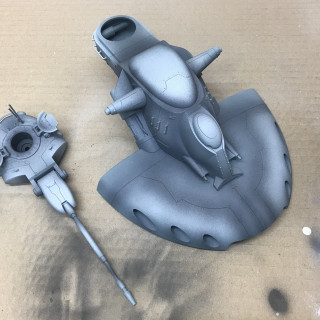
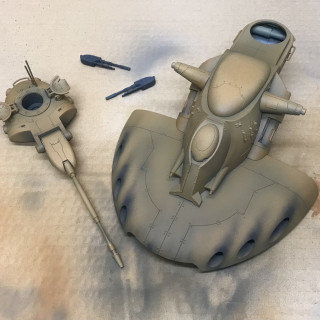
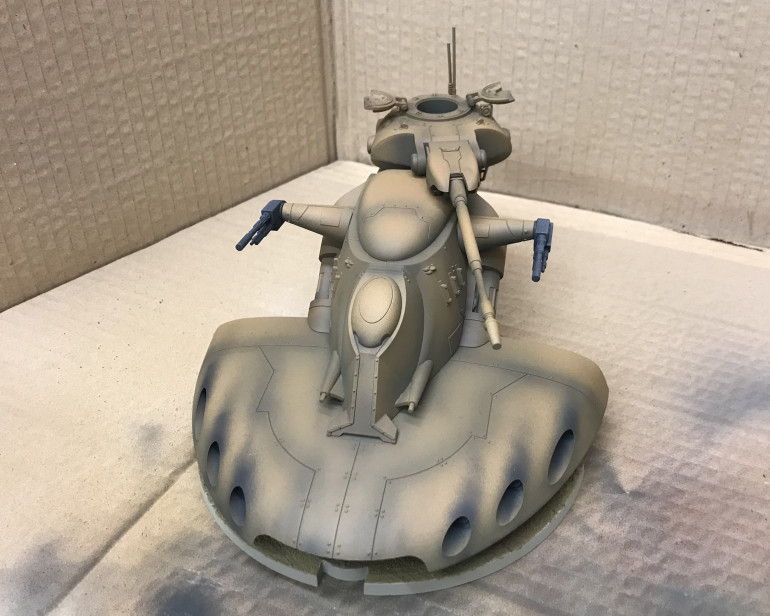
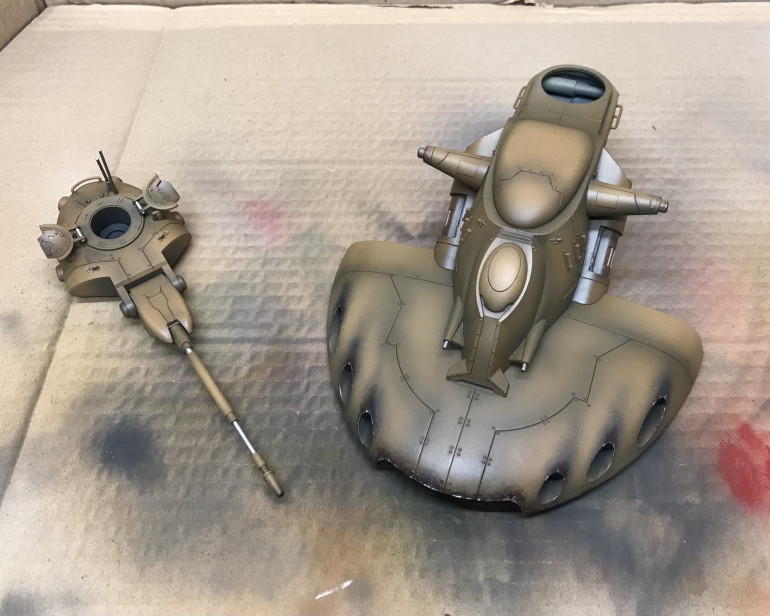
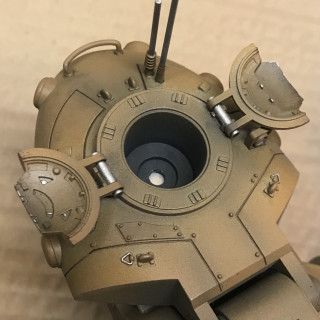
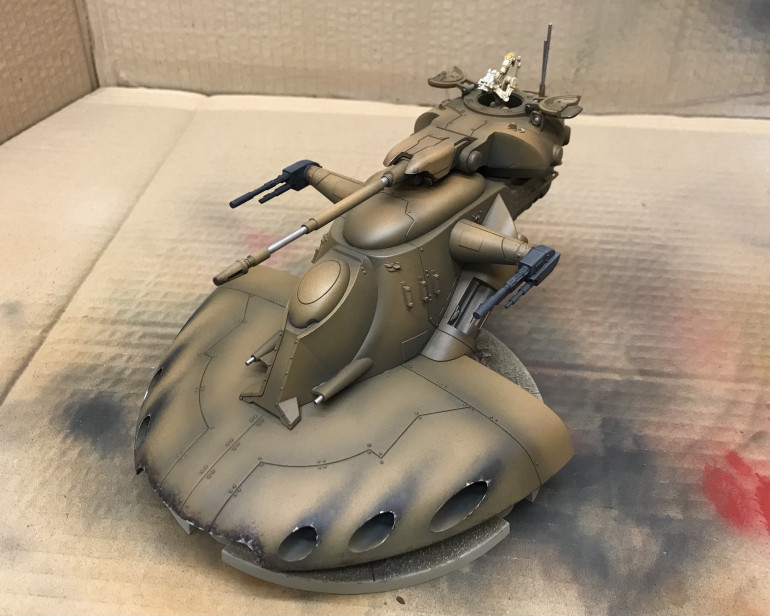
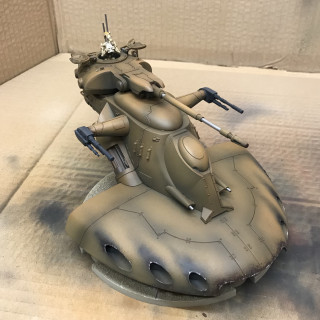
The final unit to be added to this army is the AAT Trade Federation Battle Tank. I have had this model for some time and have been working up the courage to use the airbrush again! I’m not very experienced with an airbrush but wanted to try the pre-shading technique as it seemed the best way to tackle the sleek design of this vehicle. The tank was initially primed Mechanicum Grey, though in my excitement to handle the airbrush again I forgot to take a ‘before’ picture!
In my limited experience of airbrush usage I had noticed that it was harder to lay down lighter colours smoothly. There is a tendency for these kinds of colours to spit and splatter, which I assume is due to the heavier pigment.
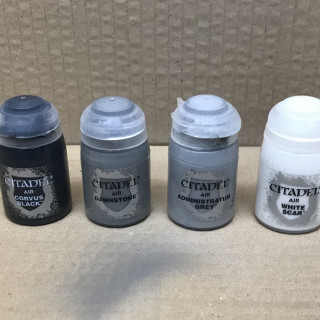
For this reason I opted to begin with the White Scar, that way I could use the darker passes to tidy up anything I didn’t like. However with a little experimentation I found heavily thinning the white with water yielded more consistent results.
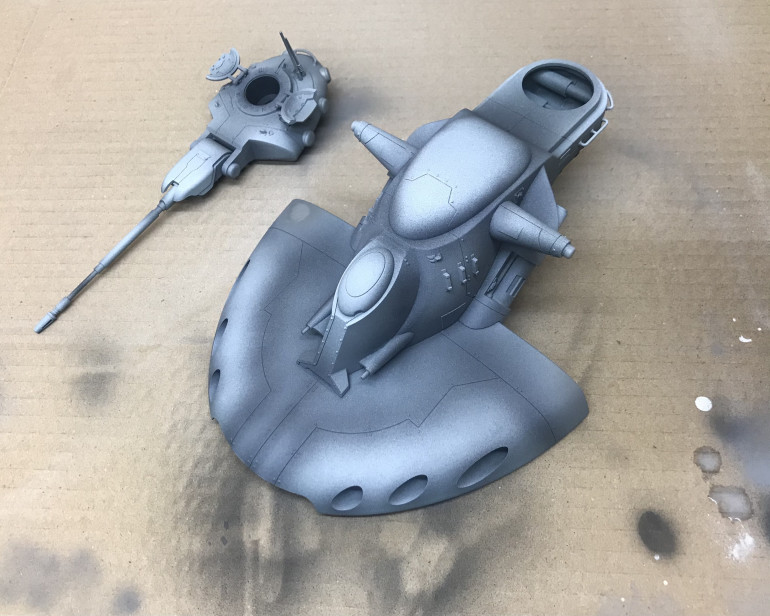
Once the lightest areas were down I went for the Corvus Black to hit the darkest recesses and areas that I wanted to appear more worn. Next I worked the grey mid tones, Dawnstone and Administratum Grey, over the black. As I was feeling more confident about using the white I finished the pre shade with a second pass of the White Scar.
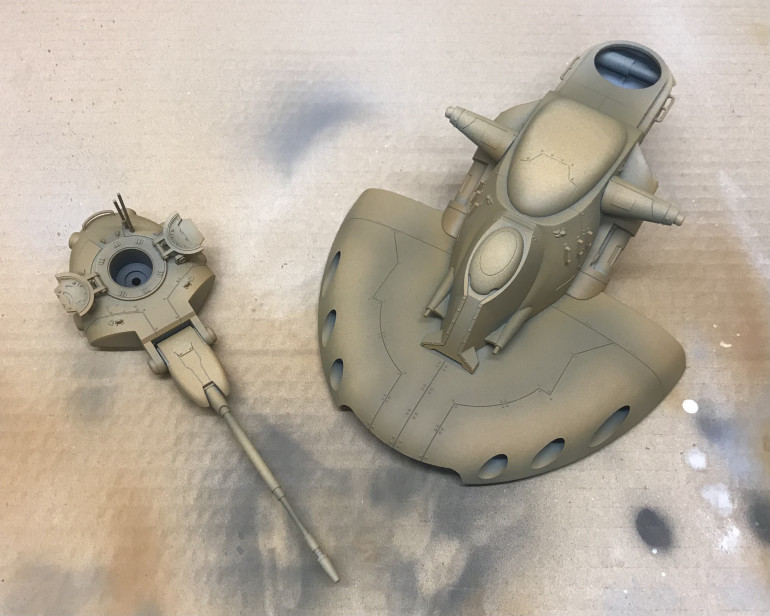
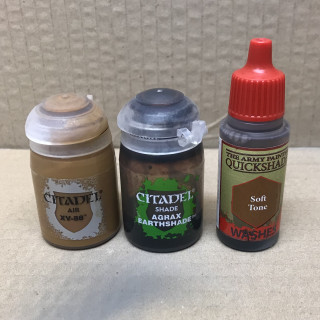
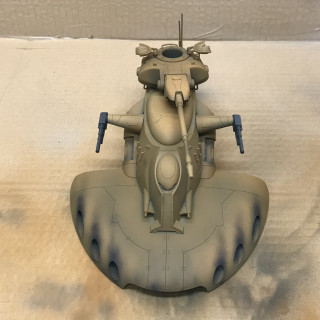
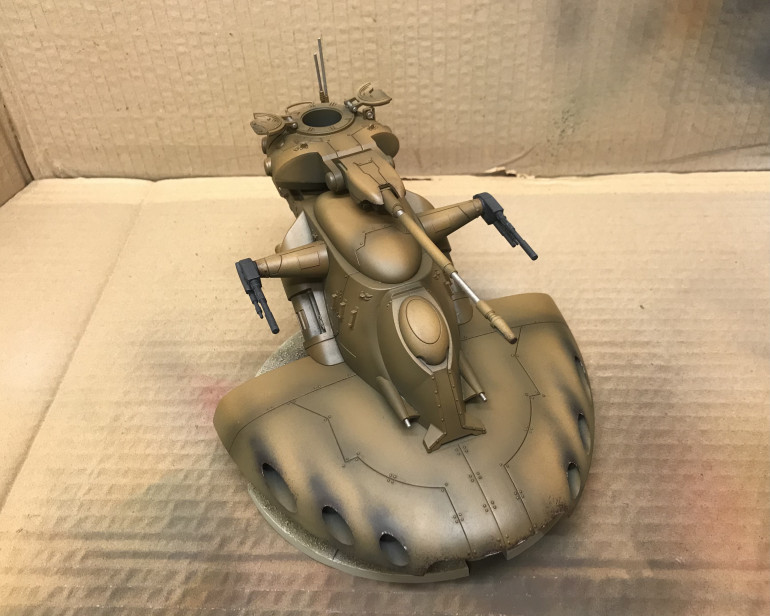
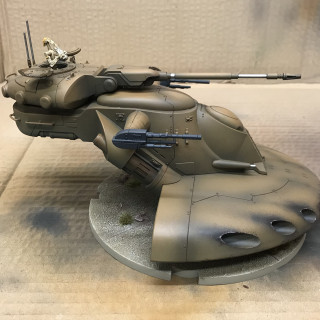
For the top coat I would be using XV-88, which happens to be an uncanny match for the AAT colour scheme. This was applied sparingly at first as I wasn’t sure how much of the pre-shade would show through.
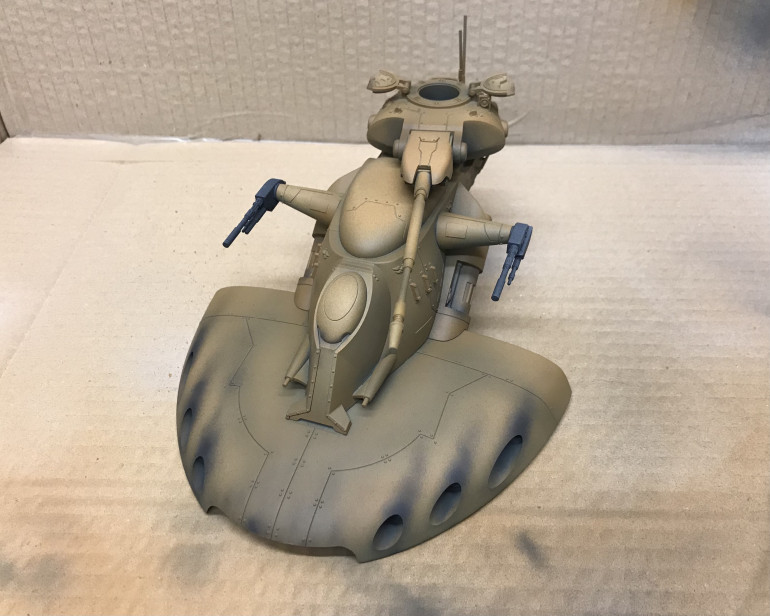
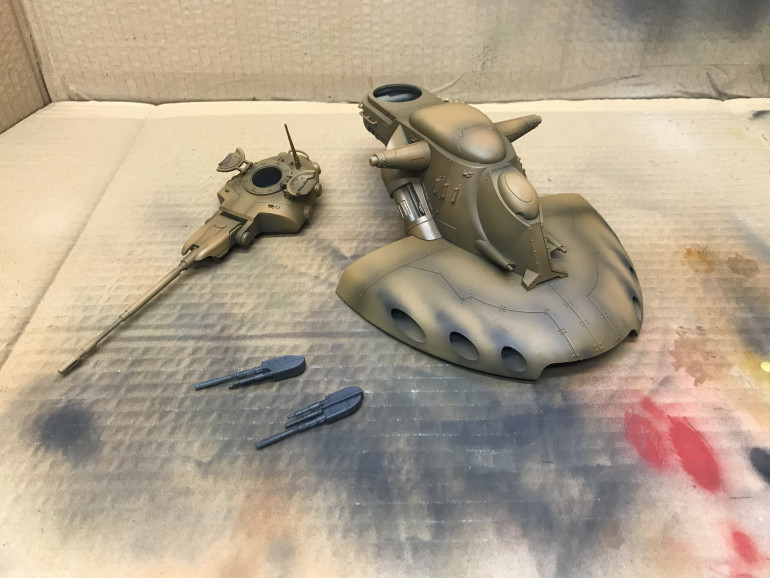
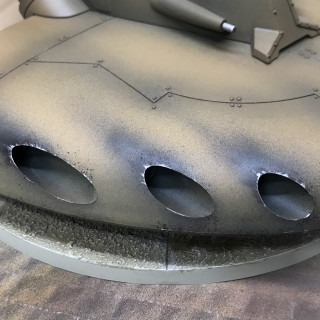
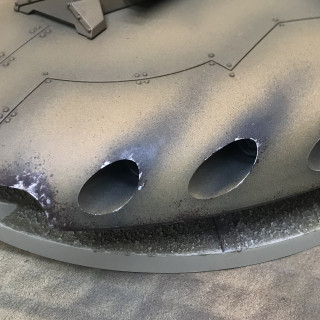
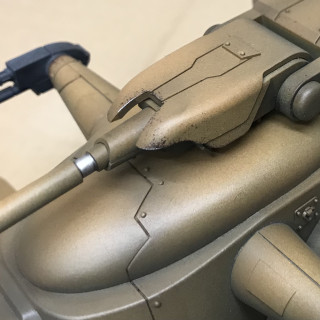
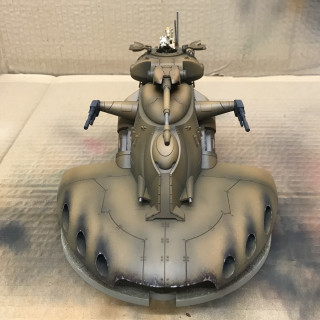
Subsequent layers of XV-88 were built up and I went back to the Corvus Black to add burn marks and weathering around the hull mounted cannons and prow. The sponson guns were painted Corvus Black before being dusted with the Dawnstone.
Still using the airbrush I put a wash of Soft Tone, thinned roughly 50/50 with water, over pretty much the whole tank. This helped to even out the mottled areas and added a richness to the colour. The final stage of using the airbrush was to selectively work Agrax Earthshade (also thinned 50/50 with water), into the deepest recesses.
Experiments in Pin Washing
Since the last entry I managed to get my hands on a much better airbrush and couldn’t resist working back over some of the finish. With a more powerful compressor and better control of the paint flow, I had the confidence to add more targeted highlights by using the XV-88 mixed with a little Karak Stone.
I also worked back over some of the shading using watered down Corvus Black. Next it was time for a pin wash but in truth, I didn’t really know what a pin wash was! Turns out it’s a ‘pinpoint wash’ used for adding extra shading to panel lines and recesses.
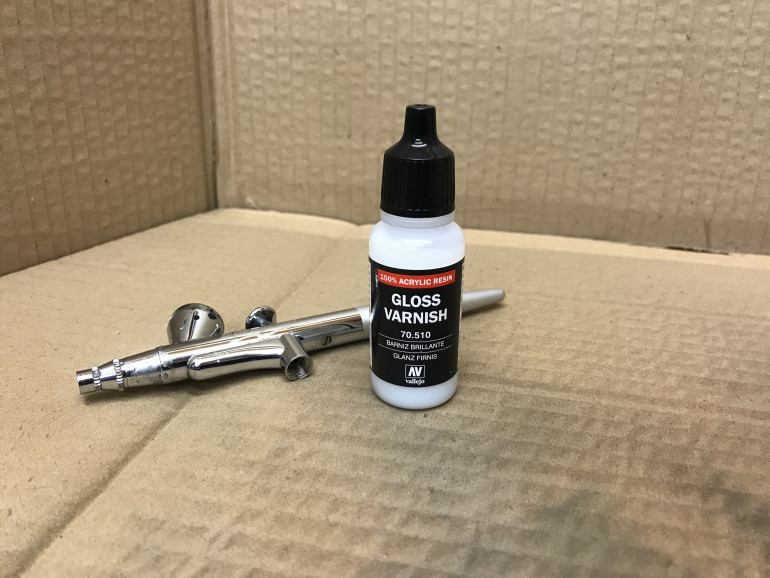
After a little research and chat on the discord, I discovered the first step towards pinwashing was to gloss varnish the model! I wasn’t comfortable with this at all but I went ahead with Vallejo Gloss Varnish thinned down approx 60 -40 with water and applied using the older airbrush.
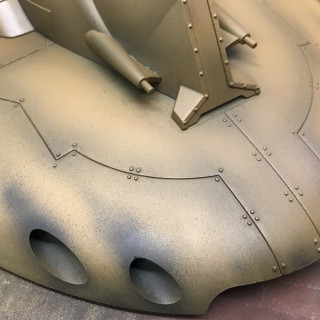
The gloss would help the wash to flow and allow the removal of unwanted paint from the surface. The recommended process of pin washing uses heavily thinned oil paints but it had been a long time since I had any of those around so I opted to try my luck with good old Agrax Earthshade instead. With a decent brush and a steady hand, I began applying wash to the panel lines.
By keeping a damp brush and piece of sponge to hand, I was able to remove any unwanted wash that made it onto the surface. I began by using medium but actually found the wash flowed much better when thinned with just water. I guess the surface tension helps draw it into the recesses.
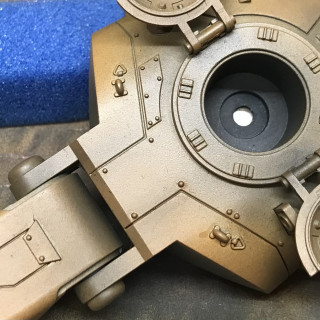
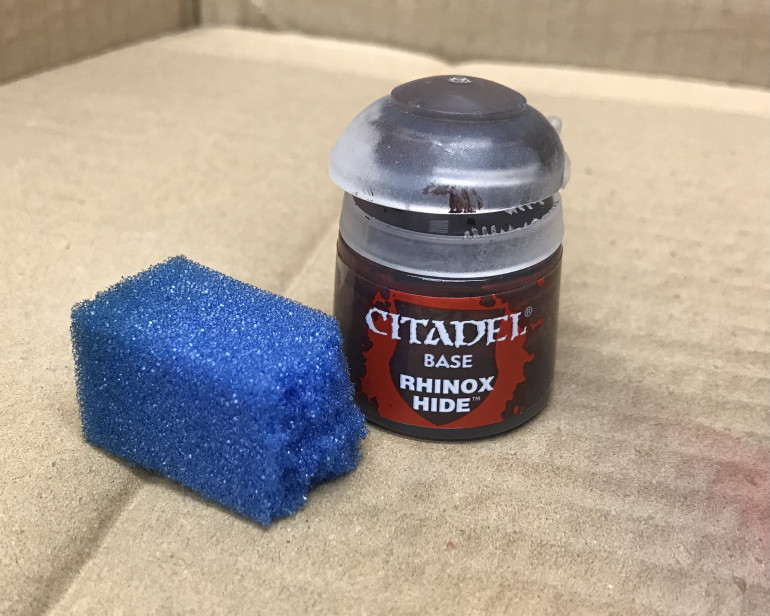
Once I’d had enough of panel lining I broke out the Rhinox Hide and used a piece of packing foam to add chipping to the front of the hull and around the cannons. Using a brush I began to add metallic flecks with Iron Breaker and pick out a few metal parts to break up the uniform colouring.
Finishing the AAT
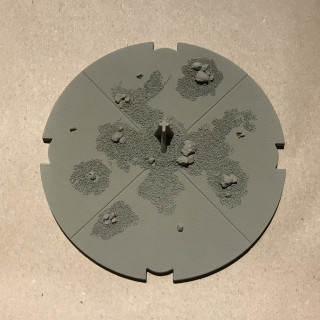
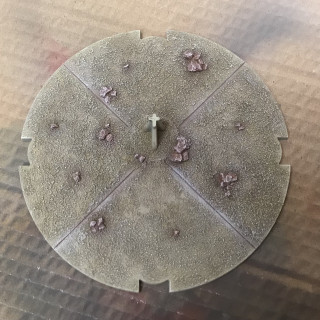
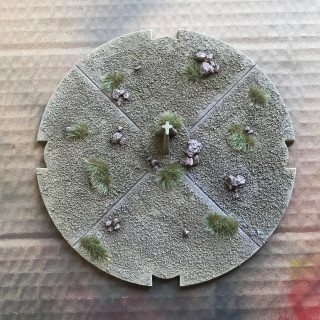
Due to the size of the AAT base I applied large patches of sand before priming. This would save me using an entire pot of the Agrellan Dust I use for basing! The usual Agrax wash and Screaming Skull combo I’ve used throughout this project was worked over the top and finished off with some tufts.
I continued to work over the weathering and detail with the Rhinox hide and Ironbreaker. I hadn’t intended to break the paint job down too much and kept the damage to the prow, rocket vents and moving parts around the turret.
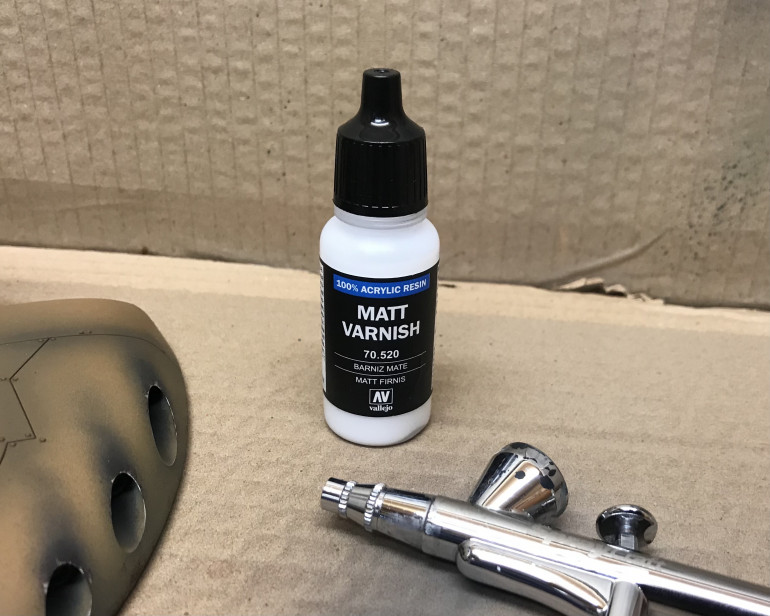
Once I was satisfied with the weathering the whole model was given a couple of thin coats of Matt varnish, to counter the gloss used in the previous entry. This was thinned with water (about 60/40 in favour of the varnish), and applied through the airbrush. This is a great way to varnish your models, especially when working in something this size!
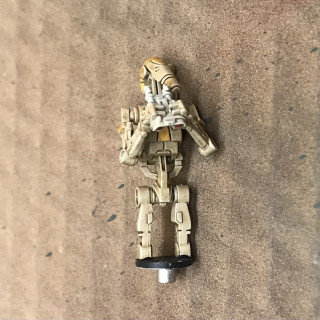
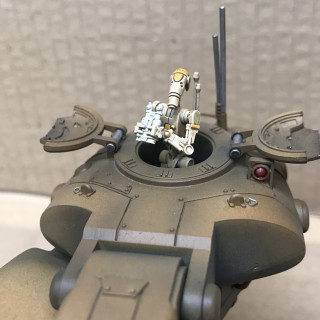
Remember this guy? He had been painted along with the hoard of B1’s. With a magnet on his base and another on the underside of the turret, he dropped snugly into place and would be removable in the event of my building an alternative tank commander (of course this is on the cards).
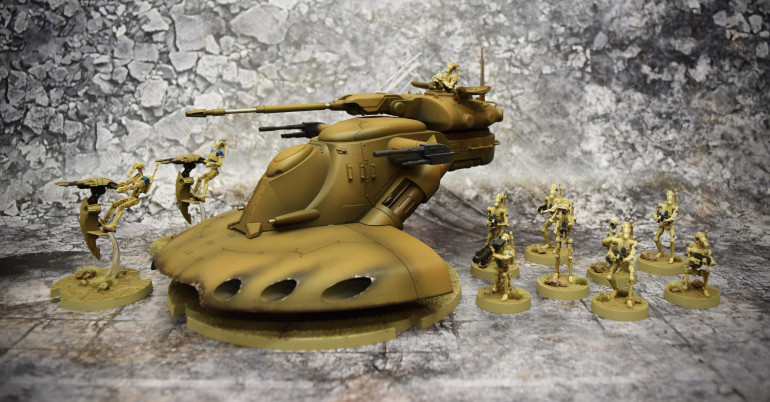
With this done the AAT was ready to join the rest of the ‘Clankers’
Two Lone Swordsmen
It’s time to bring this project to an end, not least because I’m having difficulty uploading any more content to it!
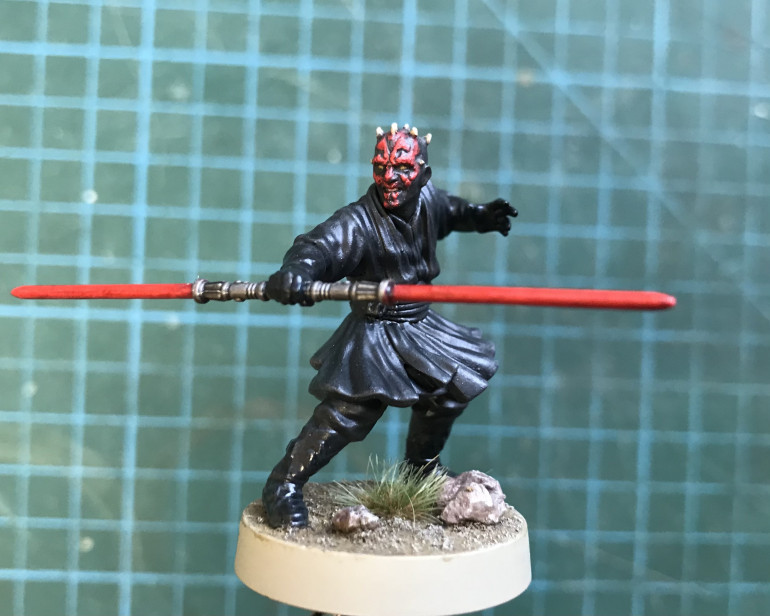
Before I do I have a couple of bits left to finish, namely the lightsabers. It has to be said that lightsabers look great on film, not so much on minis!
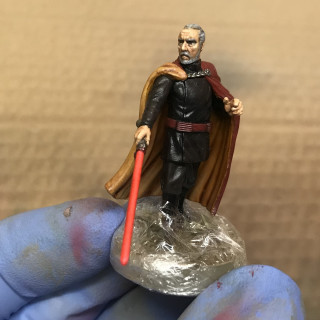
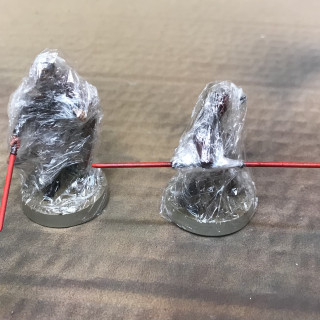
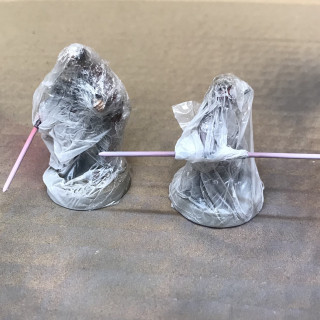
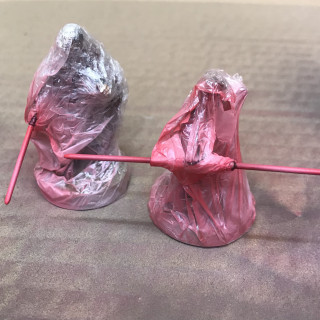
I’m going to attempt Object Source Lighting using the airbrush to create a glow effect. The first step is to cover the bases (along with any other areas I want to avoid getting overspray on), with cling film.
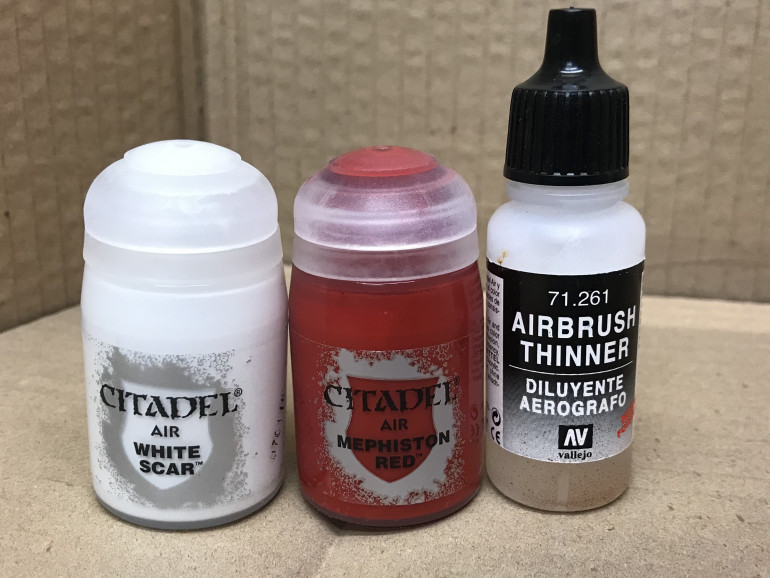
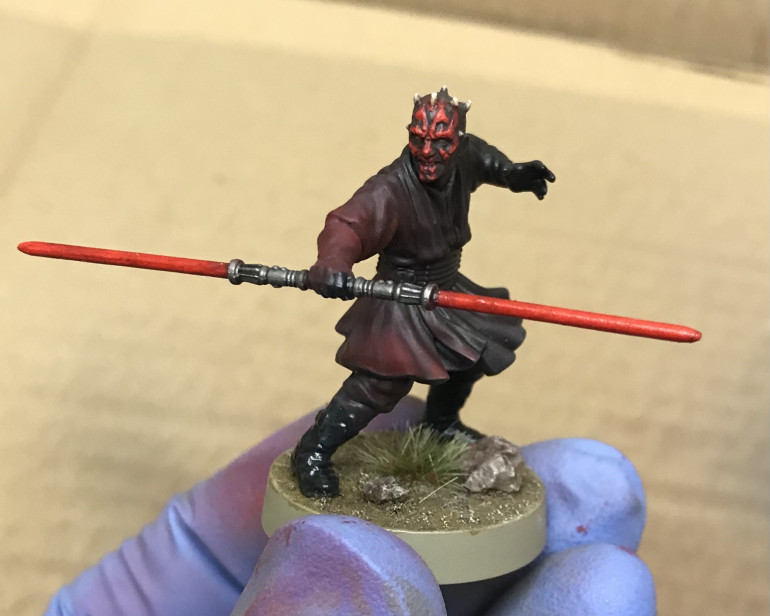
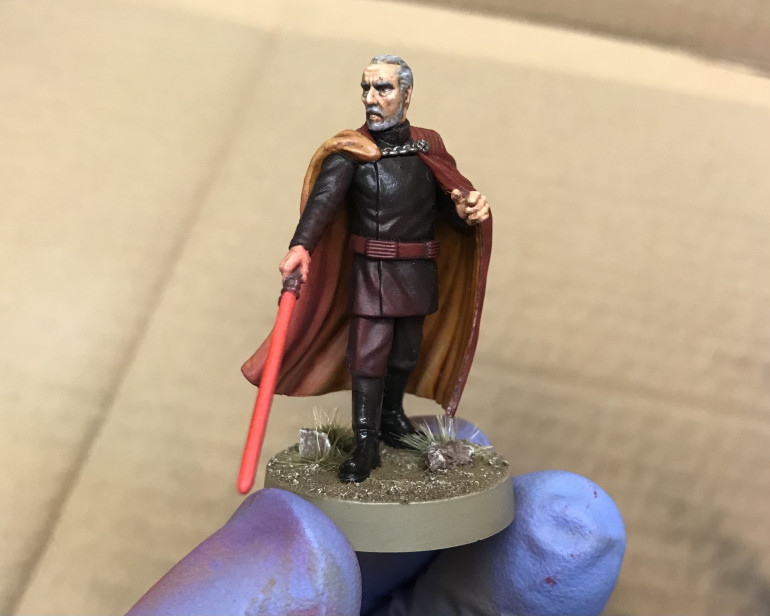
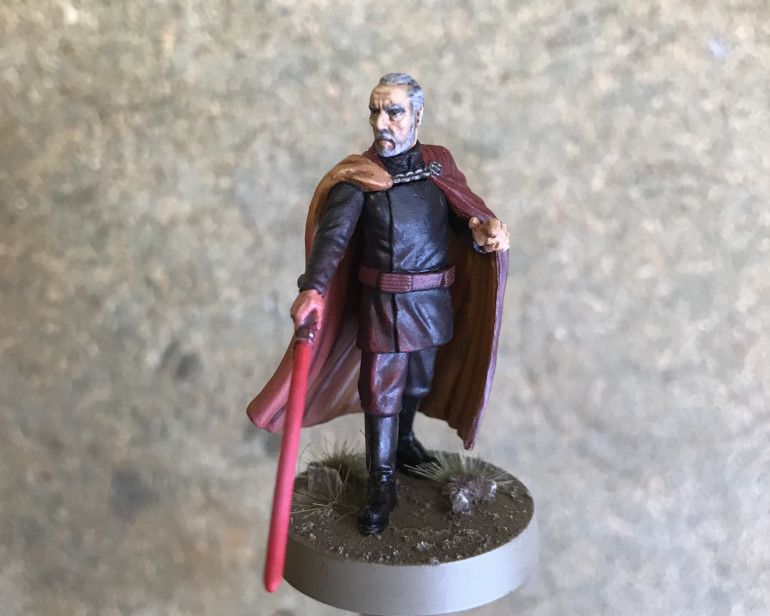
I started by carefully spraying Mephiston Red Air (thinned with a little water and Airbrush thinner), across the areas I imagined the glow from the lightsabers would hit. I then began adding white to the mix to lighten the highlight.
Though it was subtle, I was quite pleased with the effect. I decided it was time to stop before I made a mess of the model. I moved on to the lightsaber blades, covering the rest of the model with clingfilm.
This time I started with the white, which I left to fully dry before adding several thin washes of Red. Once I was finished with the airbrush I worked back over the highlights by hand using the air colours before using Nuln oil to reinforce the shadows. For the blades I used several thin washes of the Mephiston Red Air, heavily thinned with water and a little gloss varnish to enhance the glow effect.
Image Gallery
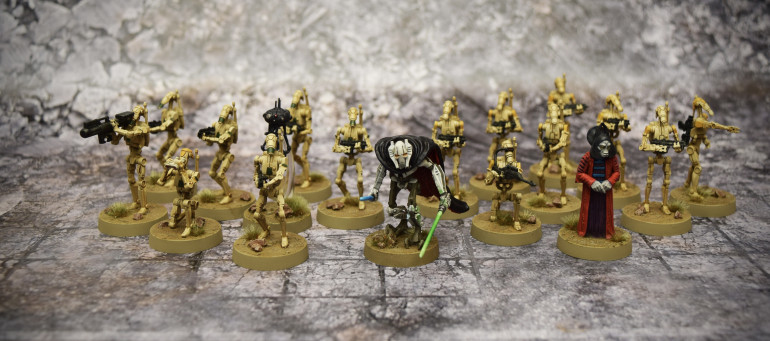
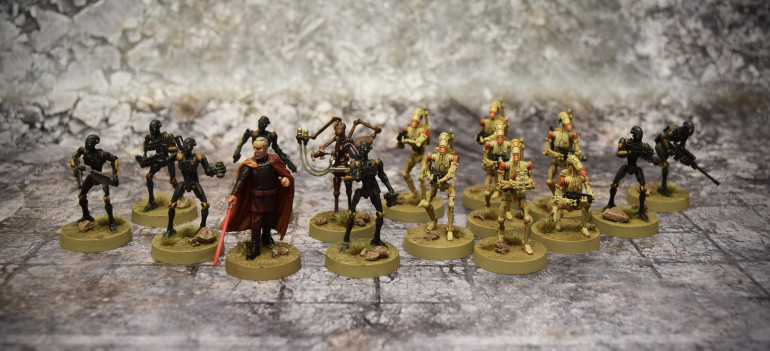
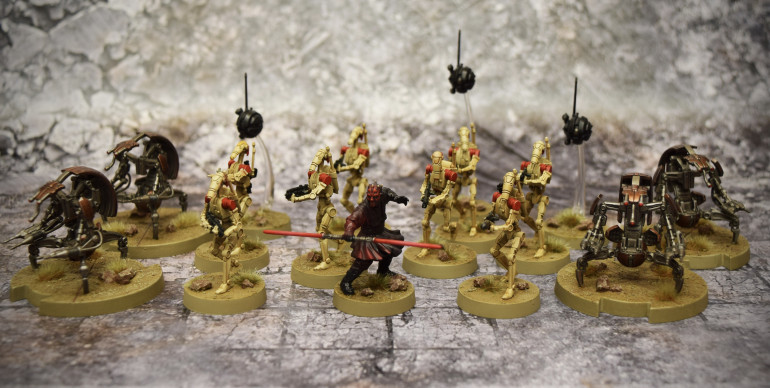
It’s been a year since I started this project but I have finally painted every Separatist model I own. I’m sure I will be adding to this army in the future (holding out for Jango), but it seemed a good time to bring this one to an end. Thanks for taking the time to read through, here are some images of the completed army.


