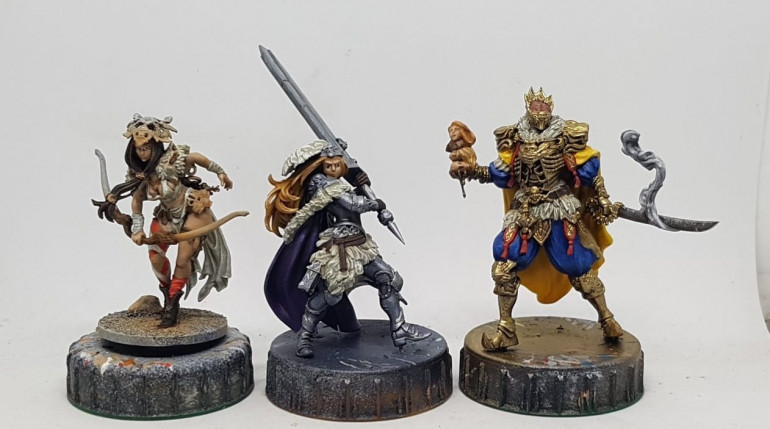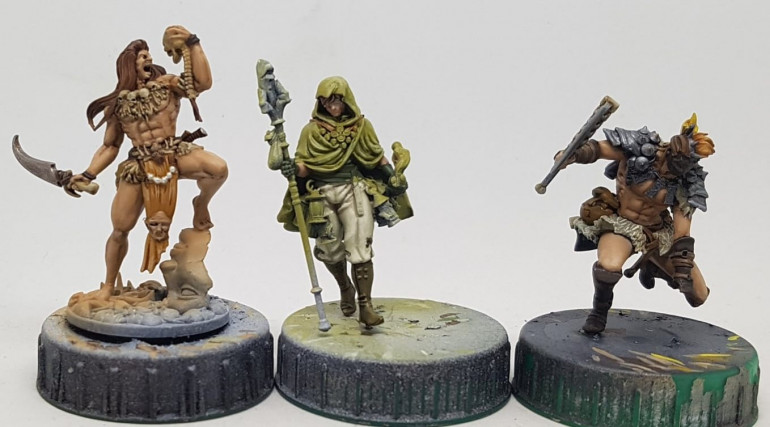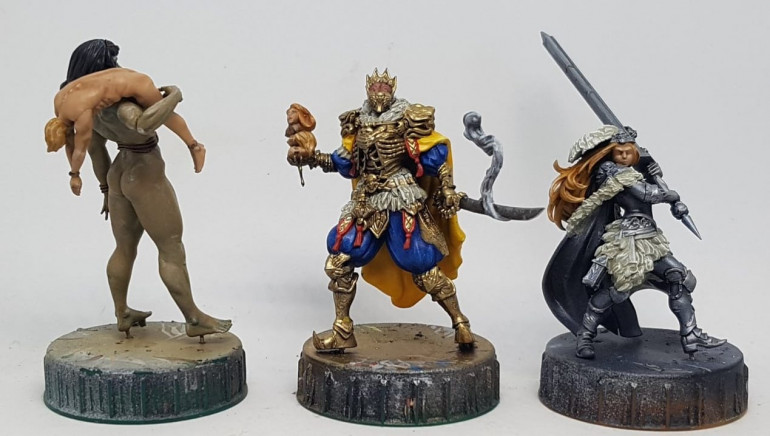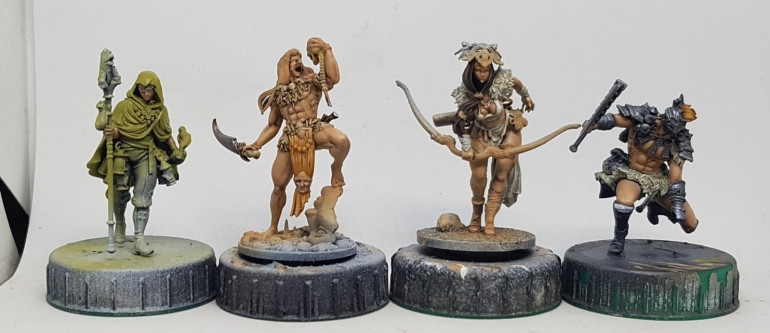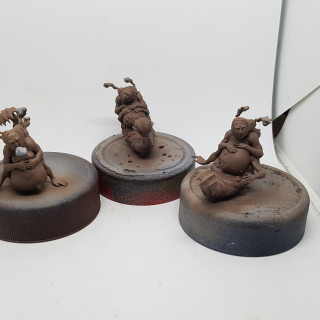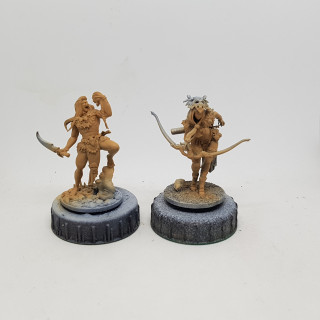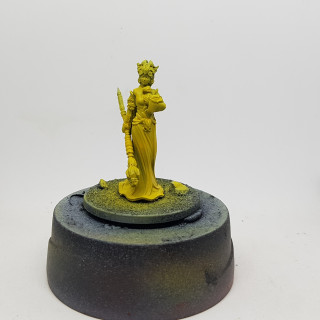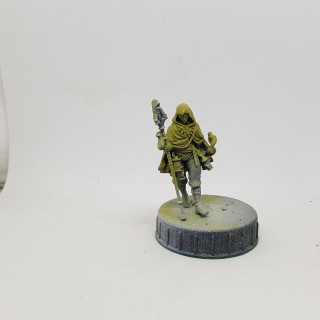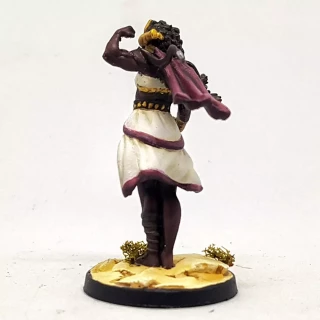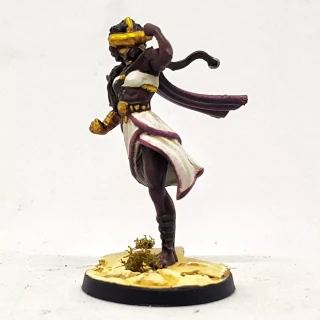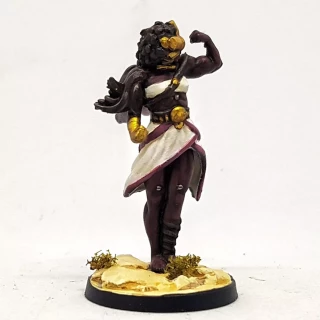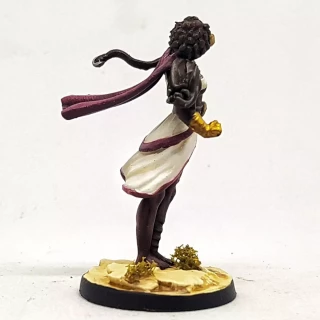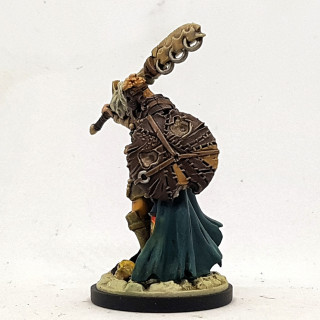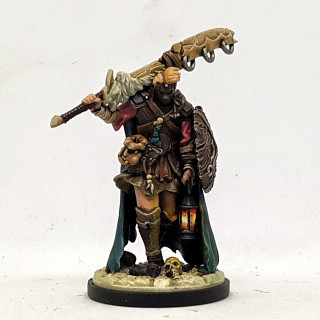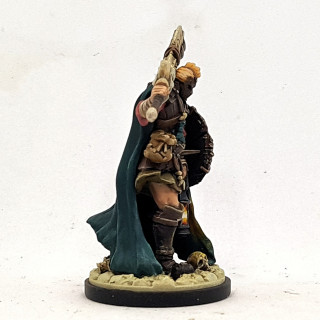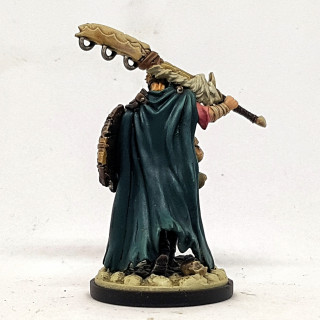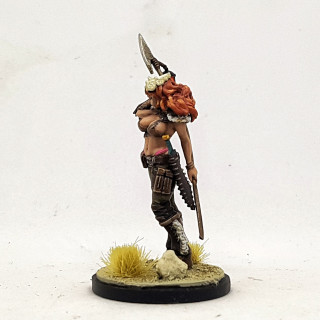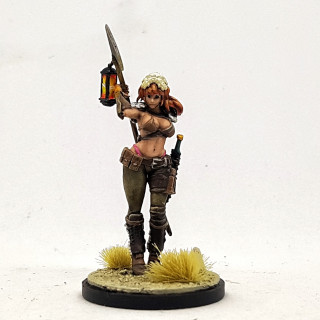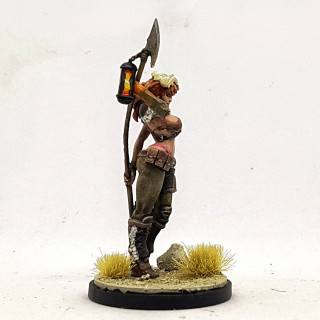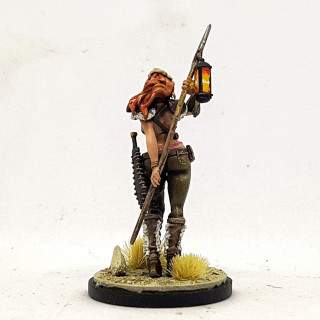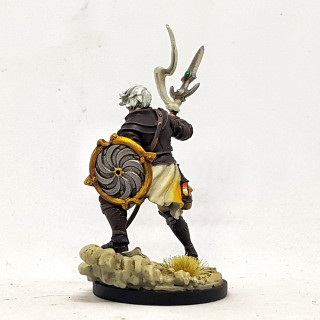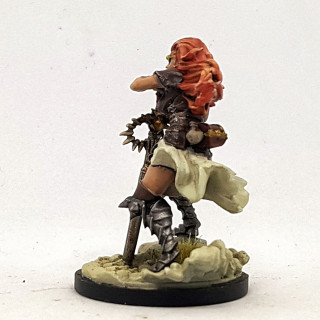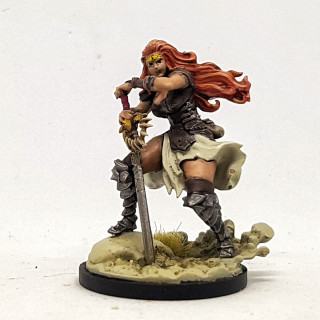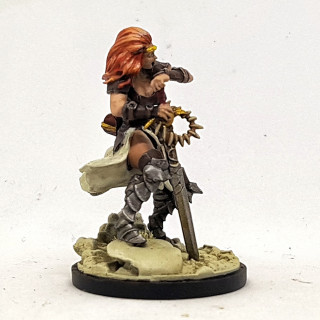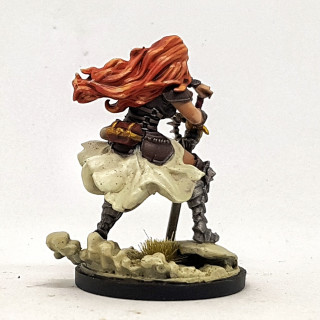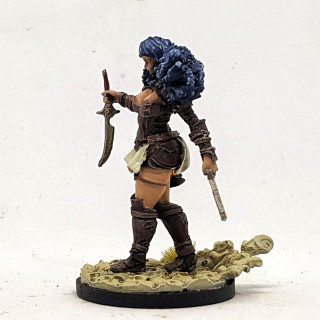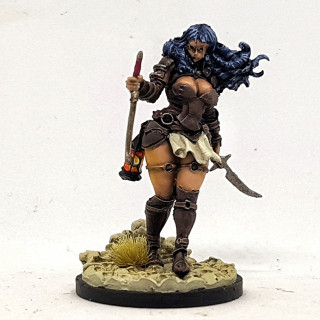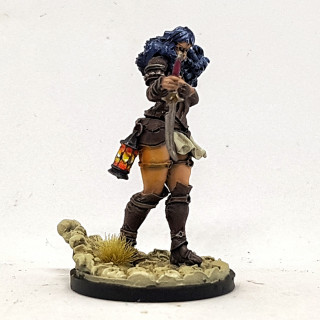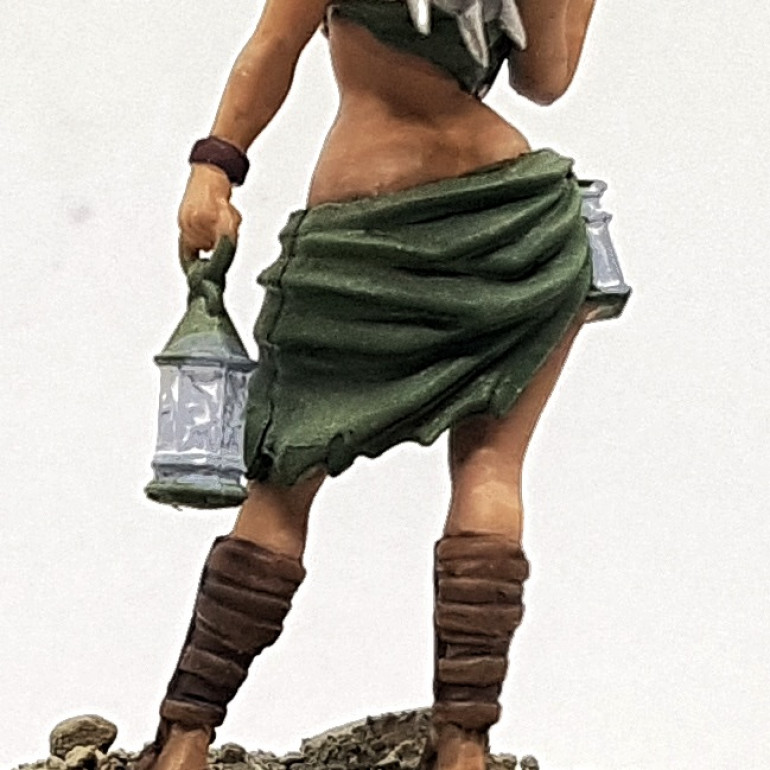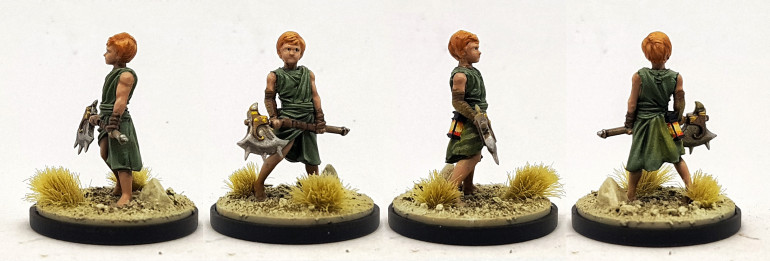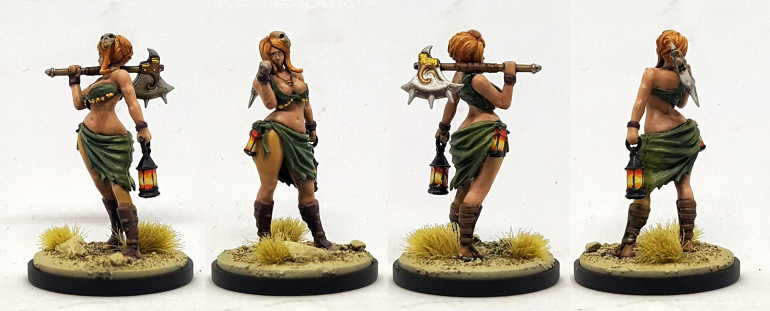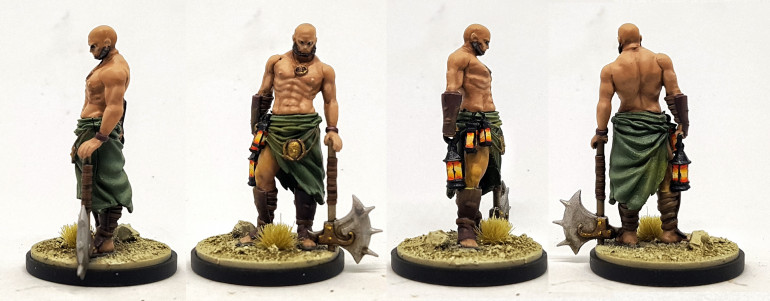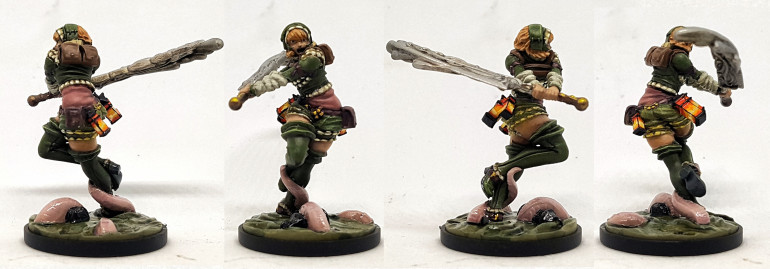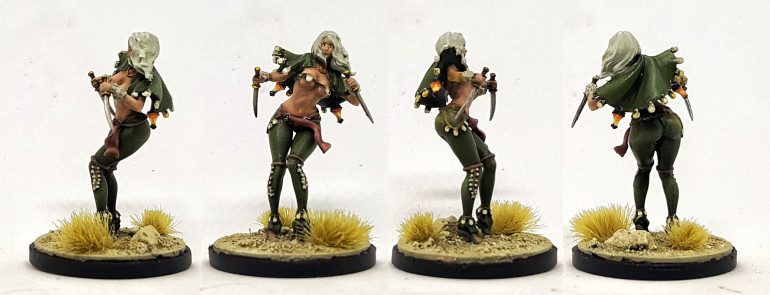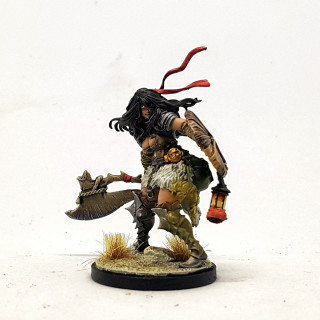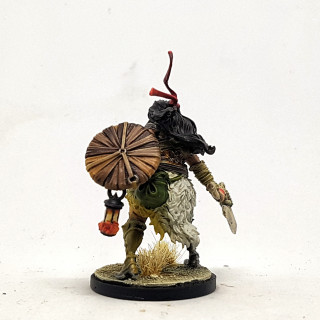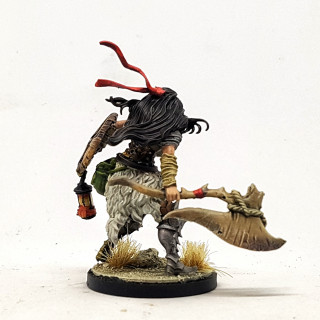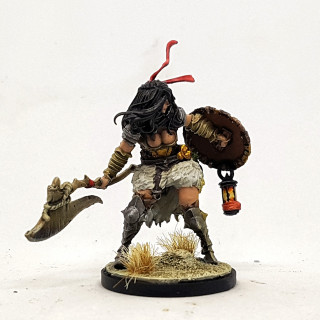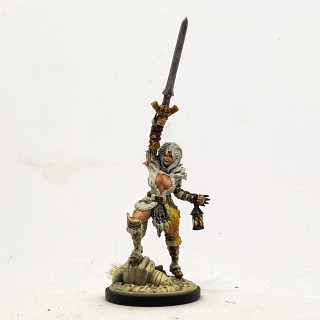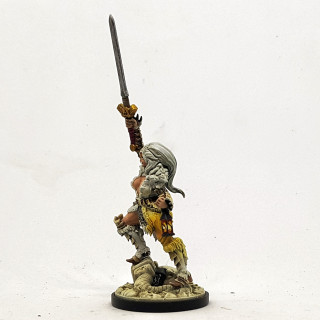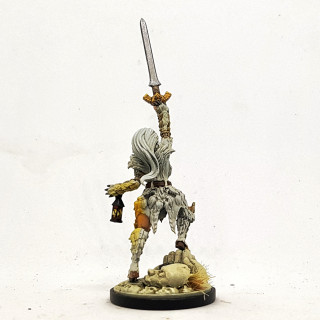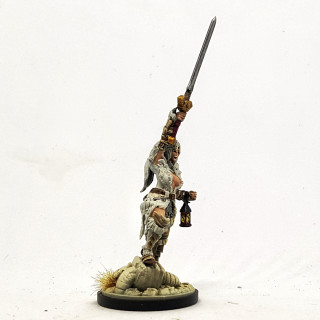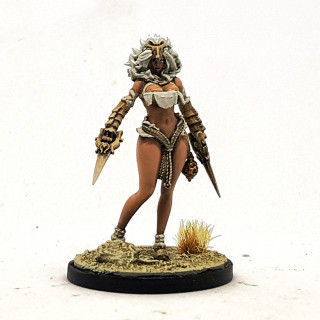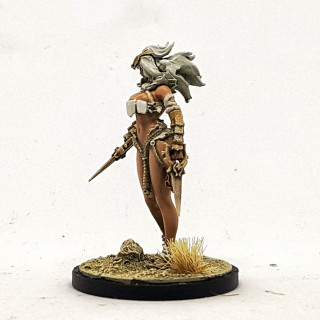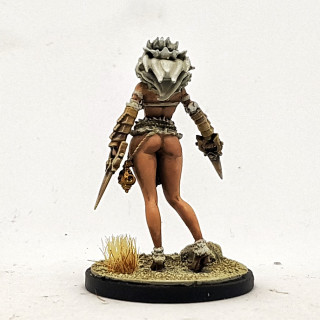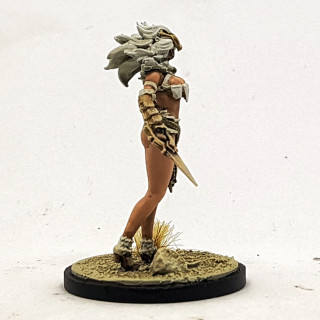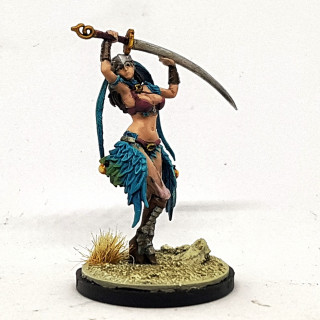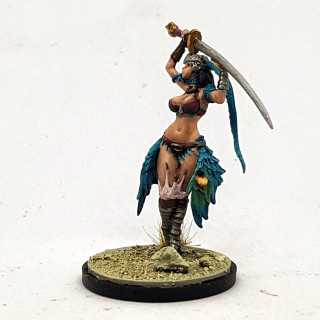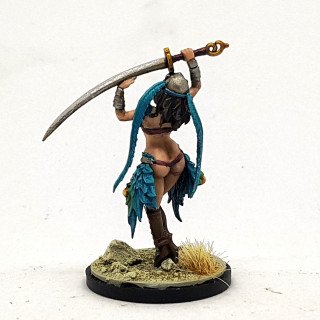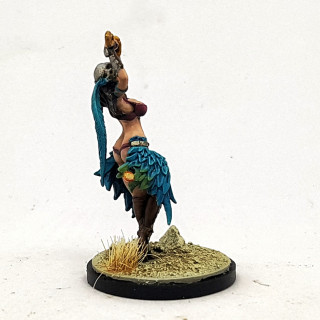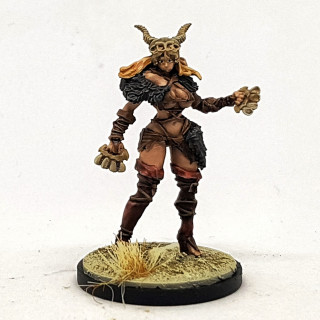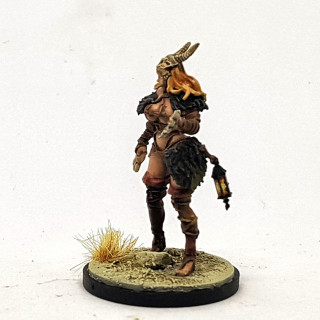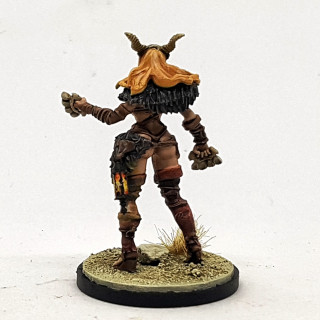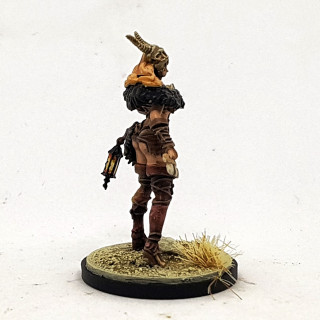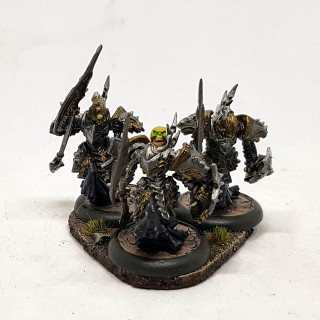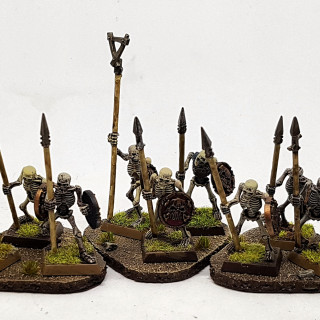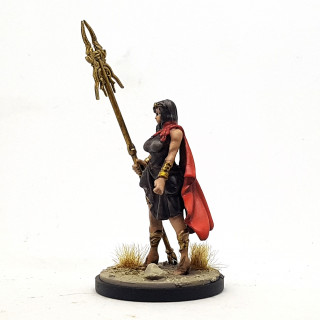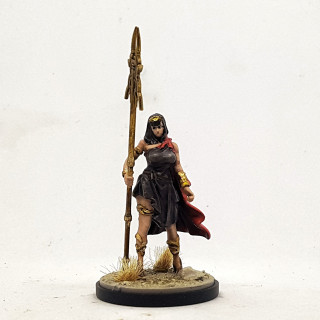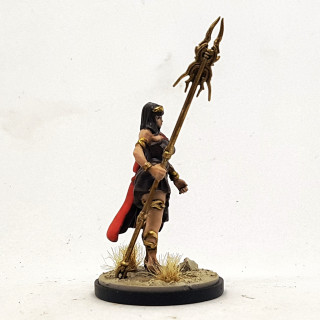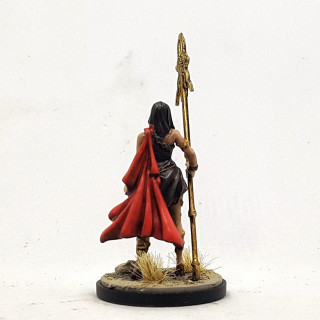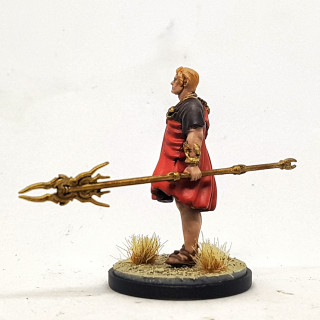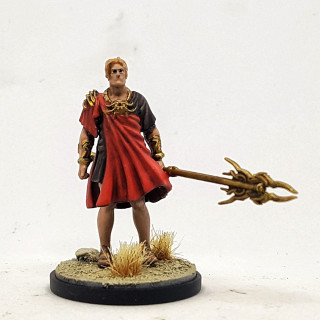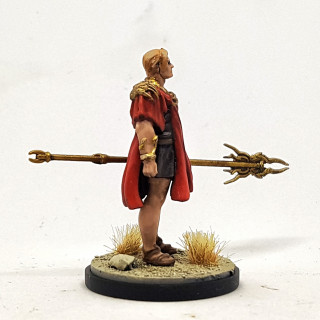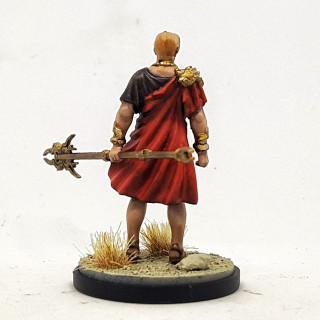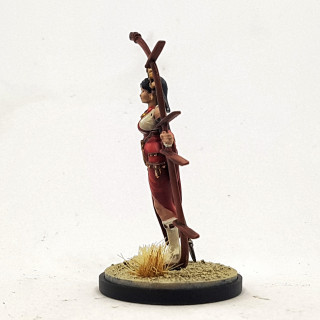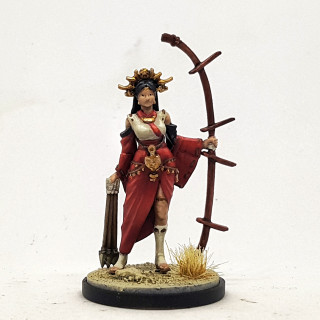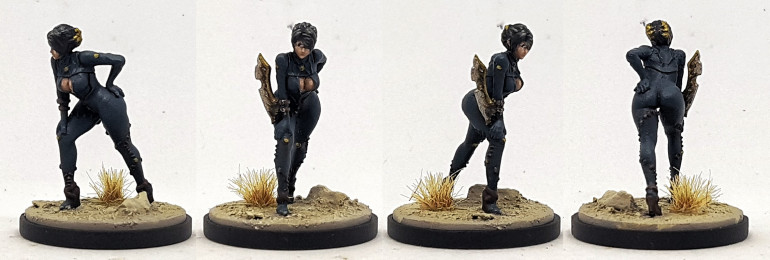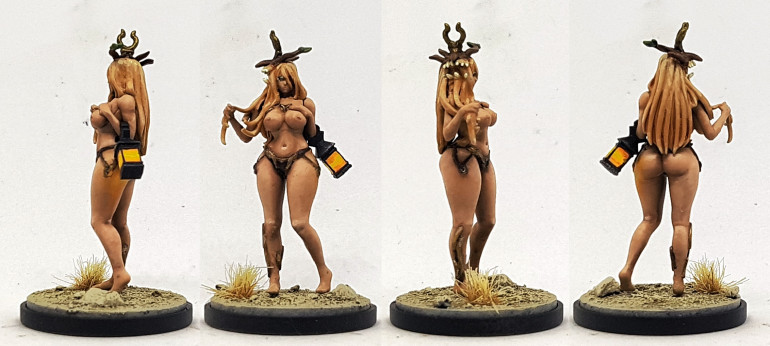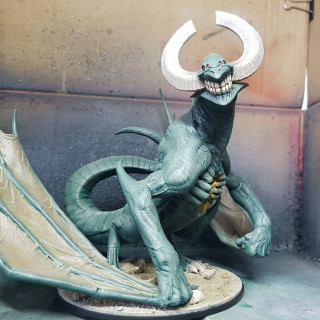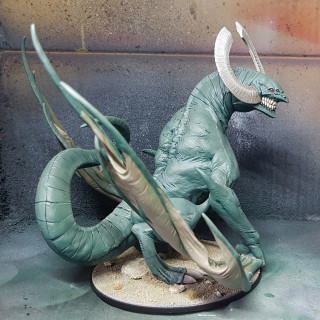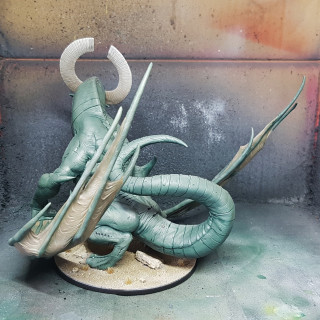
The Final Push – Lawnor approaches 100% painted
Recommendations: 2724
About the Project
It's August 2020 and the end is in sight. Out of the 2200ish models I own I only currently have 63 left to paint, so why not share the final push with everyone and watch me accidentally buy and print faster than I paint instead of doing this
Related Genre: General
Related Contest: Spring Clean Hobby Challenge (Old)
This Project is Active
116 MTG: 34 Models in 24 Days Part 9
Models remaining:
Batch: 0, Normal: 57, Luxury: 11, Modular: 48, Bits Box: 3, Terrain sets: 13, To Ship: ATO Wave 2, TSoH, KDM
Models Finished in Collection: 2955 Models since start of project: 641 out of 63 completed and still not done!
I’m posting this early new year, but I had everything finished with 2 whole days to spare. I even had the next 27 models built and primed before returning to work on the 2nd. It’s time to share some finished pics.
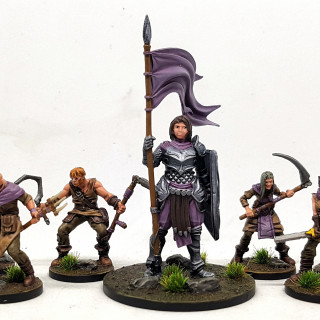
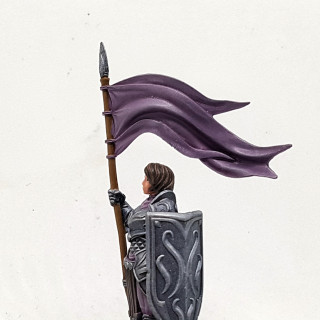
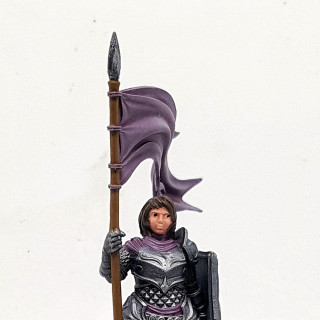
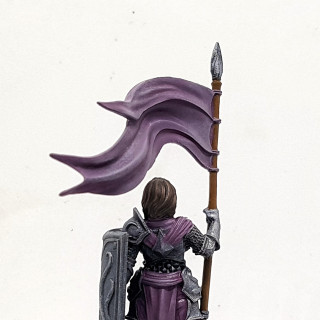
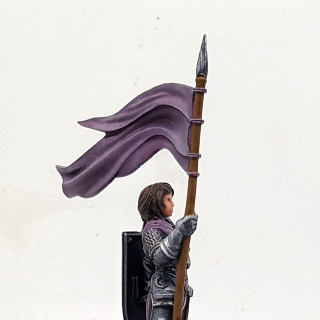
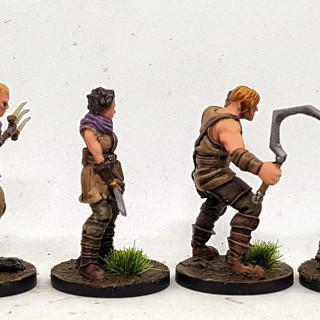
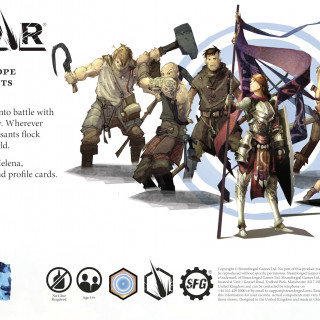
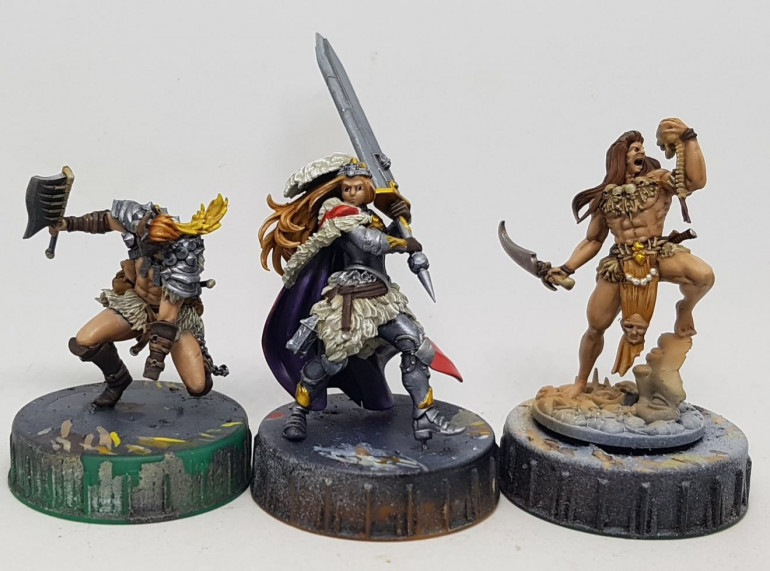
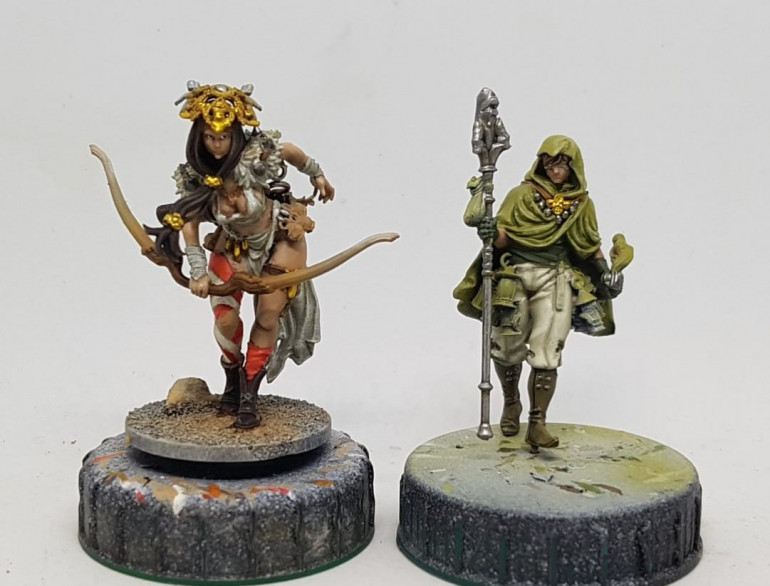
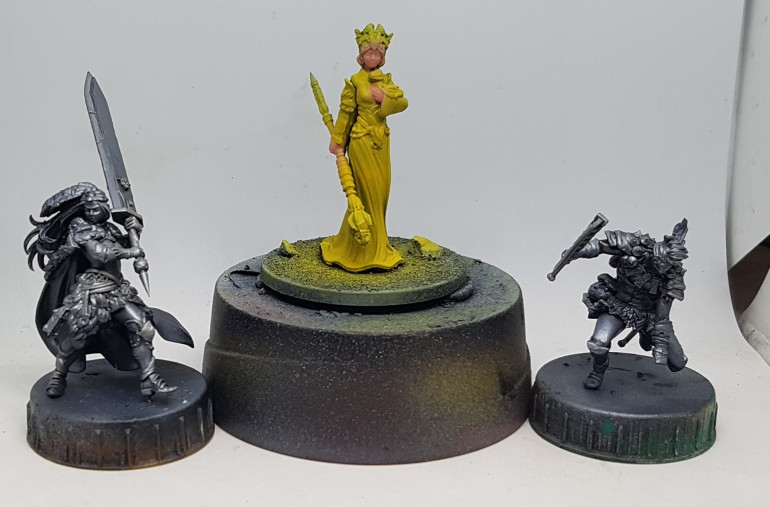
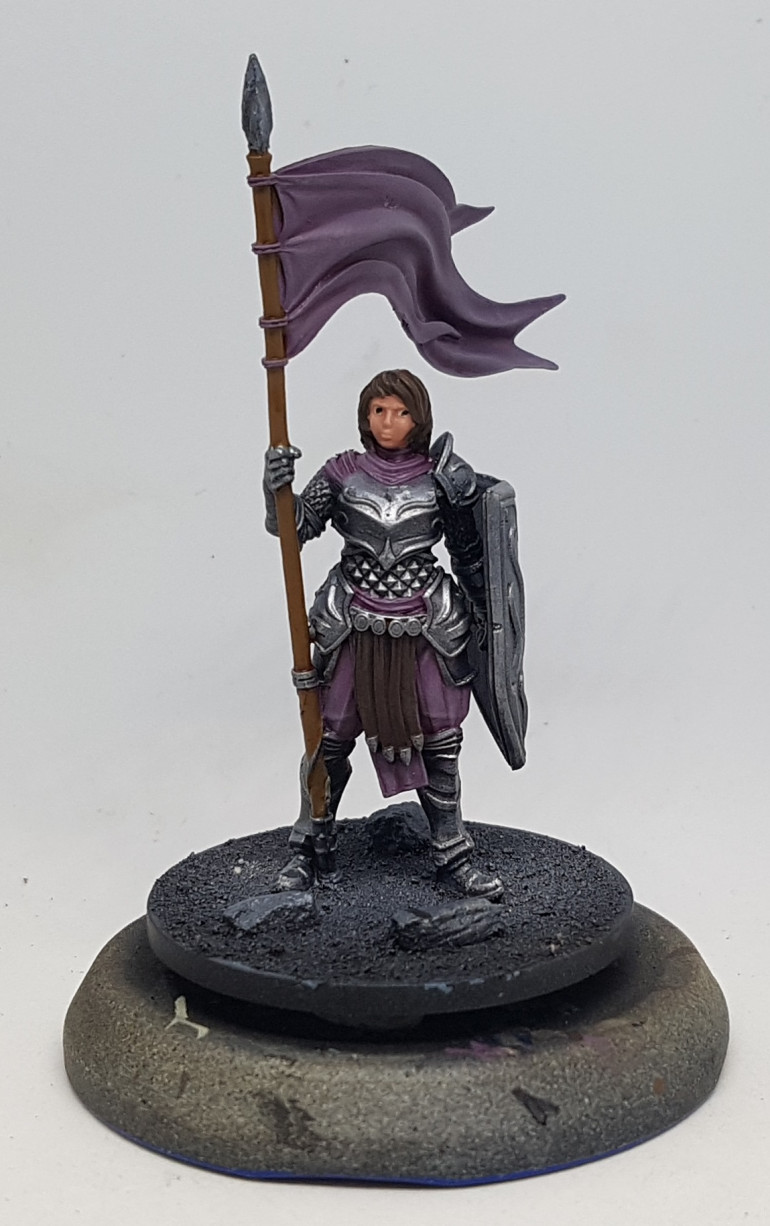
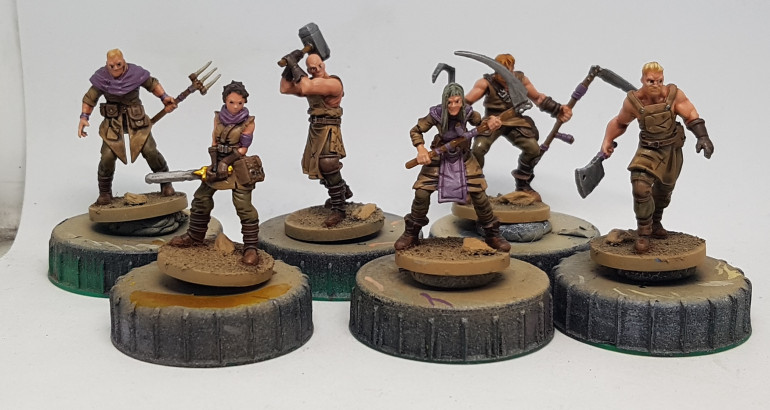
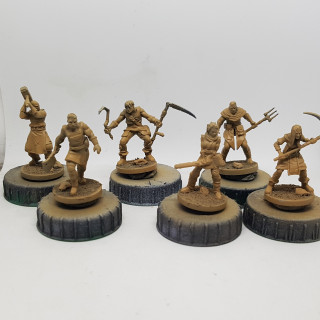
Helena, the Inspiration of Hope, and 6 rallied Peasants, for Godtear
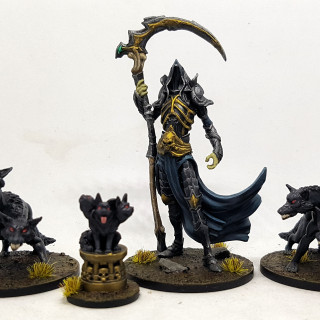
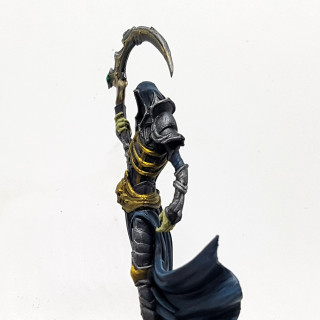
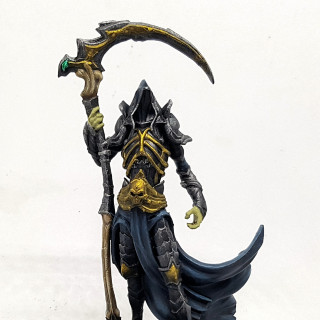
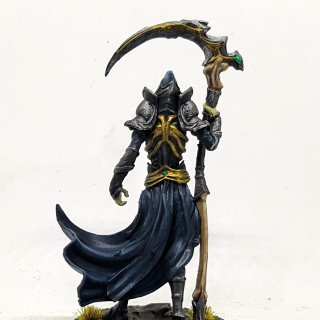
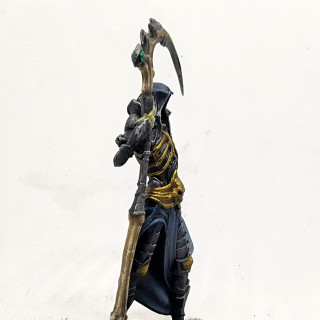
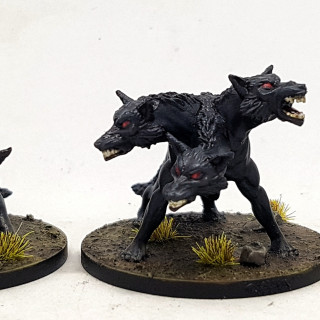
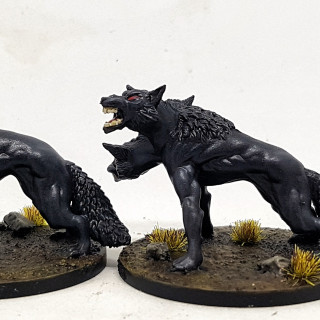
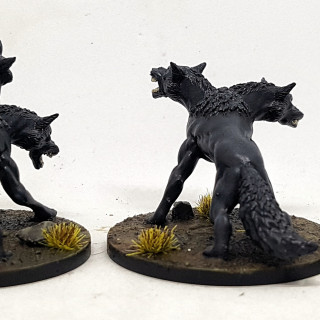
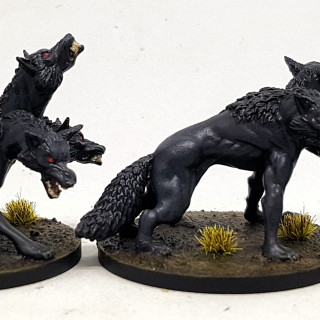
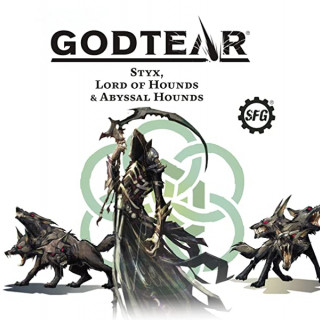
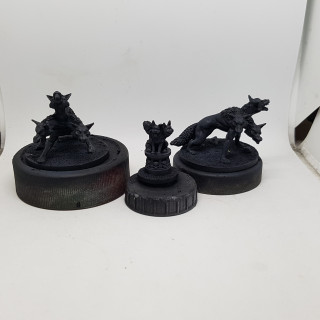
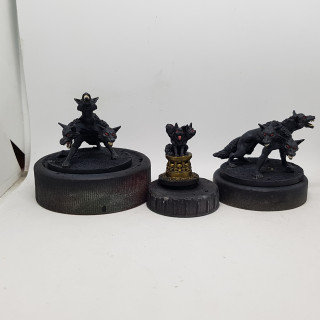
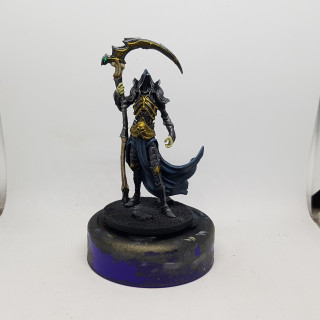
Styx, Lord of Hounds & Abyssal Hounds for Godtear
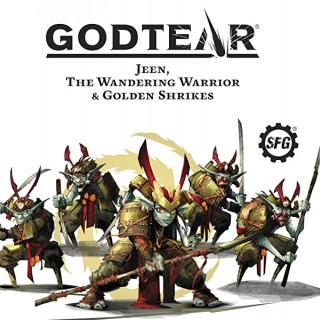
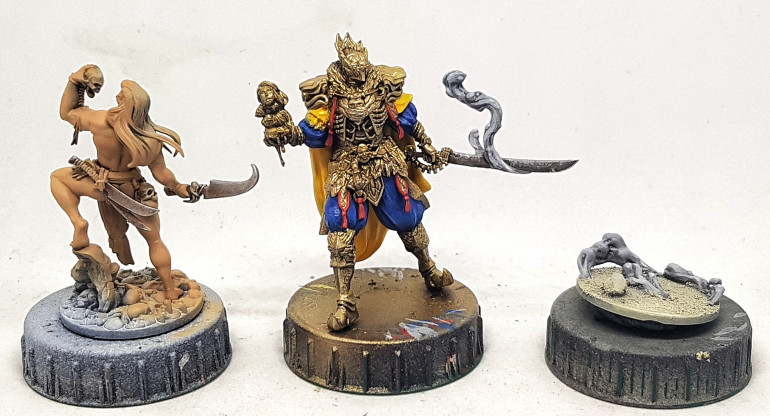
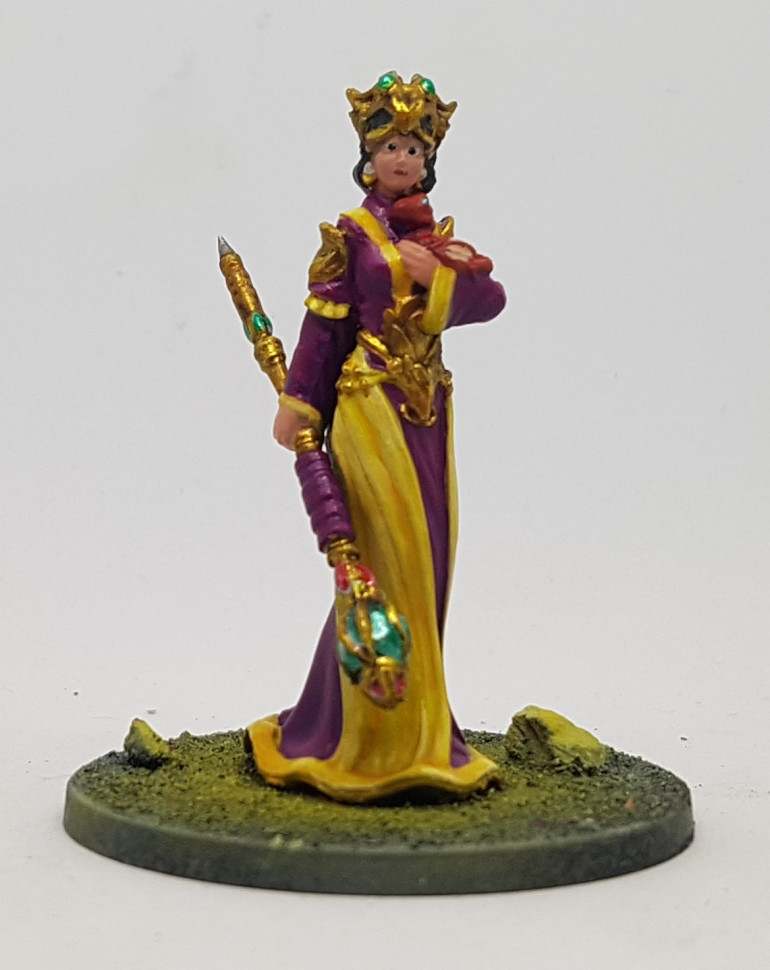
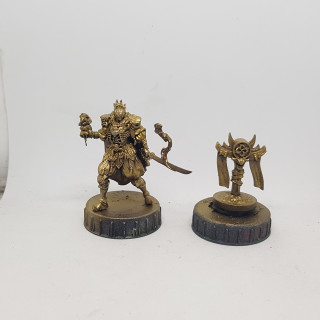
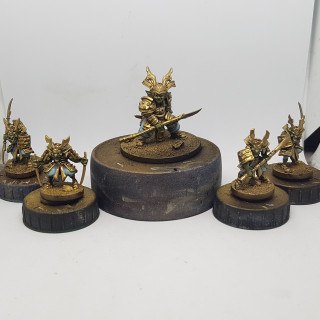
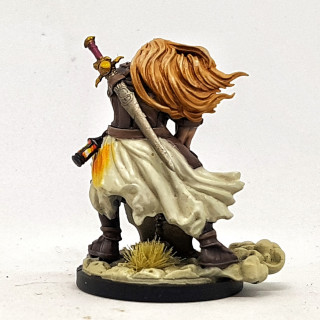
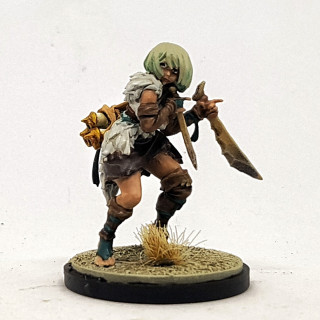
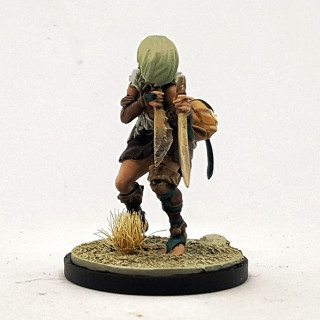
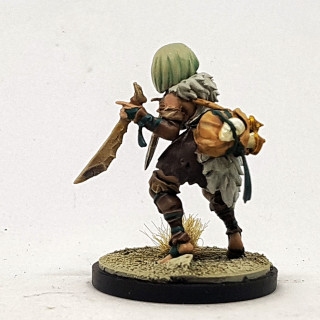
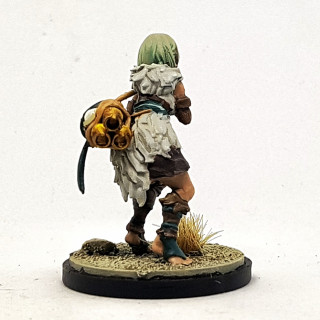
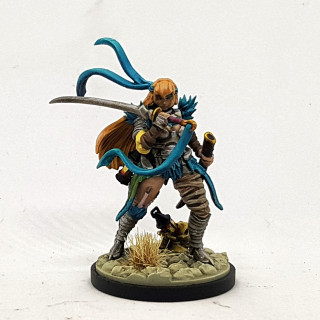
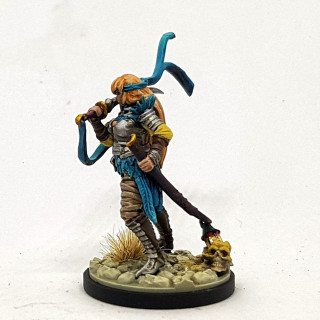
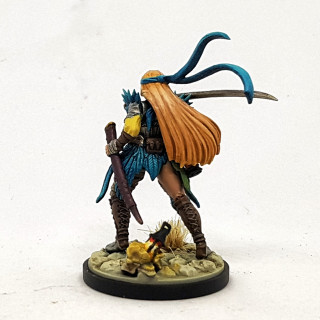
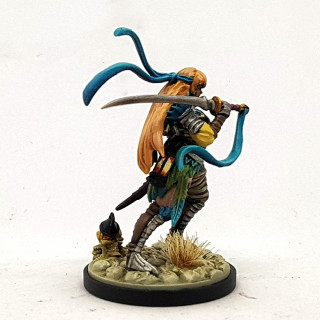
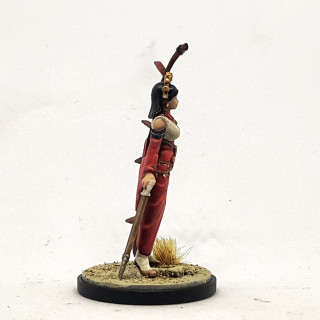
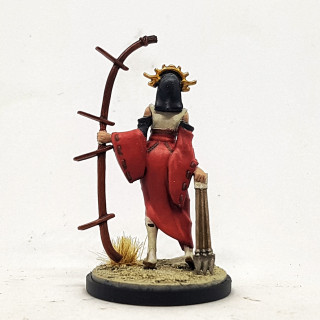
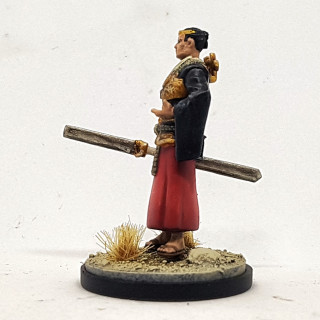
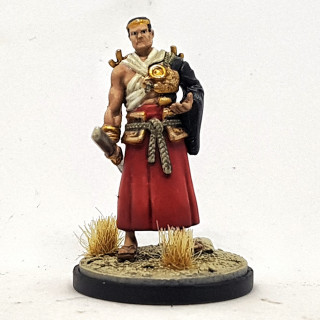
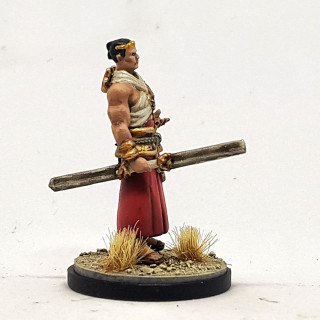
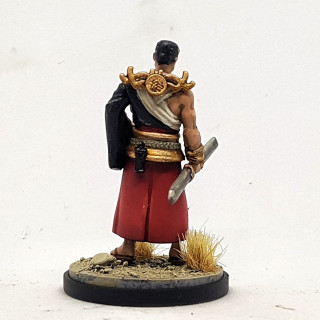
Jeen the Wandering Warrior, and the Golden Shrikes for Godtear
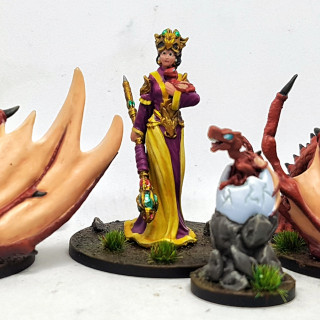
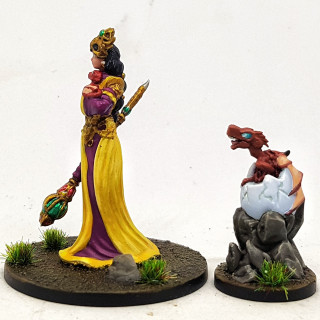
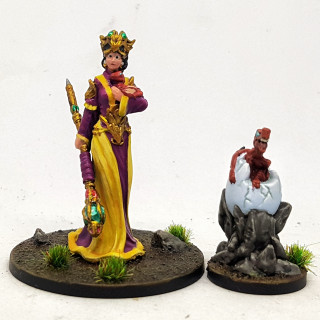
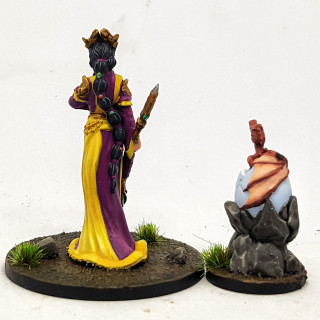
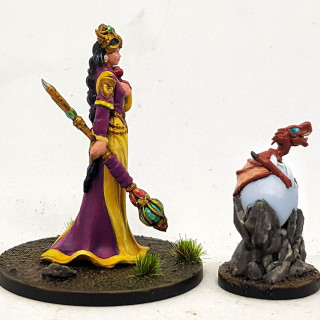
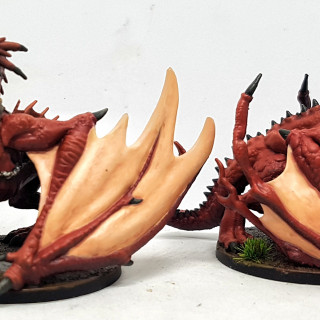
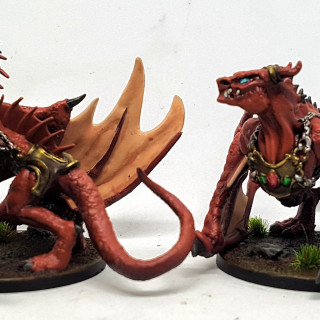
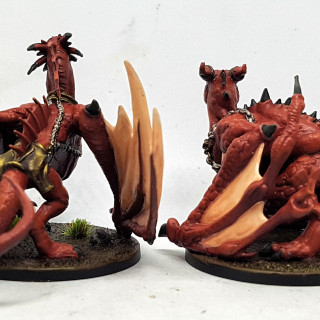
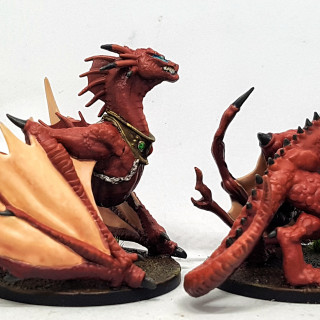
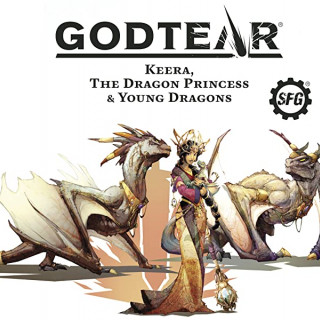
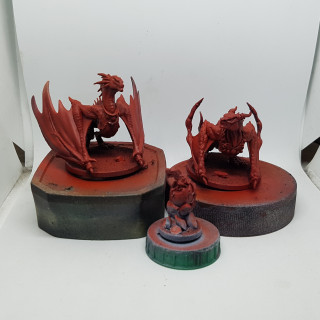
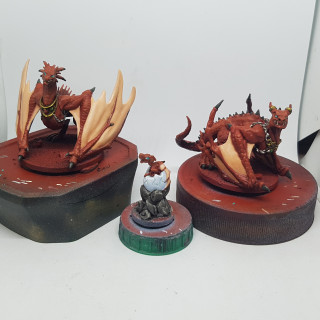
Keera, The Dragon Princess, and Young Dragons, for Godtear (No copyrights were harmed in the making of this product)
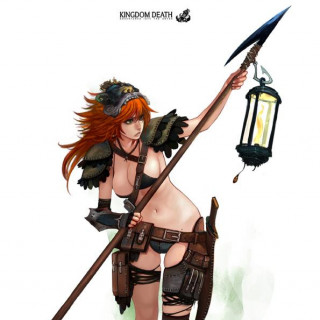
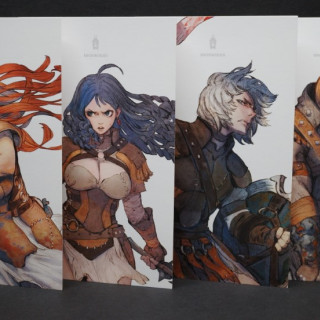
The only official artwork available for the above models
136 MTG: 34 Models in 24 Days Part 8
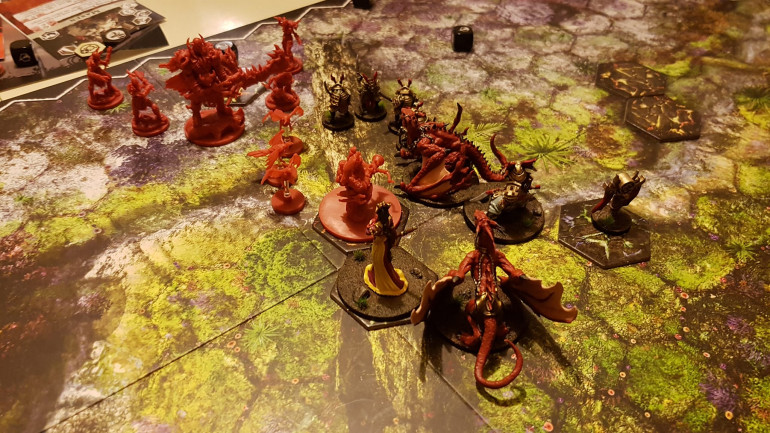
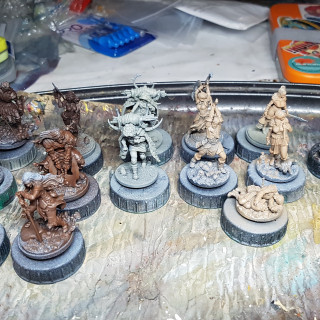
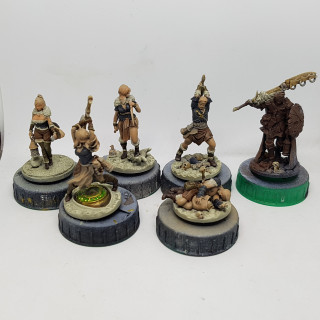
4 days left. I got the first 3 models finished today, and made progress on the reamining two in the 2nd pic. Then I got a game of Godtear against an almost 7 year old. The third pic is my freshly painted minis against his Christmas presents. He’s had then two days and they’re not even primed yet. Bloody slacker! He gave me a tough first 2 rounds, but I won out on rounds 3 and 4, but he made me work for it. He plays very well.
136 MTG: 34 Models in 24 Days Part 7
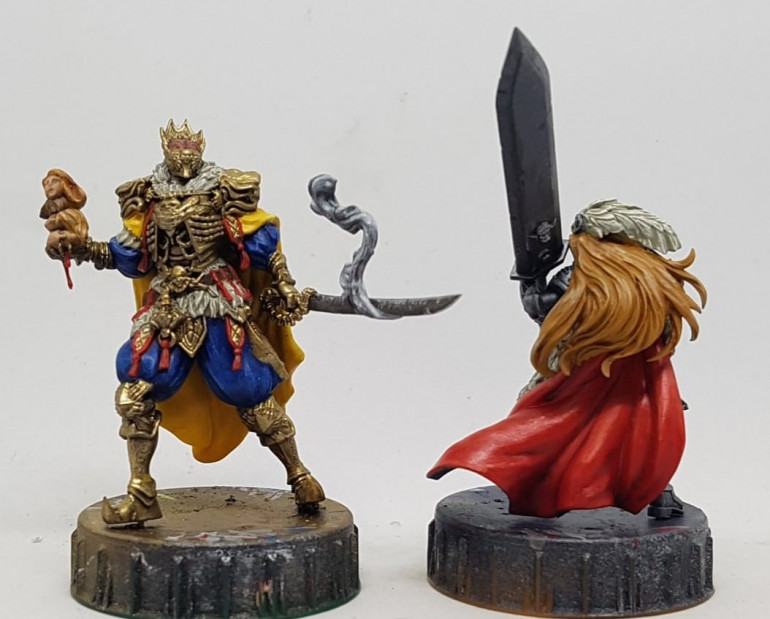
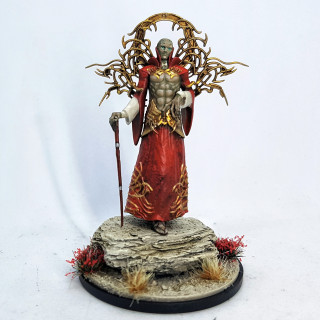
5 days to go. I spent 8 hours today basing and varnishing 21 Godtear models (pics another time), but managed to find time to finish the Godhand, and paint this red cloak. I have visitors tomorrow but hope to get some painting in. I still want to get 4 more models finished, and it looks like 2 if my 5 days will mostly be used for socialising, and basing and varnishing. Thank God some of these models are very near completion.
136 MTG: 34 Models in 24 Days Part 6
6 days to go. Nothing finished today but I’m getting very close with everything. I’ve just finished the leathers and may decide they want further highlights tomorrow. I have to base and varnish all the Godtear stuff in the morning as my friends 6 year old is due round on Wednesday for a game and I want to play with my new toys. He’s actually quite good, especially when Fireman Sam isn’t on in the same room and he can focus.
136 MTG: 34 Models in 24 Days Part 5
8 days left and one more model done, leaving 6 on my tray and a goal of 5 more.
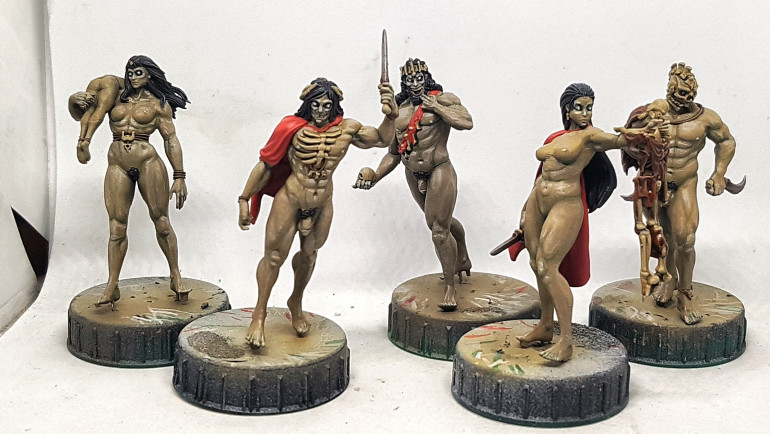
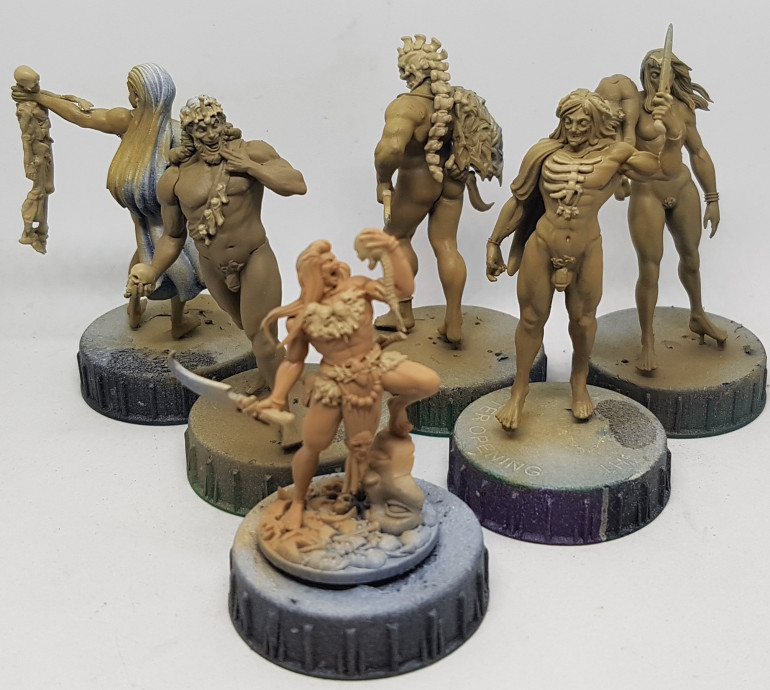
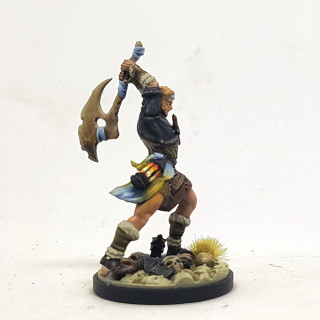
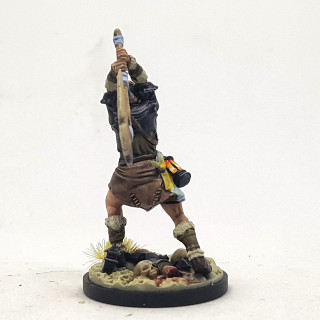
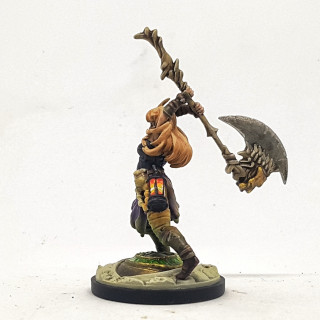
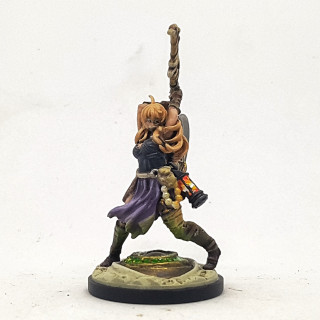
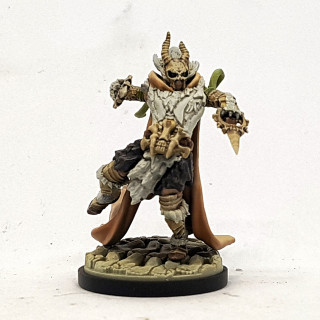
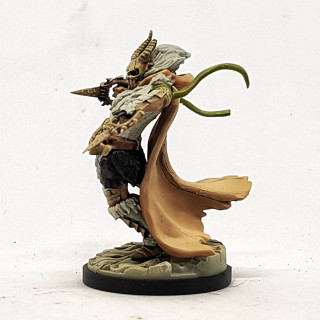
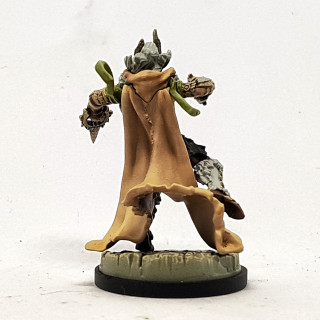
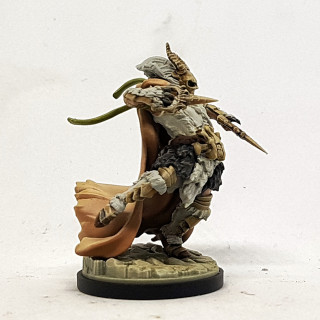
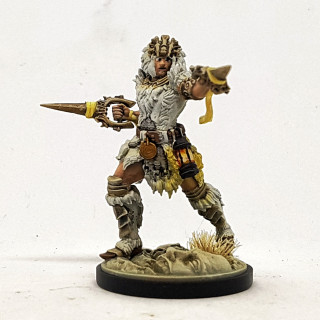
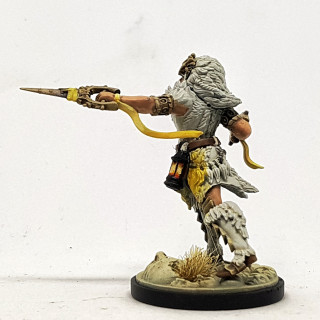
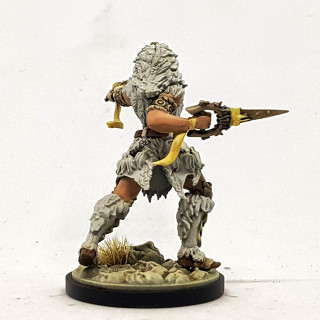
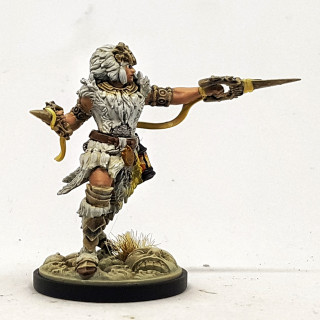
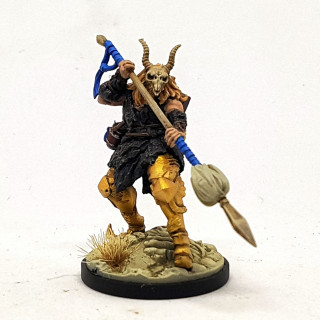
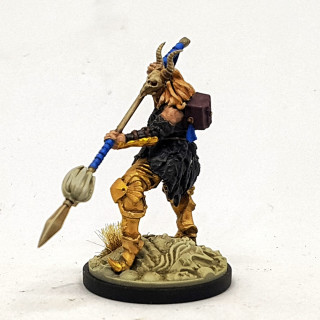
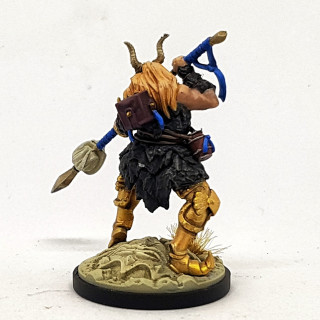
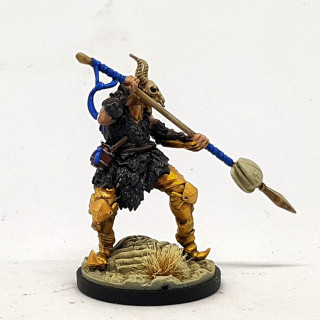
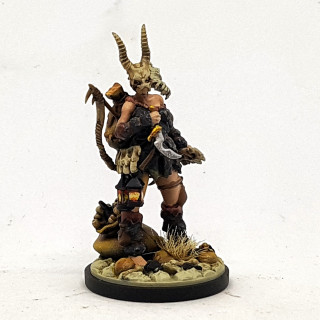
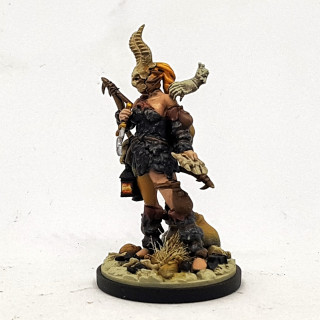
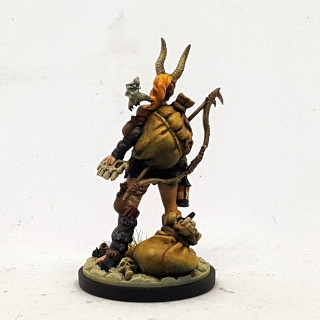
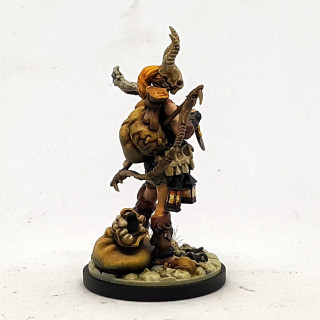
The final Bone Eater was finished today when I painted the “packed lunch” over her shoulder. With the flesh and the lion pelt painted on everyone else the end is feeling much closer. Currently working on the hair, with 3 more scalps to go.
136 MTG: 34 Models in 24 Days Part 4
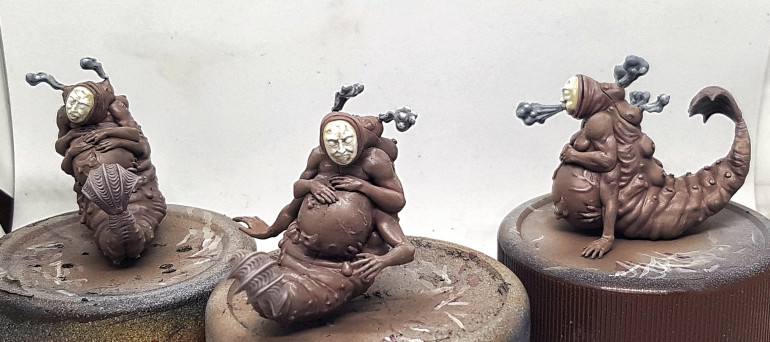
I’ve been on leave for 1 whole day and I’ve got a whole lot more done than I’d hoped. I’ve finished 4 of the 5 Bone Eaters. The fifth has a whole other model slung over her shoulder. I painted the swords on the Godhand and the Bone Eater Survivor (Same name, but different character from the same box. That’s not confusing at all) with the Bone Eater blades. Then the Smog Eater flesh went smoother and faster than I thought, and their masks and smoke were all done in time for a few episodes of Lower Decks before bed. That’s 7 models finished today.
My target of 33 models was wrong as I apparently can’t count. Helena has 7 models in her box not 6. So thats 34 models I want to paint. This leaves me with 6 left to paint, all of which have work already done on them, and 9 days left. Tomorrow it’s Survivor flesh and Lion pelts.
136 MTG: 33 Models in 24 Days Part 3
Another weekend gone and 2 more days of work invested in this. On Friday evening I pin washed and highlighted all the steels I’d previously airbrushed, and started work on the remaining Godtear flesh areas. On Saturday I finished off the skin, and got Helena and her followers finished in one day.
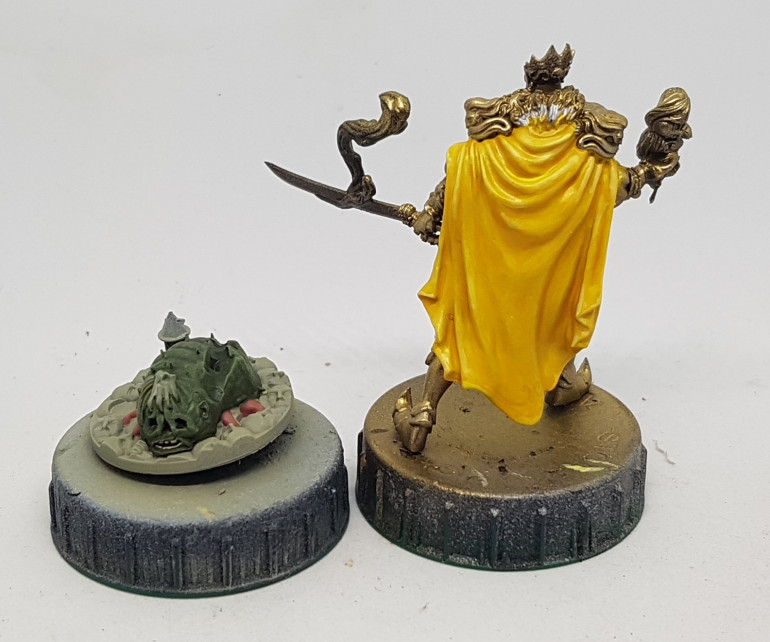
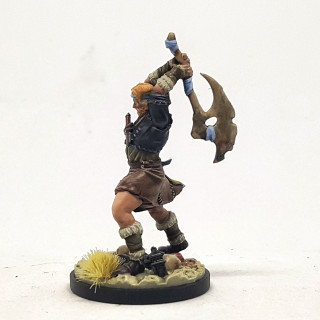
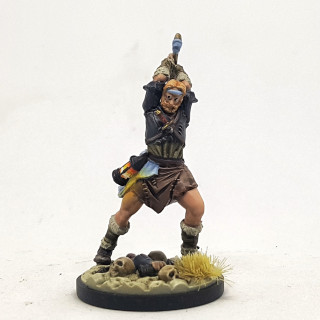
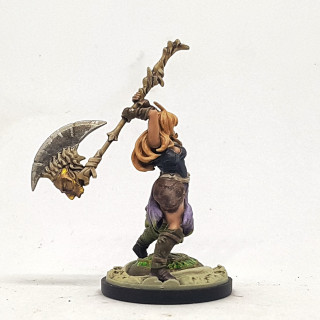
Sunday morning I decided to focus on Keera. She was the last Godtear model left to go. I painted the Godhands cloak at the same time as it’s the same colour. She took most of a day to do. When se was done I didn’t feel like doing anything too demanding. It was getting late, and Keera’s colours had all been hard work to get solid coats for. I decided to paint whatever that monster is on the Imitation Butchers base. He will be kneeling on its corpse with an axe raised. His hand is part of the base so I need this painted before I paint his skin.
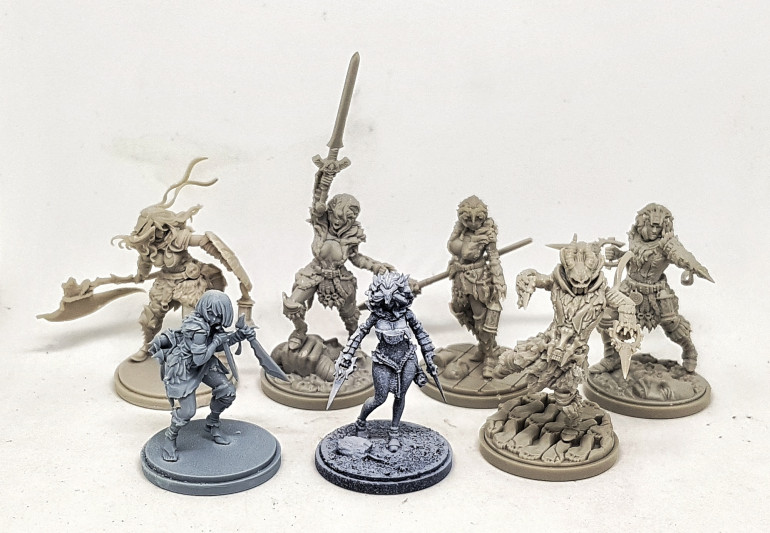
I finished it kinda quickly so gave in and started work on the Bone Eaters. The base colour for the skin was airbrushed. Painting the bone will likely mess that up so I got to work on the bone before shading and highlighting the skin so I can work messily, clean it up easier. The bone is now based, and will get washes and drybrushes tonight. I should have everything but the skin done on them by the weekend, and can then either go crazy or find my zen by painting their skin.
My inner Dave Gorman is now screaming “So what’s that done to the graph?” (If you don’t get that go watch this. It’s a hilarious true tale of obsession, futility, and tequila. It’s split in to 20-30 minute episodes so it’s not as demanding a watch as you might think.)
Anyway. The numbers.
That’s 21 of 33 models done, with 10 days left. I’m 10.4 models ahead of schedule, but there’s only one Godtear mini left. I’ll have to actually put effort in to the remaining Kingdom Death models. I’ve 12 models left, and 10 days off (and 3-4 evenings free). It’s all KDM. There’s a unit of 5 similar models, and a unit of 3 similar models. That’ll make them go a little quicker. I’ve also done some work on everything, even if it is just laying down the first base coat. I’ll also possibly need the best part of a day for painting the lanterns and bases, and varnishing everything.
I’m ahead of the curve, but only because I got all the quick wins done first. All I have left is the slow, hard work. I suspect I’m going to mostly be setting up dominoes too. Getting 70% through a model then realising I’m better off getting 50% through another and then painting the same colour on them both at the same time, but then realising I need to do work on a 3rd model before I should do something on the second. Once the two units are done I might not be able to finish anything until I can finish everything.
136 MTG: 33 Models in 24 Days Part 2
6 more models ready for the finishing touches. That’s 13 of 33, with 12 days off left. 8.2 models ahead of schedule, but it’s looking like I might lose this Saturday to friends popping round, and the same for the 27th. How dare people want to spend time with me at Christmas? Don’t they know there’s important things to be doing? It’s also likely to take best part of a day to base and varnish everything. I also expect the Kingdom Death models to take a lot longer than the Godtear ones.
Tonight I start work on the airbrushed steels, then focus on Helena and her followers. I’ll probably start with their flesh tones, and paint Keera’s flesh at the same time.
136 MTG: 33 Models in 24 Days Part 1
Every year I set myself some hobby goals I try to achieve (2023, 2024). Foremost amongst these goals is to paint at least as many models as I gain within the year. I’ve exceeded this every year since I’ve been keeping track. I was on target for this. I should have just one more model left to go to break even. Everything changed when the Black Friday attacked. I got a bunch of stuff for half price I never expected to so now I’ve got an extra 32 models that I wasn’t expecting, and less than a month to get back on track.
This year I’ve completed 137 models, which works out at 2.8 days per model. around 5 out of every 7 of those days is a work day though. I’ve 24 days left to do this in, and 14 of those are not at work. I’ve gone through my backlog and and picked out groups of models that work well for batch painting (Units, and models with similar paint schemes). I painted a little under 100 Godtear models in a month when the KS landed and 20 of these models are from Godtear, so there is a precedent for this going well. Lets see.
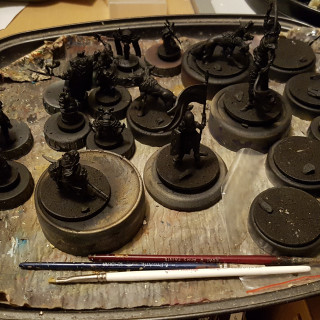
Here we see 35 models I’ve picked out, all built and primed and ready to go on Thursday evening.
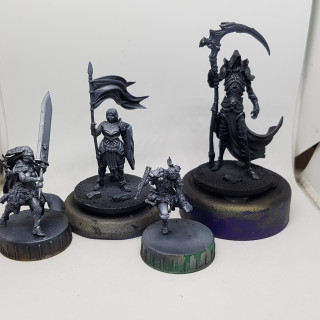
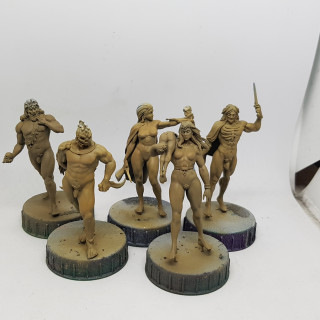
By Saturday lunchtime they had all been airbrushed with at least a base colour, sometimes with near-full shading and highlighting.
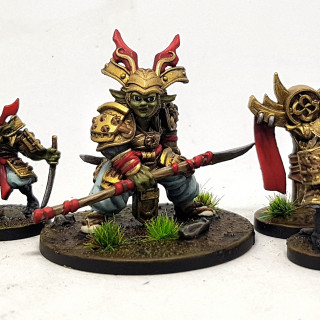
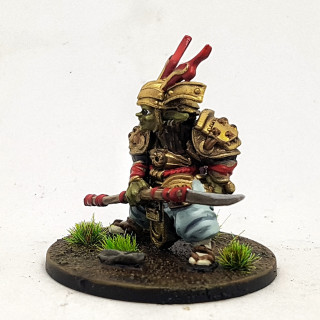
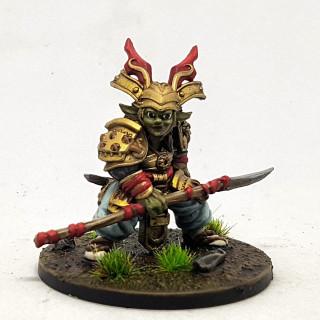
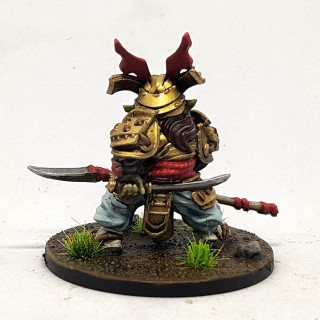
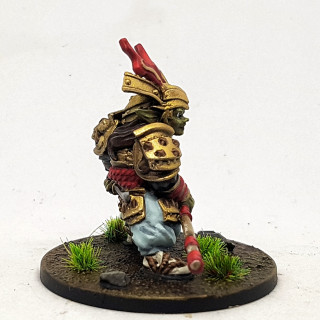
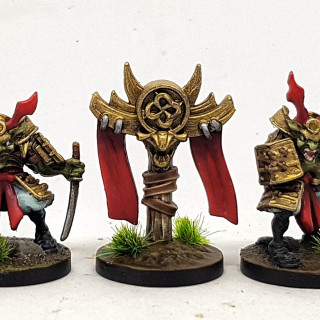
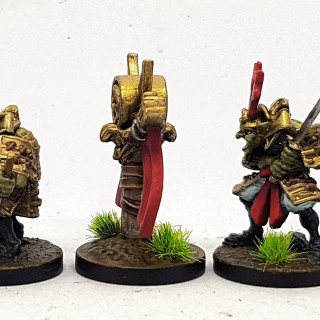
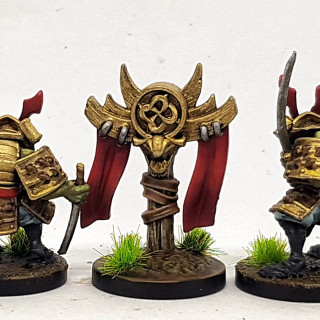
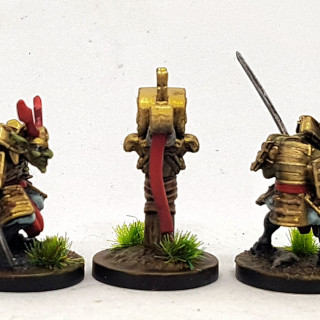
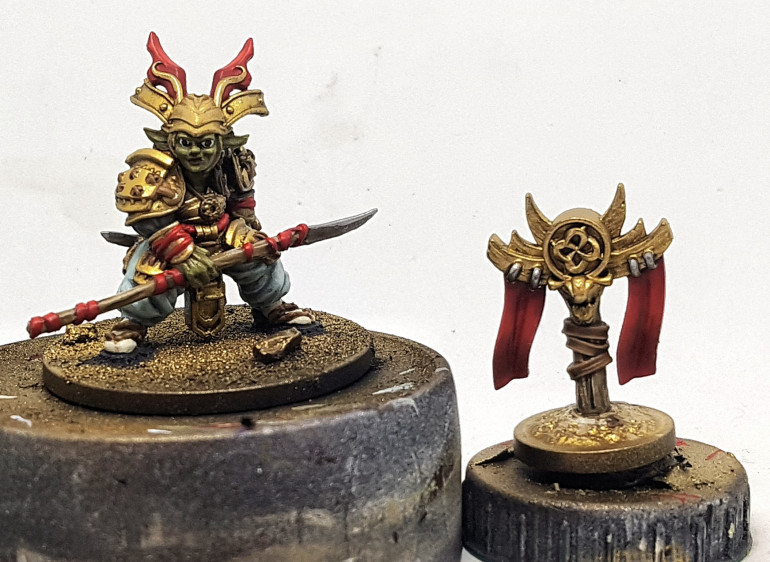
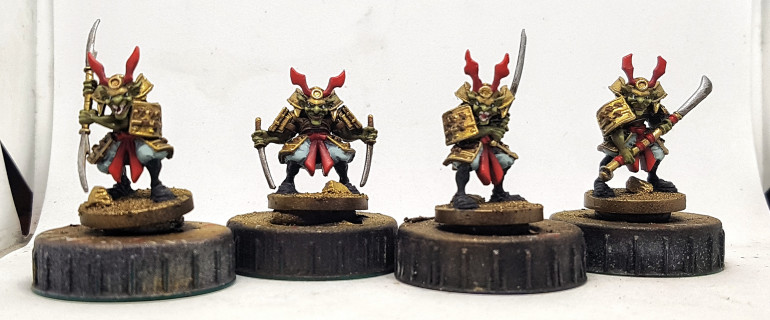
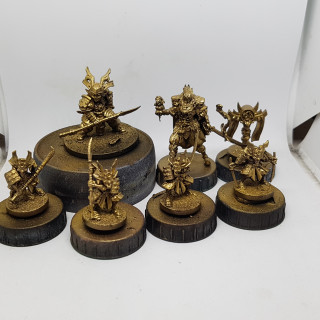
By the end of Sunday I had “finished” the 3 dogs and their master, and the 3 dragons. I’d finished adding extra pin washes, and extra highlights to the models I’d airbrushed gold on, and made solid progress on the samurai goblins.
By finished, I don’t actually mean finished. My plan is to do all the basing and lanterns together at the end, and follow up with a mass varnishing. It’ll be more efficient this way.
I’ve done some maths. I have 14 days at home to do 33 models. If we ignore workday evenings, I’ll need to do 2.4 models per day. After 2 days I’ve got 7 of 33 models done, which puts me 2.2 models ahead of schedule, with a lot more progress done on others. I’m starting with the easy wins for now, as I think some of the Kingdom Death models will go a lot slower.
I’ll try and come back with regular updates, but don’t expect anything Christmas week. Time spent writing updates is time better spent painting. Updates are best done at the office when I can’t get to my paint brushes.
136 MTG: Mistakes Were Made
Models remaining:
Batch: 0, Normal: 77, Luxury: 11, Modular: 48, Bits Box: 3, Terrain sets: 13, To Ship: ATO Wave 2, TSoH, KDM
Models Finished in Collection: 2934 Models since start of project: 620 out of 63 completed and still not done!
I painted 7 more models! Yay! Black Friday had some surprise deals I would have ben a fool to resist. Yay! My pile of shame has just significantly grown. Booo!
Talespinner for Aeon Trespass
Mad and Mighty Striker, from Gamblers Chest, Kingdom Death
Pinup Survivor from Pinups of Death 1, Kingdom Death
Allister and Erza, 10th Anniversary Survivors, Kingdom Death
Lucy and Zachary, 10th Anniversary Survivors, Kingdom Death
111 MTG: KDM Rawhide Heroes
Models remaining:
Batch: 0, Normal: 52, Luxury: 11, Modular: 48, Bits Box: 3, Terrain sets: 13, To Ship: ATO Wave 2, TSoH, KDM COD
Models Finished in Collection: 2934 Models since start of project: 620 out of 63 completed and still not done!
This weeks mission was all the Rawhide based KDM minis I had left to paint. I’ve got 5 of them done. I’ve also started work on the two Scouts of Death.
During Essen I ordered the Tale Spinner titan for Aeon Trespass and she’s just arrived today, so that’s 5 done, but one more to add to the queue. She’ll be my next job. if I can get 10 more models done before January I’ll have painted as many models as I’ve gained this year. Any extras actually put a dent in my Pile of Shame, instead of just keeping on top of it.
Last Axeman Standing
Dark Eye
Bright Knives
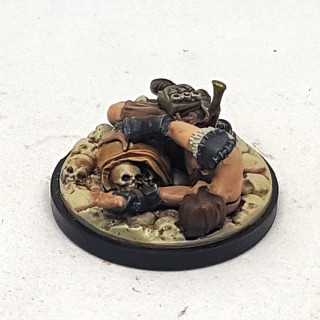
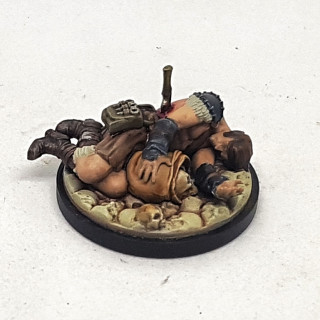
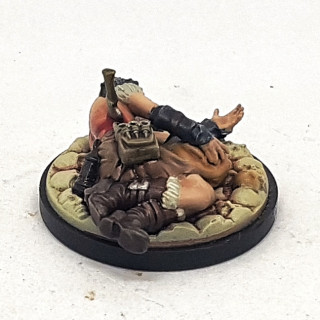
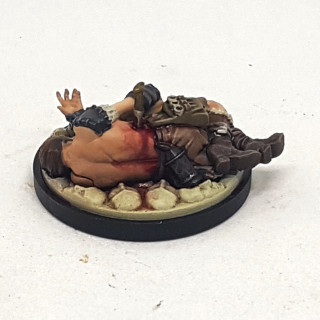
Murder Victim
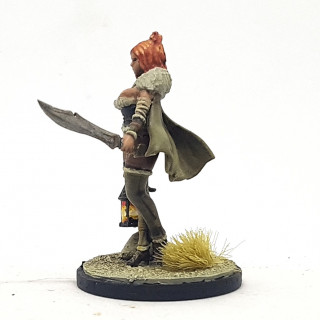
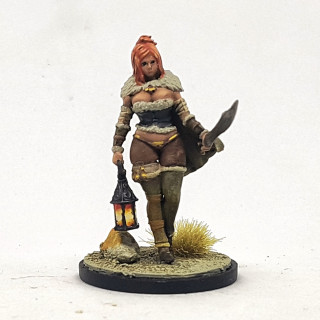
Rawhide Dame (De-pornified)
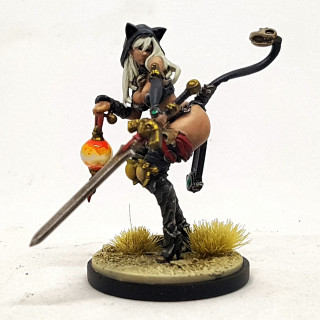
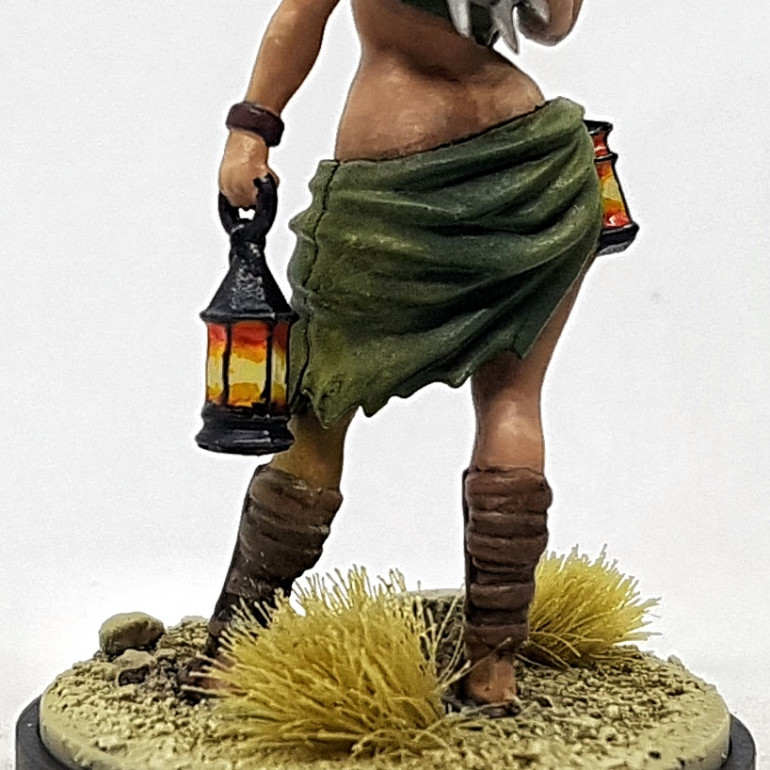
115 MTG: Neko Twilight Knight & How to Paint Lanterns
Models remaining:
Batch: 0, Normal: 56, Luxury: 11, Modular: 48, Bits Box: 3, Terrain sets: 13, To Ship: ATO Wave 2, TSoH, KDM COD
Models Finished in Collection: 2929 Models since start of project: 615 out of 63 completed and still not done!
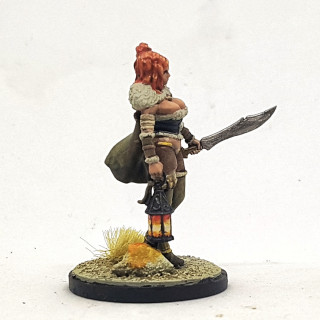
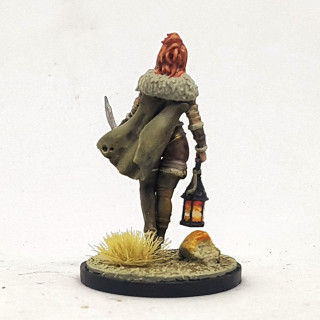
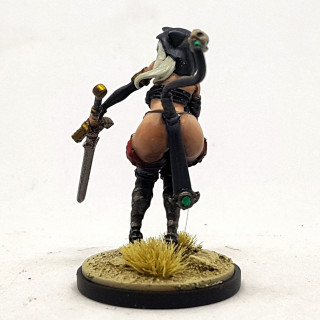
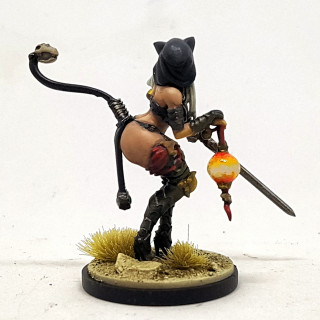
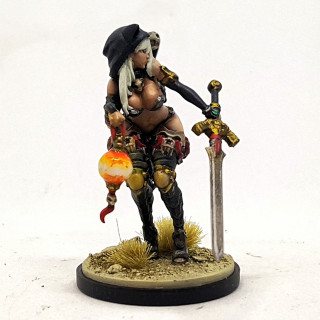
I was able to finish the Neko Twilight Knight this week. I also did a lot of building, and started work on my next project.
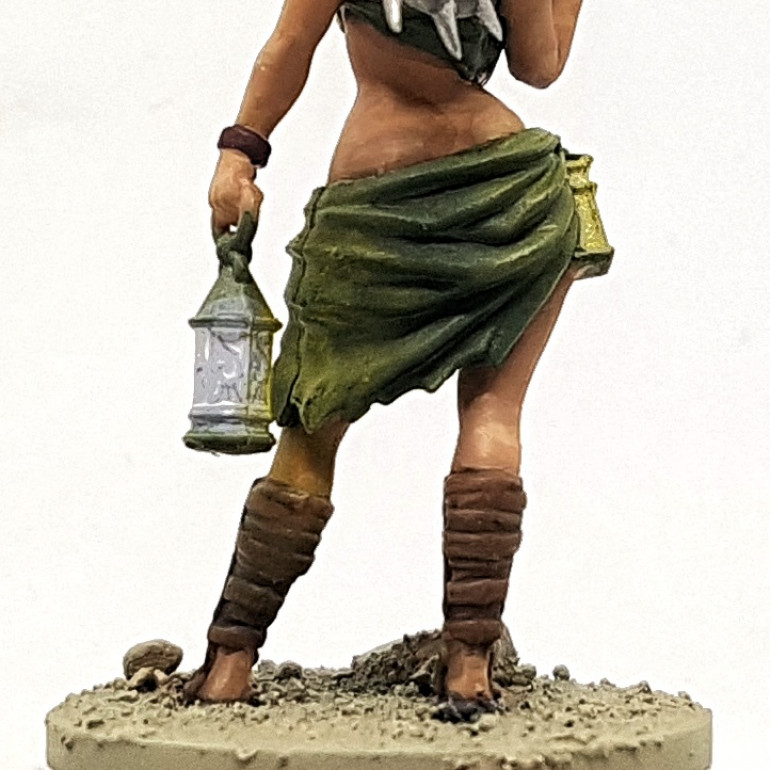 2: Drybrush OSL VGC 72.037 Filthy Brown where the lanterns would shine (I used MP 88 Golden Brown) You can push the strength of the orange with VMC 72.008 Orange Fire, or create a brighter spot with VMC Sun Yellow or P3 Sulphuric yellow. You can add red to the outer edges with SC Aldebaran Red. I used Khador Red Base. I just did the first drybrush on this piece. Extra steps are better for larger glows. Always drybrush ONLY in the direction the light is shining, ie away from the lantern.
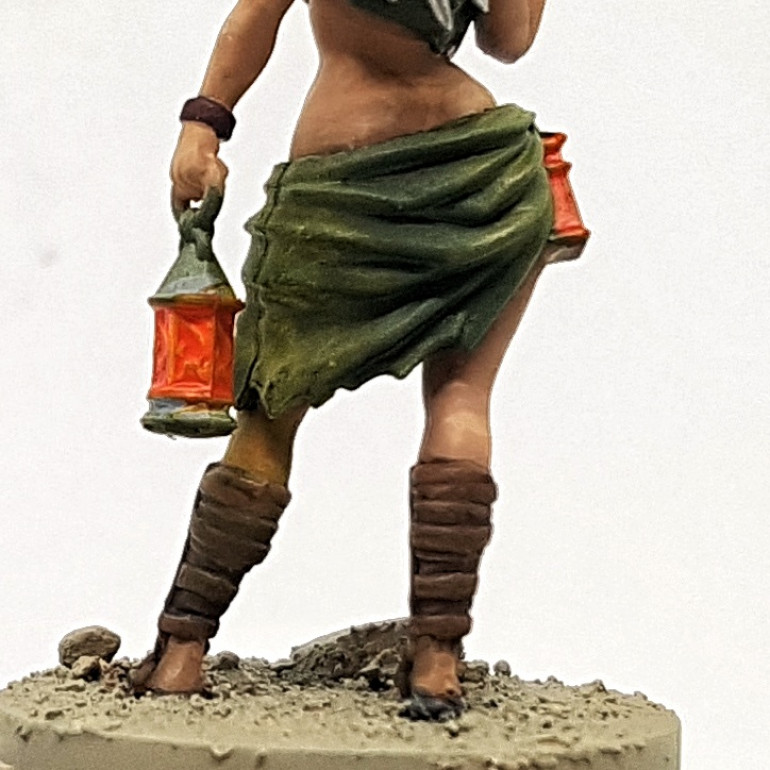 3: Base coat the lantern with Vallejo Hot Orange. Go for a solid coat, but a little variation can add to a natural look
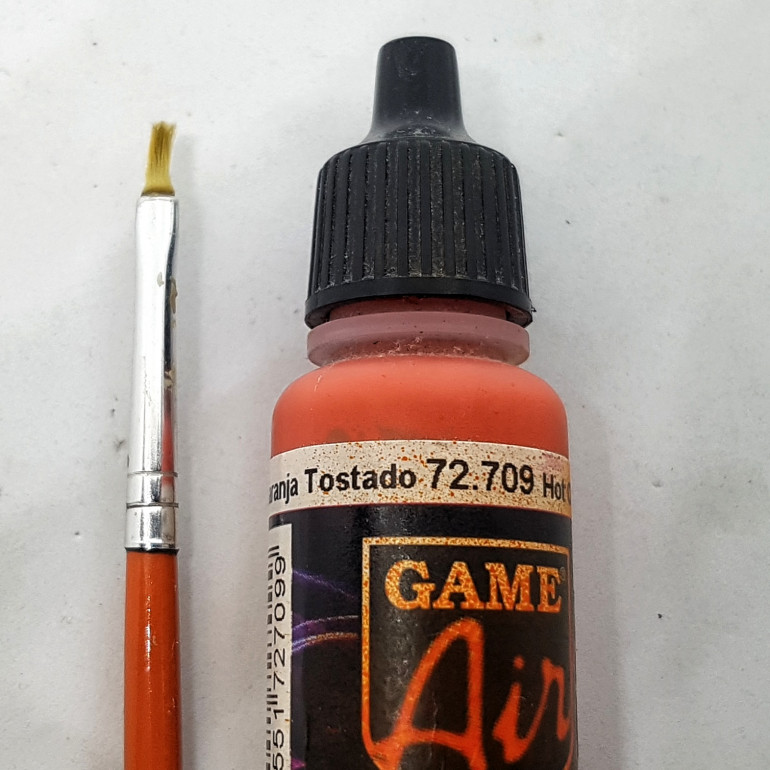 4: Get a small old dryrbush that's got a bit of a played end. You want control but you also want an irregular shape. Here's what I've been using. The end is smaller than any glass pane on the lanterns. Paint pot for scale
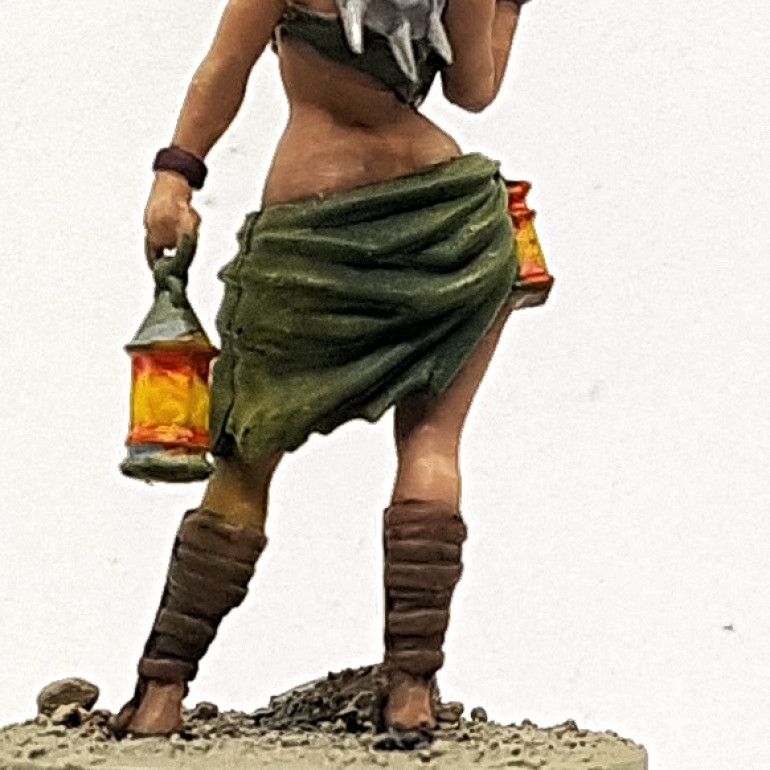 5: The yellow is painted with Scale75 Sol Yellow or P3 Cygnus Yellow using that drybrush. Don't thin your paint. Don't drybrush. Don't regular brush. This is more like heavy stippling or sponging. Get some paint on the end of your drybrush and dab it once or twice on some kitchen towel. Remove just enough that you're in control of what comes off. Don't remove much. You still want to blotch over the under colour. Don't brush, but dab this over most of the orange, leaving a band visible at the top and bottom. You might want 2 coats. That's up to you. This should be irregular and uneven. If bits small of orange show though, then that's just how fire burns.
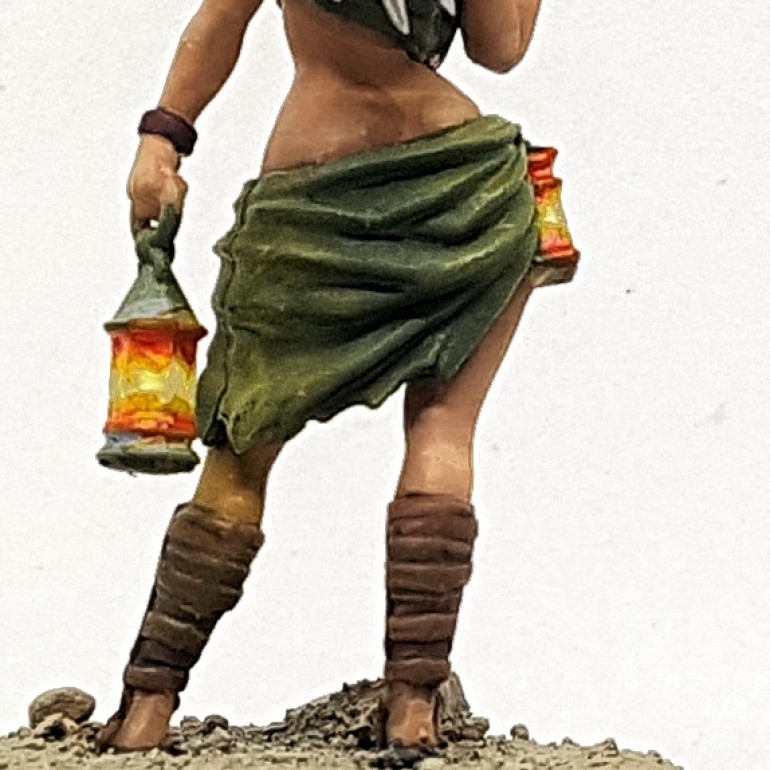 6: Next, add a little white to the yellow until it's an off white. Repeat the above, but in the middle of the yellow band. One coat should be enough. If you want, do a final coat with pure white. I'd suggest getting an even smaller brush, probably a normal brush that's lost it's usefulness. I did not do this here.
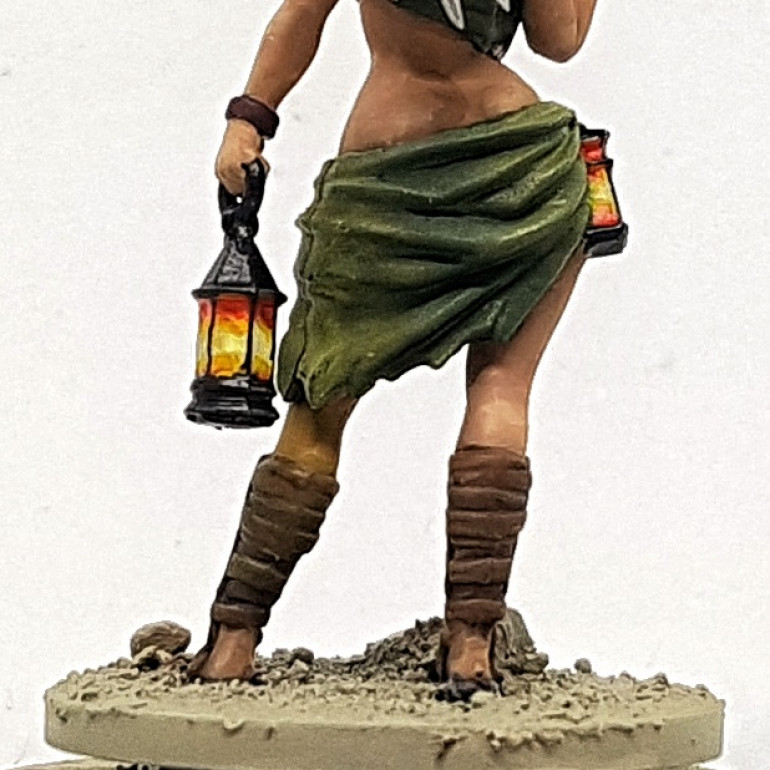 7: Paint the metal. I paint it black, and then gently drybrush it with just enough iron for the edges to look worn in places and give it a slight metallic black feel. The dominant colour remains black. Let the light spill over the edges. That's what would happen in real life, and it stops you accidentally getting black where you don't want it.
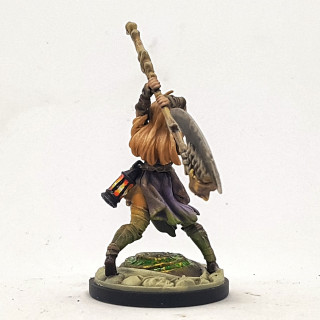
 116 MTG: Axe Family & Sunstalker Armoured Characters
Models remaining:
Batch: 0, Normal: 57, Luxury: 11, Modular: 48, Bits Box: 3, Terrain sets: 13, To Ship: ATO Wave 2, TSoH, KDM COD
Models Finished in Collection: 2928 Models since start of project: 5944 out of 63 completed and still not done!
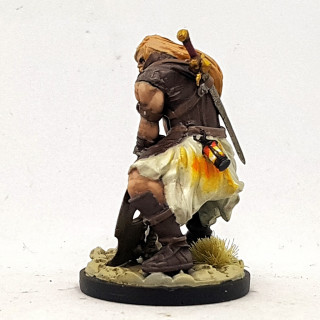
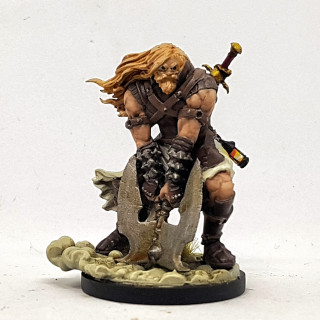
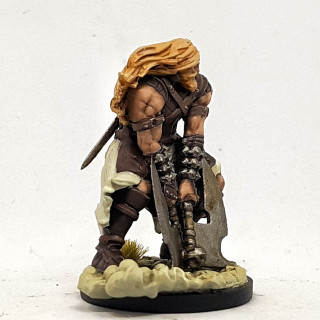
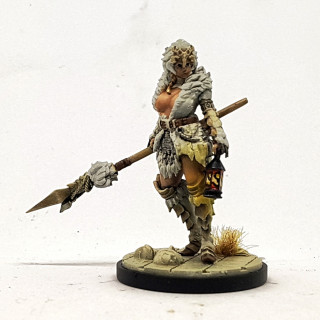
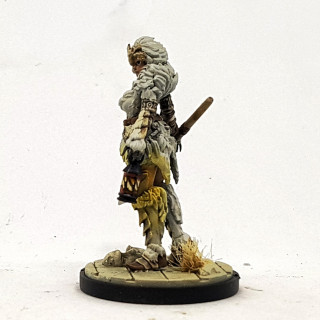
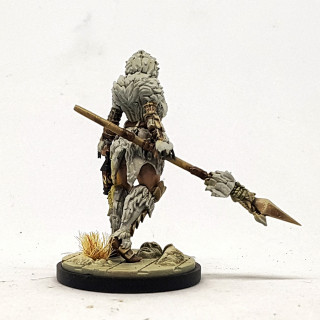
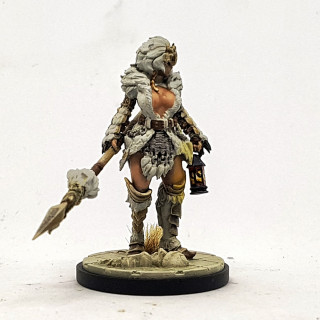
That’s 6 more models models done. I’m running low on stuff that can be painted en masse. Next up is the last two groups: the hide armoured guys and the leathered armoured folks.
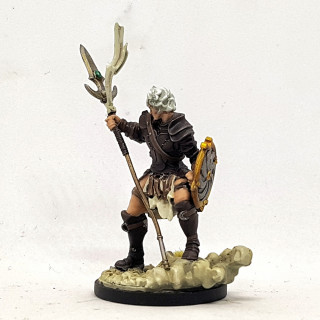
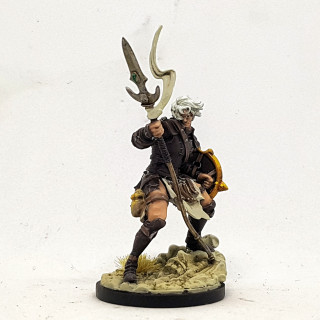
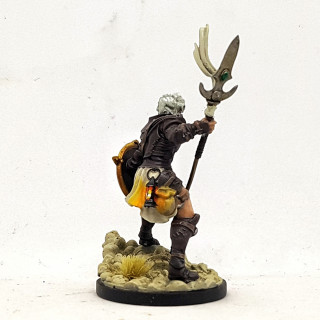
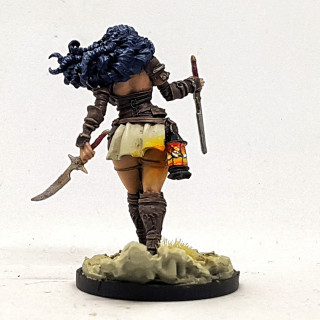
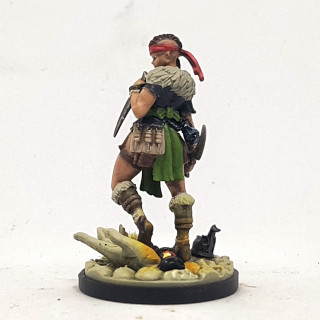
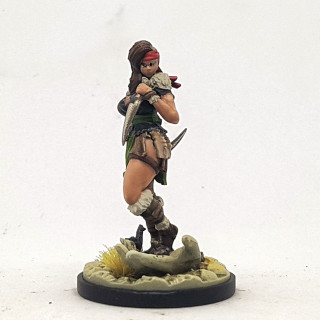
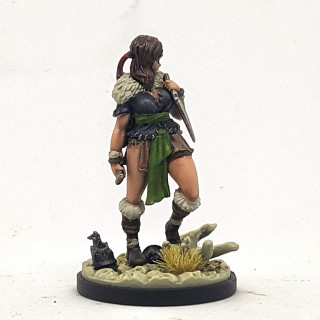
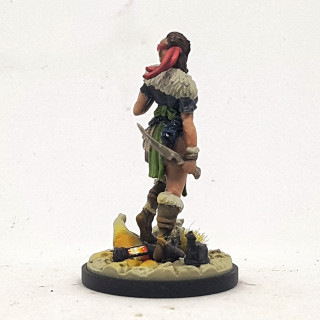
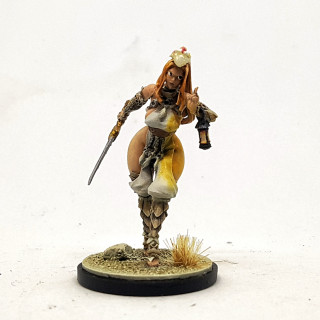
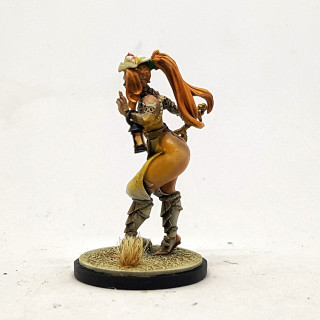
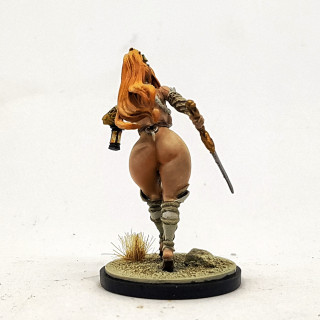
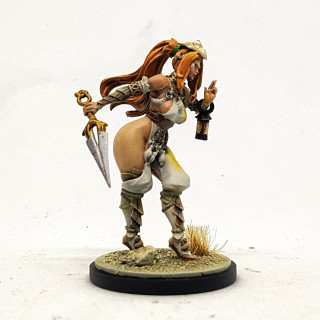
I’ve done my best to make the pinup model look more plausibly battle ready, given the world she lives in. She’s sculpted basically naked, and I’ve given her trousers at least. I’m trying to do this with the pinups I have. I’m painting to play, and naked models don’t make much sense, at least once they start being able to make armour.
122 MTG: Reassessing My Backlog
Models remaining:
Batch: 0, Normal: 63, Luxury: 11, Modular: 48, Bits Box: 3, Terrain sets: 13, To Ship: ATO Wave 2, TSoH, KDM COD
Models Finished in Collection: 2922 Models since start of project: 5938 out of 63 completed and still not done!
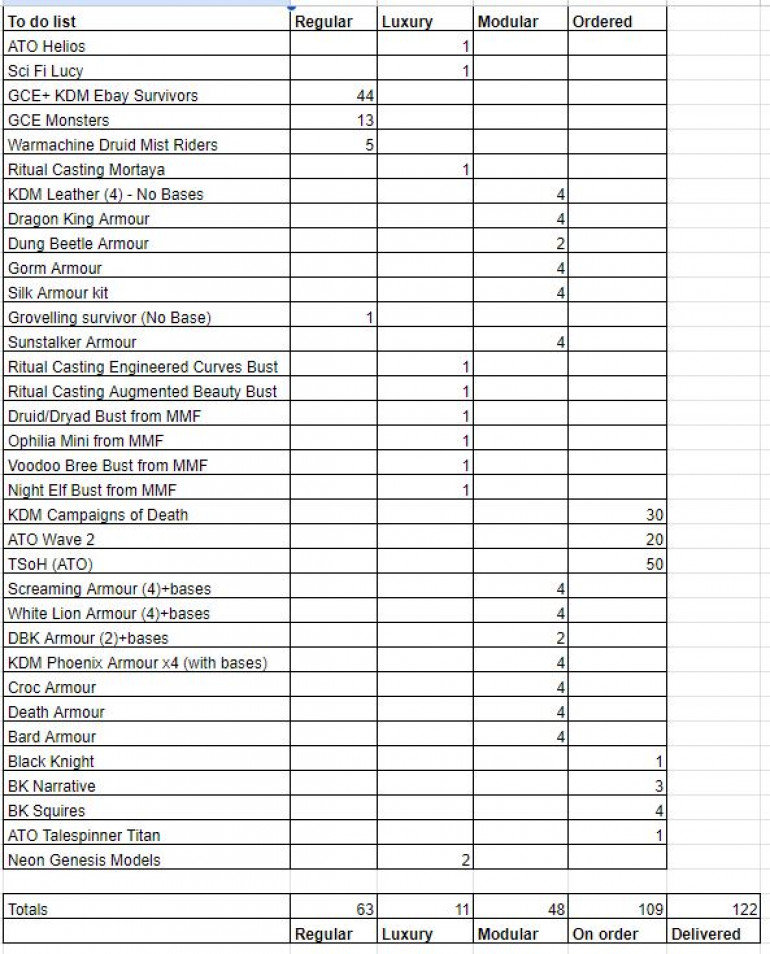
I sat down recently to compile a list of what I have left to paint so I can organise my time better. It appears my figures here have drifted a bit from the truth so it’s time to update them.
I’ve probably forgotten something, but this is everything I can think of. This means I’m actually at 122 Models To Go. My real mission is to only have Luxury (Busts etc. Stuff purely for the fun of painting that has no in game purpose that I plan on taking my time with) and Modular (Minis I’m waiting for my play experiences to tell me how I want to build them) left unpainted. This means I’m effectively 63 models shy of my target, plus whatever turns up later.
Aeon Trespass Wave 2 is supposed to ship/arrive Q1 2023. KDM’s Black Knight is saying January, but there’s been a suggestion it might arrive in time for Christmas. I don’t know when Campaigns of Death is due. Twelve Sins of Herakles isn’t due until 2025 and will likely get delayed as all Kickstarters do. The Talespinner should be here in a few weeks, I think?
97 MTG: Gamblers Chest Lion, Phoenix, and Antelope Armour Narrative Sculpts
Models remaining:
Batch: 0, Normal: 46, Luxury: 7, Modular: 44, Bits Box: 3, Terrain sets: 13, To Ship: ATO Wave 2, KDM COD
Models Finished in Collection: 2922 Models since start of project: 5938 out of 63 completed and still not done!
I’ve just had a week off work. I was supposed to spend it playing Aeon Trespass but I had just enough of a cold to make that harder than it needed to be so I retreated in to my comfort zone of painting, which actually helped reduce my symptoms. After a week of painting I got 15 models finished and a few more built and primed.
White Sunlion Armour
Fighter from Echoes of Death 1
Clever Strategist from Gamblers Chest
Sprinter Armour from Gamblers Chest
White Fang from Gamblers Chest
Lioness from Pinups of Death 2
Popular Guy from Gamblers Chest
Thief from Echoes of Death 1
Cursed Spear from Gamblers Chest
Screaming Hoarder from Gamblers Chest
Phoenix Dancer from Pinups of Death 2
Bloody Sword of Deadrock from Gamblers Chest
Bow Master of Deadrock from Gamblers Chest
Primal Huntress from Pinups of Death 2
Beast Hunter Armour from Gamblers Chest
112 MTG: The Hive Colossus
Models remaining:
Batch: 0, Normal: 61, Luxury: 7, Modular: 44, Bits Box: 3, Terrain sets: 13, To Ship: ATO Wave 2, KDM COD
Models Finished in Collection: 2907 Models since start of project: 5923out of 63 completed and still not done!
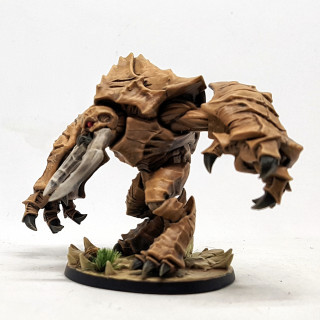
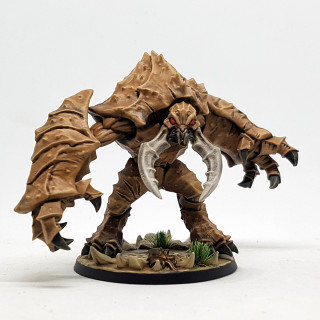
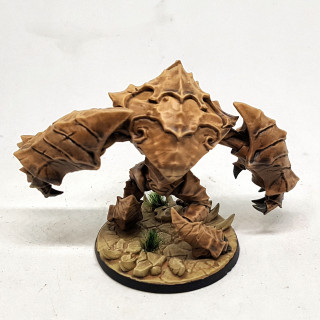
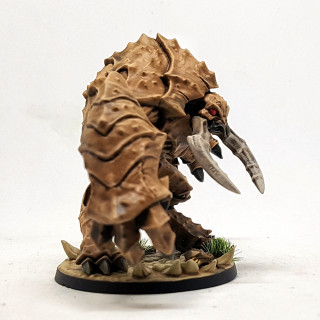
The Hive Colossus by Artisan Guild. He’s a 3D print I’ve had primed and the base all painted for, for a year or two. He’s the last model I had called out to finish painting in 2023. My last remaining target on my list is to paint at least as many models as I gain. That’s 36 more models, if I behave myself. I have about 8 started on my desk right now, and one more Cycle of Aeon Trespass I’d like to get done this year. There’s 13 more weeks left in 2023, so that’s 2.77 models per week on average. If I had no other hobby distractions that’d be easy. We will see.
How To Make Mortal Gods Movement Trays
A friend of mine has a Mortal Gods starter set and says it’s fun and wants to play. I’ll give any game a go if I don’t have to buy anything before trying it. MG is mini agnostic, and while its mostly historical, it has an optional Mythic element to it. Any time I buy in to a new game I look to see if I can get an undead faction for it as a lot of games have undead and this means if I end up dropping the game I can always combine those models for mini agnostic rule sets, just like this. This means I already have more than enough Undead to put together a couple of armies for this.
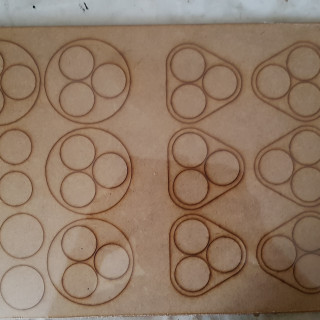
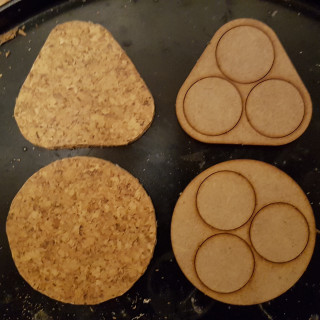
What I don’t have is the movement trays. Here’s some pics of what they look like in use, and what they look like fresh from my friends box, ready to be used as templates to make my own from.
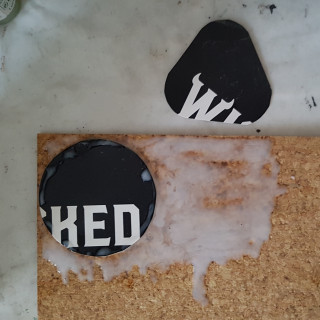
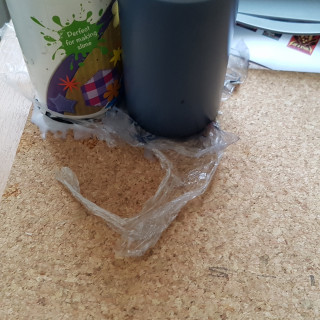
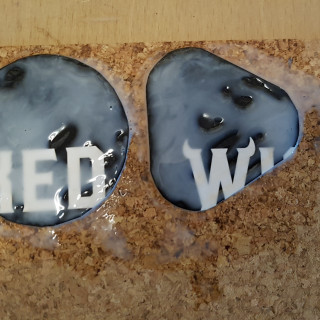
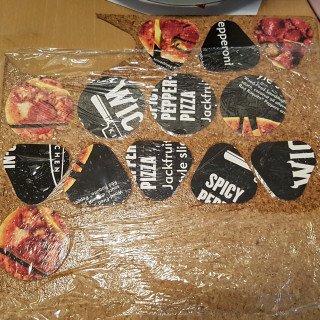
So I popped out the squares and triangles and drew around them on the back of a pizza box. I cut them out and used PVA mixed with a touch of water to glue them to a thin cork tile. I bought a 5 pack a long time ago to decorate bases. a 5 pack of tiles lasts a looong time in this hobby. The tiles had a glossy side so I sanded that down a bit so glue would stick better to it, although I glued the card to the other side. The card didn’t quite want to sit flat, so I put some cling film over them and rested something heavy on top of that. once everything was fully dry, I mixed up some more PVA and water and applied this over the top of the card and cork, painting outside the lines. It was left for a couple of days and then cut out with a good pair of scissors.
The card backing does more than just provide a template to cut around. Cork is fragile. Card is fragile. However, they are weak in different ways, so they strengthen each other. Soak them both with PVA and they get stronger still. Composite materials are stronger than the parts they are made of.
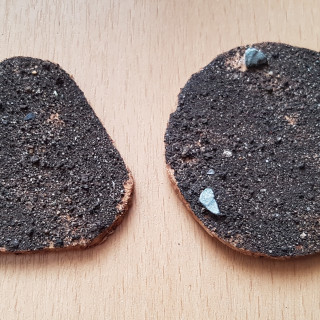
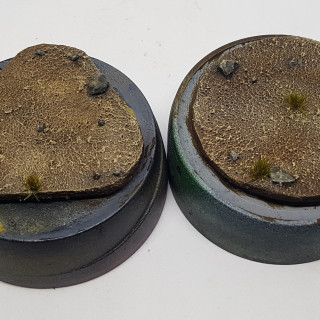
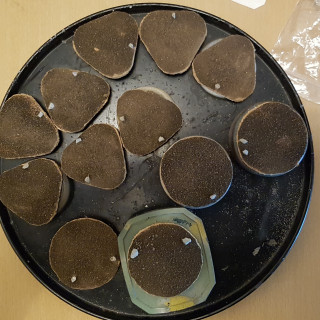
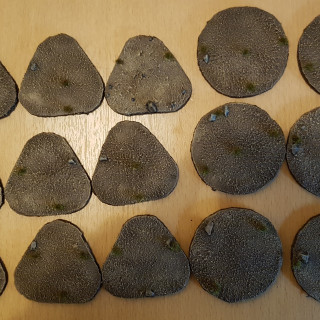
I plan on using models from multiple ranges on a mix of square and round bases of different sizes. As such, I chose not to cut holes in my trays as I’d have to make trays for each base type that way. I do know that the largest base I’m likely to use will be 30mm rounds, so I grabbed 3 and drew around them on these trays. I then glued a few rocks in places outside these markings. I then glued a fine layer of mud over the cork. A day later I sealed it all in with watered down PVA glue. A couple of days later I painted everything with a base coat of brown emulsion paint over spayed primer, and then painted them as per normal. I then put the 3 20mm bases back on top and added some tufts anywhere that wasn’t covered and seemed appropriate, but not too repetitive. They were all varnished once everything was dry. I was happy with the end result so I made a few more.
These took very little time or effort to make, but require lots of long drying times. I used up perhaps half a floor tile to do this. They are surprisingly sturdy too, although some of that has to come down to their compact size and shape. I am not sure this would hold up for a large rectangular tray for Kings of War, but I might give it a try some time. I have more than enough cork tile left over. I’m open to other ideas about how to make larger trays using junk I might be able to find lying around the house. I’ve always felt a thin sheet of suitable plastic must be something I can get from packaging without needing to buy especially, but I’ve never found anything appropriate. perhaps you can think of something?
Maybe this should be it’s own project? Should I copy and paste it?
113 MTG: People of the Stars and People of the Sun
Models remaining:
Batch: 0, Normal: 62, Luxury: 7, Modular: 44, Bits Box: 3, Terrain sets: 13, To Ship: ATO Wave 2, KDM COD
Models Finished in Collection: 2906 Models since start of project: 592 out of 63 completed and still not done!
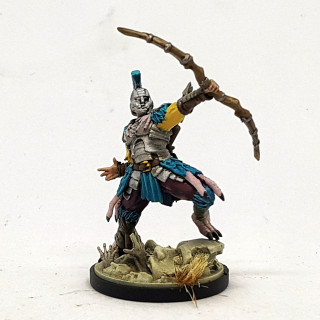
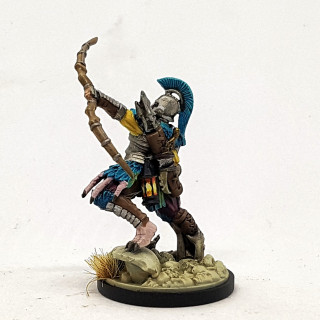
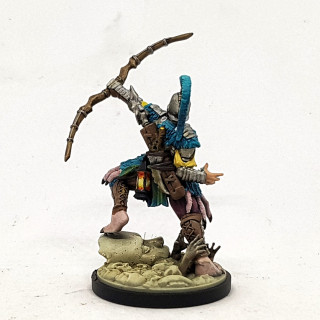
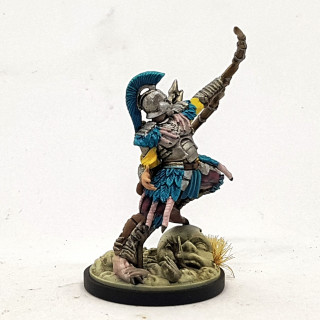
Here we have the last non-modular minis from Expansions of Death: The character pieces from the Sunstalker and Dragon King boxes. I’ve no idea if they have an in game purpose, if they accurately represent possible survivor builds, or if they’re just art pieces.
People of the Stars
People of the Sun
I’ve begun prep work on the next big project: All the KDM models I have that will start with me doing White Lion fur. They’re mostly from the Gamblers Chest, but there’s a pinup in there, and a couple of the Echoes of Death minis. I’ve picked up a few pinups that either are at the plausible end of the chainmail bikini spectrum, or I hope to de-pornify a bit with my painting choices, i.e. she’s not naked, that’s skin-tight clothing.
I’ve a couple of small side projects I’ve already started to resolve first. They’re mostly done and should be finished by the time the primer on these guys is dry.
117 MTG: Green Knight Armour, Pinup Regeneration Suite, and The Lonely Lady
Models remaining:
Batch: 0, Normal: 66, Luxury: 7, Modular: 44, Bits Box: 3, Terrain sets: 13, To Ship: ATO Wave 2, KDM COD
Models Finished in Collection: 2902 Models since start of project: 588 out of 63 completed and still not done!
Four more models finished from Expansions of Death. This leaves four more and I’ve done everything non-modular from that box and I’m up to date with Kingdom Death and can start work on the new releases.
121 MTG: Expansions of Death Catch-Up
Models remaining:
Batch: 0, Normal: 68, Luxury: 7, Modular: 46, Bits Box: 3, Terrain sets: 13, To Ship: ATO Wave 2, KDM COD
Models Finished in Collection: 2898 Models since start of project: 584 out of 63 completed and still not done!
I’ve been distracted by Diablo 4 for a while, but I’ve had the last week off work and got some painting done. The Gamblers Chest for Kingdom Death also arrived, boosting my collection by another 63 models.
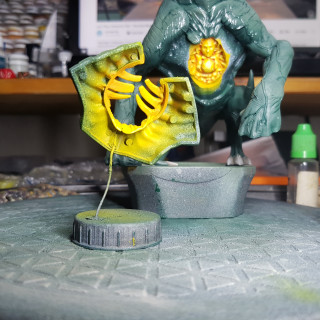
The Dragon King below had his flesh painted with the exact same paints as the flesh on the Dragon Tyrant, just in different ratios. The one exception was the deepest of deep shades/pin washes was performed with GW Coelia Greenshade. The glowing chest cavity was painted before assembly using the paints below and a mix of airbrushing and hairy brushing.
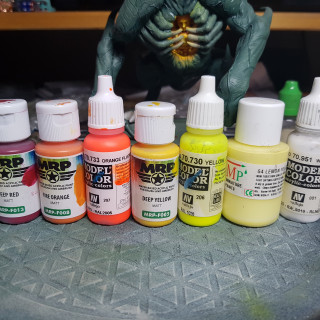
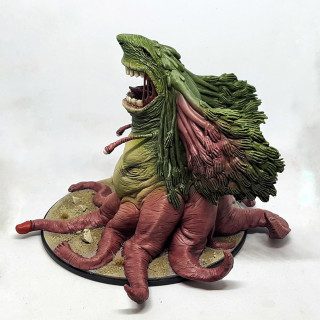
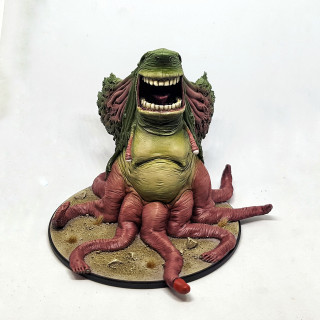
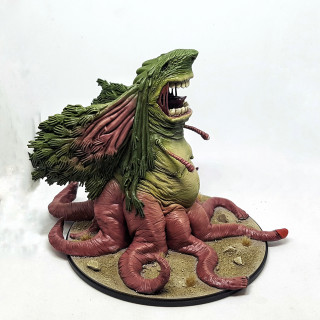
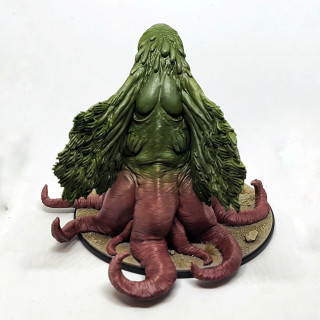
The Sunstalker was painted following the Privateer Press Forces of Minions guide for Gatormen flesh tones, with some of the base colours swapped out as I’m running low on p3 paints and they’re becoming harder to get in the UK. I don’t have the full instructions to hand, but I’m documenting my colour choices here now so I can replicate them later with related models.
Belly base: VMC 70.884 Stone Grey mixed with VMC 70.928 Light Flesh and just a touch of P3 Mouldy ochre
Green Flesh base: VMC 70.894 Cam. Olive Green
Tentacles base: GSW 1827 Blushing Flesh mixed with some P3 Sanguine base
Tentacles wash: Sanguine base mixed with p3 Battlefield Brown
Highlight: Blushing Flesh, then blushing Flesh mixed with GSW 1845 Elven Flesh, then perhaps pure Elven Flesh
The Ovipositor was given 2-3 coats of VGC Red Ink over the above
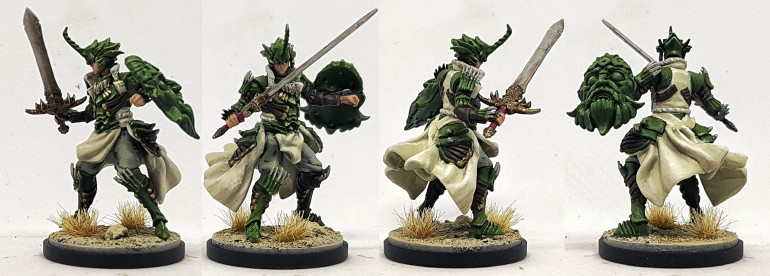
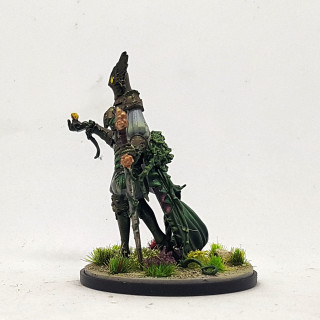
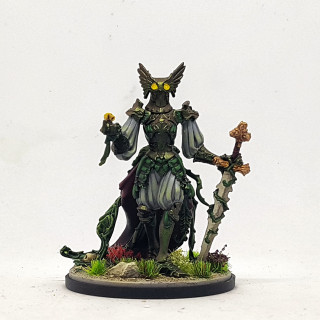
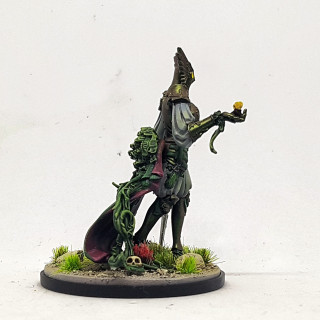
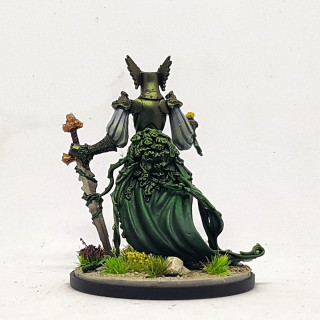
The Flower Knight was mostly painted with Vallejo Shifter Dark Geeen Tin, which on the label and in previous test runs is just a metallic green. However, when this model goes in to shade he goes a bit mauve, which was not expected or planned for. The metallic green is much more vibrant than these pics show, too.
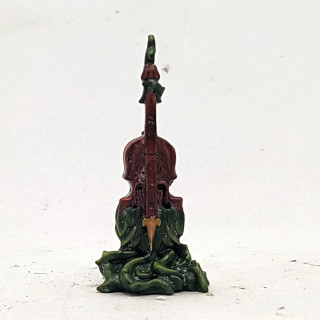
Why does he come with a model for a violin that’s almost as big as a survivor?
Trouser Grey-Green Cloth:
Base: VMC 70.990 Light Grey
Highlight: Add progressively more and more VMC 70.330 Highl. Russian Tank and paint smaller highlights
Shade: VMC 70.867 Dark Grey
Green Cloak:
Base: VGC 72.147 Heavy BlackGreen mixed with P3 Iosan Green
Shade: Heavy Black Green
Deep Shade: Vallejo Wash 76.519 Olive Green
Highlight: Iosan Green
Highlight: P3 Wyrn Green
Plants:
Base: P3 Gnarls Green
Selectively drybrush with P3 Rucksack tan and P3 Mouldy Ochre
Wash with Army painter Green Tone
Highlight P3 Bog Moss
Highlight P3 WyrM Green
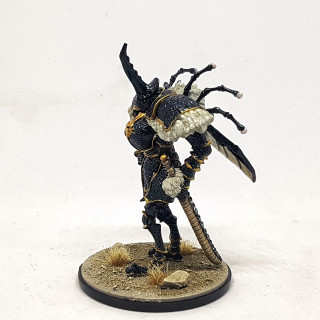
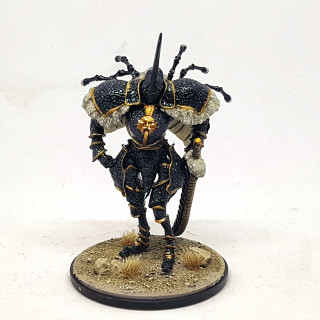
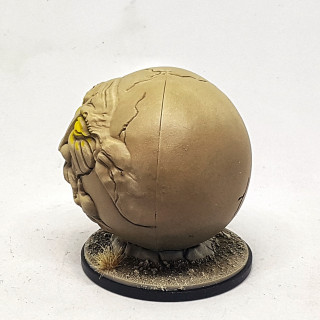
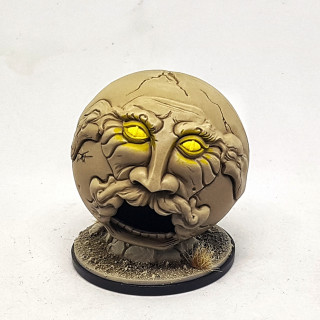
Dung Beetle Knight and Ball
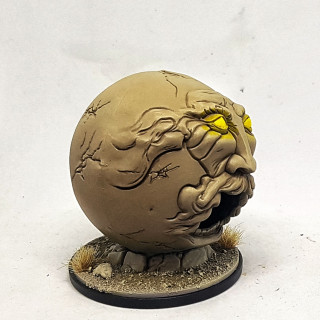
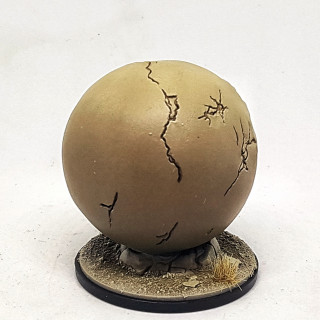
Ball:
Base: VMC 70.873 US Field Drab
Highlight: Mix in progressively more VMC Panzer Aces 340 Highl Afrika Corps and airbrish from steeper angles
Drybrush: P3 Menoth White Base
Undercoat eyes with white
Paint eyes and glow with Yellow Ink
Beetle Armour:
Undercoat: Gloss Black
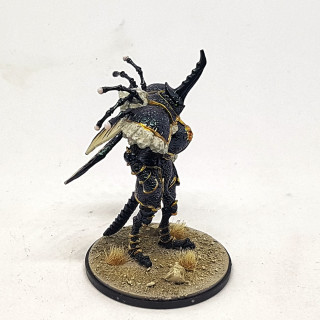
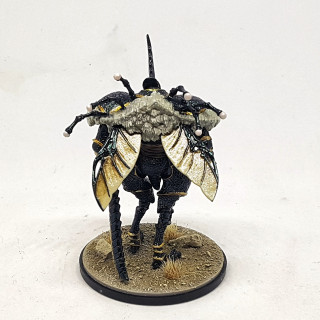
Base: Vallejo Eccentric Colours 77.010 Emerald Green Mauve Shifter, but only one or two thin coats sprayed gently from 1m+ away. you do not want to build this up. Let the black show through, and ideally dominate. You want a black sparkly carapace, not a metallic carapace.
The wings were base coated with a beige and then I tried wet blending some thinned sepia inks in to that to get the tones of a real dung beetles wings. I didn’t do it well, but it has potential.
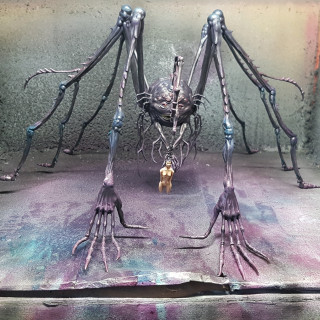
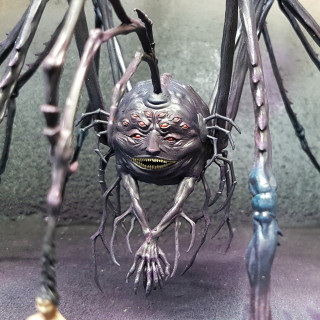
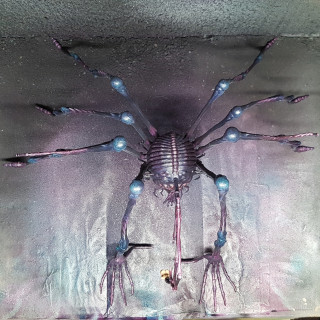
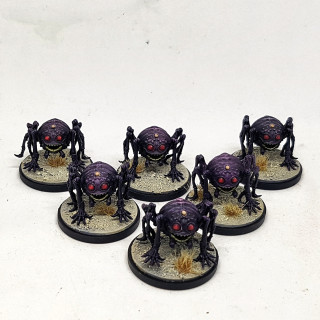
Spicicules and the Spiderlings. Lovely, interesting model to look at. Pain in the ass to work with. You try painting him and see if you can do anything without 2 fragile limbs being in the way of whatever you’re doing. Subassemblies weren’t really an option either as bits of his torso are on the ends of some limbs and I wanted to be sure they matched the shading and highlights of the rest of the body. As such, this guy was almost all airbrush work and I accepted a basic job on him.
He was zenithally pre-shades as standard, but then I restored the black undersides with black paint. I want this guy dark and I know Inks are coming up. I next drybrushed with some pale blue and beige drybrush paints I had to hand. No idea if the colours made a difference, but it restored a few highlights to some peaks. Next I put thinned Liquitex Violet Ink through the airbrush and applied it over most of the model. I needed to thin it further, but I’m still learning. I then added a little Vallejo Purple Ink to it and added darker, richer purple areas. Finally, P3 Turquoise Ink was applied to all the joints, the palms, and any repeating areas that still looked like they may have primer showing through. I tried to brush highlight the face a little but it looked horrible and the limbs were in the way so I applied more of the Violet over it again, which looked good.
The eyes were painted GW Khorne Red, washed with GW Nuln Oil, and then highlighted with P3 Khador Red and finally given a small dot of white.
The Teeth were based with P3 Thrall Flesh, washed with GW Athonian Camoshade, drybrushed with Thrall Flesh, and then with p3 Menoth White Base


