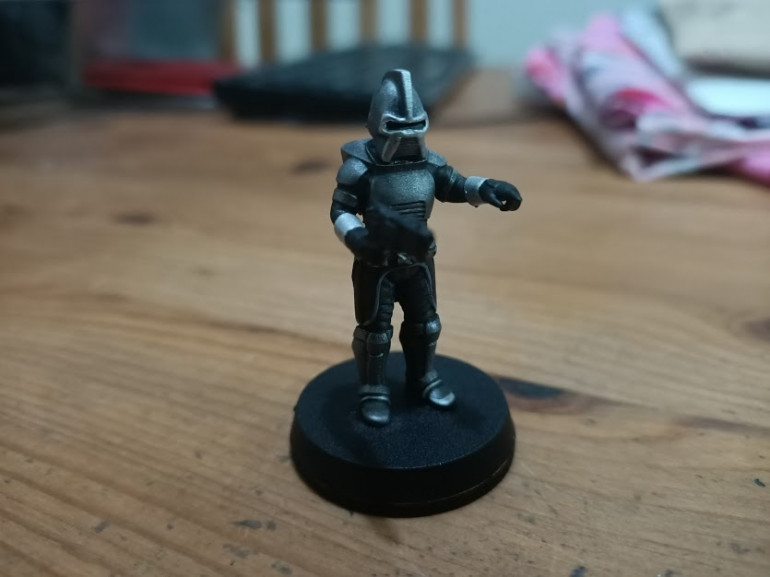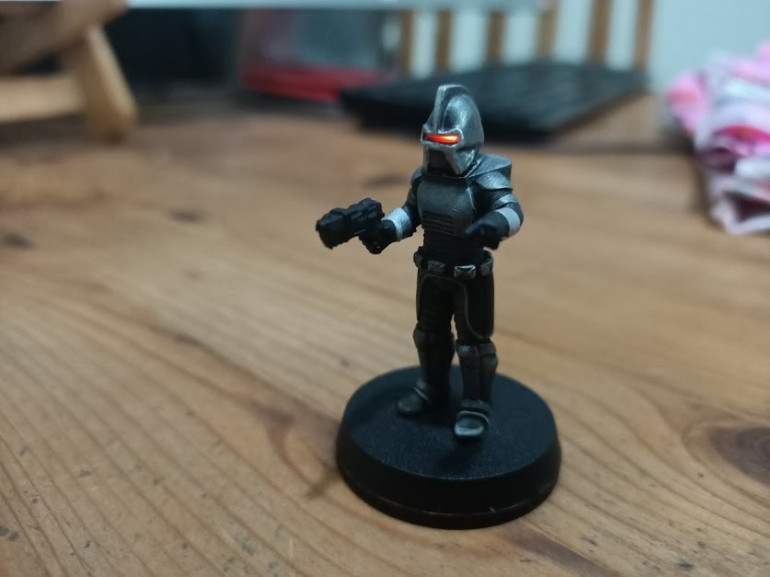
Animated Cylon with LEDs at 32mm
Recommendations: 406
About the Project
Yes, I know it's yet another project, and I've a few already on the go. But this one is really cool. And, tbh, I didn't honestly think I'd be able to pull it off, so have surprised myself - here's a write-up in case you're crazy enough to want to make one (or more) yourself.
Related Game: Battlestar Galactica
Related Genre: Science Fiction
This Project is Completed
Like all the best ideas, it began with some trash talk
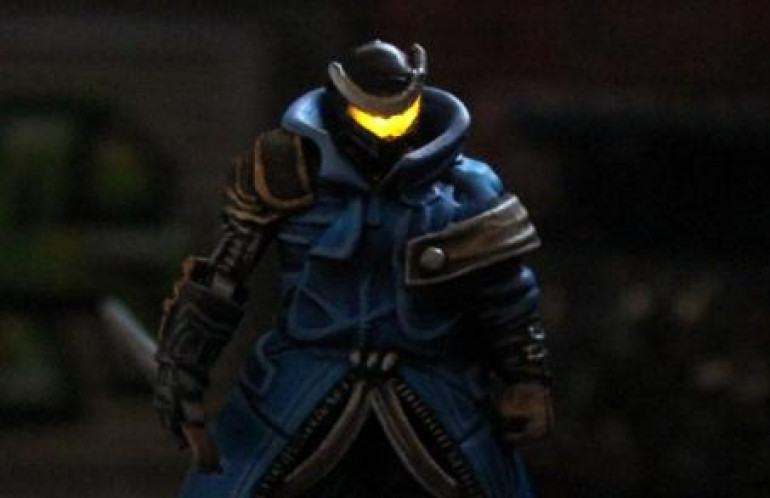
A little while back, I entered a painting competition and – in a desperate attempt to distract from some rather dubious panel-lining and lack of detail on feet (seriously, by the time I get below the knees on a mini, I’m bored and just want it over!) I thought I’d stick an LED instead the head for a bit of “wow sparkle”.
While I thought it looked pretty cool (as did a few others) it wasn’t quite enough to satisfy @sundancer – who started to ponder “how would you go about making the moving eye of the original Cylon Centurion from Battlestar Galactica in a 28mm mini?”
(https://www.beastsofwar.com/forums/topic/unofficial-weekender-oh-boy-my-back-hurts/page/3/#post-1554267)
My knee-jerk response was “don’t be ridiculous – if you’re not impressed at the soldering required to make an 0805 LED light up inside a 5mm sized head, nothing will impress you, even an animated LED.”
My follow-up response was along similar lines – you’d really need to have a “strip” of LEDs, and a microcontroller and animate them in a sequence; you’ll never fit more than one LED inside a miniature’s head.
But there was something nagging in the back of my head.
Much like how you can complete a sudoku by guessing at the numbers and sticking them into the grid, the satisfaction comes not in knowing the answer – but proving it.
I needed to prove it wasn’t possible.
Thirty minutes later I had some 0402 and 0603 sized LEDs on order from fleabay…..
Is it even possible?
A few days later and a package arrived with a few LEDs in it.
The first thing to do was to see how many tiny LEDs I could pack together into the smallest space possible. I figured that if I could solder the 0402 sized LEDs, I might be able to get up to five across, which would make for a pretty impressive “Larsson Scanner” (the thing used in Cylon helmets and – later – in KITT in Knight Rider).
I eagerly opened up the parcel and went straight to the soldering table….
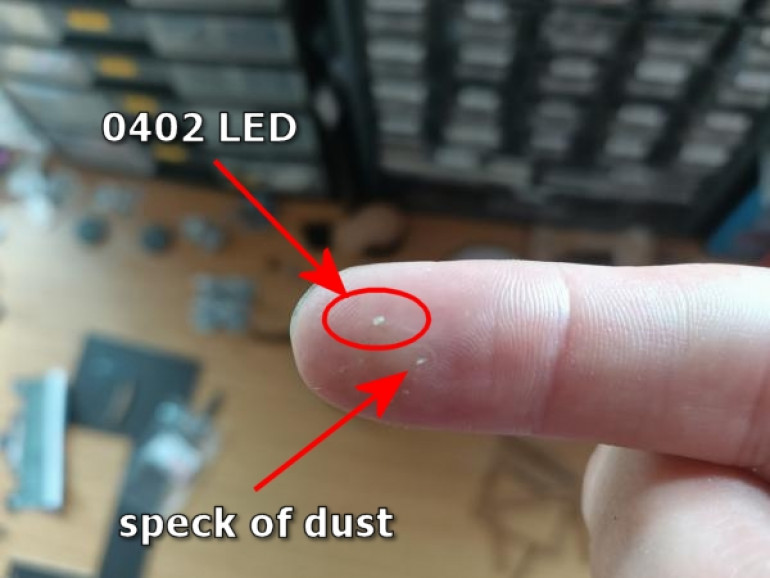
0402 LEDs are the smallest consumer electronics sized LEDs you buy “off the shelf”. They’re usually placed by a computerised CNC machine. They’re absolutely tiny.
I tried to solder a couple together. The heat from the soldering iron totally destroyed a couple (the lenses on the top side de-laminated from the LED and rendered the device useless). A few I accidentally soldered together in a big blob of solder that bridged all the contacts together (despite using the finest iron tip I had).
But most of the LEDs simply disappeared.
They’re sooooo easy to drop. And when you drop one…. well, they look like specks of dust. It’s impossible to see where it’s got to!
I burned/destroyed/lost about 20 of the miserable little things before finally giving up. It seemed much more sensible to try to 0603 sized LEDs instead.
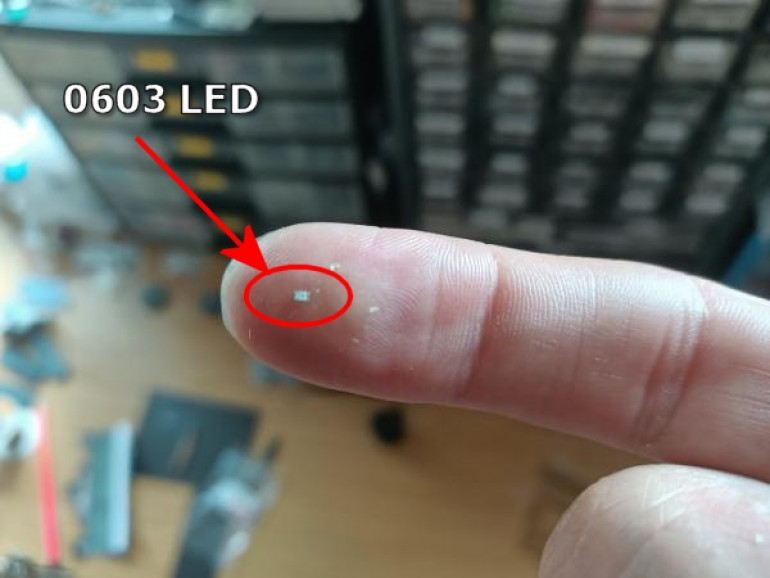
To be fair, an 0603 sized LED is still a pretty tiny little thing!
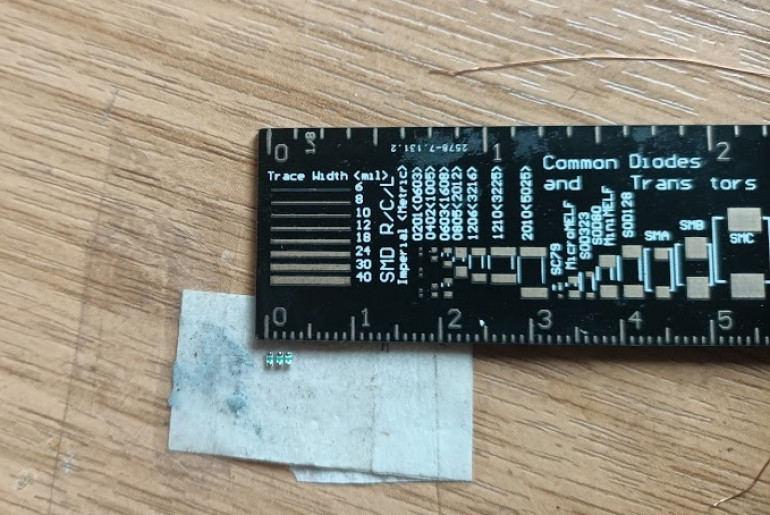
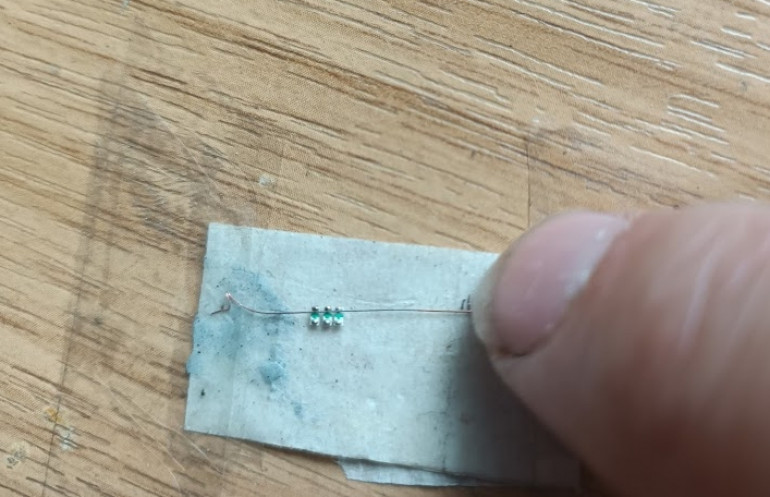
I stuck a little piece of masking tape – sticky side up – onto the table with some strips of sellotape, and pressed a row of three LEDs side-by-side.
This allowed me to (just about) get a tiny spot of solder onto each of the pads
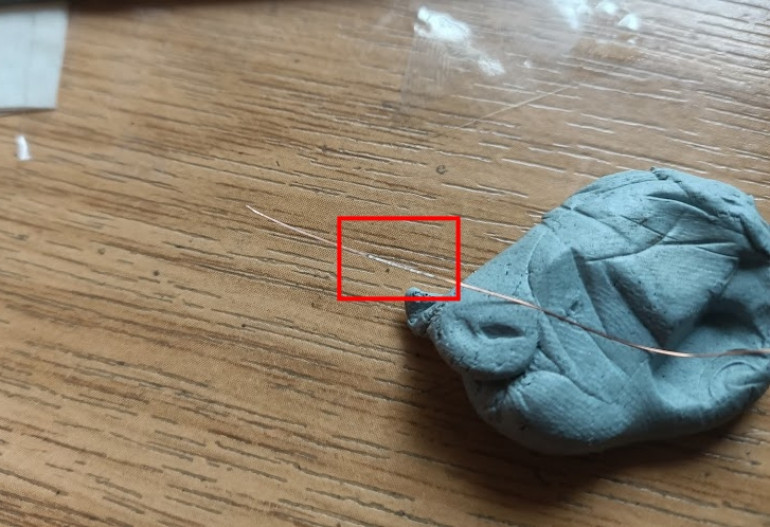
I then ran a short piece of enamelled wire through some sandpaper (to remove the coating) and applied a thin coating of solder “tinning” along the length. This should make soldering it to the LEDs much easier.
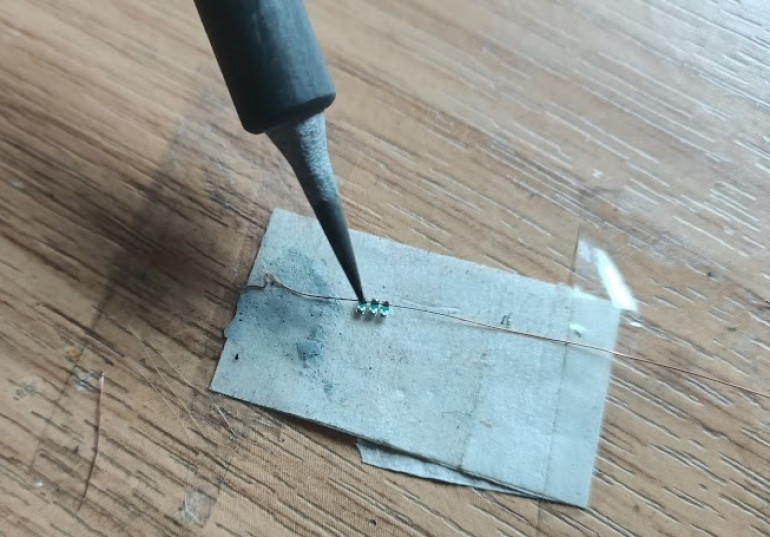
I then taped one end of the wire down onto the tabletop, to allow me to keep it taught using just one hand, and placed it across the tops of the LEDs. With the LEDs already having solder on the pads, and there being a thin coating of solder on the length of wire, to join the two should require only the slightest touch from the soldering iron.
Aware that applying heat for any length of time to such tiny LEDs could destroy them, joining the solder together was from little more than a tap of the hot end of the iron. Fully aware that the solder joints would not be the most secure or robust, I figured that once they are inside the head of the miniature, they would be entirely encased in glue, and unable to move – I just needed the joint to hold for long enough to complete assembly….
Preparing for 3d printing
Having successfully soldered some LEDs together – ideally I would have liked four or five, but I thought I was pushing my luck with three, so thought I’d start small and work up to more if possible – I wanted to know how much space I actually had to play with.
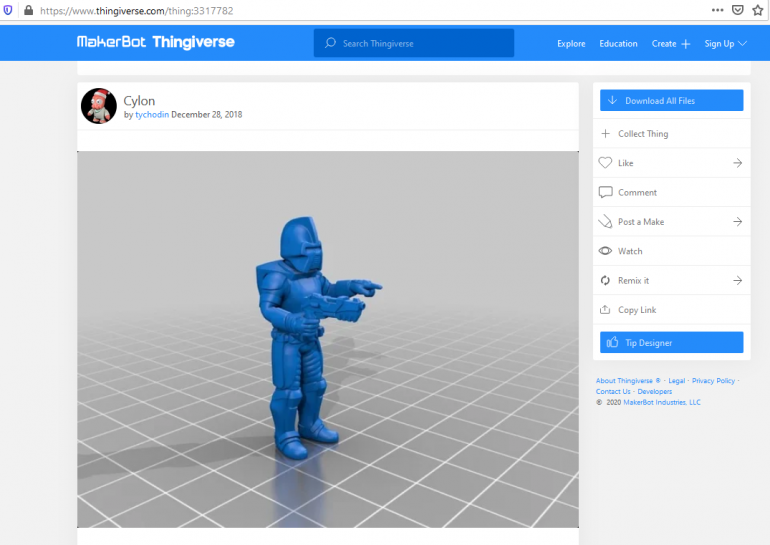
Which meant 3d printing an actual Cylon miniature to get an idea of scale.
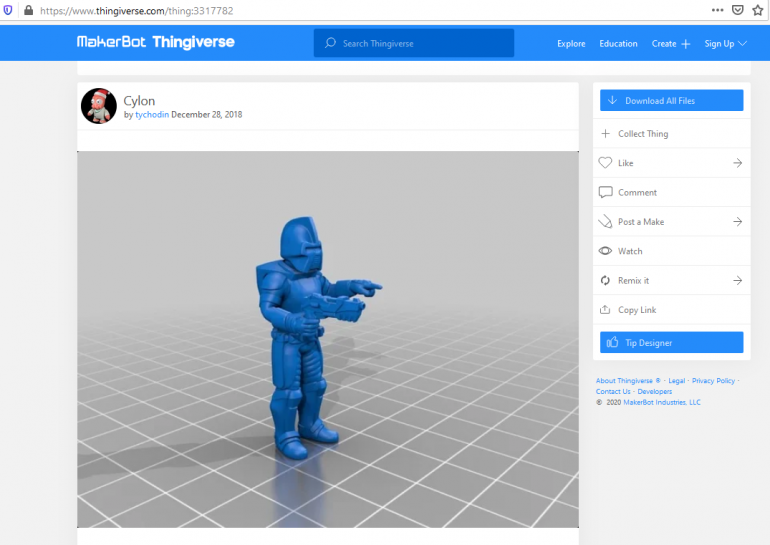
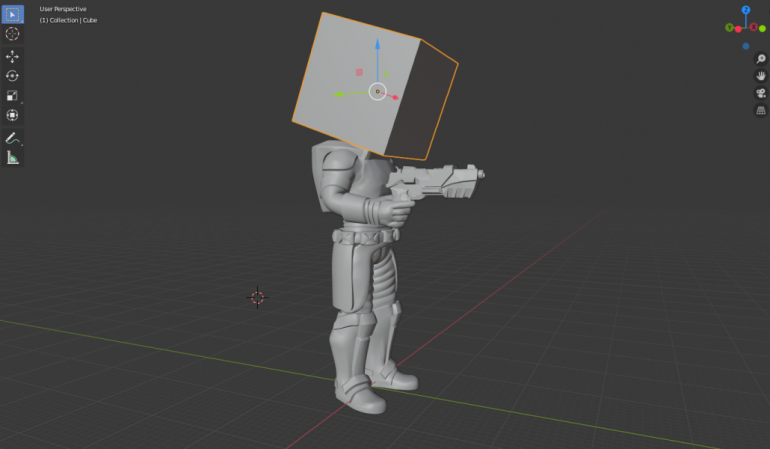
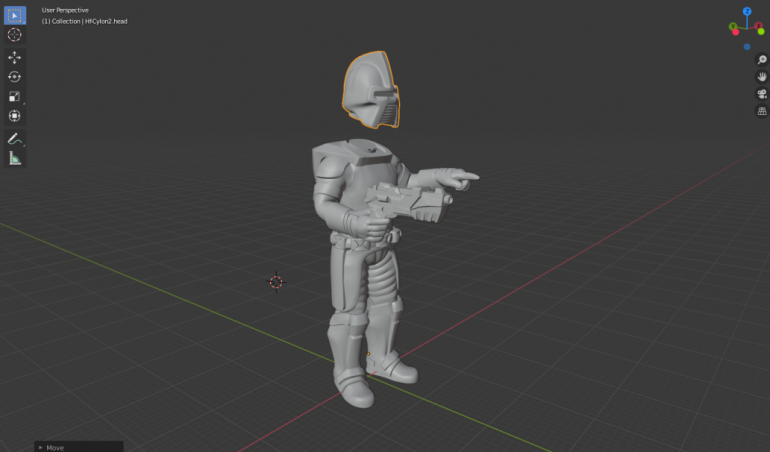
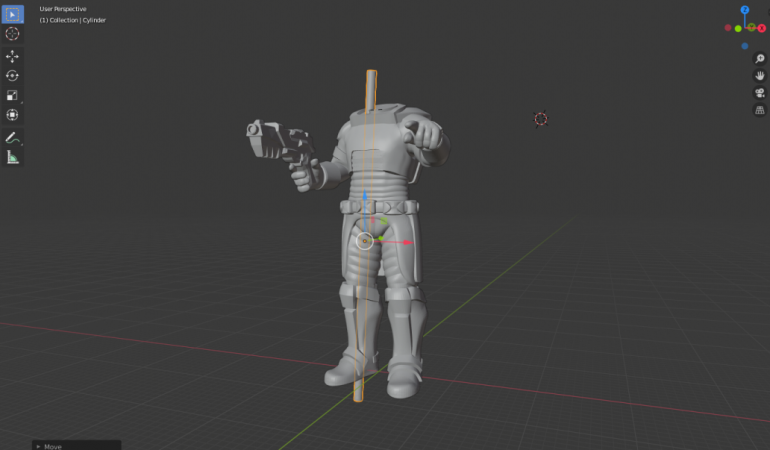
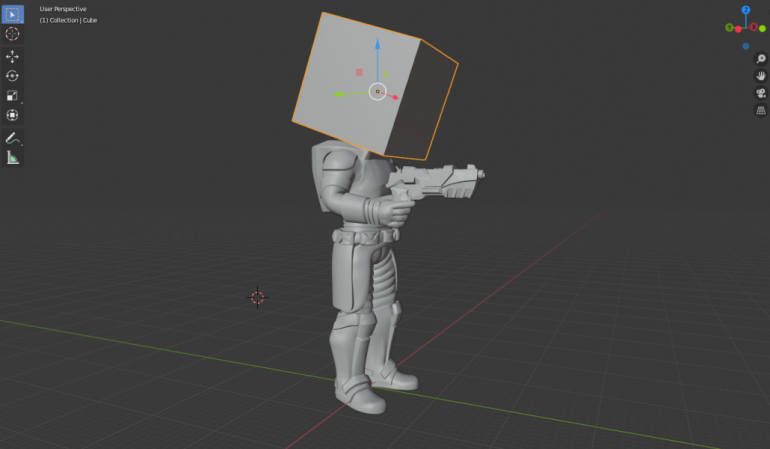
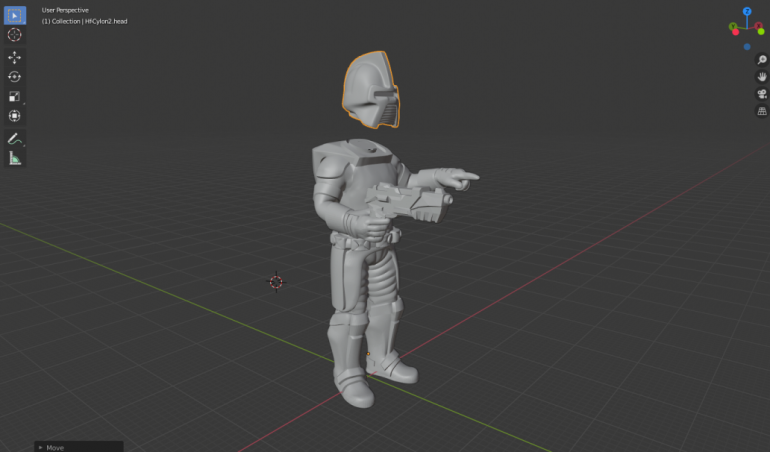
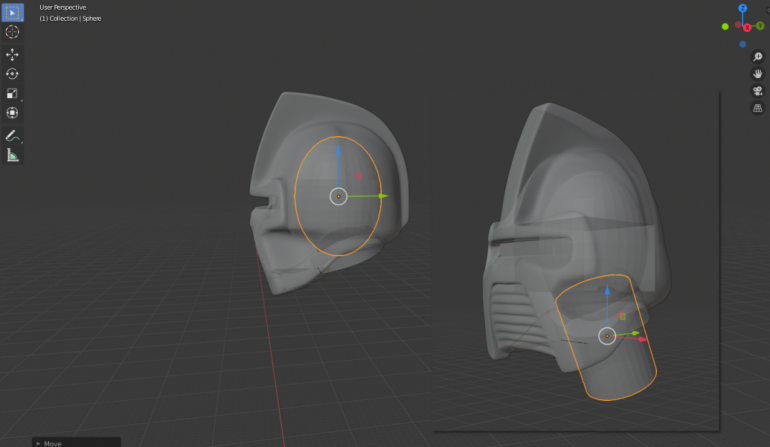
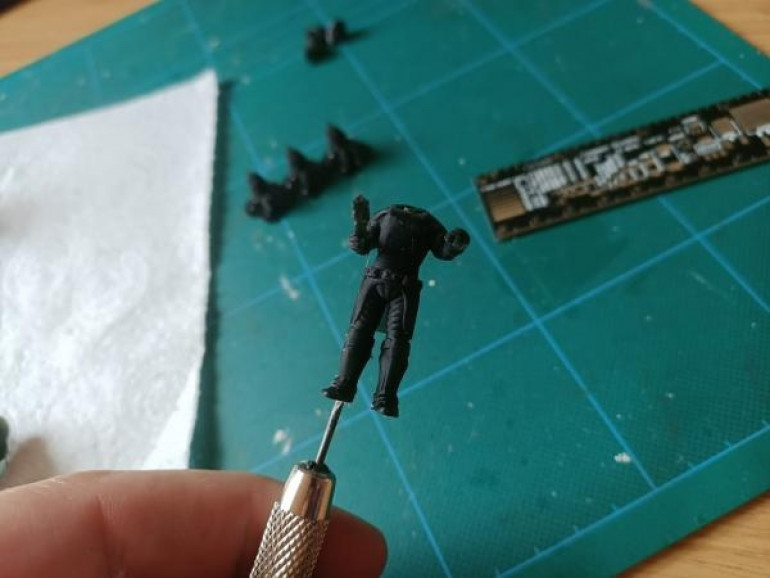
The first job, after importing the STL into Blender, was to separate the head from the body – then create a void inside the head for placing the relatively large LED cluster, and a channel to run the wires through the body into the underside of the base.
My usual process is to clone the original character then make a shape which will be “booleaned” against each; boolean-intersect to isolate just the head, boolean-difference to remove the head from the duplicate copy and leave just the body
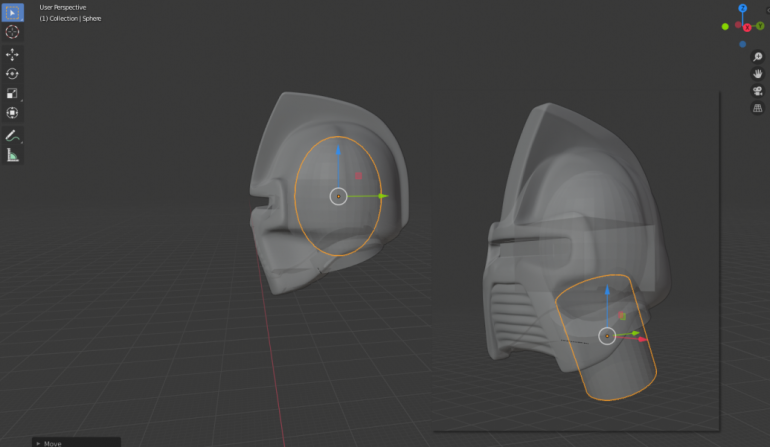
With the head separated from the body, the next job was to hollow out the head. First, by creating a large empty void, so the head is just an empty shell. I did this using the boolean-difference operation on an elongated sphere, then boolean-difference on a rotated cylinder where the neck meets the head.
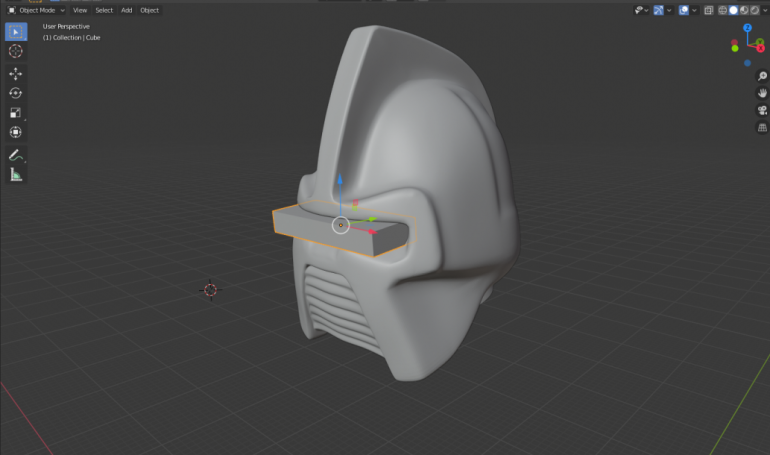
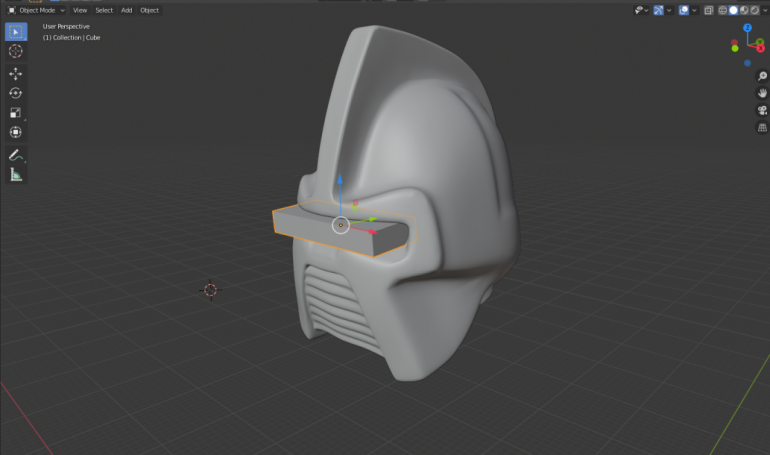
The last operation on the head is to subtract a rectangular block from the visor – this is to create a super-thin section of resin that will allow most of the light from the LED to pass through it (the miniature will be printed using Elegoo black resin which has a slight translucent effect).
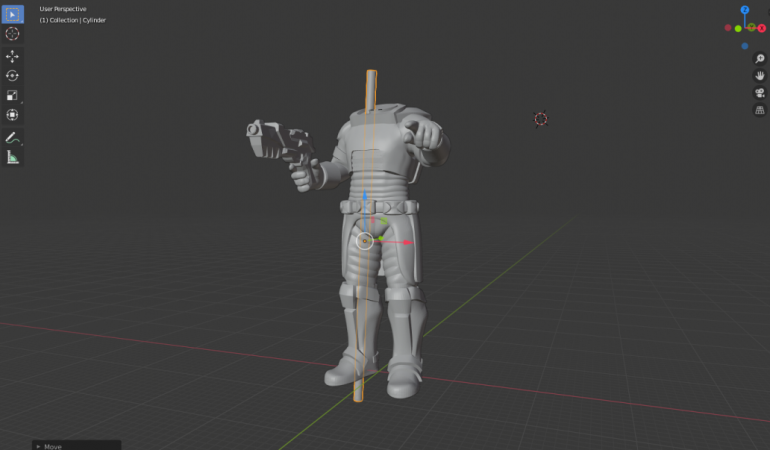
Lastly, with the head prepared to receive the LED(s), the body needs a channel for the wires to run from the head, through to the underside of the base. Luckily this model is standing in a fairly static pose, making it quite easy to simply run one single, solid cylinder through the length of the entire body.
Printing the cylons for testing
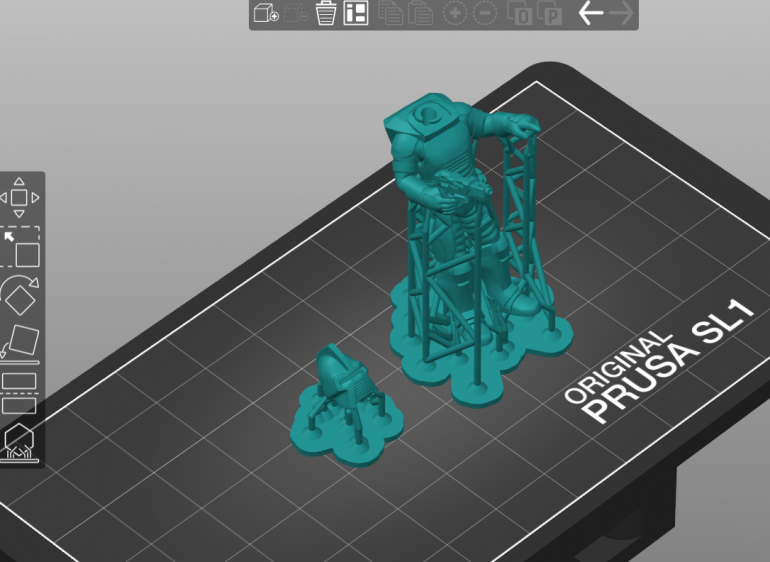
With the models prepared, I ran them through the online service netfabb to fix any mesh issues (the original .stl files were less than brilliant) then put them into Prusa Slicer for adding supports.
On my AnyCubic Photon printer, I managed to fit six heads and bodies, to create a TV-sized regiment (were there ever more than six Cylons on-screen at any one time throughout the entire series of Battlestar Galactica?)
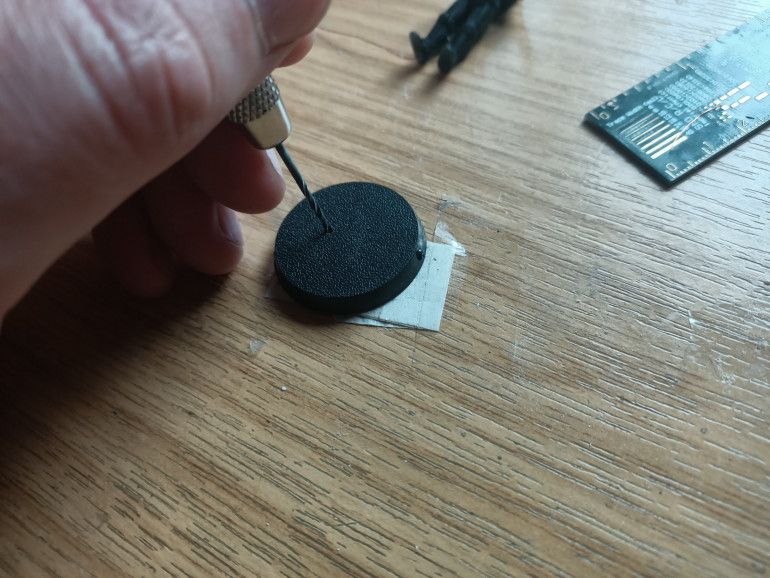
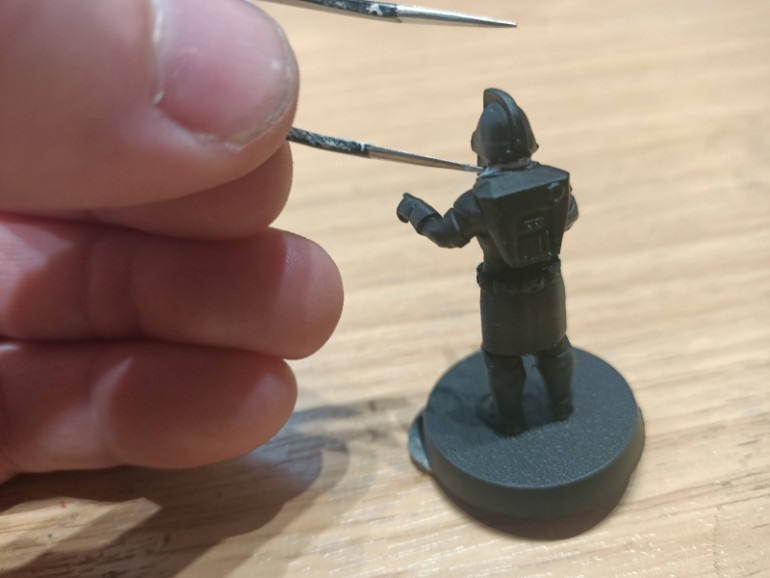
After curing and cleaning the minis, I set about preparing the bases. This involved little more than drilling a 1mm hole in some pre-bought bases.
Usually, when putting a single LED inside a miniature, only two wires are required. With three LEDs soldered together using a common anode (or was it cathode – I forget which is which!) then there are four wires needed to be able to turn each one on and off individually.
It turns out that the channel I’d prepared in my 3d models wasn’t quite wide enough to accommodate all four wires, so I widened the hole using a 1mm drill bit
After running the wires through the body of the miniature, it was time to work out which of the wires was connected to which LEDs!
There’s not really enough space here in this project blog to list how to make your own PCBs (though if anyone is interested, I could make a dedicated project!) but in short, I had a PCB with a PIC microcontroller and four contact points for the LED wires. Since there are only three LEDs in these first test pieces, and the PIC is programmed to play a “side-to-side” animation, the most important thing to do is find out which LED is the middle one…
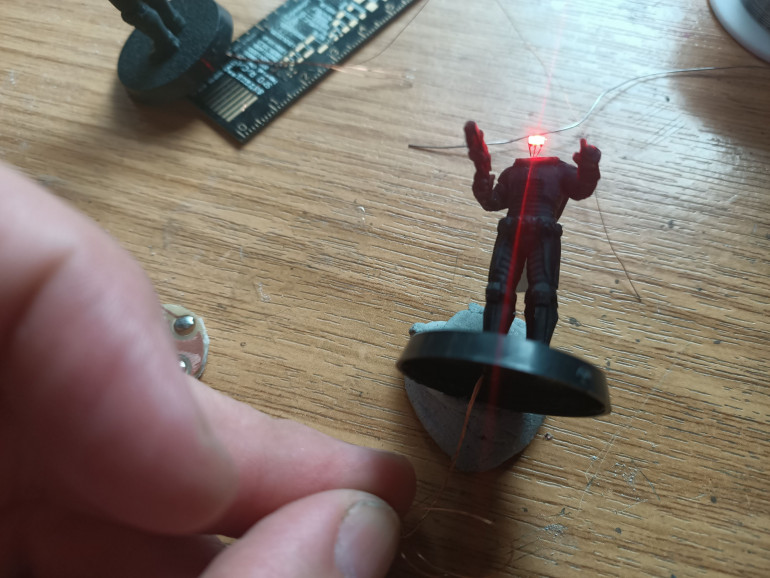
This simply involved touching various wires (they all look the same, after all) to the battery, until LEDs started lighting up! Once the middle LED was lit, I made sure to solder that wire onto the PCB first.
Then it was a matter of connecting the remaining wires and powering up. The moment of truth had arrived…. did it work??!
Fitting everything together
After an initial successful test, it was time to glue the heads on! I was keen to make sure that the LEDs remained in the right place, shining out through the visor, before the head was glued onto the body (there would be nothing worse than glueing the head on, and having the LEDs shifting so they lit up the side of his head!)
I filled the head with superglue gel and plunged the LEDs (switched on, of course) inside. After rotating them around and making sure they were in the correct position, I sprayed some superglue activator into the head.
After gluing the head in place, it’s time to do some tidying up.
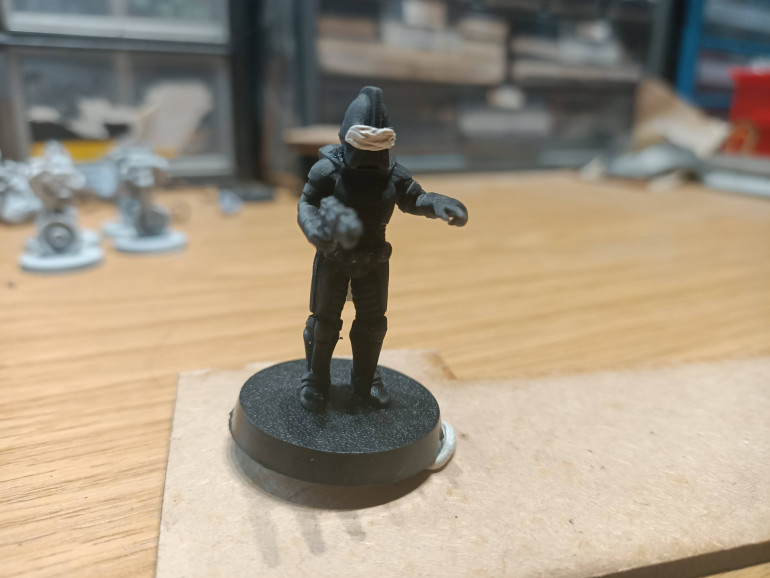
The miniature will be sprayed with primer, then coated with multiple layers of paint, the stop any light-leakage so the only light coming out of the LEDs shines out through the visor.
This also means filling in any cracks around the head/neck joint, where light might leak out. I found “green stuff” too stiff to work with, and Milliput too messy. Since I’m filling an area that is unlikely to be reached by pokey fingers, I figured that a bit of blue-tack would suffice
It’s soft enough to poke about, but without getting stuck all over the rest of the mini. And once it’s painted up, you’ll never know what it’s made from anyway.
We’re almost ready to hit the mini with some black primer.
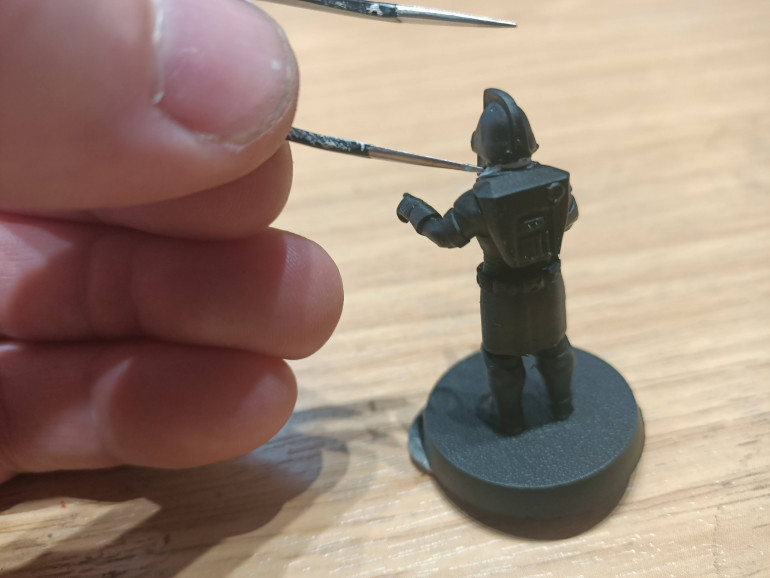
Of course, after doing all this work, we don’t want to obscure the visor with a load of paint! So a bit more blue-tack to act as a mask, and we’re ready to go.
As I write this, I’m waiting for the black paint on the first three (yes, count ’em, three!) to dry. Hopefully all the hard work is now done and it’s just a matter of applying a “regular” paintjob and calling it done.
Updates to follow…..
Well and truly "C3PO'd"
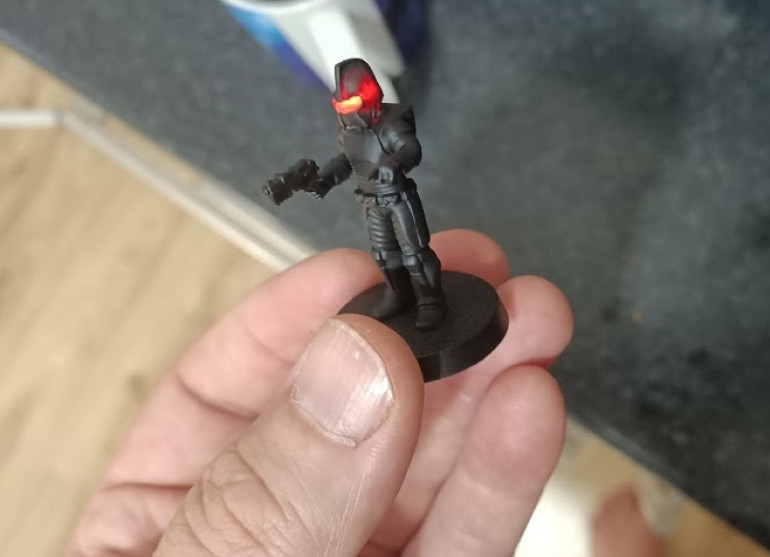
After allowing the primer to dry, and connecting a battery, I could start to see where the model was “leaking light”.
In this particular model’s case (I made three in total) it was where the primer had gone down too thinly on the helmet, and a couple of little cracks around the neckline.
This was about the hardest part of the job – with the battery *still connected* (and the red LEDs whizzing backwards and forwards) I had to touch up the black around the helmet, so make it a good, strong, solid coat – so that no red light could leak through.
The flashing LED actually made this quite difficult and it took two or three coats/attempts to get a nice, solid base that obscured 100% of the light.
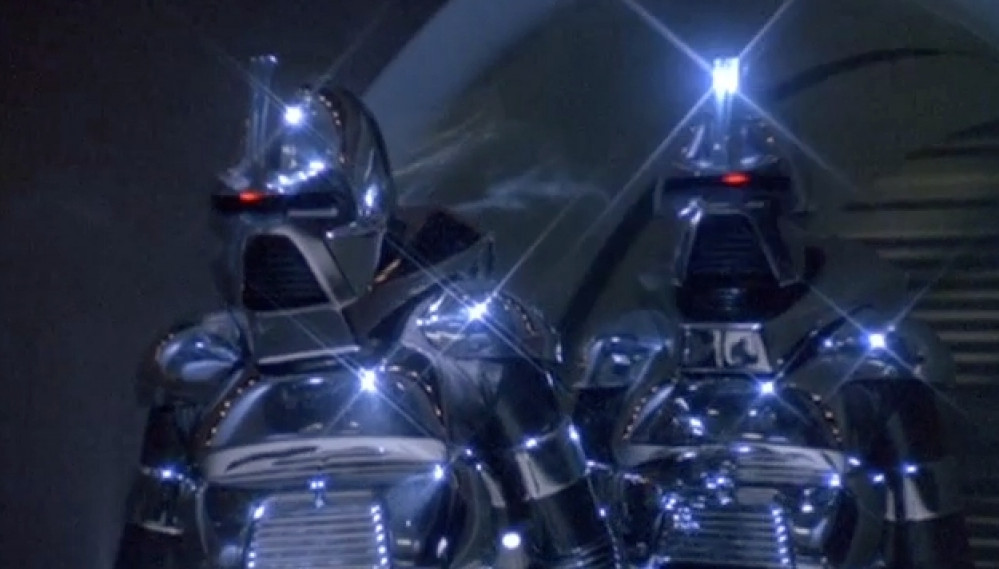
Just like so many of us were caught out by the revelation the C3PO always did have a silver leg all along, I had a similar revelation while looking for source image of Cylons from the original Battlestar Galactica series.
In my head, they were shiny black.
Absolutely no question about it – glossy, shiny black, just like Darth Vader’s helmet. But with a bit more shine. And a bit of sparkle and lens flare every now and again. But absolutely, definitely black. All over.
Yet every single internet picture I found showed them to wear black fabric, but bright silver armour!
Now, my non-metallic painting ability is just about zero. There was no way I was going to be able to paint silver in such a way as to make it look super-high-gloss black.
I figured that the “mis-remembering” must have come from the very dark backdrops the Cylons always appeared to be in. So – just like 3PO’s silver leg reflecting the sand, and the colour of the rest of his armour, so we just assumed it was gold – I’ve obviously mistaken reflected black in the shiny armour for… well… black shiny armour.
I couldn’t bring myself to just paint the armour plate-mail silver. It was just too jarring from my own memories of the programme.
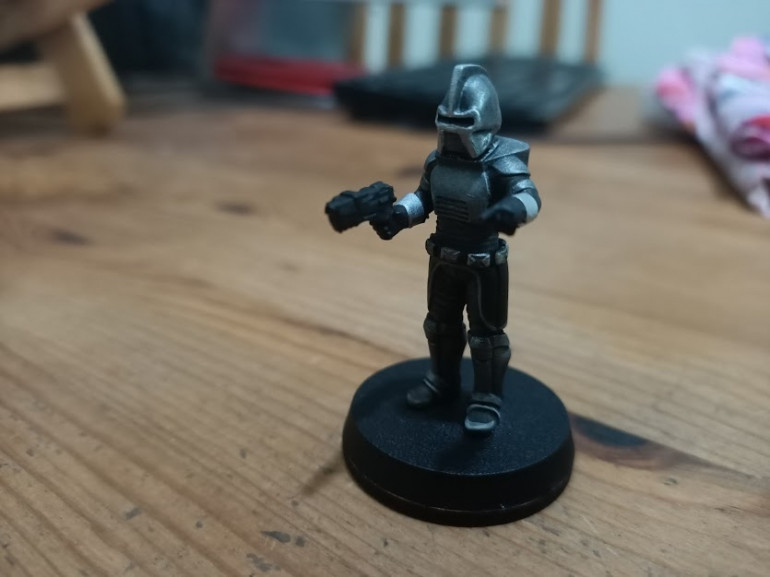
I wanted the Cylons to remain, essentially dark, but also show that I recognised that parts of the armour were silver. So I did a heavy dry-brush of “gun metal” silver (quite a dark silver) over the black primer.
Then, in a nod to the fact that their armour is actually silver, I painted the helmet crest and visor, and the gauntlet bands on the gloves a bright “plate-mail” silver.
A bit of drybrushing with “uniform grey” on the legs and torso brought out the banding, then I blocked in the “skirt” again in black, added a grey edge highlight and tidied up the black between the silver armour on the arms and hands.
And that really was about it. About two and a half hours to fully paint all three.
I know they’re not absolutely true to the Cylons in the programme. But they’re true to how I remembered Cylons – as dark, shiny black, terrifying figures with an ominous glowing red eye.
By your command
At the risk of mis-remembering yet more stuff about programmes I watched as a small child, something stuck in my mind about Cylons hanging about in gangs of three.
It turns out that that was more to do with piloting spaceships. But I figured three was a good number (plus, after soldering three lots of tiny 0603 LEDs into tiny arrays, my patience was running a bit thin, for losing so many parts amongst the dust and detritus on my workbench!)
So here’s the final video.
@Sundancer came up with this crazy idea. My immediate reaction was “no way, you’d be a fool to even try something so bonkers.”
Even now, I still think that might be true….


![TerrainFest 2024 Begins! Build Terrain With OnTableTop & Win A £300 Prize! [Extended!]](https://images.beastsofwar.com/2024/10/TerrainFEST-2024-Social-Media-Post-Square-225-127.jpg)


