Terrain-o-rama
Recommendations: 57
About the Project
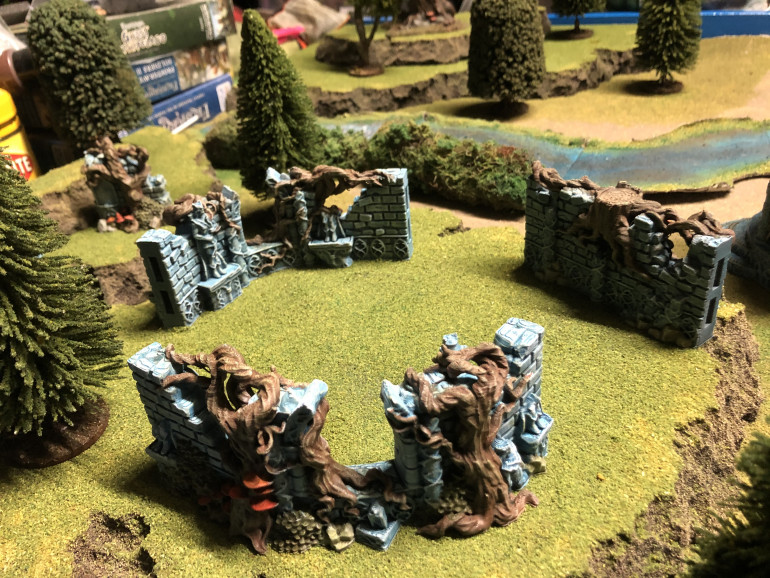
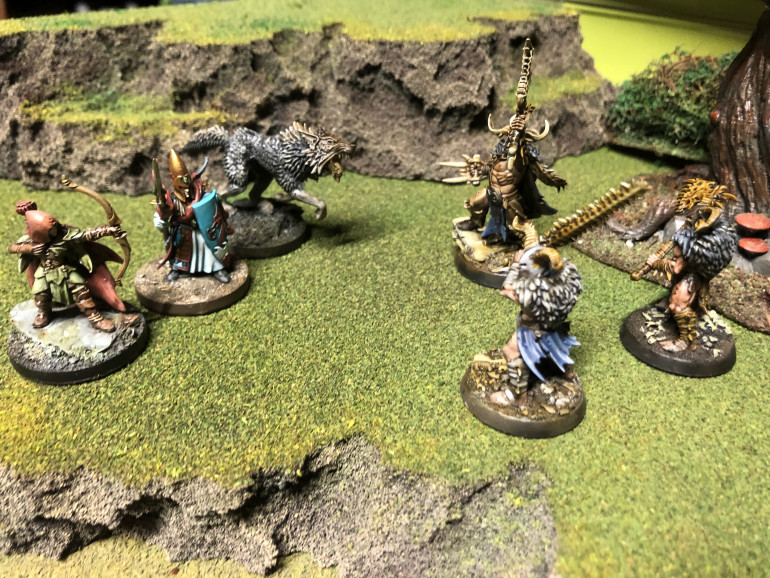
This will be a grab bag of terrain projects, mainly for fantasy skirmish games like Frostgrave. I'll have a mixture of scratch-built, kits and 3d-prints here.
Related Genre: General
This Project is Active
Foam, foam on the range...
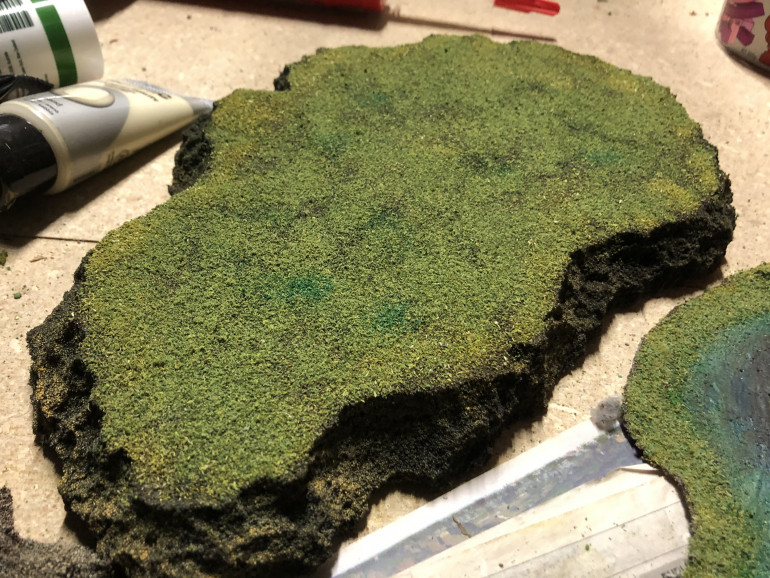
Last post was cut a little short as I hit the maximum number of bits of content allowed, so I’ll keep this quick. After flocking the hills, they came out great. A very watery PVA mix is then sprayed over the flock to seal it in and make it really last. In the case of non-colour fast flock, it also helps blend the three different colours of flock together nicely.
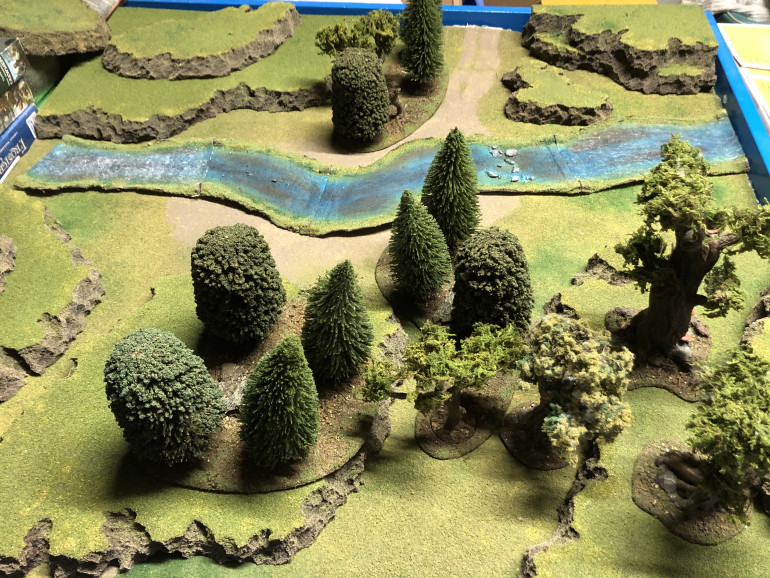
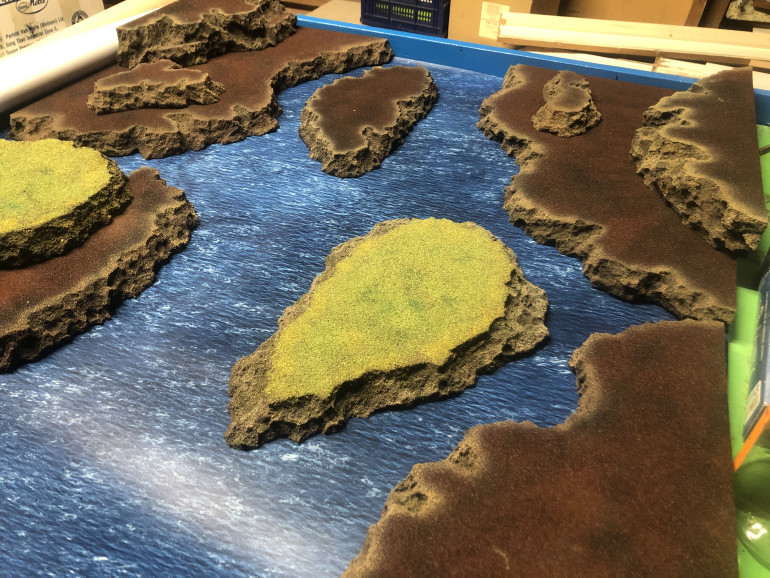
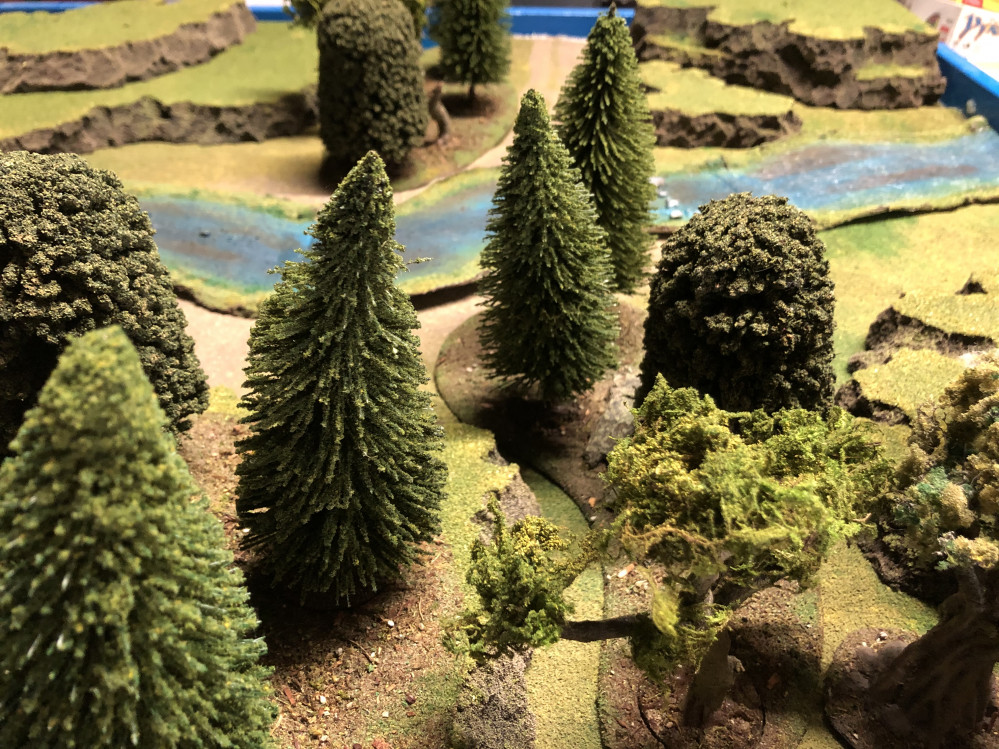
Then I enlisted my daughter (6) to help set up a table to get a feel for how it all fits together:
I’ll probably add a little foliage to the sides of the hill to break the “rock” up a little, but I’m pretty happy with how things turned out. Next up I might try something a little more ambitious – maybe a taller cliff face with tangled vines to climb, or perhaps a cave entrance that can lead to an “interior” dungeon.
Perhaps a multi-level hill with trails and steps carved into it, suitable for a ruined castle or wizard’s tower?
There's foam in them thar hills!
Ever since BoW published their pirate gaming table vlog series (three years ago now), I’ve been dead keen to build a set of foam hills. If you’re not sure what I’m on about, treat yourself to a look at this gorgeous table setup:
The foam provides a light-weight, resilient and (at least in my opinion) great looking set of hills that can easily be rearranged in a large number of ways to give different table setups.
Although the foam may seem expensive, I’ve recently come to the realisation that my terrain stays on the table for a much longer time than my soldier’s normally do, so investing a little in terrain is a no-brainer.
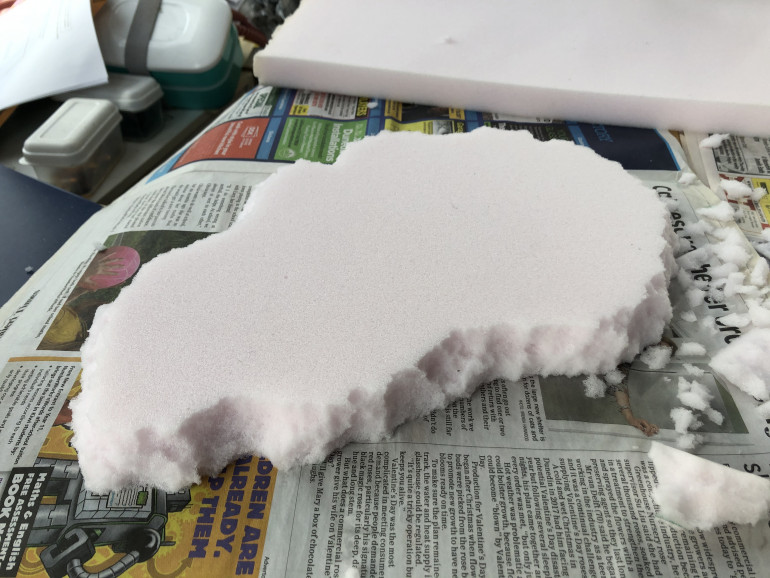
The first challenge was to find the right kind of foam – I’m still not certain I’ve got quite the same stuff as Lloyd, but the trick was to go to the shop and buy a couple of offcuts to experiment with. The main thing is that you’re looking for a firmer type of foam than you normally get in, say, cheap mattresses.
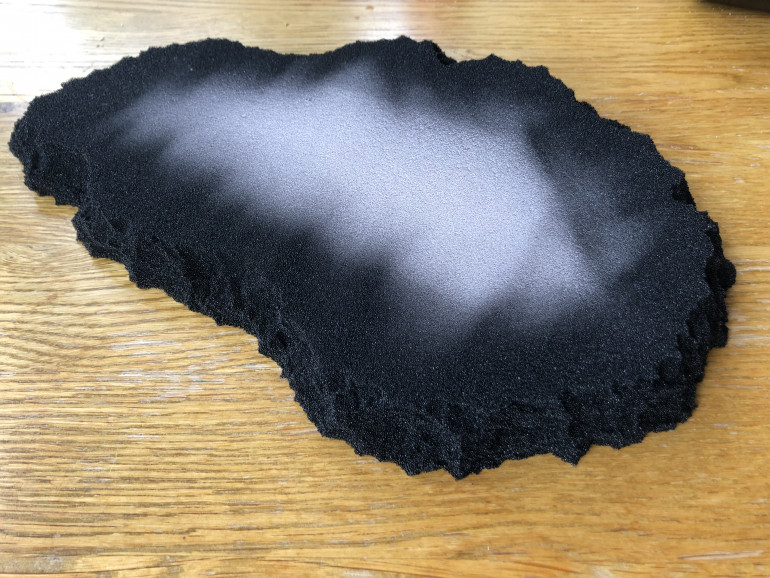 Remember to spray all the edges (including on the underside), as this helps keep the "raw" foam colour well hidden.
The plucking part is quick and fun – don’t be tentative, just get stuck in and play with it until you find shapes you’re happy with. The main thing is just to remove any straight lines and break up the shape of the edge.
Next I experimented with colours for the edges, using both an airbrush and regular brush. I wasn’t really keen on either look, but this was all about experimentation, so I pushed on, adding the pva/sand/paint mix to the top.
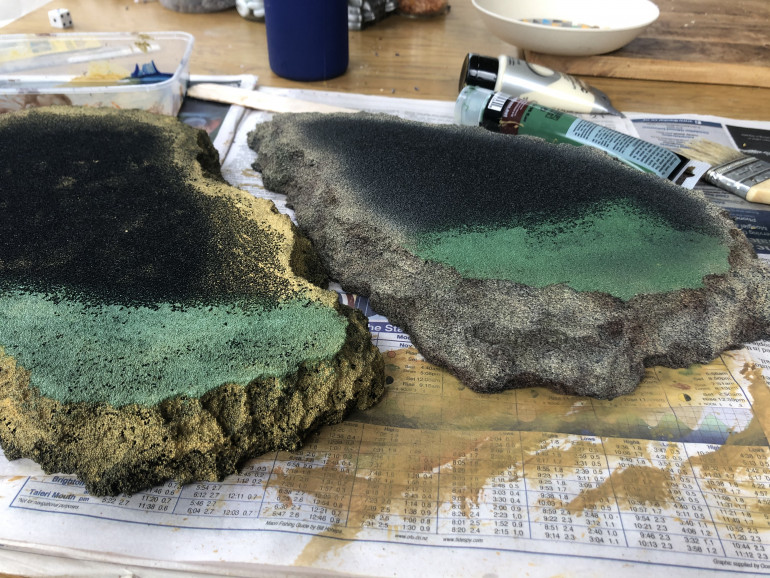 The green on top was just to get a rough idea of how the brown's own the side would mix with the flock.
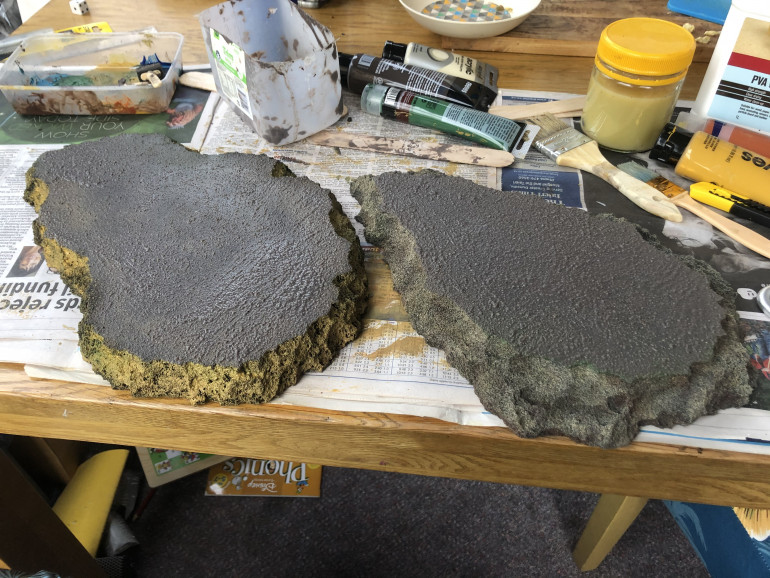 I think I had too much or too coarse a grade of sand here. I also missed the part where Lloyd added flock straight onto this layer :)
Lloyd adds flock straight to the wet top layer. I missed this in my first effort, doing it in a second (unnecessary) step. No worries, it still really comes together at this stage! I used light, mid and dark colours and tried to avoid solid clumps of flock colour.
I had learnt a lot, and was pretty happy with my first effort. So the logical next step is too do a large batch all at once! Although it may seem like there’s a lot to do here, it’s actually really quick, and you can easily do a small table’s worth over a weekend, broken up into maybe 4-5 sessions of an hour or so.


