Operation Change The FEP
Recommendations: 64
About the Project
I've had a 3d resin printer since January and have been printing minis fairly regularly with it. Recently, the quality of the minis wasn't quite what it was. Time to change the FEP....
Related Genre: Survival
This Project is Completed
What's going wrong?
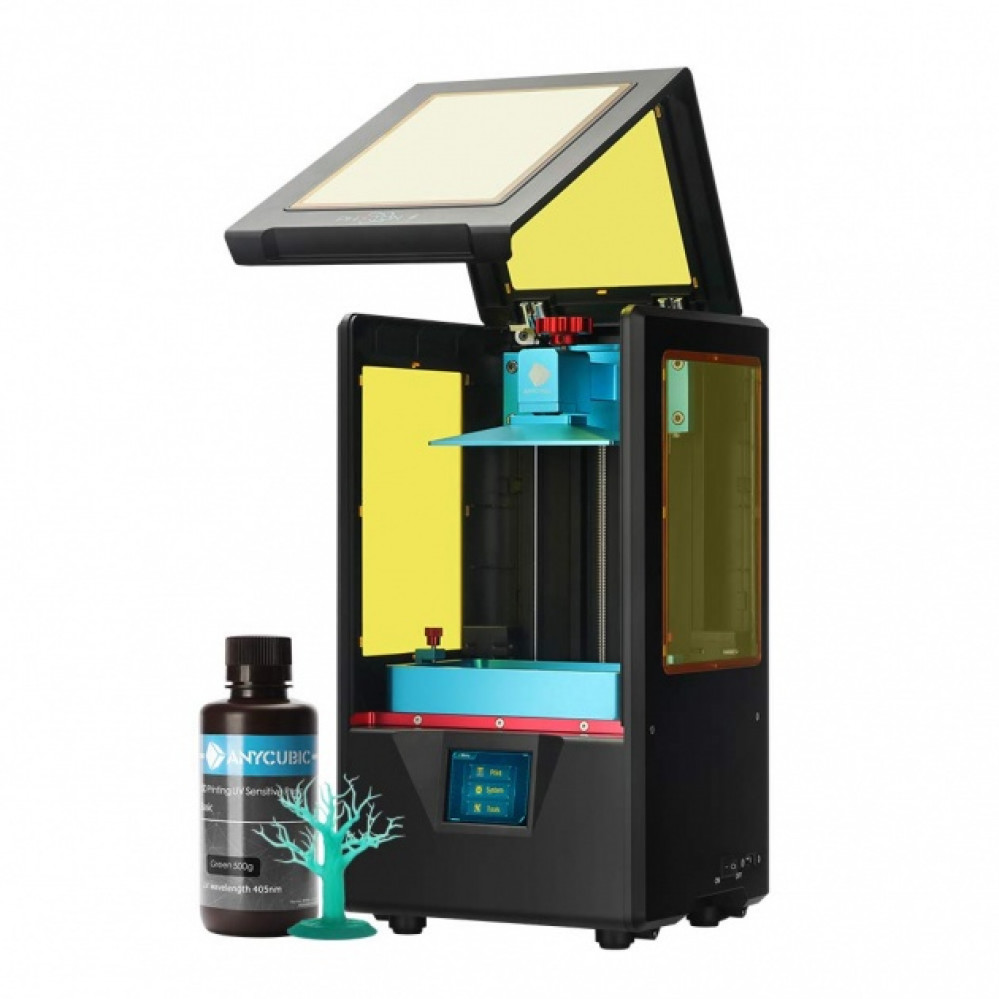
I’ve had an Anycubic Photon since January and love the little machine. It’s just awesome. It has some really good software, a crucially important file validator and produces some fantastic looking minis.
I use the printer maybe once or twice a week on average, but in recent weeks, I felt the quality of the prints just wasn’t quite what it should be.
Some of the minis came out looking just a tiny little bit over-exposed. I put this down to the change in weather (in winter, the resin was much colder and thicker) so simply reduced the exposure times by a half-second.
After doing this a few times (the temperature in my workshop, here in the UK, has gone from 13 degrees in Feb to about 28 in July) my exposure times were down from 10 sec/layer to 8. And while reducing the exposure times did help a little bit, it wasn’t long before I was being hyper critical about the print quality and changing things to try to improve them.
Then this week, the unthinkable happened.
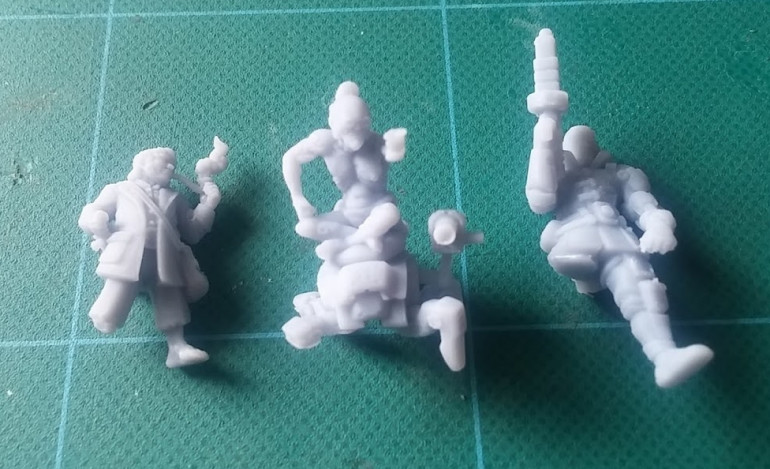
I had my first failed print. Well, it was a partial fail. But a fail all the same.
One of the things I’ve been amazed at with my little printer is that I’ve only ever had one failed print (and that was back in February when I left it running overnight and forgot to leave the heater on in the workshop and the temperature fell to about 5 degrees!). Now, I *do* spend a lot of time preparing my .stls and sliced files for printing:
Workflow is:
- import .stl into Prusa slicer – not for slicing, but for supporting. Export the model with supports as a new .stl
- import this .stl into Chitubox (along with others) and slice the entire plateful of minis. Save as .photon file
- import this file into the Anycubic File Validator app; auto fix any islands – there are almost always 10-50 layers with islands even after doing this. Manually go through each layer with islands and either remove or connect them to existing structures.
It’s worked well to date. I’ve seen reports of people having five or six failed prints on the bounce. So I know the workflow is good.
So when not one, but three minis came of the plate with mangled limbs, I knew it was time to fix it!
Making it good again
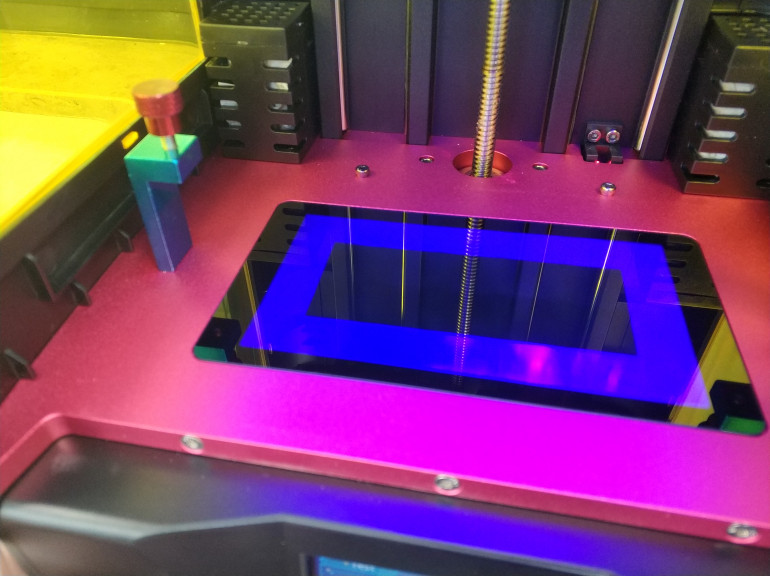
I ran the screen test pattern from the utils menu, to make sure it wasn’t a problem with my LCD screen (I’m still running the original LCD and I reckon it must be getting close to the 200 hours limit where it starts to break down and need replacing).
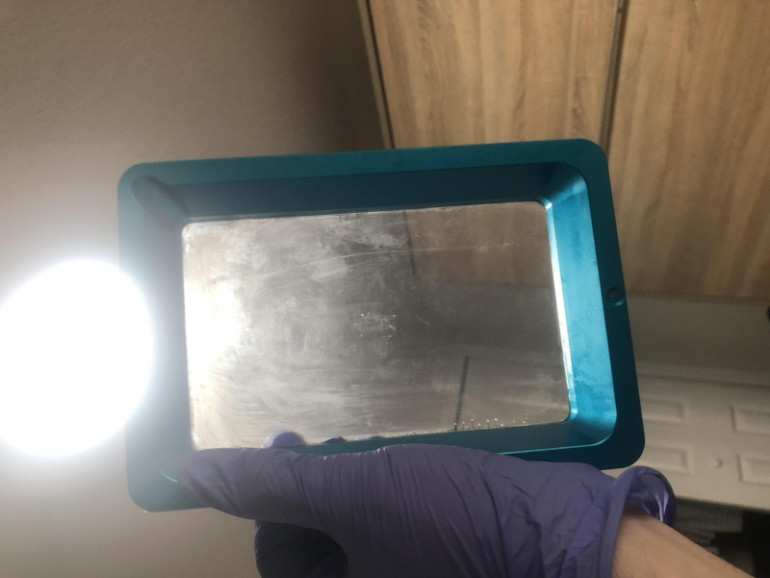
Everything looked good. I checked the FEP film.
It didn’t actually look that bad. But I decided that something had to change to make things better, and the FEP seemed like the easiest place to start.
I was quite nervous about making any changes to my printer. It’s been working brilliantly from the day I took it out of the box, and I’ve read so many horror stories about people having nothing but trouble after they changed their FEP that I was tempted to just leave things alone and live with the slightly-over-exposed finish to my minis and gluing on extra limbs as necessary – after all, it was still printing minis (three out of eight on a plate being a bit dodgy is still better than some people manage with their printers!)
But – just like toothache – I knew that sooner or later, I’d have to get it seen to. So I jumped straight in. Actually, I didn’t. I spent about an hour looking at various blog posts, watching Youtube videos, hitting the forums etc. to try to mitigate any potential mishaps before they happened….
Changing the FEP
After emptying and cleaning the VAT it was time to dig out the allen keys get stuck in. Just as there are hundreds of different Youtube videos about how to level your print plate – each with a different method, and each with the same number of people swearing it’s the only way to do it/it always leads to failed prints – there are plenty of different videos each claiming to show the best way to add a new FEP to your vat.
After watching numerous Youtube videos about it, I decided to stick to the official Anycubic method (after all, their method for levelling the bed using a piece of paper has never let me down, and they did design and build these machines after all, so why not use the methods they themselves employ at the factory?)
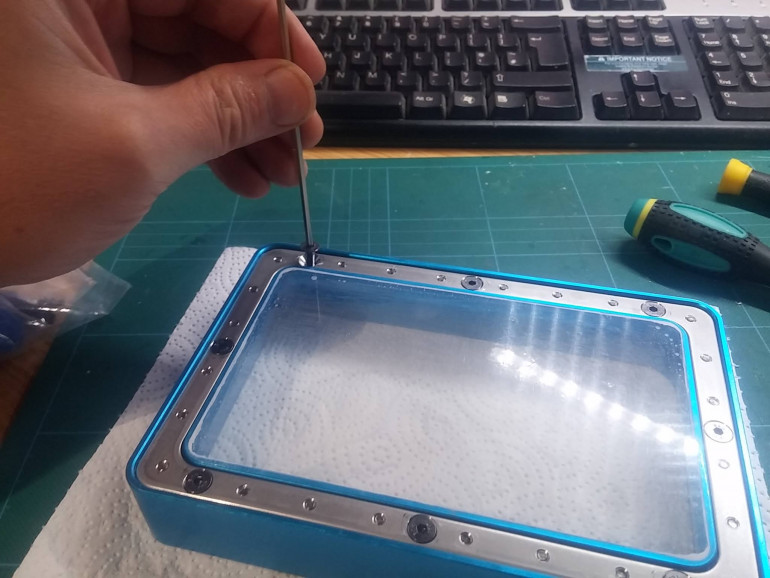
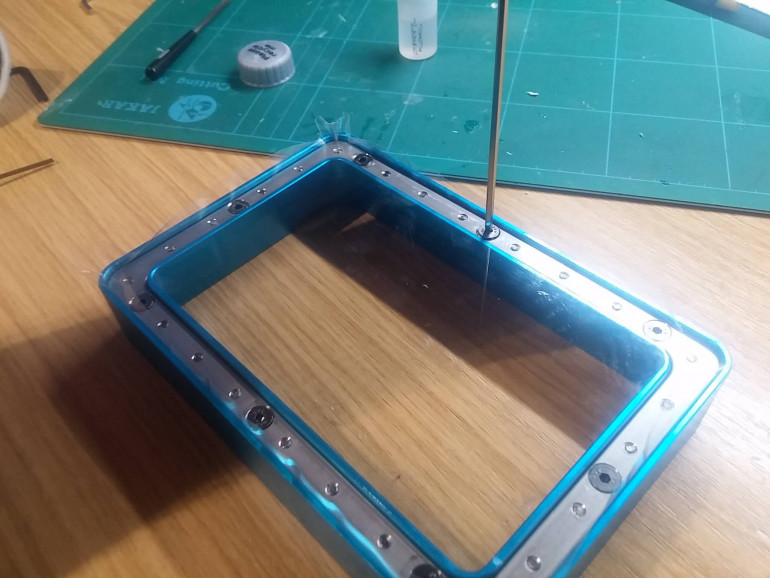
After taking the FEP holding frame off the bottom of the VAT, I had to flip it over, and remove the screws holding the two halves together. There are a lot of screws!
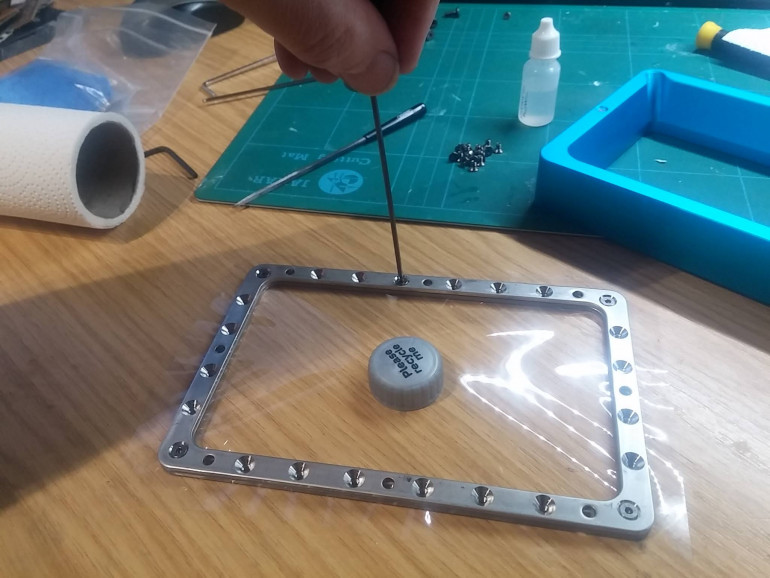
After wiping everything down with alcohol and mopping up the odd drip of resin here and there, it was simply a matter of placing the new FEP sheet between the two frame halves and tightening up all those screws again.
Except, of course, it’s not that simple. When the bottom of the VAT is screwed back on, the FEP is tightened further, so it’s important that the film has a little bit of slack in it before assembly.
The official Anycubic video guide uses a Coke bottle top as a spacer to introduce just the right amount of slack to the film. So – following their instructions to the letter – I went out and bought a bottle of Coke (the keen eyed amongst you will have noticed it’s the grey bottle cap from a Diet Coke bottle; I wasn’t prepared to just tip the drink down the drain, but at the same time, couldn’t stomach the idea of gulping down so much sugar from the “full fat” version).
With the film in the frame, it was just a matter of flipping it over and fixing once again to the bottom of the vat. I screwed each screw about half-way, tightening in a diagonal pattern (bottom left, top right, top left, bottom right, side, side, top, bottom).
After tightening up all the screws, the film made a reassuring “taught drumskin” sound. This wasn’t so scary after all….
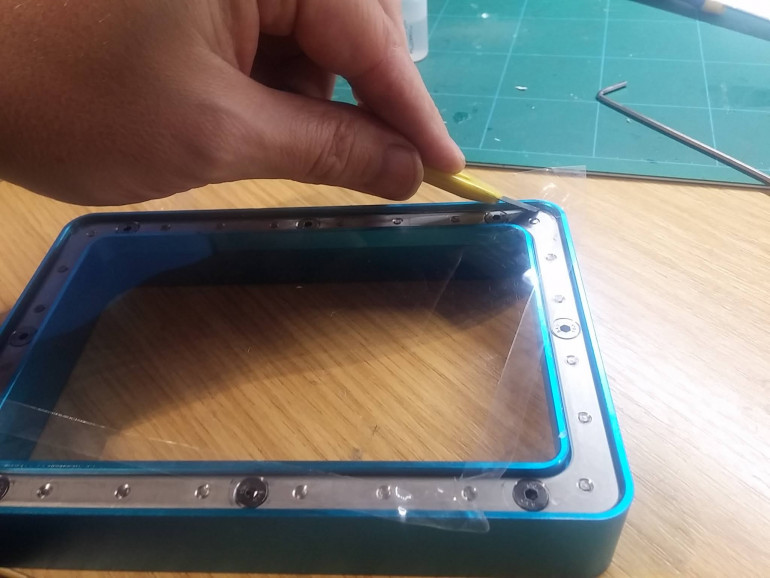
All that remained was to trim the film from around the base, reinstall the vat and try it out!
So how did we do?
I just wanted a quick test print, to make sure the prints were sticking to the bed and that I wasn’t going to get problems with bed adhesion – as so many other people have reported after changing their FEP.
So I ran a quick “base topper” print through and after twenty minutes held my breath as I took the print head off the printer….
Success! First time as well.
Now I look back, I don’t think I even re-levelled the bed; after all, I use the “paper” method, where I make the bed level to the screen without using the actual vat/FEP film (unlike the Flint-Reed method which some people swear by and some people curse at!)
But I was very impressed that something I was so nervous about doing turned out to be not very difficult at all. So I whacked a few minis onto the USB stick and left it printing overnight.
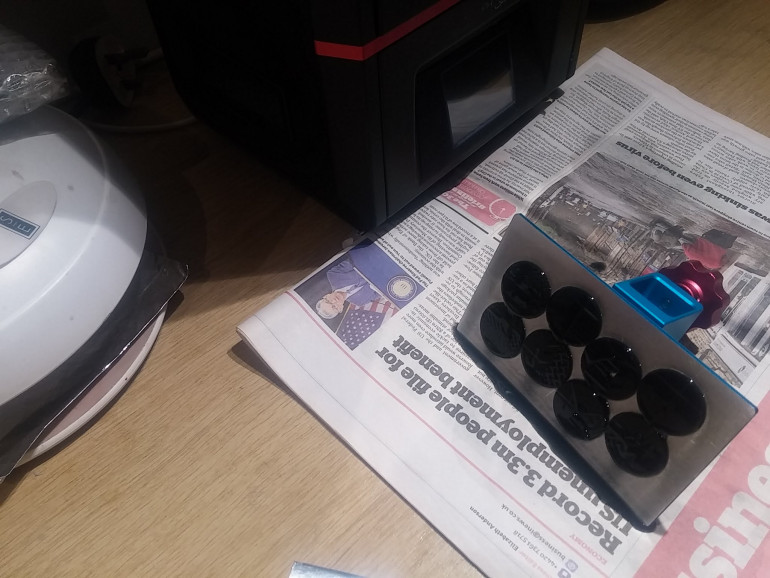
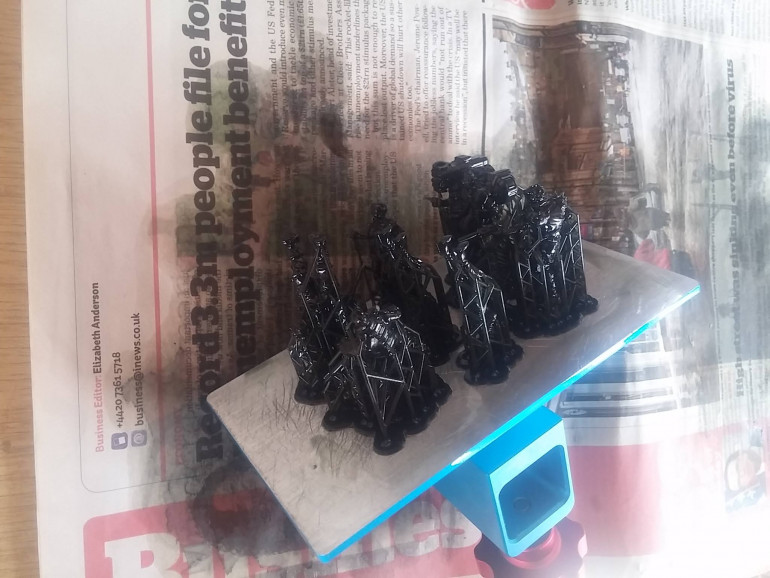
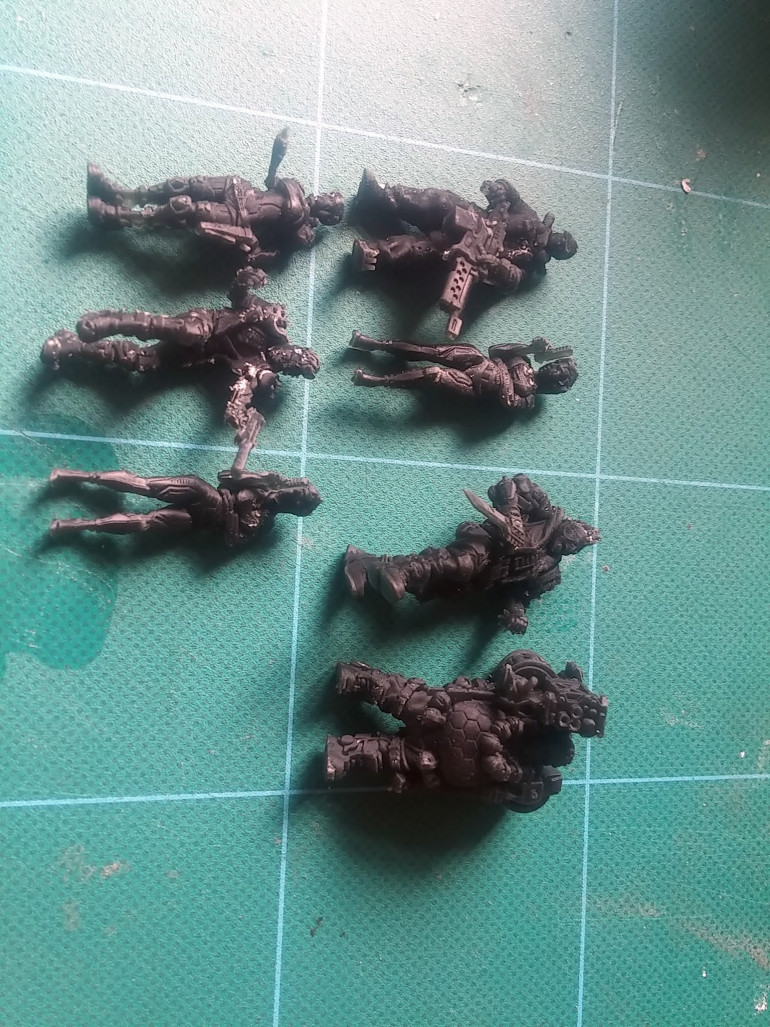
This morning, I was delighted to see seven freshly printed minis (from the Unit9 cyberpunk Patreon since you ask) waiting on the print plate.
Now I should really have only changed one thing at a time – maybe I should have kept the last few dribbles of the grey resin I’d been using, and tried to print a set of minis I’d already printed, to compare.
But I had a fresh bottle of black resin and some new minis from Unit9 downloaded, and I couldn’t resist trying them out.
The quality has come out amazingly well.
I don’t know if it’s the quality of the sculpt, the fresh FEP or that black resin just works better at 9sec/layer than grey – but the details on these little characters is just stunning.
Once again, I’m a happy bunny. And next time I need to fix something on the printer, I won’t be such a scaredy-cat about dismantling parts of it, incase it never works again.
These Anycubic Photon printers are incredible little machines. It almost makes me feel guilty for wanting to try out the mono-screened Phrozen Mini!


