Manda’s (Amachan) 3D Printing Adventures
Recommendations: 428
About the Project
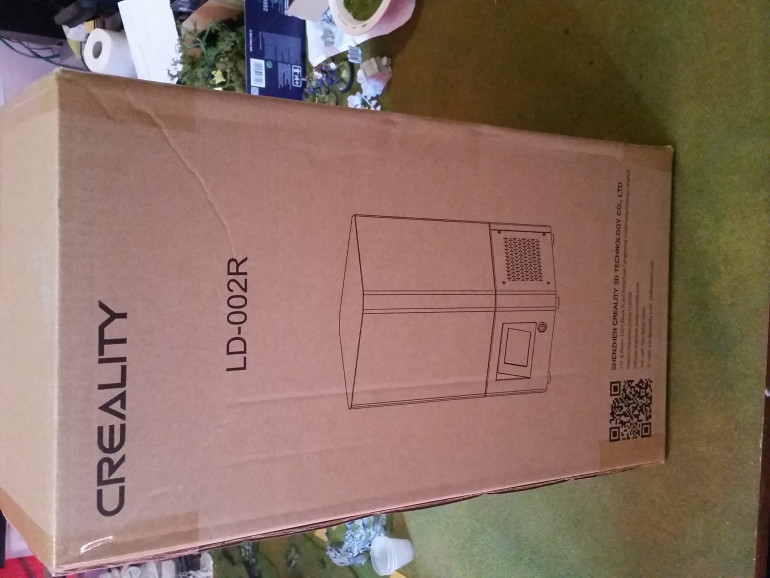
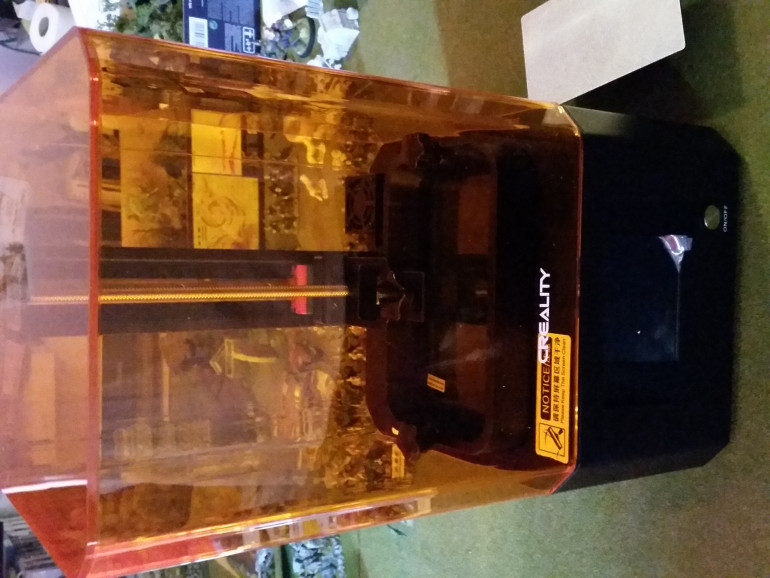
!!!NSFW Warning!!! Not everything I print will be safe for work or children or prudes or whatever. In this project I will go through my process through 3D printing and painting up whatever random weirdness I get printed that is not for a specific project. My printer is a Creality LD-002R.
Related Genre: Weird
This Project is Completed
The first tests.
I did a lot of experiments last night trying to figure out how things worked and what settings work for me. I am using a water washable resin from eSUN as getting IPA at the moment is either difficult or expensive.
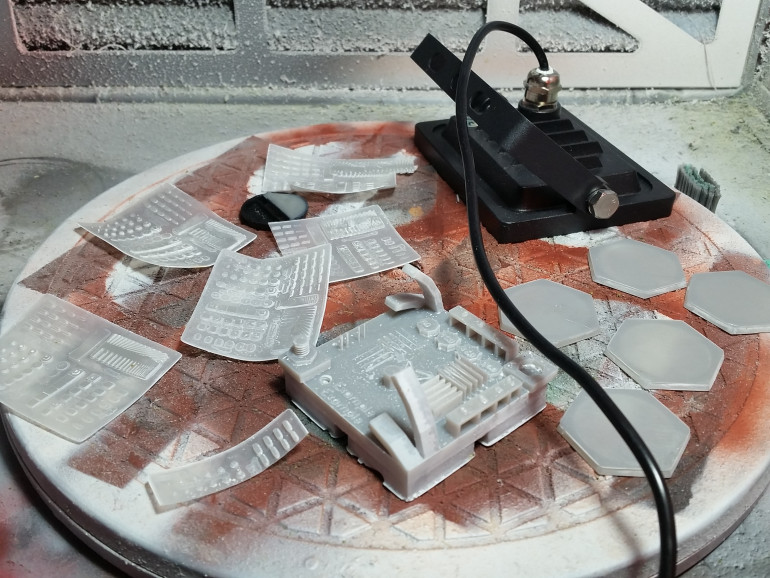
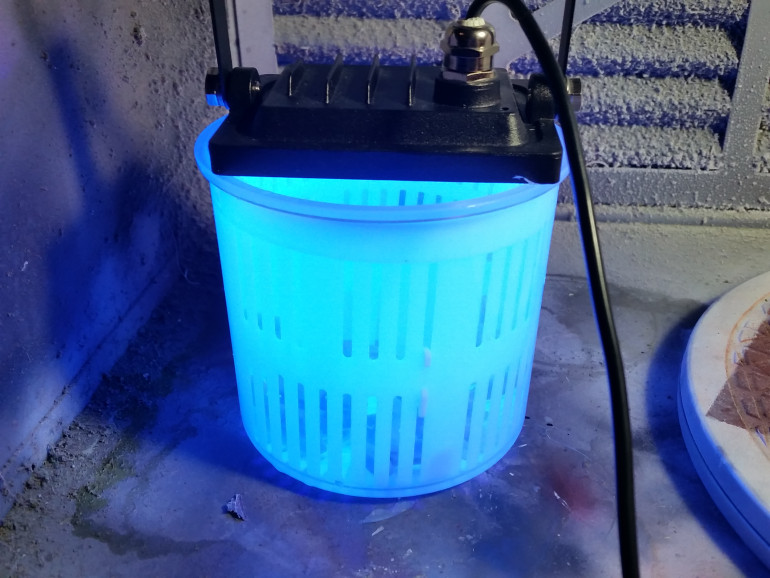
I figured out that the following cleaning and curing process works well for me. After the print I get the print off the bed and into some warm water, I agitate that around a bit and let it sit for 5-10 minutes. I then get the little basket out that I use for cleaning with the prints inside and change the water to clean cold water. I then put my UV lamp on top for roughly 10 more minutes and then let them dry in the air and they come out really clean and solid. As you can see on the hex bases for an upcoming project.
I will be printing my first miniatures today.
I got my test files from the link below. I used the “3D Printer Calibration Matrix from Thingiverse” and the “FormLab’s Formtest STL”.
My first print.
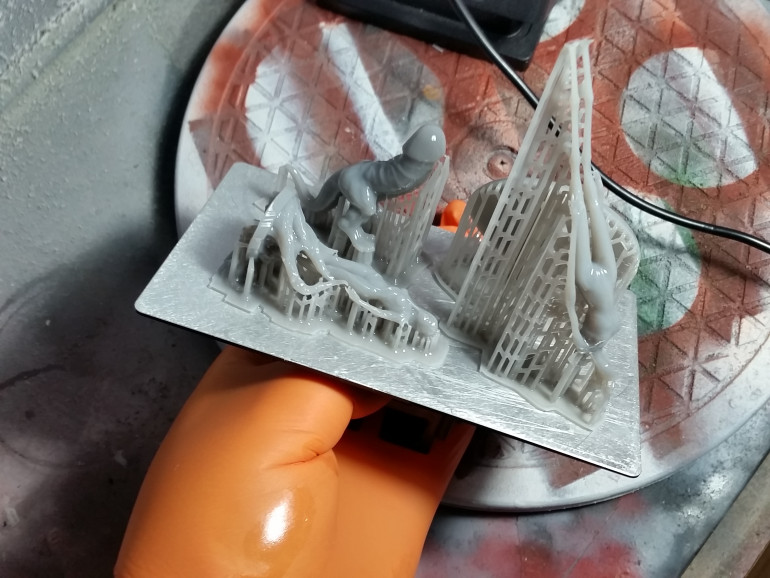
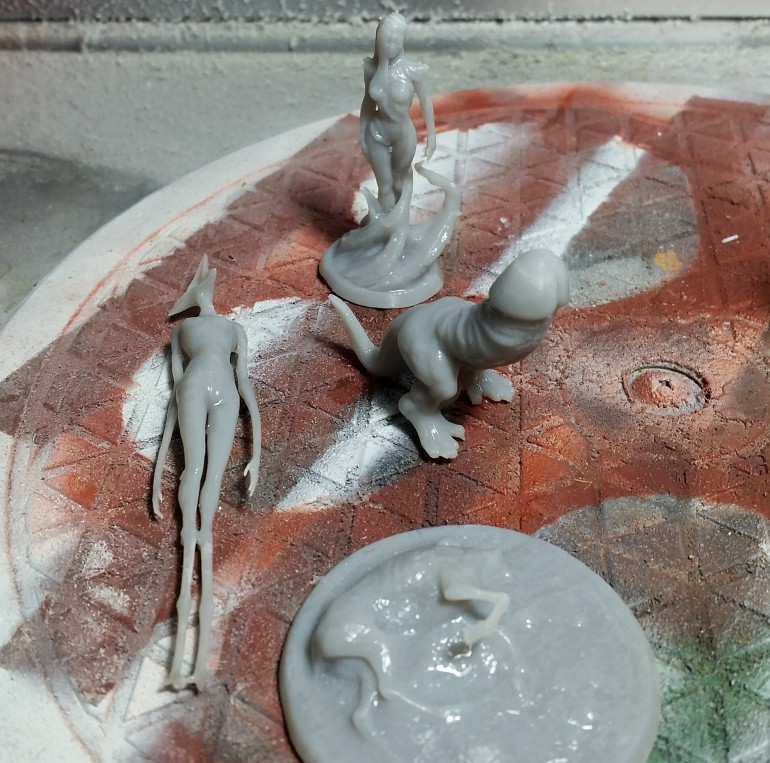
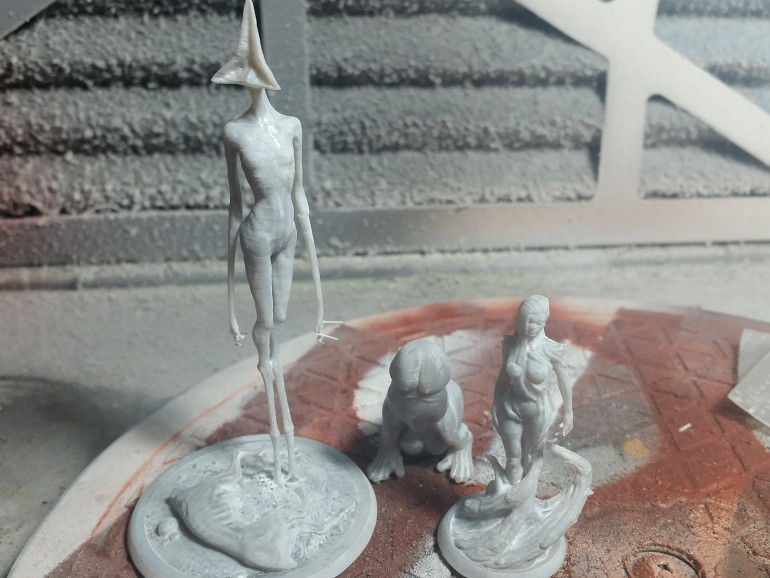
My first print involved 3 models, because why not print 3 in the time of 1.
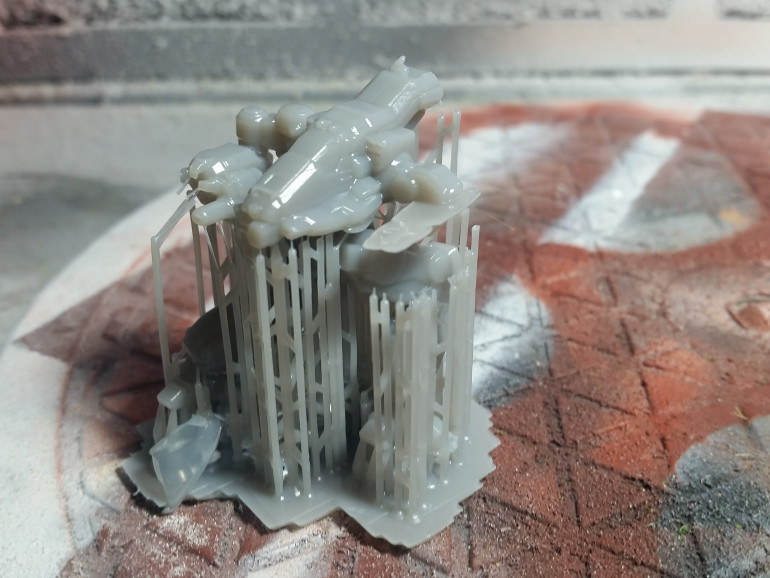
After soaking them in warm water I was able to remove most of the supports with ease. On the tall thin monster thing that is apparently called “Morning” it was a bit more of a struggle. I used the pre-supported print for that. The other two I build the supports myself and apart from the feet of the Mutunus Tutunus and the base of the Dryad everything came off really easy, I supported those bits quite heavy, a bit too heavy possibly.
I then cured them in cold water under a UV light and this is how they came out. Still wet from the water, but that won’t take too long to dry.
More prints
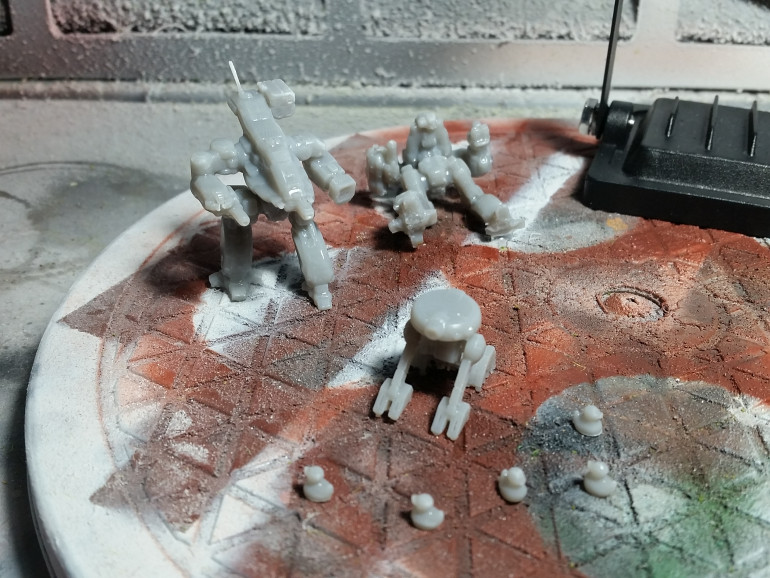
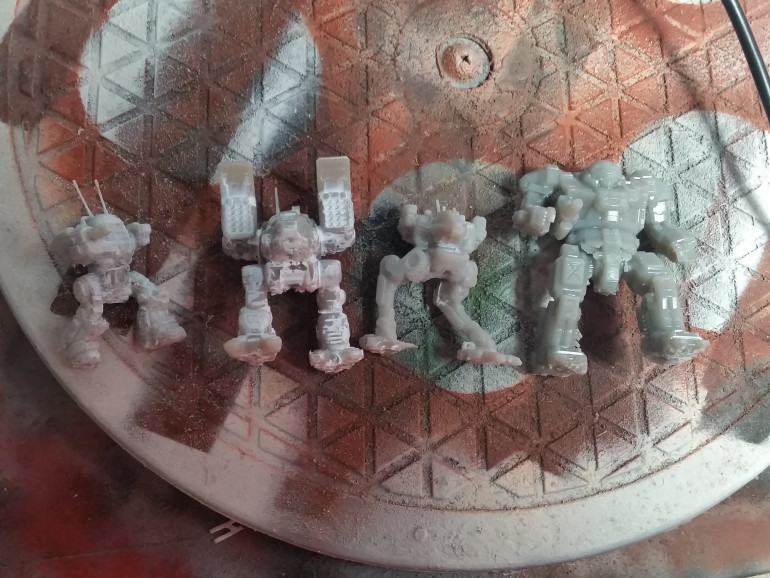
A couple more prints, 2 Bushwackers for Battletech, a T3-M4 from Star Wars and a couple of 28mm scaled rubber ducks. Unfortunately I oversupported the feet and some parts of the feet on the mechs broke off as I was trying to remove the supports. Trial & error, trial & error, I’ll get there.
I like to tell you something about the post-curing method I use. I have little tub with a basket in it. After I use it to clean the resin, I change the water to cold and clean water and put the miniatures with the basket in there. I then put my UV light on top and let it cure for a couple of minutes. I then take the basket out flip the models around and repeat once more. After that I just let them dry in the open air.
This video has taught me about water curing, what it is and why it works. I would recommend you have a look as well.
A different resolution.
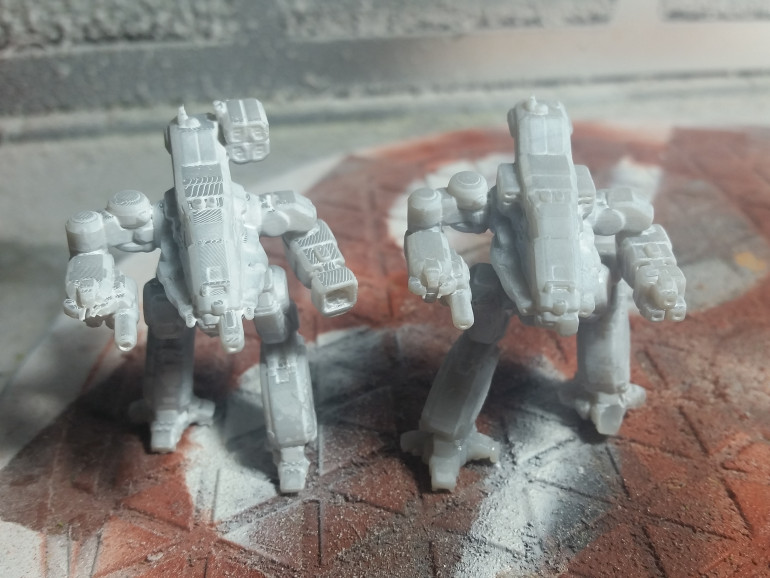
Another Bushwacker printed, this time at 20 microns (right) instead of 47 (left), makes a huge difference. I tried something different with the cleaning, getting better, but still some residue remains. Getting better at the supports though.
This time I added an additional stage to my cleaning. After soaking and agitating them in warm water and removing the supports, I cleaned the water and rubbed it in the water with a toothbrush to hopefully get a lot of this residue off. I cleaned the water again before curing.
I am using a water washable resin in case I didn’t mention that.
Residual residue.
Printed the miniatures I printed earlier again, this time with different supports and at 20 microns. I am still having this residue, it’s annoying. Is it because of the impurities in the water? Does this resin just not clean properly in water? Can I clean this resin in IPA? So yes, COVID-19 can you piss off so I can get some IPA at non-extortionate prices?
More tests.
More tests, from left to right:
Urbanmech, turpentine bath, warm water bath, remove supports, cold water with toothbrush, water curing.
Catapult, methylated spirit bath, warm water bath, remove supports, cold water with toothbrush, water curing.
Raven, warm water bath, remove supports, cold water bath, patting it dry, water curing.
Atlas, methylated spirit bath, remove supports, methylated spirit bath, air curing, making sure it had absolutely no contact with water until fully cured.
Clearly the first 2 are a no, third one is pretty good, little bit of residue left in the gaps. And the last one is the winner I believe.
My first failed print.
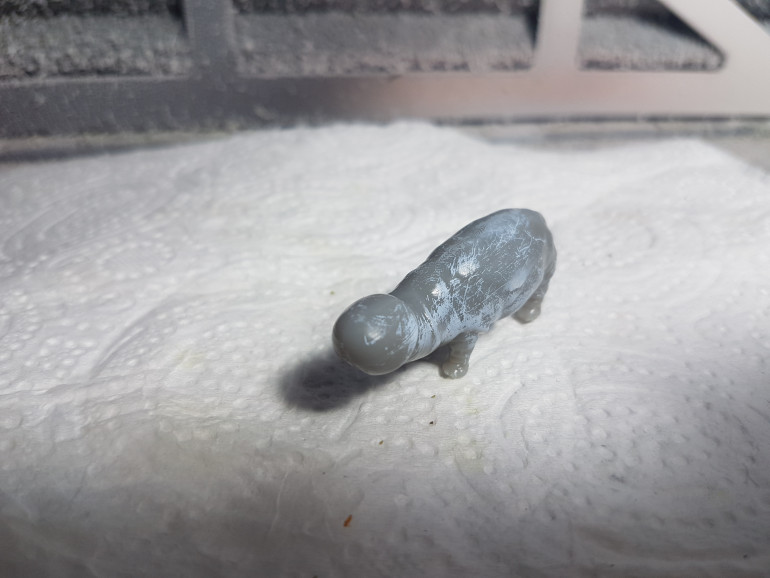
My first failed print, I know why it failed don’t worry, but instead of just tossing away the model let’s put it to some use. So I cleaned it in methylated spirits and then just let it dry in the air. When dry I water cured it and look, no residue!
Justin's Heavy Cav
Justin’s heavy cav walked off the printer yesterday. It’s the Penepotomus from Cults3D
Something Adorable
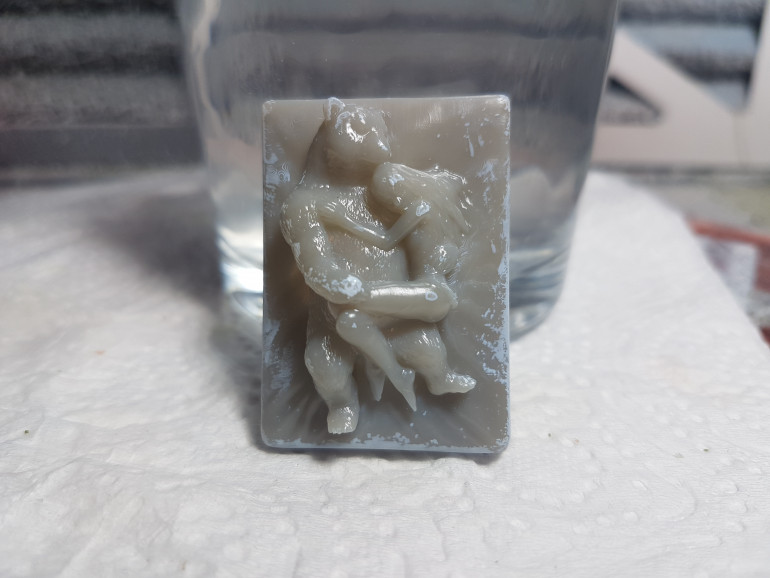
Printed something adorable today, Masha and the bear, just a girl cuddling with a bear. I just wish it wasn’t so warm so I could get some of the things I printed primed without my airbrush clogging up.
The lure of the song.
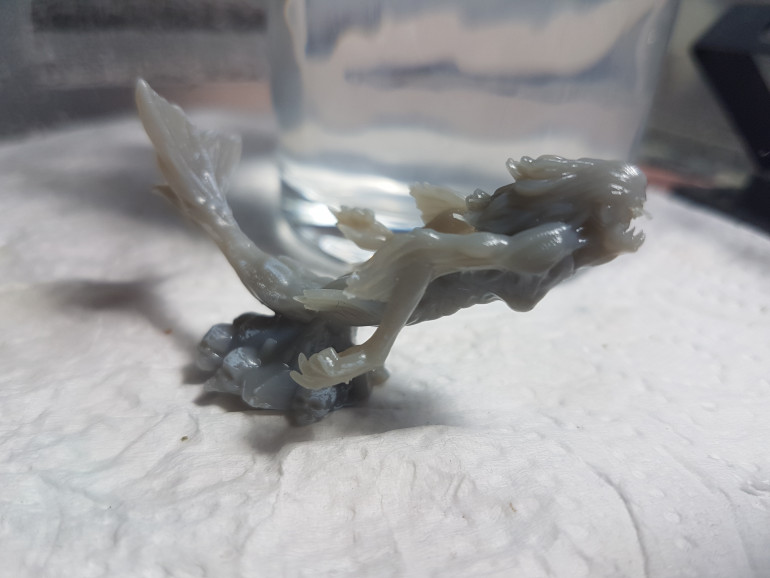
Another print, this is a “realistic” depiction of a mermaid or a siren from PrintYourMonsters. It does still need a bit of clean up with a fine sharp blade, but that will happen before I prime it, don’t worry.
PRIMER!!!!
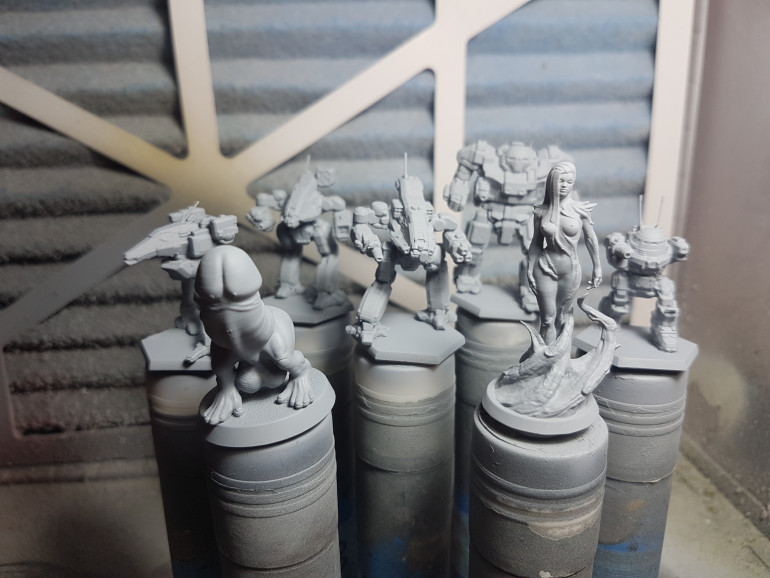
I have finally been able to put a coat of primer on some of the prints!
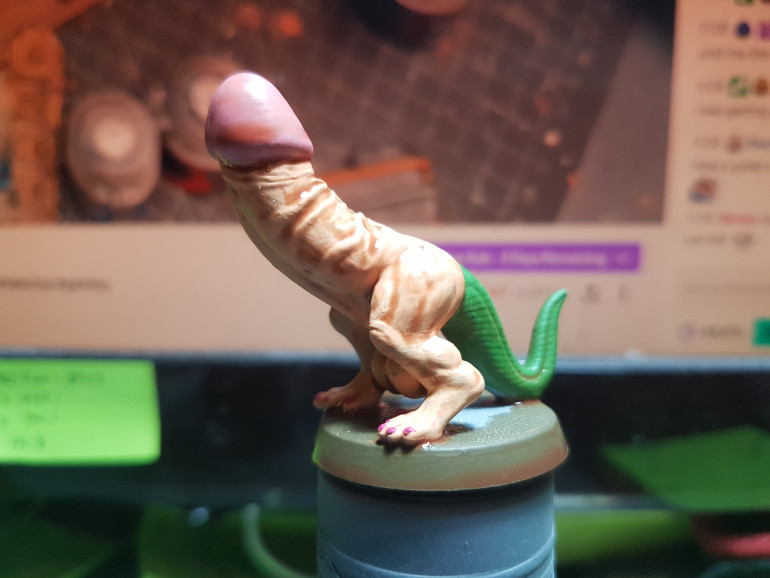
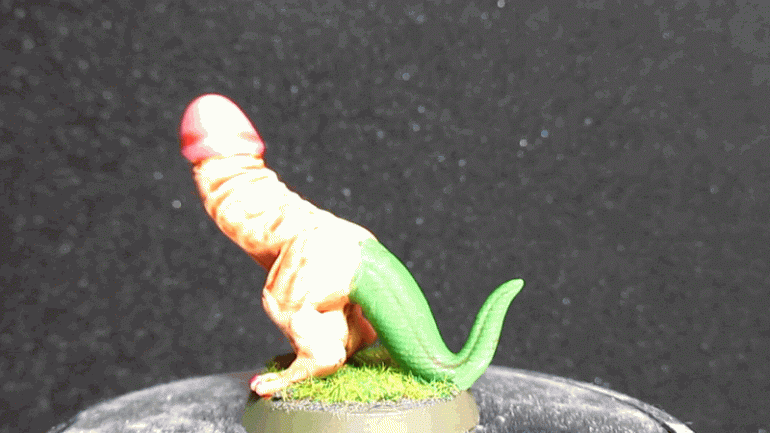
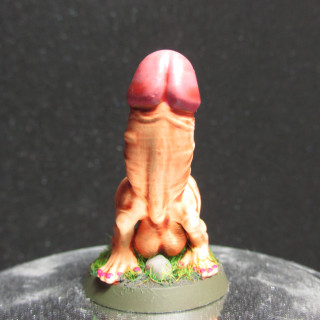
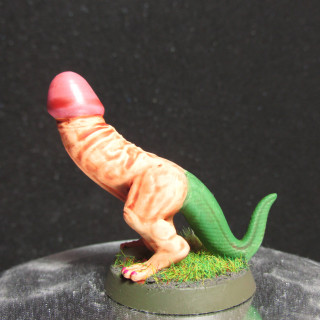
Mutunus Tutunus painted!
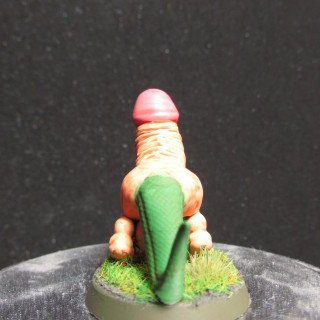
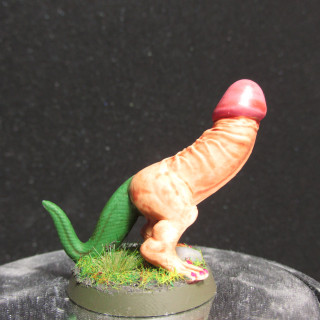
This really shows my lack of skin painting abilities, but it’s the first painted Mutunus Tutunus which we have all been waiting for since Warren gave Justin his Mutunus Tutunus army.
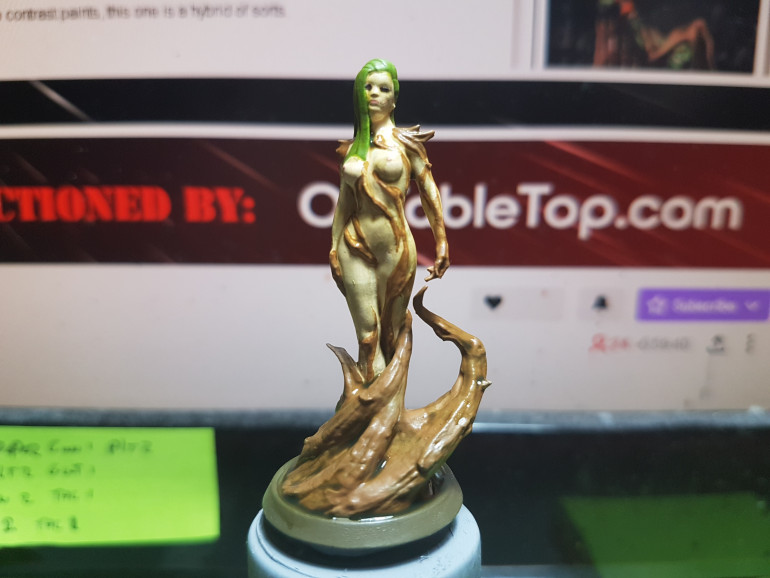
Dryad
I got the Dryad from Lord of Print painted. Not really happy with her due to the detail of the print, I’m going to blame the resin for that as I have been trying to get better detail only to lead to print failures instead.
The Mutunusest of Tutunusses or something.
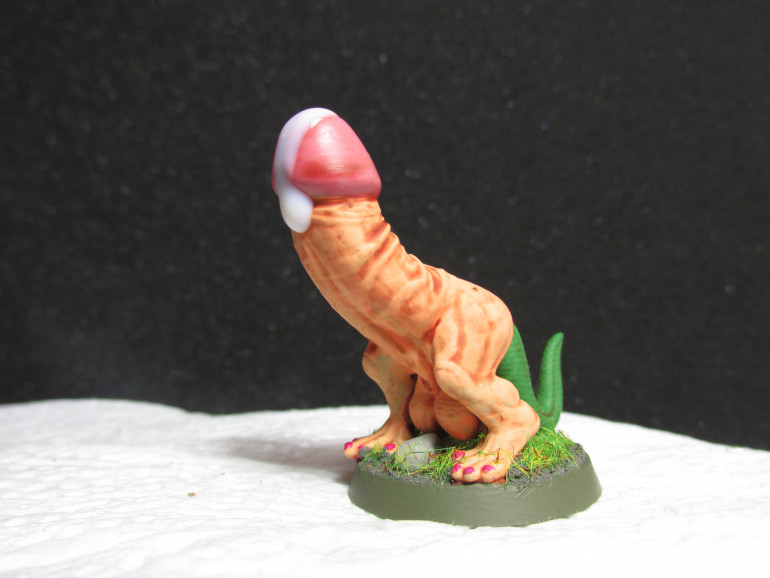
Here it is, finally, in all it’s glory, the Mutunus Tutunus! The idea of what Justin’s army could have been.
FUCK!!!
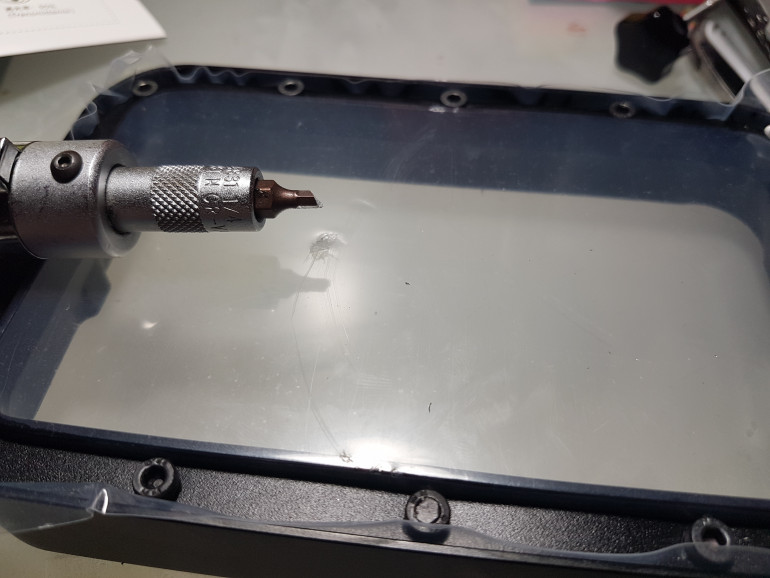
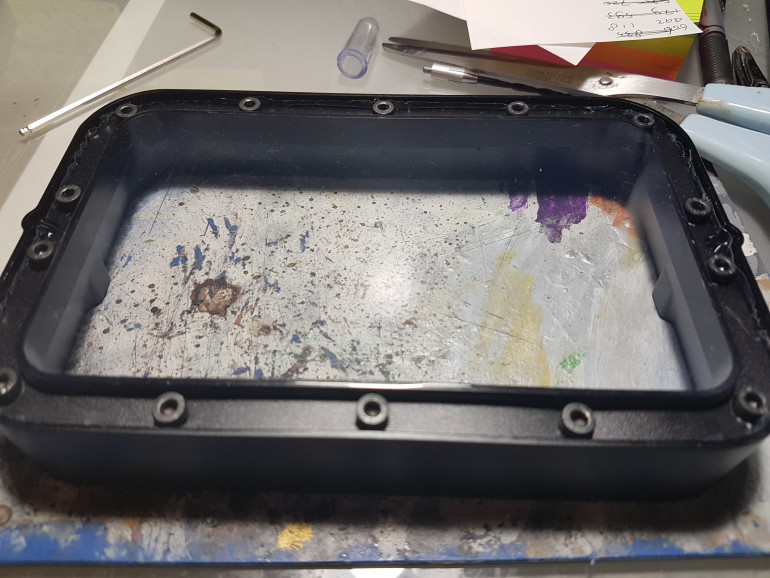
FUCK!!! Tool broke, punctured the new FEP I was installing….. Yes, I forgot the protective film, didn’t matter, went through that. So, now would be the perfect time ask, what do I look for when buying FEP screen? I need to buy a new one before I can print again.
New FEP Sheet.
New FEP sheet installed, now just waiting on the new resin to come in and then back to printing.
I bought a pack of the Monocure 3D 100 micron FEP sheets. From my understanding and research I figured out that a thinner FEP sheet will cause less light refraction and lead to cleaner prints, while a thicker one is more durable.
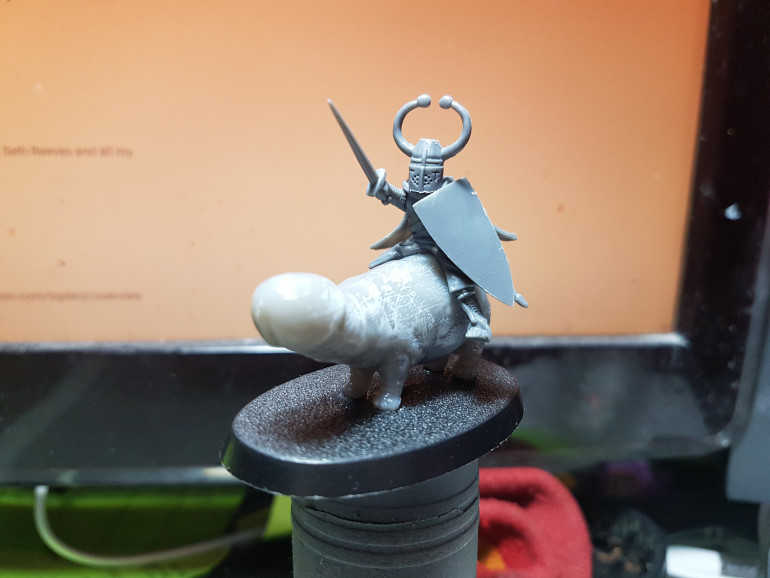
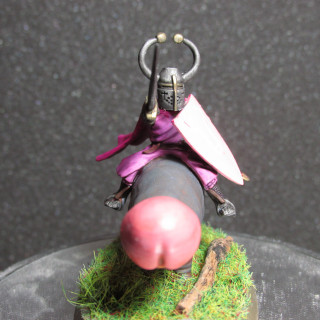
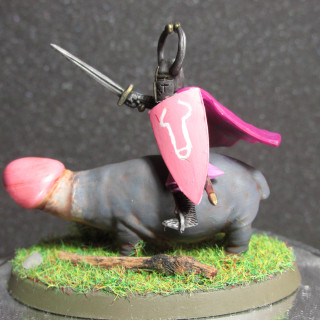
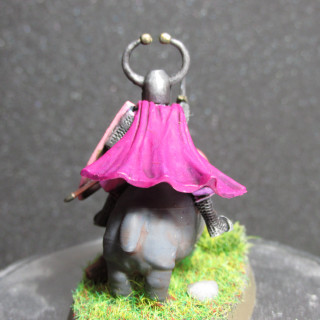
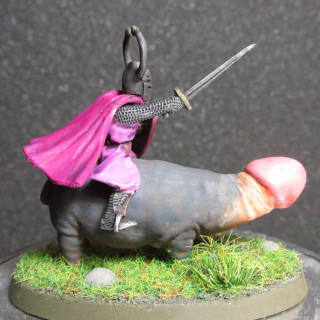
I present to you: Knight of the House Mutunus Tutunus!
I should not be allowed to execute ideas I come up with when I’m tired.
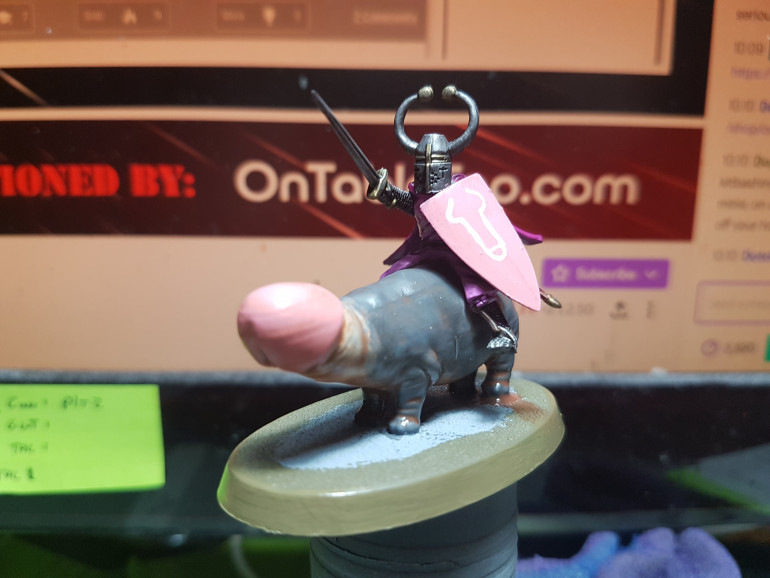
Knight of the House Mutunus Tutunus Progress.
The knight of the house Mutunus Tutunus is ready for basing and some varnishes.
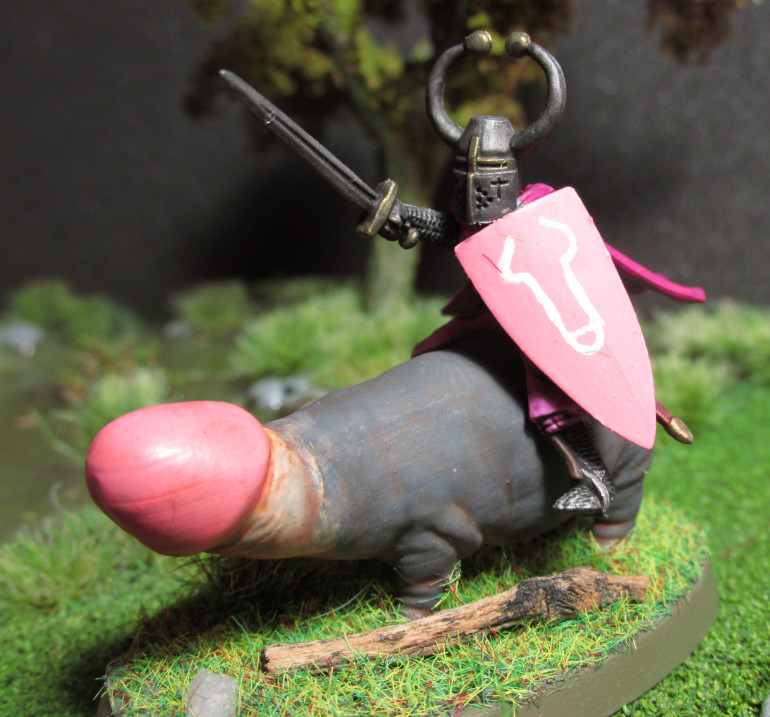
Knight of the House Mutunus Tutunus!
I present to you: the knight of the house Mutunus Tutunus! Ready for it’s first and final charge of the day!


![TerrainFest 2024 Begins! Build Terrain With OnTableTop & Win A £300 Prize! [Extended!]](https://images.beastsofwar.com/2024/10/TerrainFEST-2024-Social-Media-Post-Square-225-127.jpg)


