Lothar’s Expendables
Recommendations: 157
About the Project
Suffering during lockdown by a lack of play, I decided that it was time to get some solo play in. However, what I didn’t want to do was spend hours carefully preparing minis and terrain. I was also inspired by the underlying message of the Spring Clean challenge to pull out and use old gear. So I decided I was was going to use what I already had, dig out some old minis that needed minimal work, dust off my collection of terrain and go for it! This “project” will be a combination of showcasing my campaign, discussing any products used, occasionally showing some techniques in minor terrain scatter and set dressing.
Related Game: Rangers Of Shadow Deep
Related Genre: Fantasy
This Project is Active
Scenario 2: Review
So this was a brutally efficient mission for me, with very little risk to my team. I did roll well to be fair but the mission is quite easy (easier than no. 1). It does continue to build up your characters so that they can participate in the first campaign proper at the end of the book. It was an engaging hour and a half and I am enjoying the slick mechanics of the game.
I found a free update file for the first edition of the game published by Joe and hosted on DRIVETHRURPG that I used in the game. It adds some clarity and refinements.
https://www.drivethrurpg.com/product/298367/Rangers-of-Shadow-Deep-Rules-Update?src=also_purchased
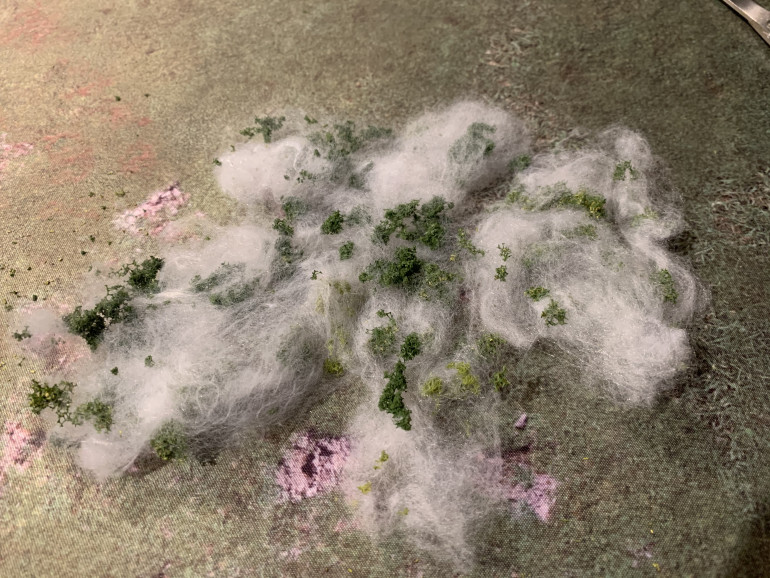
Update on the effect of Halloween webbing on clump foliage trees
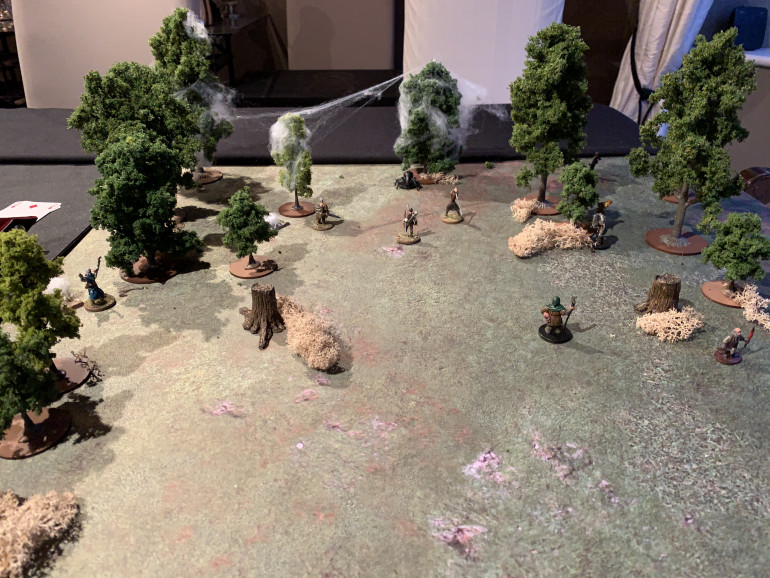
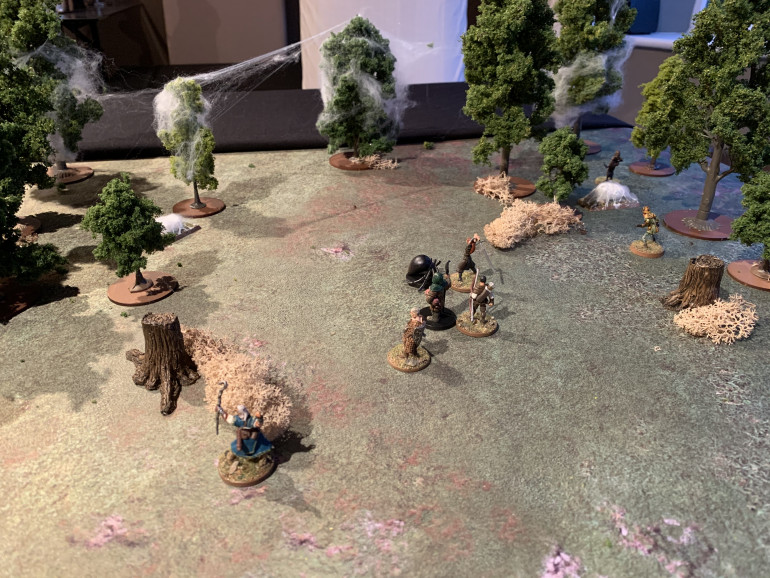
I promised a follow up on the effect of removing the webs from my 4Ground trees. As you can see it does pull free the foliage somewhat. Not disastrous but you should be aware of this and avoid using this set dressing technique if you are concerned to preserve your terrain.
Scenario 2: Round 8, 9 & 10
Round 8
Lothar, Quartermain and Squint move forward hoping to kill the spider at range.
“Let me”says Squint and despite heavy cover the archer pulls off a shot in hundred and kills it with one perfectly placed arrow.
Now the companions and survivors move to command range.
Round 9
The companions listen quietly to see if more creatures are around but silence descends on the clearing apart from the sound of Lothar cursing as he again has to rip himself free of the entangling webs.
Event: Lothar gets tangled in web but rips free.
Round 10
It looks like the rangers have completely destroyed this nest of horrors. They turn and head back to report.
XP
5 x spiders 10xp
1 x zombie. 2xp
4 x nest trees 20xp
No trees left at end 8xp
3 x survivors 30xp
Total: 70 xp
Scenario 2: Round 6 & 7
Round 6
Lothar destroys the last nest tree and his companions move within command range.
The survivors finally rejoin each other and as a team of three make their way towards the companions.
Round 7
Lothar’s men move into the centre of the clearing, whilst the villagers move to join them. Scuttling off to the left flank another monstrous spider enters the battlefield.
Scenario 2: Round 5
Lothar orders Gregori up too the next nearest cocoon, while he nears the final nest tree, brandishing a torch as he goes.
The venom zombie attacks Gibberish but missing clumsily she forces him back giving Squint a clear shot – this time the near sighted archer finds his mark and kills the unfortunate former villager. He then moves to within command range of Lothar and is rapidly joined by Slink.
Quartermain tears open the last remaining cocoon to reveal that the victim it contains has unfortunately died. He moves to join Gibberish, who is moving to protect him and Gregori.
The survivors move closer together.
Event: A ray of light beams down into the gloom of the clearing but has no effect.
Scenario 2: Round 4
Lothar quickly moves to attack the spider that has just fallen and kills it with one mighty blow. Squint moves to the nearest nest tree and sets it ablaze.
The venom zombie attacks Gregori who manages to fight it off stepping back a little to give his comrades a shot at shooting it, or room to retreat.
Quartermain frees another survivor from a cocoon.
Gregori beats a retreat from the venom zombie giving Gibberish the room she needs to move and attack it, doing 3 hp to it.
Slink moves to another nest tree and it joins the others in becoming a roaring beacon of burning webs and spiderlings.
The freed villagers unite and start looking for a way to leave for safety.
Scenario 2: Round 3
Lothar moves within striking distance of a cocoon and the first nest tree. Squint moves to engage the spider attacking Gibberish providing her with support. Gibberish takes immediate advantage killing the last spider with one blow and then moves up to join Lothar, she is followed by Squint loping along behind her.
The two freed villagers move closer to each other to provide some support if needed.
Gregori moves to the next cocoon but as he tears it open a venom zombie frees itself falling to the side and then standing to menace the inexperienced recruit.
Slink sees she cannot reach Gregori to assist in time so leaving the young one to his fate she set fire to the first nest tree she reaches.
Event: A spider drops from one of the nest trees.
Scenario 2: Round 2
Lothar gives the order and Gibberish crashes into the vanguard of the swarm killing one instantly, Lothar fights to her left flank taking another one down. Quartermain mutters a second magic bolt incantation but it also spins wild of the mark.
The last spider charges Gibberish inflicting 6 hp.
Squint takes advantage of the distraction to cut open a cocoon finding within a farmer whom he frees. Gregori likewise rips away webs to reveal a second survivor, a grumpy sick looking dwarf.
Seeing young Gregori does not need help, or babysitting, Slink covers the ground swiftly heading for the nest trees, flint and tinder in hand.
Scenario 2: Round 1
Round 1
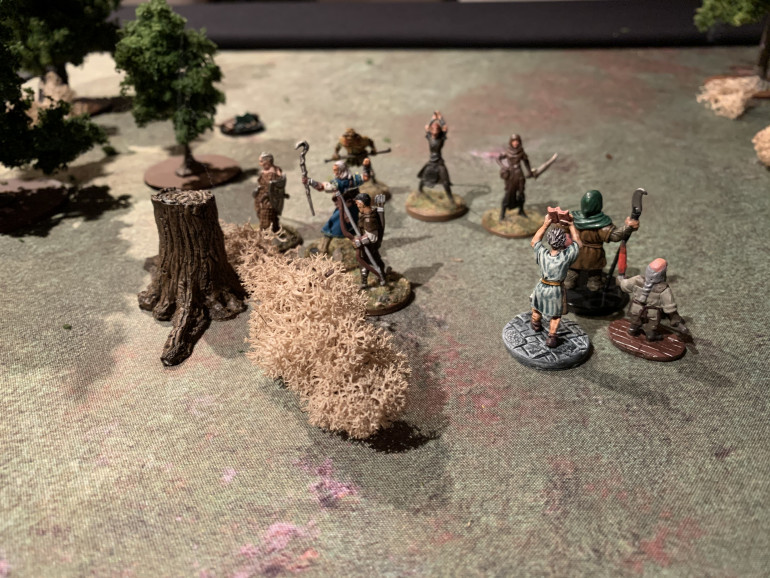
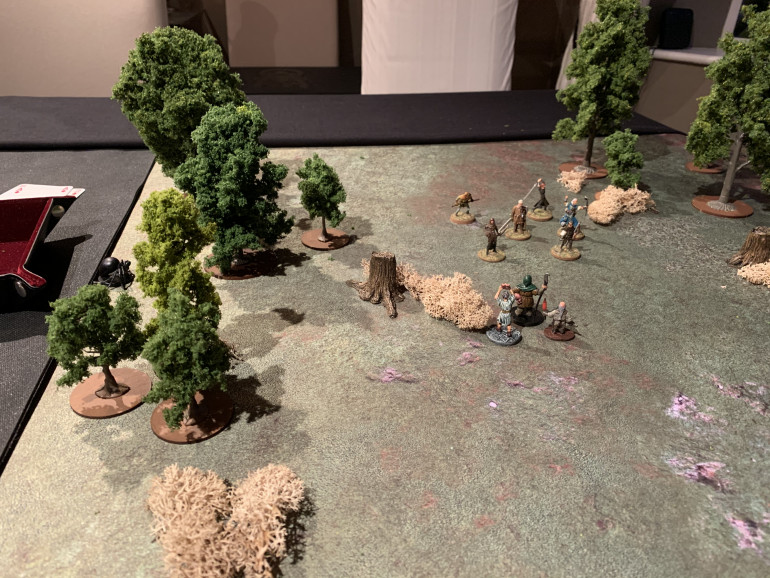
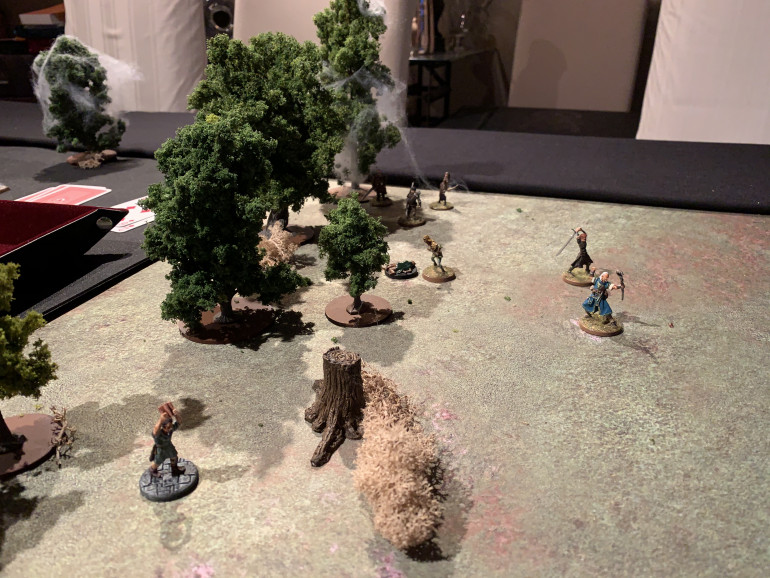
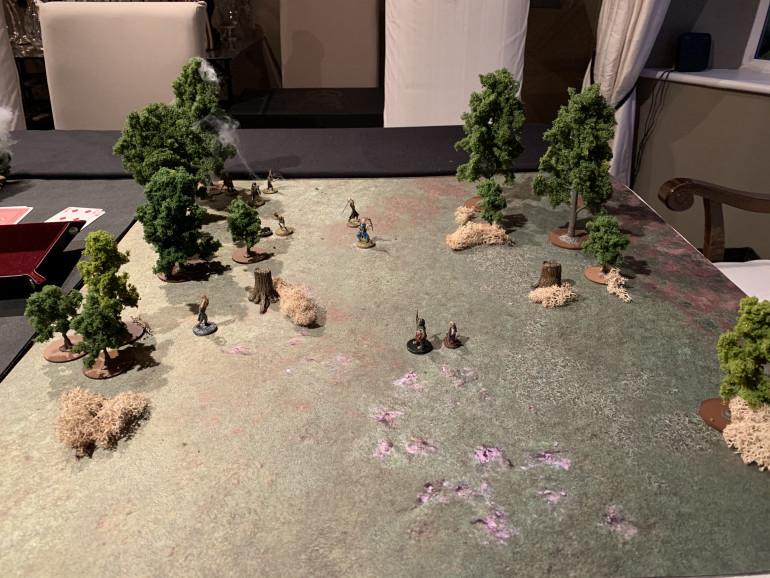
The crew makes good time, following Lothar’s unerring tracking skills, they find a clearing with four dog sized spiders in it. Behind them four nest trees quiver with more of the foul beasts.
Lothar, Squint and Quartermain head up the centre of the field. Squint lets fly with a magnificent shot from his bow but at the last second the spider he is aiming at dodges the arrow (rolls 19 vs 20). Quartermain lets loose with a magic bolt spell at the same beast but the spell fails.
Lothar grins at his companions, “let me show you how its done boys!” he boasts as he nails the spider, that both have missed, straight in the head killing it outright.
The remaining three spiders scuttle forwards closing in on Lothar’s forward party.
Gibberish roars forward past the forward party to head off the spider swarm.
Gregori moves to closest cocoon ready to search next round
Slink moves up and past him ready to assist if required or to head deeper into the webbed trees.
Event: Lothar gets tangled in webs and for a moment it looks like he will be incapacitated but the hand of fate intervenes and he frees himself.
Scenario 2: The scene is set
With Gregori finished and added to the table I am ready to start the next scenario.
The rangers make their through the woods following the tracks found by Slink in the village.
Preparing for Scenario 2: Gregori the raw recruit
My ranger had accumulated enough XP to recruit another companion. I decided to follow the events of scenario one and make that companion Gregori the young farmer that Squint rescued.
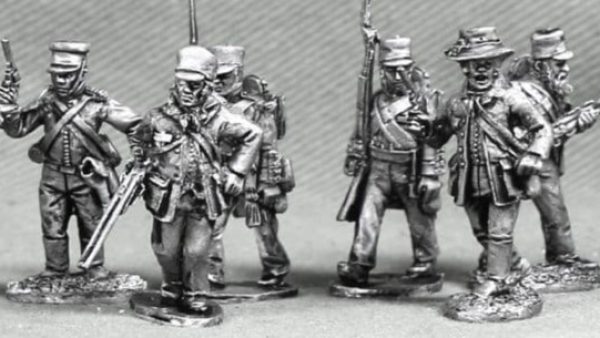
I didn’t however have a suitable miniature that met my vision of Gregori as a somewhat halfwitted fellow. I dug out this model, and painted him this morning. I used contrast paints as I wanted a quick slap of paint to the low Tabletop quality of the pre painted minis I am using.
I quite like the quality you get for a quick hour painting him up. Not bad for such a small investment of time.
The figure is from Red Box Games in the US. It is part of a lovely group of gawky looking soldiers and poor fellows. In the UK SNMstuff.co.uk stock them at reasonable prices.
Preparing for Scenario 2: Nest Trees
This is really easy. I used the 4 Grounds trees of a medium size and draped them in the Halloween spiders web.
Top Tip: If like me you have narly middle aged fingers you will find that the web sticks to your fingers making it super difficult to manipulate. Every time you move your hand away from the model the Web comes with it. The solution is to wear disposable gloves – we all have those lying around right now – right?
Now whilst I am pleased with the effect I am a little concerned that removing the web may be more difficult than putting it on, and result in taking lumps of clump foliage with it. I shall report back on this once I have played the scenario and tried to get it off.
Preparing for Scenario 2: Spider cocoons 3
The last step is to mix up some UHU glue with white ink or paint. I prefer ink as it is more intense and used liquitex titanium white. Wait15 – 20 mins until the glue/ink mix is stringy and then use a cocktail stick to dob a blob on and stretch it from the centre of the egg to the base. This is where I think using a rectangular base was accidentally better than a round base – as some of the strings end up longer than others and you get what I think is a more pleasing effect.
Lastly I used just a few strands of halloween spiders webbing to cover the outside of the egg too give a wispy effect. I waited c ten minutes for the UHU to stiffen before just draping the webbing onto the egg. It sticks like crazy to anything so you don’t need to do too much to make it stay on.
One down four more to go
Edit: Top Tip – only make up enough white UHU gunk for one cocoon at a time. Getting it all on and looking good took longer than I thought and it was getting too firm by the end. If I had tried to do more than one I think it would less successful.
Preparing for Scenario 2: Spider cocoons 2
Next I glued the wotsit onto a painted base covered in scatter (again I used Luke’s APS Ready Base patchy plains). The choice of a long base was accidental as I had a few left over and nothing to put on them but actually this proved advantageous in the next step.
Edit: the glue I recommend is super glue. I also sprayed it with an activator to fasten it quickly. I tried PVA but it took too long to dry and didn’t hold as firmly. Something in the wotsit seems to resist it.
Preparing for Scenario 2: Spider cocoons
The next scenario calls for 5 spider cocoons. I took a couple of those loose packing wossnames that look like white wotsits (an English potato snack). I cut each in half and used scissors to trim them into more of an egg like shape at the end I had severed.
Scenario 1: Aftermath and review
The scenario is designed to be an introduction to the game and it succeeds. There was one moment when I thought I had managed to lose one of the companions but realised this because I had not read the rules carefully enough and was mobbing and resolving the enemies out of sequence. I got a good haul of XP managing to complete all the major XP objectives quite easily. That said I rolled outrageously well for Quartermain’s spells – quite fitting my vision for the brilliant but erratic mage.
This is a sweet little game and I’m looking forward to Scenario 2 which I hope to run this weekend.
Scenario 1: Round 7 & 8
Round 7
Lothar descends the tower and heads for the exit of the temple fort. He can see his troop are in trouble outside but cannot reach them yet.
Slink moves to rejoin the others but is attacked by a zombie that just shambled into the village, she pushes it back.
Two zombies attack Squint, he is mauled by one very badly but fights the other off pushing it back.
Quartermain casts another of his Burning Light spells killing the zombie attacking Squint.
Gibberish kills another zombie and heads towards the temple fort to join Lothar.
Event: Nothing happens (Trigger condition not met)
Round 8
Lothar exits the temple fort and orders Gibberish into combat against the nearest zombie. She follows Lothar’s command but misses wildly. Luckily Lothar brings it down.
Slink manages to beat off her attacker long enough to slip away, as she retreats she throws her dagger at the zombie that is now chasing her, but only it catches a glancing scratch.
Thinking to relieve the pressure on Slink, Squint shoots at her attacker but again misses.
Gregori the survivor moves deeper into the forest getting ready to flee from these madmen.
Quartermain moves to be equidistant to the two closest zombies and casts one last Burning Light spell. This time however, he misses one altogether and the other is only lightly injured by his magics.
Event: Something groans inside one of the nearest buildings and it collapses – luckily no one is injured.
Scenario 1: Round 6
Round 6
Lothar finds a body at the top of the temple tower – he has found the missing ranger Aventine, he recovers Aventine’s sword and instantly recognises it as magical.
Looking out of the window Slink can see that going back the way she came will take her straight into an oncoming wave of walking corpses. Instead she jumps out of the first floor window of the inn and lands acrobatically. She contemplates moving around to the left to rejoin the party but the shambling zombies now heading into the village from that direction have cut off that route, she would have to fight past them at a pinch point. Instead she heads in the other direction, where there is more space to outflank the growing numbers of undead.
Gibberish and Quartermain rush to the aid of Squint as two shamblers make their way towards him.
Squint starts retreating towards his friends but is cut off by more zombies flooding in from another flank. It now looks like Squint will end up overwhelmed, especially as yet more of the creatures wander into the village attracted by the commotion.
Event: Four zombies shamble in from all four roads
Scenario 1: Round 5
Round 5
Lothar enters the tower and climbs the ladder to the first floor.
Slink climbs the stairs of the inn and searches a chest – finding strange scrabbling tracks which she is sure she recognises as those of a giant spider.
Squint searches the bushes outside the inn and finds a Stash of Dremlocke weed.
Quartermain and Gibberish position themselves to defend against the incoming tide of undead.
Event: Four more zombies shamble into the village – two from each of two sides
Scenario 1: Round 4
Round 4
Lothar moves to the temple fort door, finding it locked he kicks it in.
Slink kills the giant rat and finally enters the silent inn, reaching the bottom of the stairs.
Squint moves back to the inn determined to search for more clues, Gregori the survivor tags along behind him for protection.
The zombie attacking Gibberish renews its attack but this time is slain by the savage, who, seeing the waves of zombie heading their way from the surrounding fields, moves back towards the town square looking to rejoin Quartermain.
Quartermain casts another Burning Light spell and kills the zombie he has disturbed. He moves to the town square to link up with Gibberish
Event: It becomes obvious that the rats and zombies all bear an infection which will be bad news for anyone becoming severely injured through this fight.