Answering the Call to Arms (Elder Scrolls)
Recommendations: 116
About the Project
Project logging my progress through Mophidius' The Elder Scrolls: Call To Arms miniatures game.
Related Game: The Elder Scrolls: Call To Arms
Related Genre: Fantasy
This Project is Active
You are brave, Bahlaan hokoron. Your defeat brings me honor!
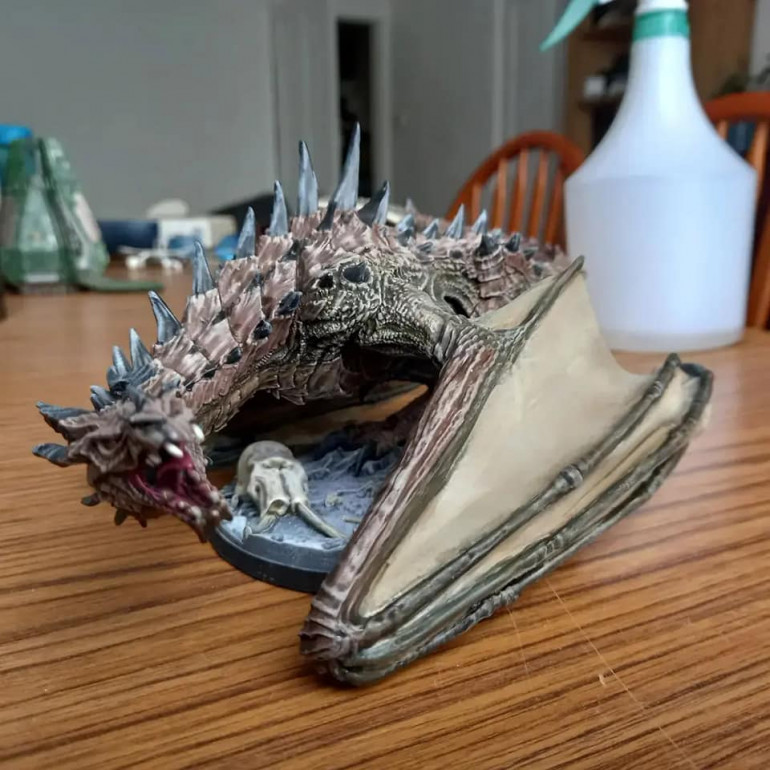
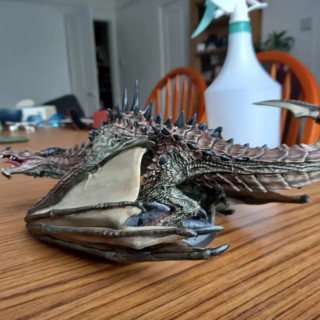
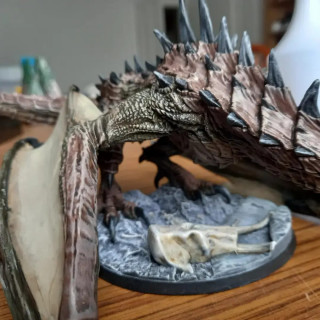
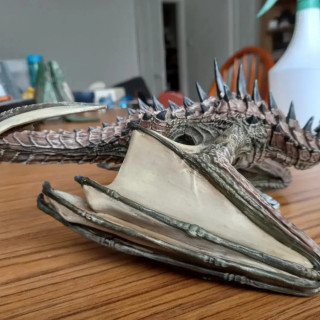
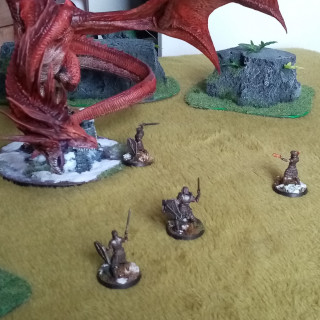
So Almost a year ago, i ordered Mirmulnir from Modiphius. Then proceeded several months of trying to paint it, stripping it, getting annoyed at it, trying to paint again, and so on and so on.
Then i spotted that the Duncan Rhodes painting academy had a tutorial for him, so i signed up, made sure i had the paints required, and followed it.
Wing membranes could be improved. Didnt help that i had already assembed it prior to painting, although was still separate from the base.
Overall fantastic model…but i dont want to paint another anytime soon.
Pt 8: Until next time!
Hi again. So this will be my last post on the project for now, as I have now completed everything that I ordered on release. This project will pick up again, when more models are released, or I buy some terrain for the game.
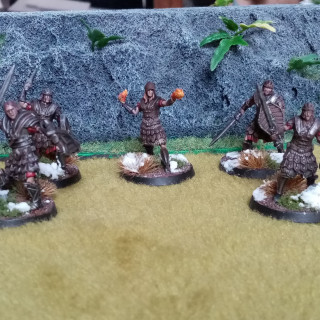
But anyway, I have completed the bases now, added some grass tufts and some thicker scatter (the kind you use to do trees with) and then finally added the snow using the Bicarbonate Soda & PVA method.
I’m very happy with how these have all turned out and I’m looking foward to playing some games with them, and adding to the collection.
Thankyou for taking the time to read this project. Hope you enjoy the images below, apologies for any bad quality images.
Pt 7: For the Empire!
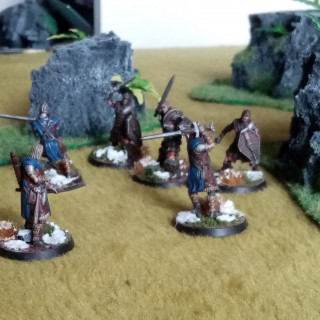
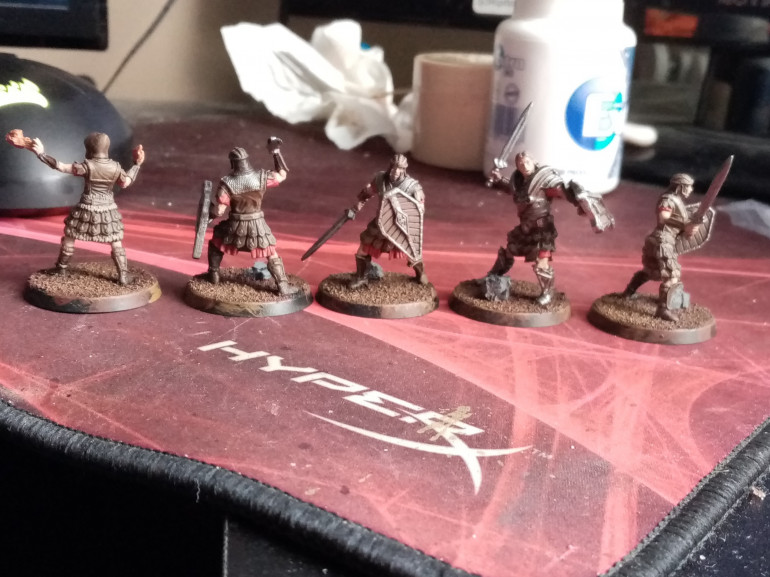
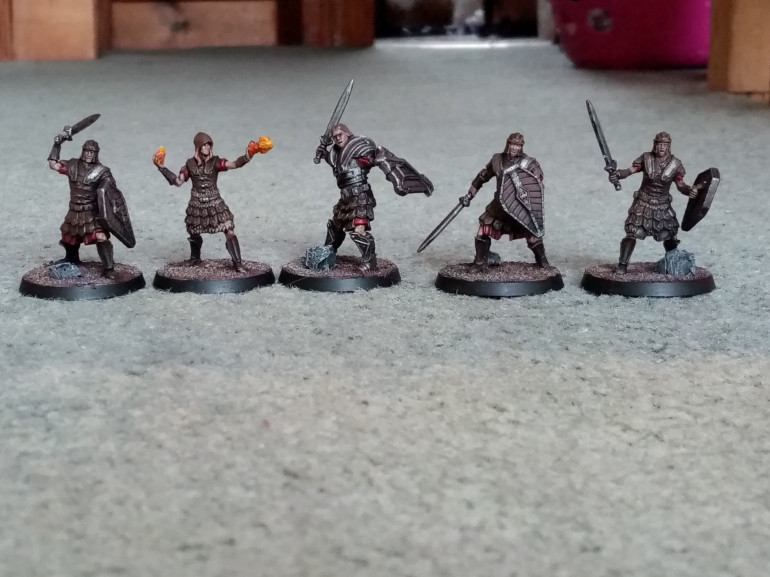
So a quick update this time, I’ve finished the Imperials. Found these the easiest to paint, but then again, i went for a quick simple scheme.
First off, the models were based using Rhinox Hide, before dryrbushing with Mournfang Brown and then Steel Legion Drab, looking back now however, I feel i could have skipped the Mournfang Brown.
Then i blocked in the details.
– Leadbelcher for the metallics
-Mephiston Red for some of the skirts and sleeves
-Baneblade Brown for any furs
Gorthor Brown for the shields, and any other brown areas that i wanted to stand out a little bit.
-Finally the flesh was based using Bugman’s Glow, then layered with Kislev Flesh
The final step was to cover the lot in Nuln Oil, before doing a small bit of highlighting using the original colours, before tidying up the base.
Overall, I’m fairly happy with these. The final step to these will be to finish of the bases, which will be my next and final (for now) post.
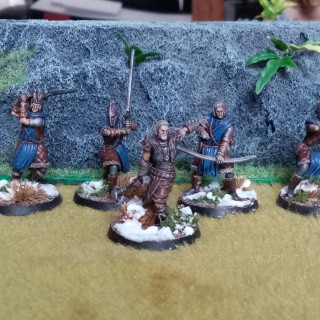
Pt 6: So why did you join the Stormcloaks?
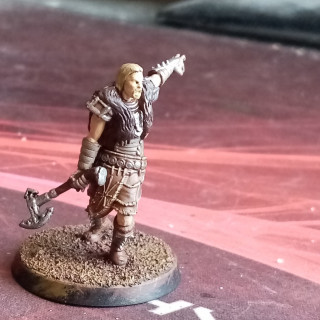
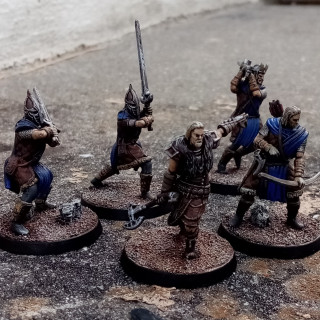
Have now finished the stormcloaks, I’m not as happy with these as I am with my other work so far, so i think I’ll return to them at some point, but they will do for now.
They were based in Mournfang Brown, and then all the details were coloured in.
Macragge Blue for the robes.
Leadbelcher for metal.
Zandri dust for furs and fur trim.
Mechanicus Standard Grey for the legs and shoes.
Brass Scorpion for the banding around the lower arms and lower legs
Once that was done, the next step was a wash of Nuln Oil, before all the colours being highlighted with the original colour that was used on them.
I also highlighed any steel areas with Grey Knights steel, which as a kind of bluish tint to it. This is because I wanted the Stormcloaks weapons to look like they have been made from Skyforge Steel in Whiterun. In the game, i dont think Skyforge Steel and regular steel look that different, but i thought it would be nice to make it a litle different. As i said im not as happy with these ones as the others, but they will do for now.
Pt 5: Fus Ro Dah! (Force, Balance, Push)
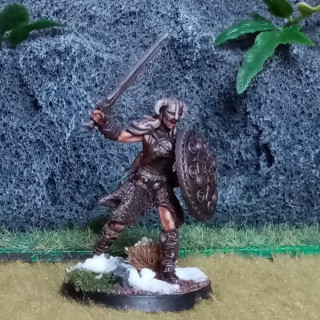
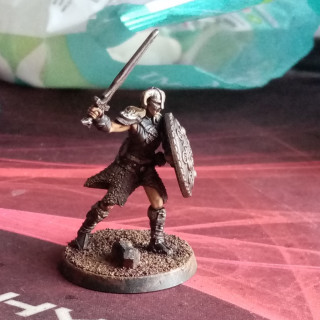
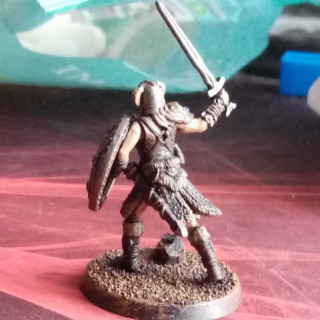
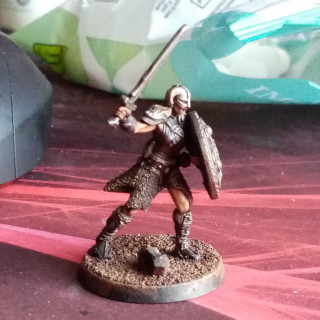
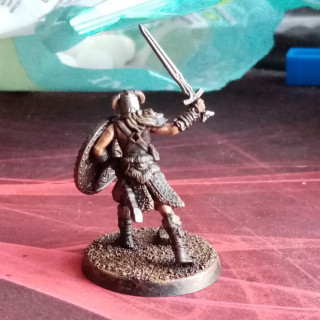
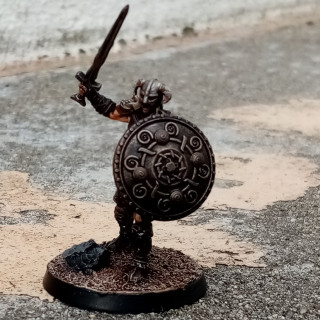
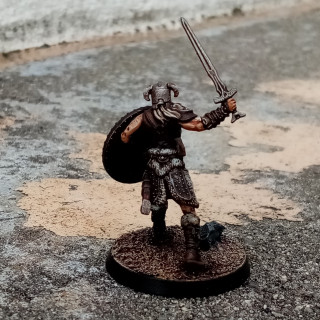
The final model of the Bleak Falls Barrow set was the Dragonborn. I’de already painted the promo a few months ago, and decided to use the same colour scheme for this one.
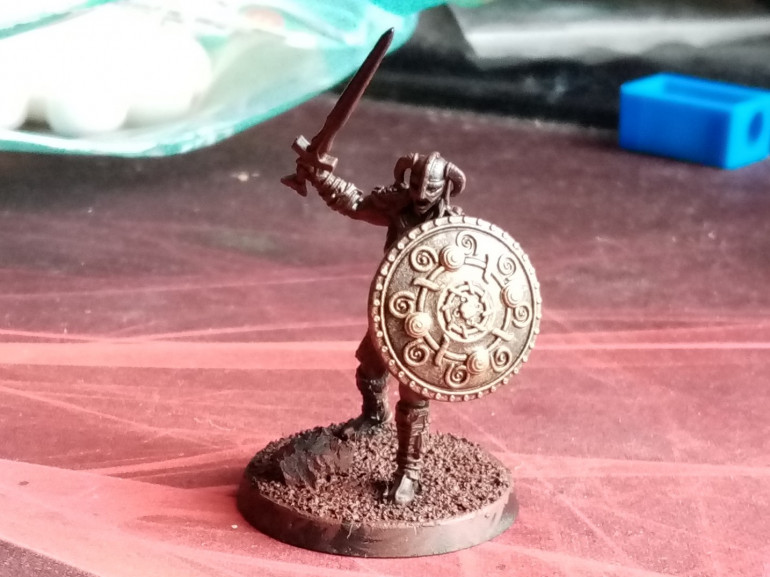
First up was a basecoat of Rhinox Hide, with a Mournfang brown dry-brush all over, then a brass scorpion dry-brush on the shield.
Then it was time to do the details. Leadbelcher for the metallic areas (and dry-brushed on the shield). Kislev Flesh for any skin. And Zandri Dust for any fur, hair, and the horns on the helmet.
The model was then given a good coating of agrax earthshade, before highlighting any Zandri dust areas with screaming scull, and any brown areas that I wanted to stand out a bit more with mournfang brown again. I also decided to give the shield another wash, this time with Nuln Oil.
Overall the colour scheme if very simple (as have all of mine been so far), but im very happy with how they are turning out.
I should probably also mention at this point that the bases on the models aren’t yet finished. Once I have finished all of them, I will be applying some grass tufts and snow to all the bases.
Pt 4: Dir Volaan! (Die Intruder!)
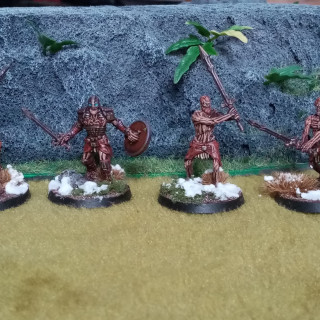
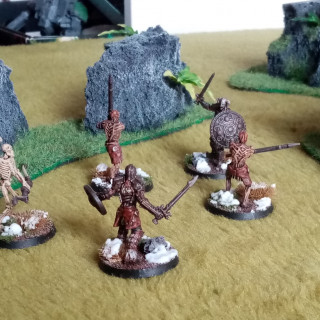
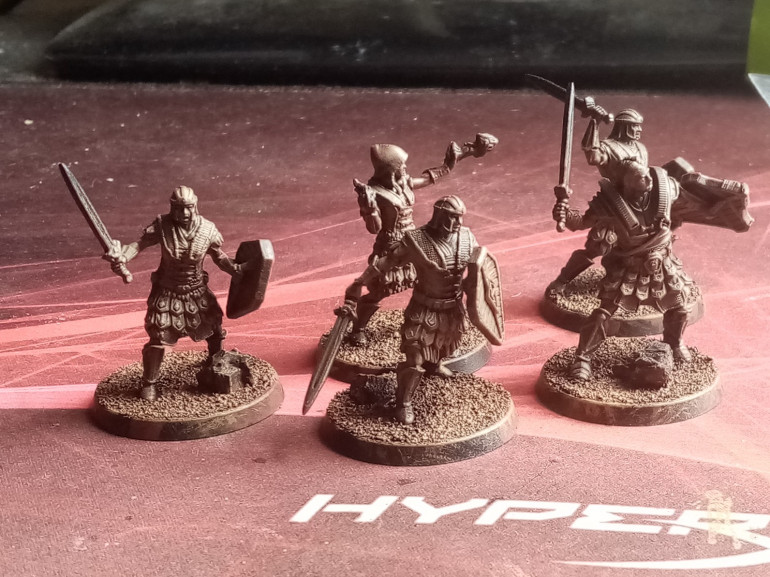
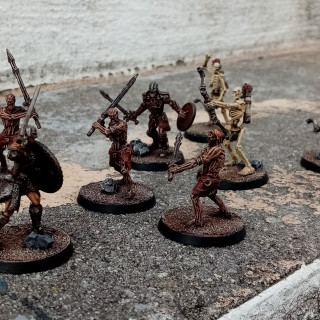
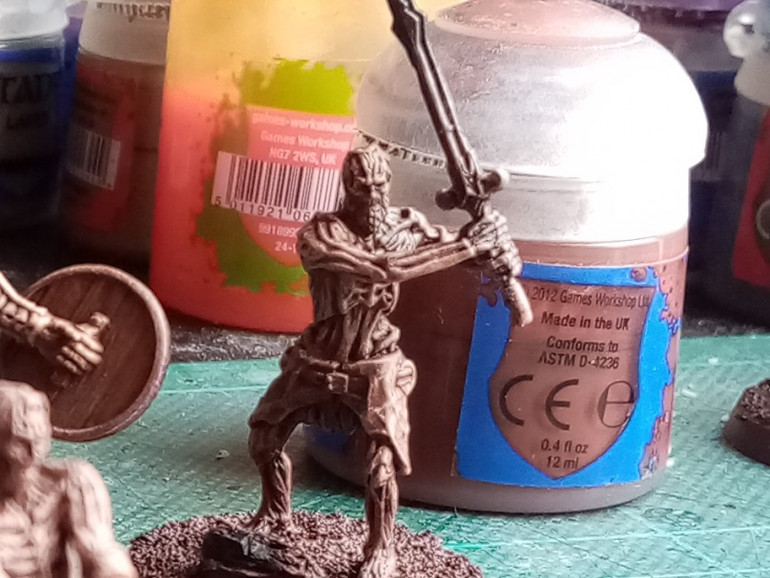
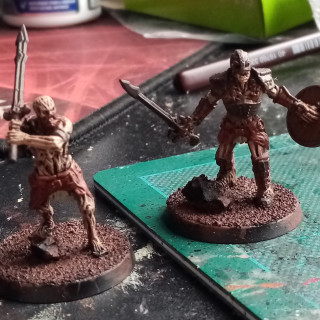
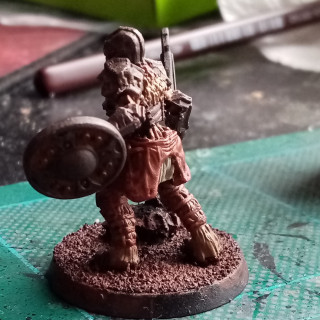
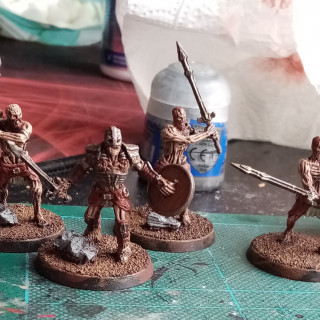
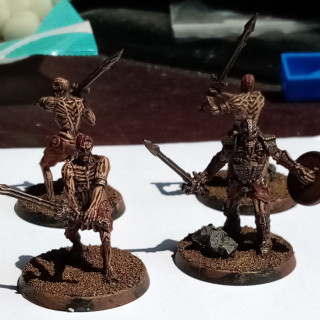
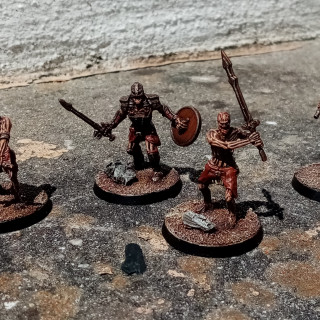
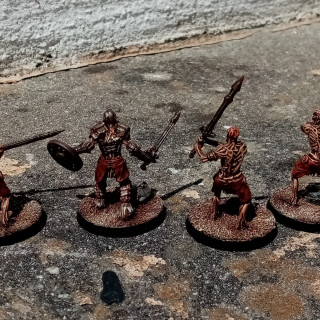
Next on the list are the Draugr from Bleak Falls Barrow Delve set. I was worried these would be fairly tricky and time consuming to paint (mainly the Overlord). But once I got started and worked out the colours I wanted to use, they were actually fairly quick to paint.
The first step was to get the skin done. For this the models were based using Doombull brown, before being dry-brushed with Kislev flesh.
Once that was done, it was time to get the base colours in for all the details. Cloth areas and hair were re-painted with Doombull Brown, loincloth parts were painted using Ionrach Skin. Any metellic areas were based using dryad bark (the plan being to use my method for achieving my Ancient Nord Iron look as used with the Skeleton Archers, and finally any fur on the Overlord was painted with Steel Legion Drab. Meanwhile the base was done using the same method as per my previous post (brown base & XV-88).
The metallic areas were then highlighted with Brass Scorpion and Leadbelcher. I went a bit heavier with the Leadbelcher on the sword blades. The next step was then to cover the whole model in an Agrax Earthshade wash.
Once the wash had dried, the base was drybrushed with Screaming Skull and the fur on the overlord was also highlighted with that. The hair was highlighted with Jokaero orange, and finally the base rims painted black.
The next post will be of the Dragonborn which will finish off the Bleak Falls Barrow delve set.
Pt 3: Favour the bow eh? I'm a sword man myself.
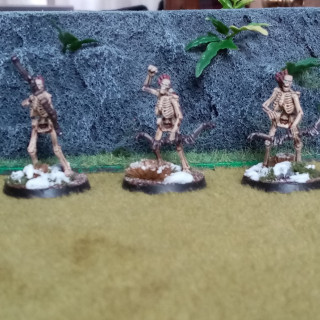
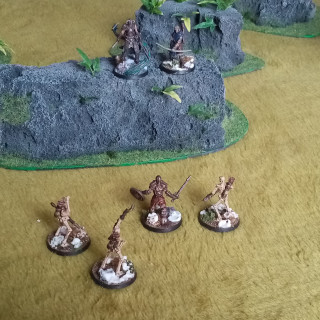
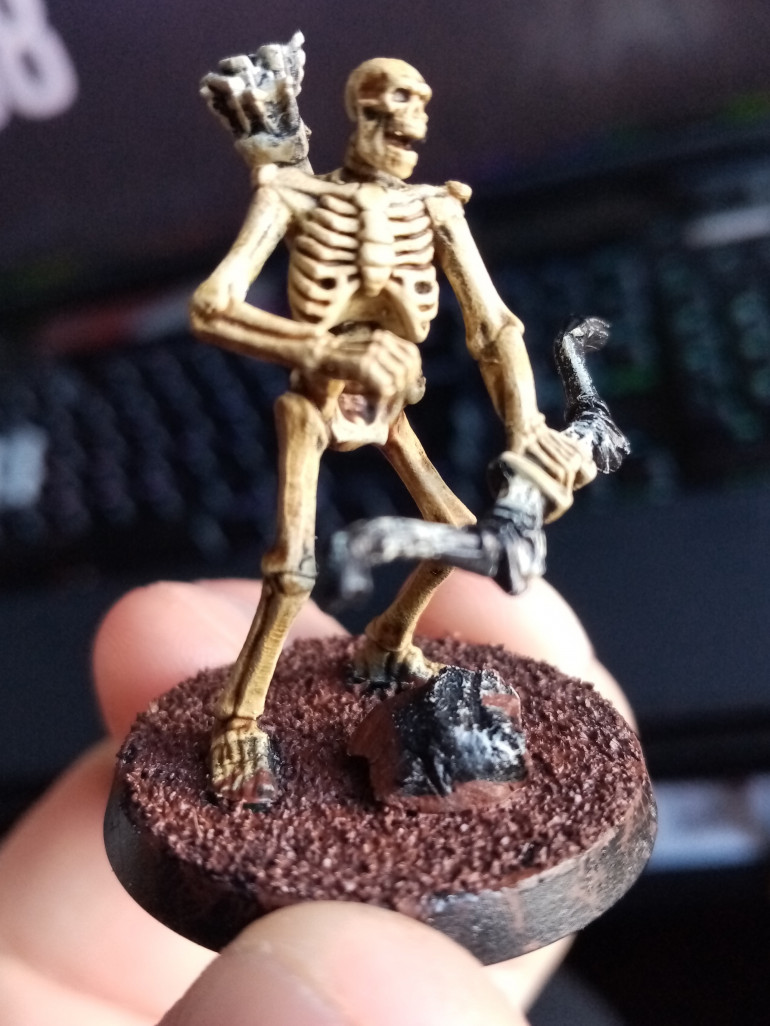
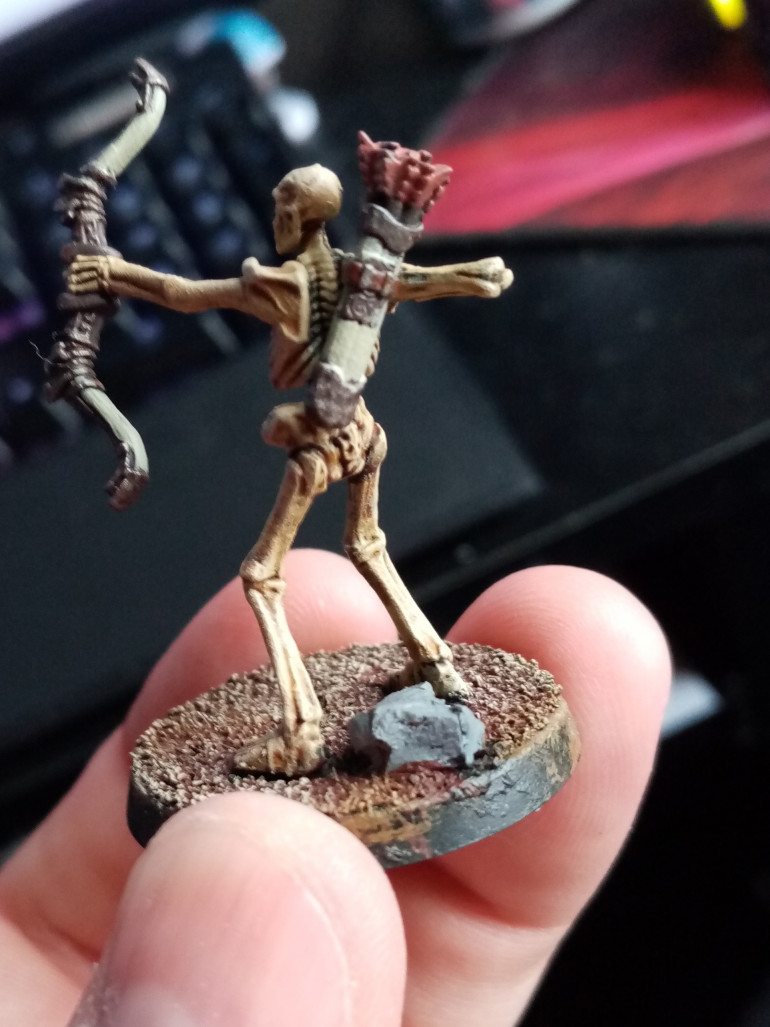
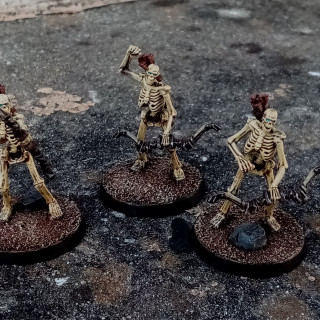
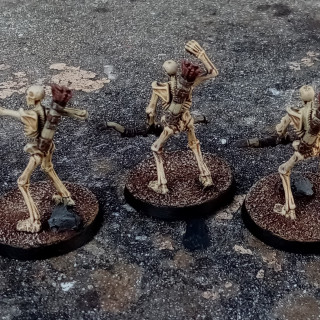
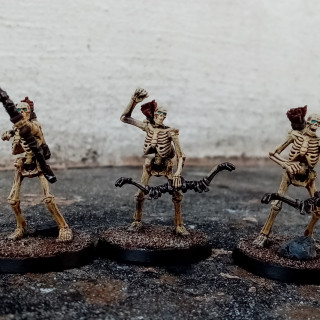
I’ve decided to go ahead and crack on with the Bleak Falls Barrow delve set first. It’s intended to be used as a solo/co-op set, and my first games of Call to Arms will probably be either solo, or with my partner, who prefers co-op games. I started off with the Skeleton Archers as they seemed to be the easiest to get done first.
I painted the body and the base first. The bones were based with screaming skull, and then covered in Skeleton Horde contrast. The base was done using a generic dark-ish brown acrylic mixed with PVA, and then dry-brushed with XV-88.
Once all that was dry, both the model and base were drybrushed with screaming skull.
Next it was onto the details. For the Elder Scrolls minis, I want to try and make the colour schemes as close as possible to how they appear in the game.
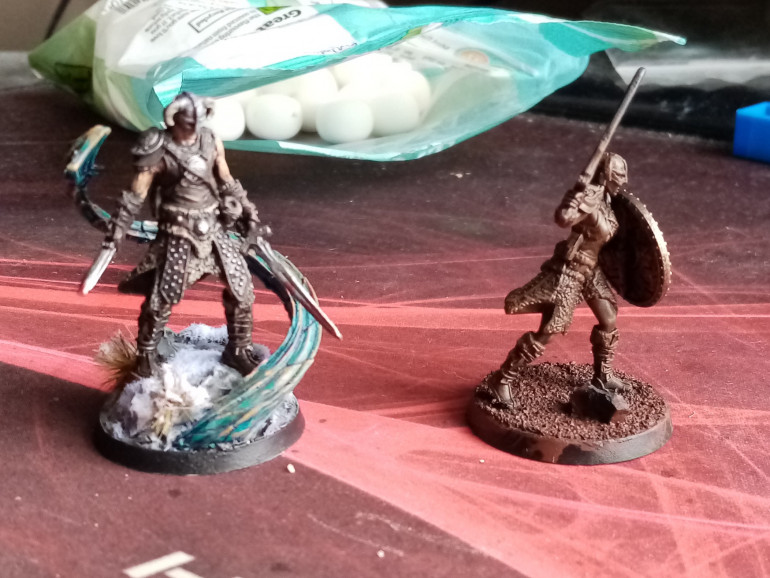
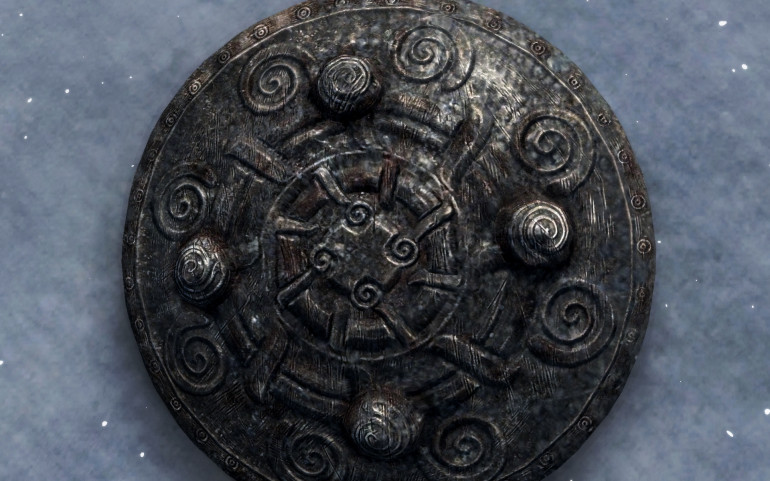
The first challenge was to replicate the look of Iron that is in the game, which commonly appears on some shields and Ancient Nord Weapons (amongst some others), I have posted an example below.
To do this, I experimented with a Dryad Bark base, drybrushed with Brass scorpion, which will then later have an Agrax Earthshade wash.
In Skyrim, Ancient Nord Weapons tend to have parts made from Ivory or Bone, which seem to have a greenish tint. I found that Ionrach Skin was excellent to use as this colour.
I then used bugmans glow for the fins on the arrows, and then covered the bow and quiver with Agrax Earthshade. Finally I used Baharroth Blue for the eyes.
Next up will be the Draugr warriors and Overlord, but first off I need to look up some references for how they look (by that i mean, play some Skyrim).
If you have any ideas on a better method to replicate the iron, please feel free to suggest it. I’m not fantastic and trying to get a colour match for things. Also you can’t really see how its turned out with the archers, when I finally get around to the Dragonborn, it will be a lot more visible.
Pt 2: FEIM ZII GRON! (Fade, Spirit, Bind)
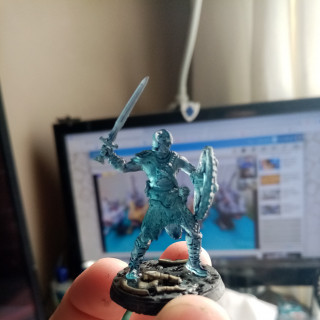
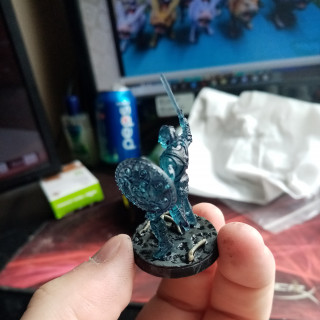
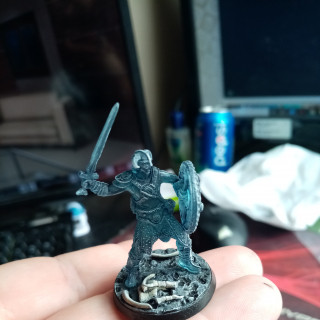
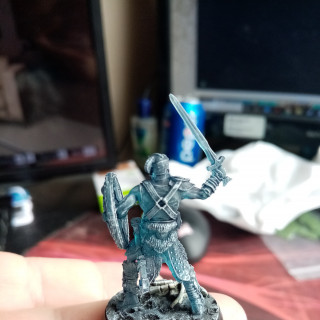
I decided to start with the easiest one to paint, the ethereal Dragonborn. Hasnt taken long, and isn’t much to tell, but I’m happy with the result.
The base was painted using Dawnstone for the surface, and Screaming Skull for the bones, which was then covered in a nuln oil wash. The mini itself was covered in Drakenhoff Nightshade (a blue wash), i decided to do that after seeing a similar thing on the Call To Arms facebook group, and quite liked it.
Once that had dried, the entire thing was simply dry-brushed using Praxeti White. I dry-brushed the base with it as well so it would look a bit frosty, after all, Skyrim is a pretty cold and snowy place.


![Make Your Own Star Wars: Legion Heroes! Rebel Agent & Officer Set Review [7 Days Early Access]](https://images.beastsofwar.com/2025/12/unboxing-atomic-mass-games-star-wars-legion-rebel-alliance-agent-_-officer-coverimage-225-127.jpg)


