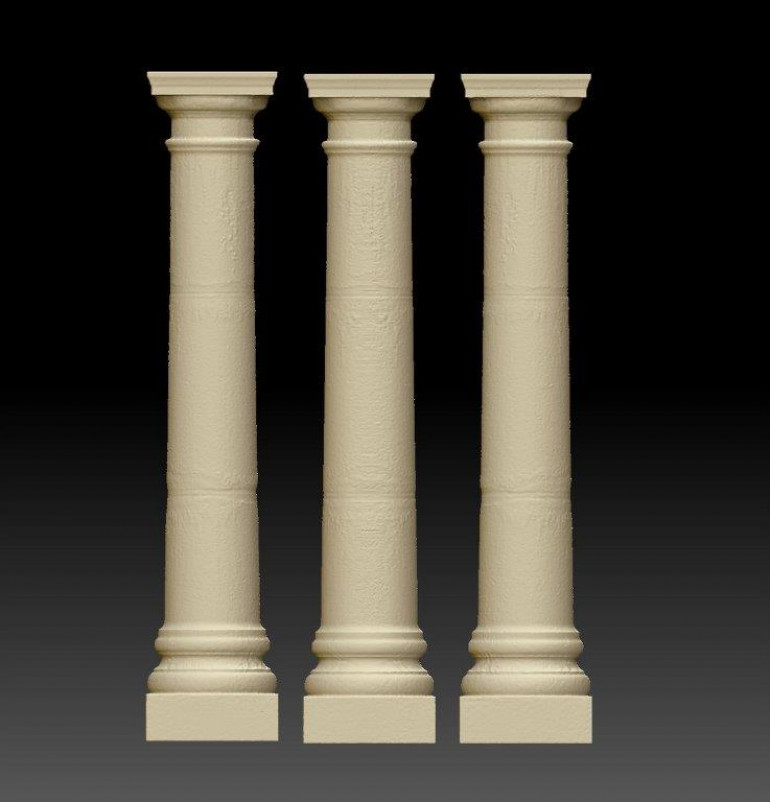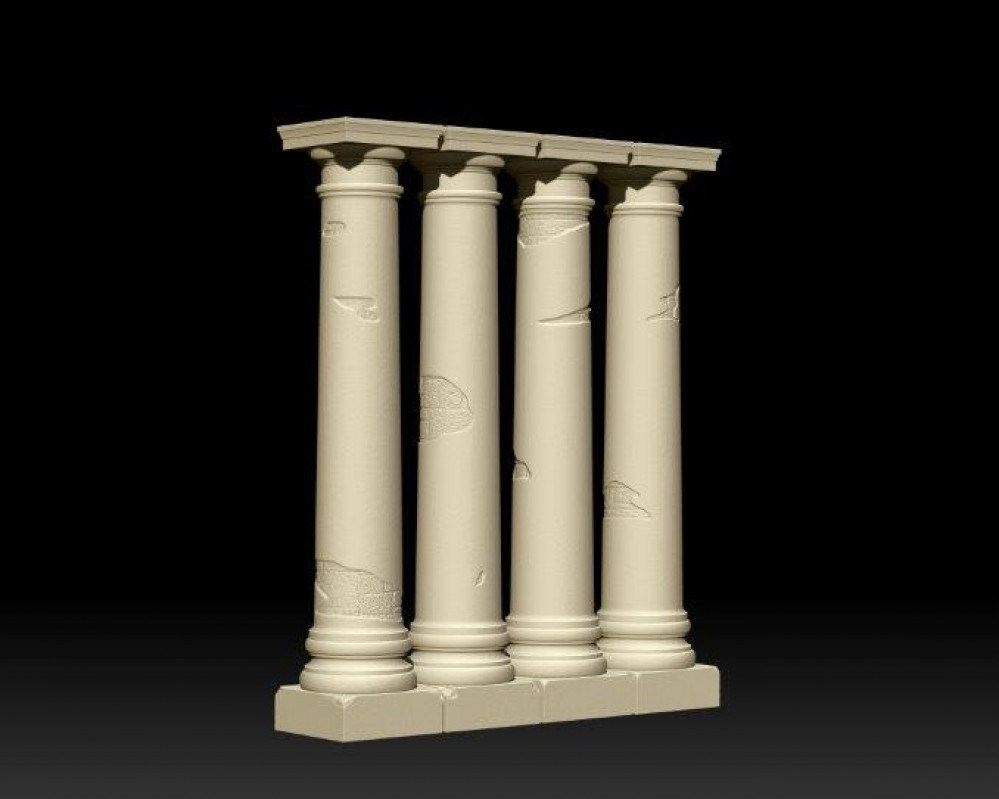
3D Printed Columns
Recommendations: 114
About the Project
I wanted to print some columns for use with the Dark Souls Board game; Asylum Demon Expansion. After discussing my progress on the discord 3D printing forum, I decided to open a project in order to record my findings and ultimately share the files I’m creating.
Related Game: Dark Souls: The Board Game
Related Genre: Fantasy
This Project is Completed
Modifying a Free File
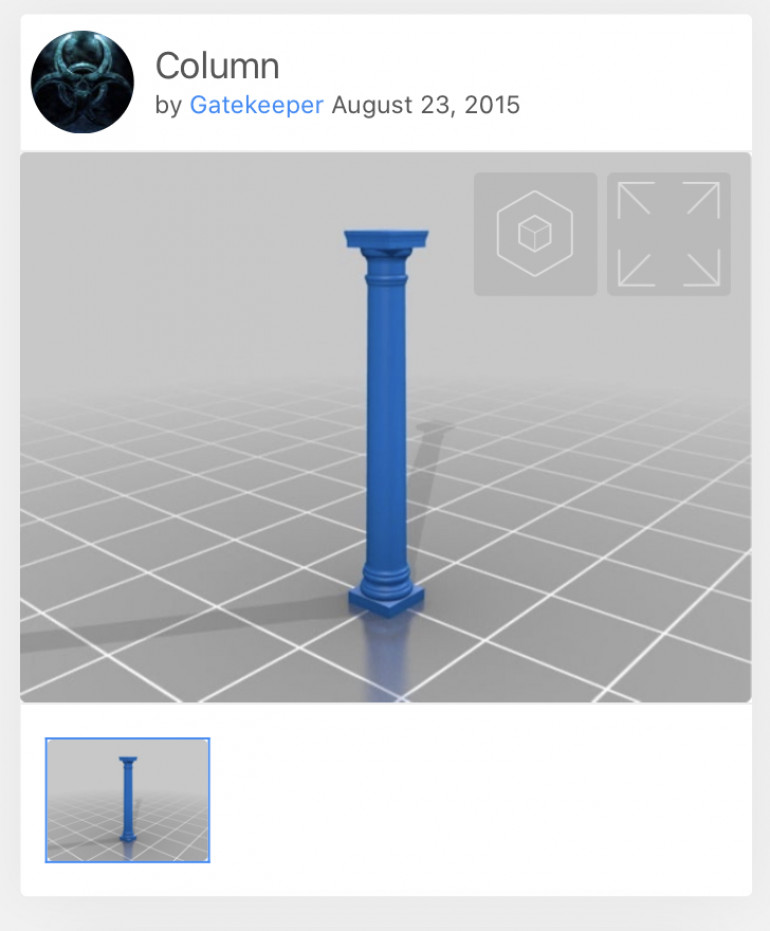
I had a pretty good idea what I was looking for so my first stop was a google search for an STL file. I knew I wasn’t going to find exactly what I wanted but I found a good starting point on Thingyverse.
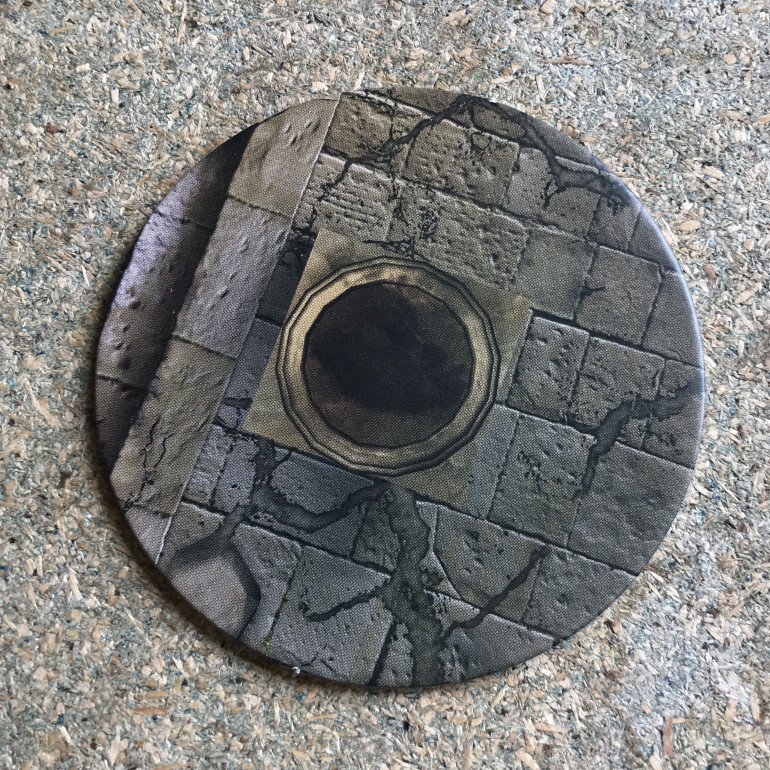
This file was free to download in STL format which I imported into Zbrush. Looking down on the model from above I began by adjusting the proportions to match the dimensions on the card token. At the centre of the token you can see the square column base which measures 26mm to a side. This at least was a solid point to measure from so I made my base the same.
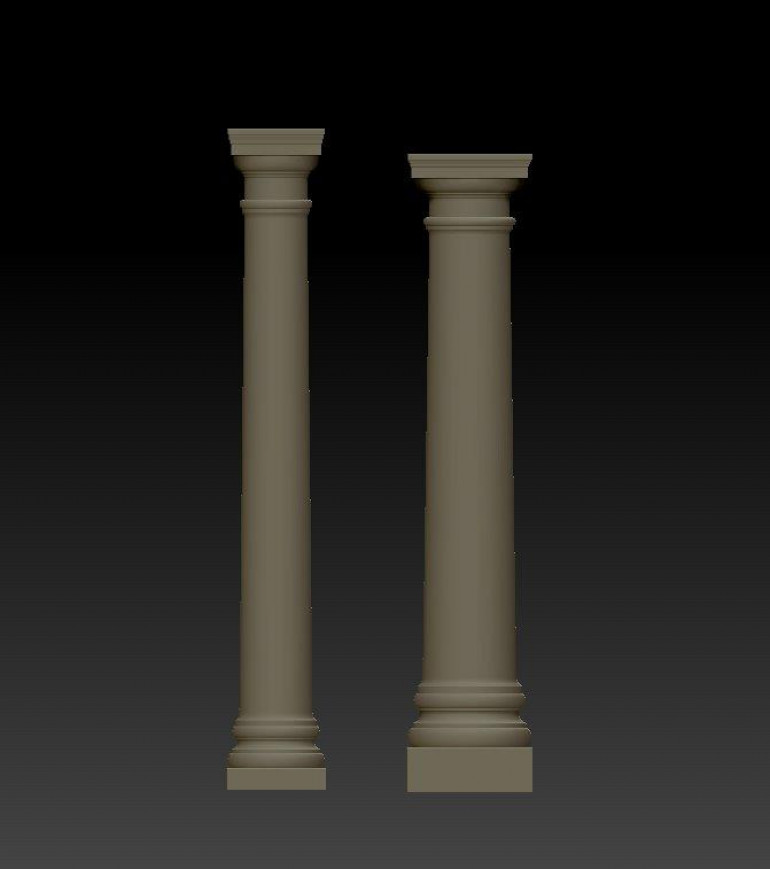
I’d settled on 13cm as a good hight to clear the head of the Demon while still giving the impression he was filling up the room. After adjusting the height down I had a much chunkier looking column that was more suitable for my purposes. I also raised up the square column base to further enhance the chunkier appearance I was going for and add a little more stability.
The image above shows the original model on the left with my adjusted version on the right.
Printing Without Supports
As this model was quite simple in shape, I wanted to see if I could print it without supports. I had an idea about how this could be achieved.
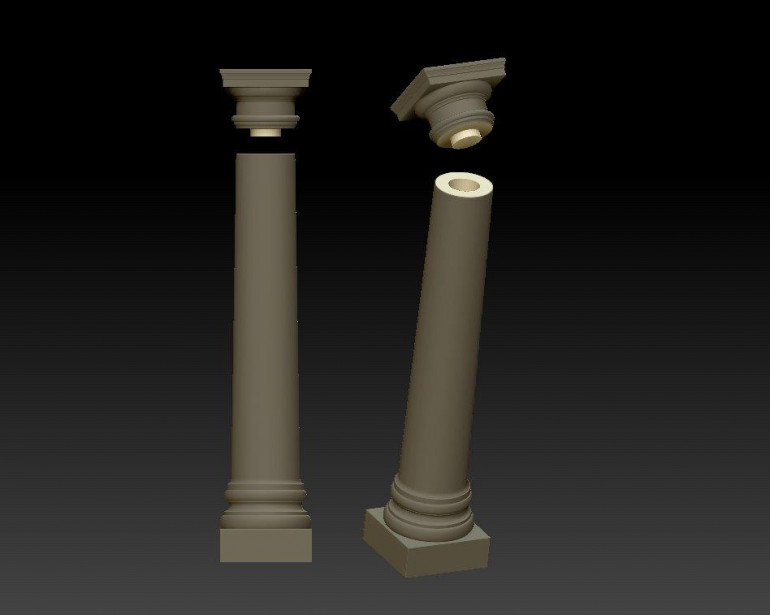
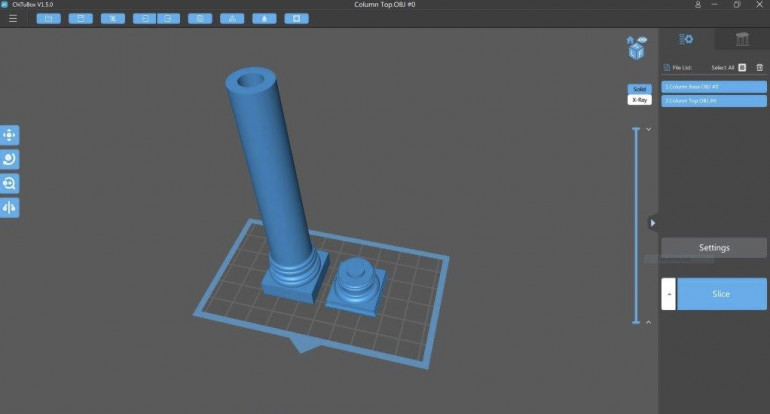
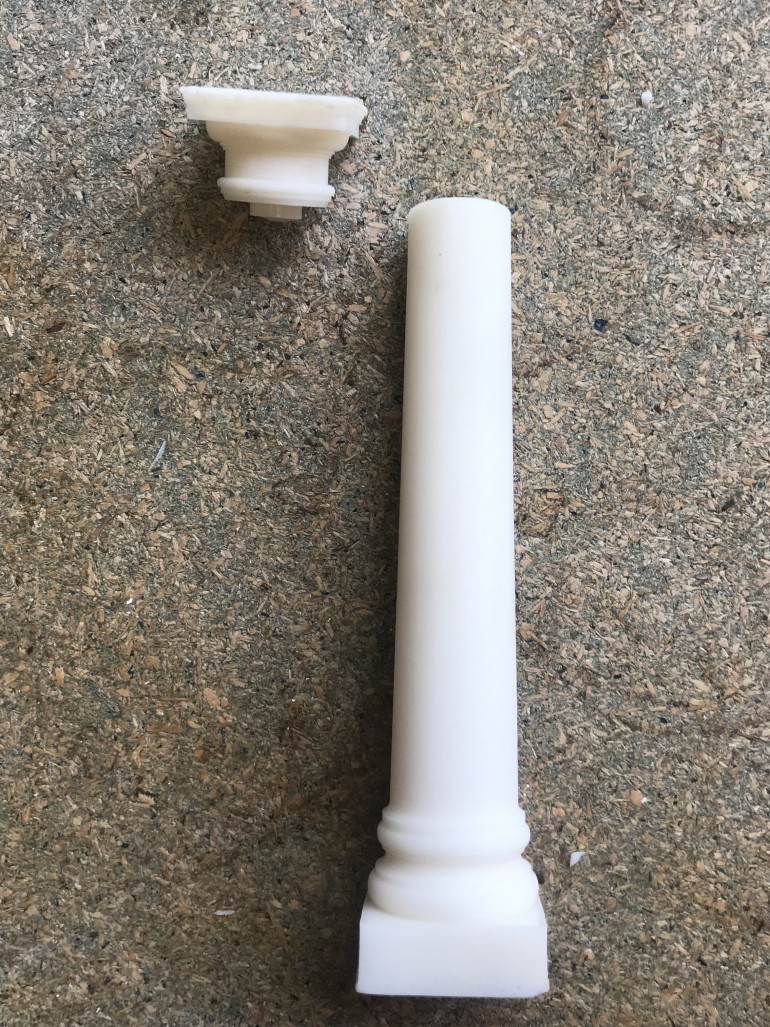
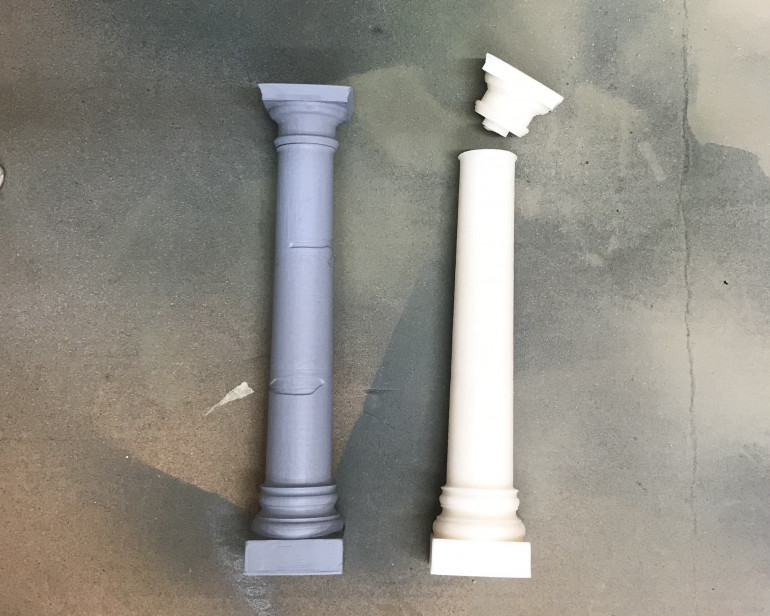
As both the top and the bottom of the object were flat I reasoned that I could split the model into two parts and print each section flat side down. As the column itself was tapered it seemed that the safest way to do this work was to remove just the top section. This would also be a good place to disguise a join.
While I was dividing the model up it seemed like a good idea to hollow out the centre. This would save a little resin and reduce the weight of the final object. That lead to the idea of putting a small plug on the underside of the column top. This would then serve as a means to accurately position the top for assembly.
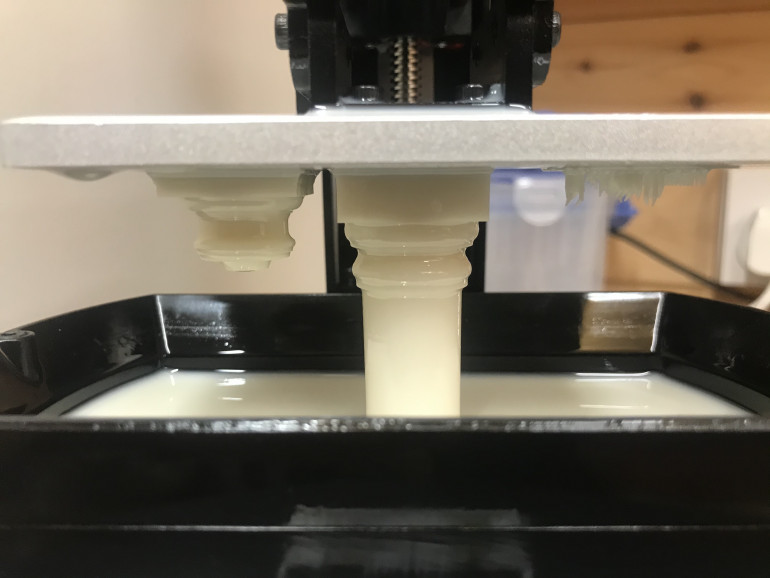
Due to the height of the model I was looking at quite a long build time. I decided with little surface detail on the model I could drop the resolution slightly from the usual 0.5mm to 0.8mm. I also reduced the cure time from 8 seconds to 6 as I was pretty confident that it would be enough. This brought the print time down to just over five hours. This would be the longest print run I had done on my little printer and I was keen to see how it would handle it.
First Print - Check In
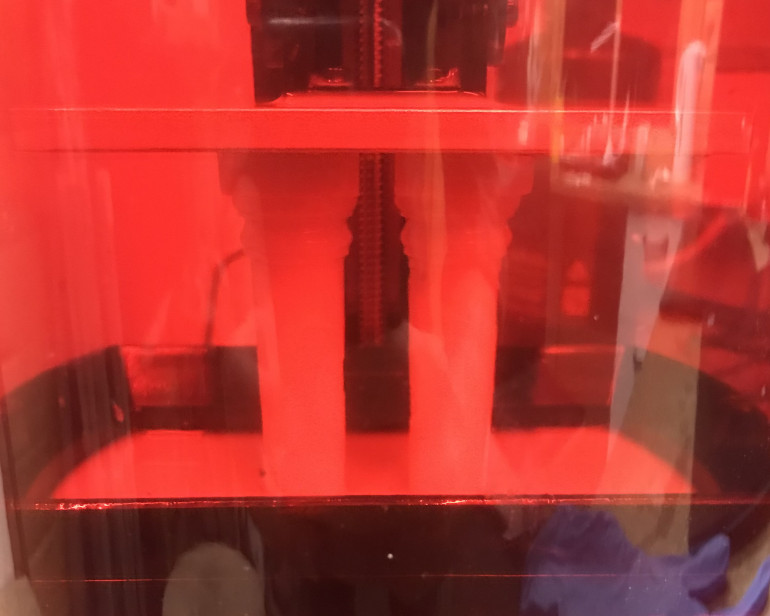
A couple of hours in I checked the printer and all seemed to be going well.
First Print - Completed
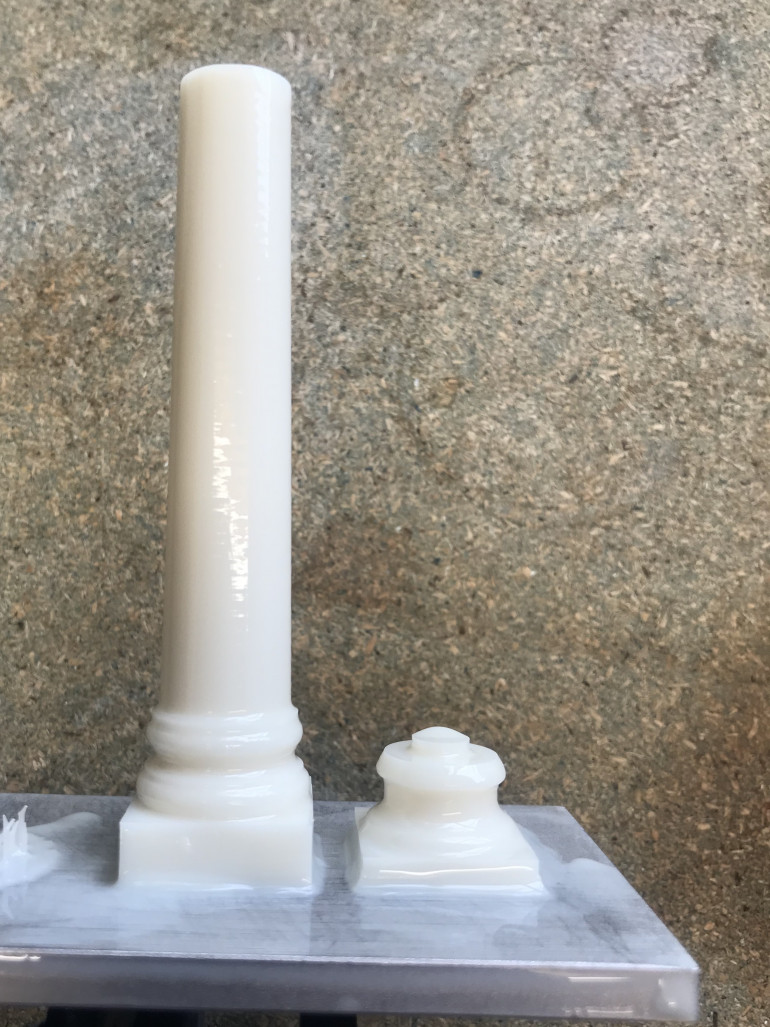
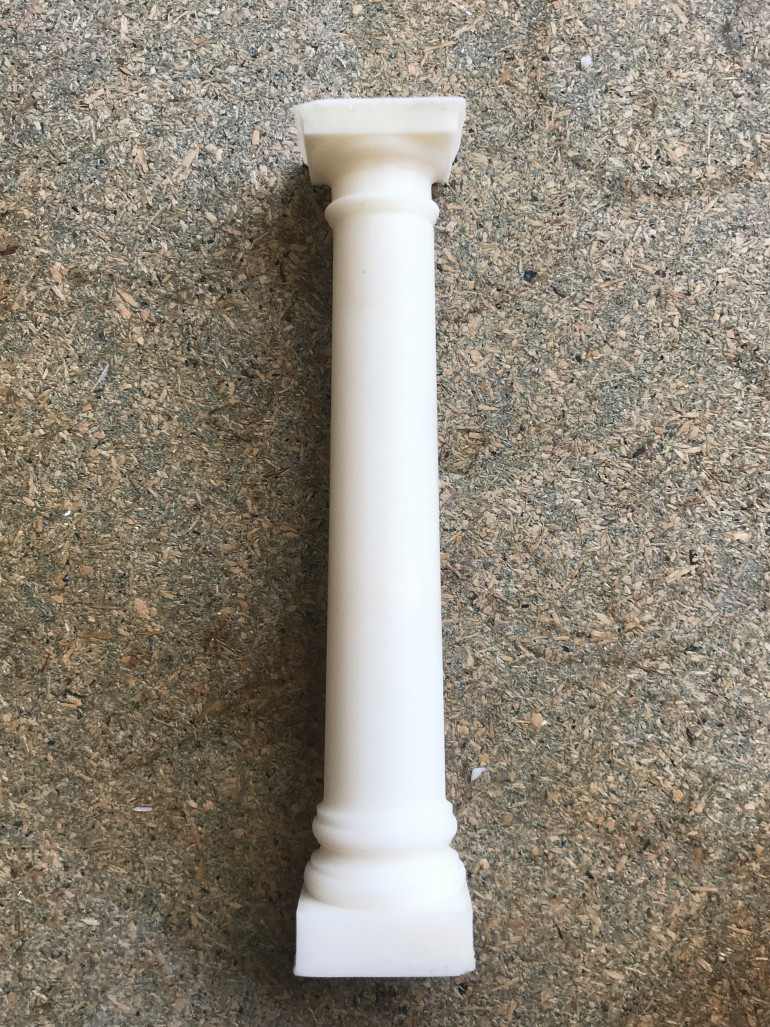
When the print was finished the pieces appeared to have printed cleanly and came off the build plate without too much effort.
After soaking off the excess resin with alcohol, the two pieces fitted neatly together.
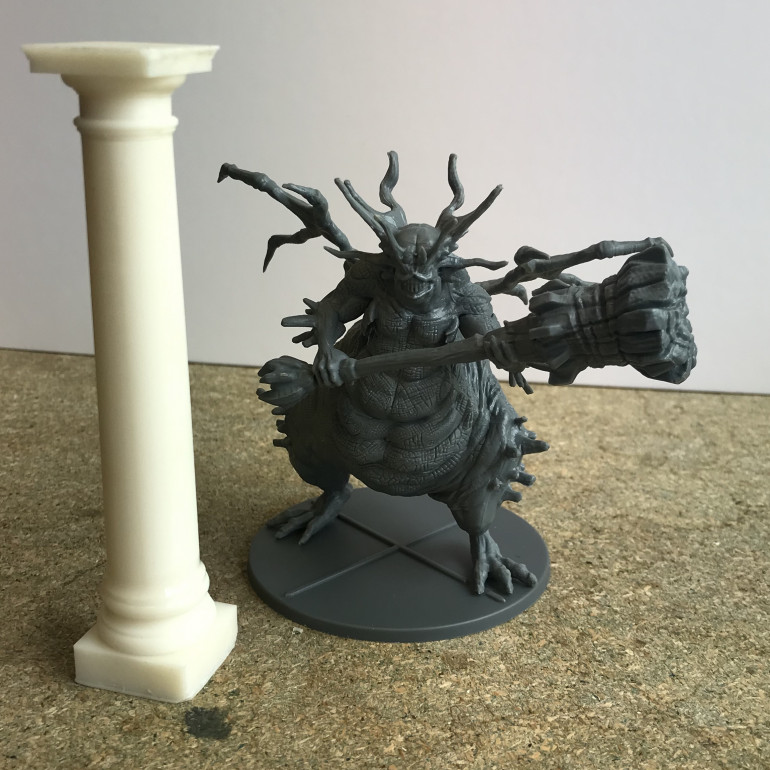
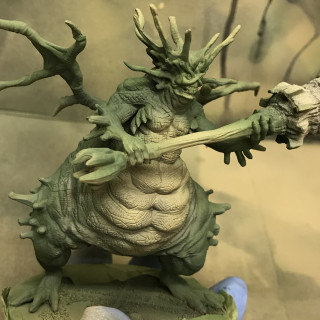
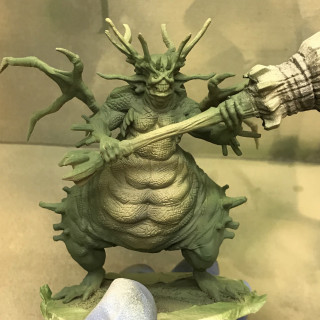
Placing the pillar alongside the demon I was pleased with the proportions.
The column had worked really well. I considered printing the three more that I required straight away. However, having come this far I wondered if I could do a little more with my columns so went back to the file in Zbrush to look at texturing.
Texturing the Columns
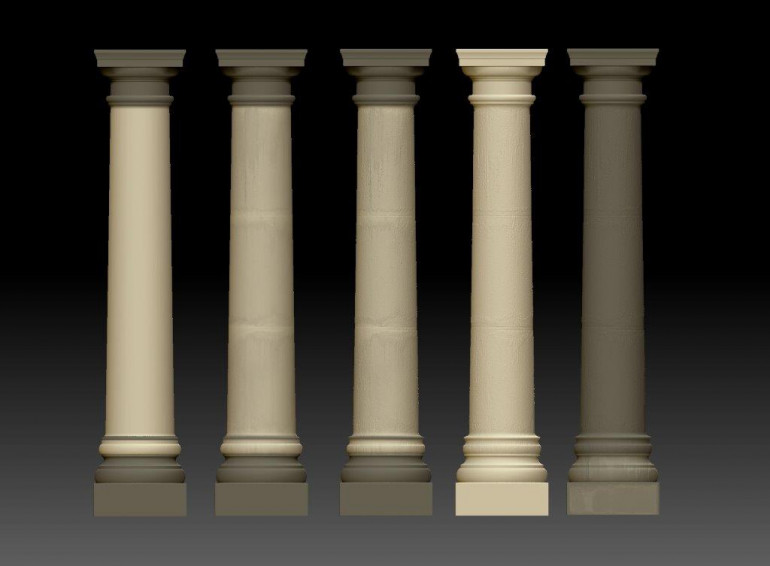
Taking the files back into Zbrush I tried a few texturing techniques to add some more detail to the models. The image below shows five stages of masking and texturing the column model.
Reading left to right, the first column shows the base and cap of the column masked off. This temporarily prevents any changes to the masked areas.
the next model has a texture mask placed over it and in the third image I’ve applied a -3% Inflation (deflation), to the model. With the masks removed you can see the effect on the column in the fourth image. The final image shows the entire model masked, save for the base which now has a texture mask. I repeated the same process on the base and cap but with a little more care to work around the hard edges of these components.
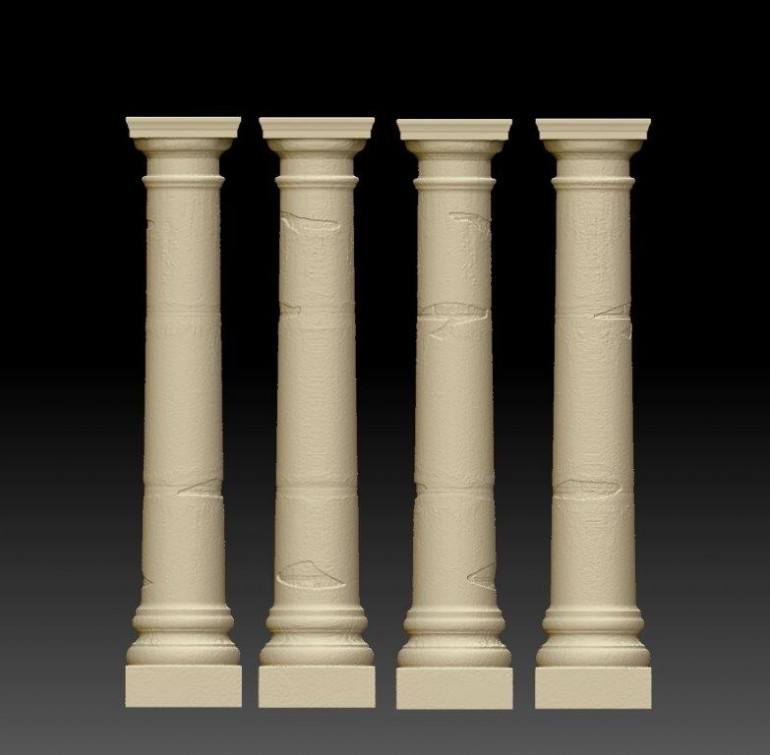
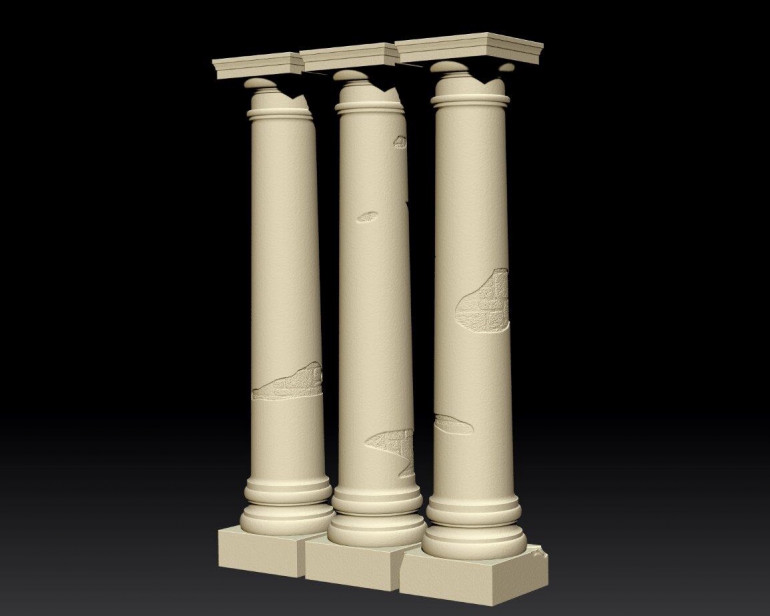
This is the same column from different angles, showing the effect of the texture. I had an idea how I could create the impression of flaking off render revealing the internal brick structure of the column.
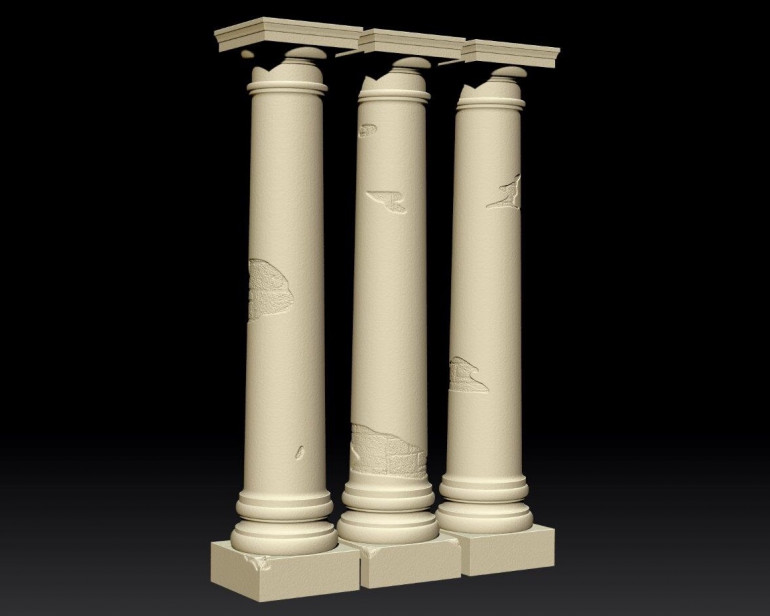
In the above model (shown from four aspects), I have used the same technique described above to add texture to a few specific places. The effect is quite good and I’m going to run a test print to see if the texture is pronounced enough to print with the desired level of detail.
Blowing off the Cobwebs
After a couple of games of Dark Souls this weekend, I was inspired to get out the airbrush and make a start on painting the Asylum Demon.
This was the first time I’d used my airbrush on something that wasn’t either a vehicle or a piece of scenery. My selection of airbrush paints is very limited but I found regular Vallejo paints mixed roughly 1:1 with water and a drop of thinner, worked just fine.
After getting the base colours on I spotted the columns I had printed following my previous entry, sat on the shelf gathering dust.
The prints had been successful but I hadn’t been that happy with the surface and my attention had drifted on to other projects before I got around to adjusting the files. As I’ve been using Zbrush a fair bit since building the original modelling, I had a pretty good idea how I could improve upon the design.
Going back to the pre textured model I used the Zmodeller function to even out the topology. I then used the surface noise function to add a general texture before repeating the steps of masking and deflating the model. This time I only needed to use this technique on the actual areas of damage, as the surface noise gave me decent texture on the rest of the model. Thanks to the new, more consistent topology, the results were much cleaner this time around.
Boolean Operation and the Finished Demon
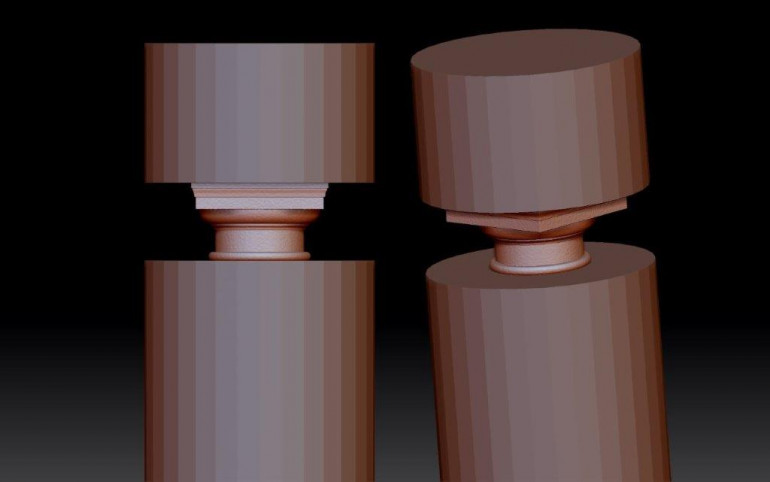
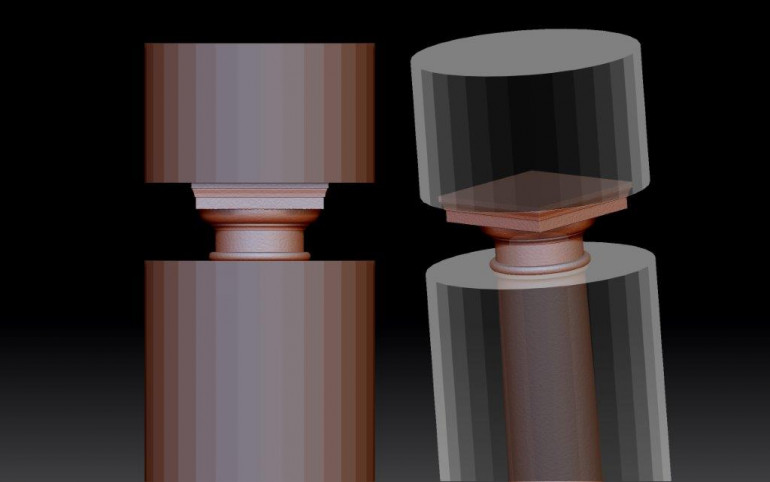
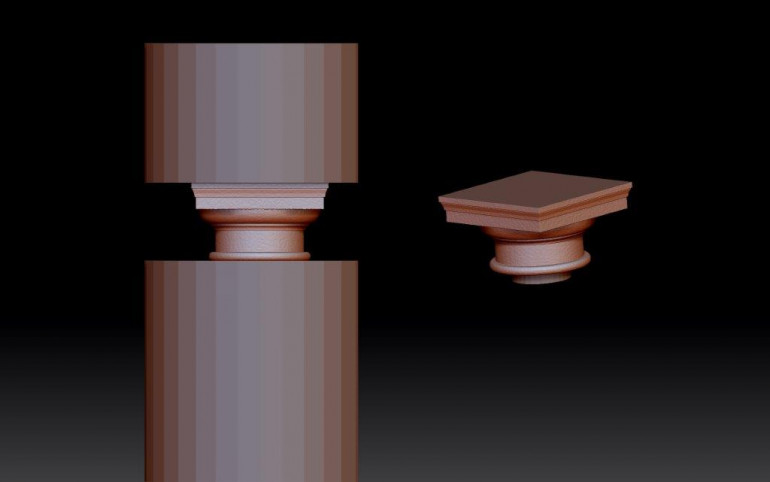
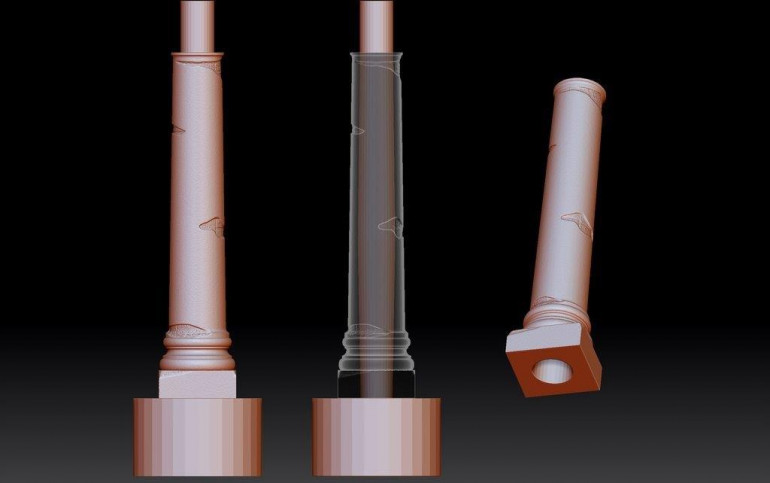
With the redesigned columns completed, it was time to cut them up for printing. To do this I used the Boolean function, as illustrated below.
First of all I positioned a cylinder over the column, leaving only the cap showing. I placed a 2nd cylinder above and pressed it down onto the top of the cap.
The transparency shows the parts of the column cover by the cylinders. The Boolean function will use the cylinders to cut away from the column, removing these covered areas.
With the function complete, the cap is cut away and left with a perfectly smooth top.
I used the same method to flatten off the bottom of the column base and channel a hole through the centre. As mentioned before, this was to reduce the amount of material required for the print. These columns will have even thinner walls than the originals but I have left the bottom a little thicker to add some weight there.
It was time to run some more prints.
in the meantime…
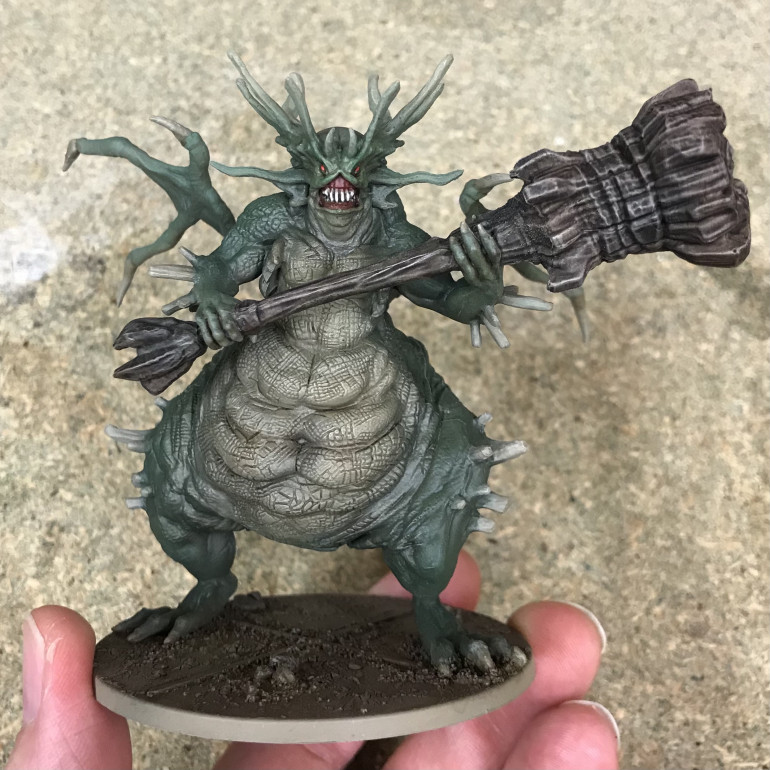
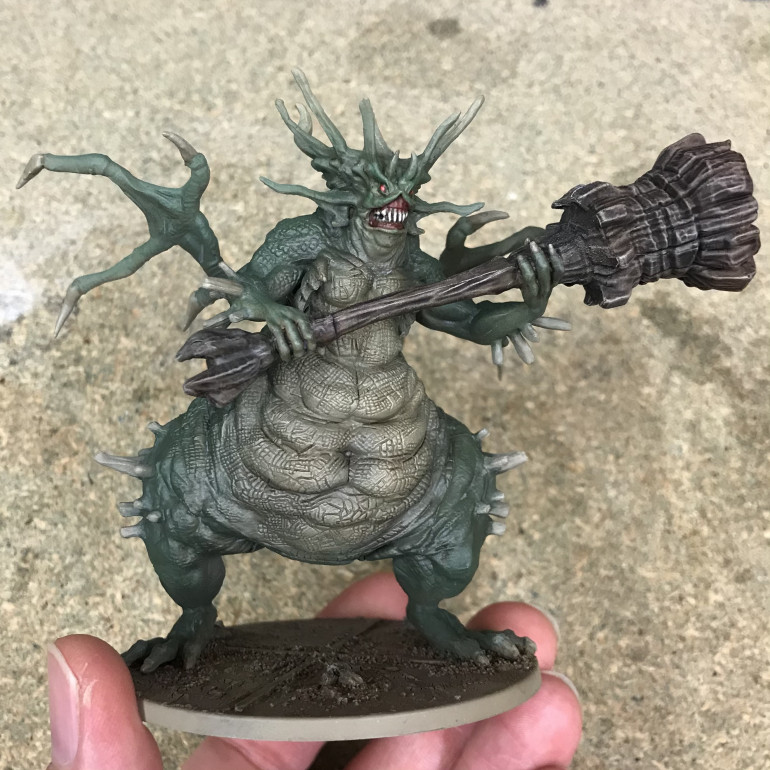
… with the airbrush work completed, I finished the rest of the Demon by hand. After picking out the details I added to the texture with washes and some light dry brushing.
Final Printed Columns
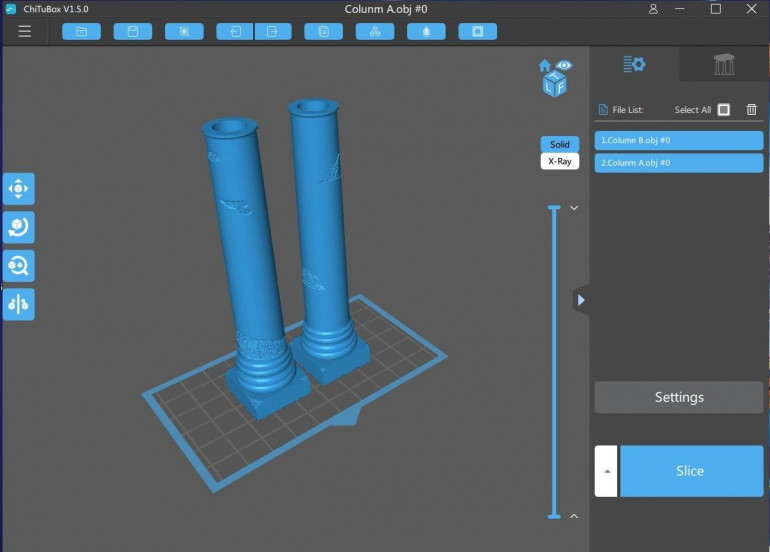
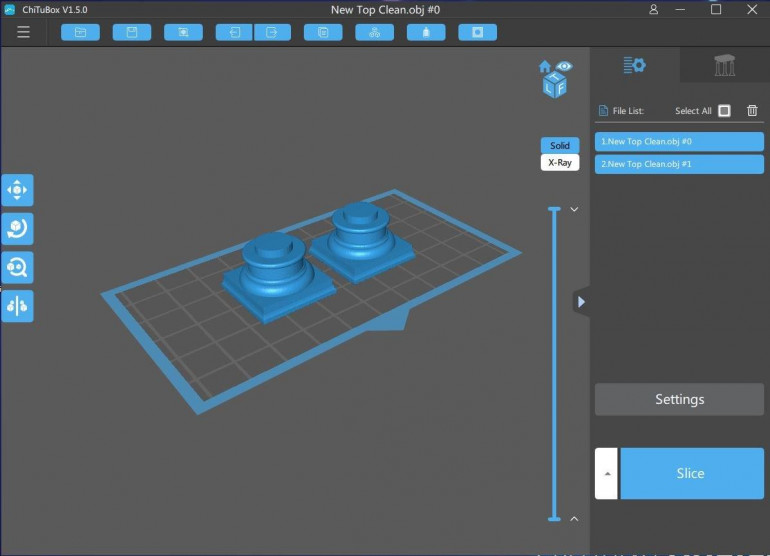
It was possible to fit all four columns on the print bed at once but I decided to run them two at a time. This would save me having to keep an eye on the amount of resin being used and also mean that I wouldn’t loose so much if the print failed. The columns took a hefty eight hours to print and were pretty much the maximum build hight for my printer.
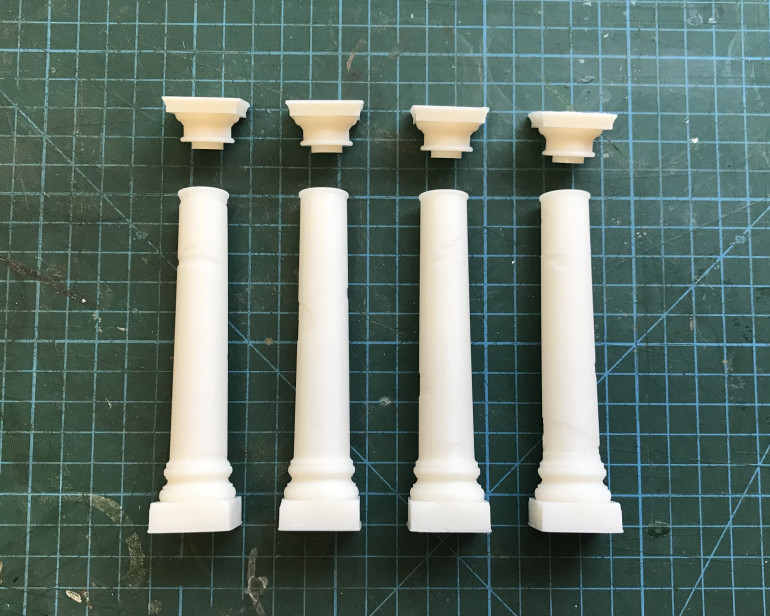
I printed the caps two at a time as well as I wanted to ensure they fitted properly before committing to printing more. These only took around two hours.
The prints were all successful and due to the hollowing, used less resin than the originals.
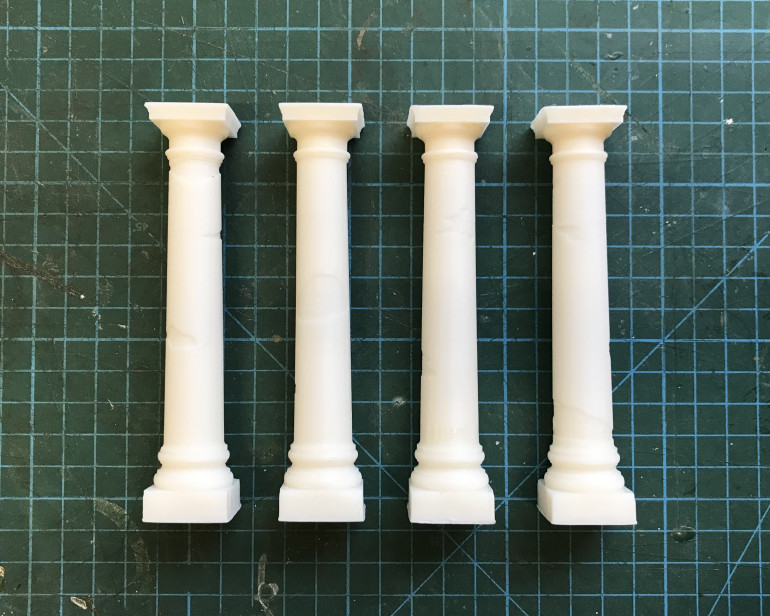
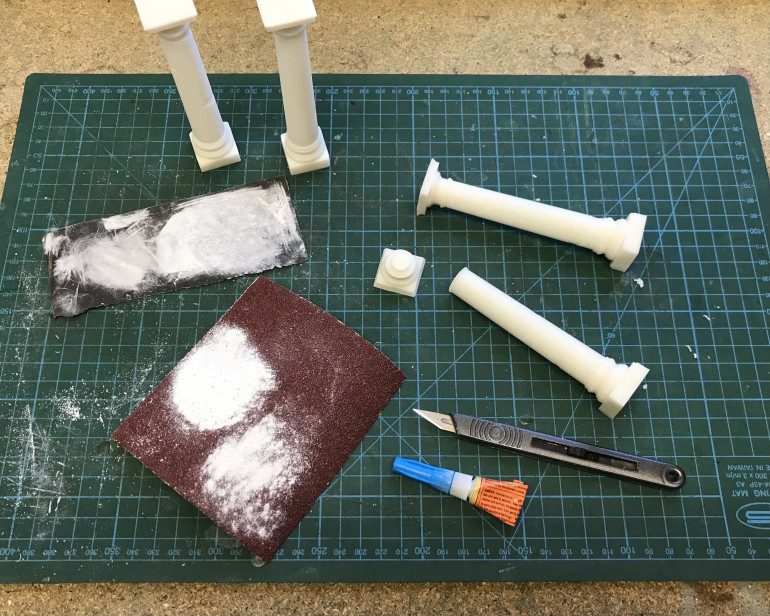
The caps push neatly into place. In the following image they are yet to be glued.
Clean up was minimal. I used some sandpaper to remove the small amount of flashing around the base and top of the cap (the parts that were in contact with the print bed). Superglue was used to fix the cap in place.
Finished Columns
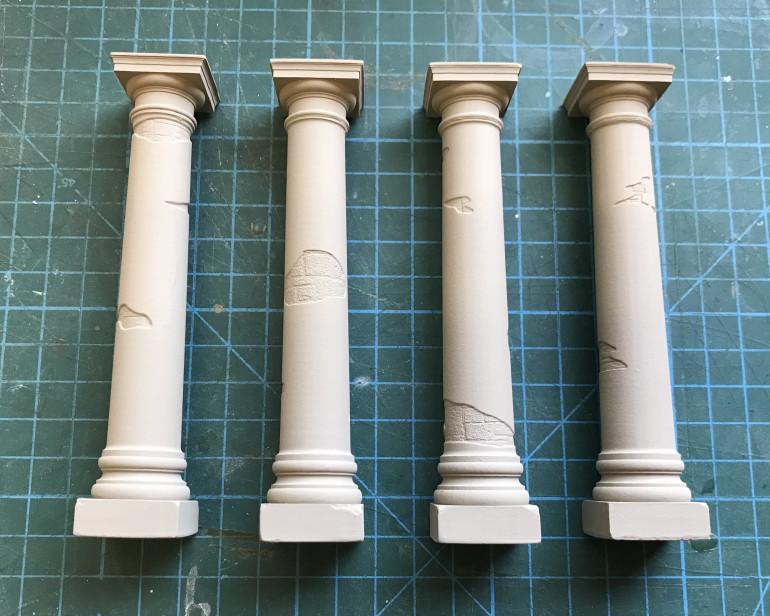
I primed the columns with a khaki primer as I was going for a sand stone/rendered finish.
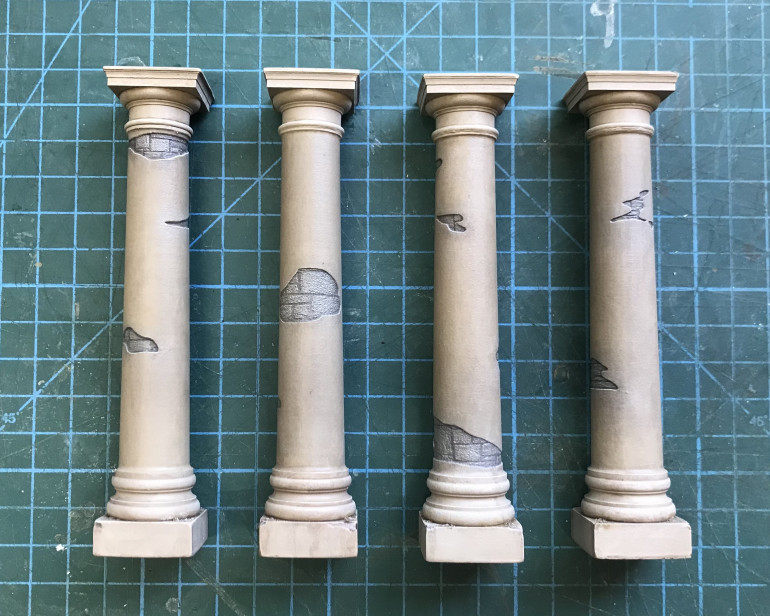
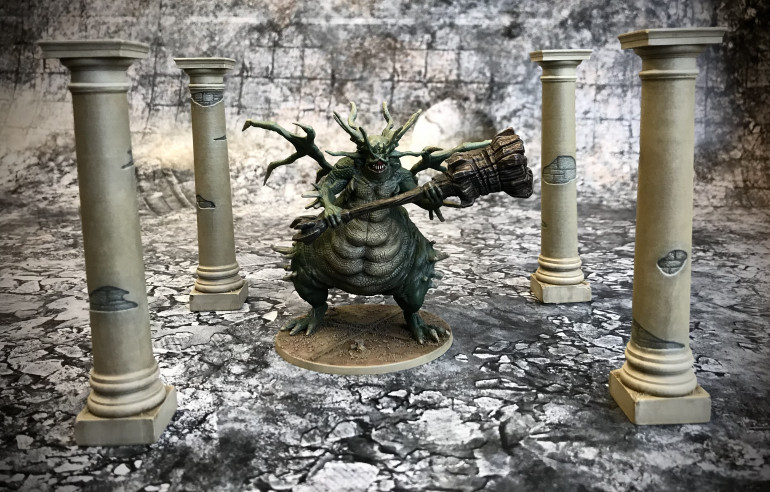
The exposed block was painted in greys while the main column was given a lighter khaki dry brush. The caps and bases were brought up to a lighter ivory. The whole columns were washed and dry brushed to the desired result!
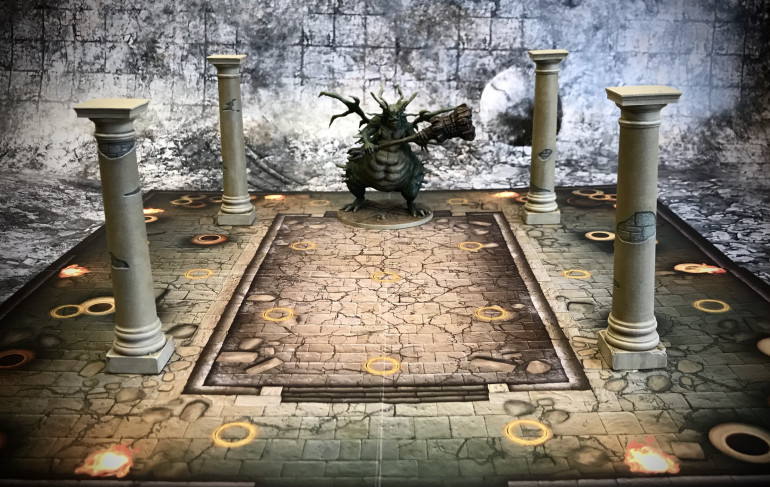
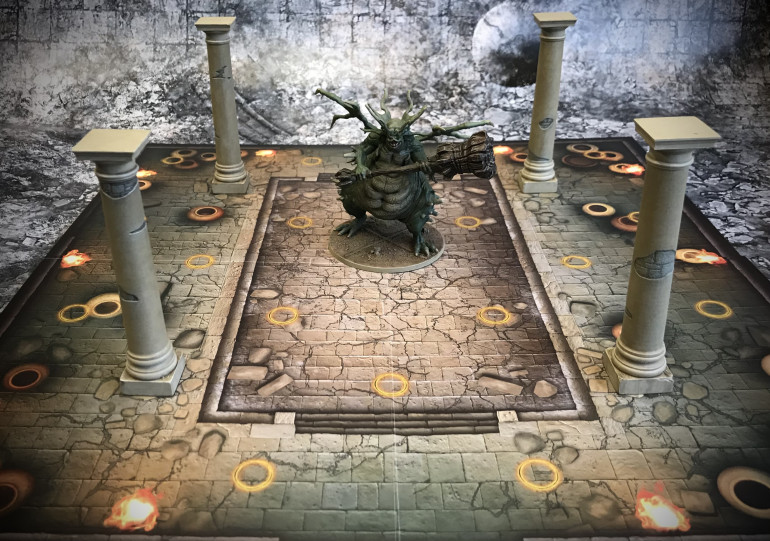
It was a little tricky getting decent images of them in position but you can see the colours match quite well with theme of the board. They certainly add more depth to the play area than the cardboard tokens and help illustrate the size of the demon who’s horns would be close to scraping the ceiling!
Link to 3D printable files
As it isn’t possible to embed these kind of files into the project system, I have uploaded the print files to the Discord server for anyone who is interested.
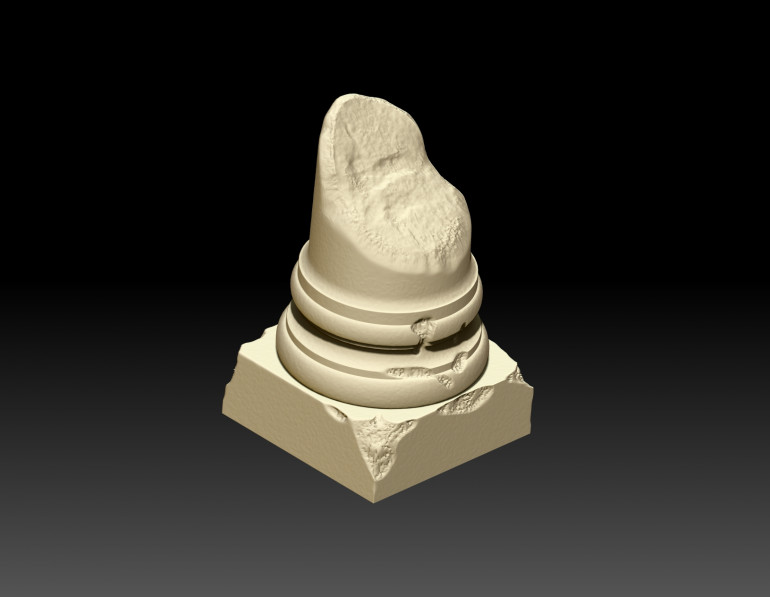
Please see the link below. I have also included a ‘clean’ column base as well as a ruined section I have been working on.
Enjoy!
