Getting in to 3D Printing in the April 2020 Lockdown
Recommendations: 38
About the Project
I think I am about to cave and buy a 3D printer, but I don't know what to buy, what I need, how to print or anything between getting the STL file and having a printed and painted model on my shelf. I know there's plenty of people out there who are interested but all the unknowns stop them from even considering it so I'll document my journey and hopefully it will be useful to someone.
Related Genre: Game Aid
This Project is Completed
Research
I’ll be writing this project in part for myself and in part for others. It’ll be like a diary and notepad for me to get my thoughts straight, and keep all my information and questions in one place so I can find them readily (And in hopes others can step in and answer them, and correct me where applicable). I also hope it will help others who have been tempted by 3D printing, but find it too confusing to even begin looking at. This information is based on various conversations here and elsewhere (Thanks Gaz/Noyjatat and Blinky465), and things I’ve heard in twitch chats, on Weekenders, and in youtube videos etc.
Once payday has come and gone, and my start of the month bills have been taken I am very likely to buy in so please give this a read, tell me if I have anything wrong or if I’ve missed anything. Follow along and ask more questions if you are also curious about getting started. I may already have the answers.
So anyway…
I’ve spoken to a few people about which machine to buy and here’s the gist of it:
- If you want to print terrain, buy an FDM printer. It works out cheaper for larger objects, but you have to deal with stepping.
- If you want to print smooth high detailed minis get a resin printer, but it gets expensive for larger objects and the resin is dangerous
I want the option for both, but primarily I want cool minis to paint and play, so its resin for me. The two main options being recommended to me are the Elegoo Mars and the Anycubic Photon, with the Photon seeming to be the preferred option so I will be focusing on that machine. I’ve people on BoW who own them already advising me so I’ll have an easier time getting help with this machine.
So what do I need to get started?
- 3D Printer
- Resin. Should be able to get a deal to get some with the printer. Used to be about £25 per litre, but under Covid lockdown it is currently £38-£50. Seems to currently come in regular toxic stuff and safer plant based. Plant is cheaper, but biodegrades. No idea if that means a mini will fall apart after the few years it may take for me to actually get it painted and on the table. Not sure if there are quality differences between the two that might matter to people like us. Blinky has had good experiences with the Anycubic and Elegoo resins so far. No word on other brands at this time
- Isopropyl alcohol to clean the minis after print. At a rough estimate it appears you perhaps get through 1 litre IPA for every 2 litres of resin you use. Its a starting point anyway. Can be bought fro a Chemists or a hardware store. Cazboab says, “The shortage of IPA made me try other stuff, turns out bioethanol works better on anycubic resin anyway…”
- Glass jars with lids to clean the minis in and a means of getting them out of the jar safely (Anyone know if the lids from jam jars and coffee jars will be nonreactive to IPA?)
- Meths for cleaning the printer. its got to be cheaper than IPA, especially right now
- Scraper to get the minis off of the print bed. Printer comes with plastic one but apparently some people have been injured by it? Metal one is safer but scratches the plate, and presumably the underside of the print. Blinky uses a wallpaper scraper. Printing your rafts with sloped sides makes it easier to get a scraper under them. I’ve not looked in to how to do this yet
- Razor blades for when the scraper isn’t quite enough to get under the mini
- Lots of kitchen roll
- Lots of newspaper
- A source of UV. If its bright and sunny then sit them on your window sill and turn them now and again. Otherwise 20 minutes under an unmodified nail lamp does the job fine. Blinky’s lamp is 36w
What else will I likely want soon after?
- Spare FEP sheet. They are good for a minimum of 400 hours but people can get double that from them
- The screen will eventually need replacing too. No idea on timescale or if that’s just another name for FEP.
- More resin and IPA
- A Patreon for regular quality STL files (I’m eyeballing Titan Forge but there’s others to look at like Artisans Guild, RN eStudios, and Raging Heroes have one starting soon. Ritual Casting do some epic upscaled stuff. Printed Obsession, Dragons Rest, Monstrous Encounters, Sark’s Foundry, Makers Cult, Epics N Stuff, Hero Spawn Spot, Warploque Miniatures, Duncan Louca, Lost Kingdoms, Anvil Digital Forge, Asgard Rising, Dragon Trappers Lodge. (Seen others? please post links below). There’s always Thingiverse. It may have competitors I’m not remembering.
Other stuff:
- Ultrasonic cleaner. For if you want to be more thorough than swishing your mini in a jar of IPA. Not needed, but YMMV
So where to buy? Ebay and Amazon appear to be the places to go in the UK. I’m not aware of any UK shops that focus on this sort of thing
So what software do we want?
I won’t be designing models from scratch, I’ll just be printing them so I won’t need a 3D art package. If anyone knows of a free, simple to use one that I might be able to use to repose existing files, or edit them in basic ways please speak up in the comments. It might be useful later on.
So you have your STL file. It won’t work in the printer as is. It needs to be Sliced so the printer knows what it is, how to print and support it and what else you want doing with it. The most common Slicer software right now appears to be Chitubox , which is free. You can install and tinker with it long before you get your printer. my PC is ancient and it runs fine. I was able to figure out some basic controls pretty quickly without help, but I was pointed towards a very helpful series of videos you should watch before your first print (And this one by the same guy on hollowing models). it’ll stop you making mistakes you weren’t even aware of.
I’ve been pointed towards a file validator, which I have not looked at yet, but I believe it checks your sliced file to make sure there’s no obvious mistakes. Why the slicer can’t do this I don’t know.
What order do things need to be done in? What are the steps?
Does this look right to people who know more than me?
1: Get your STL file from people who who use art packages more advanced that MS Paint. Remember, the OTT store has a few free ones we can tinker with and there’s always Thingiverse.
2: Slice your file and save as printers file type (.photon in my case) to a USB stick. Validate it to be sure and adjust until you are happy.
3: Prep the 3D Printer with Resin. Safety gear must be worn when working with resin
4: Load file from USB stick in to printer
5: Do whatever is required to make it go and walk away, once I’m sure its working, not gassing everyone, the resin isn’t going to expand forever absorbing the machine, the table, my house and the Earth, and not about to catch fire.
6: After a long wait, extract the print plate from printer and remove the model from the plate with a scraper. QUESTION: Can the resin be left in the tank for days until it is wanted again, or does it need to be stored back in the bottle after being filtered if I am not using it right away?
7: Wash the model in IPA
8: Place print in a bowl of hot tap water, then remove supports
9: Cure under UV/Sunlight
10: Put your finished mini on your shelf of shame to remain unpainted with all its unpainted brothers and sisters for years to come while you print more things you’ll likely never use
11: If resin is going back in the bottle filter out any dried pieces. What do people use for this? Will a tea strainer do? Coffee filter paper? Will the printer come with basic tools for this?
Remaining Questions
Will any dust mask do, or do I need a more expensive filter mask? How long do those filters last anyway? Basic paper ones don’t seem to do the job so more expensive filter ones are recommended. Remember to ventilate
Can I use the same set of marigold gloves for months or do I really need disposable gloves for operating this? The gloves don’t need throwing away between uses. Just be sure to contain the resin, and test any new glove material in a little resin and IPA before you risk your hands on it
How often should I be cleaning the machine and emptying the tank? What if I plan on using it back to back? What if I plan on not using it for a week or more? Advice suggests not leaving your resin idle in the tank for more than two days. Be sure to fish out any bits between prints.
How do I filter the bits out of the resin? I’m assuming the bits won’t always be big enough to grab with a spoon or tongs. The printer should come with filters with a small mesh at the bottom.
Is my work flow (above) correct? Is anything missing or in the wrong place?
What maintenance does the machine want before and after each print? Is it just good to go under normal circumstances so long as I keep the plate clean? None, unless it wants a good clean
Can I use a coffee jar or jam jar for the IPA bath, or will the lid materials be a problem? People have been using glass jars with plastic parts, and even plastic jars. Just test the materials with a little of the chemicals before you risk anything. I’ve had THIS recommended to me.
What is the lifespan of a model printed in the biodegradable plant based resin? We don’t really know yet
I’m sure I have more questions so I’ll likely update this list soon, ideally to include answers from the community.
Important points to note
- Prints will fail and fall apart if the temperature drops below 20C
- Titan Forge monthly packs tend to be 1.5gb-2gb so people with drive space concerns might want to plan ahead before backing lots of Patreons
- Patreon stuff tends to only stay online during that month so should be downloaded fully before the end of the month
- Resin wants to be stored below 15C but above -35C
- Old resin cannot be thrown or poured away. Must be disposed of properly at a local tip or through other proper channels
- Patreon listed costs do not include VAT so add 20% on top of what it says
- Patreons auto renews. I cannot see an option to turn that off so if you’re only dipping in for the month be sure to keep an eye on it.
- Be aware of the difference between ml and g when buying. According to the data sheet resin has a density of 0.8-0.9 grams per ml. This means that 500g of resin is 400-450ml resin. Switching between the two units is a means of tricking consumers in to paying more without realising.
Deliveries
I ordered my printer on Monday 27/4/20 late at night from Anycubic3dcom on ebay. Tuesday morning i got an email saying they were upgrading my sample resin pot to 500ml on top of the 3 litres I bought, but the resin would be arriving in a separate delivery. It’s Wednesday and this morning I got an email with tracking details. It’s currently saying it’s coming by Yodel and they have yet to collect the parcel.
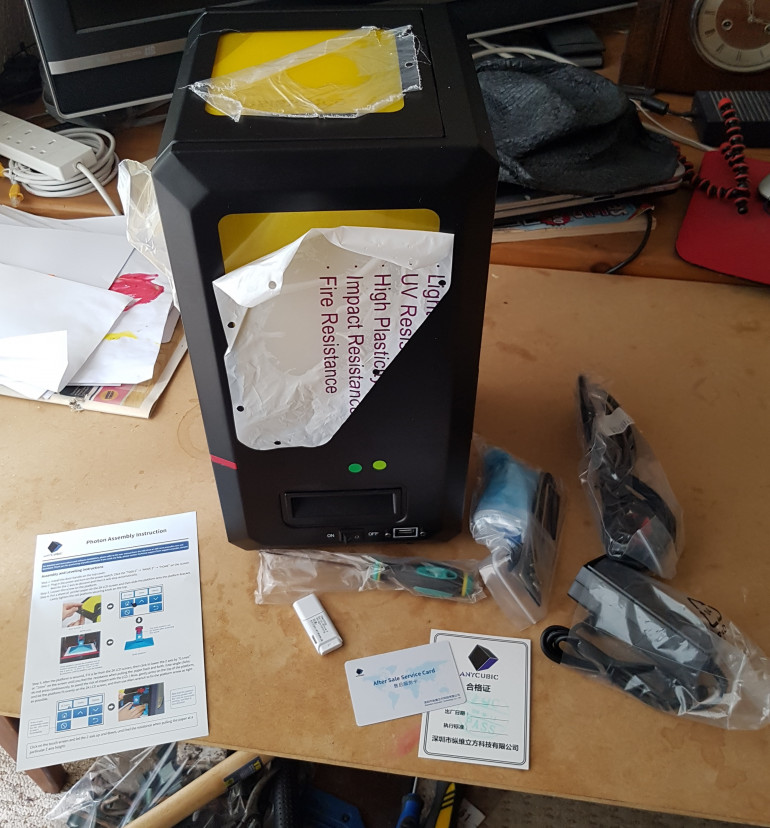
The printer is currently in my living room having just been delivered by DHL. It has “This Way Up” on the side, but because the address was printed the other way around it arrived upside down. There is no resin in the box so I can’t start printing yet, but I’ve something. hopefully the Yodel box is the resin and will arrive soon. Not being able to print before the weekend is probably for the best so I can focus on finished off my final 30 Mythic Battles minis.
£240 approx for the machine and the damn thing wobbles! The feet are uneven. I’ve tried multiple surfaces and screwed the feet in tight and its still wobbling. Its also packed so tightly with foam inside I can’t get it out. i don’t want to tug too hard or cut it for fear I damage something.
My First Printing Experiences
The resin arrived early last week and I’ve ran a few prints since then. First thing I had to do was set up the printer and level the bed. I read the 2 sides of A5 “manual” that came with mine and it told me how to do the paper levelling test (Watch this video for more info. I didn’t until later.). I did what it said and then tried to print two bases figuring they should be quick and shouldn’t need much resin.
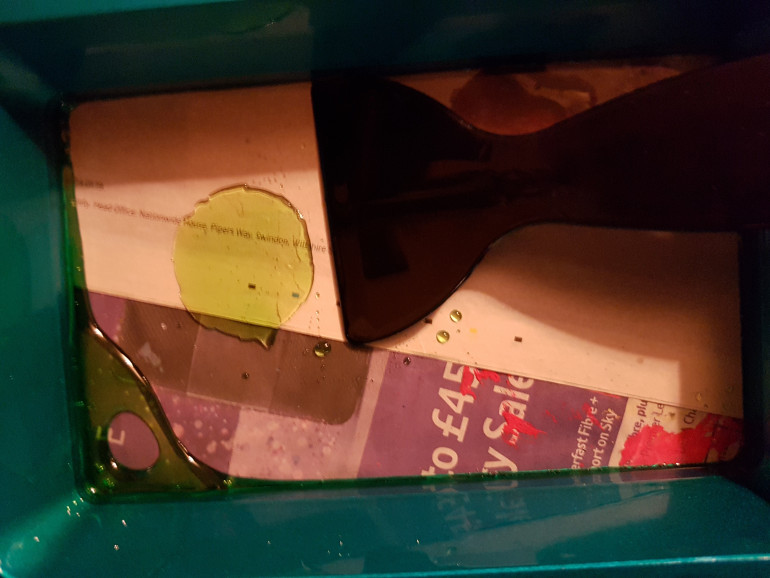
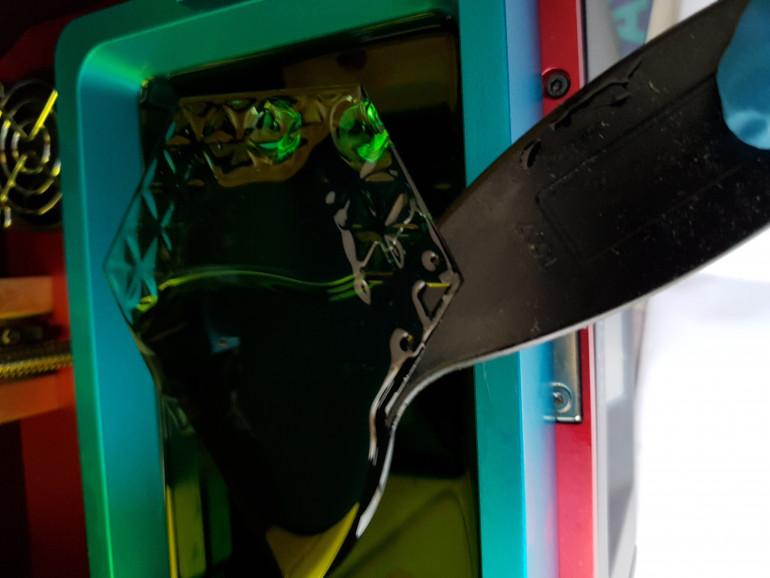
I ran them through and a few hours later when I returned to the machine the print bed was empty and I couldn’t see anything in the transparent green resin bath. After checking in on the OTT discord I ran the scraper along the bottom of the bath and I could feel 2 patches stuck down there. It appears that even with transparent resin your sculpts with be invisible when submerged. I was able to remove one of the failed prints without removing the bath, but I had to drain down to remove the other. Putting a little pressure on the underside of the bath popped it up enough for the scraper to remove it. No chemicals were used.
WARNING: The paper funnels they give you are rubbish. My machine came with 10 paper cones that have a filter at their point. They also have 2 C shaped holes with filters around and a little above this. Sounds great. However, when you sit the cone in the opening of the bottle the 2 C areas rest above the bottle so resin that passes through them ends up everywhere and it does this at the speed of gloop so theres no splash, no wide spray, no big movement so it’s easy to not notice. Use them for their filter but put them inside a real funnel or pay the price. I will be investing in a funnel and a tea strainer when I get the chance.
WARNING: The scraper they give you is fine enough, but over the course of the past week it has given me cause for concern. When a print is stubbornly sticking to the print bed and the scraper won’t go under it there are times it tries to bend. I suspect that if it bend’s past a certain point it will snap and have sharp edges and will end up in my other hand before I can react, or at the least scratch up and damage my printer. Be careful with your scraper, and maybe invest in something more resilient? I’ve had wallpaper scrapers suggested, but they can scratch up the print bed.
I had a further chat on the OTT discord. It was almost bed time and I wanted to set another print going overnight. It was pointed out to me there should be a test file on the provided USB stick. If I print that then my ability to provide supports or tweak settings would be removed as a possible reason for failure. I ran it through and the next morning I was in the same situation. I had some suspicions so I went away and googled more about levelling the bed properly. My manual just said to get it to where there was “resistance” to the paper pulling, but I was never too clear on what they meant by that. My paper was gripped, but was slightly looser on my left side.
I found this video and he took us through the whole process and included an extra step not in my manual. He loosened a grub screw that let the plate wobble on a ball joint, lowered the whole thing down and held the plate flat against the bottom before tightening the screw again. He also defined “resistance” as when the paper is gripped enough to stop you pushing the paper back in but not so much you can’t pull it back out again. I fully re-levelled the bed after this and tried the test file once more. Success! My plate had been off kilter a smidge.
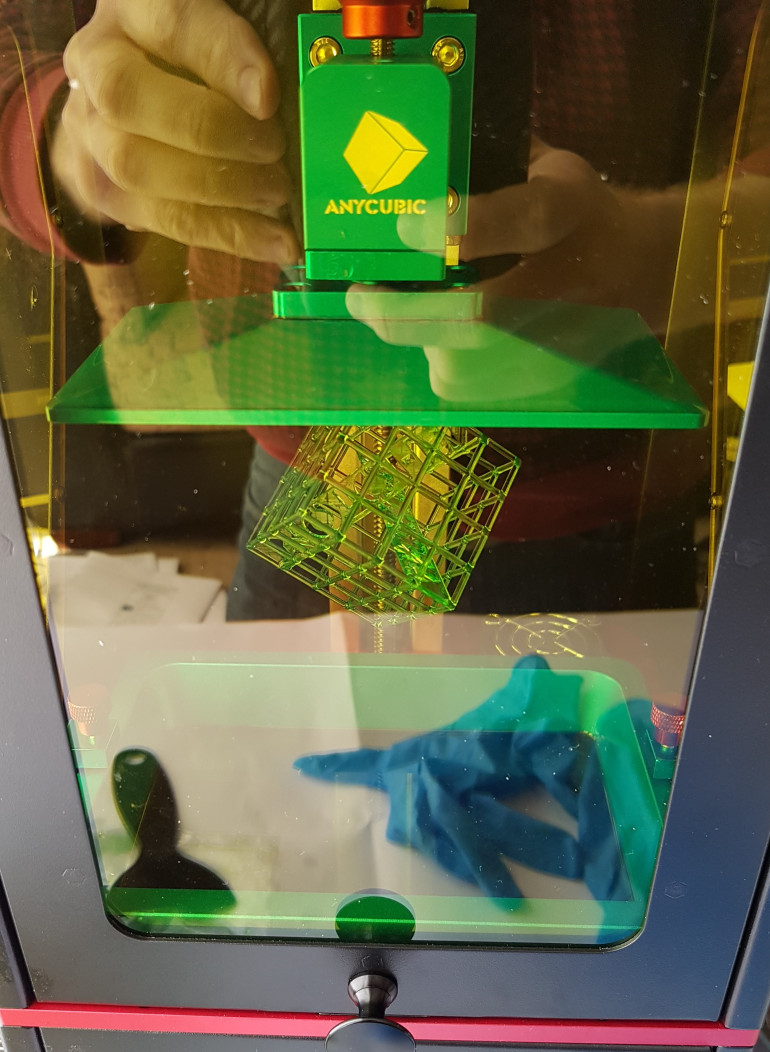 A successfully printed up side down thingumabob. Maybe paint it iron and use it as a modern art sculpture in Dropzone Commander?
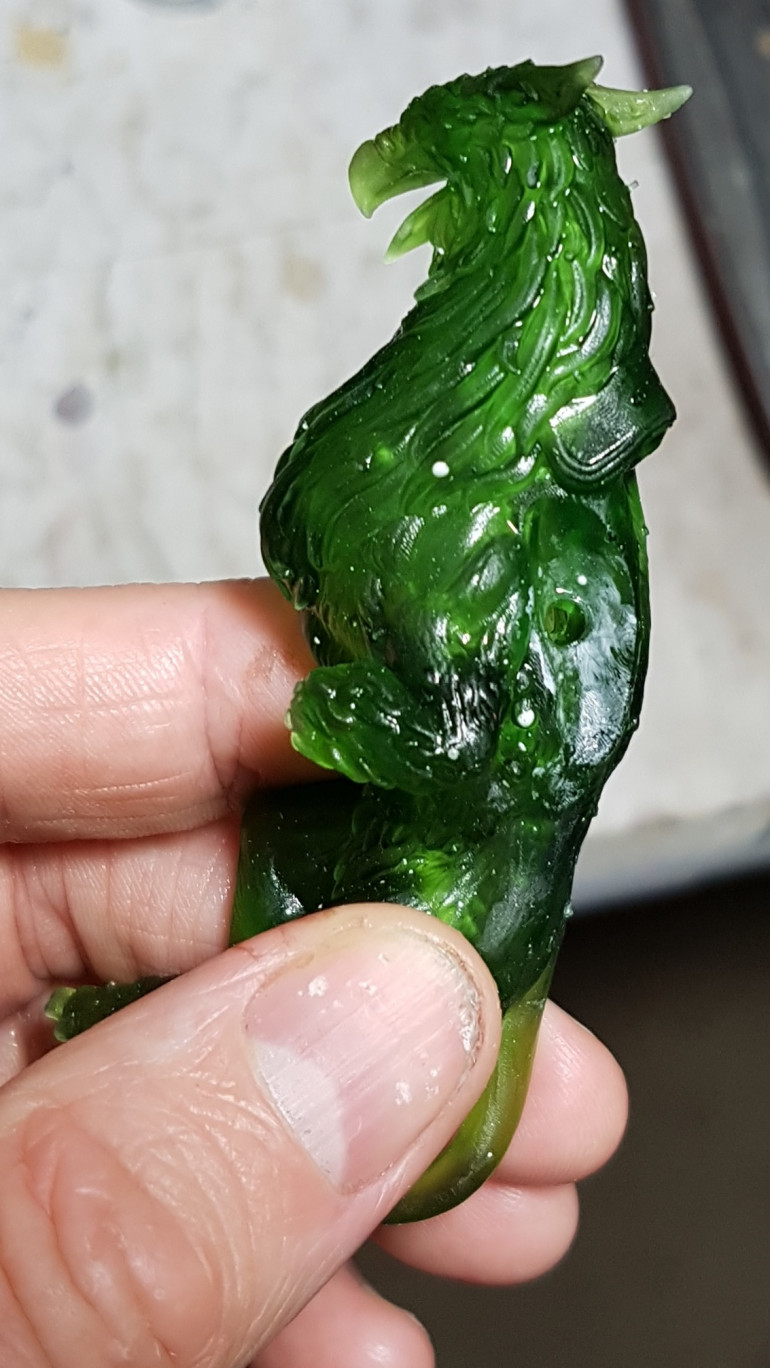
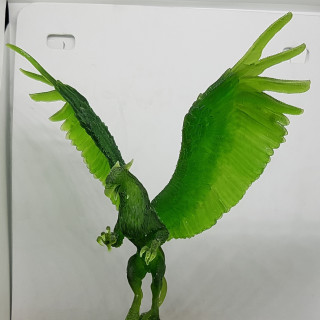
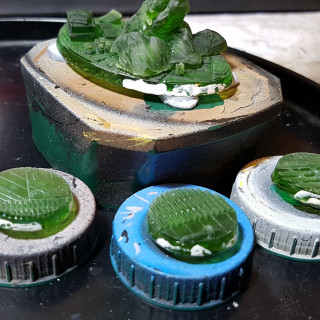
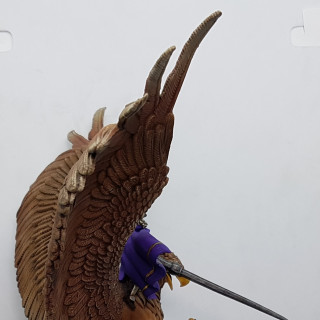
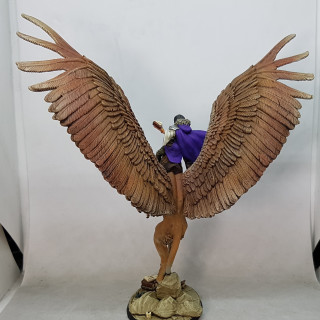
 Proof of concept piece done, I went back and tried my previous bases print and they worked fine. I’ve since printed out a load of bases, 2 30mm presupported minis and all the parts for an epic looking griffin and rider. I’ve only had one failure in that time and that’s because I took the print bed out and didn’t re-level it again. I printed 2 bases and one failed.
I have had another issue come up. I’ve only been giving my prints a couple of minutes in the IPA as I wasn’t sure how long they needed and I thought I’d read someone saying they have issues if they leave them more than that. I hollowed out my Griffin body and added a drain hole to each wing connection point. 2-3mm. I forget exactly. I washed him in IPA and left him in warm water catching the sun to cure. All was fine. Next day I take him out and leave him in the sun to dry. The day after I notice he has gained these white spots and smears. They appear to be a reaction between resin and IPA that has crept out of his body and set after the fact. I’ve since heard Blinky say he gives his prints at least 15 minutes in IPA and that’s what I’ve started doing. I can also really recommend making your drain holes as big as you can get away with. These were not big enough. On another piece I got cocky and ran supports through the drain holes. There looked to be plenty of room on the screen in the software. There wasn’t. They blocked up the drain holes and I needed to drill them out again.
Things to take away from my experiences:
- Watch this video before levelling your bed for the first time, or find a similar video for your model. A manual is no substitute for seeing it done.
- Always mix up your resin before a print. Shake the bottle thoroughly before pouring it out or GENTLY (No spills, splashes or scratches) stir it in the bath.
- Don’t put too much pressure on the plastic scraper as it could break and hurt you or the machine
- Give the edges and the top of your build plate a wipe down with a paper towel between prints to prevent build up and slow curing of residue.
- Use their paper filter funnels with caution and only inside a real funnel
- Prepare for an accident or spill that makes more mess than you expect. You cannot afford to get resin everywhere so prevention is better than a cure. Cover everything in many layers of newspaper. Keep paper towel nearby ready to mop up everything at short notice and keep a plastic bin bag (Not a shopping bag. They have air holes in the corners) to hand to throw everything in. if you have a spill you will not have time to fetch stuff.
- Jam jars are big enough to wash small bases and some small minis in, but they really are not big enough to wash much else. I got caught short and cut down a milk carton to make a temporary IPA bath. It doesn’t dissolve but it is not safe or stable and I will be replacing it. It was all I had to hand.
- The manual says to fill the bath 1/3rd of the way. Be warned that the build plate will go down in to the bath and displace the resin. It will rise a lot! You do not want it overflowing and you do not want it filling the screws on the top of the plate. That will end badly. It couldn’t hurt to wipe the edges of the plate after every print, even if you don’t fully clean it
- I’ve been trying to remove my prints from the plate without removing it from the printer. Be aware that if you apply too much pressure like this you could end up damaging the machine so if you’re doing this and getting some resistance you should probably remove the print bed and be prepared to re-level.
- If you hollow out a mini remember your drain holes and remember that while the model might fill your screen and the hole looks big, the print will be much much smaller and more narrow than you realise. Make your drain holes as big as you can get away with.
- Expect whatever you use to water bath your minis in to have debris stuck to it. I was using a measuring jug and leaving things bathing in water and sunlight for days. I have had to scrub it clean and leave it soaking for some time. it was not good.
- Auto Supports. As the videos I linked before say, Auto Supports through Chitubox are not great. I’ve been using them on my bases though and then going back and adding a few heavy supports along the leading edge and everything has printed fine. However, what those videos didn’t point out is that when you click add autosupports it just runs off of whatever type of support you had selected at the time. It doesn’t switch between light, medium and heavy based on need. I was ending up with heavy supports everywhere when I did not need them, making it much harder to remove the supports. I was using clippers and as the supports were coming away they were sometimes taking chips off the edges (I’ve patched them up with Vallejo Plastic Putty, filed them down and put 5-10 coats of gloss varnish over them. We will see how this works out). Dropping Autosupports down to Lights, then adding 6-10 heavies and switching to CAREFULLY using a box cutter to remove supports has been yielding much better results and I even still have all my fingers!
- Wash your minis in IPA for at least 15 minutes and be wary of any hollow models still trapping anything inside them. It could leak out and stain them or another model, or even get on you.
- Photon File Validator is really useful for checking and fixing your supports. After slicing you should always at bare minimum run them through this program and let it fix what it can automatically. Watching this video will show you how to find and fix everything else it flags. There is no reason for a print to fail due to lack of supports with this program out there.
- Don’t use toilet paper to clean up. I was caught short and was using it, but it tends to leave little fragments of paper behind. The kitchen roll I’m using hasn’t been doing this yet.
- Don’t trust the timer on the slicer or on the printer. They are mostly right, but not 100% accurate. They will be in the right ballpark.
- If you leave your IPA wash pot in sunlight the resin will cure, but not in a solid lump. My resin is clear green and my IPA jar is full of what looks like white foam/cream. I’m told you can dispose of that and reuse the IPA but I have yet to do this.
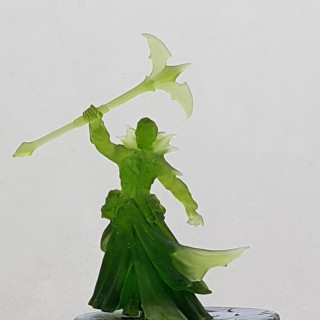
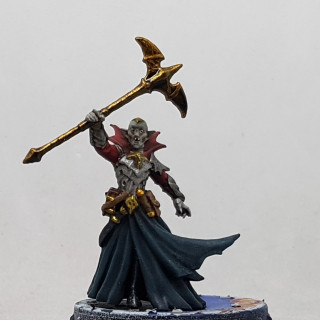
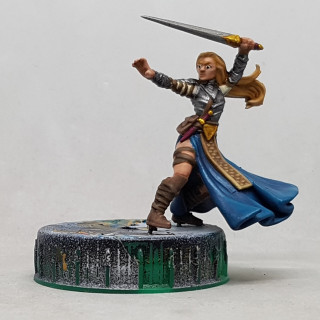
Here are some shots of what I’ve got printed so far, along with a WIP shot of my attempt to fix the chipping on the bases. Some primer should reveal how well that’s going.
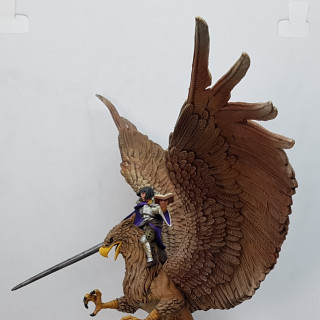
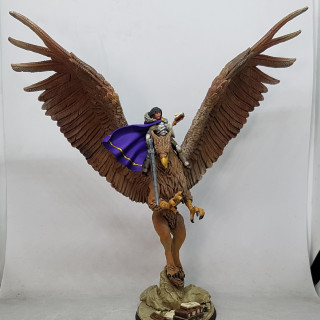
EDIT: 19/5/2020 I finished my griffon rider and added the shots below
Anyone who has browsed Thingiverse has learnt two things:
- The search functions are not the best and really aren’t designed for us
- Its a temporal black hole. You go there for 30 seconds to look for one thing and without noticing two hours just disappear.
As such I’d appreciate some pointers for some things I’d like. Files I’d like suggestions for are:
- I have the body for the previous sculpt of Abbadon the Despoiler for 40K. I do not have any of the other parts. I don’t play 40K, but it feels like a waste having what feels like the bulk of the mini and not finishing him up. if anyone has sen suitable STL files for printing his arms, head and back spikes I’d like to see them
- I was handed a bag of classic Necromunda minis before christmas. Most of it is ready to paint, but there’s a load of generic plastic Orlock Gangers that need limbs and weapons. Suitable STL files would be appreciated
- I fixed up a second hand Space Wolf army last year not really knowing what I was doing. When it came to the marines I was advised to just build what I thought looked cool and it’d be fine. I did and I painted them and then I found out there are 3 different types of Tactical marine in the Space Wolves and my build options do not make a full unit of any of them. I’m a mini or two away from a full table legal unit, despite owning 13ish models. I don’t play the game so I don’t want to buy another box of marines, but it bugs me. If I could print up the remaining model or two I wouldn’t have this niggle at the back of my head. I know GW wouldn’t appreciate this, but I’ve already seen some STLs on Thingiverse, but they all have their heads fixed on using grated face plates and the SW are more of a helmet-less people. Anyone seen anything suitable?
- At some point in the future I might be interested in printing some minis for Moderns or maybe Flames of War or Team Yankee. I assume all this sort of thing is uncopyrightable, even if individual files can be. Has anyone any favoured creators on Thingiverse or anywhere else?
- I painted up some Daemons during the 40K hobby weekend and I have a Slaanesh box to go with it yet to paint (A prize from BonesCon). Has anyone seen any printable bases that would match my scheme? I’ve been holding off painting them in case there’s a 40K or AoS hobby weekend this year.
Questions:
I’ve seen it said that resin is only harmful to us and the environment in its liquid state so once its cured it is safe. IPA is safe to go down the drain too. So if we cure all our waste, including leaving out IPA and water baths in sunlight for long enough we can dispose of it as if it were normal household waste. Is this true?
Has anyone got any experience with plat based resin? How biodegradable / long living are the prints? Is the waste safe to through out and the printer air safe to breathe?
I’ll be looking to cut some large models in to smaller printable parts soon. I hear MeshMixer is the way to go. Has anyone any preferred Youtube tutorial videos on doing this?


