Hellboy (an old Spring Clean Challenge)
Recommendations: 1525
About the Project
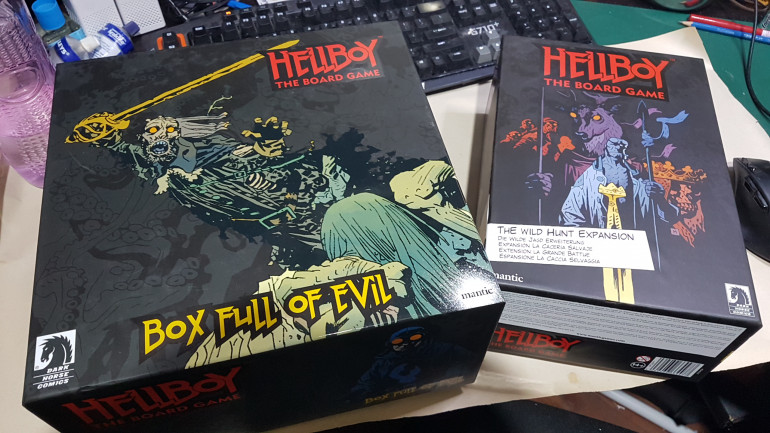
Clearing the Flames of War debris from my desk I realise I have a chance to get on board the Spring Cleaning Challenge. Looking at my choices I realize that pretty much everything I have to choose from is spring cleaning My choices being : Blood Rage, Conan, Mythic Battles Pantheon, Zombicide Black Plague and Green Horde, Joan of Arc, Dust 1947, and a couple of expansions for Imperial Assault, Hell boy, There's a few moere in storage but they probably wont come out till Xmas and are looking like candidates for next years spring clean. As Hellboy was pretty much the last thing I got to play with my mates before social distancing its Kind of a no brainer
Related Game: Hellboy: The Board Game
Related Company: Mantic Games
Related Genre: Horror
Related Contest: Spring Clean Hobby Challenge (Old)
This Project is Active
Base glazing
So the BRD members rely on a similar colour palette so sticking to my idea of seeing how much under sketch I can utilise , instead of just using as reference and painting over, I am building up my colour as I go.
I’m realy enjoying this method, it feels relatively quick, and allows for lots of colour variation and gives good shading control.
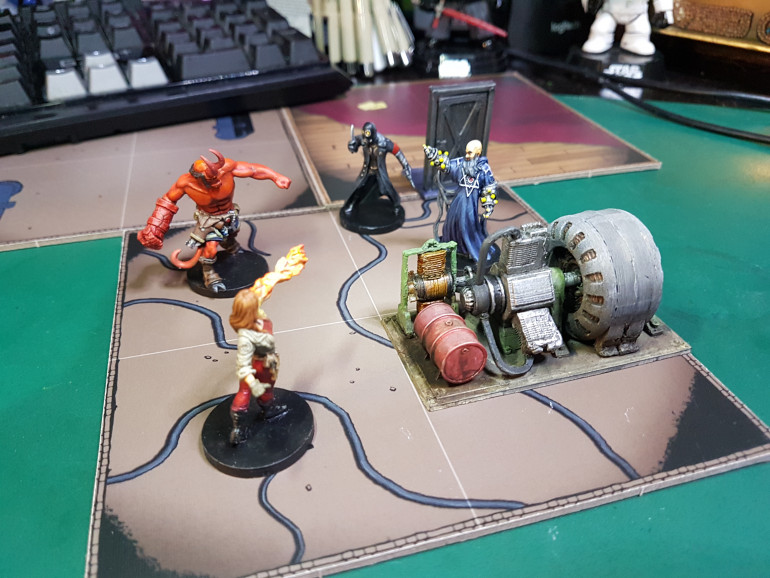
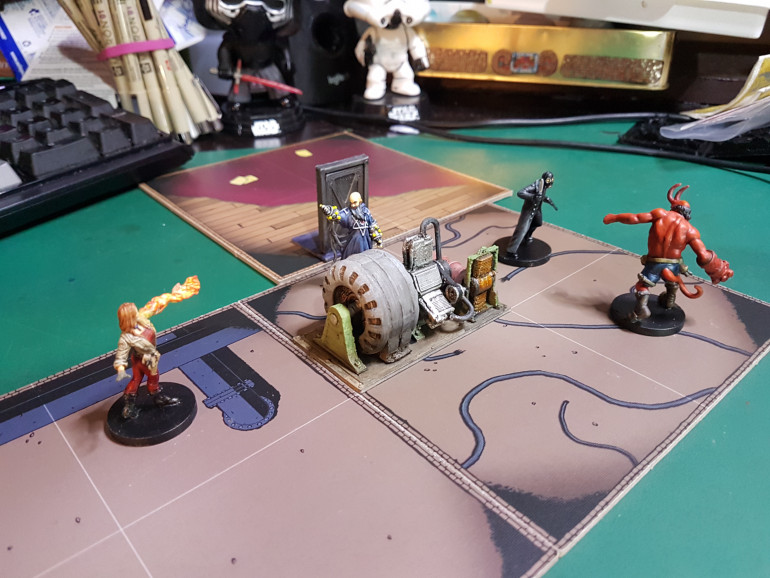
The images bellow are to show the progress this week. None in this set are what I’d call complete yet.
HELLBOY
So I tried to maintain my current methodology and use glazes, and washes and build up to my desired effect but found 2 general issues.
- Glazing red to get the specific shades of red I wanted wasn’t as straight forward as I wanted. Hellboy is a very solid red but as glazing up to an effect generally relies on you starting with a white or light colour, glazing red on white left areas that were too pale. I had created a few glazes from red/orange up to a dark red to see how it changed as I went through each layer. In the end I found my mixes weren’t providing as consistent a finish as I wanted so resorted to using some thinned down citadel , Wild Rider, and Evil Suns Scarlet and used my home made mixes to tint or glaze as required.
- Glazing and washing over larger smooth areas is a bitch. Yeah it’s an obvious one, though its not normally an issue with most standard figures up to 32mm it did play havoc with the scaled up bust. So his great coat required a bit of back and forth but I got there in the end.
Tentacle Monster and Right Hand of Doom
Tentacles were a base coat of my home made lime green contrast/glaze followed by a darker green contrast/wash then a bit of extra Army Painter Military Shader near the bottom to accentuate the shading further.
I had experimented with painting the suckers first but that was soon erased so done again towards the end. The timber pieces were painted a dark brown before at the start then a lighter tone was used where the timber was obviously visible before a little black wash top restore details.
The right hand of Doom was done same alongside
UALAC
Taking the comic art as inspiration this time I tried to use the undersketch as much as possible again. A thin coat of my mustard yellow contrst home brew and a couple of washes and it was almost done. Probably spent more going back and forth on teh sword with this one
Witches to steal your britches.
Utilising the sketch layer as much as possible I glazed in some washed out colour then washed with a loose dark wash and a layer of undiluted strong tone. Photos are showing me a few mould lines I didn’t notice earlier, but I need to move on and look at heroes and boss monsters.
She’s got wings but she’ll drag you down
Harpies as depicted in the Hellboy comics are basically black/grey monotone after transforming from giant black birds. But Mignola wasn’t shy of changing character colours between pages and I’ve already painted plenty of black and grey and earthy tones and feel like doing something a bit fun and different that will stand apart from the other minions.
So taking a couple of vibrant india ink colours and some Game Ink Violet I started layering in my colours. It took a few passes before I was happy with the placement and intensity and I had to switch to Vallego Fire red to get the depth I wanted but it was worth it.
To complete, a little black wash to the darkest areas and some very light dry brushing of the red and blue to pull the wings together. The more human aspects are successive glazes of Vallego Skin Tone and a bit of Game Colour Flesh wash
Who let the dogs out!
To get these K9’s rolling I did a google search on Euopean Wolves then did a quick airbrush base using :
Vallego Panzer grey for the dark areas around the back and neck,
Vellego Golden brown around the face and flanks.
And a mix of Vellego Sand (ivory) and white for the chest/under belly, paws and under chin.
As airbrushing often coats too well and can blow out undersketching and details I followed up with a splash of black wash on the grey areas and some strong tone everywhere else.
With a fairly solid base now down I proceeded to mix various shades with the pallet of colours above to bring out more details and create various fur patterns. Sometimes dry brushing a section, sometimes glazing in a few strokes. Considering the wolf flanks, there being no limit to the mnumber of fur strokes I could put in, I rationalized that a basic effect for playing with was what I needed and assessed my work at game play distance.
A splash of colour to the eyes and mouths and I call done.
Boring Blackbirds
Pretty simple realy. a base coat of Black contrast, a second coat to the underparts and then a drybrush of 50/50 mid dark grey and violet ink. They’d probably photograph better when they get a matte coat but that will wait till later.
Villain time
In terms of colouring Klempt it was basically a blue wash to the robotic spider components and a green glze and wash to Klempts head with a few details to his more interesting bits.
Isa Haupstien and Kroenen , being basically black, were painted with the last batch of nazi minions, in that the airbrush was required, but Isa got a warmer skin tone which I felt better reflected her character in the comics.
Don’t drop the baby!
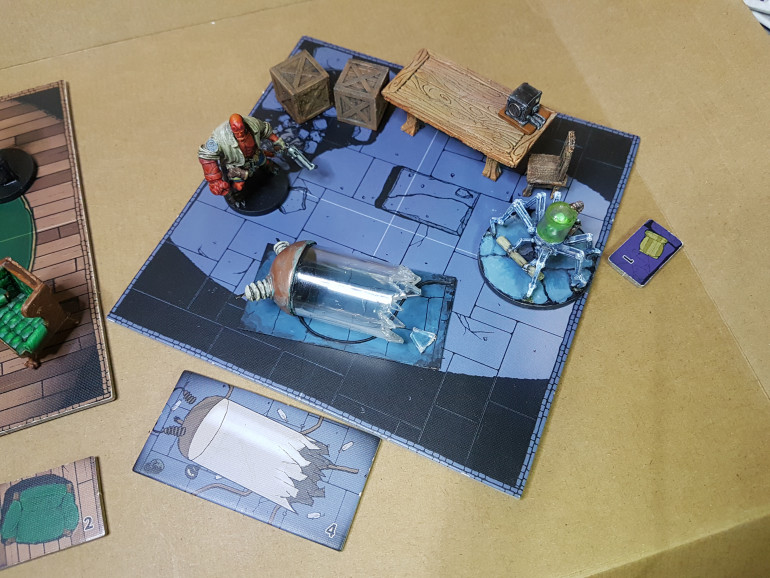
Herman Von Klempt face planted the floor with a metal object following. One down side of magnetizing for handling is you have to put them on metal stuff which is heavy when you drop it.
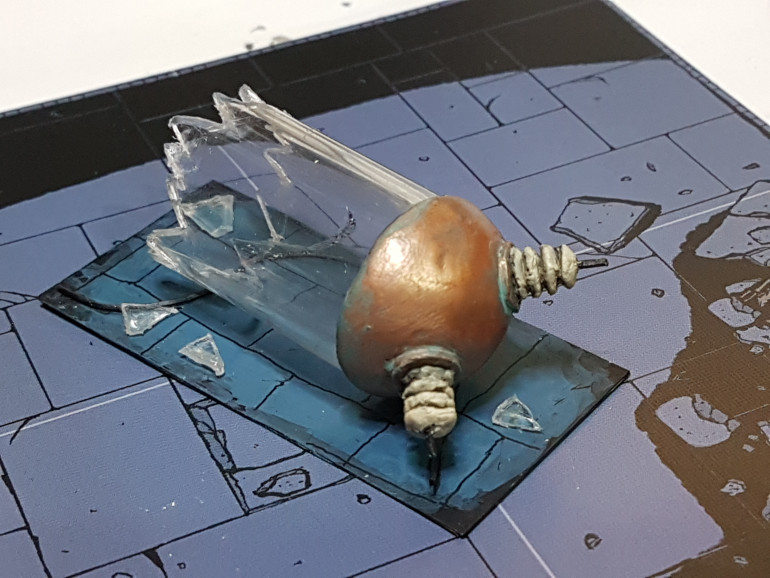
Looking at him and contemplating reassembly I can’t help but think he should have a jar on his head. In the comics he has a jar on head, he was the ultimate evil ‘jar man’. Grabbing a few bits of detritus, a pen lid and screw, I set to creating a jar. I attack a transparent pen lid with a rotary tool and set about making a mold to play with a bottle of UV resin I picked up for no other reason than , it was on sale.
Wearing black won’t take care of that.
The last two groups of nazi minions were mostly black and greys. I started with a glazing technique similar to the previous models but felt there was too much moving around of each layer to get the visual on the shadows right. I think it’s because I was basically viewing in them in black and white and my eyes were more sensitive to the shadow effects. Anyway I ended up going back to the airbrush and doing most of the base colouring and shading then using a little glazing after to accentuate a few shadows . I also used multiple layers to bring up the black on boots, guns, and headwear.
Zee Nasty Pasties
So a few detail passes for faces, weapons and equipment and I’m calling them done. I took a moment to reflect on the swastika thing and thought ,yes its Hellboy, we’re sending them to hell, so its ok, but personally still find them abhorrent and didn’t want to waste time on white blobs with fuzzy black things, so let them go.
On the whole there are some areas that have come off a little ‘painterly’ but considering the minimal time and effort in getting these 18 minis done in 10 days and the overall effect, I’m pretty happy.
After the ‘Screaming Skull’ pass to unify skin areas I used a home made purple wash then some game colour ‘Flesh tone’. Yes its cold, but so are these pricks.
Layer upon layer
I’ve found when going for the glazing method you really have to manage your expectations. If your used to doing a base coat that closely resembles the actual colour you will have to be patient and take the time to lay down as many thin coats as required
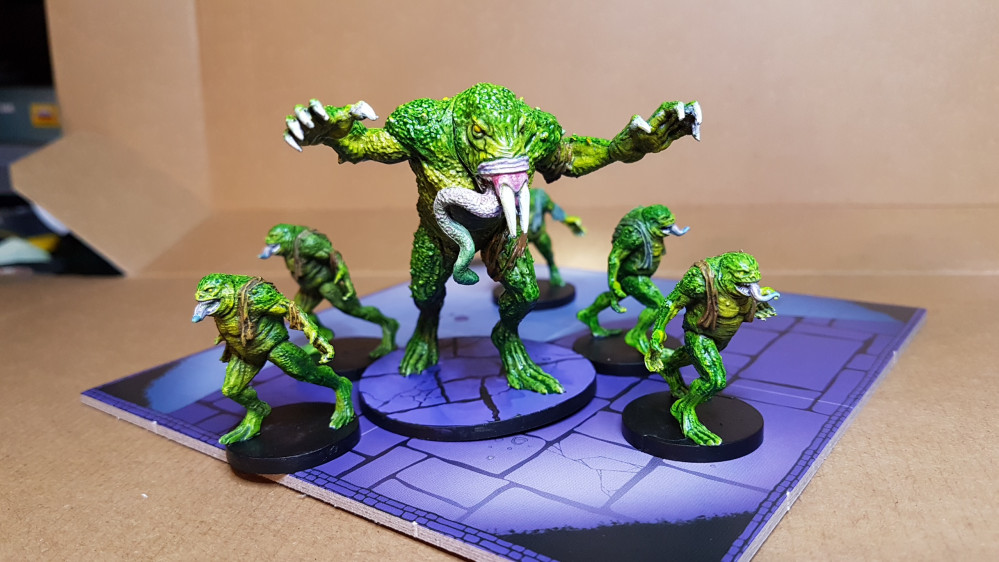
The final frog folk
Similar to the previous frog men these are basically a base glaze allowing the sketch/zenith to show through then picking out some detail and using a series of washes, heavy and light, to complete and tie everything together.
From frog spawn come frogmen
Hellboy frogmen come in 4 distinct flavors, those who just caught the frog, those that have turned to frog, frogs that spit, and a giant frogish thing. Working from the bottom up I’ll work through each stage while trying to give them a small twist to help distinguish them on the board.
Stating with those that have just caught the frog I give the skin a thin underglaze of airbrush yellow which I don’t plan on for the other stages. Then follow up with a green contrast style wash and a top it with a blue pin wash. I then select a tan and a blue to use on the tattered clothing for all the frogmen for consistency. Using multiple thin coats helps control the effect and keeps the sketch layer doing what it should.
After picking a bit of detail, like belts and hair, I used a little Strong Tone selectively to accentuate a bit of shading then called them done
Full frogmen got a thin glaze of green first up then a wash with Strong tone and Military tone mixed 50/50. I could have saved myself a little work by picking out the tattered rags before the wash but it helped me see what I was doing and quick bit of Strong tone to the rags and some detail on the weapons and I call done.
Frog spawns & bats
Taking the opportunity to play with the mediums I decided to try a few out with Badger airbrush inks and another set with citadel paint.
In conclusion both methods worked but the airbrush inks give a cleaner more effective result. The citadel paint needed a drop of flow improver to counter the extra medium with in the citadel pots. For the final frog spawns I decided to under glaze a mix of yellow, citadel green and pure white areas to provide more variation and interest for those that get curious and take a closer look.
The bats were a simpler affair. With a bit of black to reinforce the shadows I did a dark grey drybrush followed by a lighter grey highlight dry brush then glazed in some golden brown for a touch of realism then Strong Tone to tie it all in.
Plastic Dummies and DIY suppies
So what do I know of glazing, not enough to write home about. I mean I’ve occasionally thinned down a bit of paint to help with transitioning and blending but I’m certainly no expert and I’m about to endeavor on a project where I plan on almost exclusively glazing, ………until I get it wrong. So in the spirit of making mistakes that I can learn from instead of just getting frustrated with I dig out some redundant toy pirates and skellies from my kids toy box and give them a quick zenith and sketch layer so I have some pieces to test on.
Then I think to check my supplies. I figure glazing a full box of Hellboy miniatures will require a fair bit of glaze medium. I’ve got about 15mm of Vallejo glaze medium, about 75mm of flow improver and no fancy paints like Citadels Contrast stuff. With the number of minis I’ve got to paint I could go through most that just trialing mixes before I make any real progress so I do a quick search on line of my usual suppliers. They’re all completely out of Vallejo stuff short of a few small 17mm bottles, panic buying for indoor hobby time seems to have taken its toll.
I get to thinking maybe I could make my own mediums. If I a can make myself a flow aid, a glaze medium, a contrast medium and maybe a wash medium I will have something consistent to add colour to and not get too lost in the chaos of remembering mixes every time I want a specific effect. I still have access to plenty of matte medium, dish soap, rinse aid, isopropyl and water. All things I’ve used in the past to help make washes and thinners so I guess if I can find ratios for the other mediums I might be able to get by making my own.
My research takes down a few rabbit warrens but after hrs of youtube and reading a few forum topics I have little specific information on washes and glazes but some good info on Flow aid and Contrast medium. Two of better pieces of advice were gleaned from the following
Flow aid- Luke Aps – Geek Gaming Scenics
https://www.youtube.com/watch?time_continue=28&v=N_9JqC9ykBg&feature=emb_logo
Contrast Medium – Goobertown
https://www.youtube.com/watch?v=VU0rc0EOOys
Piecing together other commentary and throwing in my own meagre experience I take a guesstimate on washes and glazes, gather supplies and do a little supporting experimentation
Some right some wrong but so far no mistakes. Though I do wonder if my base is white enough to make the most of the technique.
Minions, Monsters and Heros
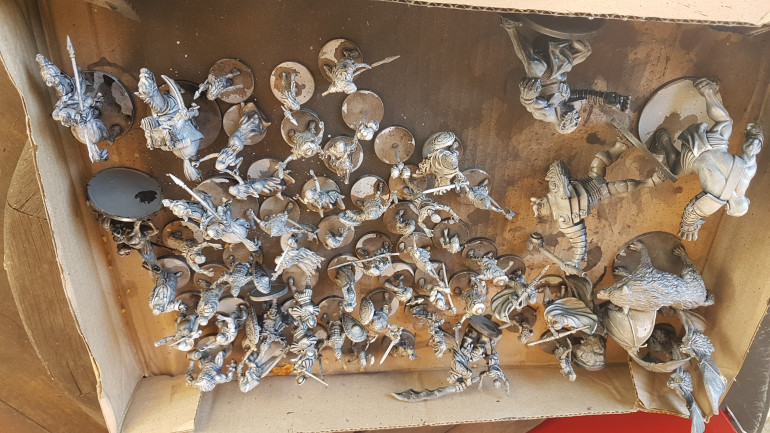
So I have determined my method but I still have to make it work with a large number of minis to be painted. I scratch myself, wonder, and realize I have little specific experience to weigh any decision on. I decide to start at the start and make it up as I go along. The first decision I make is to use the frogmen with each step as experimental rats so to speak to gauge the effectiveness of each part of process.
I give everything a black undercoat and start with a cool grey before the warm white, get through the frogmen and larger Monsters but wonder if I haven’t gone to heavy, and too light early on given I still have a lighter layer to go. I drop my cool grey back a shade or two and feel more comfortable moving forward.
If your wondering why all the little steel plates, I had a moment in my re-enacting career about a decade ago where I started making a coat of steel lamellar. This is where magnetizing the bases comes into its own as I can easily move the miniatures onto tighter bases to maintain the angle of spray for each coat of successive layers.
Length is good but…..
So as I work through gluing magnets and stuffing green stuff I become increasingly irritated by the absurdly long long arms of the riflemen. The magazine isn’t showing in this pic but it appears the sculptor couldn’t choose between a 98k or G43 so Frankensteined them. It may have been artistic license but it bugs the sh!t outa me. So I do something about it. Though by scale the rifles are still a few mm too long I used 2 convenient steps in the model to snip out a section on all the riflemen and use a 2 part plastic adhesive to weld the barrel back in place.
As a matter of course green stuffing always leaves you some green stuff left over so I start twiddling and because a skull always comes in handy and I can always do with the practice.
But I still had left over green stuffing. So I get to thinking about how pulpy Hellboy is and how maybe I could come up something to use as a clue counter to be used in the game, and thought about how I have few other pulpy games of similar scale such as Dust 1947,and Reichbusters, and then I remembered ….a skull needs a …..
Starting a fresh
As per my findings painting the BPRD tokens I’ve washed and sorted all miniatures for cleaning mold lines. Thankfully Mantic really know their stuff and the mold lines aren’t too much bother. I’ll also I drop a magnet under each base with a bit of CA glue for ease of handling.