


Finally Finishing an Army


Recommendations: 337
About the Project
I've been part of this glorious hobby for a rather long time, and I've never really gotten an army painted...until now! I have been working on this for a while, so there is plenty of stuff already done, but there is still a lot of bare plastic on my display shelves that needs finishing! For now, it's focused on my Ultramarines, but a few other Imperium goodies may be splashed in from time to time. I'm working on getting some better pictures here and there, but I'm relying on my phone camera, so bear with me.
Related Game: Warhammer 40,000
Related Company: Games Workshop
Related Genre: Science Fiction
Related Contest: Spring Clean Hobby Challenge (Old)
This Project is Completed
Where we are so far!
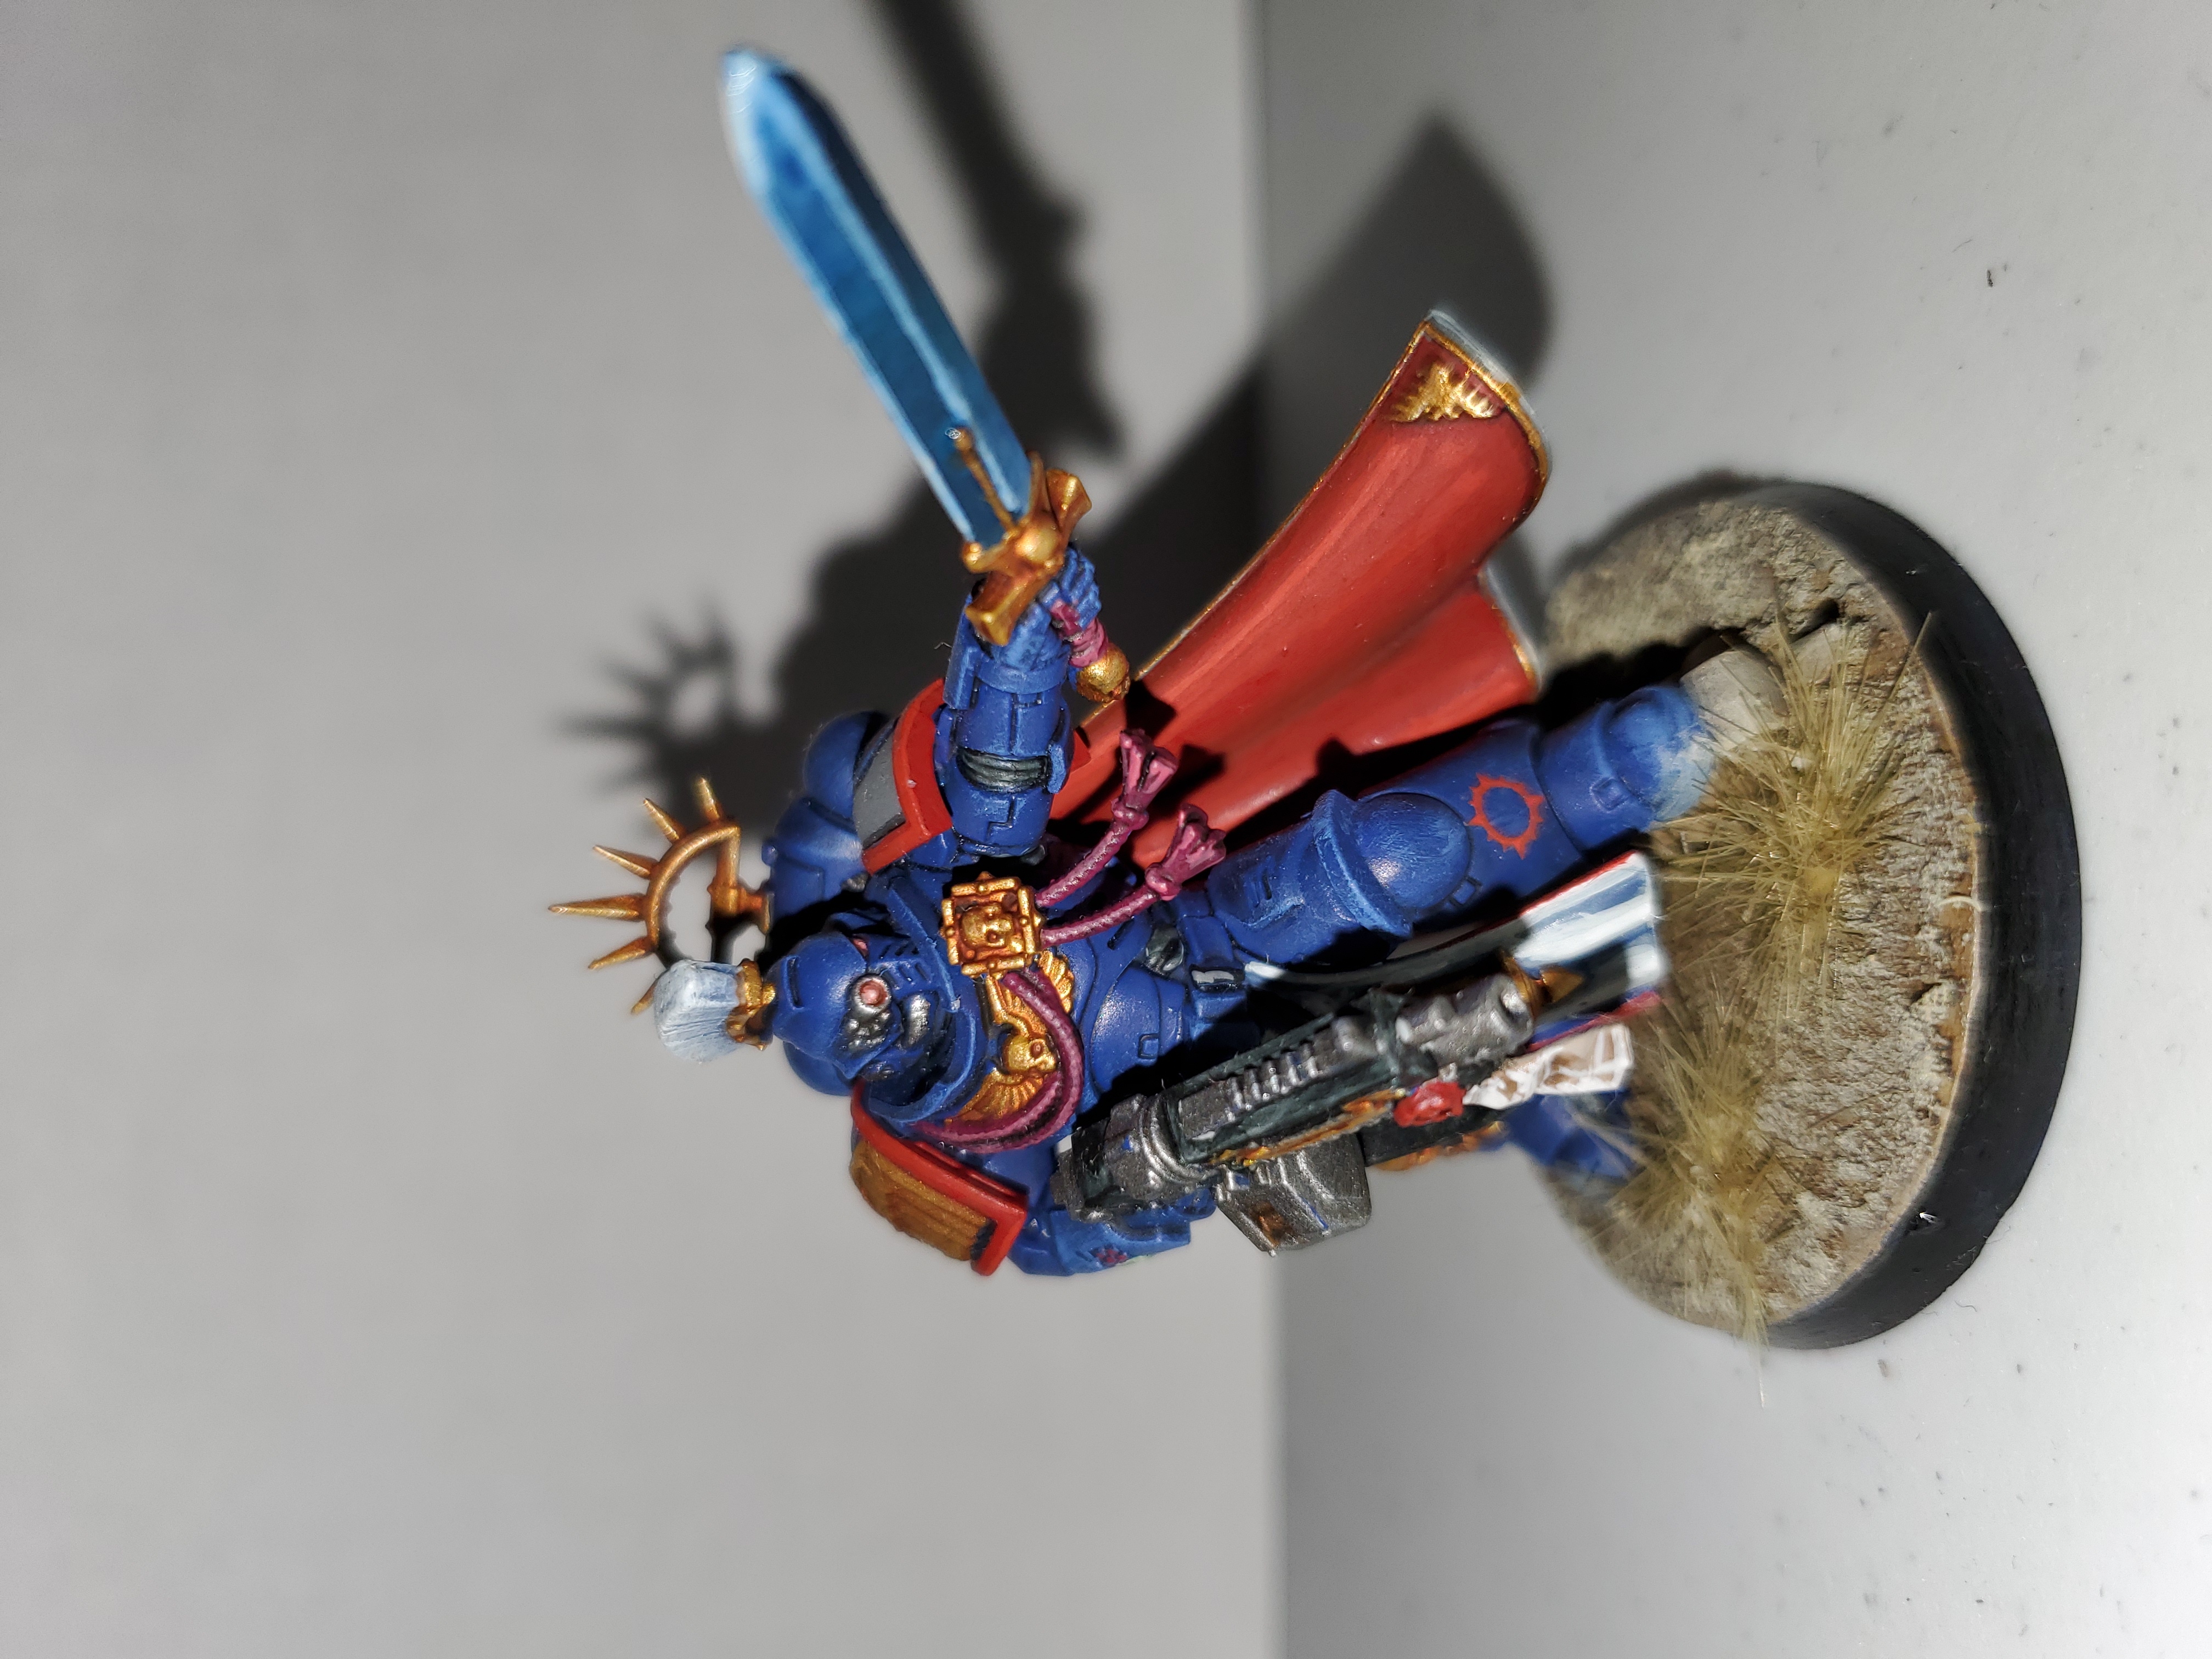
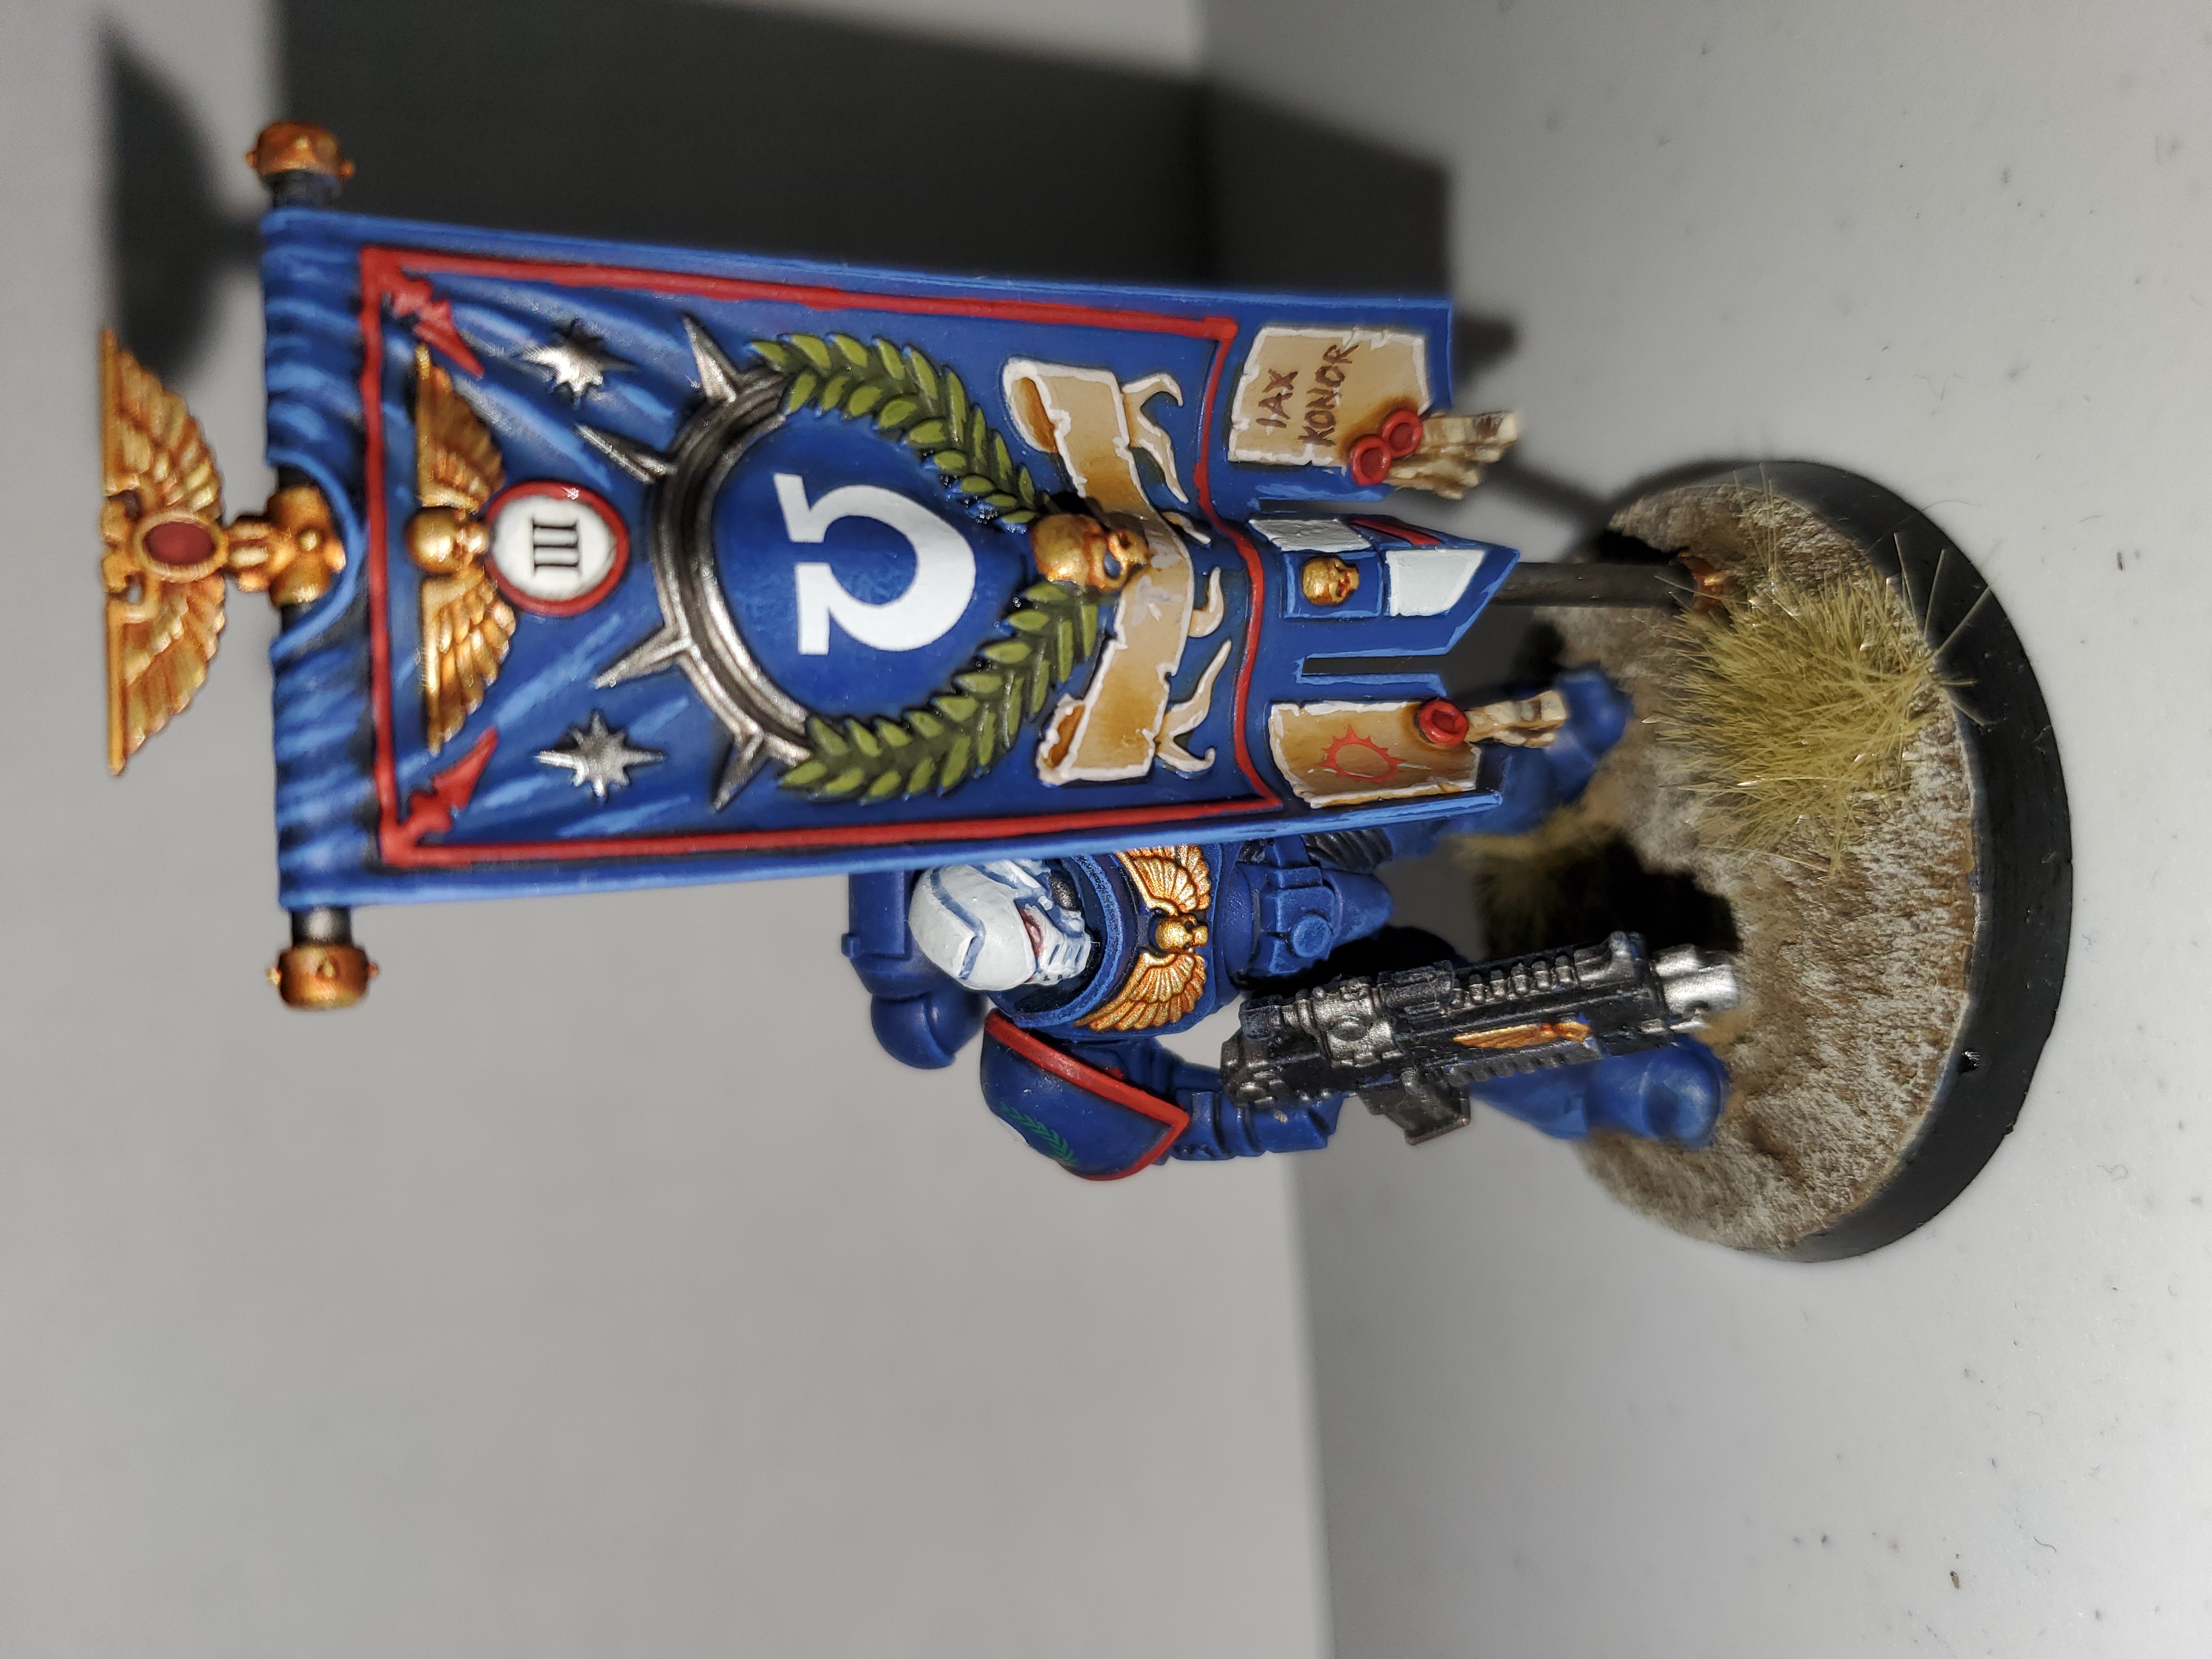
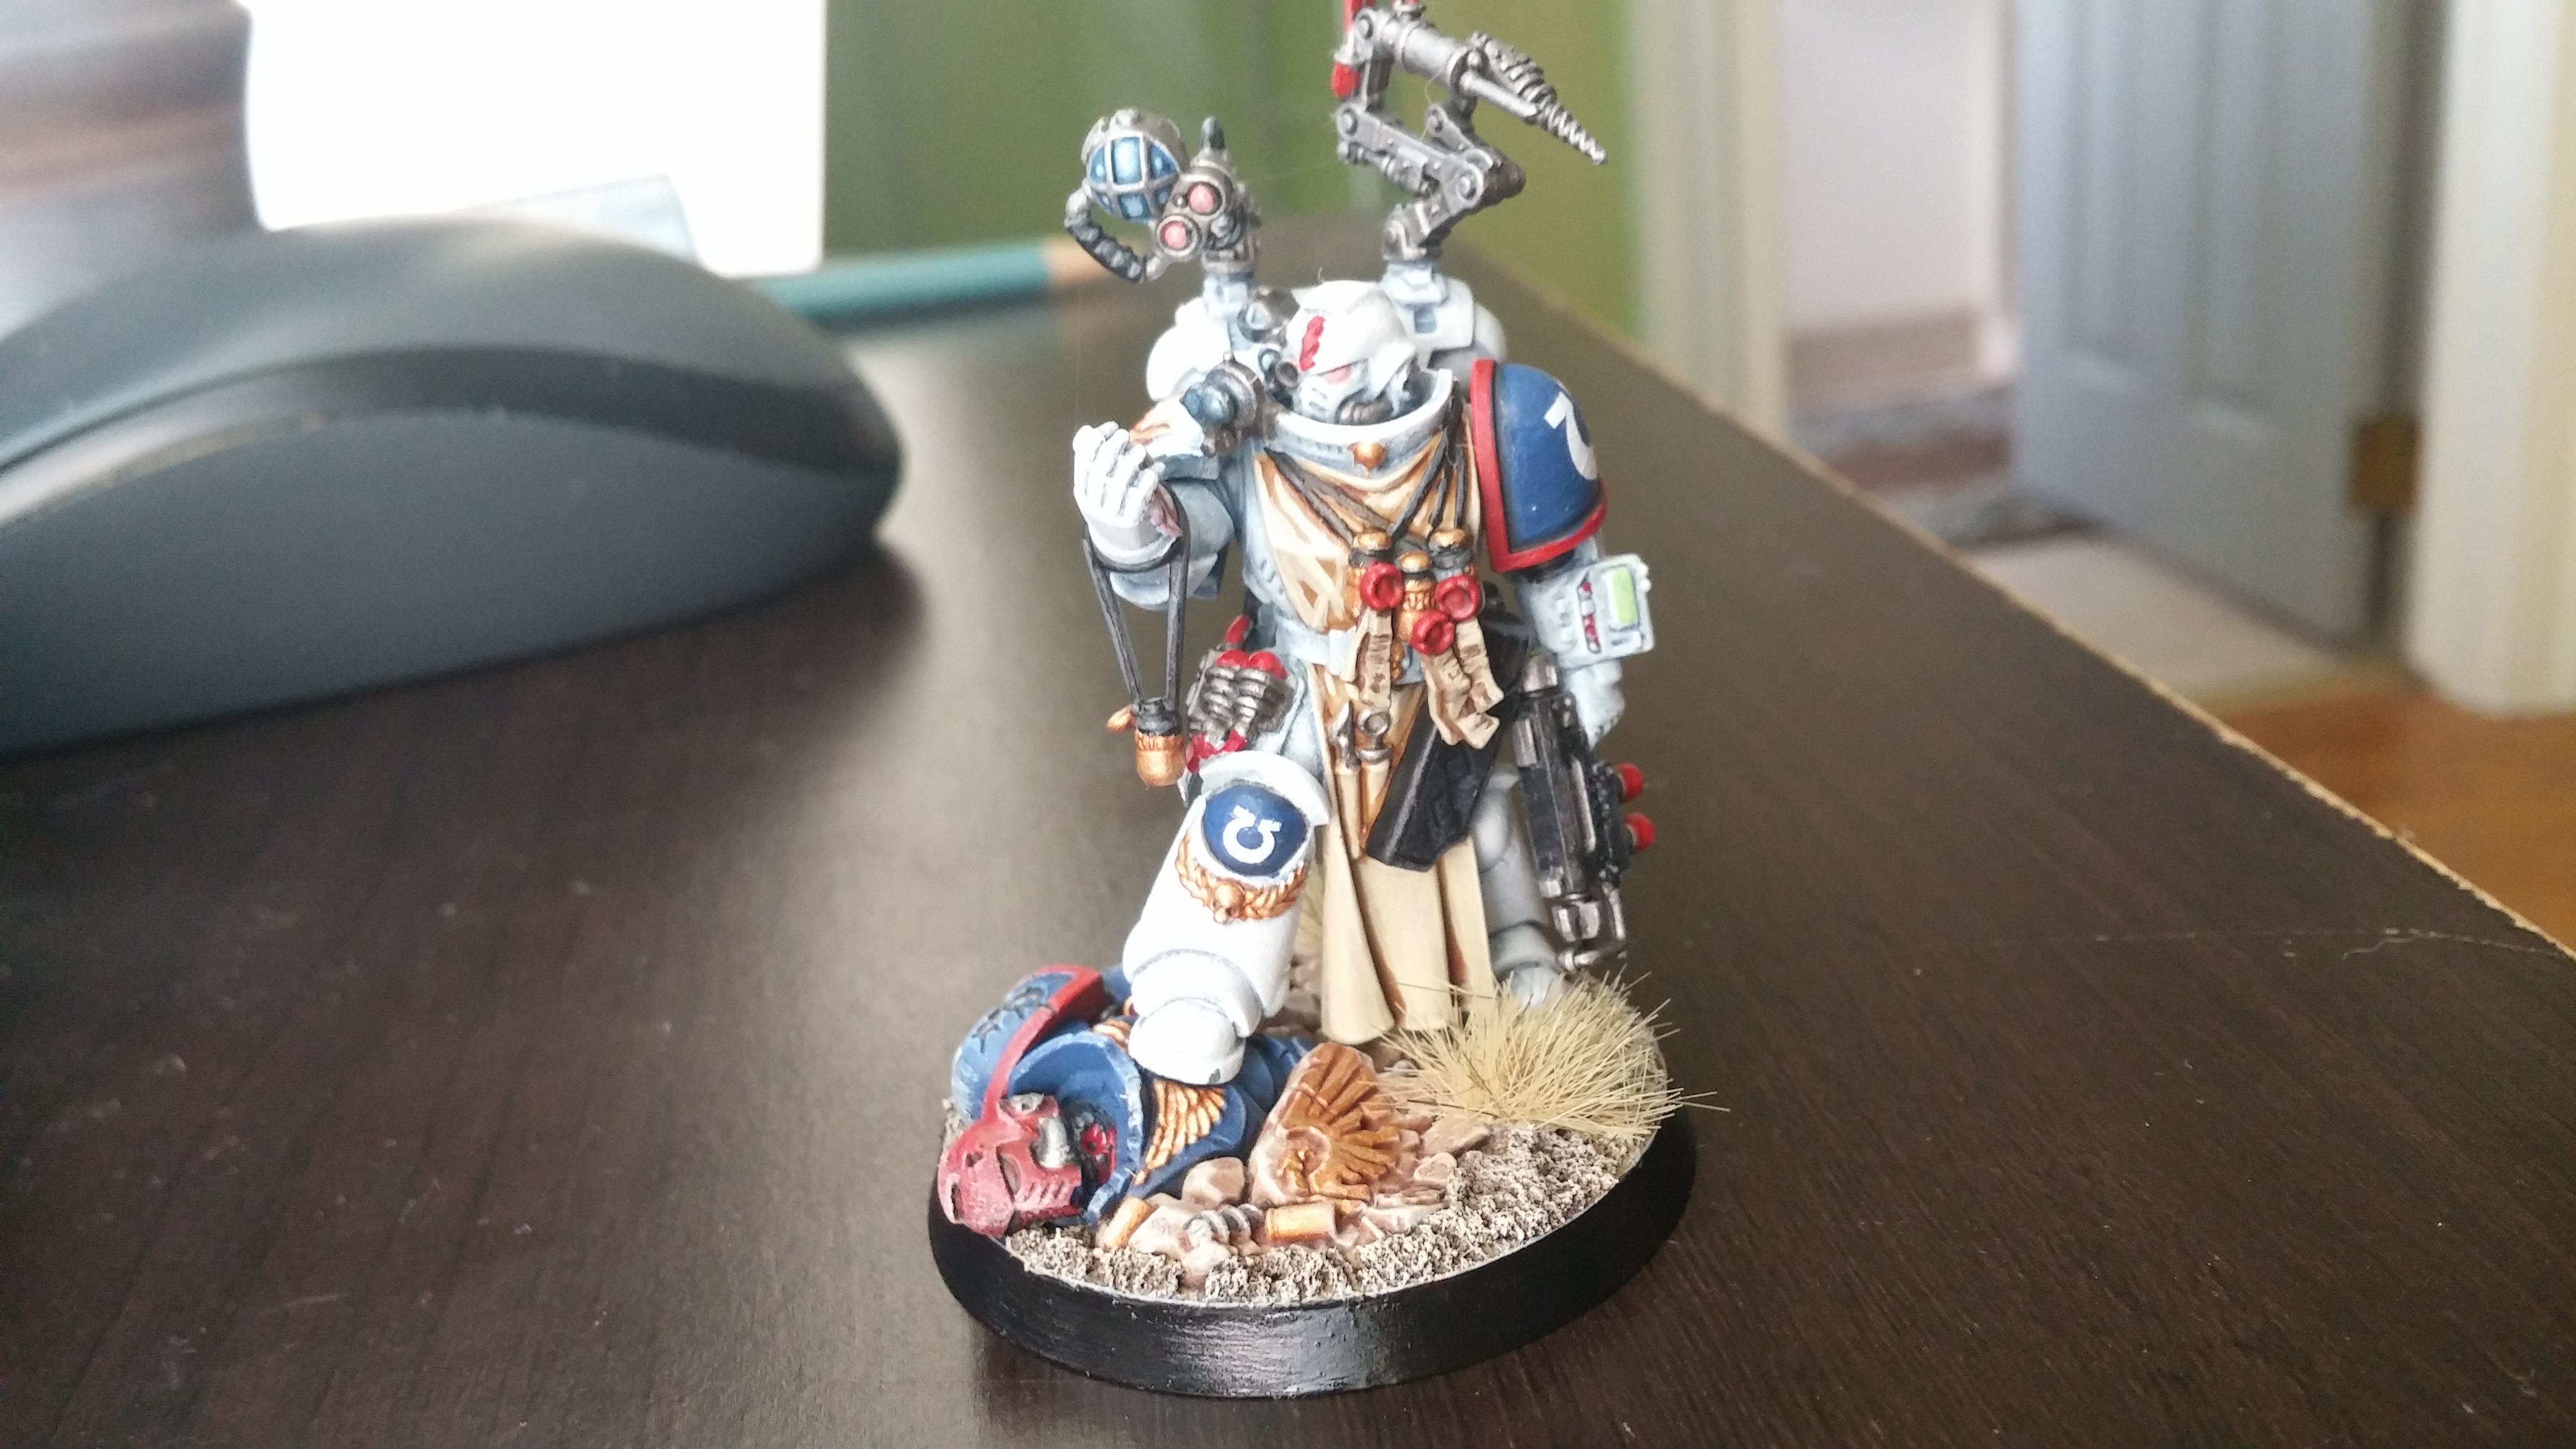
So here is where my army has gotten thus far! I have gotten the basics of the army done, so I’ll post some pictures of what I have done. Let’s start with my characters. From the top down we have Captain Aurelius Caesterlus (they are Ultramarines, so prepare for some terrible faux Latin!), a Fleet Officer attached to the 3rd Company. Chaplain Quintus Antonius, Lieutenant Caius Lucius, Company Ancient Marcus Signus, and finally Apothecary Galen Aelius.


Where we are so far! cont...
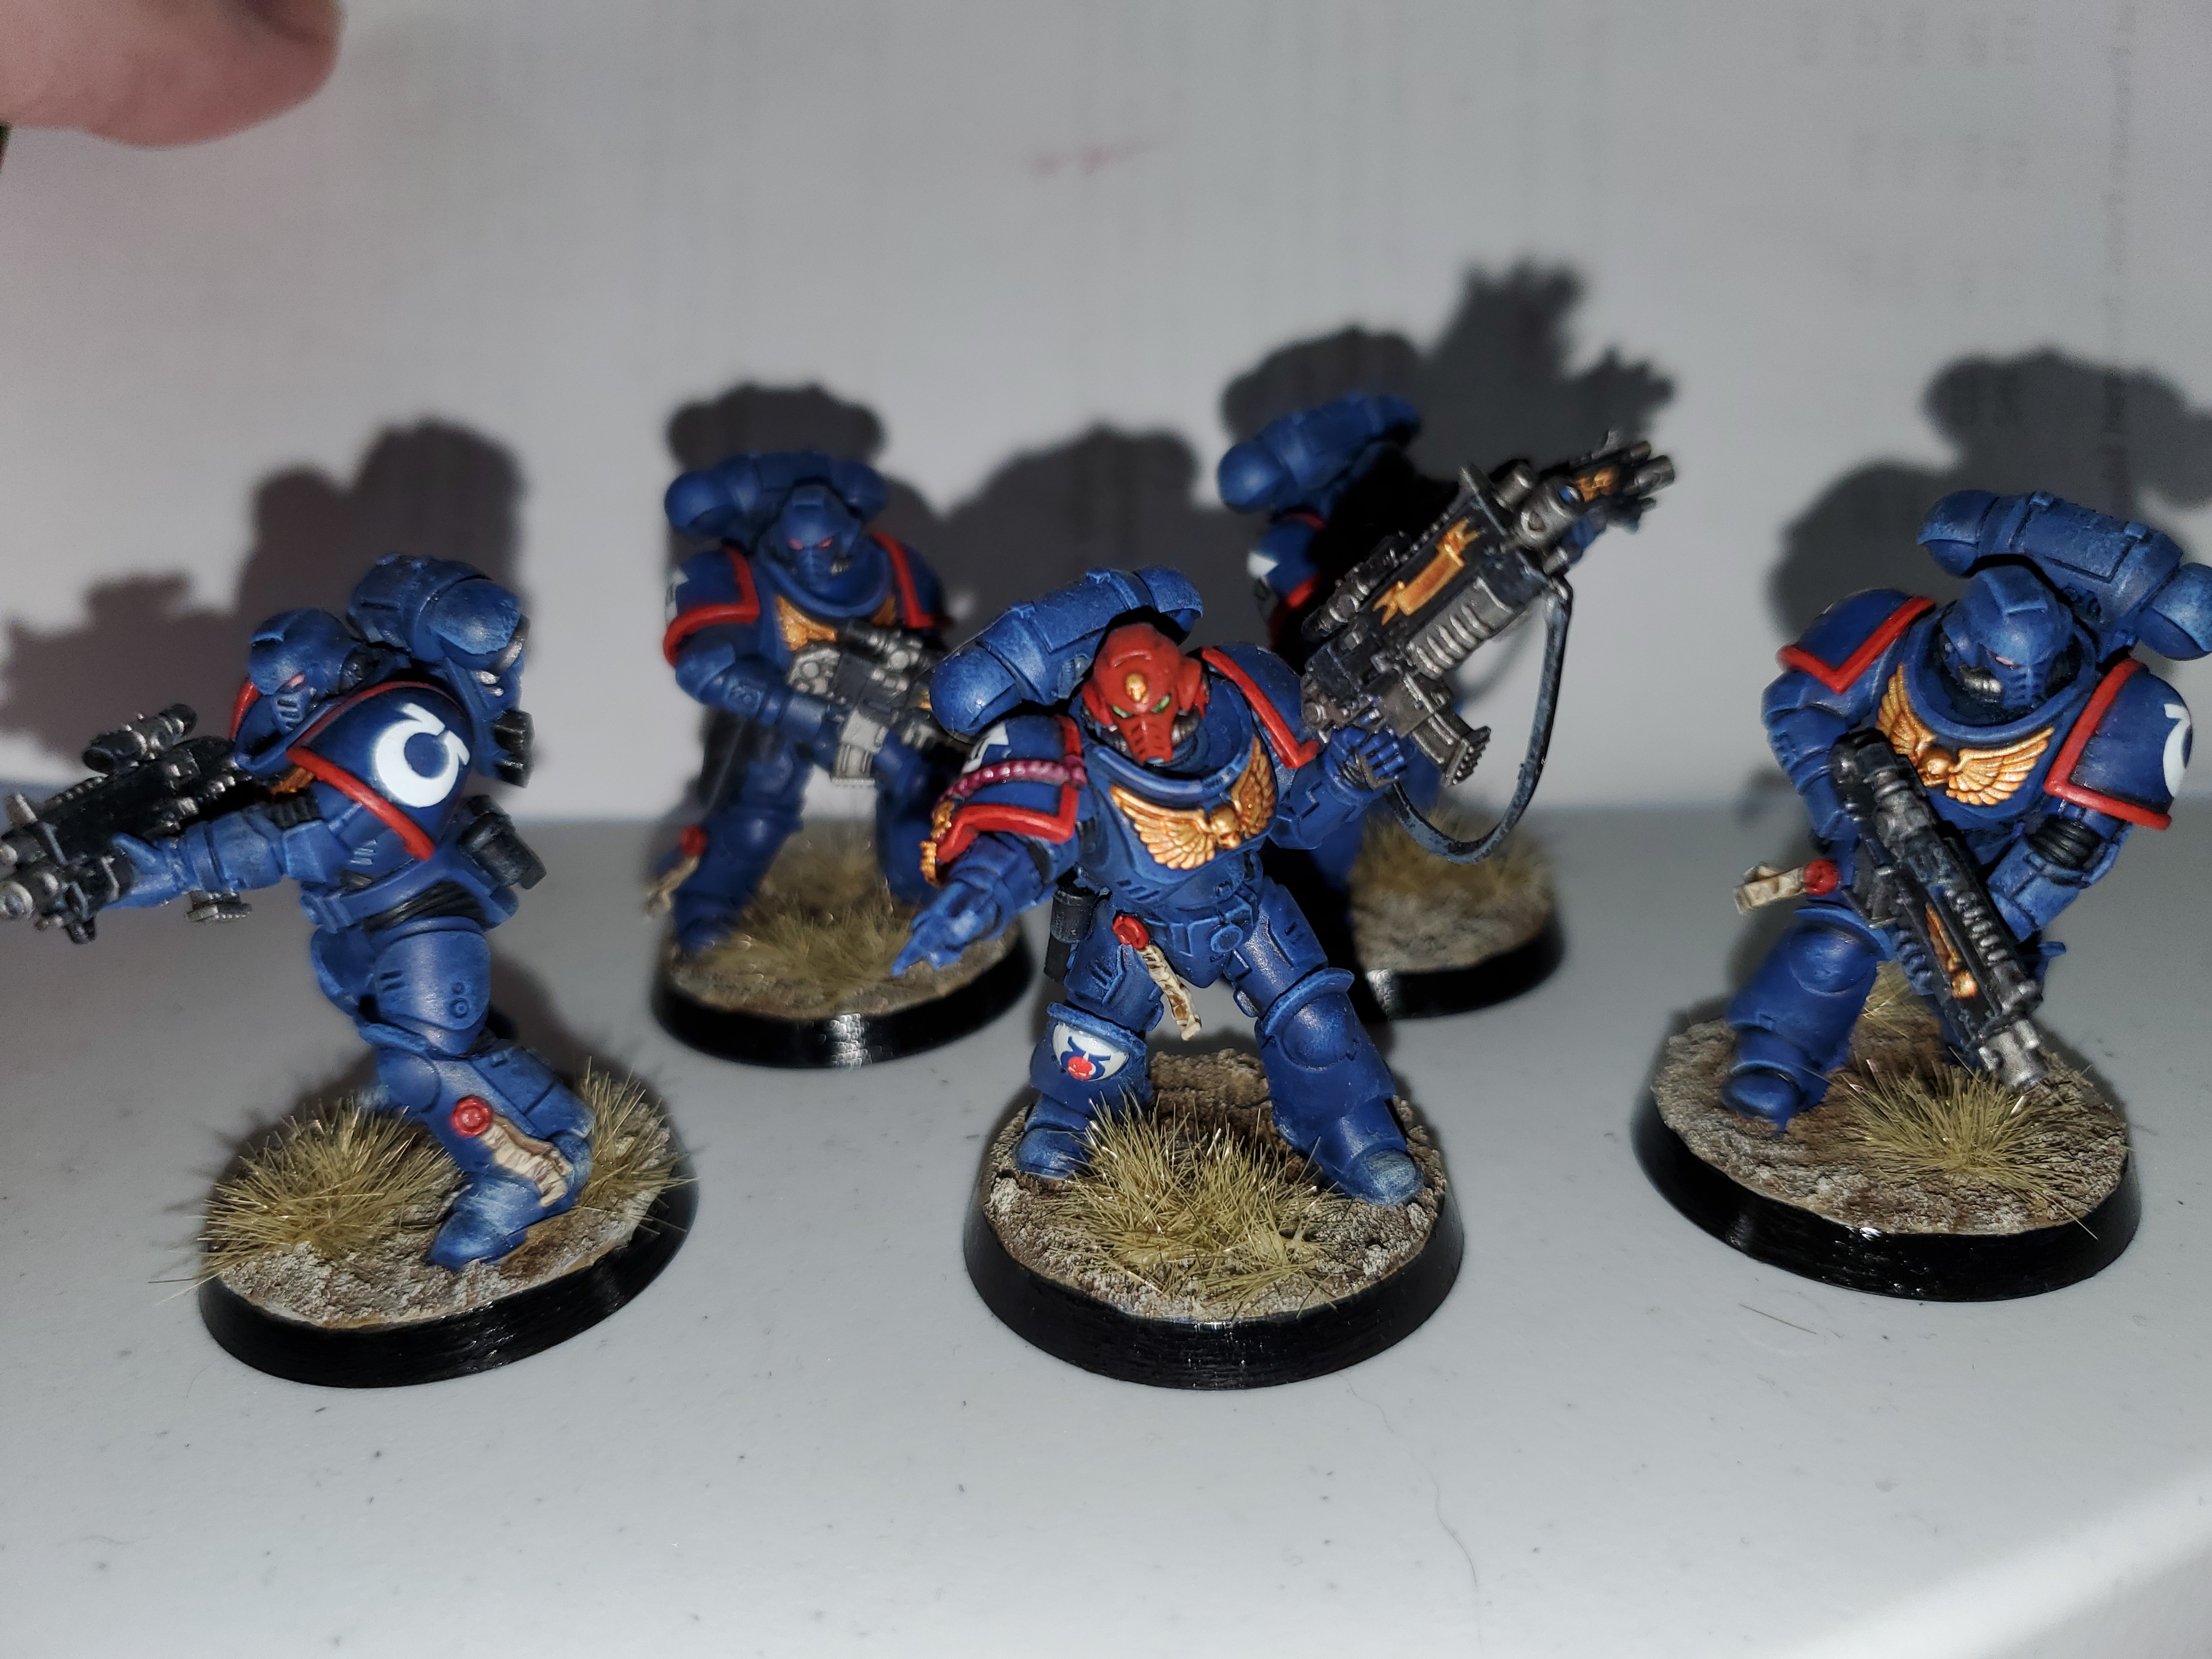
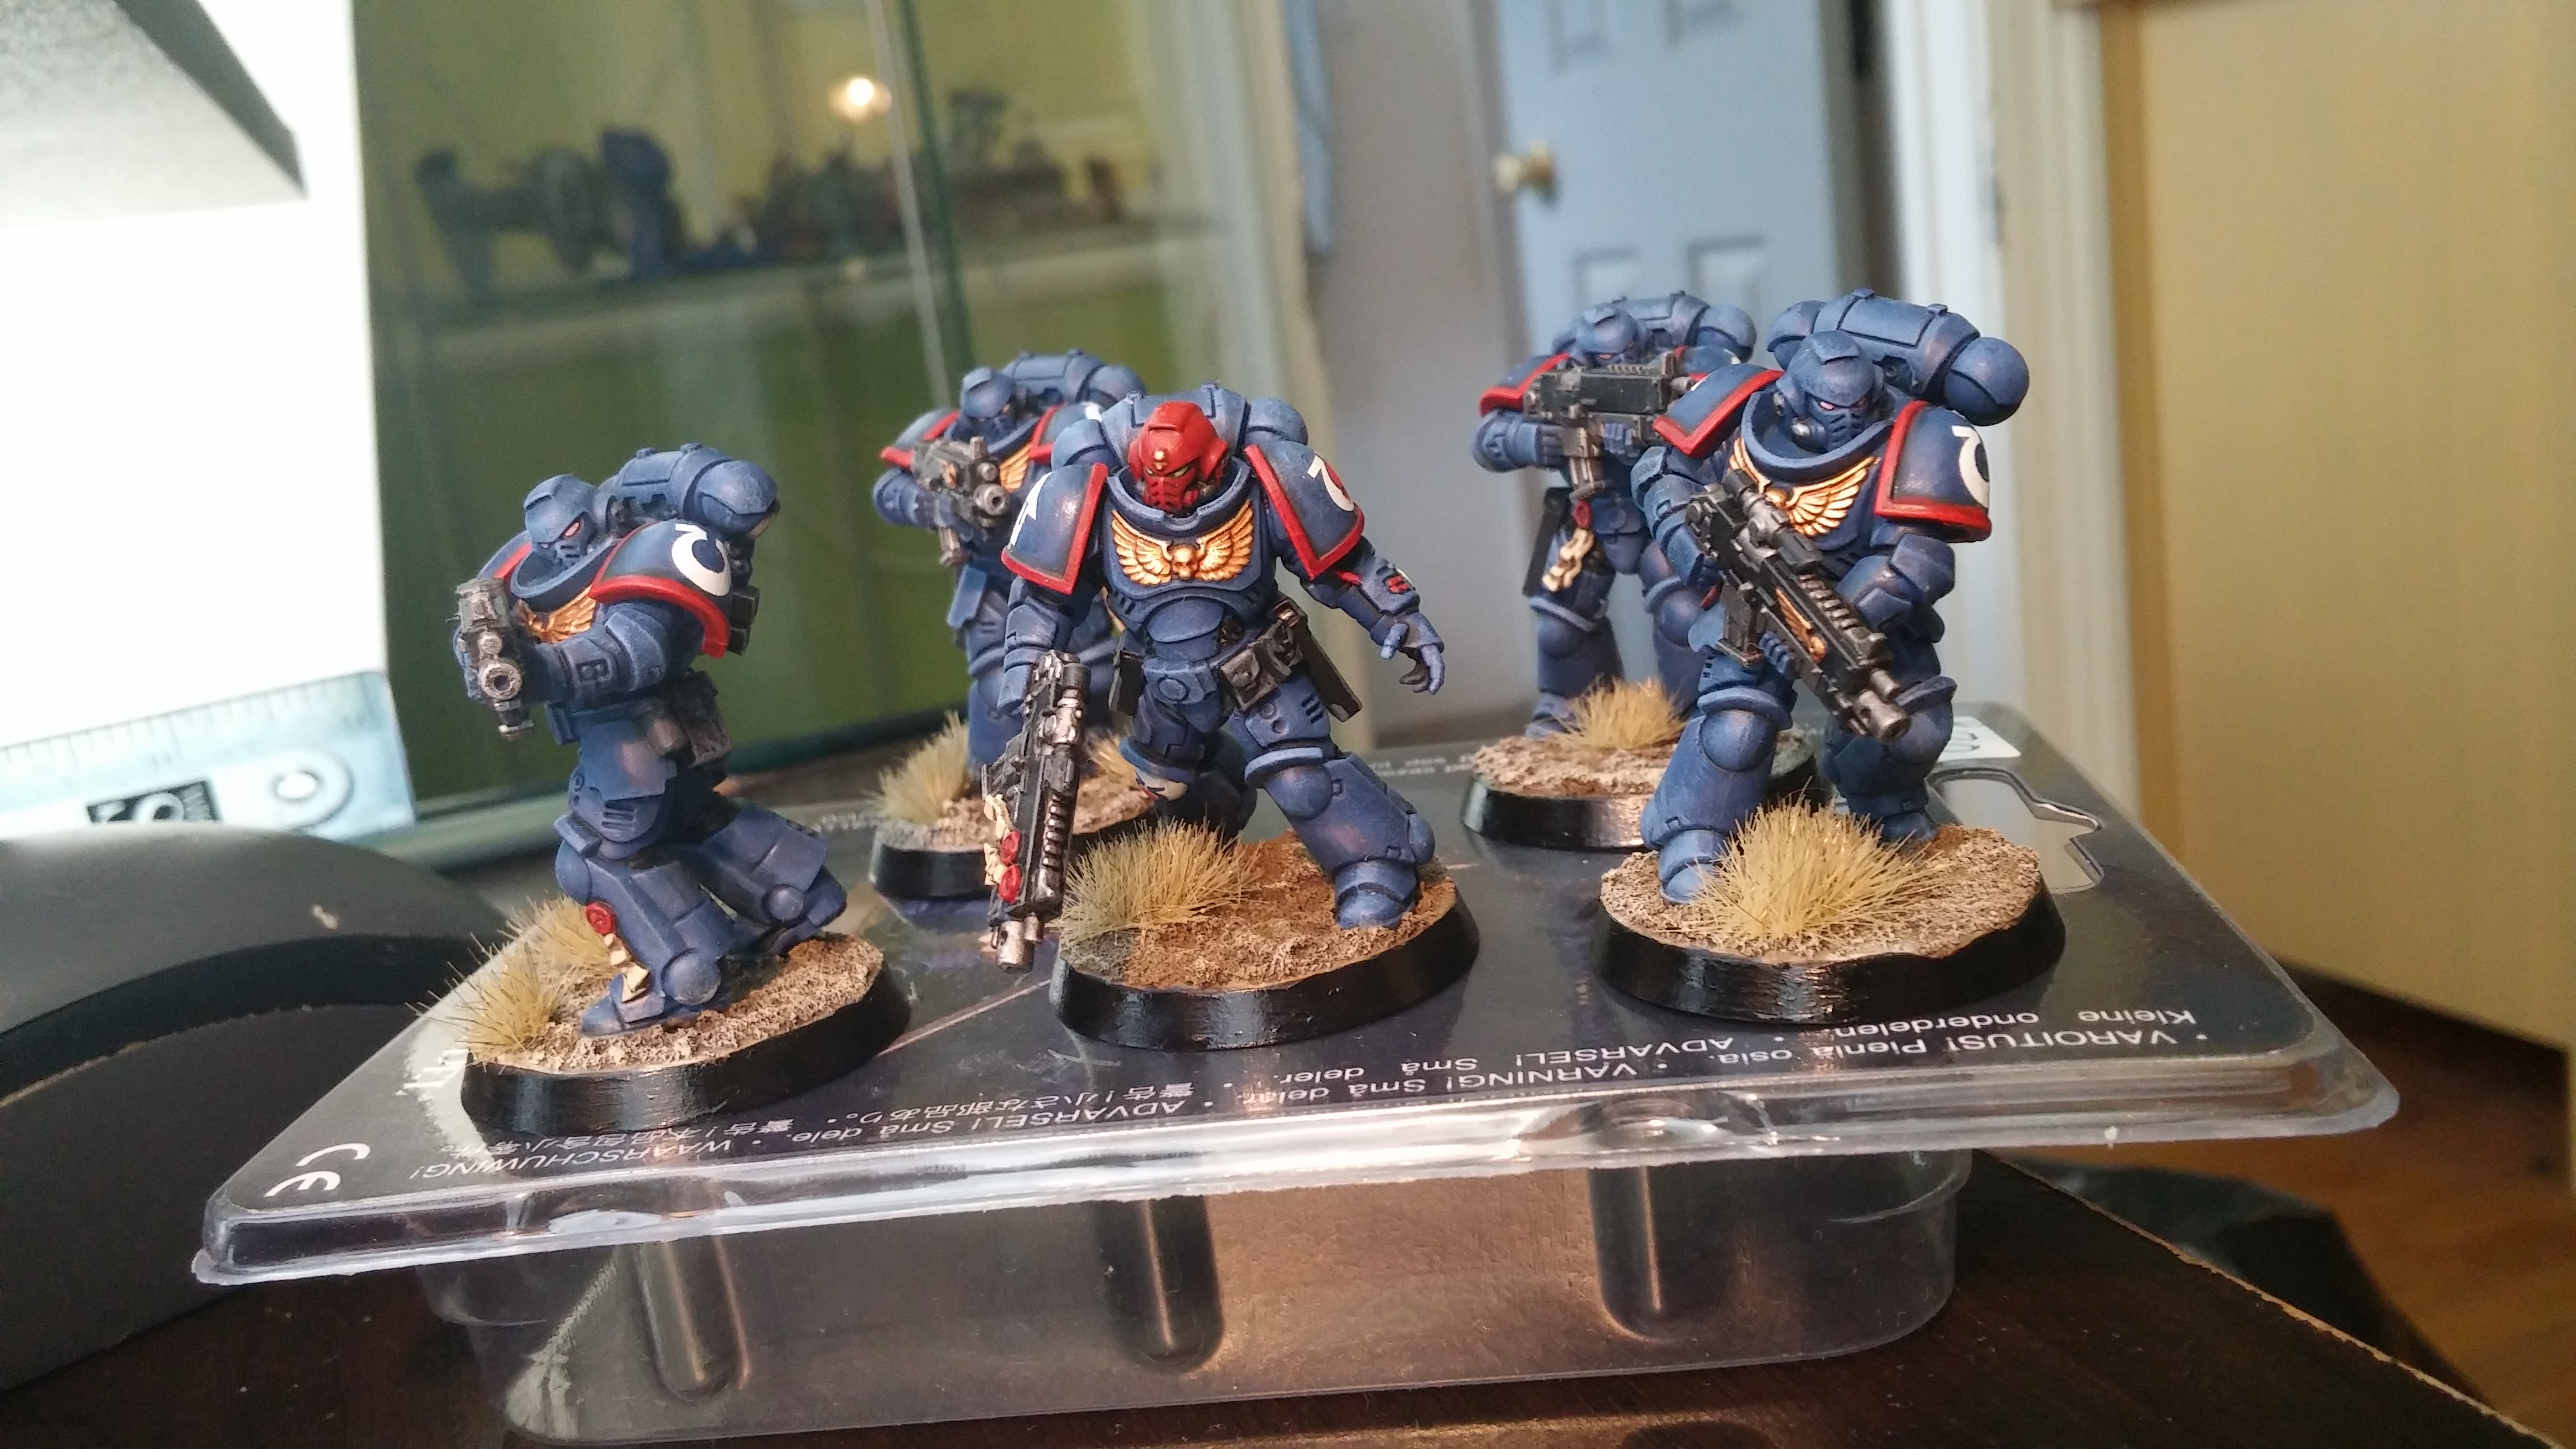
Next up we have a few troop options, just some basic Intercessor Squads, so nothing really fancy here. The blue on my armour is actually very quick and simple. Spray the minis with the Macragge Blue spray from GW, then wash the whole thing with Nuln Oil, then heavy drybrush with Macragge Blue again, then lightly drybrush with Calgar Blue. Very quick and very simple!
Where we are so far! cont...again...
Next up is some Veteran Inceptors, because no one said I couldn’t! Top tip for anyone else thinking about painting these chaps: sub-assemblies! The jetpacks can get in the way of some of the details at the back of the minis, for sure, and I found having the arms attached a bit tricky to work around too. From a tabletop perspective, I’m never sure what to do with this unit, but it needed painting all the same!

I also hate flying stands…
Finally some new stuff!
TANKS!
Well, tank. This Predator I built and painted to fit in with both 40k and 30k (though my 30k is even less complete than my 40k pile of plastic…). Another tip here is beware of Contrast over large areas. For ease of painting, I’ve started using Contrast for weapon casings and ‘soft parts’ of armour because it really is great for that sort of stuff, but on the casings for the Predator I needed a couple of coats to get it to look good. I am rather happy with how she turned out, though.
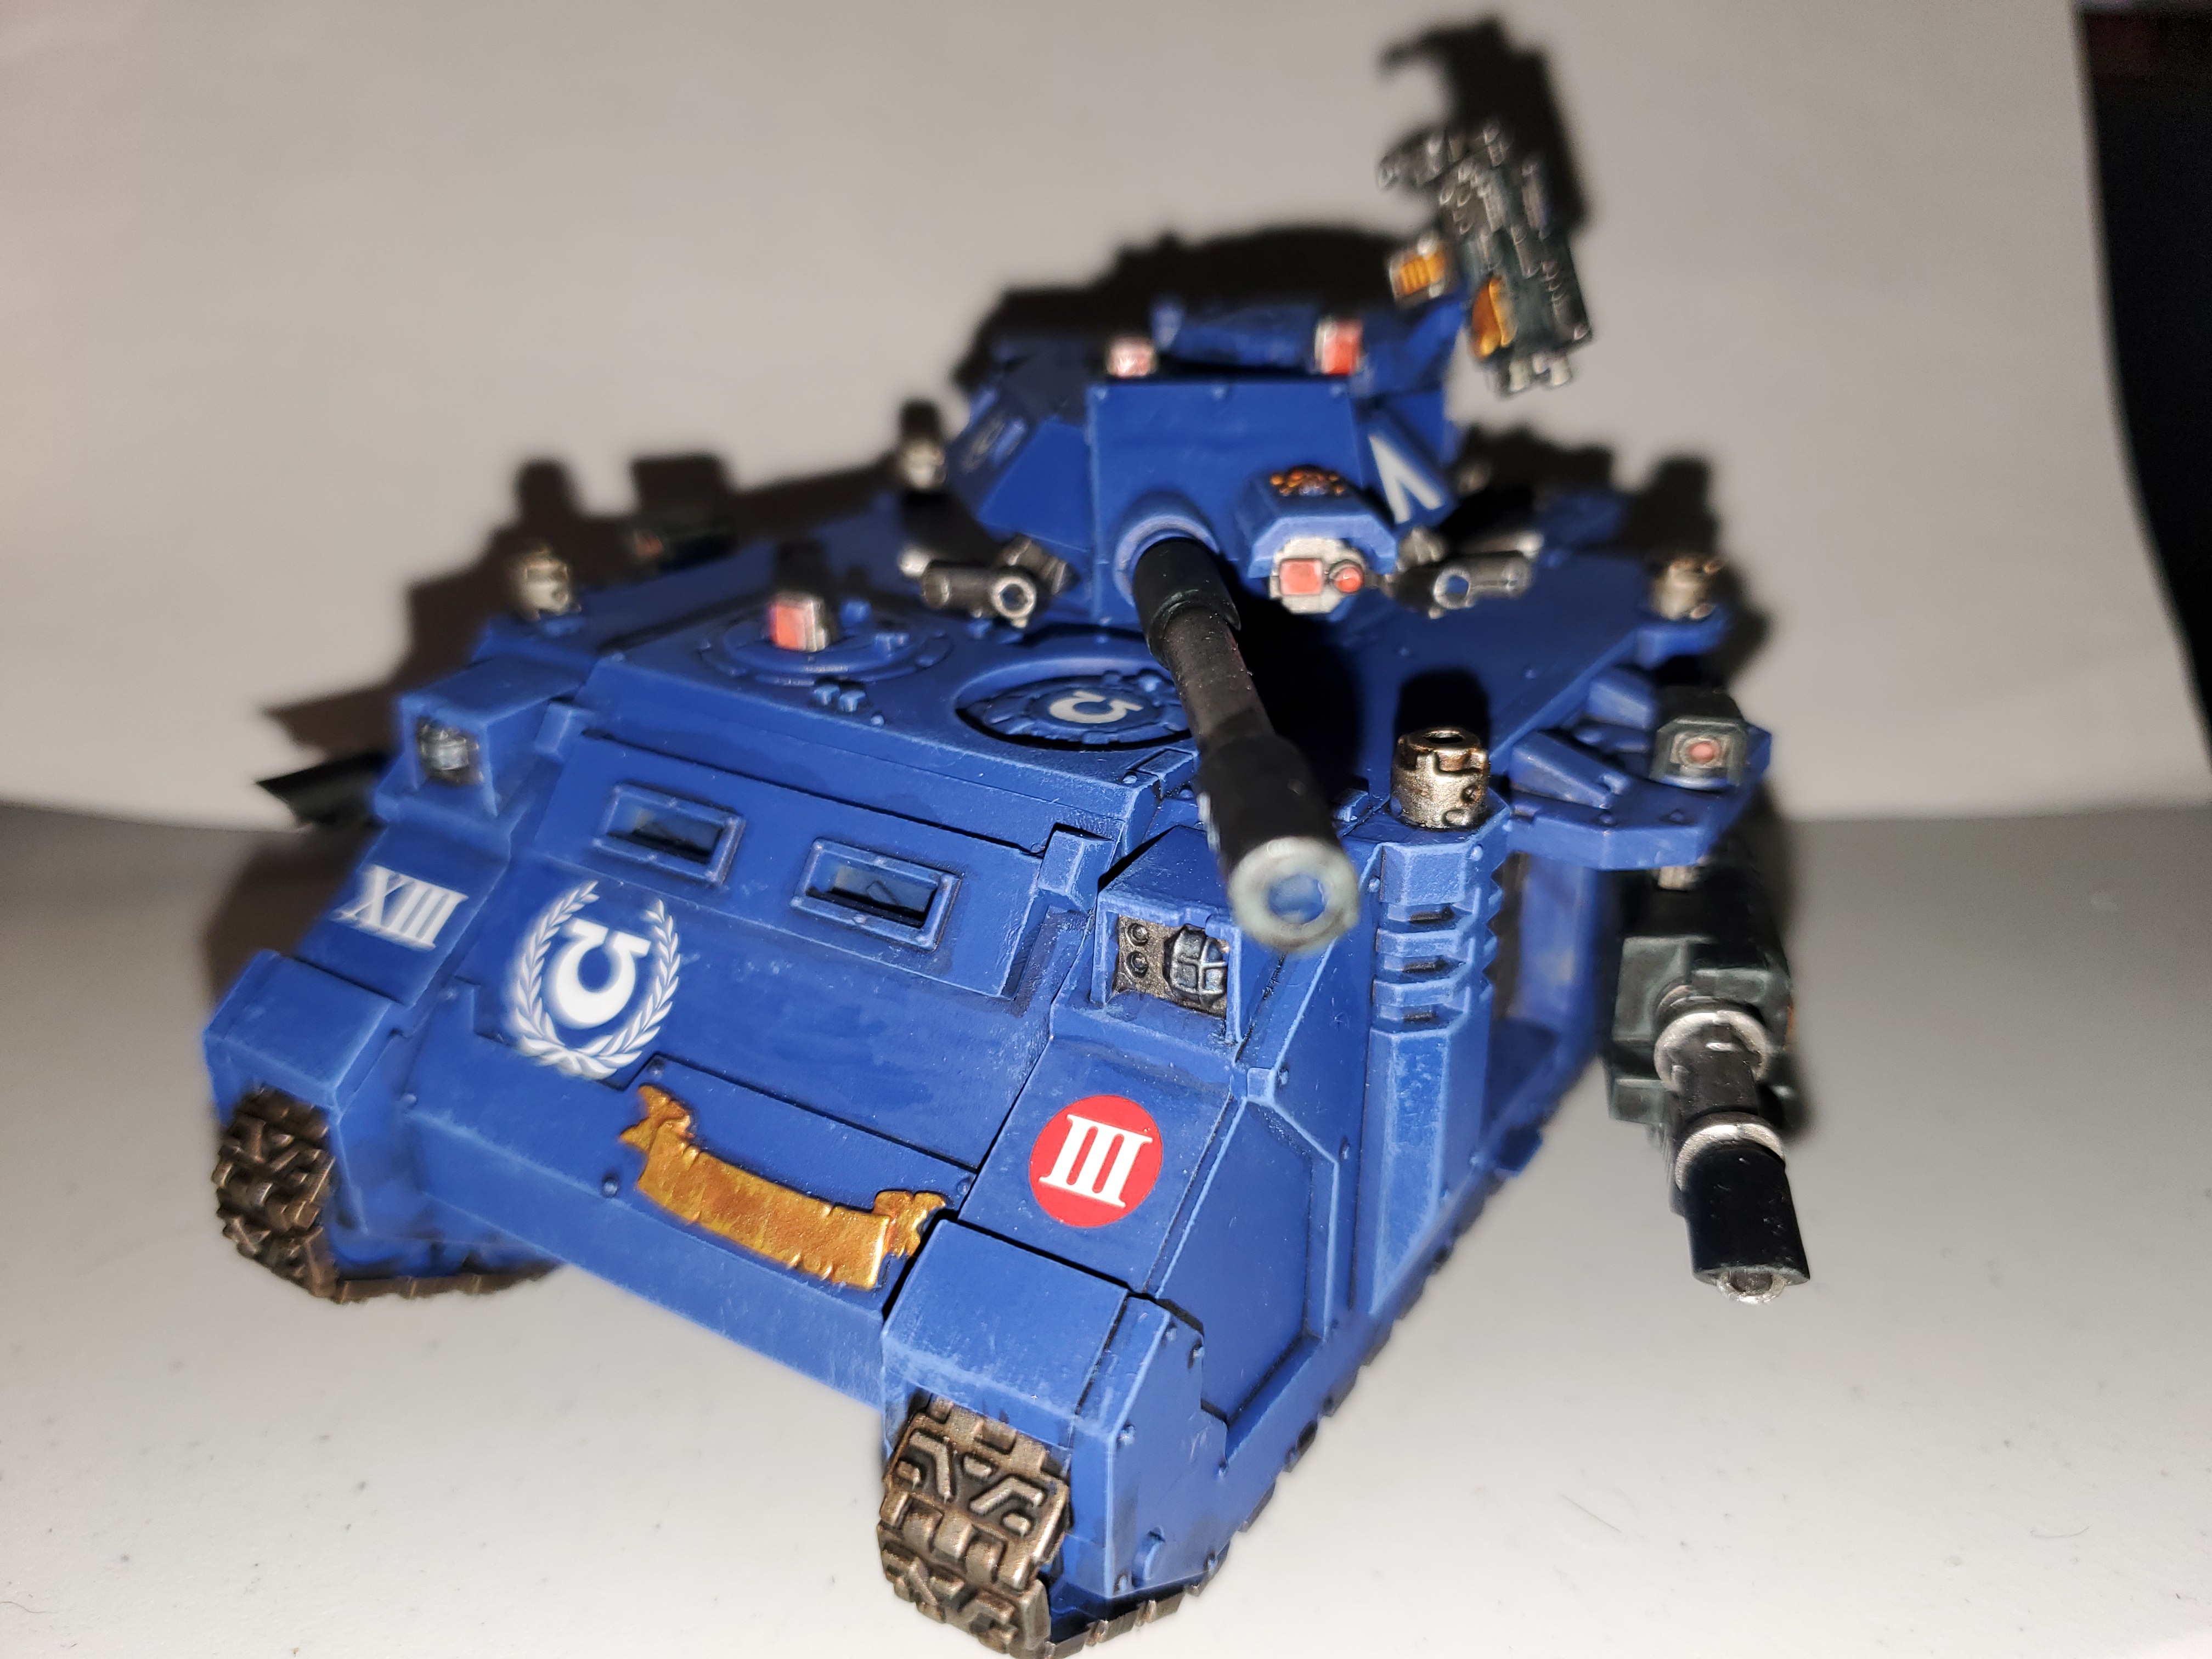
Another simple paintjob here was the tracks. Paint them silver (I use Leadbelcher) then wash them Nuln Oil, then Agrax Earthshade, then maybe a second coat of Agrax if you want them to look more worn.
The Marksmen join the fray!
My latest unit that I just got finished. Veteran Intercessors with Stalker Bolt Rifles. I don’t have any Eliminators just yet, so these lads will have to do! Contrast for skin is definitely your friend when you’re trying to get things done. I used Darkoath here, and it is so simple. For big characters I might do a bit of layering on top to really make it pop, but for these chaps it looks fine.

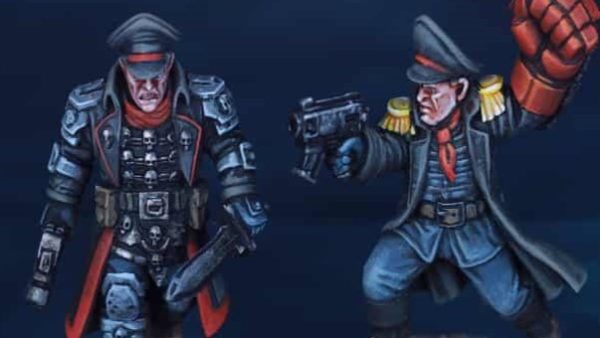
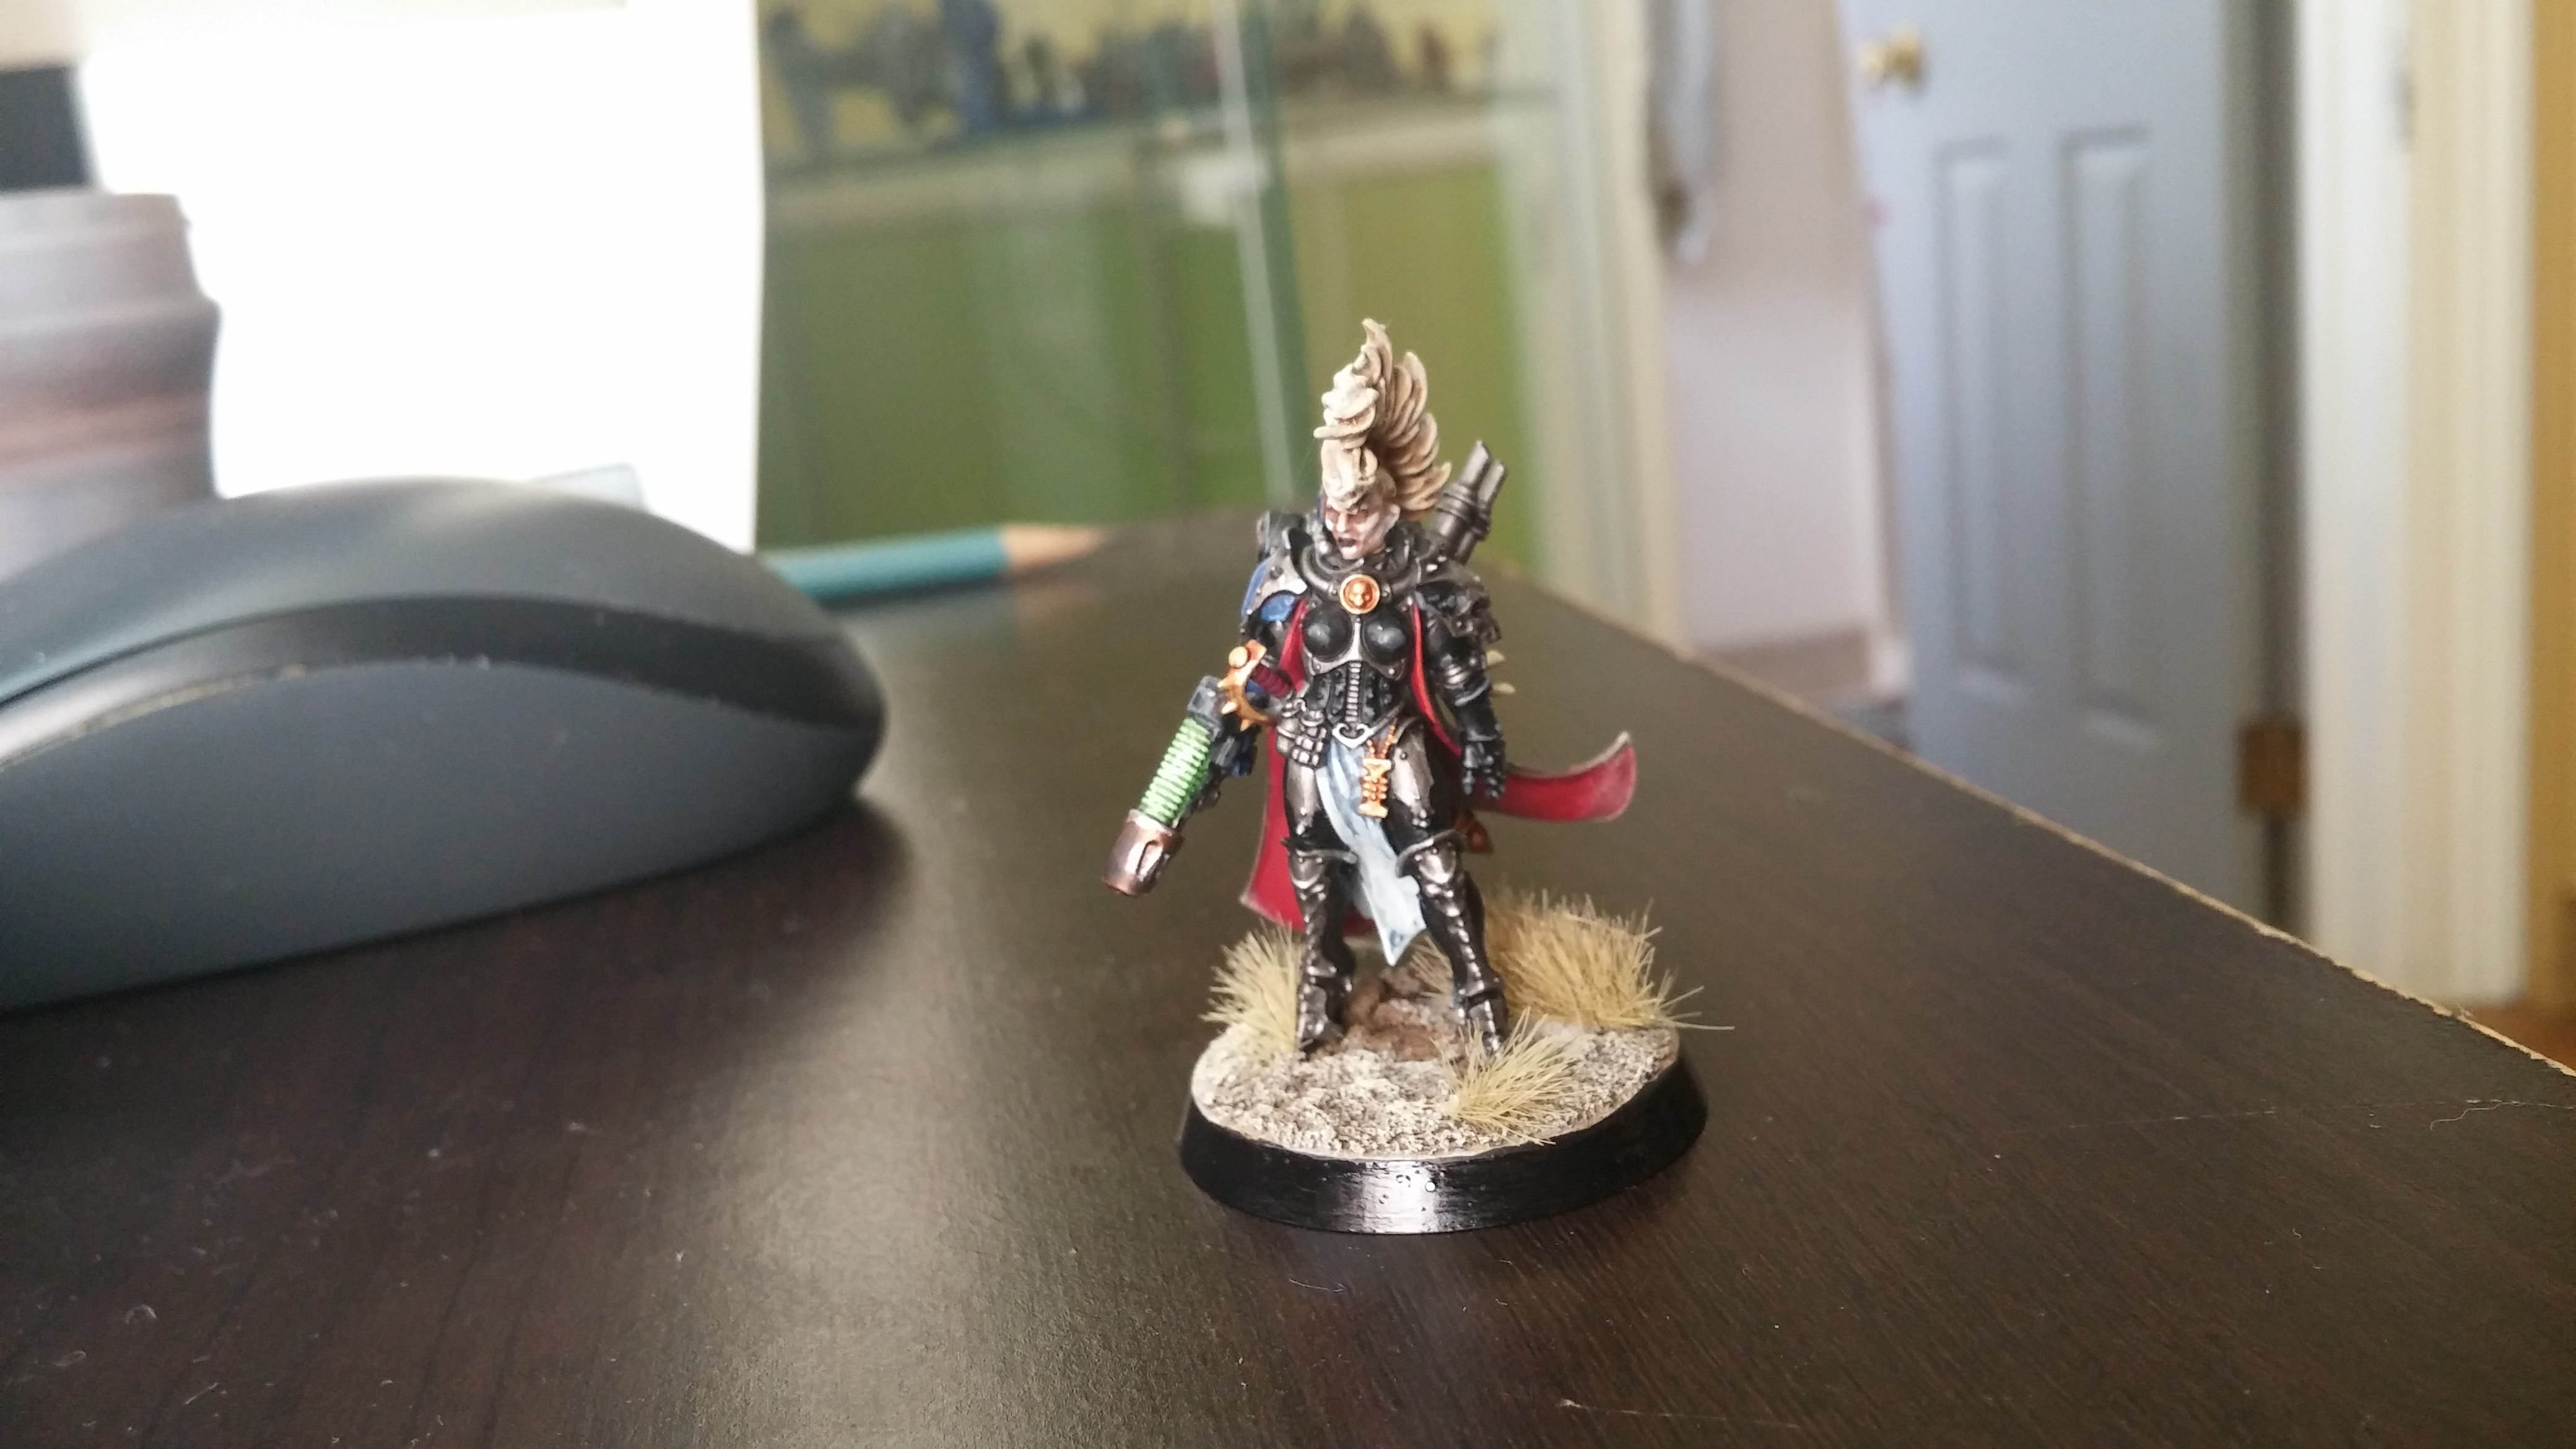
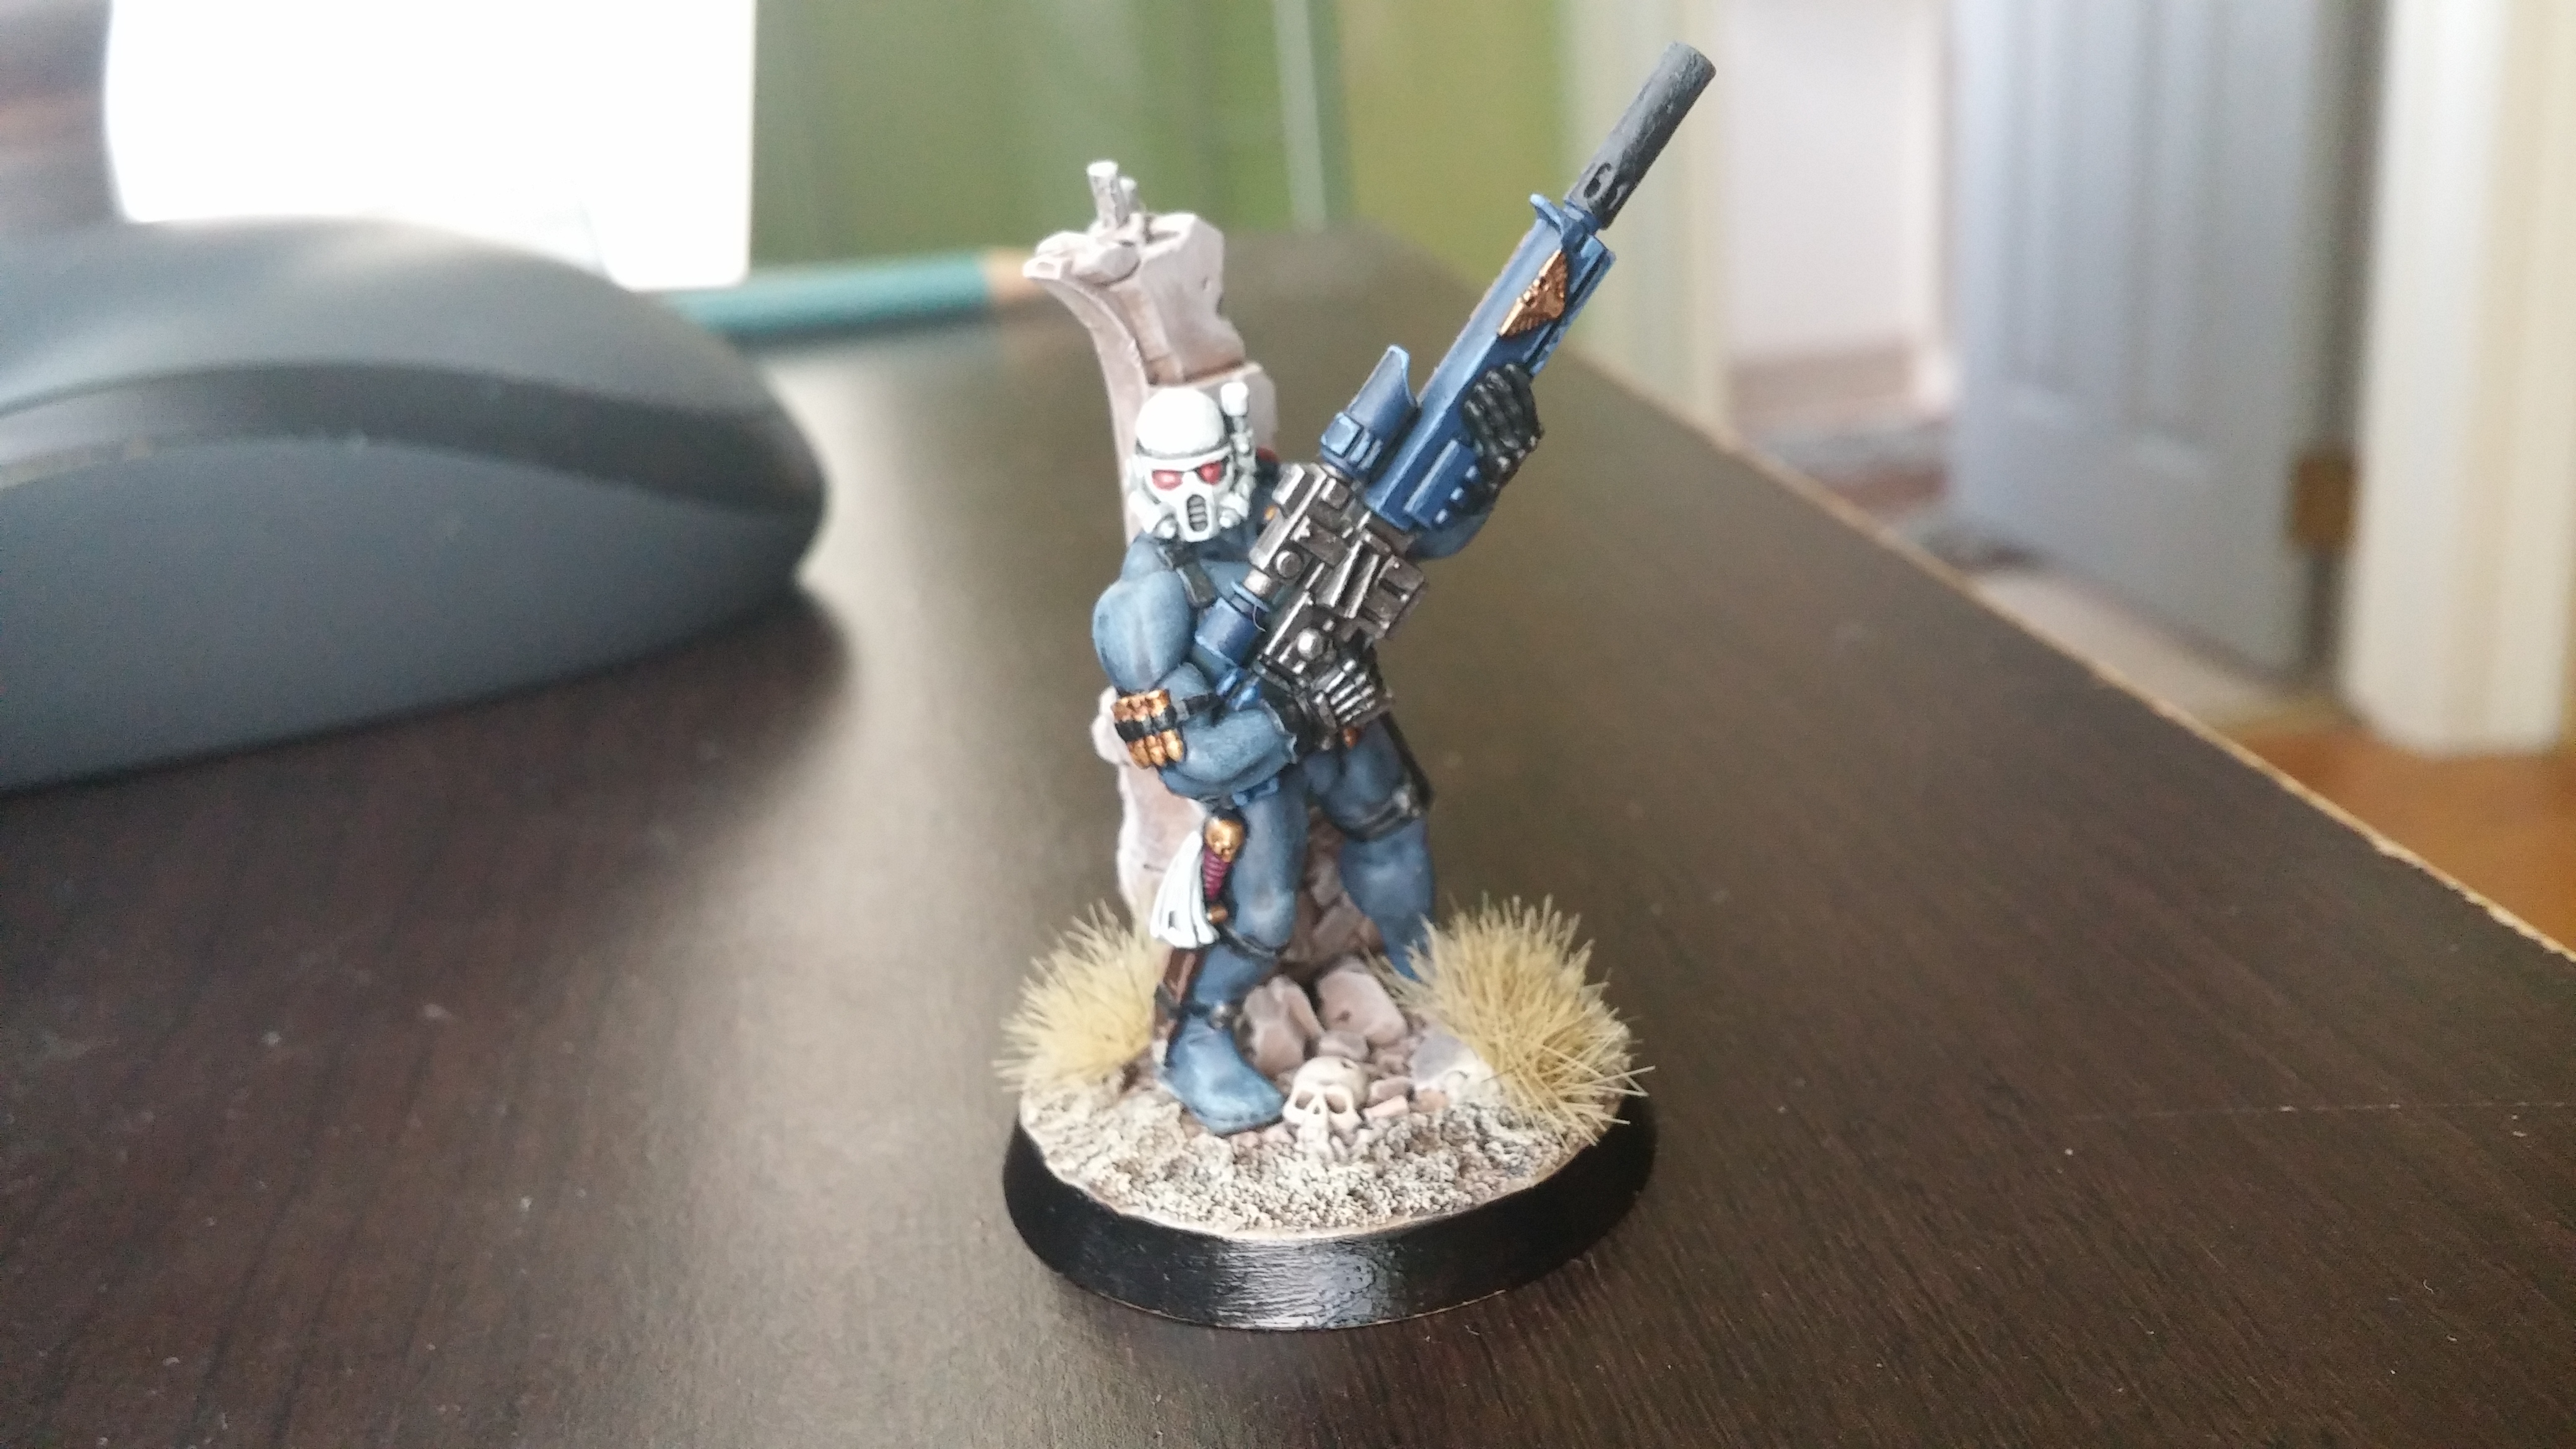
The Eyes of the Imperium.
There’s also a few ‘Agents’ that I have lying around that fit in with the army. These are my Inquisitor, Freyja Nattdatter, conversion and my Vindicare Assasin. As you can probably work out, Freyja is based upon Greyfax but as I wanted an Alien Hunter, I got rid of the crossbow gun VERY carefully and replaced it with a Plasma Pistol from the Mk IV Marine kit. A simple headswap with an Escher and BOOM! almost-instant Inquisitor! The Vindicare is a little more boring, but both have some little Blue markers to show their allegiance.
The System.
As I said, it’s taken me a while to get this far with an army, and this is the furthest in over 10 years in the hobby… I’m sure I’m not alone in having that problem, so I thought I’d go over my system. It’s actually really simple, but it helps you to get an army rather than a few bits and bobs finished.
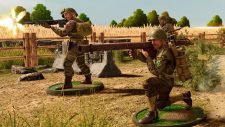
First things first, work out what is a ‘unit’ and what is a ‘big thing’ in the system in which your playing. In this case (40k) I counted characters and vehicles as ‘big things’ and any multi model group as a ‘unit’. However, for Bolt Action, for example, you may want to count your support teams and command teams as ‘big things’ alongside your Big Cats and Tommy Cookers (I may start another project about getting my Germans for Bolt Action done later on).
So now that you have everything split into the groups, you need to get started. Start with something you’d like to paint, but make sure to keep something nice back to reward yourself when you’re just sick of painting the same thing (Goblin players will understand). So let’s say we start with a Marine Lieutenant. A good choice, all games need an HQ, after all. For Bolt Action, maybe start with a Junior Officer and his bullet shields friends. Once that’s done, move onto a ‘unit’. Deff start with a ‘necessary’ unit like a troop choice for 40k, Battleline for AoS, Infantry Section for Bolt Action, ect. then once they are done, back to a ‘big thing’ then rinse and repeat.
It’s a simple system, but before you know it you’ll have what looks like an army getting painted and, even better, what PLAYS as an army painted. No longer the set-up of shame as you place ranks and ranks of grey plastic at the gaming club. Hope this helps someone out there, and happy painting!
Painting a Big Blue Meanie (Part 1).
This is the first mini I’ve started after this project started, and I thought I’d take the opportunity to go through some various steps I took to get my Redemptor Dreadnought (currently operating under the name ‘Jeffrey’) ready. So let’s get started with the skeleton of the mini!
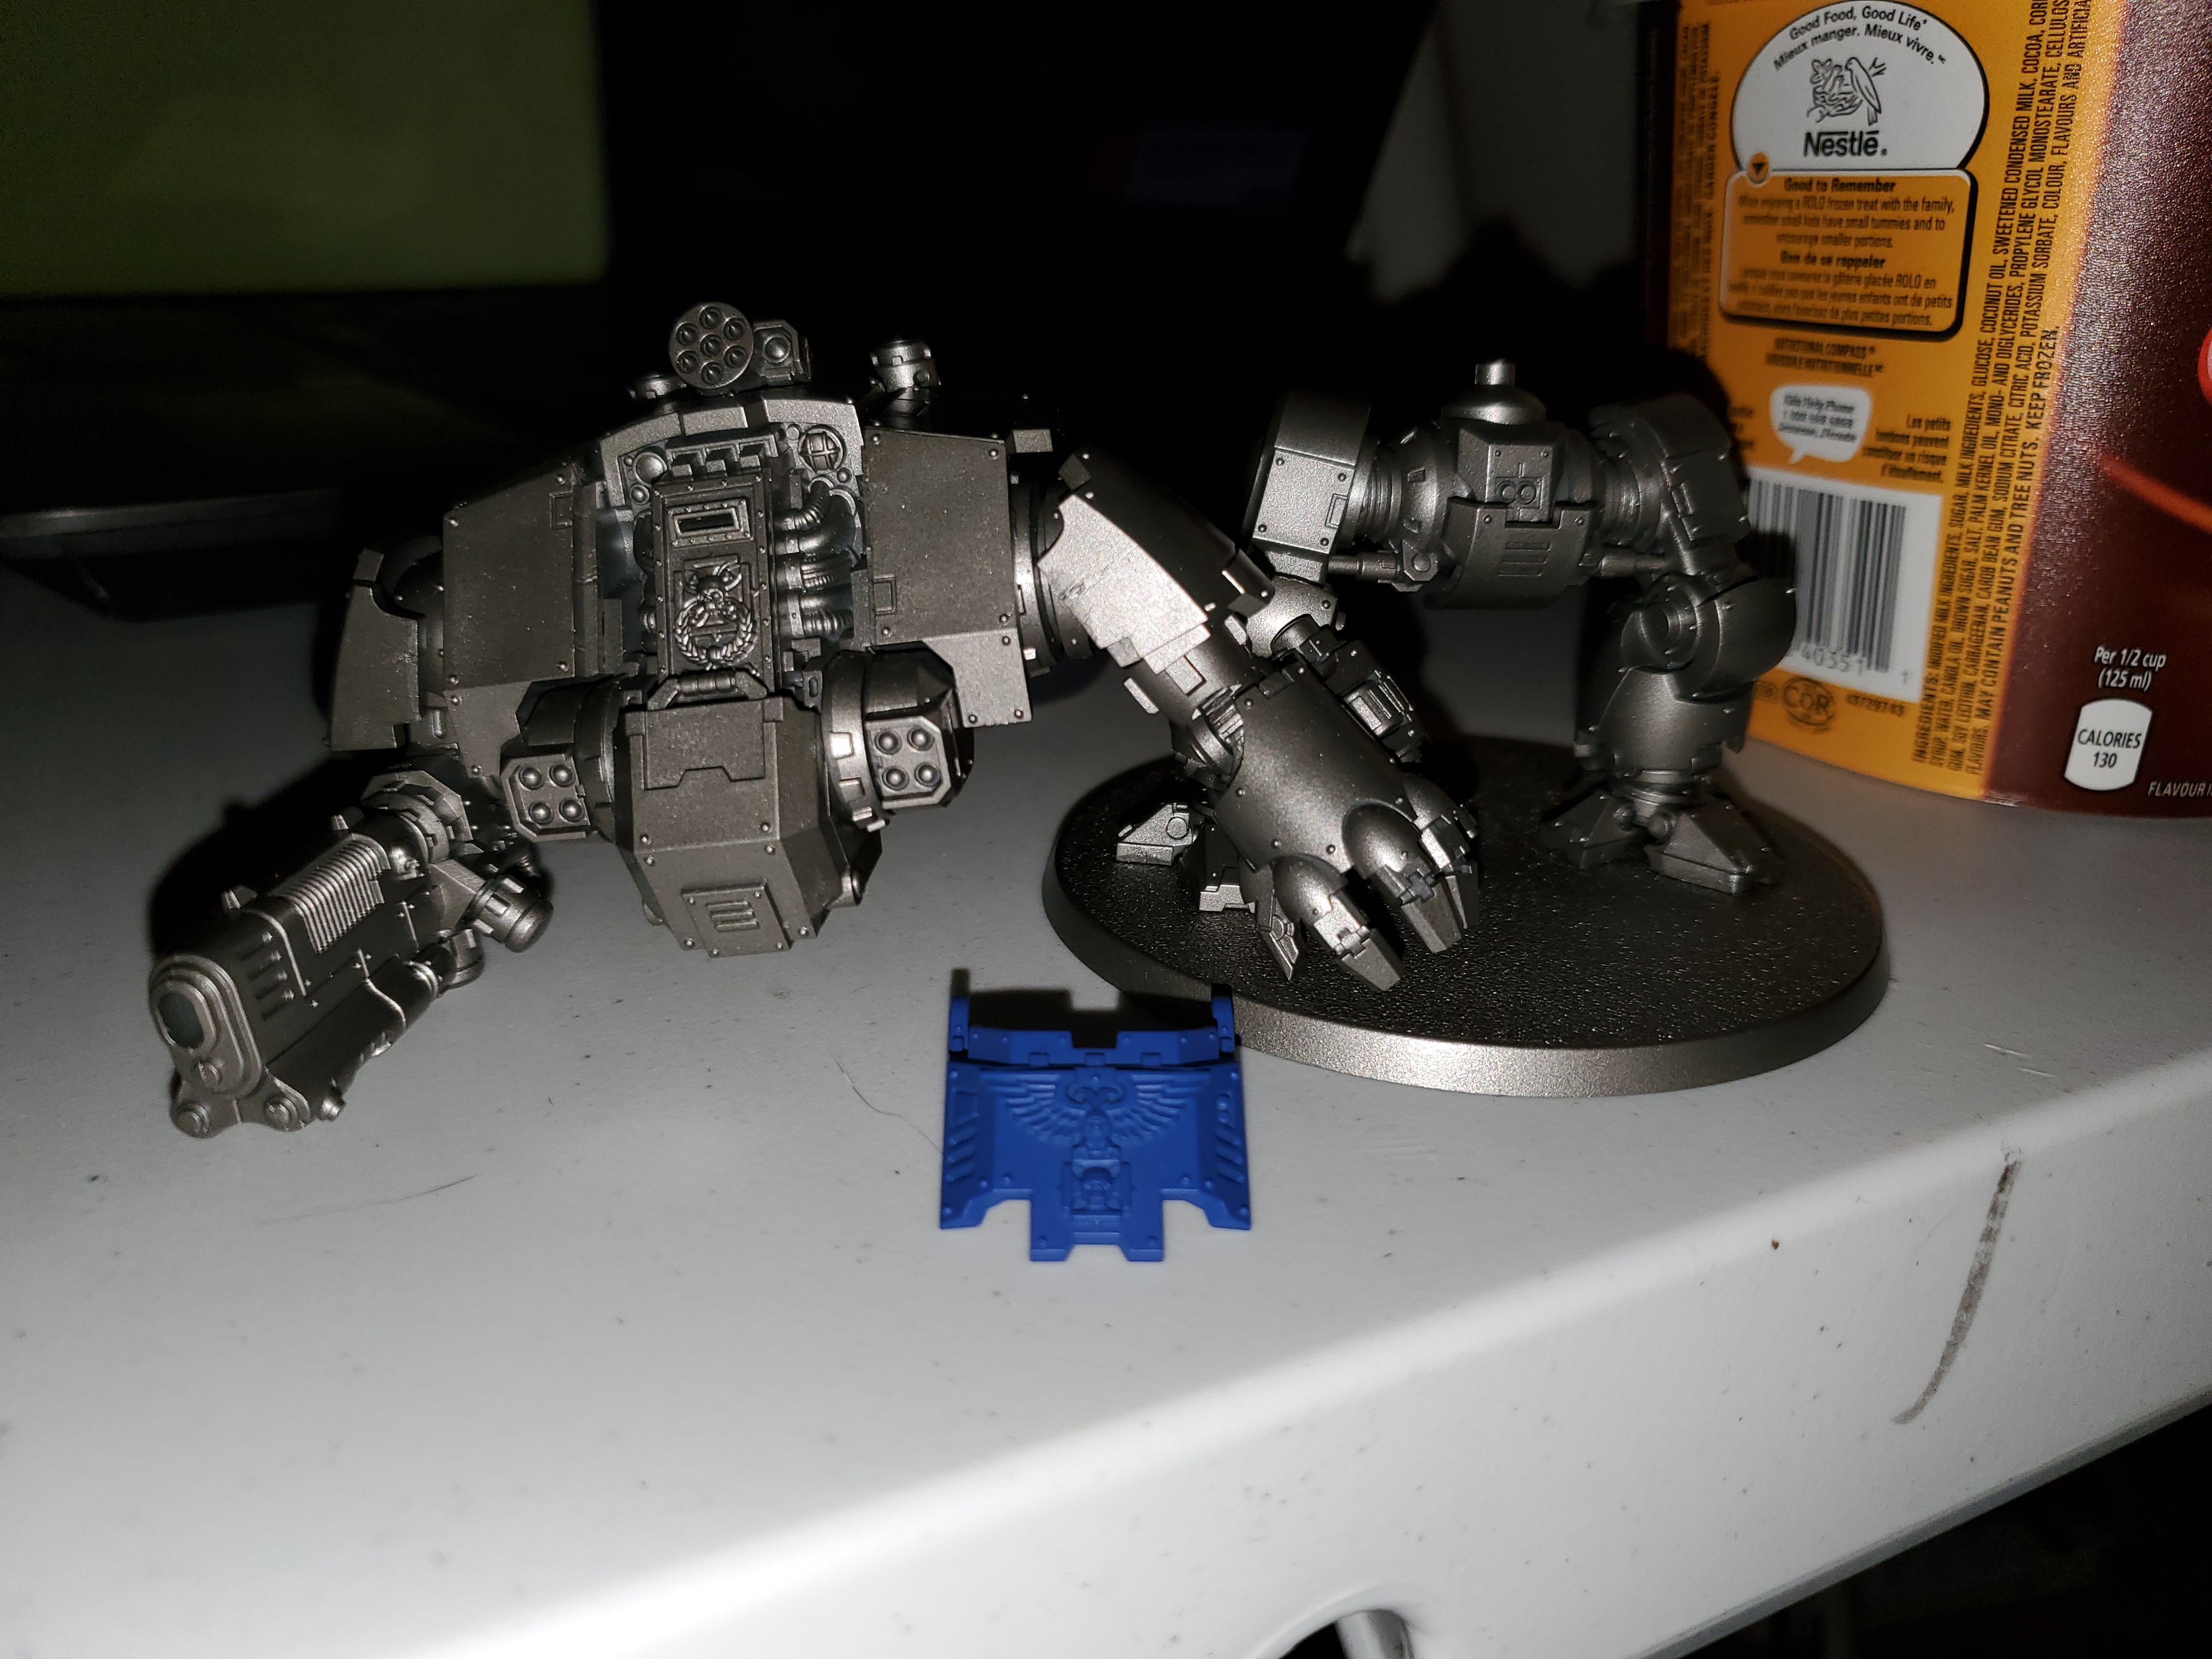 So, as I said before, I have a thing for sub-assemblies. Here are mine for this mini, the top glacis plate was seperate in order to get paint onto most of the Sarcophagus. I primed the legs and torso with GW's Leadbelcher Spray and the glacis plate in Macragge Blue. More on the blue bits later though!
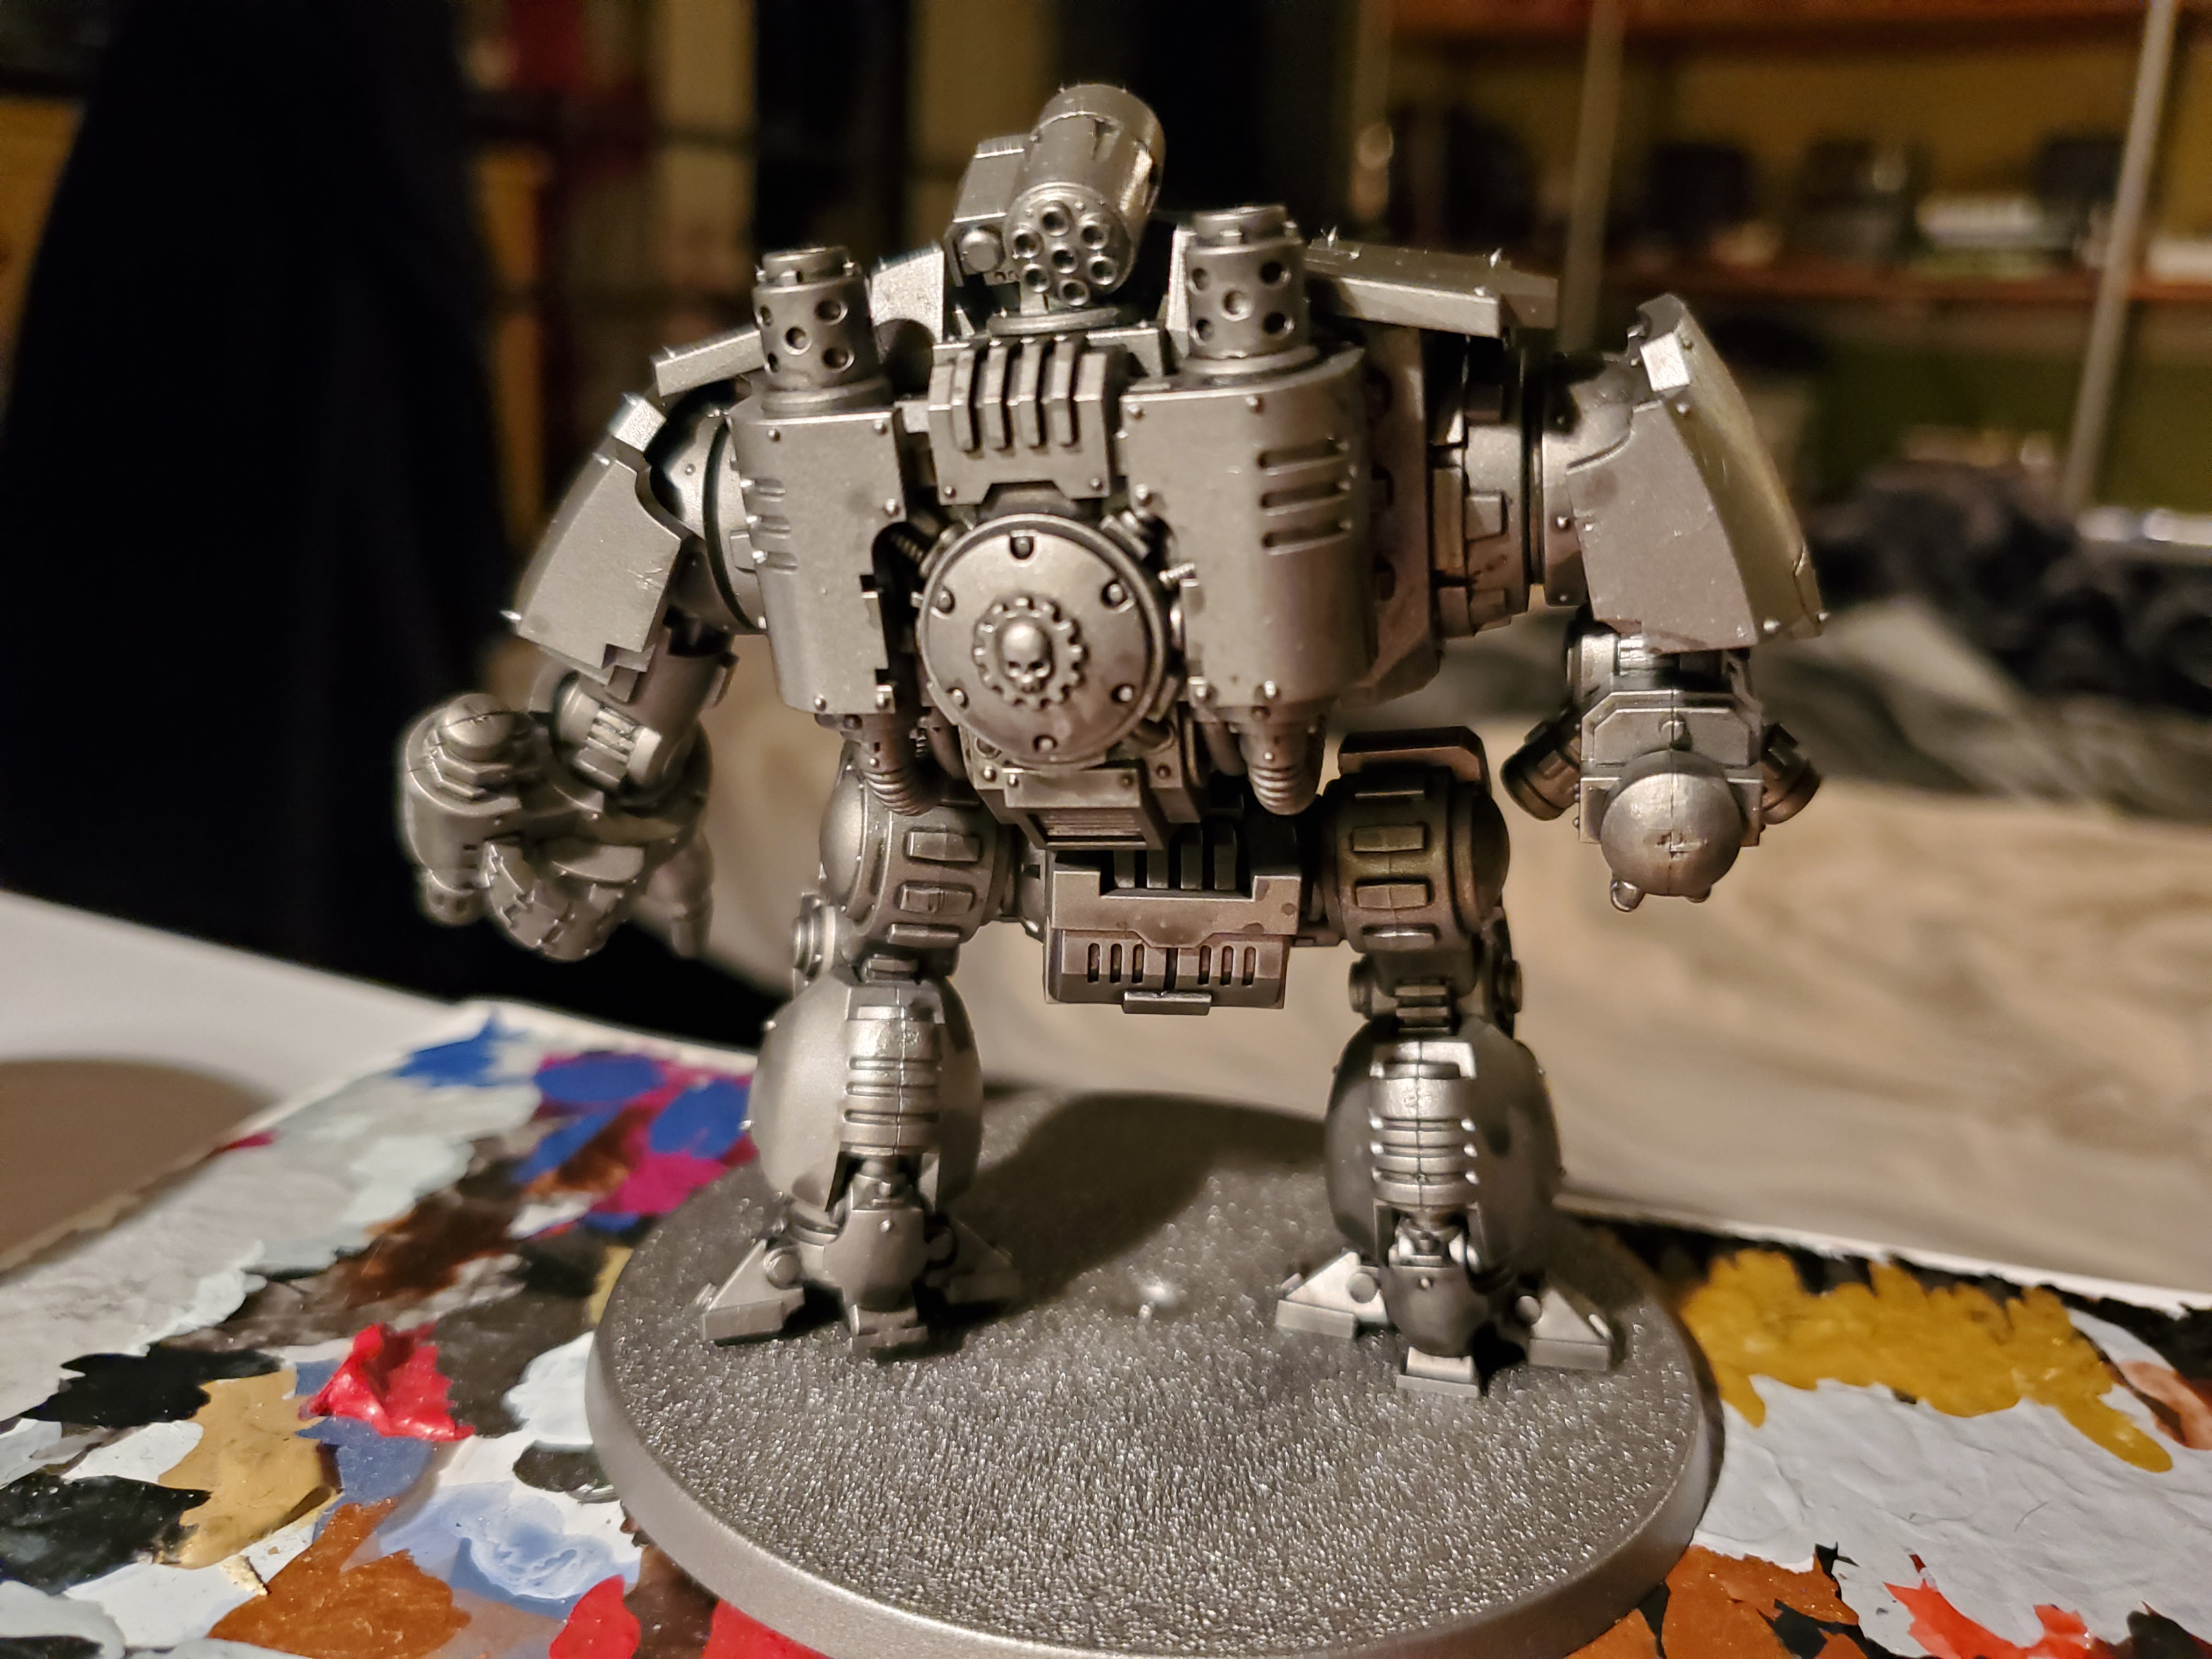 So the basic system here is one I borrowed from the GW painting videos for the Imperial Knights they did some years ago. First up wash all over anything that will be metal with Nuln Oil. This will take a while to dry, so be patient.
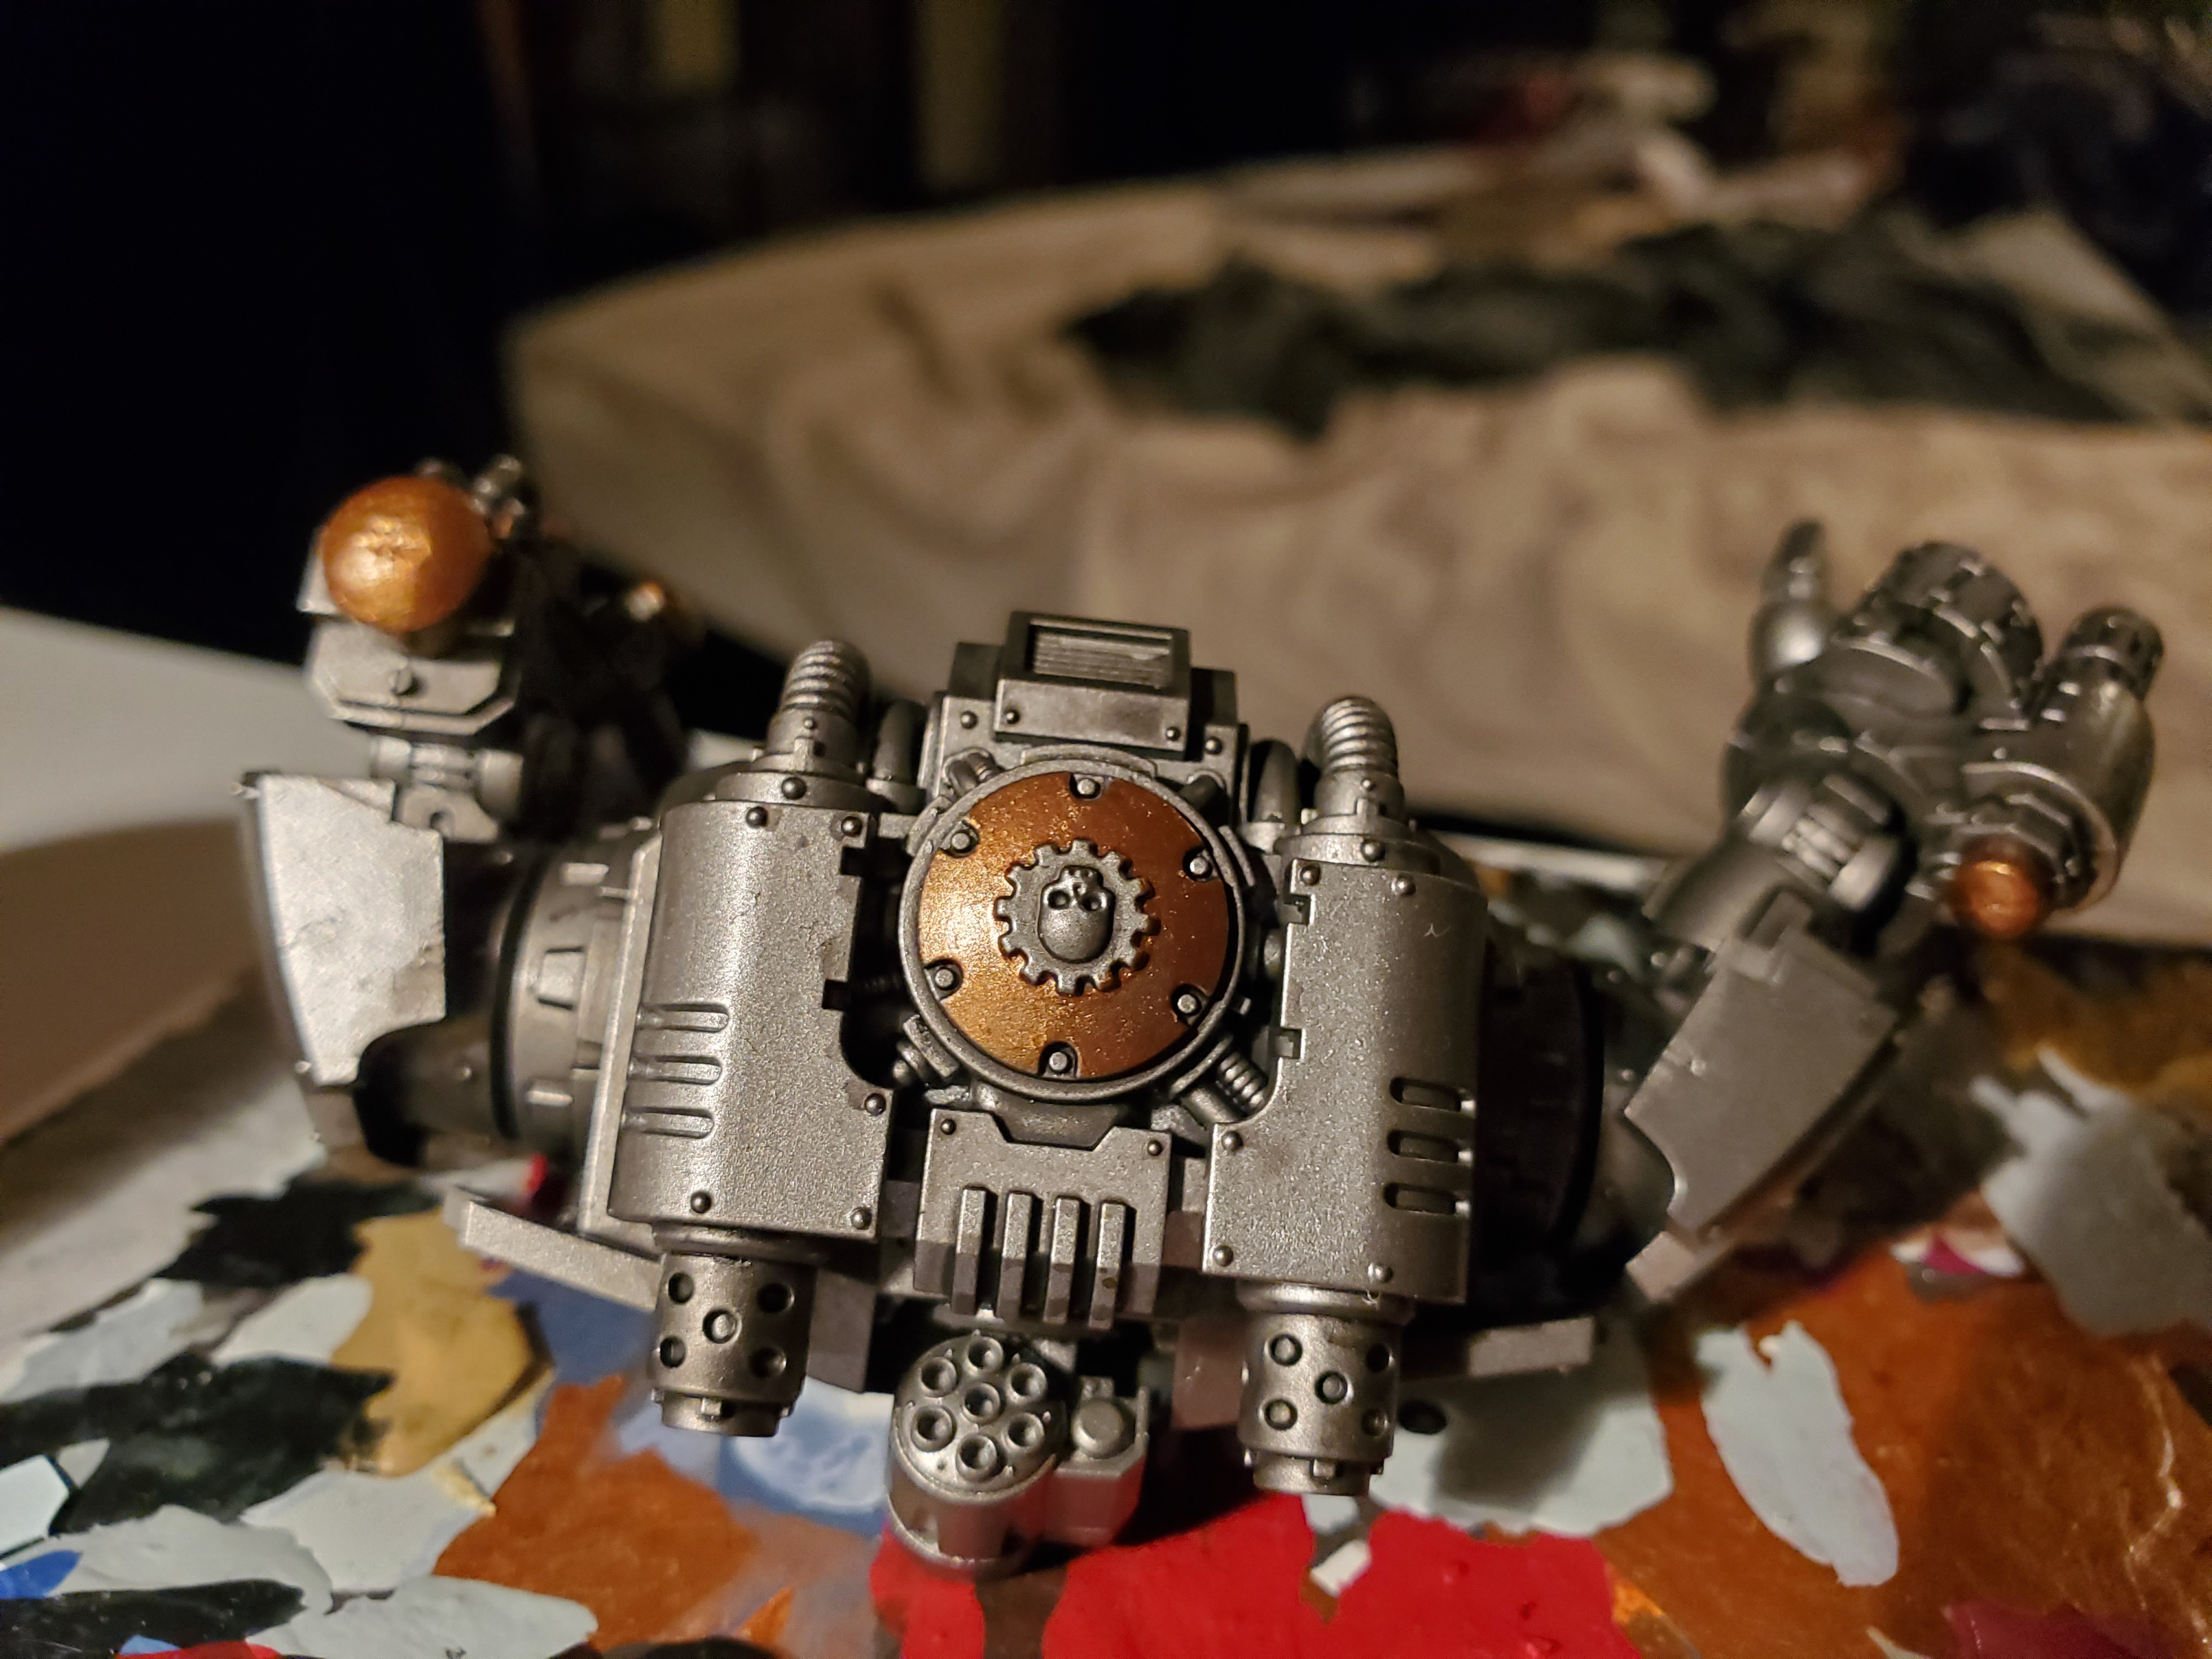 Next pick out some details with Balthasar Gold. This part is optional, really, and the mini would still look great without it, but it helps to break up the metal parts a bit. Get a nice solid base before moving to the next step. You'll notice only the torso here, because I am a dingus who jumped ahead on the legs before taking a picture...
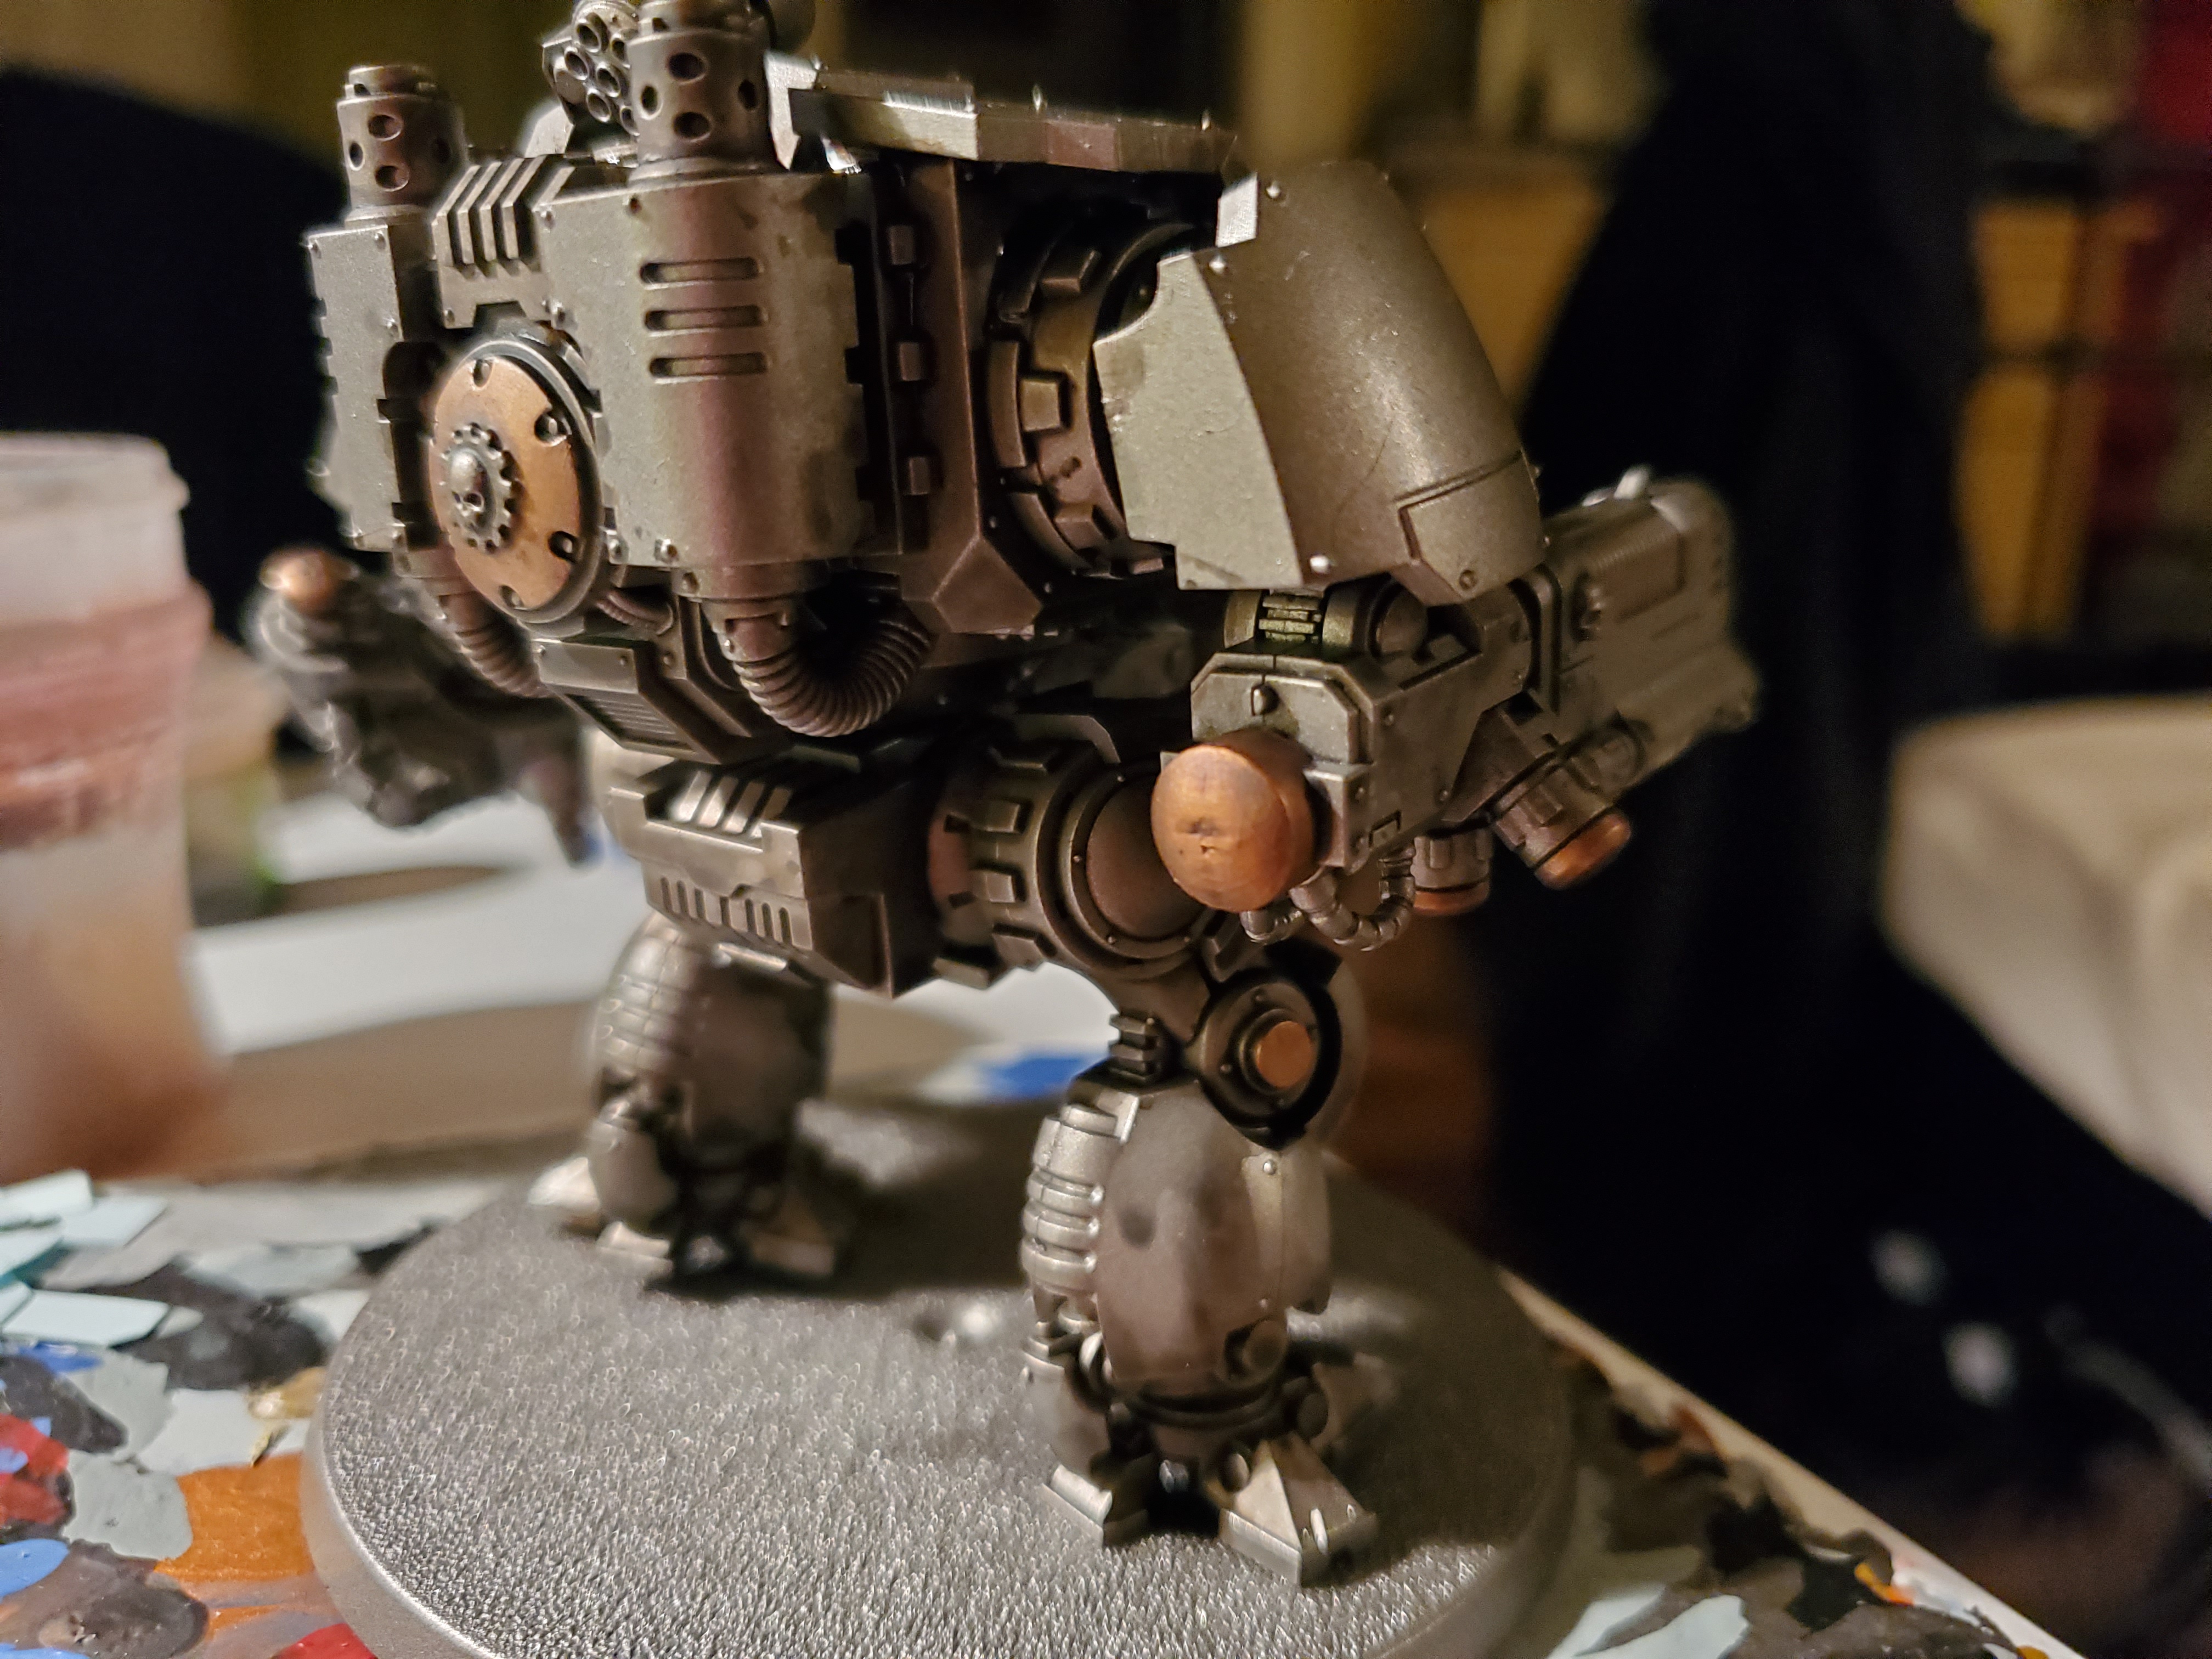 Next we want to apply a nice all over shade of Agrax Earthshade. This gives a bit of a grimier appearance to the machinery, and for that reason I avoided the weapon parts to help them stand out a bit more. You will need to shade all parts painted in Balthasar Gold if they are on the weapons, though, so switch to a smaller brush to shade these.
 Then the fun part; drybrushing! I used Runefang Steel here, but any bright silver will do. Necron Compound would be a very good option if you have some, but, alas, I did not.
And that’s the basic skeleton! At this point if you want to show some more ‘polished’ zones such as pistons, go ahead and paint some bright silvers in there, but remember to leave some shading in the recesses! Next up we’ll be moving onto the armour plates. The brilliant thing about this skeleton, though, is that is works regardless of the chapter you’ve picked, or created, to paint! After this things will be more Ultramarine focused, but you can always switch out some colours.