Spring Cleaning the Wasteland
Recommendations: 195
About the Project
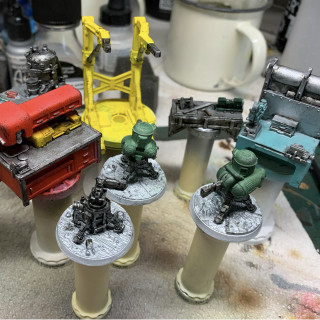
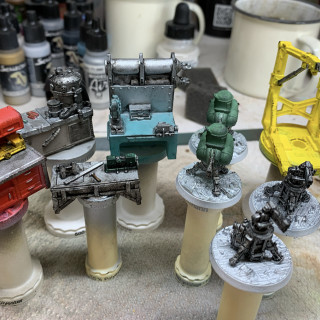
Can you clean a wasteland? Not sure but I certainly can paint the backlog of Fallout terrain I’ve been accumulating since the game launched! I’m looking to create options to make tables for thematic Fallout scenarios for Fallout Wasteland Warfare, the amazing game from Modiphius.
Related Game: Fallout: Wasteland Warfare
Related Company: Modiphius Entertainment
Related Genre: Post-Apocalyptic
Related Contest: Spring Clean Hobby Challenge (Old)
This Project is Completed
It’s gotta be fast!
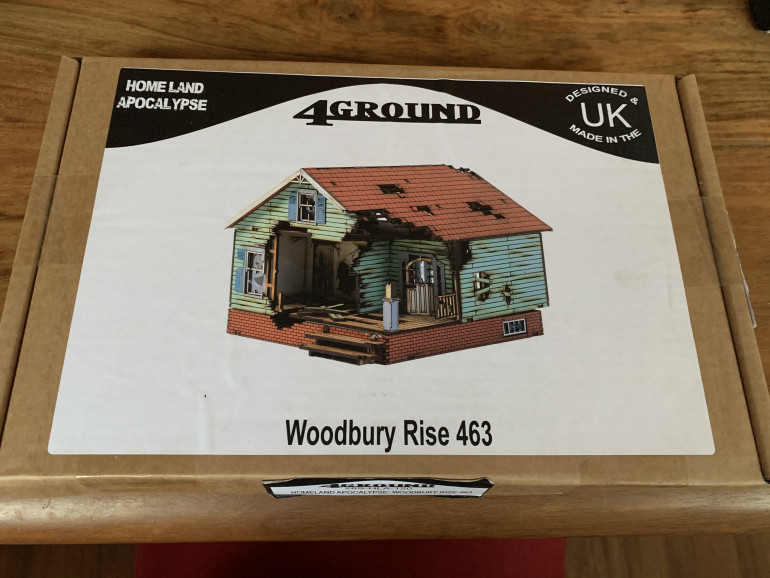
I love me some Fallout. I’ve been collecting Fallout Wasteland Warfare from day one and I think it’s one of the finest miniature games on the market. My finances have just about been keeping up with the release schedule but my hobby desk hasn’t! Most notably all the resin terrain kits that have been dropping regularly. I’ve been playing games with some MDF bits and bobs from 4Ground etc but these kits from Modiphius are required to make it Fallout. Time to get it done!
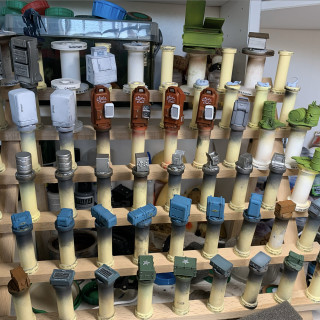
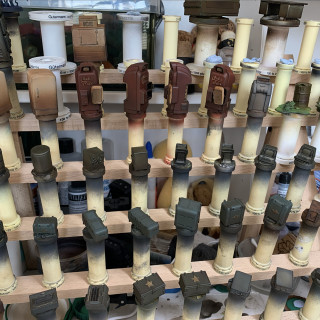
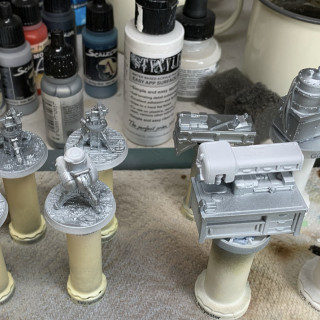
I washed and prepped as many pieces as would fit on my paint rack (which is the vast bulk of it which is awesome!) and got to work. I’ve been watching with interest the “reductive” shading and weathering techniques that are all the rage at the moment and thought terrain is the ideal place to practise it. It also leads to speed painting which is definitely the order of the day!
My basic plan is this:
1. Prime in black
2. Cover everything in burnt umber
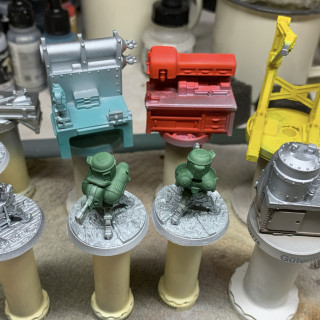
3. Airbrush on a main colour for each piece.
4. Paint in any necessary details (only the absolutely necessary)
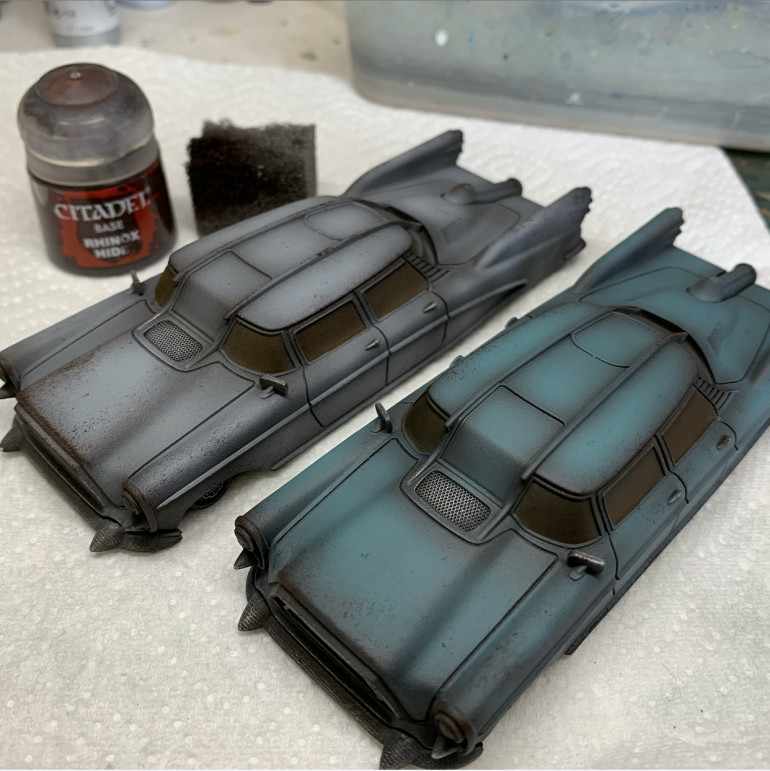
5. Sponge on some damage – either brown or grey depending on the base colour.
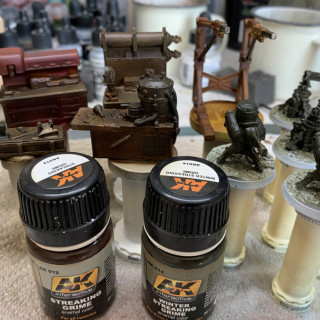
6. Airbrush on a coat of enamel wash (AK interactive Streaking Grime or Winter Grime)
7. Use white spirit and a cloth/sponge/cue tip to remove the enamel wash from flat areas and areas that need to look highlighted.
8. Quick touch up or add final details (e.g terminal screen)
9. Airbrush a Matt varnish.
10. Call it Done.
For areas of metal I also applied an oil wash in the same way as the enamel wash but before the enamel wash. Mostly black with a bit of brown. This is just to add more contrast to the metals, not sure it was actually required in the end.
Next we’ll take a closer look at the technique.
A closer look at the method
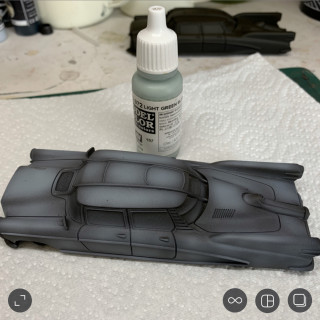
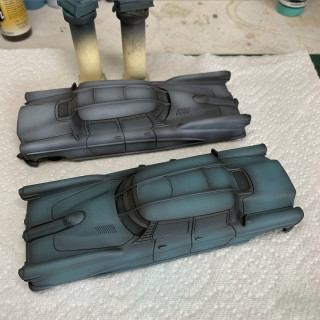
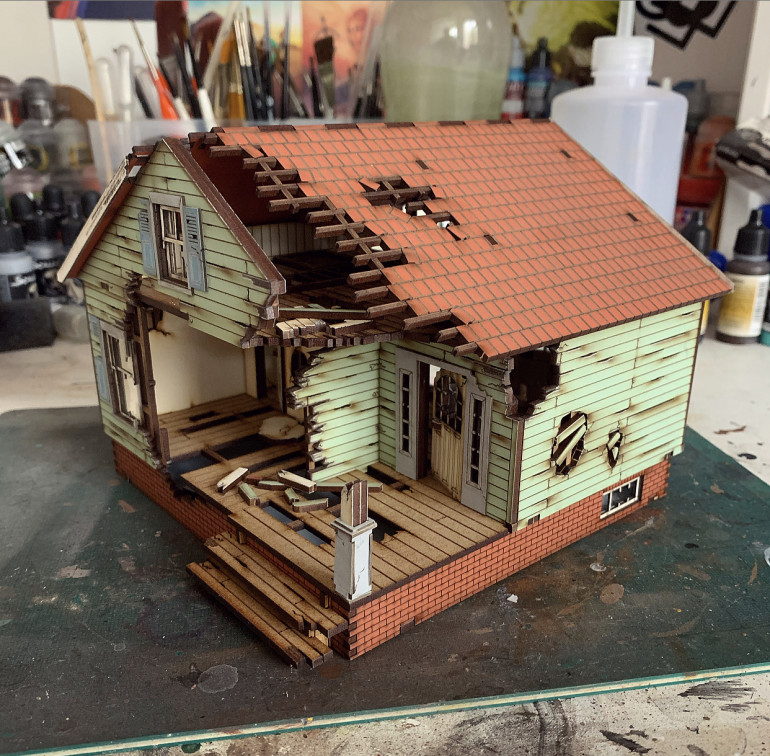
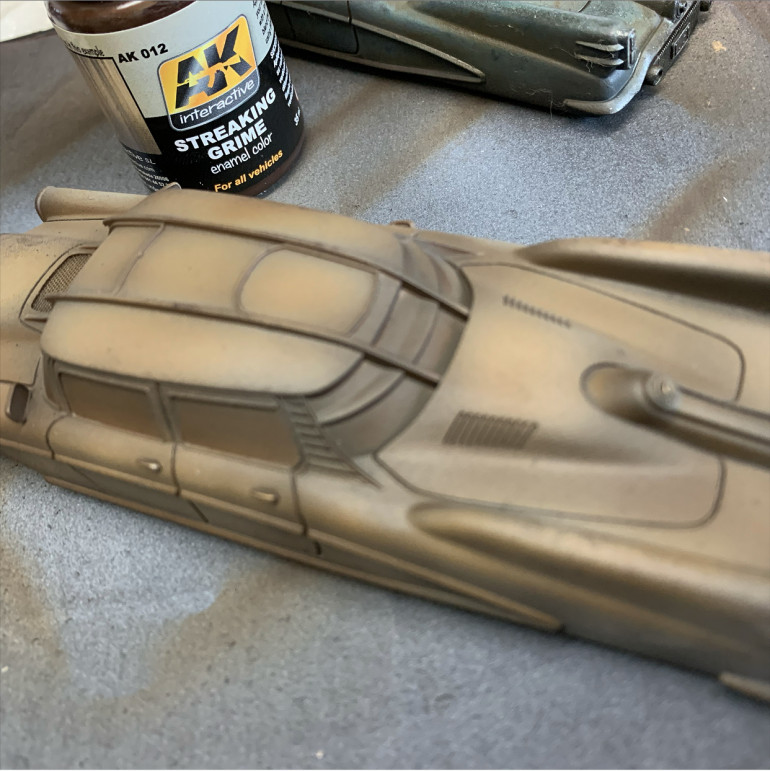
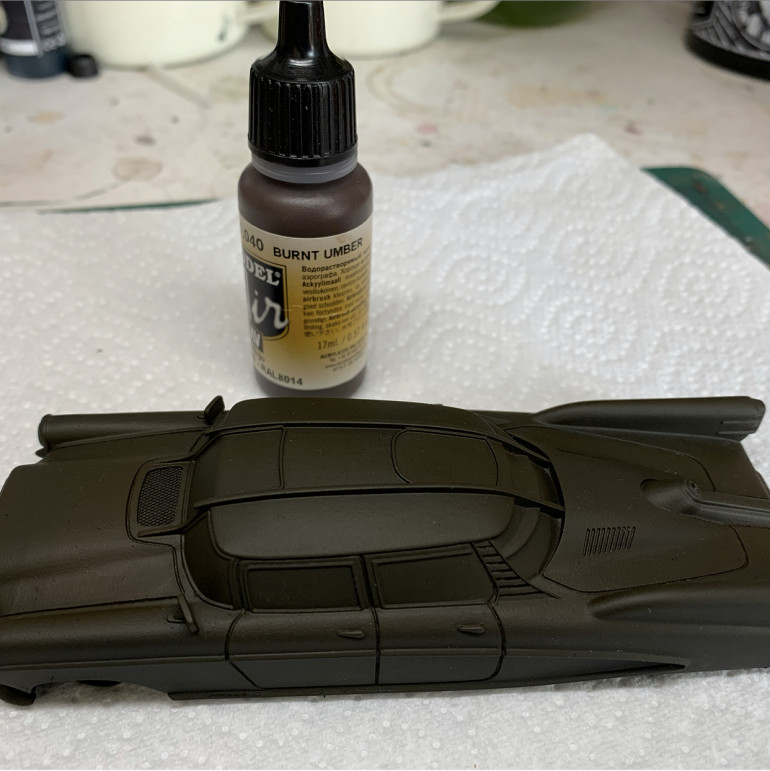 Prime in black then a coat of burnt umber. Then spray on a base colour in a zenithal kind of way to allow the burnt umber to shade. On the cars I sprayed the centre of the panels as opposed to zenithal:
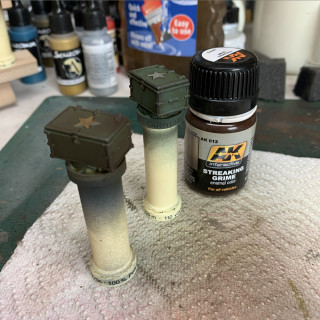
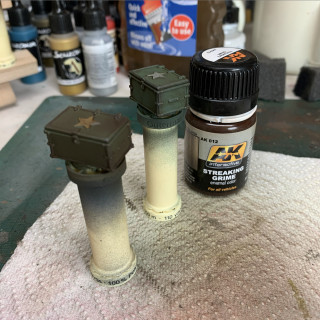
 Spray over all the good work so far with Streaking Grime. It’s an enamel wash so is not water soluble. Wear a mask when spraying and clean the airbrush by flushing through white spirit.
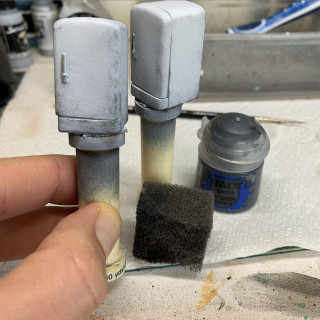
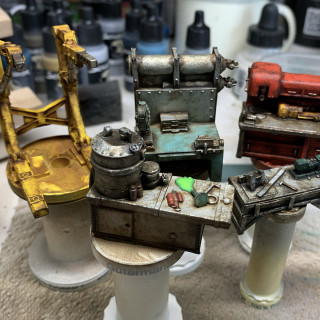
 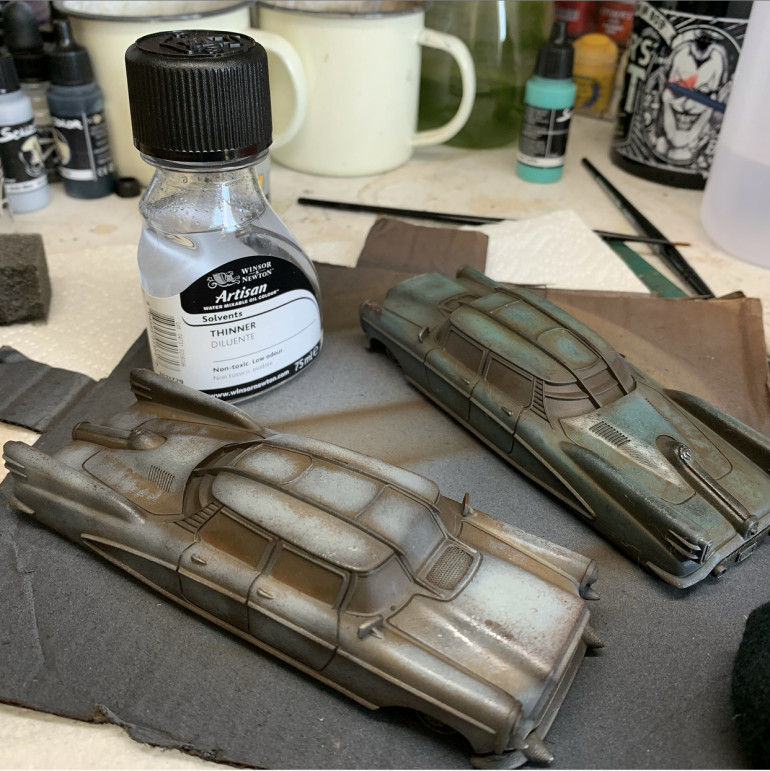 Using a rag, makeup sponge or similar, dab white white spirit to remove it from flat areas or anywhere that should be either clean or highlighted. You’re basically just leaving it in the recesses as a form of weathering but this technique really allows control over where the grime goes. With white spirit you can manipulate the affect for ages. None of this quick drying patchy mess you get with acrylic washes! You can apply more as needed and use a synthetic brush with white spirits to hone the details.
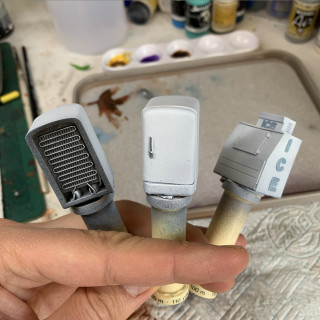
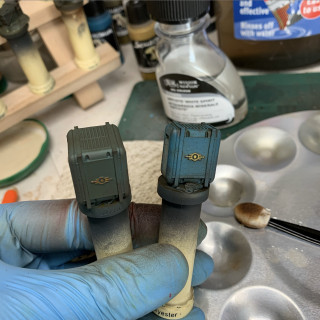
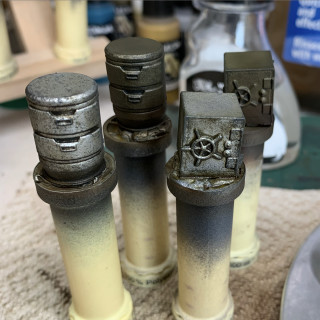
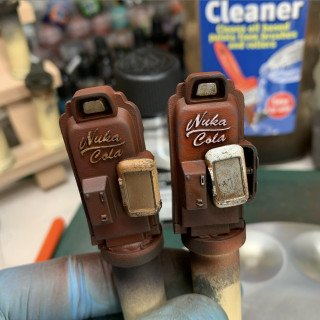
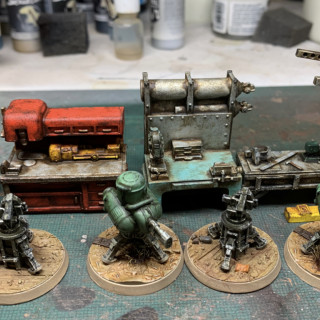
 The following gallery shows the same effect on the smaller pieces. Exactly the same process but you’ll see I quickly painted a few of the (necessary) details, and I used a paintbrush here and there to be more careful where the white spirit went. Otherwise exactly the same.
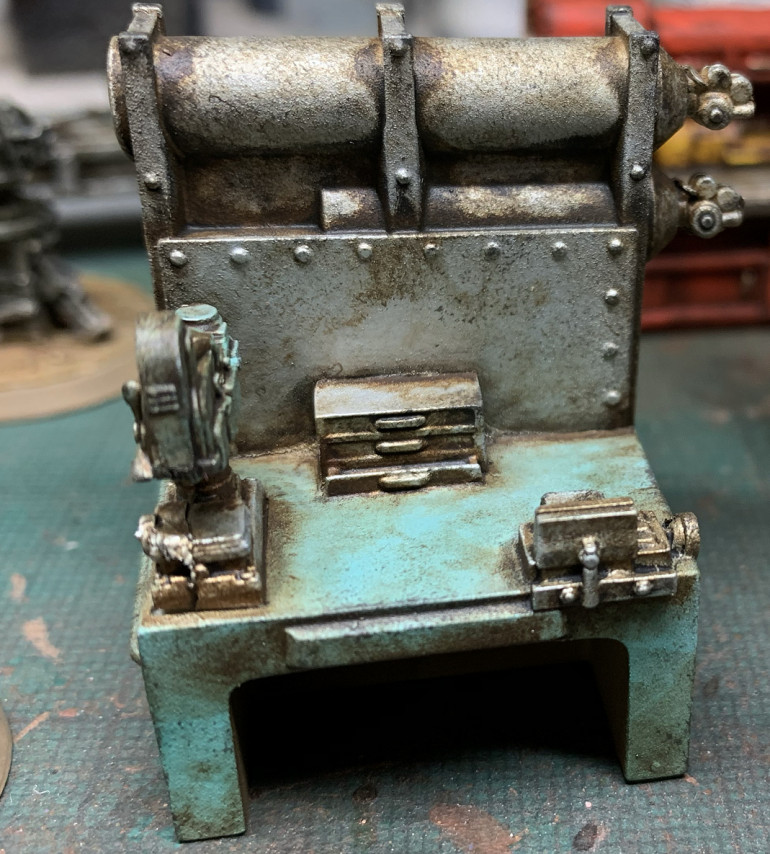
You’ll notice on the metallic items the grime is greener. That is because I used Winter Grime from the same range as Streaking Grime from AK interactive. They came in a set so I wanted to try it. I think I might like it more for Fallout actually as when you play the video game there is a definite green hue to the wasteland.
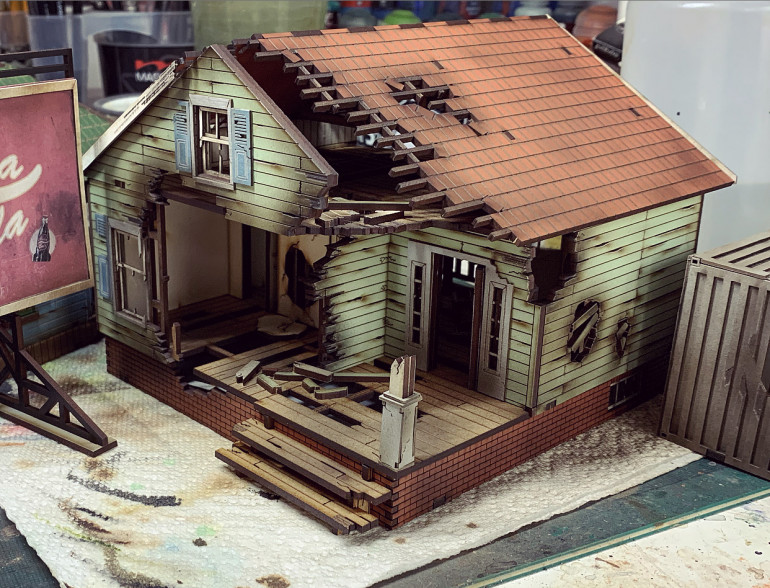
The Result
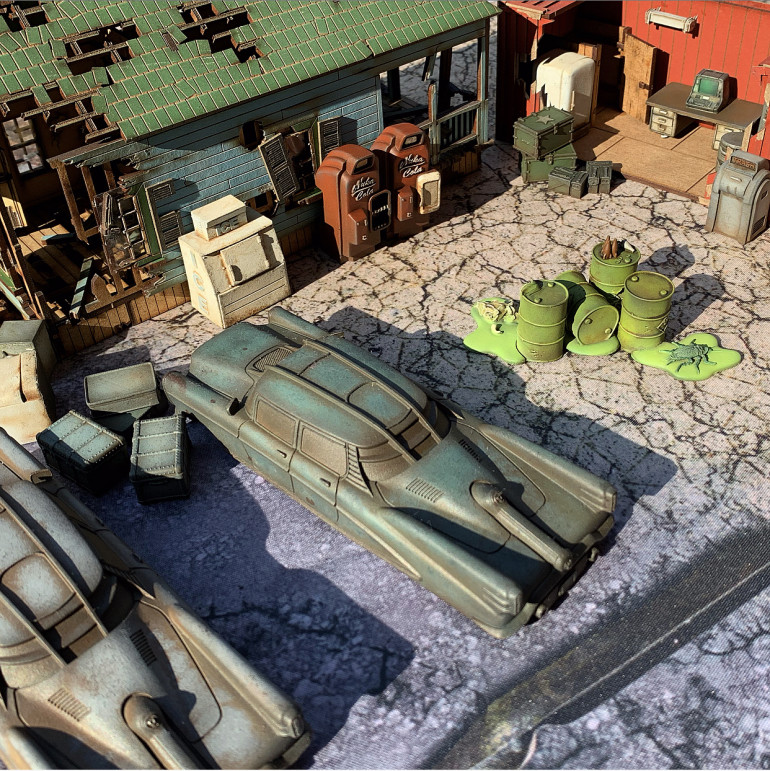
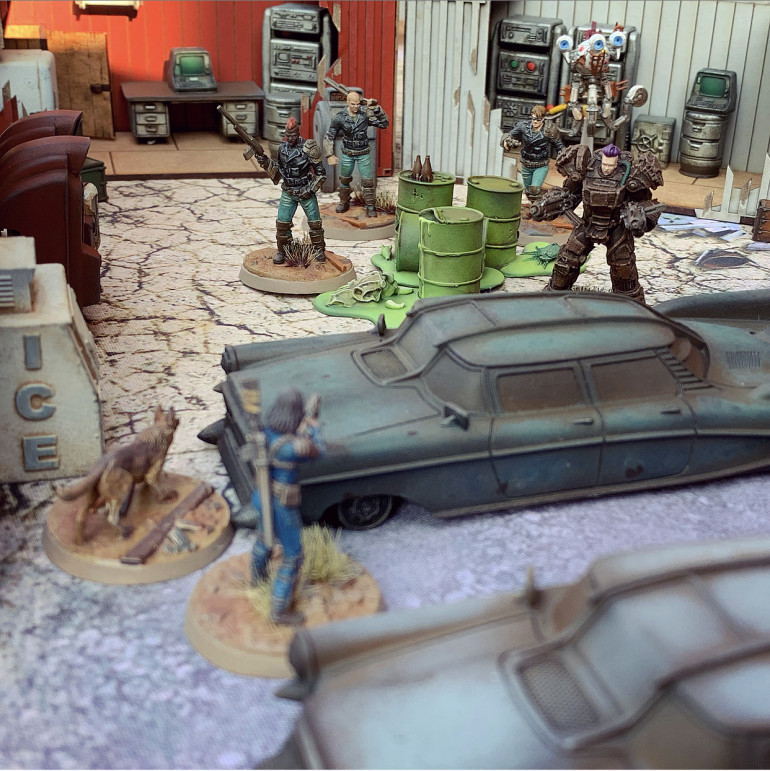
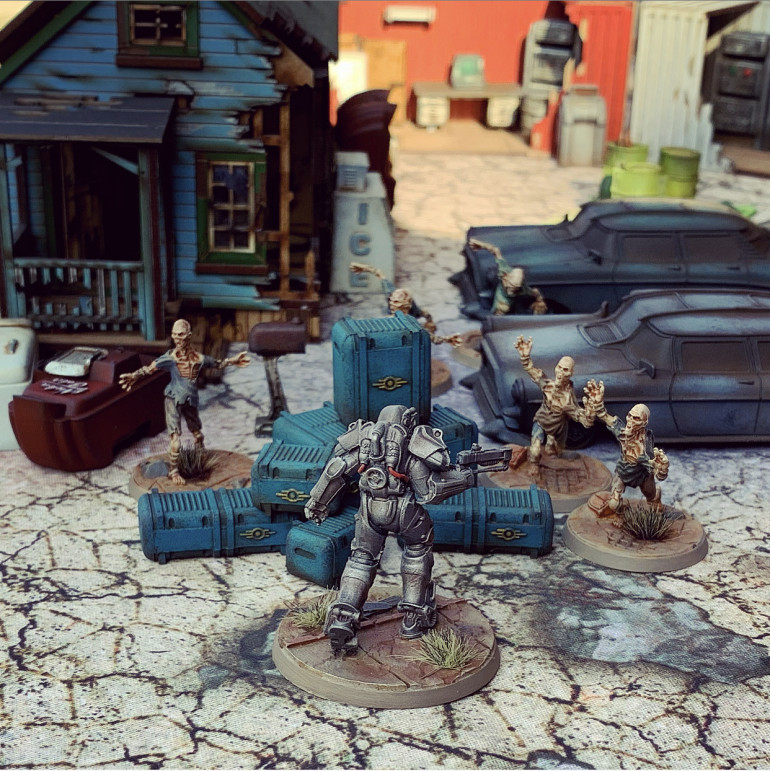
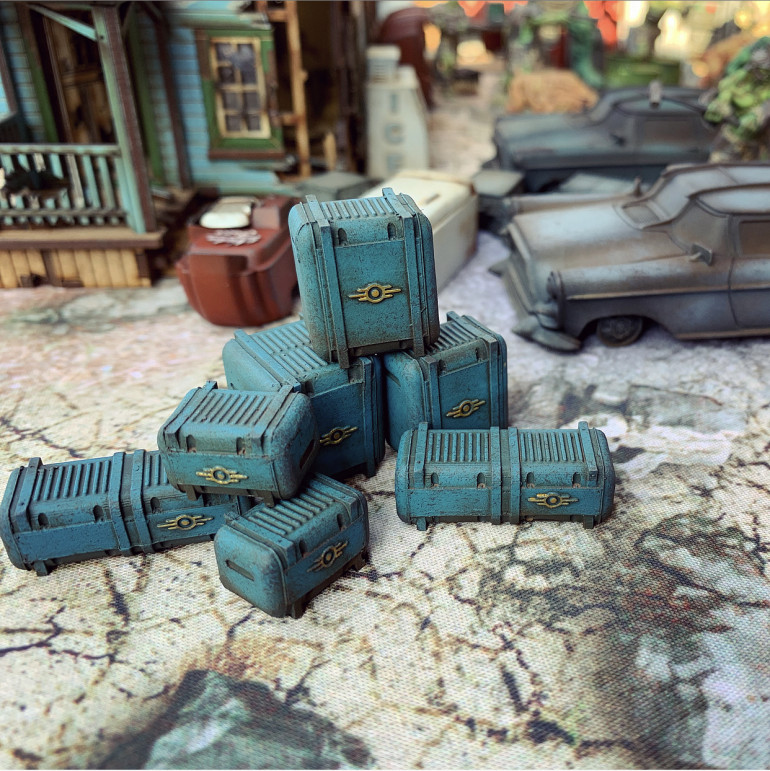
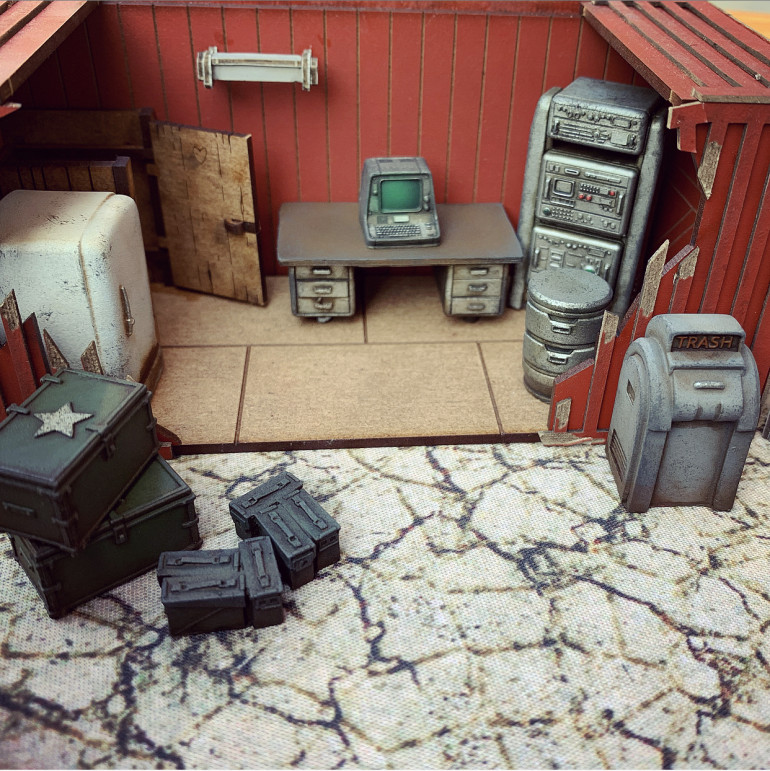
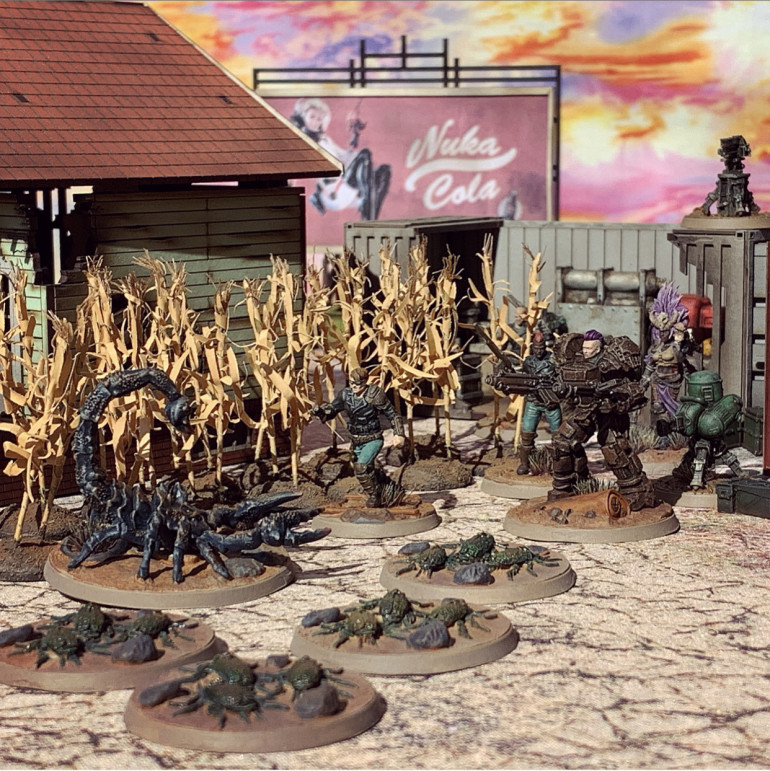
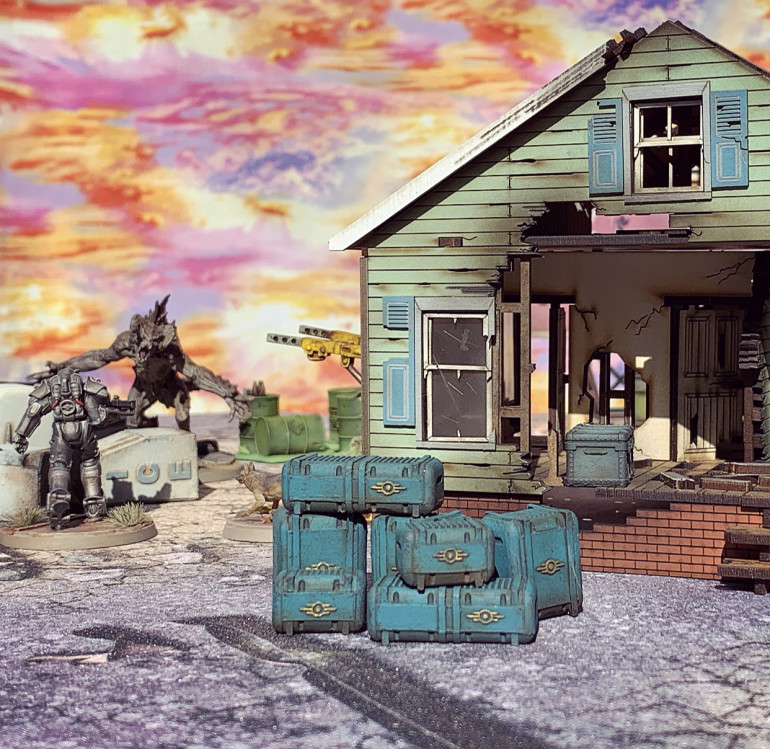
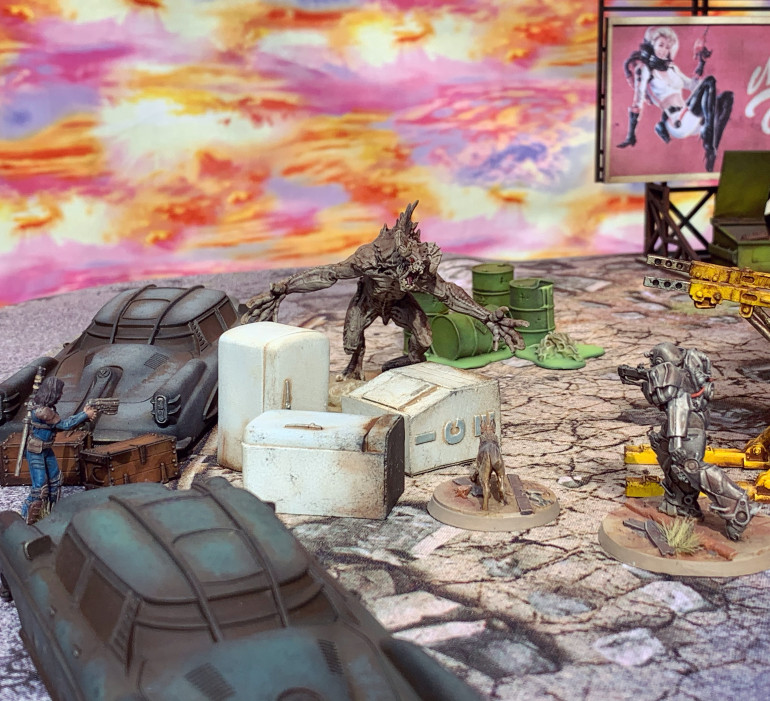
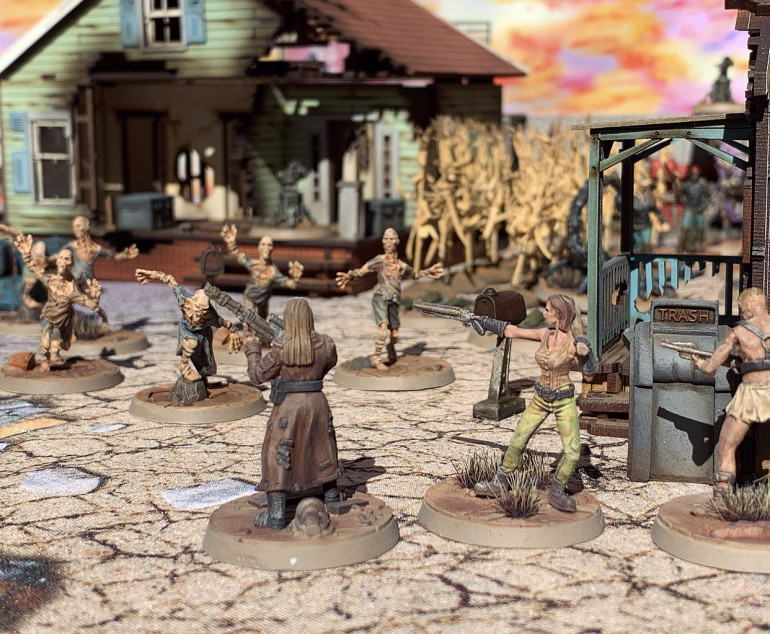
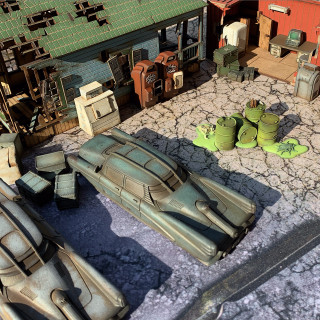
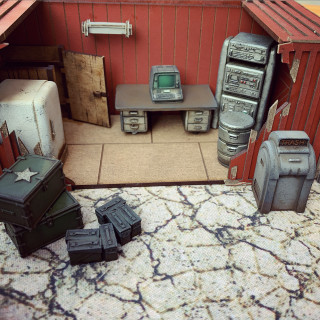
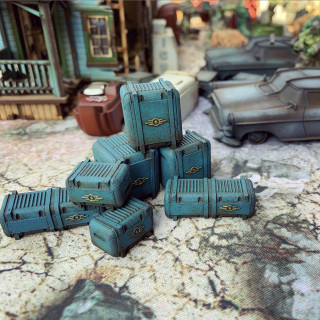
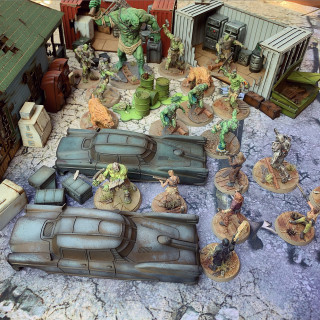
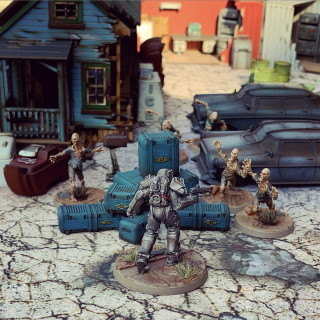
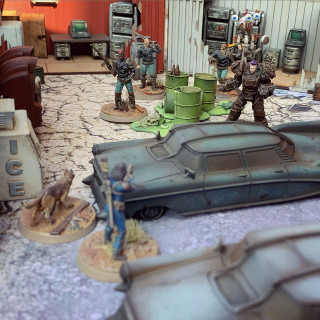
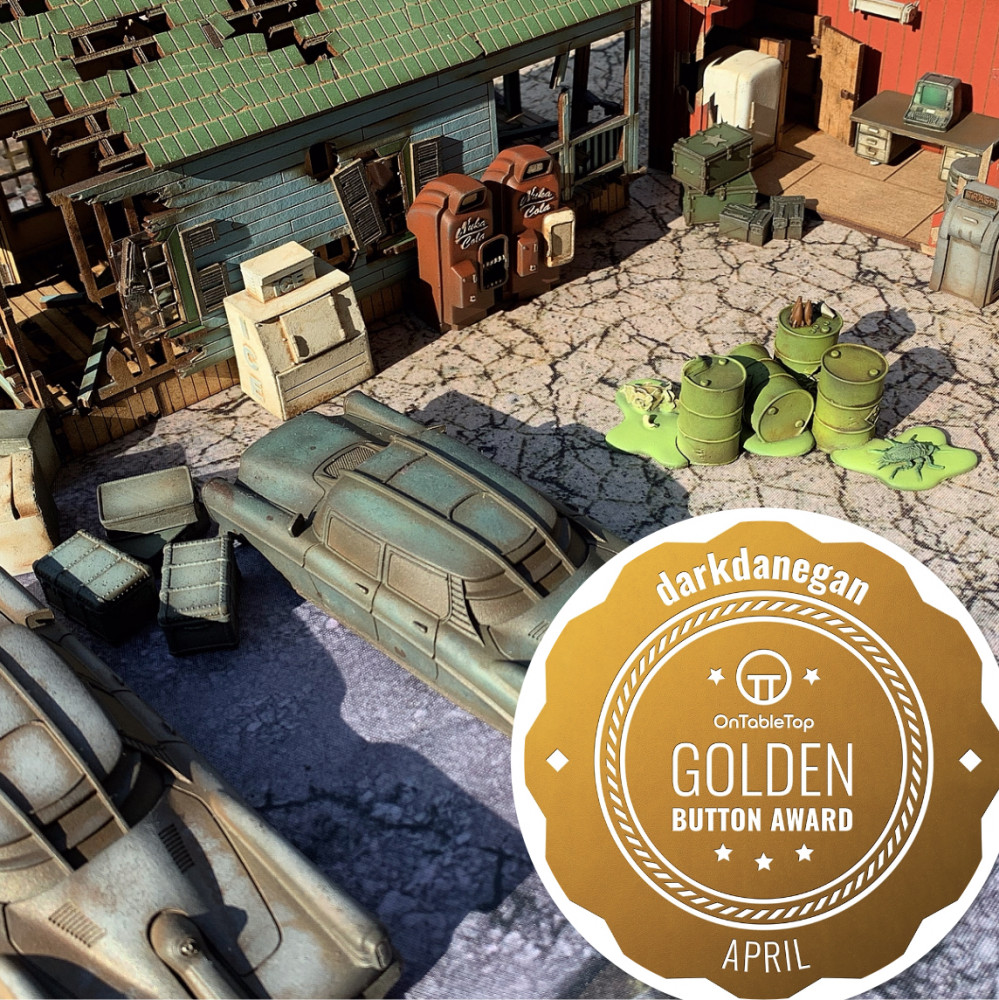
We now have the start of a proper Fallout wasteland! Time to lob a mat in the garden and take some piccies!
Time to have another rummage in the box and see what’s next!
Wastelanders Settle
With the introduction of Wastelanders into Fallout 76, it’s all about the settlement and I’ve a few more scenic pieces to paint before I’ve cleared the backlog – should be a quick job!
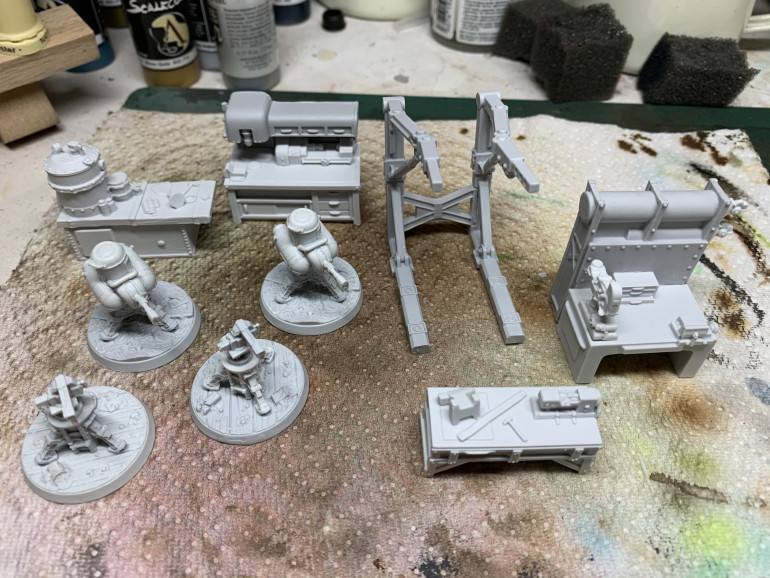
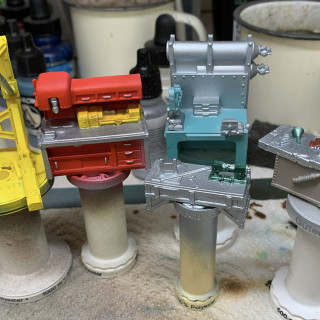
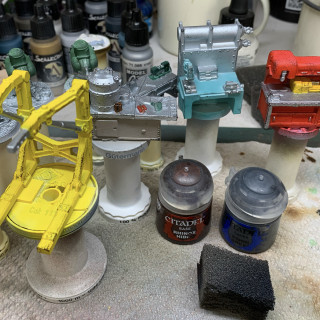
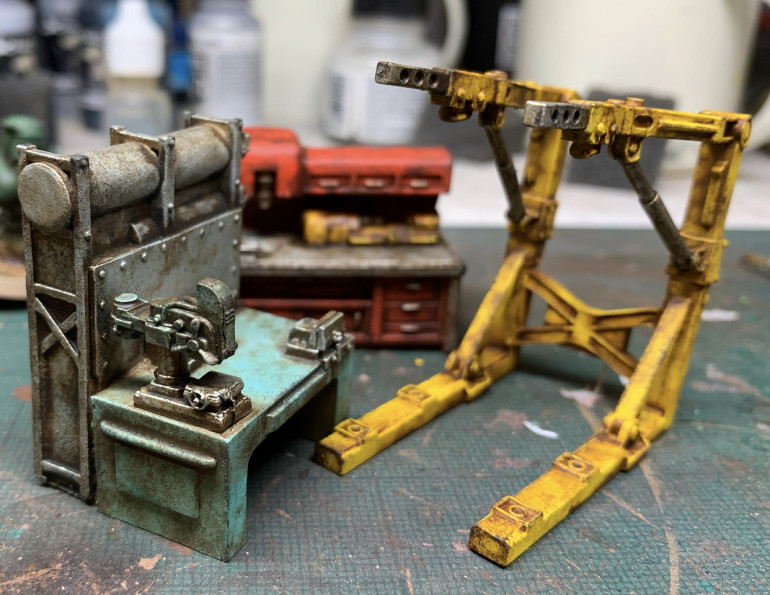
I thought I’d experiment with a white primer this time to compare the effect. Also because some of these workbenches have some quite bright colours on them (don’t fancy trying to work a dark primer up to yellow!) Spoiler alert – I think the white prime was good for the yellow, not sure I’d choose it again for the others.
Otherwise the method is the same as before:
1. Prime
2. Block in metals with a simple silver
3. Block in main workbench/turret colour
4. Pick out necessary details (only very necessary ones)
5. Sponge on some grey or brown damage
6. Black oil wash on the metals (cleaned up with makeup applicator and white spirit)
7. Heavy all over coat of Streaming Grime or Winter Streaking Grime (where I want the effect to be more green than brown i.e. on the turrets)
8. White spirit and sponges to remove the grime from surfaces. White spirit on a synthetic brush to tidy around details.
9. Base the turrets
10. Matt varnish – done!
Make a Wasteland a Home
Onto the next thing from the backlog. Definitely need more buildings to house all the appliances I’ve just painted!
I’m gonna live where the green grass grows, watch my corn pop up in rows...
There’s nothing like a post starting with a Tim McGraw lyric now is there ?
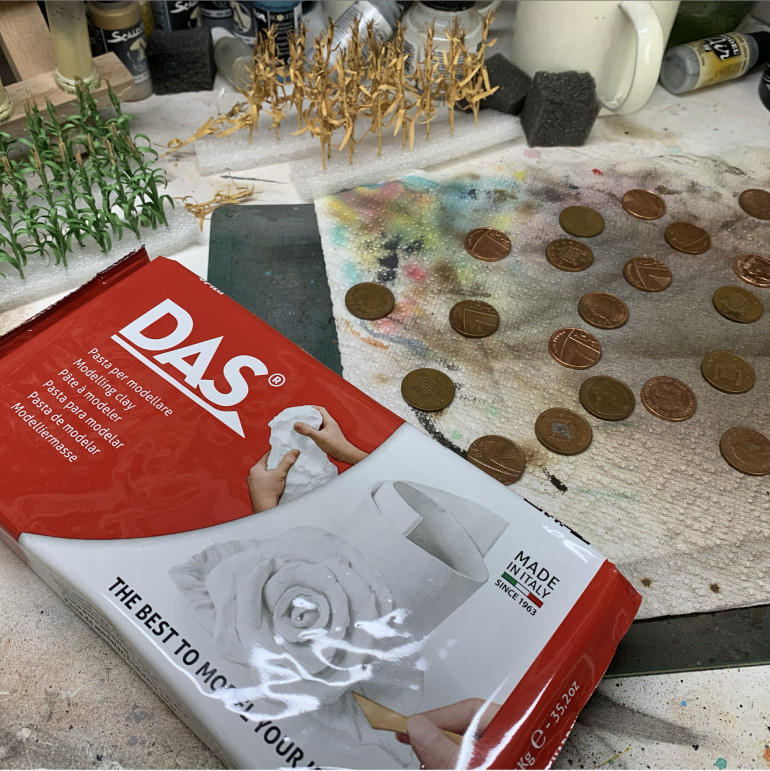
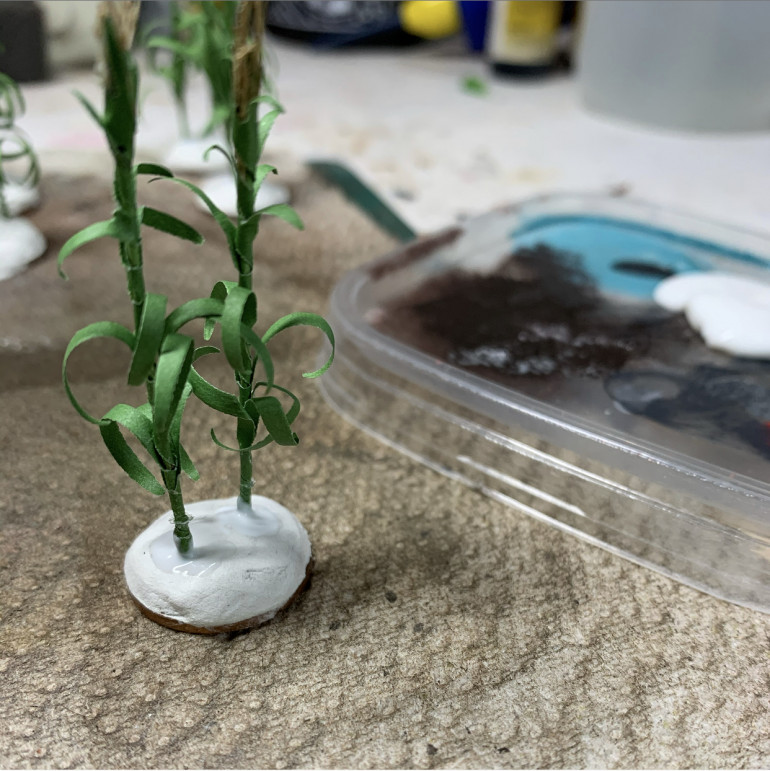
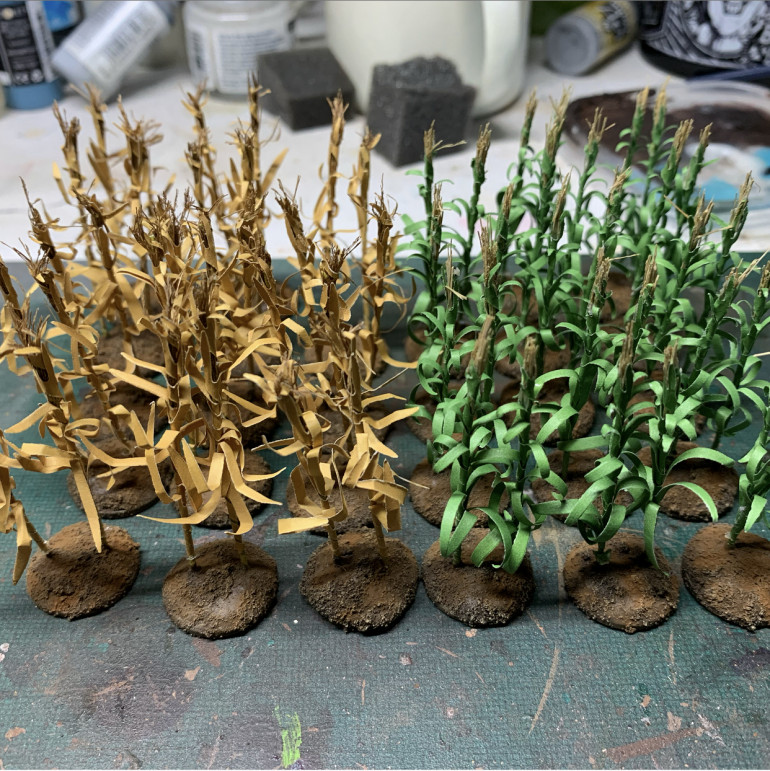
Food is a valuable resource in the wasteland and one that will be fought over in an instant. So what better than some corn to use as objectives in game scenarios?
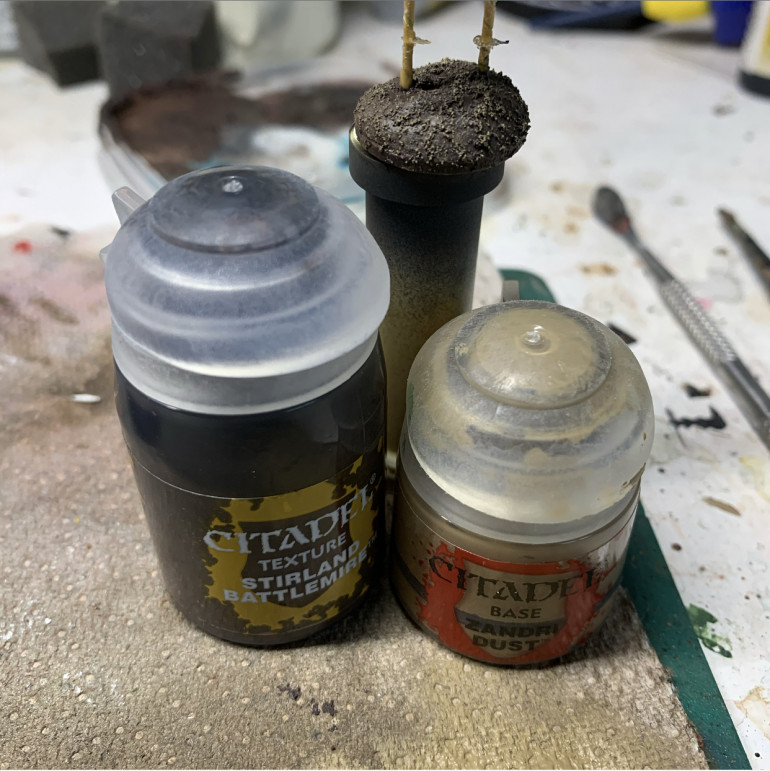
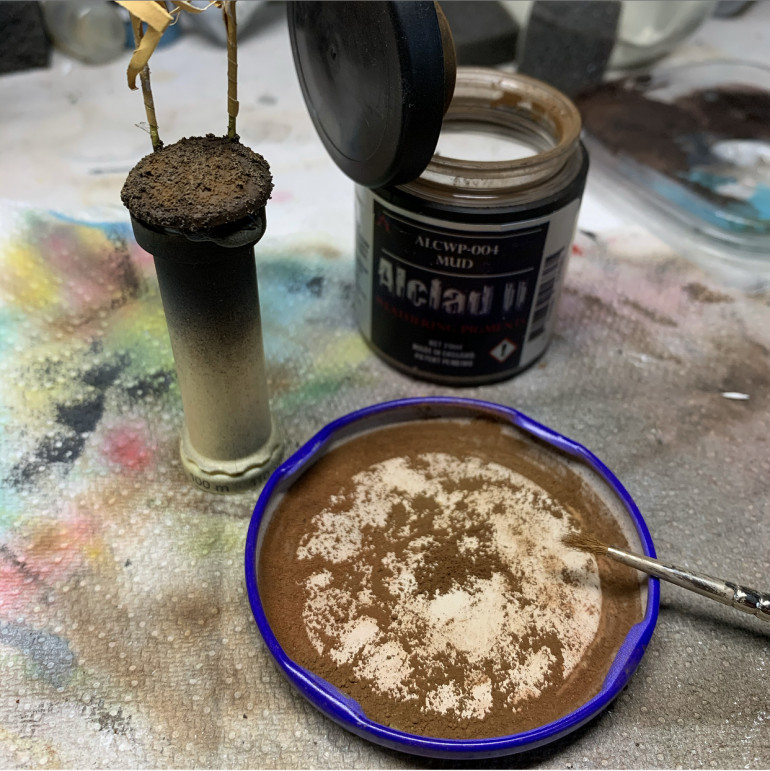
Model railway corn plus 1p coins and DAS should do the trick.
Final Piccies
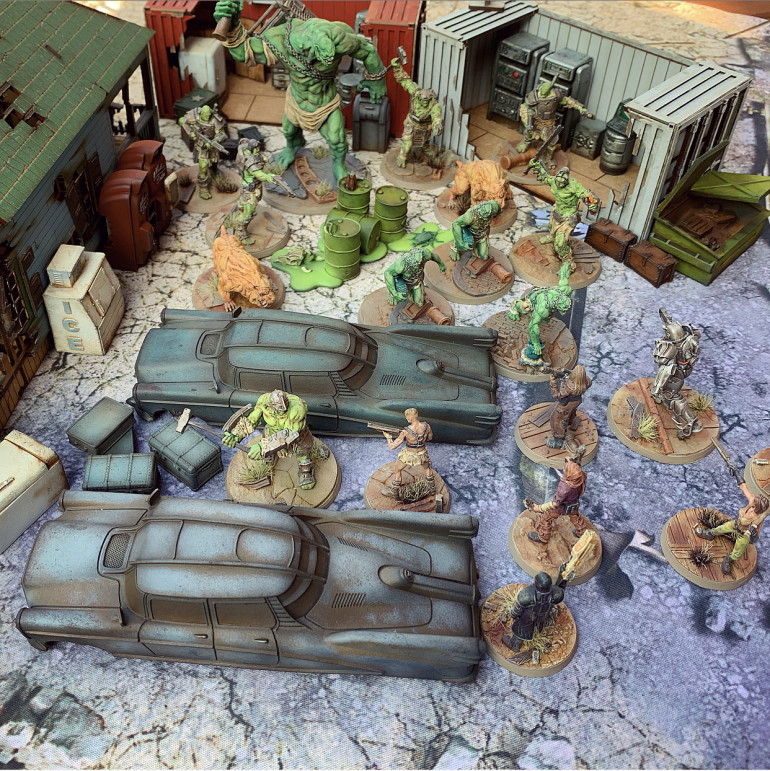
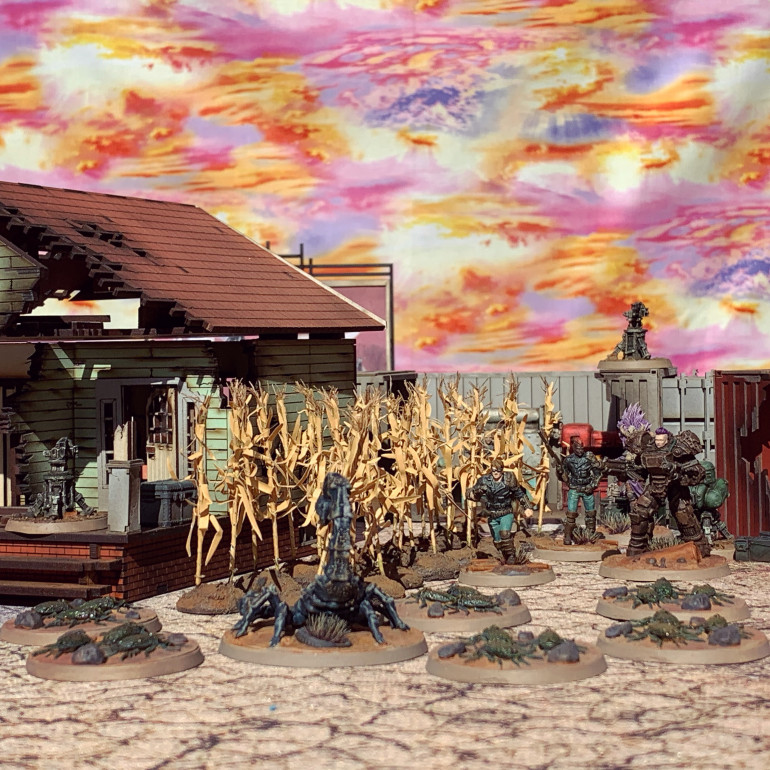
So spring has been sprung and the pile of grey resin and unpunched MDF has been vanquished. Time for some more photos!
(I found a piece of fabric to use as a wasteland sky backdrop. It’s a bit bright but maybe that’s how it goes when nukes have been going off!)


