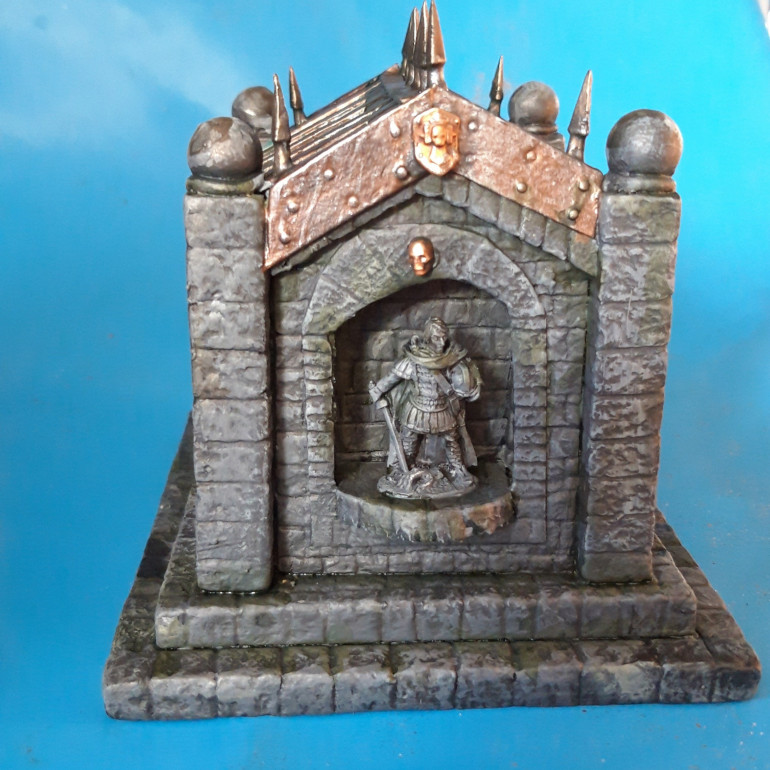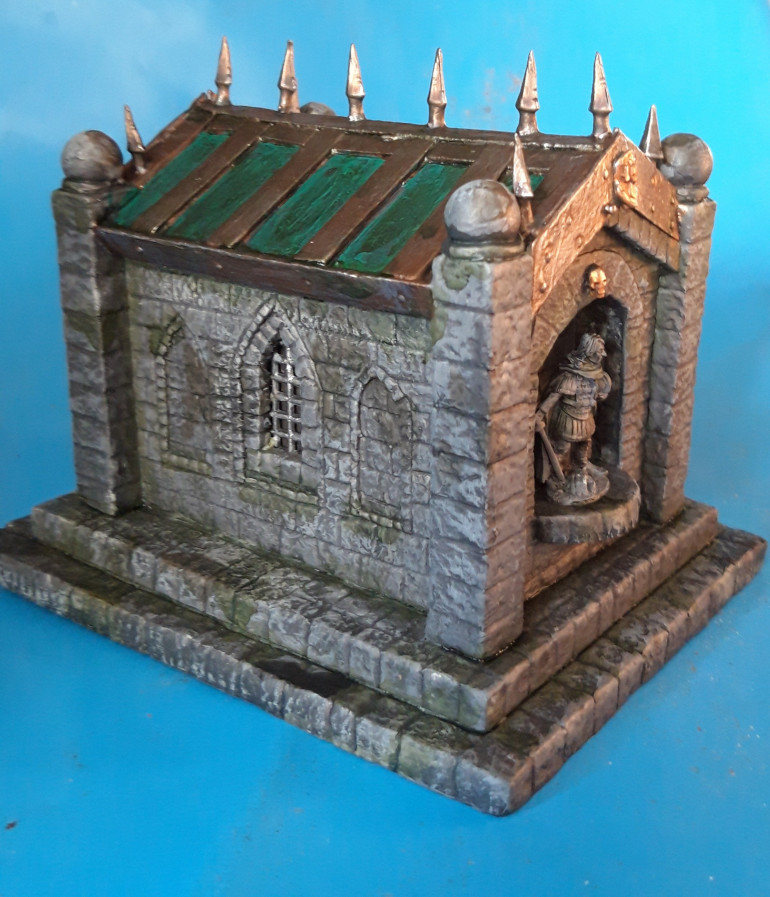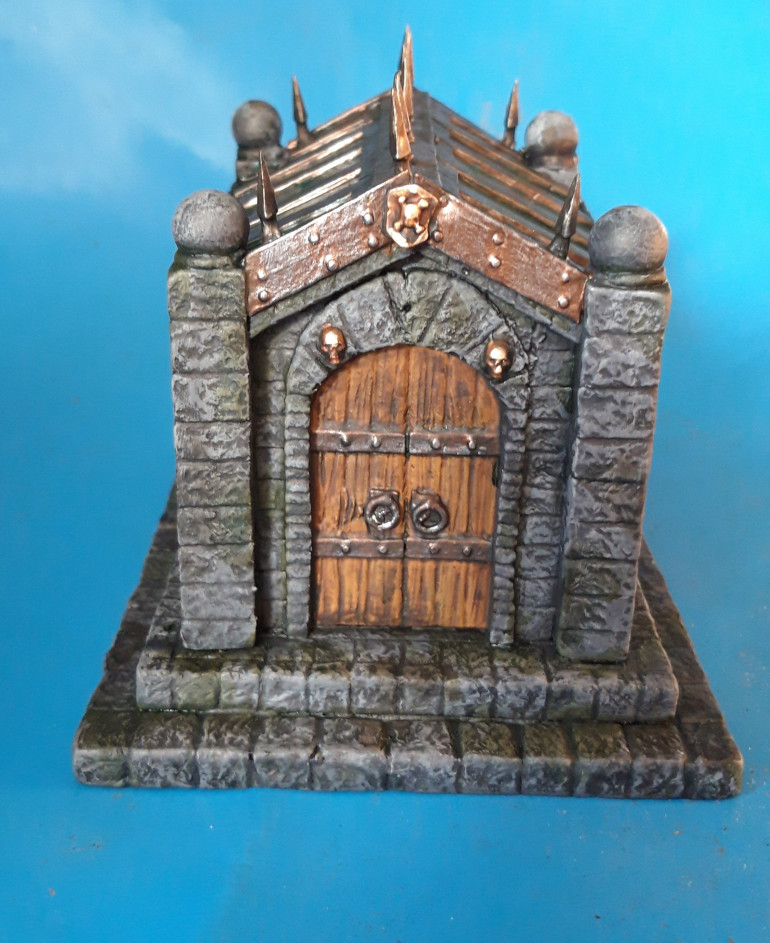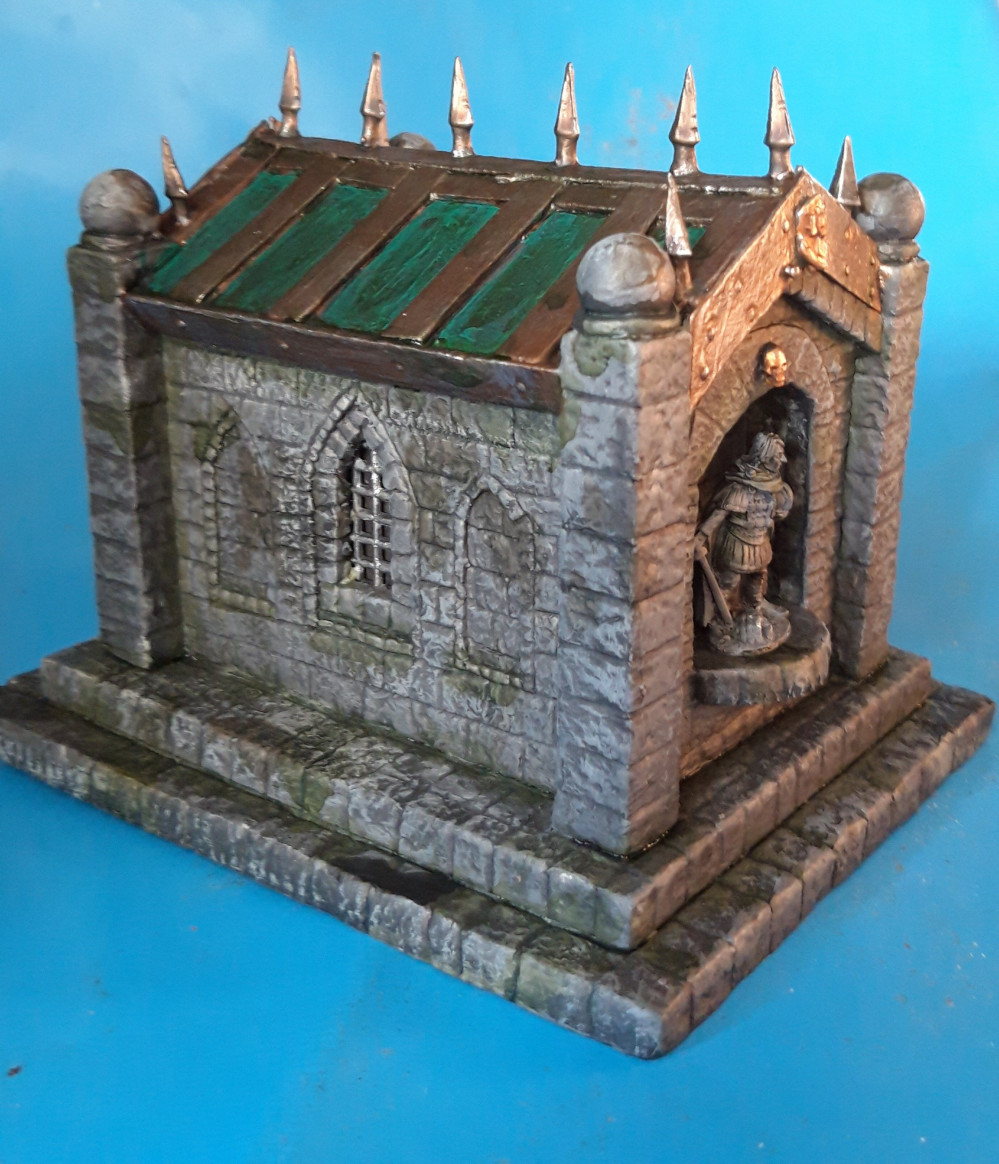
The Mausoleum Proxxon experiment
Recommendations: 21
About the Project
With some better equipment, I decided to start with a small project and see what I could do with a Proxxon hotwire cutter and some attachment from shifting Lands.
Related Genre: Fantasy
This Project is Active
And Slattered with paint.
After adding some beads from my wife’s collection on top of the collumn, I did some sculpting with putty, because it looked like they where floating on the columns.
That was basically the build. I painted it using washes and drybrushes. I experimented a bit with staining it, to make it look weathered a bit.
I’m happy with the result. My new Hot wire cutter and the attachments are a definate upgrade to what I had and I’m looking forward to what I can do with it.
And add some bits
I decided on the roof being fairly simple. No tiles, just metal. I can cut real smooth and thin slices.
Had some fun adding details, for which I raided my bits box.
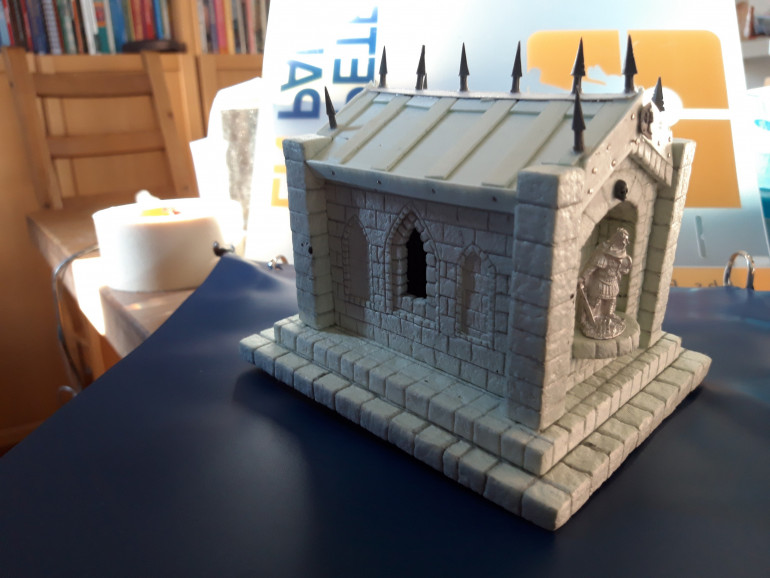
It’s coming about nicely. Some finishing touches and this dude is ready for a layer of paint.
Starting to get it together
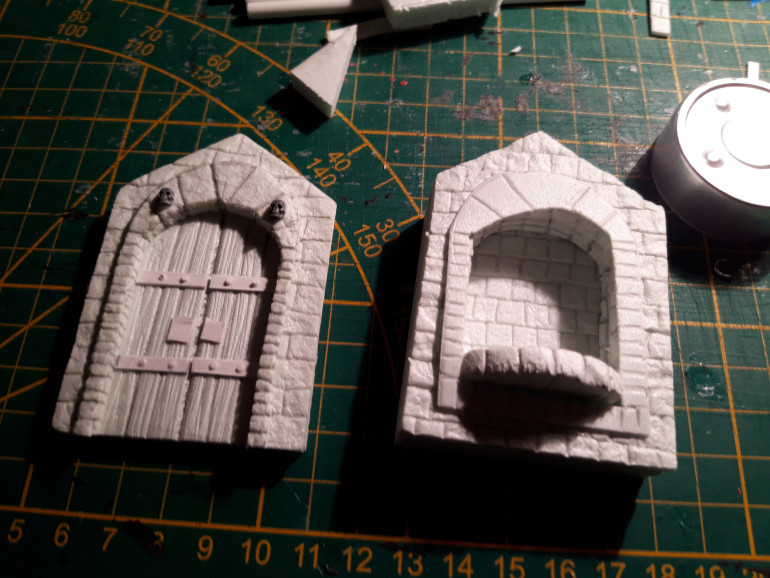
The front and the back. I wanted a door and something of interest in the back. I dug up an interesting mini I got in a goodie bag on a convention. I personally have no better use for it and this makes it not go to waste.
It will be a statue so I had to create a place for it.
As with the sides I made sure to have some depth to the facades to keep it interesing.
Making everything up as I went along, I started to get the hang of the proxxon cutter.
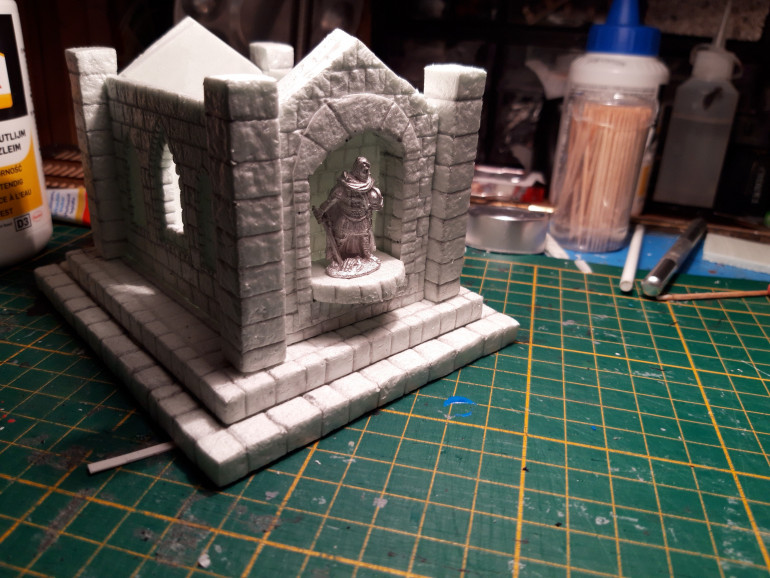
Then put it together. At this point the mini is just ther for show. I will not glue it until it’s painted.
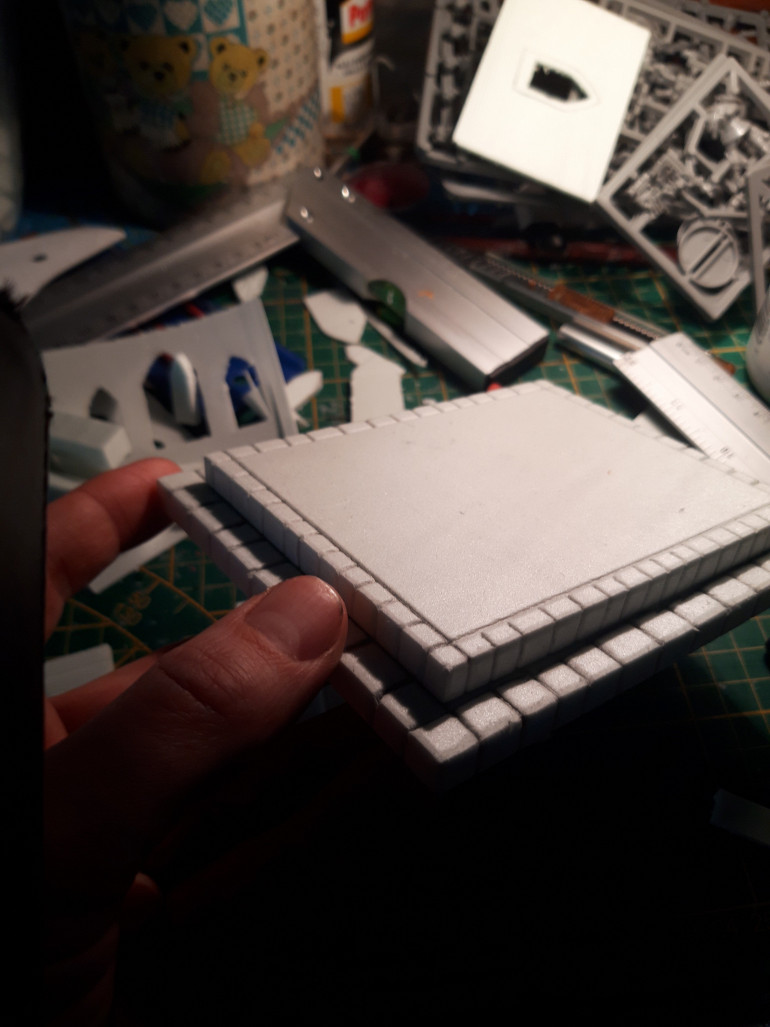
Note that, to make it realistic, I rounded all edged of the stone. I simply did this by softly scraping the side of my pencil along them
Some Basics
I began the, well, the base.
The trick to build with the Proxxon and get better results is to work in layers. This creates more interesting surface.
I starter with to layers and drew a stone patern on these with a pencil. Then I created structure with some rolled up tinfoil and dabbed and rolled this over the surface.
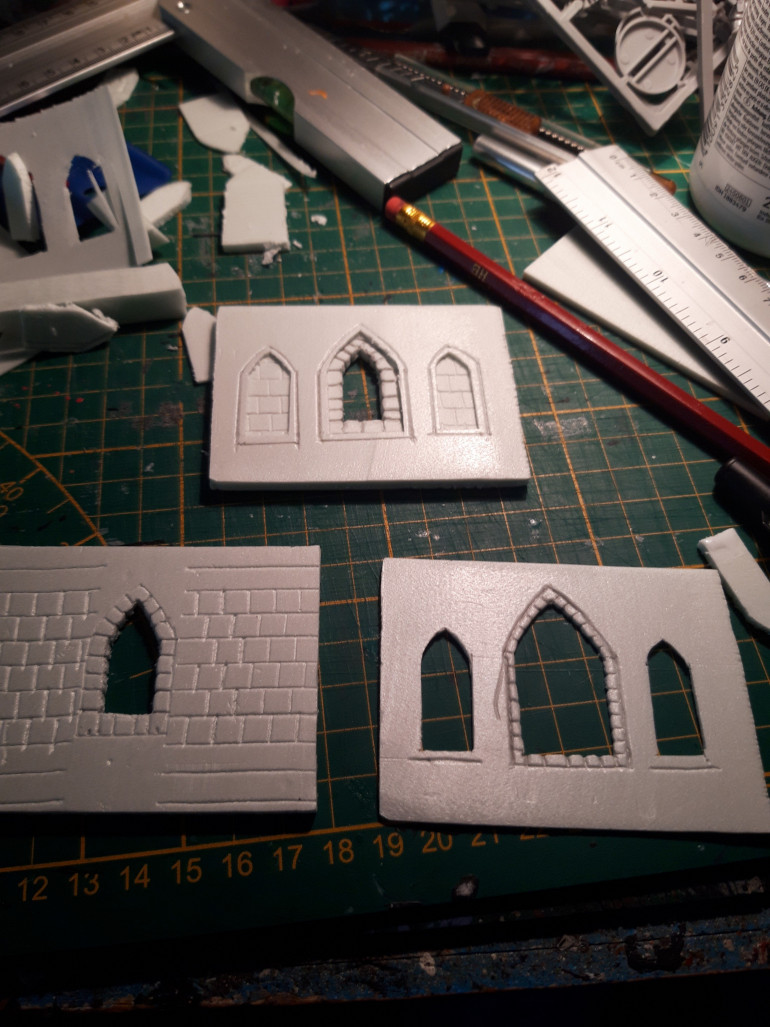
Starting on the sides. These are two layers. The first is mostly a simple brick pattern, again drawn in with a pencil and cut out the window.
I then added a thinner slice with some interesting relief on top of this.
Fun about the tools I use is that I can make one shape and then slice it into thinner pieces. A tenchnique that’s sure to come in handy when I’ll mass produce some projects.


![TerrainFest 2024 Begins! Build Terrain With OnTableTop & Win A £300 Prize! [Extended!]](https://images.beastsofwar.com/2024/10/TerrainFEST-2024-Social-Media-Post-Square-225-127.jpg)


