


![Very Cool! Make Your Own Star Wars: Legion Imperial Agent & Officer | Review [7 Days Early Access]](https://images.beastsofwar.com/2025/12/Star-Wars-Imperial-Agent-_-Officer-coverimage-V3-225-127.jpg)


OBS basics and video creation


Recommendations: 563
About the Project
With me now having a little bit of experience with OBS (Open Broadcaster Software - Free and open source software for video recording and live streaming.) I thought I'd share some real basic things. This will be a WIP all the way. Feel free to add anything you know. OBS is not to be confused with "Streamlabs OBS" which is a fork of OBS and works a bit different.
Related Genre: General
This Project is Active
Chapter markers on YouTube
Here’s a short update.
When you put a video on YouTube and you want chapter markers in it there are two things you need to keep in mind.
Thing the first: your very first time stamp needs to be something like this:
00:00 Start of the video
With the “00:00” YouTube ‘knows’ that you are starting chapter markers.
Thing the second: You can not put a URL behind a time stamp. It needs to be a short text.
01:00 Text of chapter description URL of said chapter
This will work. Just a short dash between time stamp and URL will not work! I’ve tested that.
I’ll try to implement chapter markers from now on. 🙂
Up your camera quality for cheap
Yes, this sounds like a bad sales pitch but stay with me.
Let’s say you are using your old USB webcam to show things you build and paint on the internet. Chances are that you have a resolution of 720p or 1080p but all in all are very limited in features like zoom, white balance etc. Most of the time picture quality will be ok’ish.
You can now either go the big boy route and use a DSLR camera or a fancy action cam or something but those things tend to set you back more then 100€ easy.
But most of you already have a good to great camera in your possession. Your smartphone. Even cheap modern smartphones have better cameras then cheap webcams. Simply because the sensor chip inside is bigger (most of the time) And here enters a tiny piece of software that converts your phone to a great webcam:
As the name implies this is for OBS use only. They did make a “generic” version as well (just called DroidCam) that you could use in any program.
Now DCOBS is free to use but for any “high def” resolution you get a watermark. Nothing to annoying especially for testing.
The optimal way this is set up is when your PC/Laptop is connected to the same network where also your wireless network is. In most private homes they do share the same IP range. But you also could attach the phone via USB but that is a different beast.
So what do you need:
- your phone
- a pc/laptop with the 64 bit version of OBS Studio installed
- the DCOBS app (available for Android and iOS)
- the DCOBS plugin for OBS (available for Linux, Windows and macOS) [I’ve tried Linux and Windows and both worked great]
- some form of mounting apparatus for your phone like a tripod or similar.
Then you just:
- install the app on your phone
- install the plugin on your PC
- launch the app (take note of your phones IP address which the app provides)
- launch OBS, add source as “OBS camera” and edit the properties.
- put in the IP address, choose a resolution in which to run and hit “activate”
At this point your phone will be your new, shiny, fullHD webcam.
But of course, there are always some caveats.
First: you need to buy the “pro” version to get rid of the watermark. But the pro version also has some nice additional features like “remote control”. Though that is little more then a web interface to zoom, adjust white balance and focus without touching the phone itself.
Second and biggest drawback (in my opinion) is a limitation in the software when you face facing camera in your smartphone has a lower resolution then you front facing camera. So if your selfie cam does 720p and your normal cam 1080p you only can use DCOBS with 720p. So using any old smartphone for a good webcam really doesn’t work too well. The picture quality usually is still better then what your webcam does but it’s something to be aware of.
But here is something really good about it: you can use it on more then one device at the same time. I only tested two phones at ones but it works great.
And did I tell you it only 10€? Yupp, for 10€ you get (theoretically) a never ending supply of webcams. So if you are one of those who get a new phone every year: your webcam will get better and better.
I hope this will help you improve your video.
Edit your videos
Up until now I have used “OpenShot” as my go-to video editor. Mainly because it’s simple, open source (free) and runs under windows and linux. But it has its drawbacks. Main one being the very “hit and miss” hardware acceleration for rendering your videos. Currently a one hour stream takes roughly an hour to render. So “small changes” to a video (fixing a typo or adding an overlay) lead to extensive time delays for publishing.
So the obvious choice would be to buy a software that does hardware acceleration. But these these tend to be very costly. Especially if you do this only for hobby.
But then luck smiled upon me. Humblebundle is currently selling Vega Pro 16 for ~25€. At the time of writing the sale will be going for another 7 days, ending 17th may.
https://www.humblebundle.com/software/vegas-pro-discover-your-endless-freedom-software
I bought it and did a testrender for the latest episode of Imperial Interlude and the rendering time was cut from 60’ish minutes to 25. The interface is completely different and there are so many more options in this program that I need a bit more time for getting the projects set up right but in general it works fine.
So if you are in need of a video editing tool that does a good job go grab it.
More than one webcam
Bare with me, this is a bit of a rambly one:
Lets say you don’t want to talk all by yourself and you’ve managed somehow to get a co-host. Or someone to interview. How do you set up the cameras?
Well, keep in mind, that all cameras (excluding smartphones that are held wrong) are wider than high. basic 4:3 or 16:9 resolutions are the norm. Also keep in mind that currently (at the time of writing) most people have one monitor that has a resolution of 1920×1080 (fullHD) and most webcams work best at 1280×720 (HD ready). Usually the first impulse most people have is to put the cameras side by side. So the width of the camera doesn’t get used very well.
A better solution (IMHO) is to scale the cameras a bit down and leave “free space” on the screen. You want to keep the aspect ratio and if you stream fullHD that leaves 540px as height for camera. With a 19:9 ratio that’s 960px wide. So you have now filled 50% of your fullHD screen and are left (or right, depending where you put the cameras…. pardon the pun) with 960×1080 to use as “share stuff” screen. If you go down a bit more (for example 800×450) you can start to use (good looking) overlays.
Best way to think of the “where do I put what” is (in my experience) using a piece of paper and sketch it out. And keep in mind what your focus is. The people? The shown content?
Of course this all gets more complicated if there are more then two talking heads. But that is a story for another time.
When your video gets flagged
So at some point you will possibly hit a road block. You’ve used unlicensed material (maybe just background music) and YT blocks your entire video from being seen anywhere. Now what? Again: Don’t panic! If it is not a copyright strike (which YT will tell you) all is still good.
You have options at this point:
- Use the YouTube editor to simply cut or mute the offending part. This is the most easy way out but YT takes ages to apply the changes…
- Edit your own video and re-upload it. This is the more professional approach but also uses a lot of time. Edit, render, upload.
- delete the video and tell YT to ********************
So there you have it. And here is an example of what YT deemed “not worthy” (though I took out the original song….)
Prepare for everything
So now you’ve set up all the scenes and sources and are streaming happily away…
…and you need to take a break. What now? Don’t panic!
Before any stream make sure you have a scene set up with a picture that has text on it, telling people what’s going on. Either “Intermission”, “Short break” or even “technical difficulties”. Add a long playing song or a sound loop or maybe even a rotating playlist of free music. Now, when the need arises, you can toggle that scene and leave your place to do, whatever you need to do.
Power at the tip of your fingers
So this is more of a side note. As some may have seen in the last uHH I’ve added some pop up effects into the show. Most streamers use the Elgato Stream Deck for this kind of work, which is a very efficient way to do it. But also pricey.
This being a non-profit just for shits and giggles show I looked for free alternatives and I found Touch Portal. It’s a piece of software for PC/Mac that interfaces with your streaming software. The accompanying app (Android/iOS) then turns your phone or tablet into a streamdeck.
For OBS you need to install a plugin to get everything to work but that’s all explained in the tutorials on the Touch Portals website.
In the free version you have 2 pages of 2×4 buttons you can adjust to what ever you want. (Though one button on each page is needed to switch from one side to the other leaving you with not 16 but 14 useable buttons)
It works, it’s fun and I’m looking for some loony stuff to put in there.
Turning cameras and a clean workspace
So because I was always unhappy with my workspace I did some cleaning up.
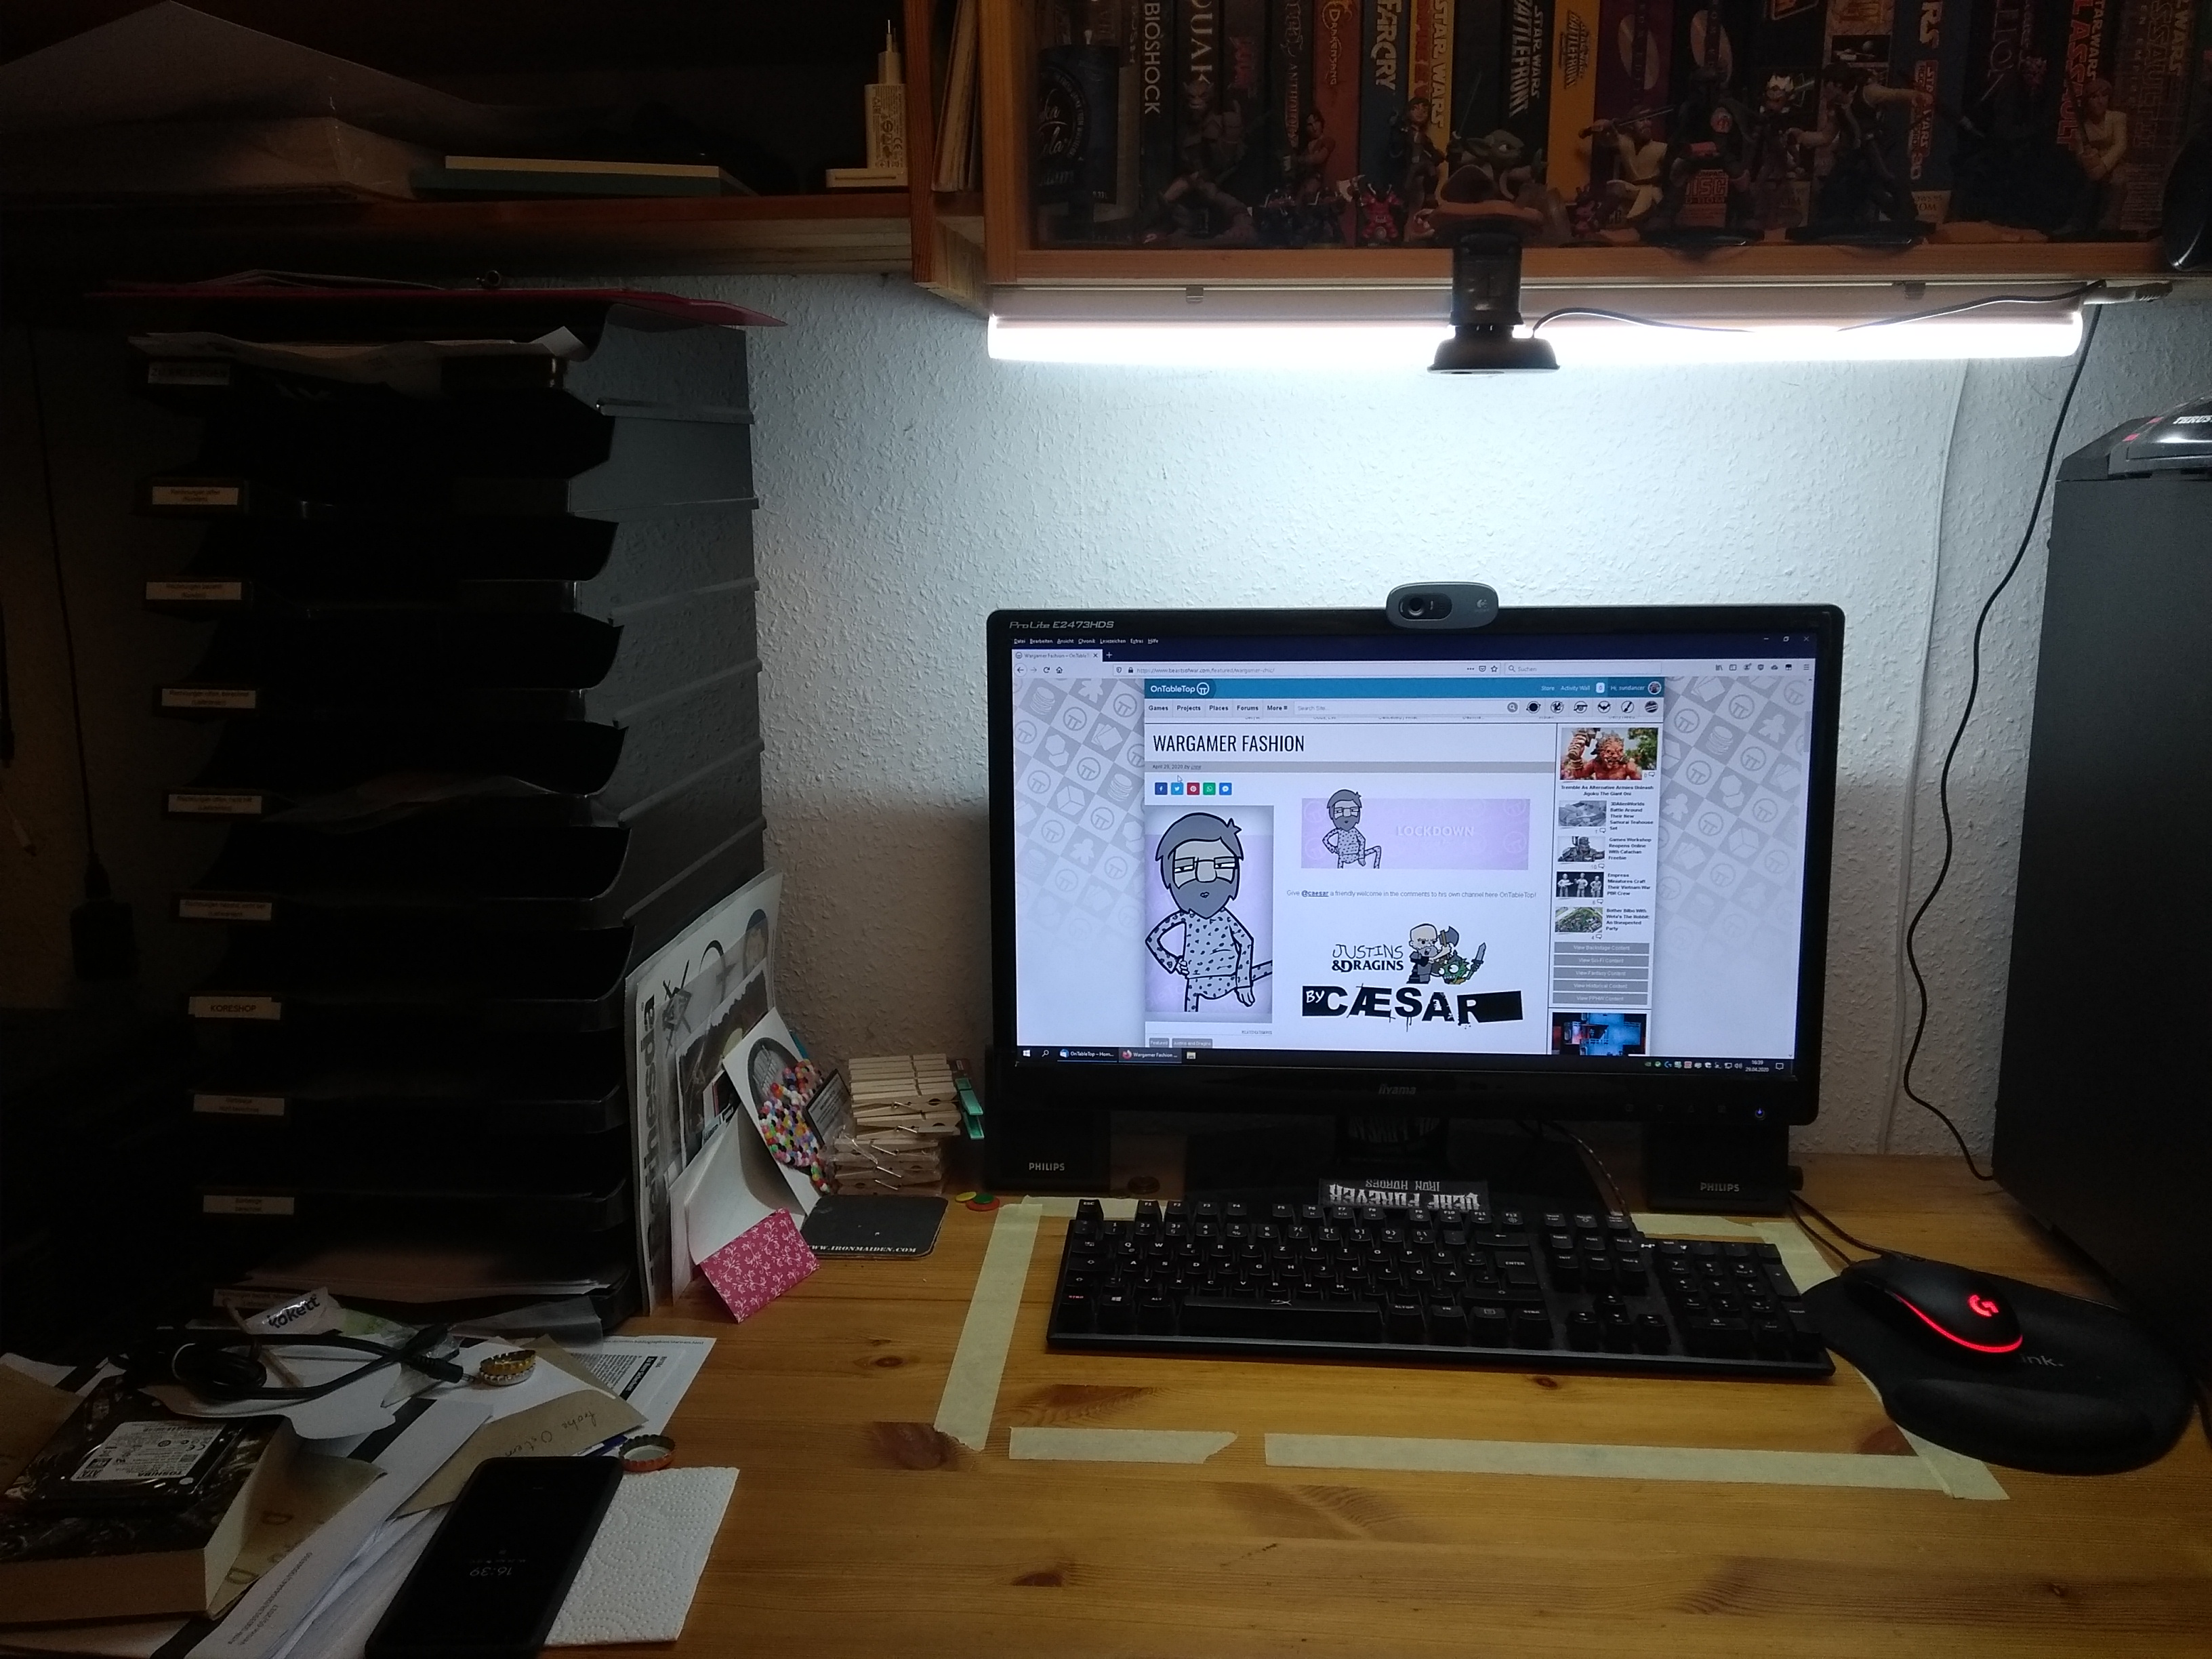
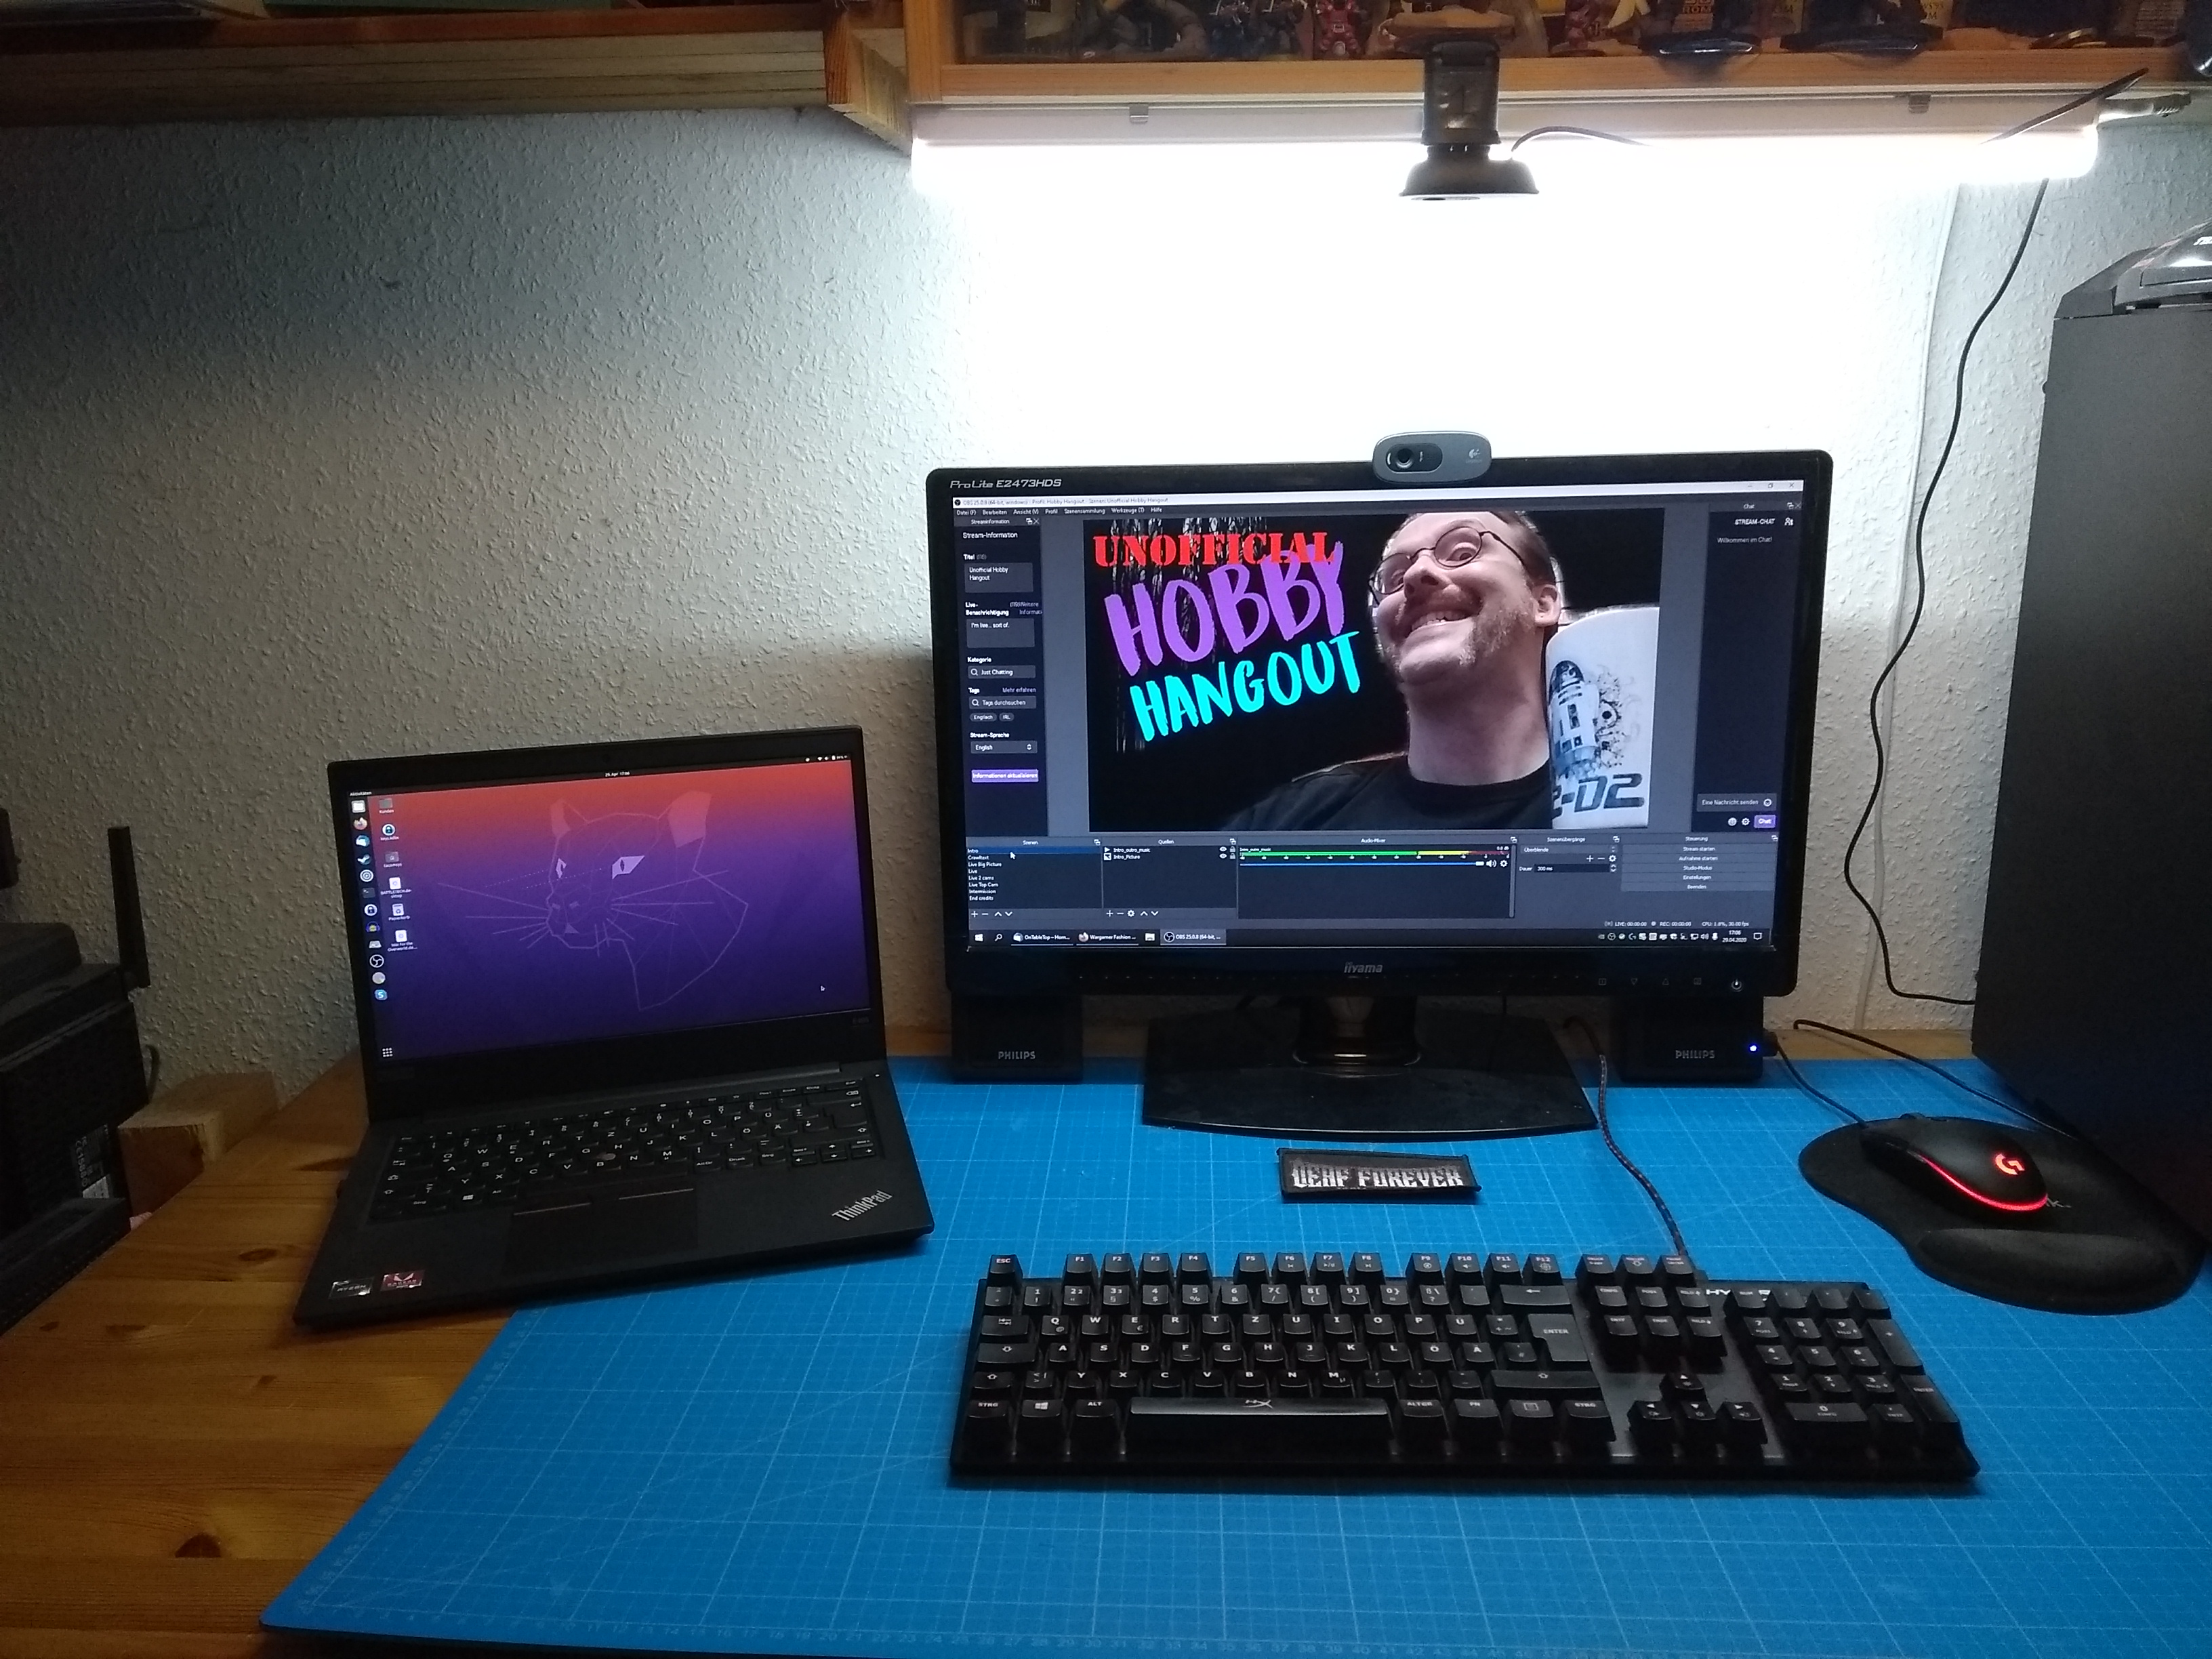
And now I have a lot of space. But one other thing that bugged me: the top cam is the wrong side around and shows everything upside down. Remounting the cam is a PITA and so I looked… and found an option within OBS it self!
Just right click on the cam source, select “Transform” and then “Flip horizontally” and again “Flip vertically”. Tada a view from the top like I look at the things! HUZZA!


