Dark Lords of the Sith
Recommendations: 182
About the Project
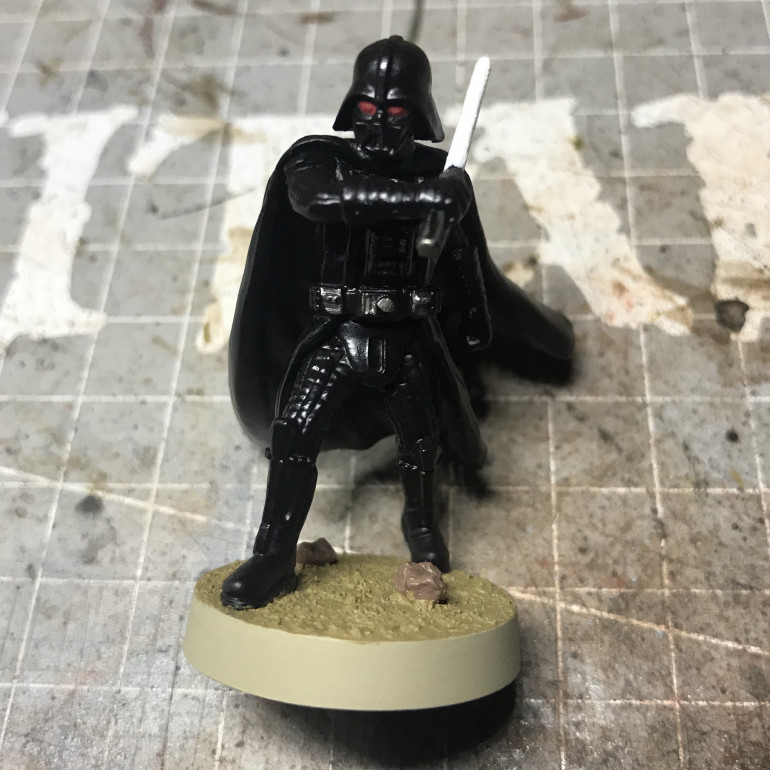
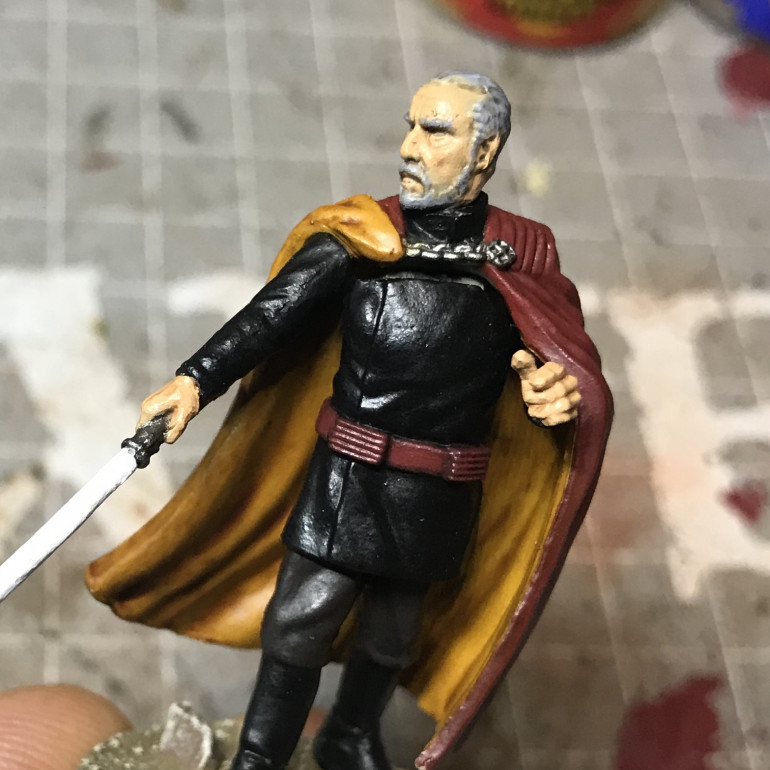
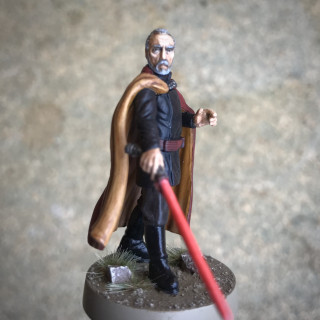
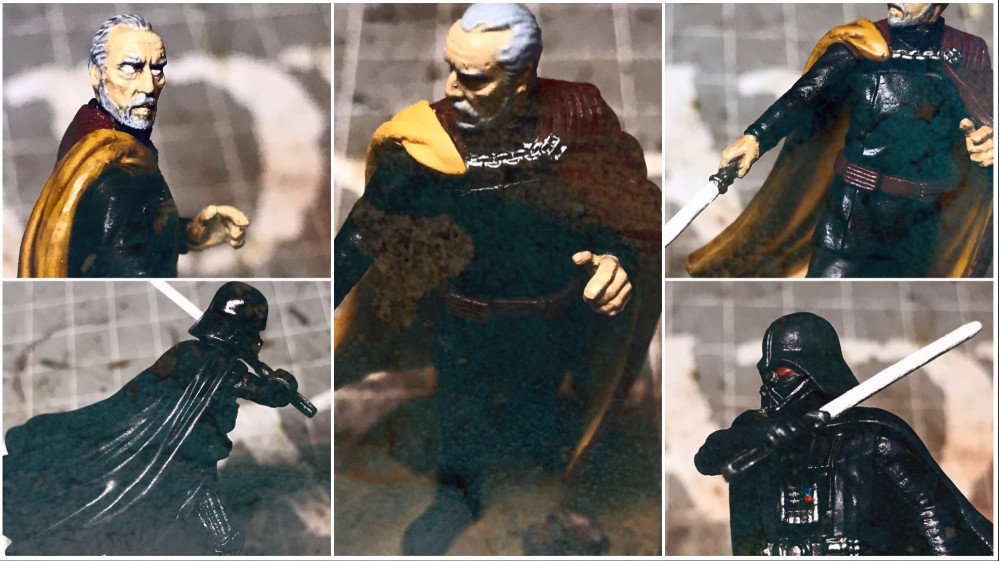
On my painting table at the moment are the Sith Lords ‘Count Dooku’ and ‘Darth Vader’, from Star Wars Legion. I’m aiming to paint each of them to a decent tabletop standard with a minimum of fuss.
Related Game: Star Wars: Legion
Related Company: Fantasy Flight Games
Related Genre: Science Fiction
This Project is Completed
Priming
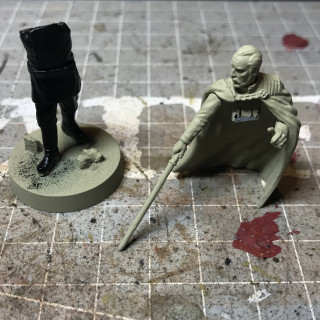
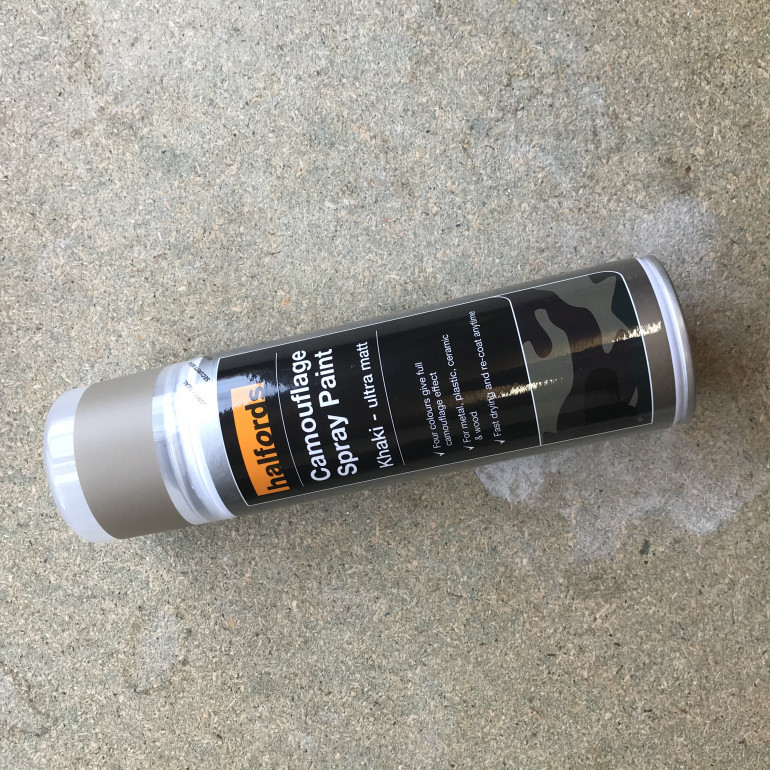
As ever, my first task was to prime the figures. I used a Khaki spray paint from Halfords which has become the staple for all of my Legion miniatures. Once the khaki was fully dry, I masked up the bases with tape and sprayed the figures with a black primer. The Khaki will be the colour of my base rims and serve as a good colour for the texturing.
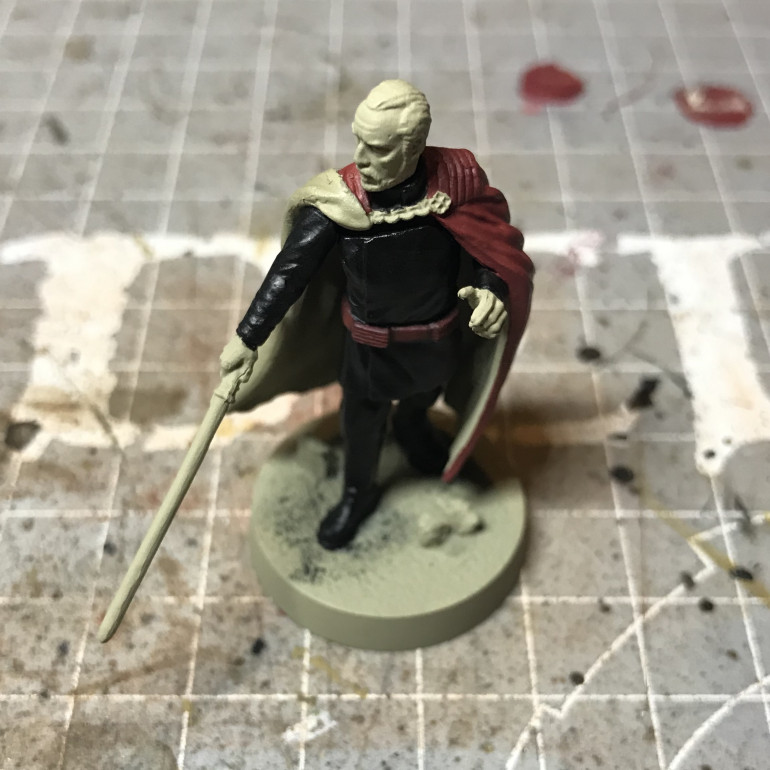
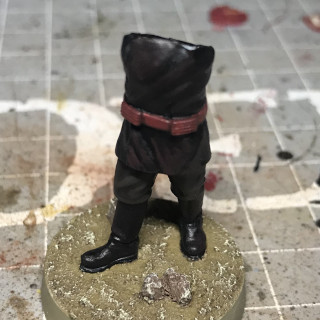
The Dooku miniature is conveniently separated at the junction of his chest, where a chain links his cloak. I decided not to glue this part of the model together just yet as it would make painting inside the cloak much easier. I left the upper part of Count Dooku, comprising of his cloak, head and arms, Khaki. This would serve as a good base colour for the flesh and the cape. The rest of Dooku and of course Vader, will be primarily black!
Painting the Count - Part 1
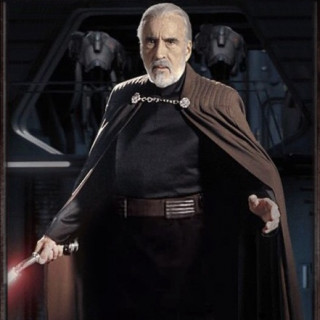
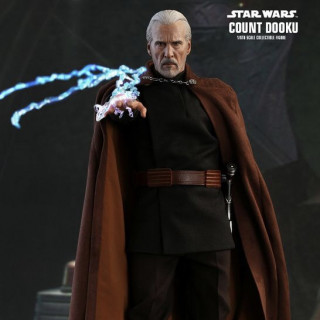
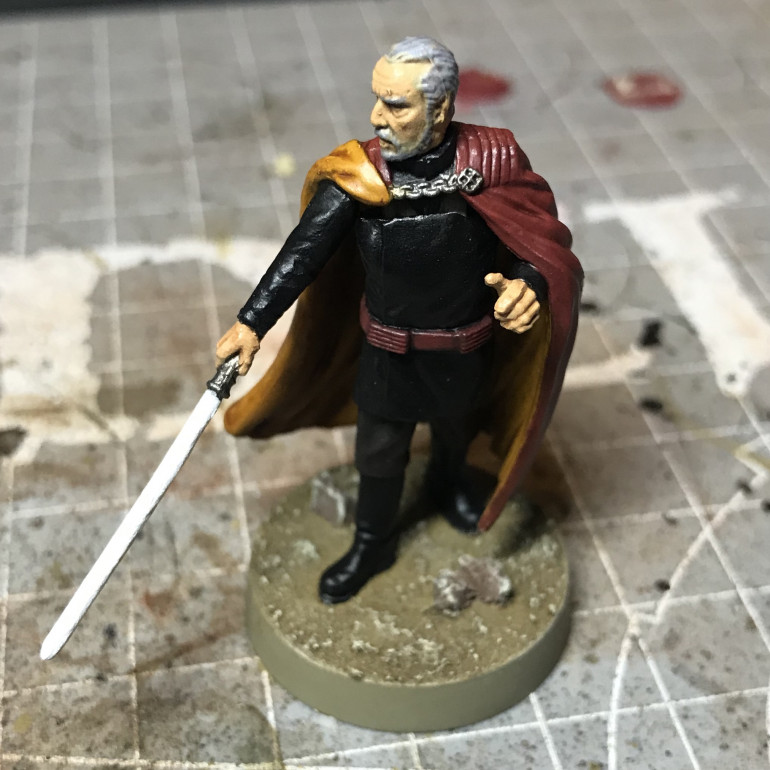
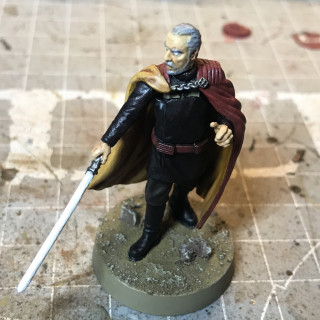
After a google image search I had a better understanding of Count Dooku’s colour scheme. On screen his costume has a predominately black appearance but there is a little more going on. His cape is a dark maroon red with an almost golden lining and he wears dark brown trousers. These additional colours will really help to break the model up but I am mindful of keeping everything toned down. The overall effect should be of a darkly dressed figure, as is fitting to the character.
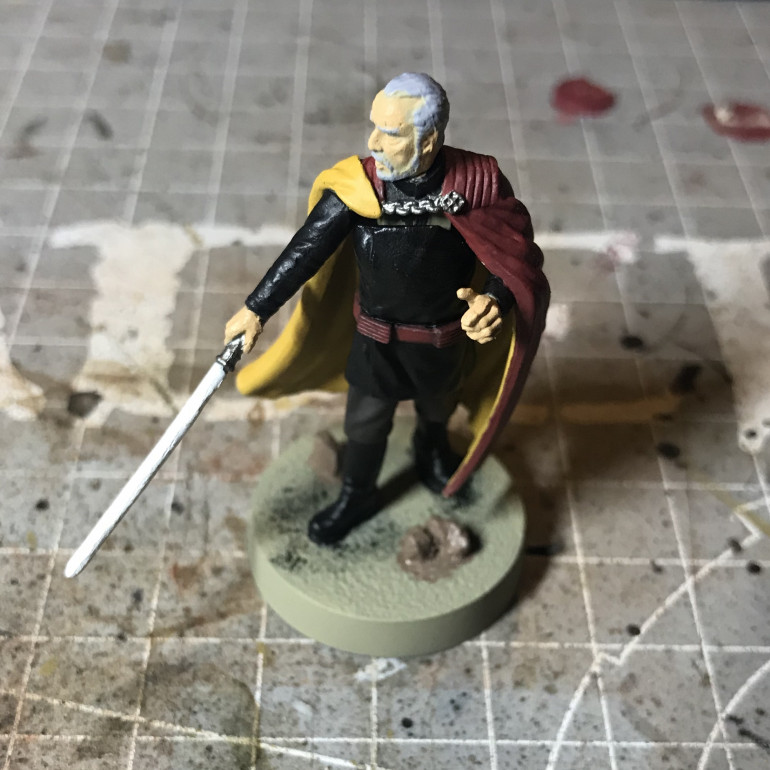
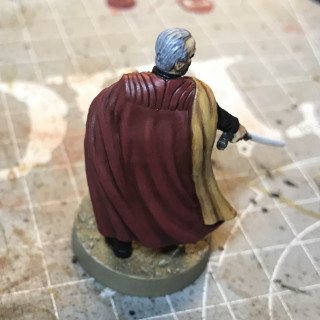
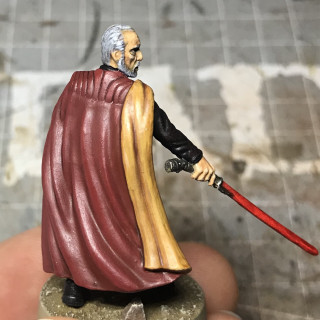
My first step was to use Abbadon Black on the sleeves and collar of the jacket. To get the deep red of the cape I mixed a little Abbadon Black with Mechrite Red. This gave a nice even coverage over the Khaki primer. This colour mix was also used on the belt.
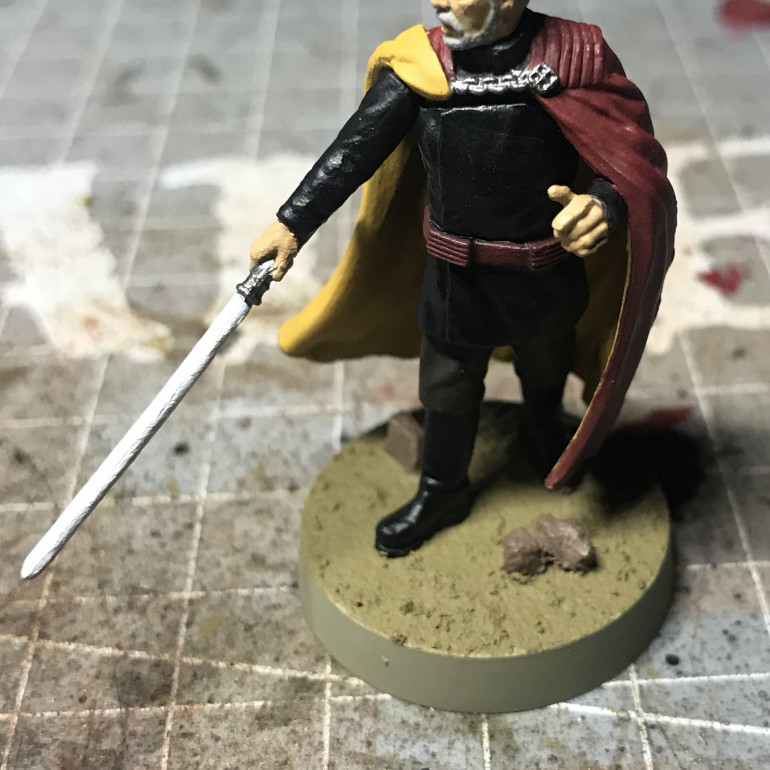
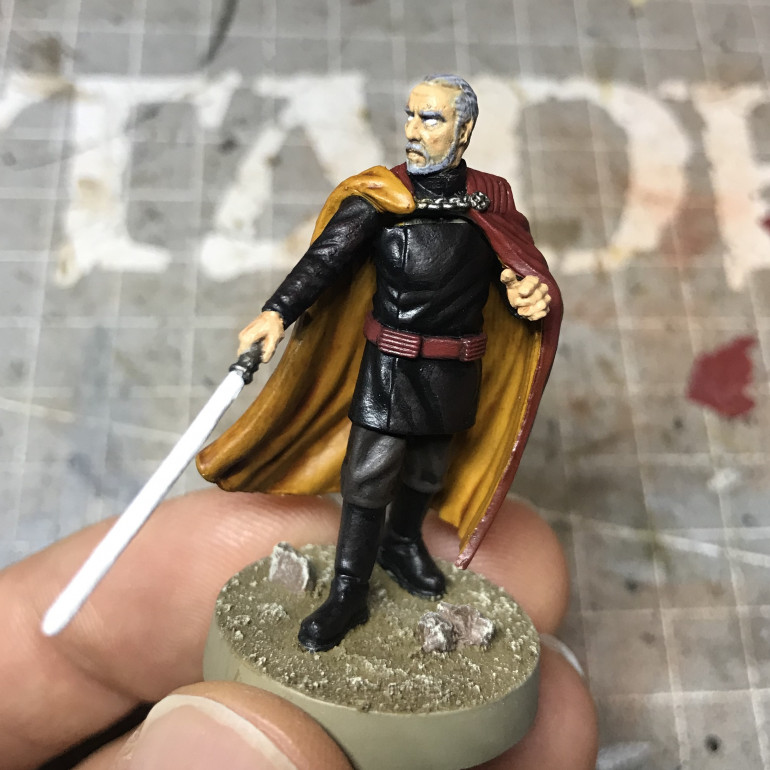
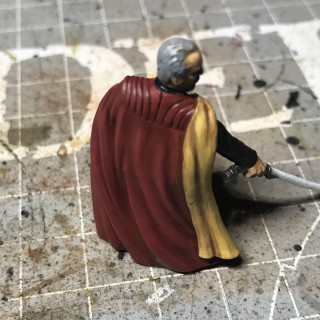
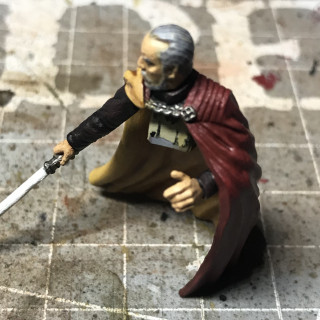
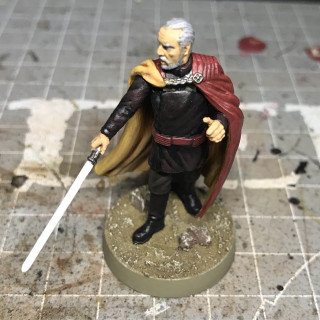
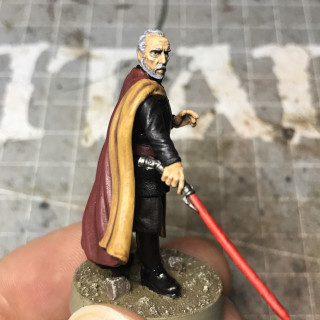
At this point I decided I would get all of the base colours on the model. I don’t usually work this way but I wanted to get an overall impression of the colour scheme, before deciding how to highlight or shade each colour. The thing that was concerning me most was the lining of the cape. I considered using gold but after an initial test I wasn’t convinced. Instead I used a 50/50 mix of Averland Sunset and Vallejo Medium Flesh Tone. The intention was to desaturate the yellow to a more material colour but you can see from the below image that it is still quite eye catching.
For the trousers I used Vallejo German Camo Black Brown. The chain holding the cloak was pained with Lead Belcher along with the lightsaber handle, while the blade was given a coat of Skull White. For the Count’s skin I used Kislev Flesh and his hair is Vallejo Light Grey.
As I had put base colours down on the whole model I figured I may as well paint the base itself. With all of my Legion models I am using the GW Technical paint – Armageddon Dust. The small rocks on the base are picked out in German Camo Pale Brown.
Vader - Part 1
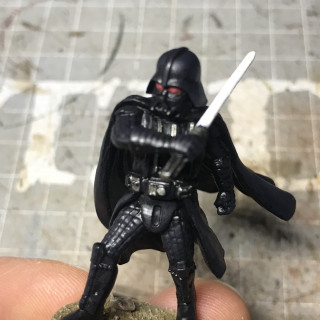
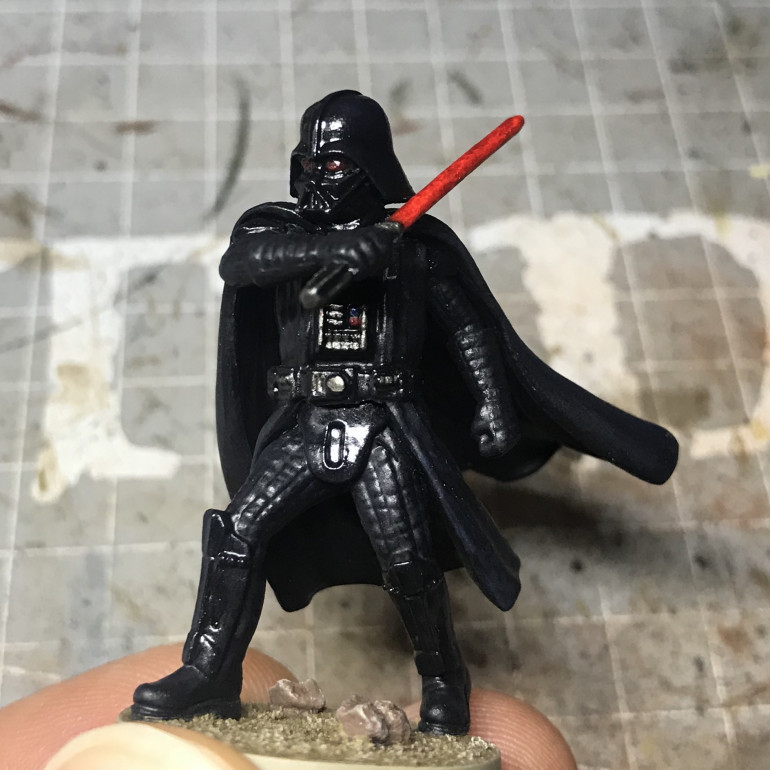
Now I know that Vader is almost entirely black! However I wanted to make sure I added whatever details I could. A quick image search for reference shows a few silver elements to Vader’s costume. Most notably sections of his chest armour, his nose and the greeblies on his respirator. There are also a few silver and coloured switches on his chest plate and belt pouches.
I used Lead Belcher to pick out any metallic elements, including the fins and emitter of the lightsaber handle. Again the blade was given a coat of Skull White. Mechrite Red was the used on the eye lenses of the helmet.
As with Dooku I decide to put what few base colours were needed on at this stage. In Vader’s case I wanted to get those bits out of the way so I could tidy up the inevitable over painting before tacking the black. Armageddon Dust was painted generously onto the base after the rocks had been painted Vallejo German Camo Pale Brown.
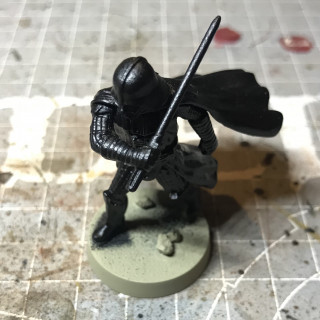
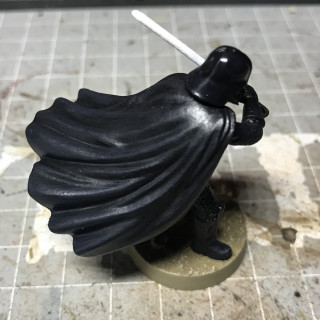
Next I used Abbadon Black to tidy up any areas I had hit with colour by mistake and some of the hard to reach places where the black spray hadn’t fully covered the Khaki. I appreciate that very little of this can be seen in the below photo!
Count Dooku - Part 2: Shading and Highlights
Once the Armageddon Dust was fully dry I used an Agrax Earthshade wash across the whole base, including the rim (I added some Vallejo Was Medium to this as it really helps when washing over flat surfaces, such as base rims).
As I still have Dooku in two halves, I was able to work on the cape even though the base was now very wet. I gave the lining a good wash of Gryphon Sepia. Once the Gryphon Sepia had dried, the entire cape (including the lining), was given a wash of Ogryn Flesh. I also used the Ogryn Flesh wash over the skin on the face and hands. The hair was now washed down with Nuln oil, along with the silver of the lightsaber handle, the chan of the cape and the brown of the trousers.
I figured now would be a good time to dry brush the texture of the base with Screaming Skull, while the various washes on the upper part of the body dried.
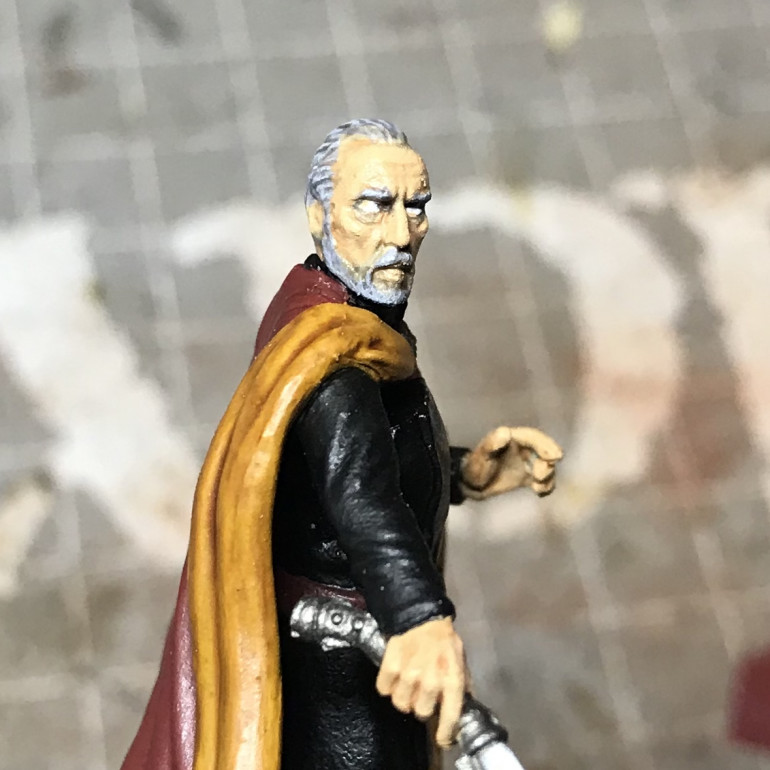
Once all the washes had dried I turned back to the face to add a little more detail. First I attempted to paint skull white into the eyes. This is almost impossible to get right first time! I needed to switch back to the Kislev Flesh to tidy up around the eyelids and so I continued with it to bring some highlights to the face. The fingers and knuckles were also highlighted back to Kislev flesh.
I used the same simple technique of highlighting with the base colour on the hair and trousers. This is a very easy way of creating highlights as it’s quite forgiving, so you don’t need to be too neat. Just pick your base colour, darken with a wash then reapply the original colour on the most raised areas.
For the black of the jacket and boots I decided I would highlight by adding Mechrite Red to black. This would give a warm highlight to the black areas, harmonising with the red of the cape. My first highlight is too subtle and doesn’t read as strongly as I’d expected. I’m going to go back over with more red in the mix.
Darth Vader - Part 2: Highlights
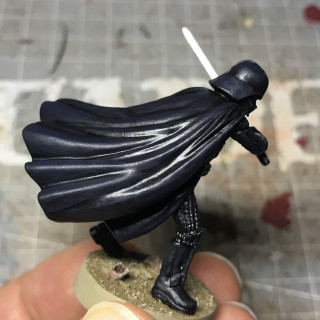
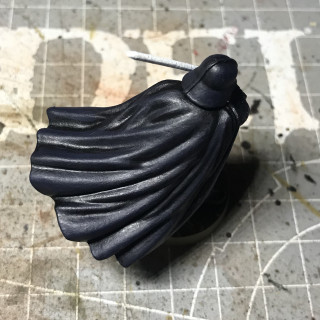
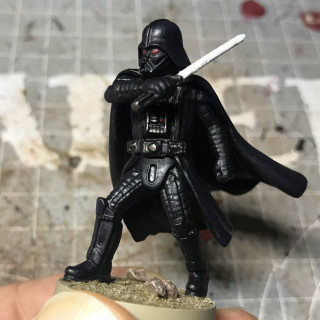
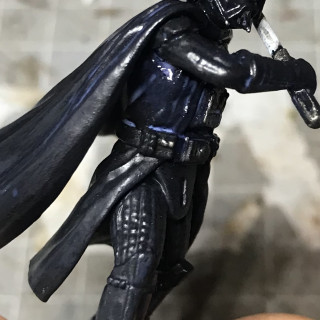
For Vader I’m going to highlight the black with a deep, midnight blue. This will hopefully result in an overall deep, dark look but with enough highlights to pick out the details. First up I mixed GW Kantor Blue and Abbadon Black at a roughly 50/50 ratio. As the black dominates, this first highlight colour is still pretty dark. I used a little Vallejo mixing medium to ensure I got a nice consistency. Using a fairly large brush I began with the cape and painted a fairly generous (wide), highlight. I added this mix to every black part of the model (basically everywhere!), fabric and armoured elements.
As a second highlight I used the same colours but upped the ratio of blue to about 2-1 of the black. I also made this mix quite thin by adding water (and medium), and applied it only to the most raised areas of the model. In places such as the hem of the cape and the top of the helmet I built up several layers to the desired result.
I then added a highlight of Runefang Steel to all the metal details, including the lightsaber handle. The buttons on Vader’s chest panel were painted Caledor Blue and Evil Sunz Scarlet. I couldn’t resist adding a little Evil Sunz scarlet to the eye lenses of the helmet, although these will be heavily washed black on my next stage.
The base was also dry brushed at this stage using Screaming Skull, in the same manner as Count Dooku’s.
Count Dooku - Part 3: Final Highlights
As the initial highlights to the jacket were far too subtle, I decided to go back over them again. I upped the quantity of Mechrite Red to around 2-1 parts to Abbadon Black. I used a Vallejo medium again and kept the mix quite thin so it blended out at the edges. For the red of the cape I mixed the same two colours but more like 4-1 parts red to black and applied selectively to the more prominent folds.
I really wasn’t happy with the yellow cape lining from the previous stage. It was looking really patchy and grubby after the Gryphon Sepia wash. I decided to go back over the larger folds with the Vallejo Medium Flesh Tone and forget the Averland Sunset. Once this and the other highlights had dried I gave the entire cape another wash of Ogryn Flesh wash. The jacket had a wash of Nuln Oil to settle in the highlights and pull it back to black!
I also gave the chain and lightsaber handle a Runefang Steel highlight.
Though not noticeable here, the base has been given a coat of Vallejo Matt varnish. More on this in Vader’s next step.
Darth Vader - Part 3: Mostly Black
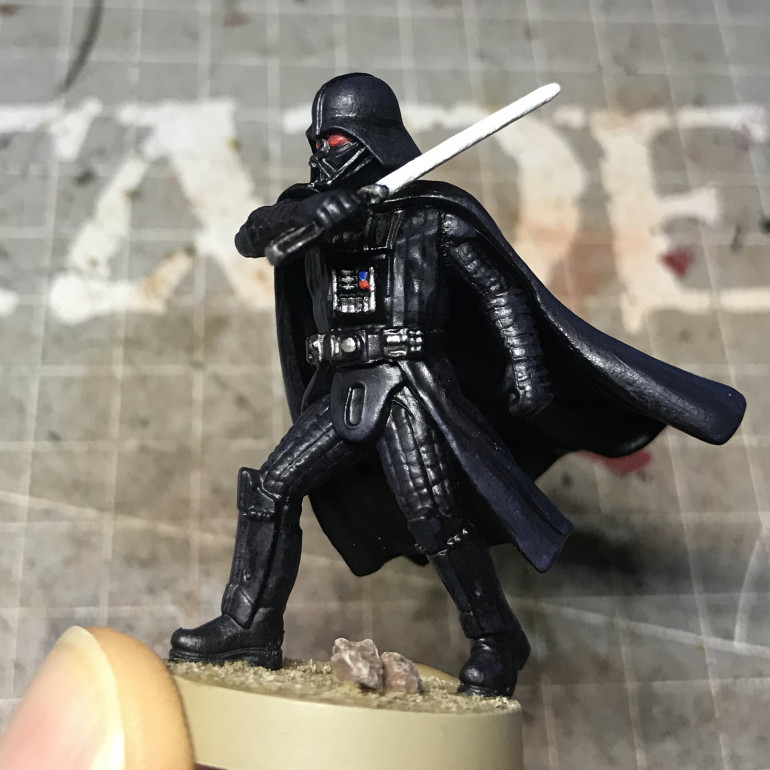
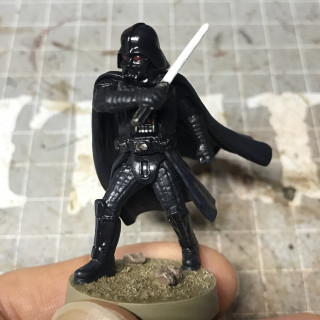
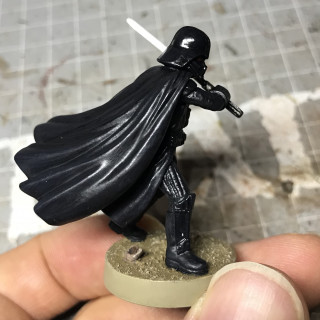
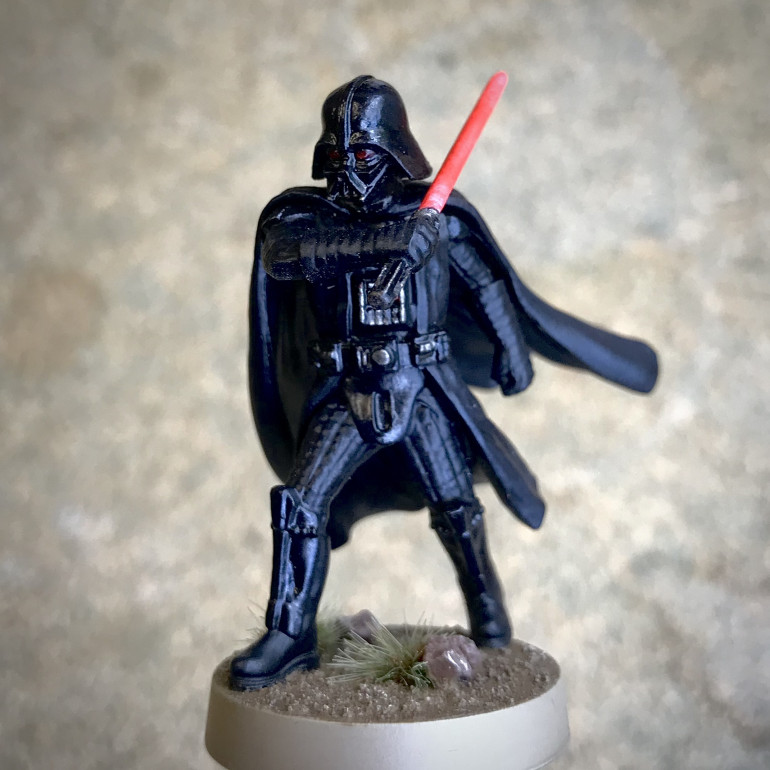
The final steps of Vader are really simple. First up I washed the whole model with Nuln Oil. Once it was dry I did it again for good luck!
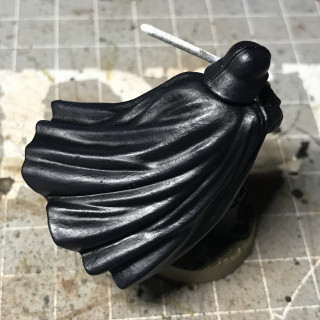
Next I used a brush on Vallejo Matt Varnish. I applied this first to the base then, when that was dry, the rest of the model (if you have a proper way of holding your model you could do this in one hit)!
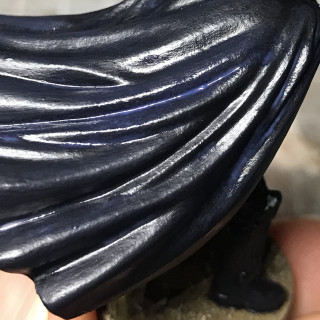
All of my models get a coat of mat varnish when completed. This is as much for the unified mat look as the protection it offers to the paint job. With Vader however, this is an important step as I’m aiming to make a distinction between the black fabric and black armour of his outfit. If you’ve not used this kind of varnish before, don’t be alarmed by the milky look you get when it’s first applied.
The milky blue lines seen above disappear as the varnish dries and contracts so it’s important to give it time to fully set before handling the model further.
Once I was happy the varnish had dried, I worked over all of the armoured areas with Nuln Oil Gloss. Specifically this was the helmet, shin guards, chest and shoulder guards and the control boxes on the chest and belt.
Count Dooku - Part 4: Face and Hands
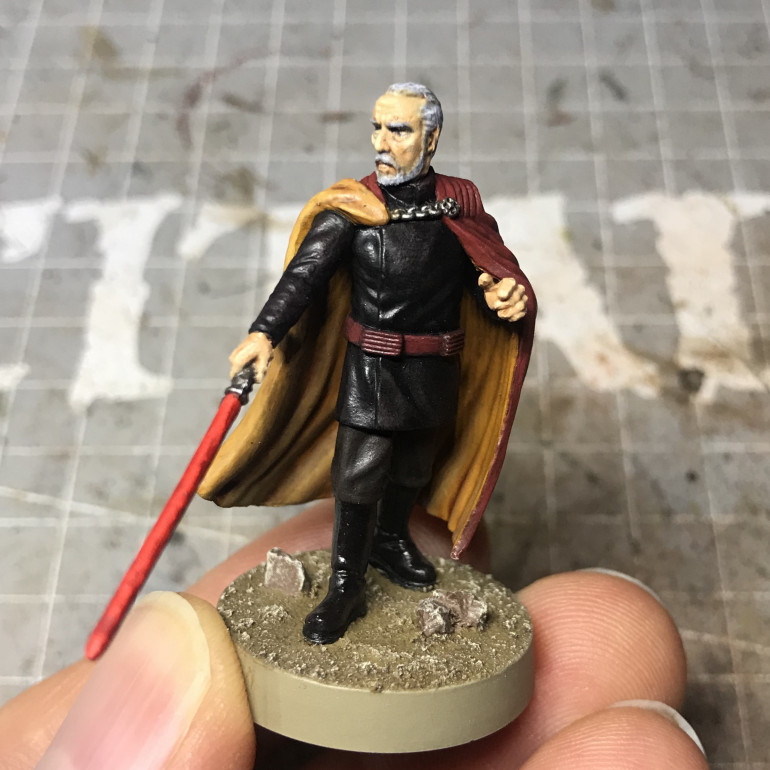
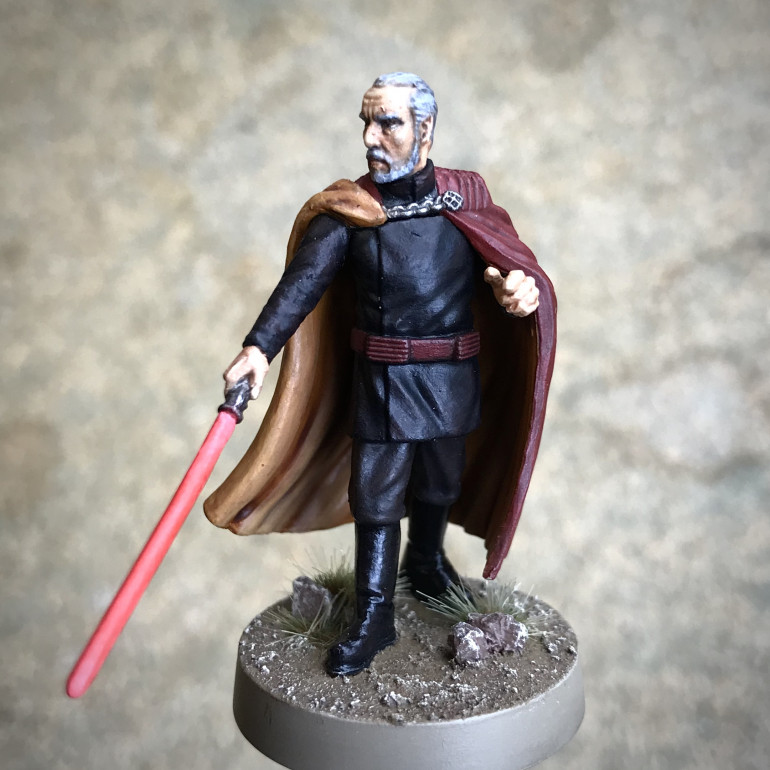
After gluing the two parts of Dooku together, all I had left to do was pick out a few details on his face and hands. I spent a bit of time trying to get a brown iris on the eyes. It kinda worked but I needed to tidy up around it afterwards. Mixing Kislev Flesh and Screaming Skull approximately 1-1, I also added a few final highlights to the brow, cheek bones, nose tip and the knuckles of the hands. I also mixed a little skull white with Light Grey to further lighten the hair and beard in a few places. For the lightsaber blade I have used Contrast Blood Angels Red however I’m not completely sold on the final result.
Once this was all dry I used the Vallejo mat varnish over the whole model (apart from the lightsaber blade).
Darth Vader - Part 4: Blade and Tufts
I used the contrast paint Blood Angels Red directly over the white lightsaber blade. After a couple of failed attempts and white washes, I found the best effect was achieved by applying around three or four washes of the Blood Angels Red, thinned down quite heavily with water and paint medium. The first few coats were concentrated on the middle of the blade, leaving the tip and base white. The final coats covered the whole blade, but give the impression of the light glowing brightest at the emitter and raiding out at the tip (at least that is what I was aiming for).
The final touch was to add a couple of tufts to the base. These are Midland Tufts from GW but there are plenty of other on the market.
Count Dooku - Part 5: Blade and Tufts
As with Vader I built the blade of the lightsaber up with consecutive coats of thinned down Contrast Blood Angels Red. With the addition of a couple of tufts Dooku was finished.


