


![Very Cool! Make Your Own Star Wars: Legion Imperial Agent & Officer | Review [7 Days Early Access]](https://images.beastsofwar.com/2025/12/Star-Wars-Imperial-Agent-_-Officer-coverimage-V3-225-127.jpg)


Mini-making On the Move


Recommendations: 40
About the Project
This is a traveling project. I'm not settled into a new place to live and my hobby stuff is all over storage and with me along for the trip as I wanted to have some climate control and immediate access. Painting is almost unthinkable as the racks of paint are shut together and my brush soap is MIA for the moment. The airbrush won't be suitable without the ventilation and that's not really practical in the hotel right now. Here I go back to basics with my standby of building bases. You don't need to worry about them much for cleanup and the techniques are reliable for effects.
Related Genre: General
This Project is Completed
On walkabout
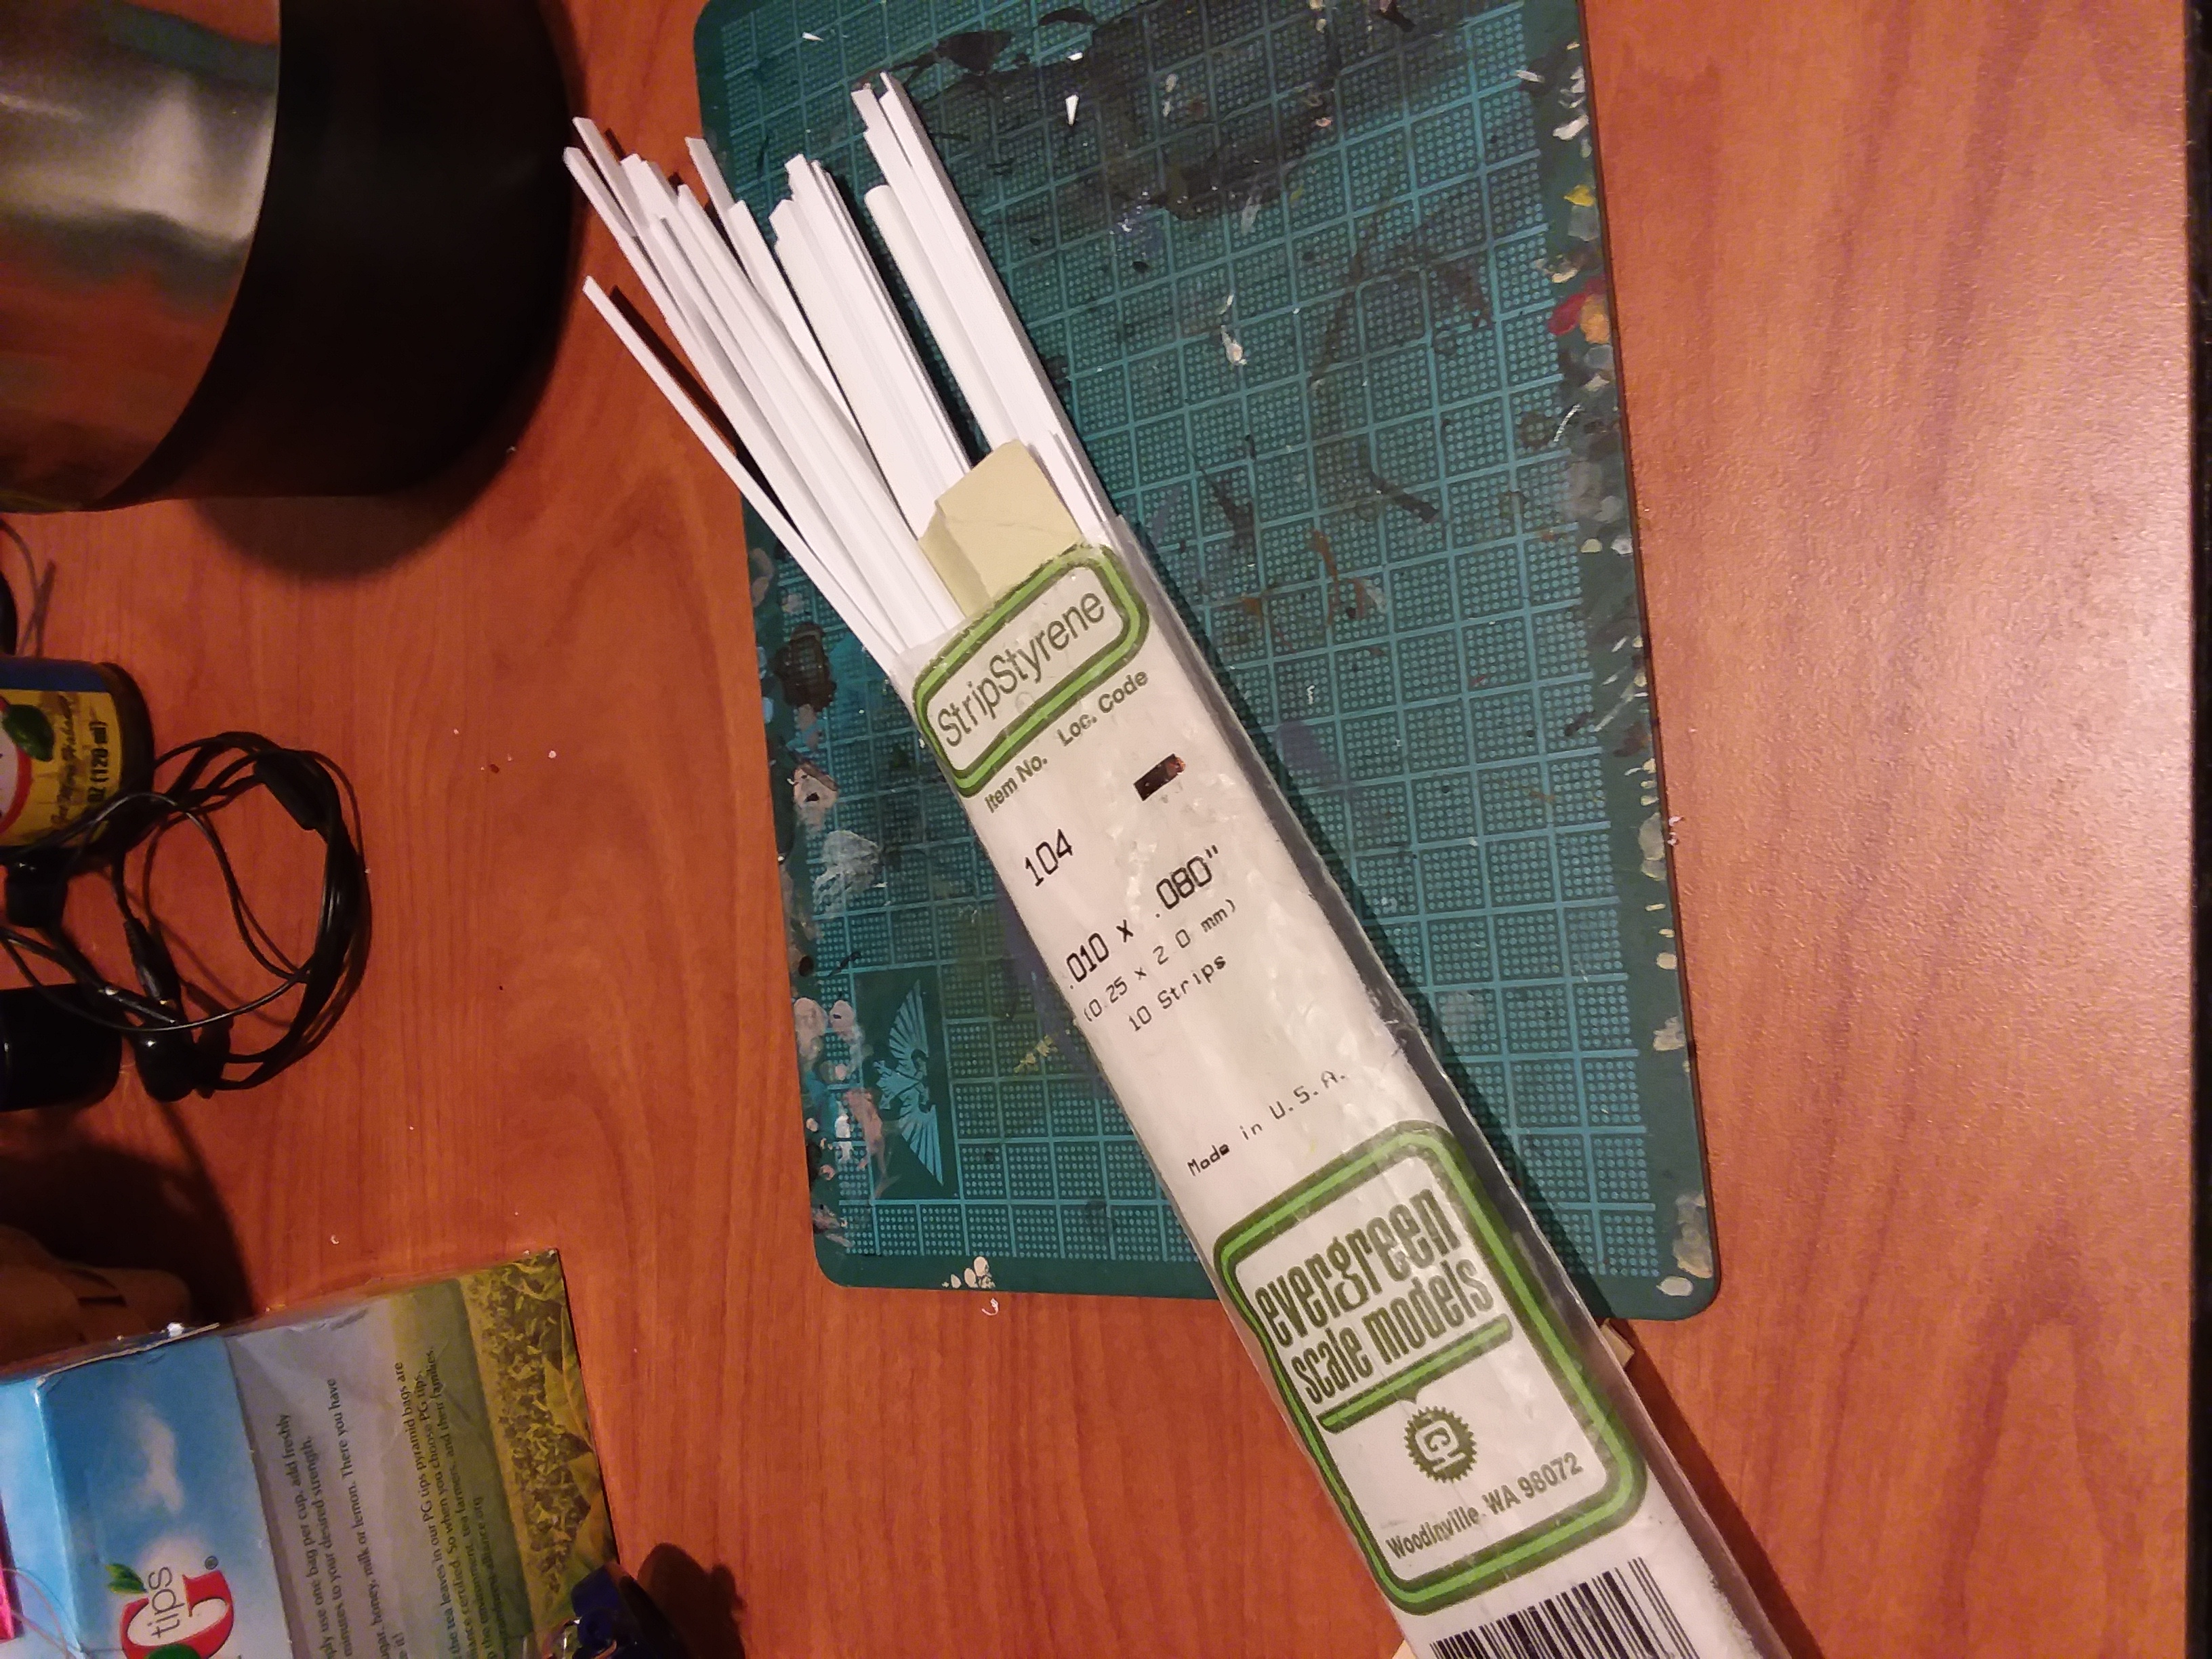 Useful kit for the road
Styrene is a must as you can put numerous strips in one bag or have small sheets cut to a portable size and run hither and yon with them. I’ve had this bag of strips for years and I’ve just refilled with whatever odds and ends I buy to pull what I need at the moment. The normal size I use are the .010″x.060″ which measure just right by sight for boards. Superglue and plastic cement are also tools of the trade that are a given for putting things together quickly. As an alternate you can use acetone to bond styrene but be sure to use a glass bottle for storage and non reactive materials to spread it about.
Bare bones bases
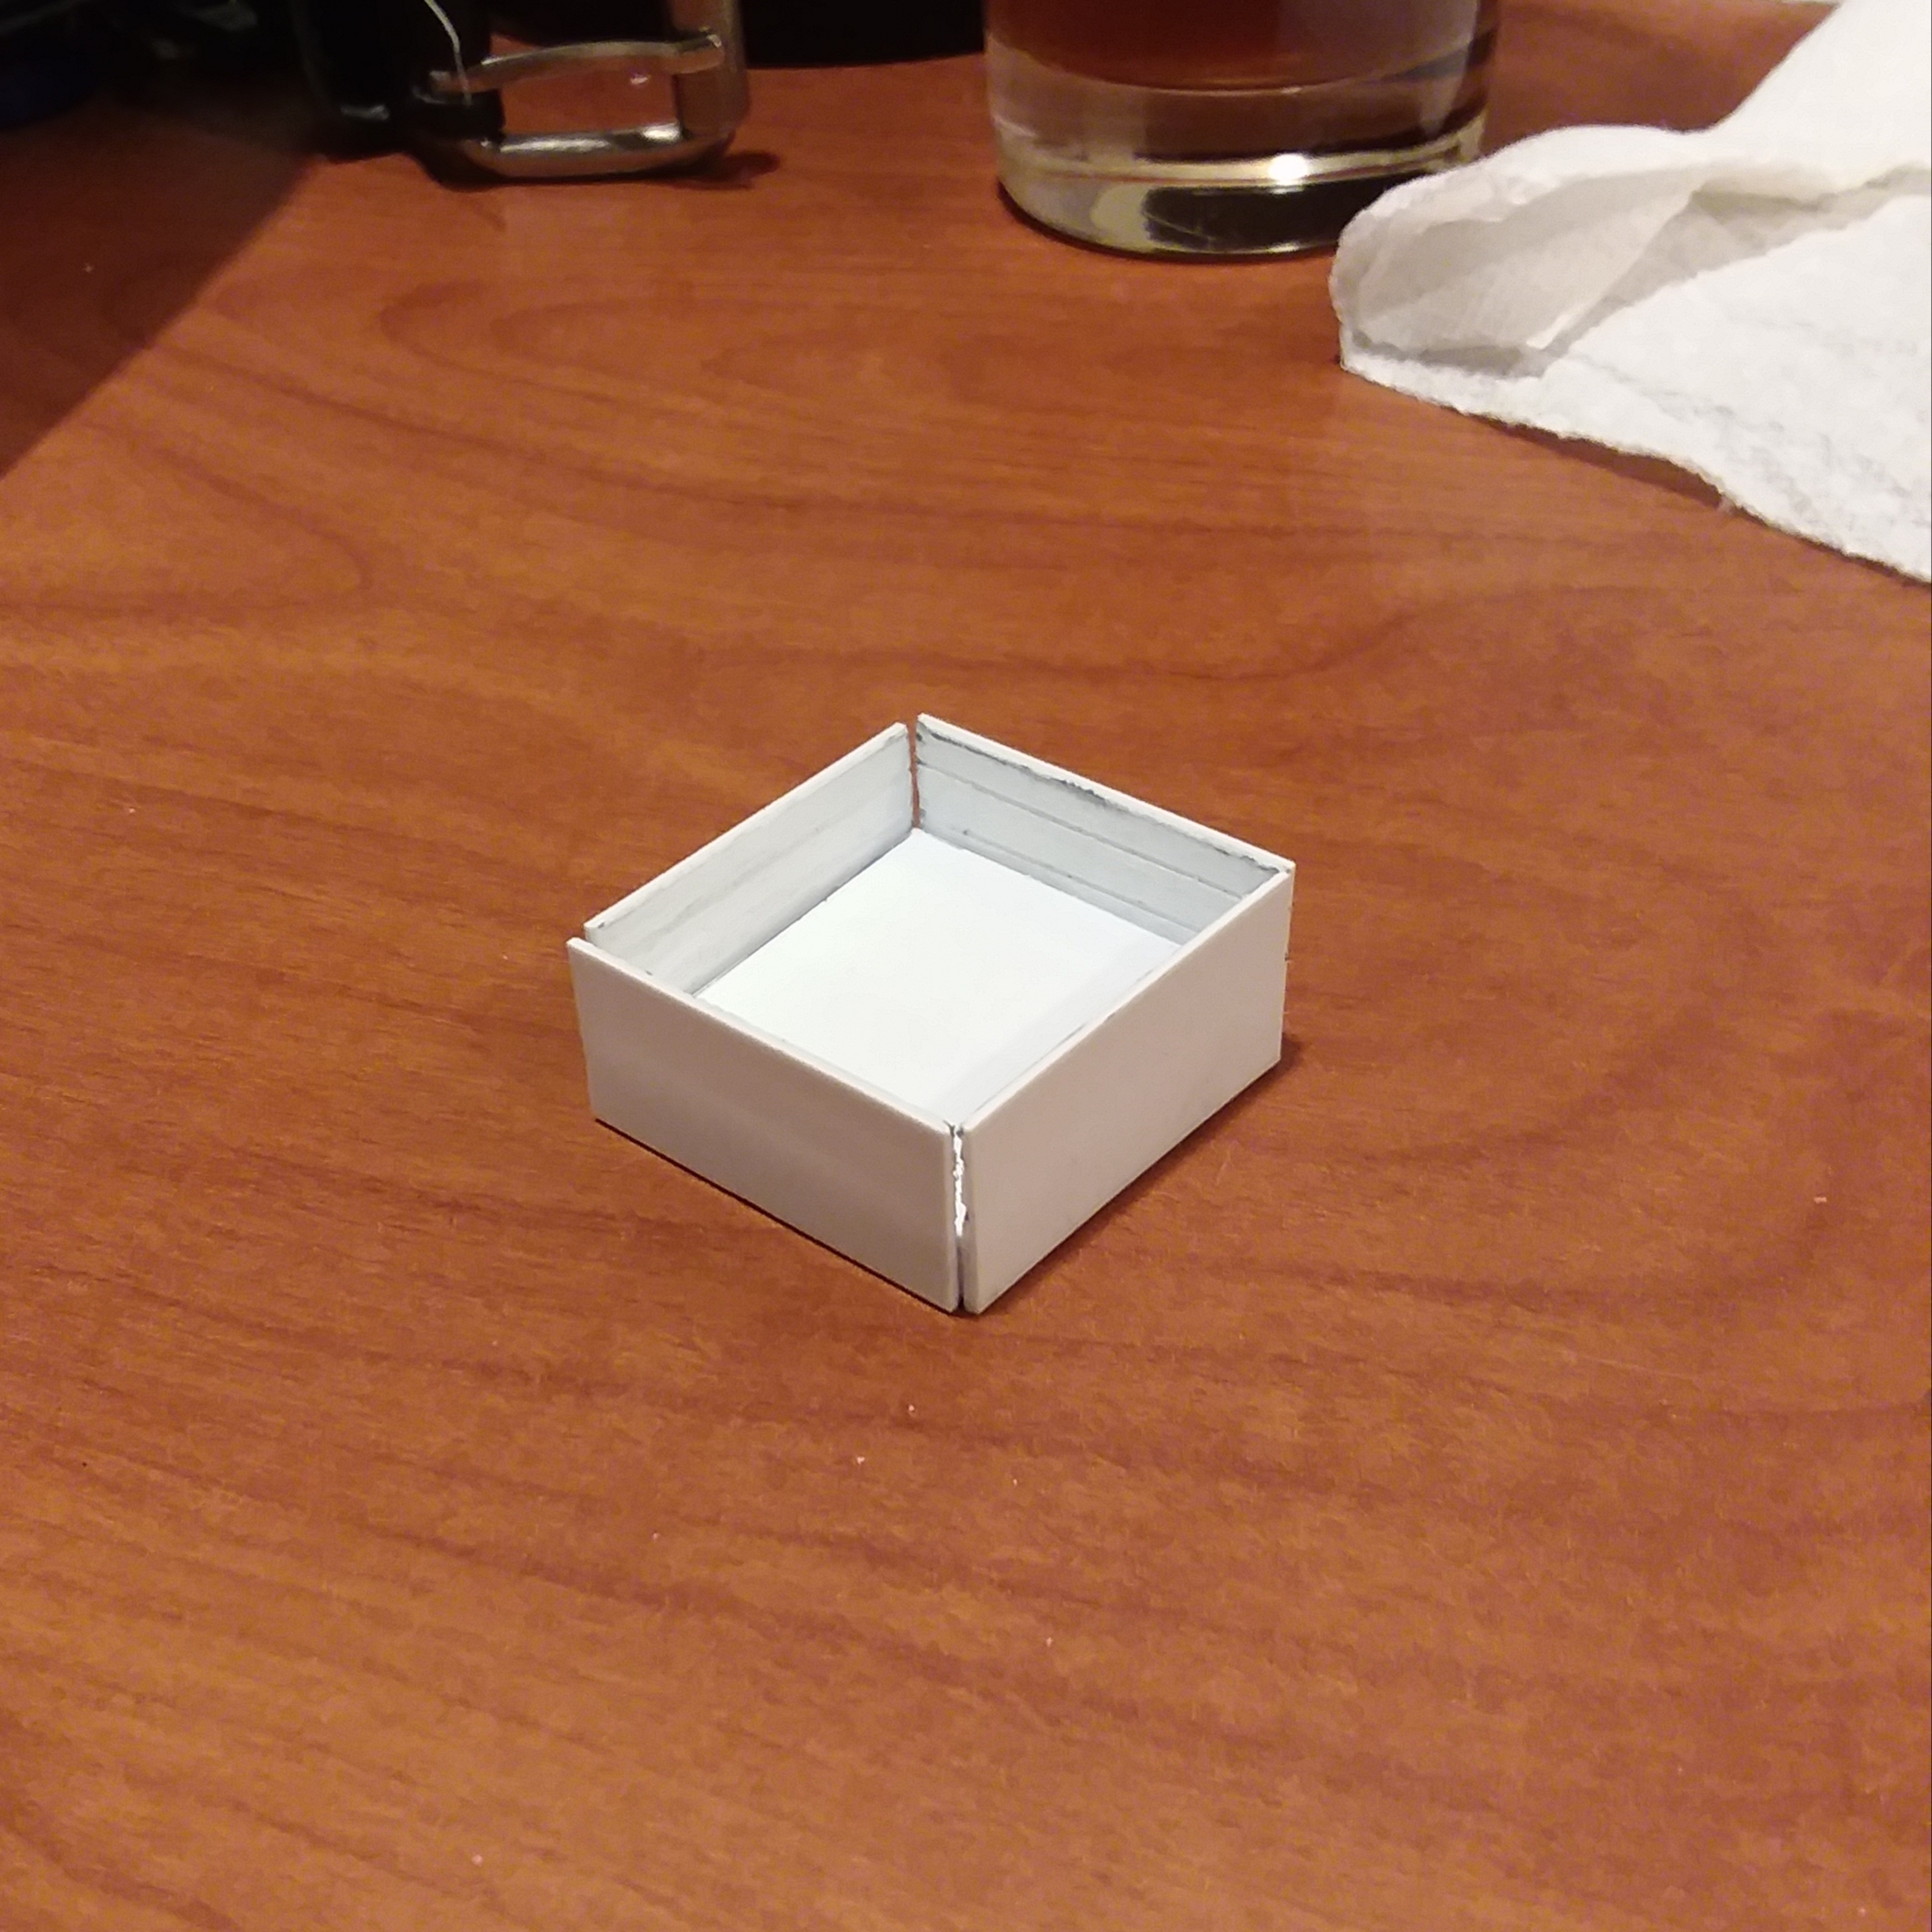
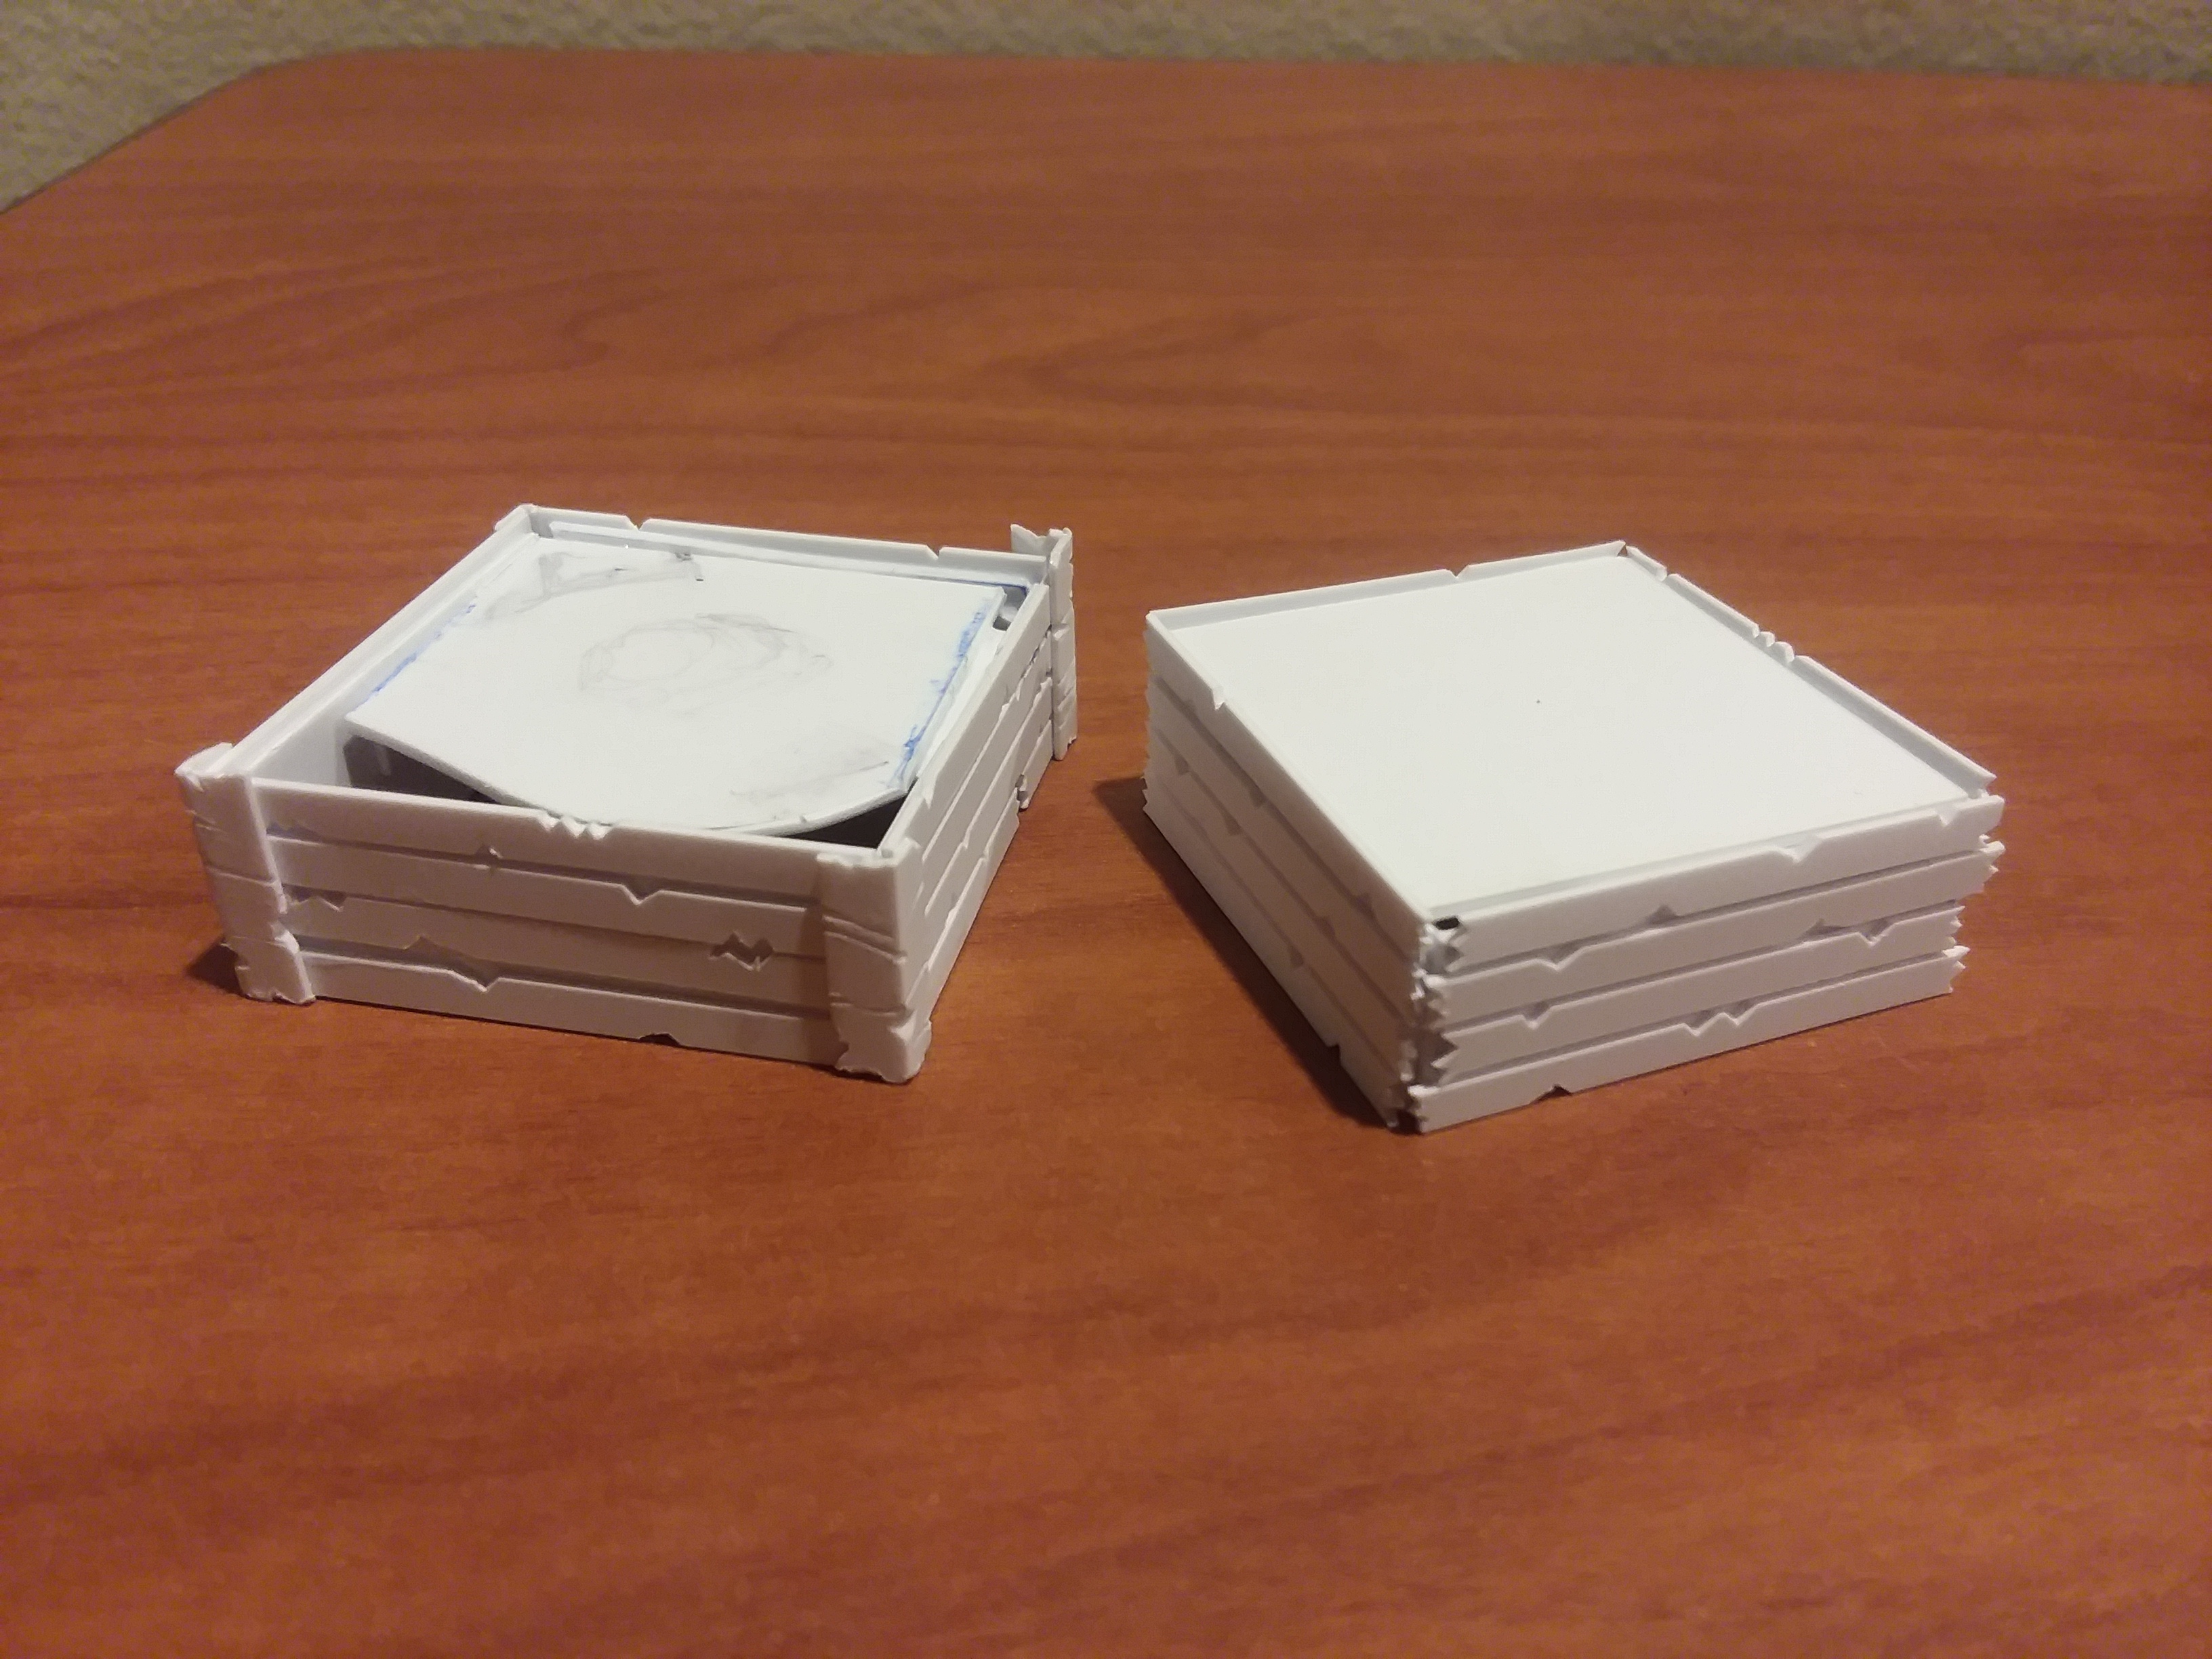 Setting the stage
Simple base work of cutting out four side walls of around 33x15mm from plain styrene. Over that I put on the .010″x.060″ clapboard siding and added texture to it. I capped the corners of the one base with angled plastic and chipped away to give it a weathered metal look.
On the Road Again
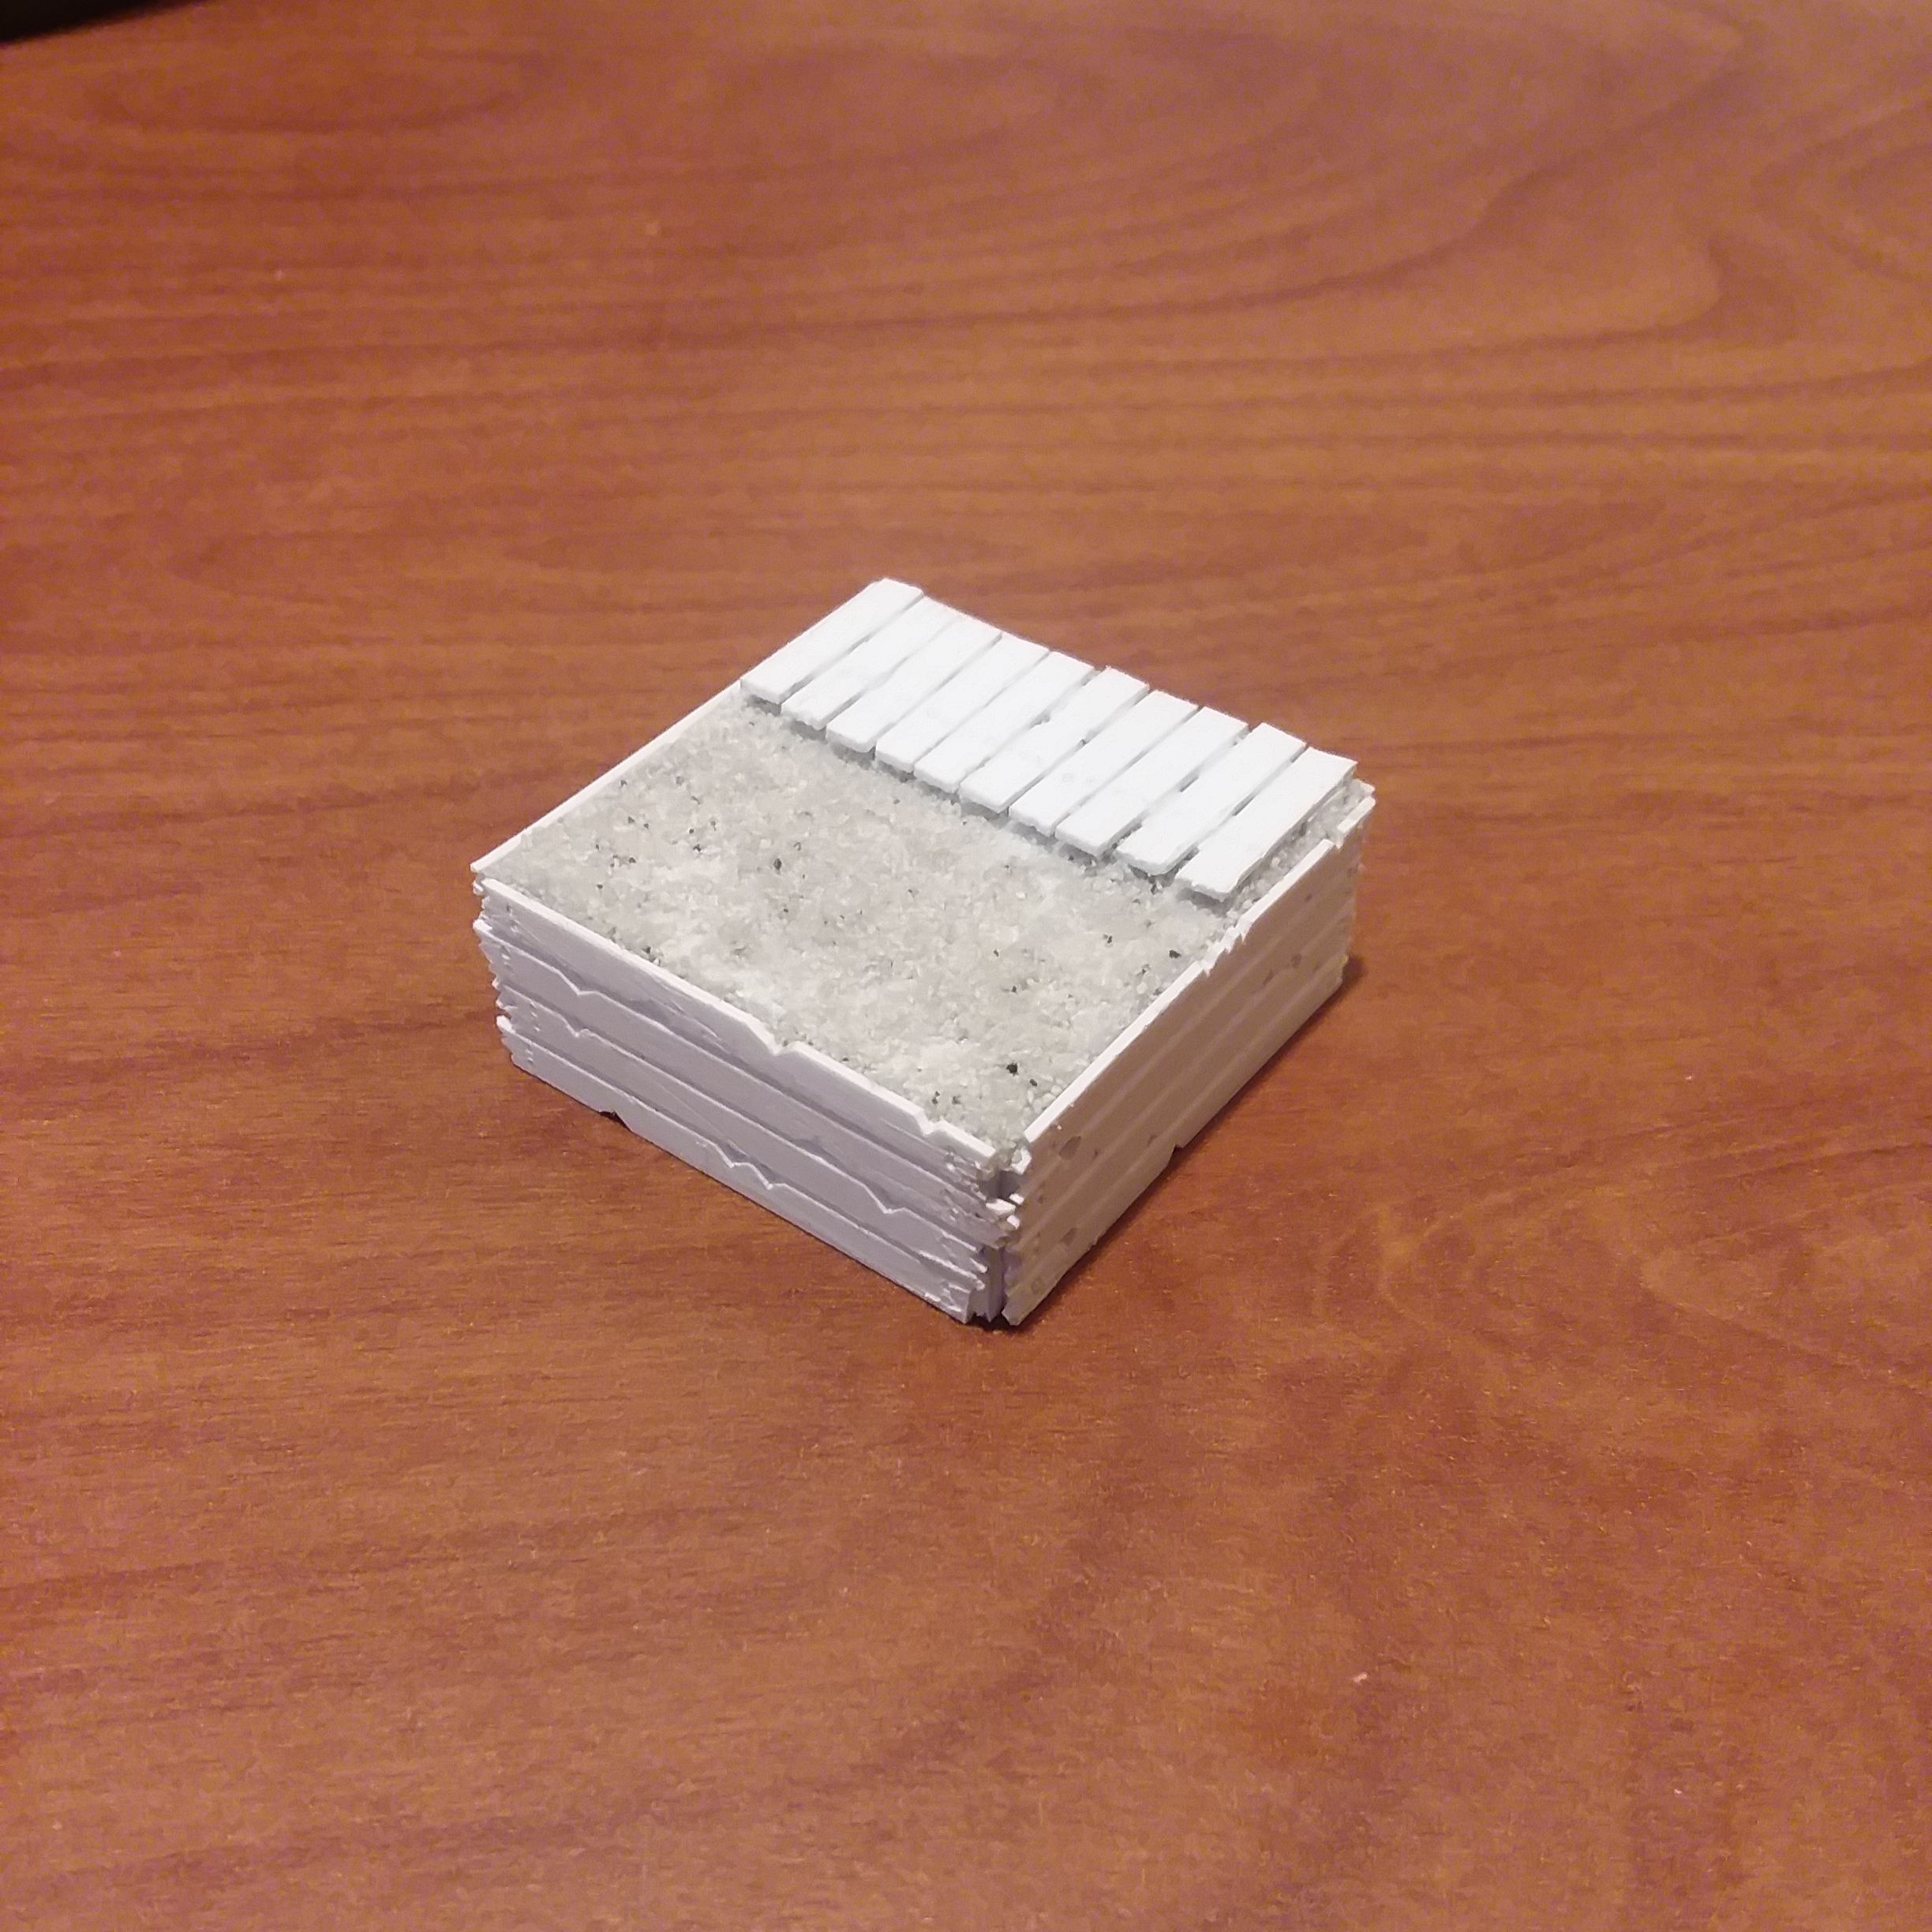 Wood grain is a must
Creating believable bases is best done with little details. The floorboards give the air of imperfection and handiwork after being roughed up with sandpaper. Here I’ve used 36 grit from the used discs I pulled from work. Normally I’d use 100 as it ends up being more pronounced. The same treatment was given to the sides of the base and all planks were given small nail holes with a couple turns of a pin vise.
Moving Right Along
Inspiration has struck! I have thought about wooden structures and have just the right images to work from


Here I’ve built up the door and wall around it. With the thickness of the plasticard sheet (.020″) there is a hazard of cutting through so a single cut is made with the blade edge and then scribing done with dragging the blade back turned at a 90 degree angle. Aside from that


Long Hard Road Out of Hell
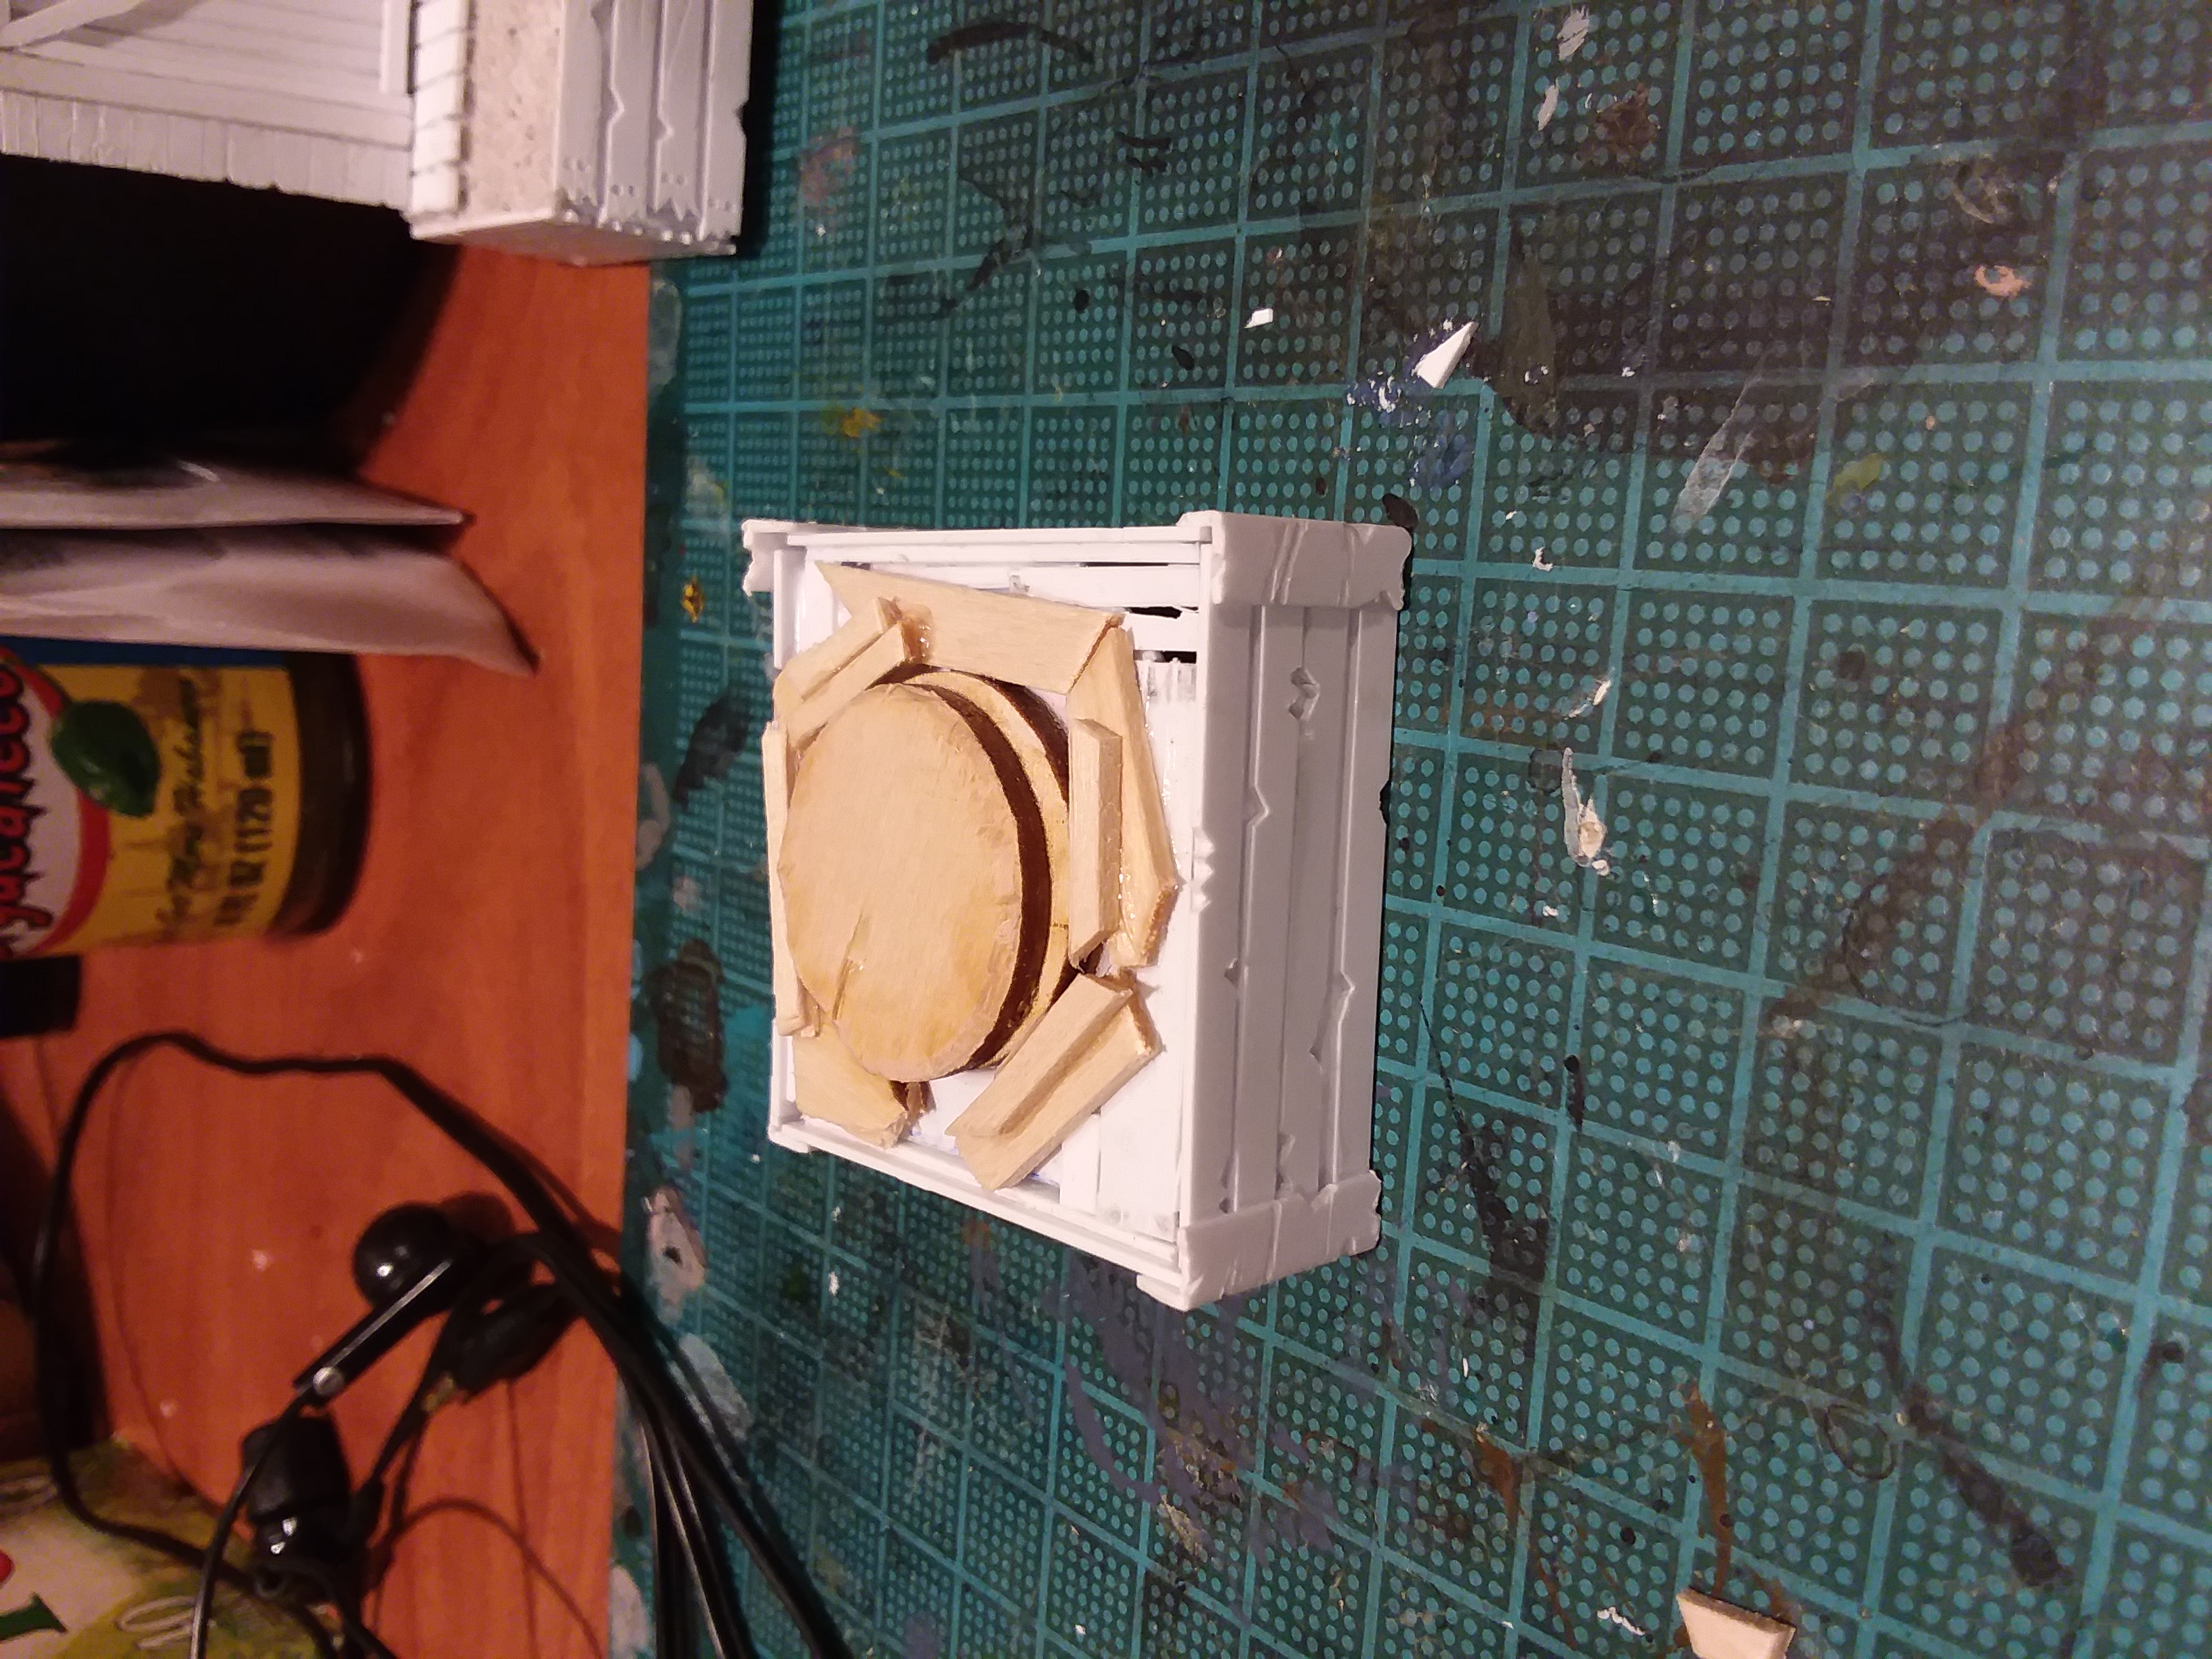 Things are looking up
Now for some horror related stuff. Basswood chunks and some 3x25mm MDF rounds (used for other base work) is the way to make this flat area more interesting. I will cover this with pumice medium later for gritty soil that I can drop other ground cover on.
From here I’ll get the headstones on and arrange some dilapidated fencing for the ‘oh so spooky’ neglected ambiance.
Hit the Road Jack
 Shallow but not without character
 Having little to do in the hotel room after a long day of work that does not stimulate the mind I am in the throes of a dopamine drawdown. I have limited my “fun time” stimuli to working on my mini basing and saying farewell to neurotransmitter garbage. Some clarity and focus with limiting things can be a good thing.
In the meantime I’ve started another base, since I can’t find my modeling putties, which will be a shallow inset for later water effects. This will not require anything other than plastic to make lumber details for a while. The technique for worn wood is great for the nautical theme.
I’ve already set thought to another hobby resin product that I have yet to purchase so I can set thin paper and, potentially, thread to shape. This will help greatly as I might have found something to make scale netting with.
King of the Road
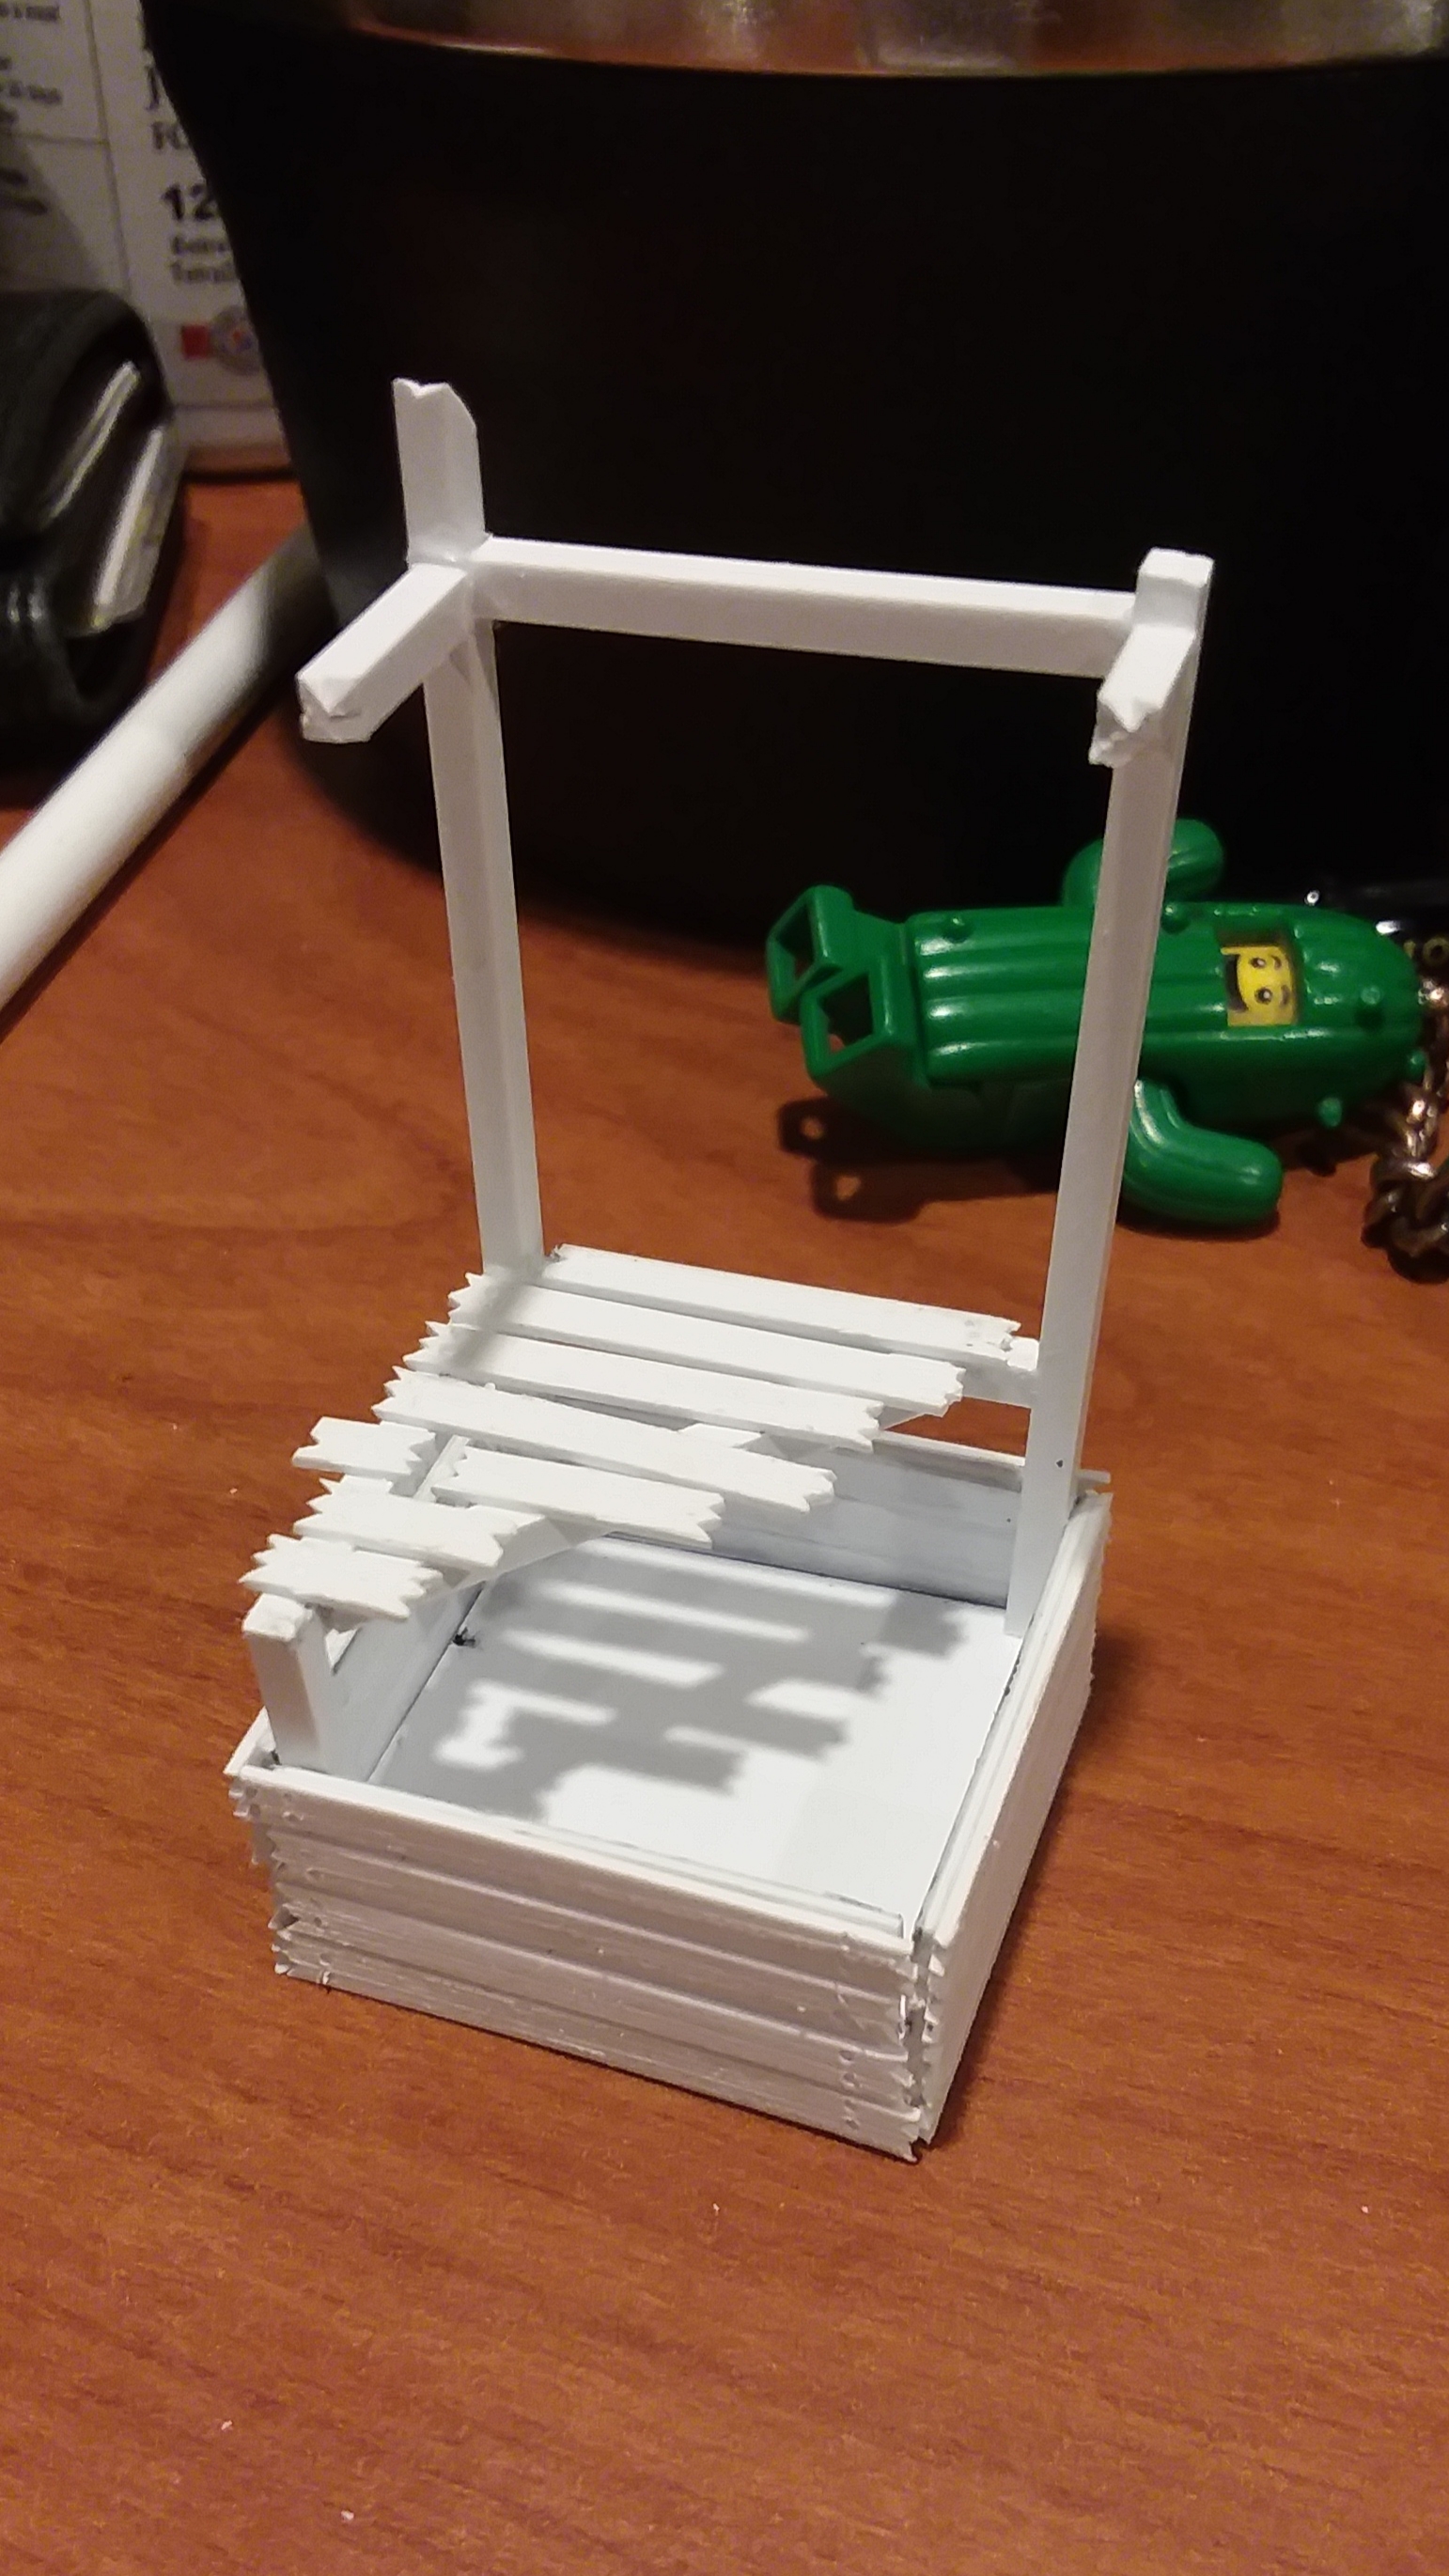 It begged to be worked on
What can one do with so much time unplugged? The answer is keep building.
I’ve found that preparation of plastic strip with the 38 grit sandpaper before cutting does lend to being easier to just cut later. The difficulty with this is only that you’ll likely bend the strip around in trying to scrape the side you want textured. The next details will be more nail holes. This base is close to being structurally complete. There are some gaps in the corners but these are minor fills for later. After a basecoat of something like Burnt Umber the area between the boards will be hidden. The color of the wood will be built and dipped/washed to draw attention to the overall build. No worries from my side on this.
Toolbox Pt. I
I abide by the pub rule for the weekly unofficial weekender and avoid politics. I respect the digital venue afforded me by the OTT crew and enjoy the fellowship as a CoG. I am an American and I foresee the possibility of a Chinese style lockdown, for the sake of public health, coming here to my own country as it becomes a reality in Europe.
My hobby is my stress relief. We as a community share the general joy of gaming. I give you all my best in what I can share from the inconvenience of being in a hotel without a dedicated hobby space or actual home at present. If anything, as ridiculous as I think it may be, take this as my bare bones notes to a “hobby prepper’s” guide. It is too late to be prepared for this and I am managing to show you how hobby might be better for you should you become displaced/dislocated. In time, when things are gaming as usual, I hope to look back and know you out there in the digital wilds have benefited.
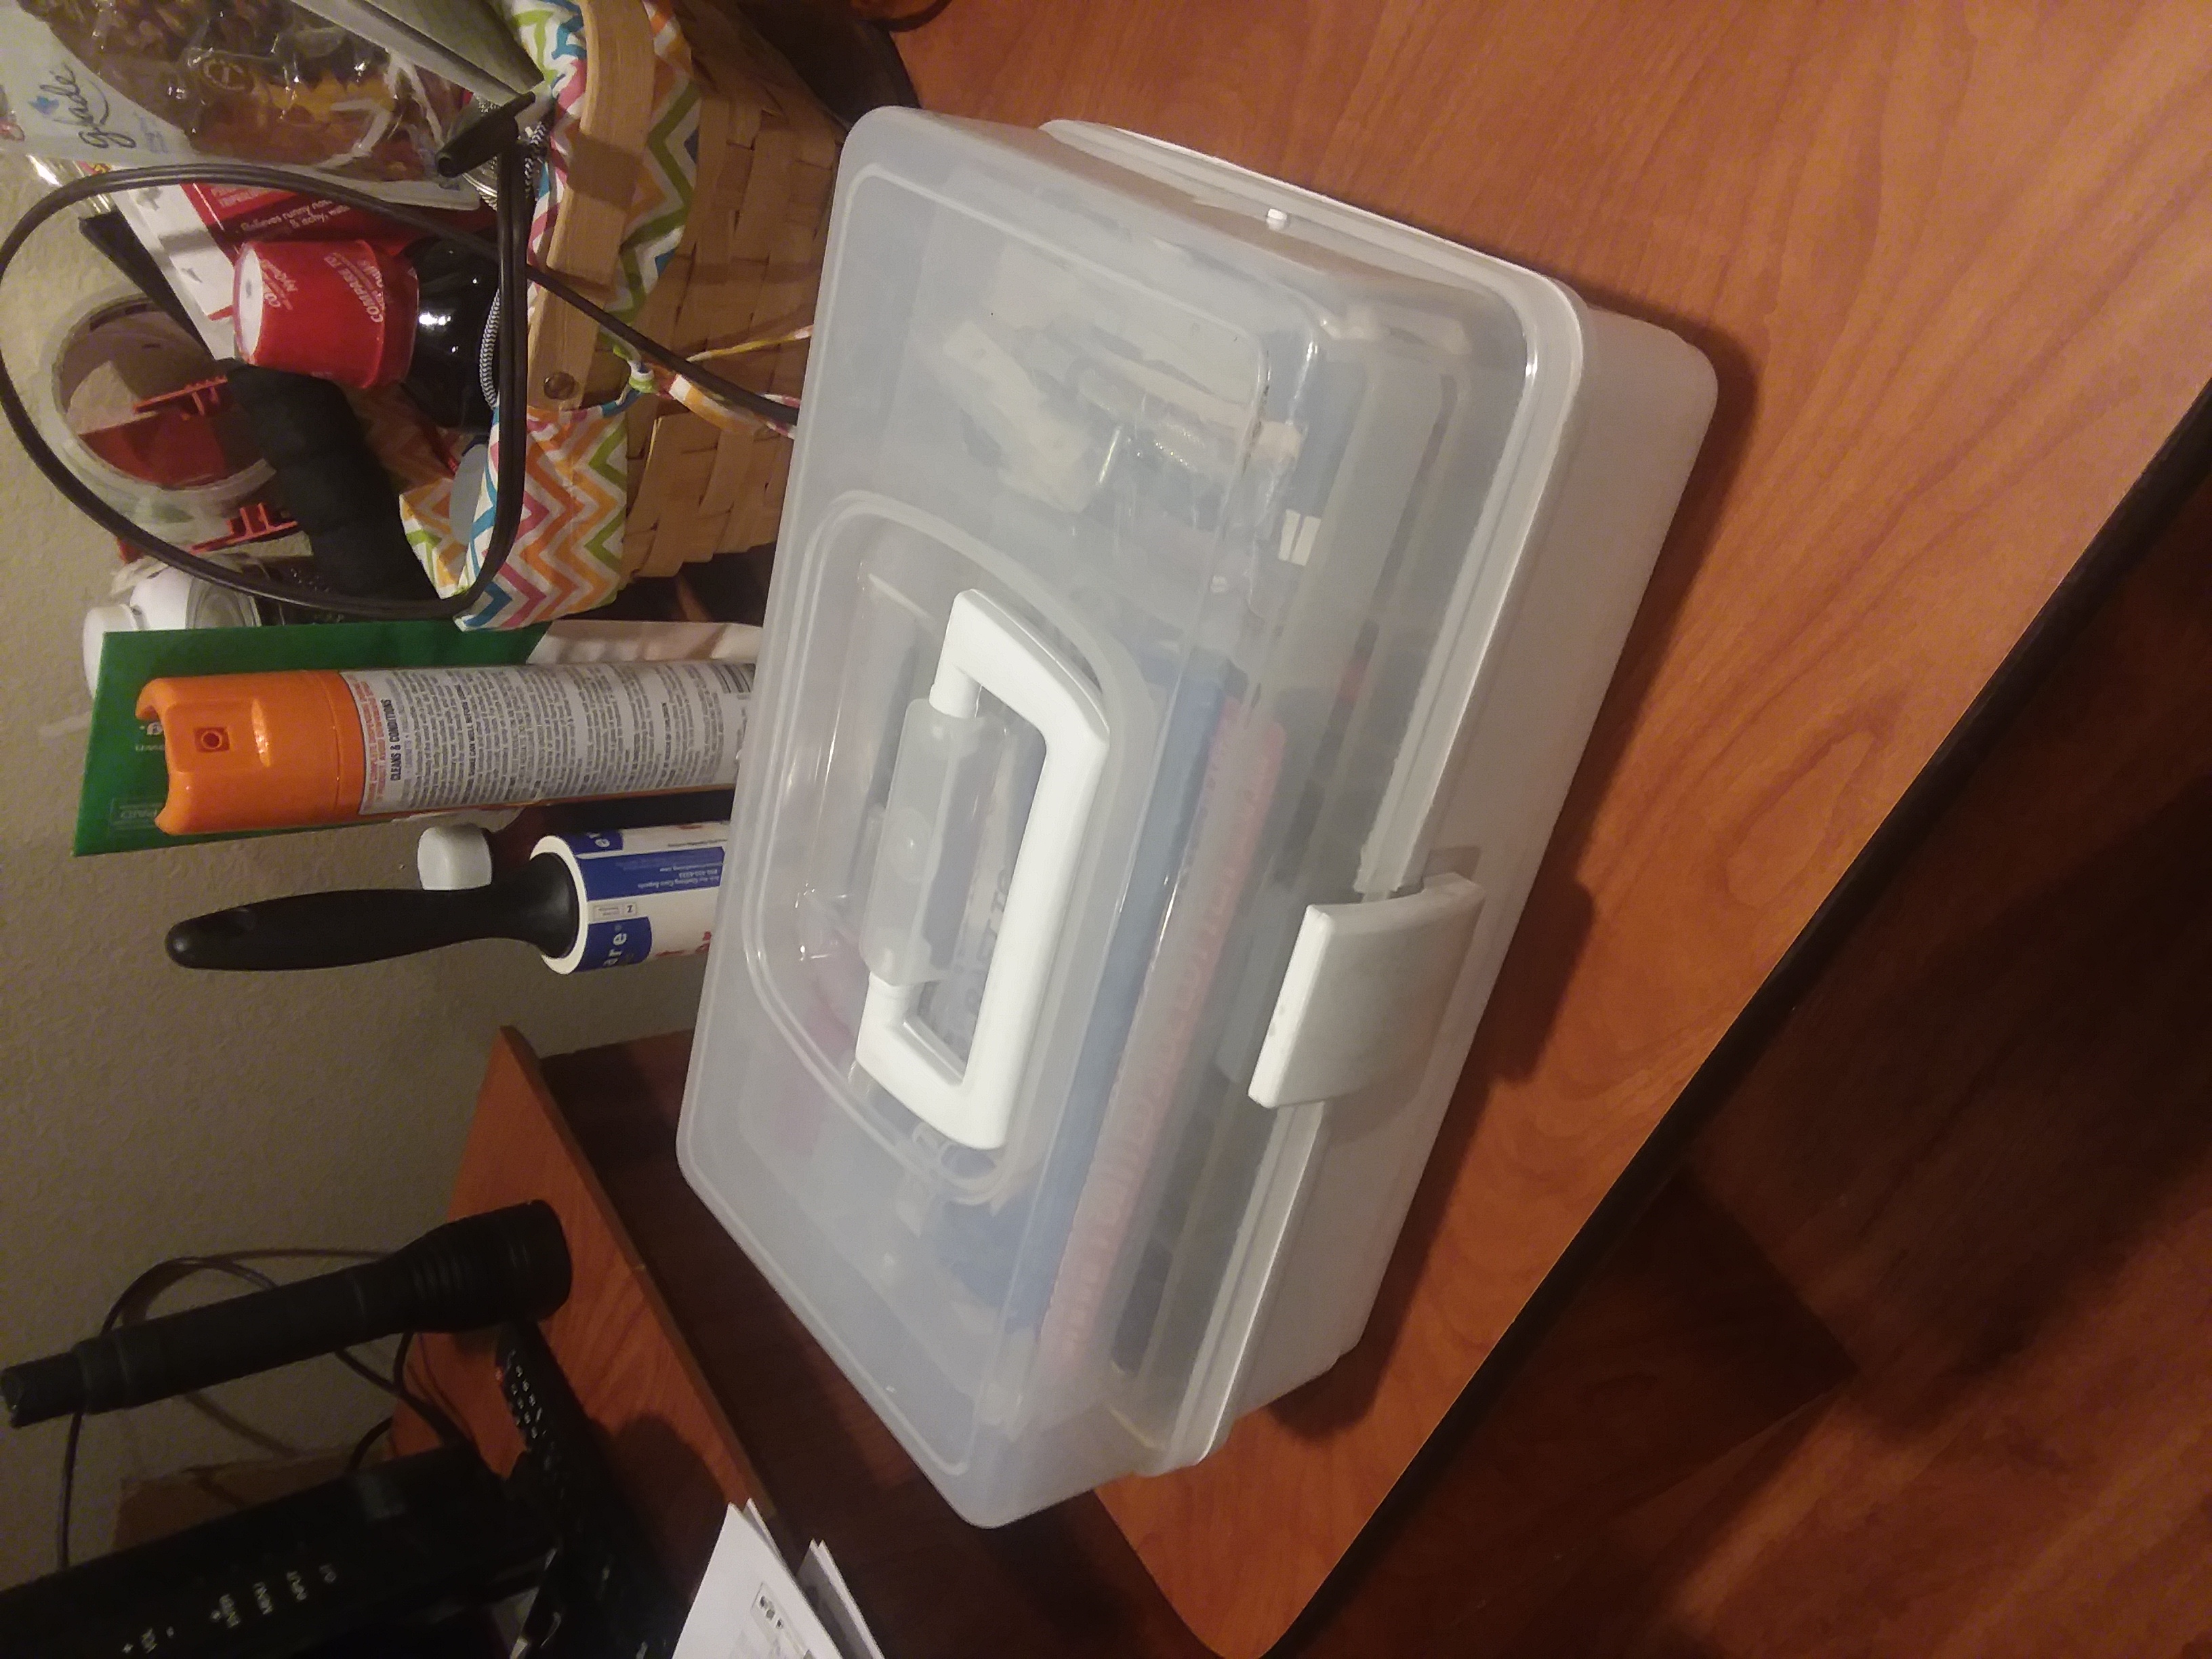
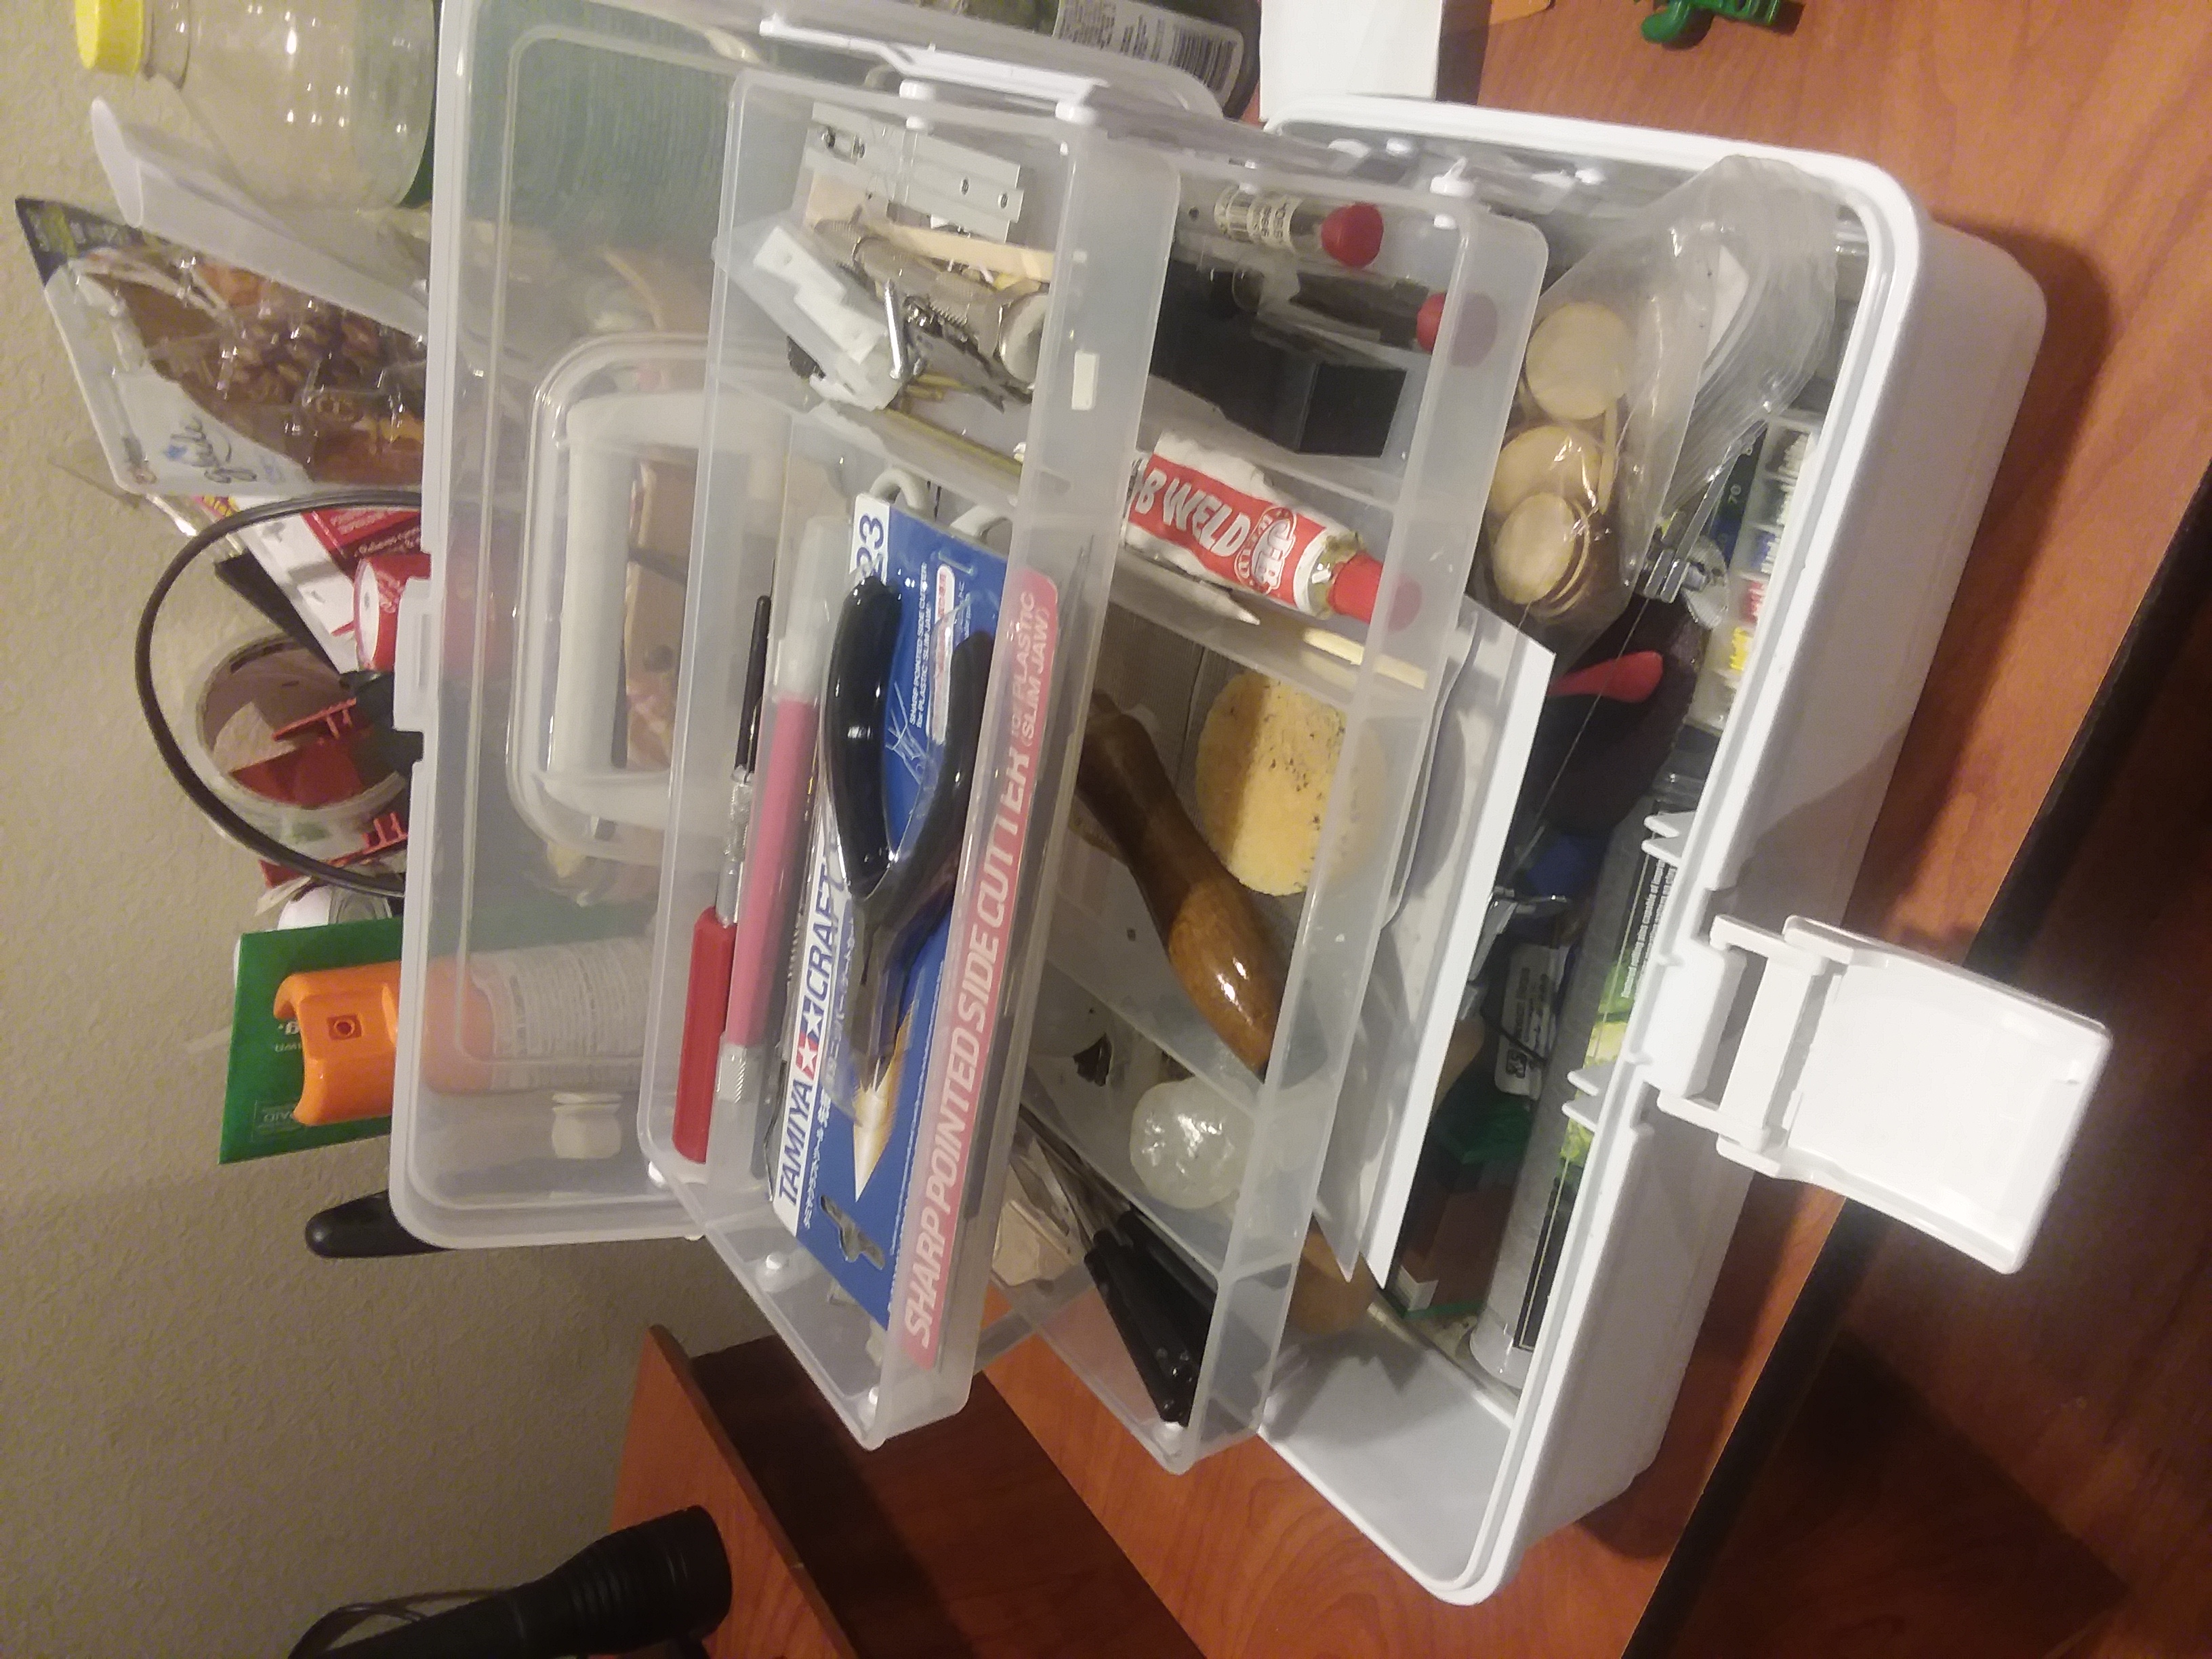
My kit is simple to be carried as needed. I use a small plastic tackle box that would otherwise be used for fishing purposes. The divided shelves make it easy to separate my hand tools. Despite this I still have mandatory creative chaos running amok.

Hand tools are mixed up with a few odds and ends that might seem like they shouldn’t be there. LEGOs fitted together for a small thermoplastic press mold can be explained but the brass etch barbwire from Eduard seems like a thing for my basing bits (I tried but its safer with my tools).
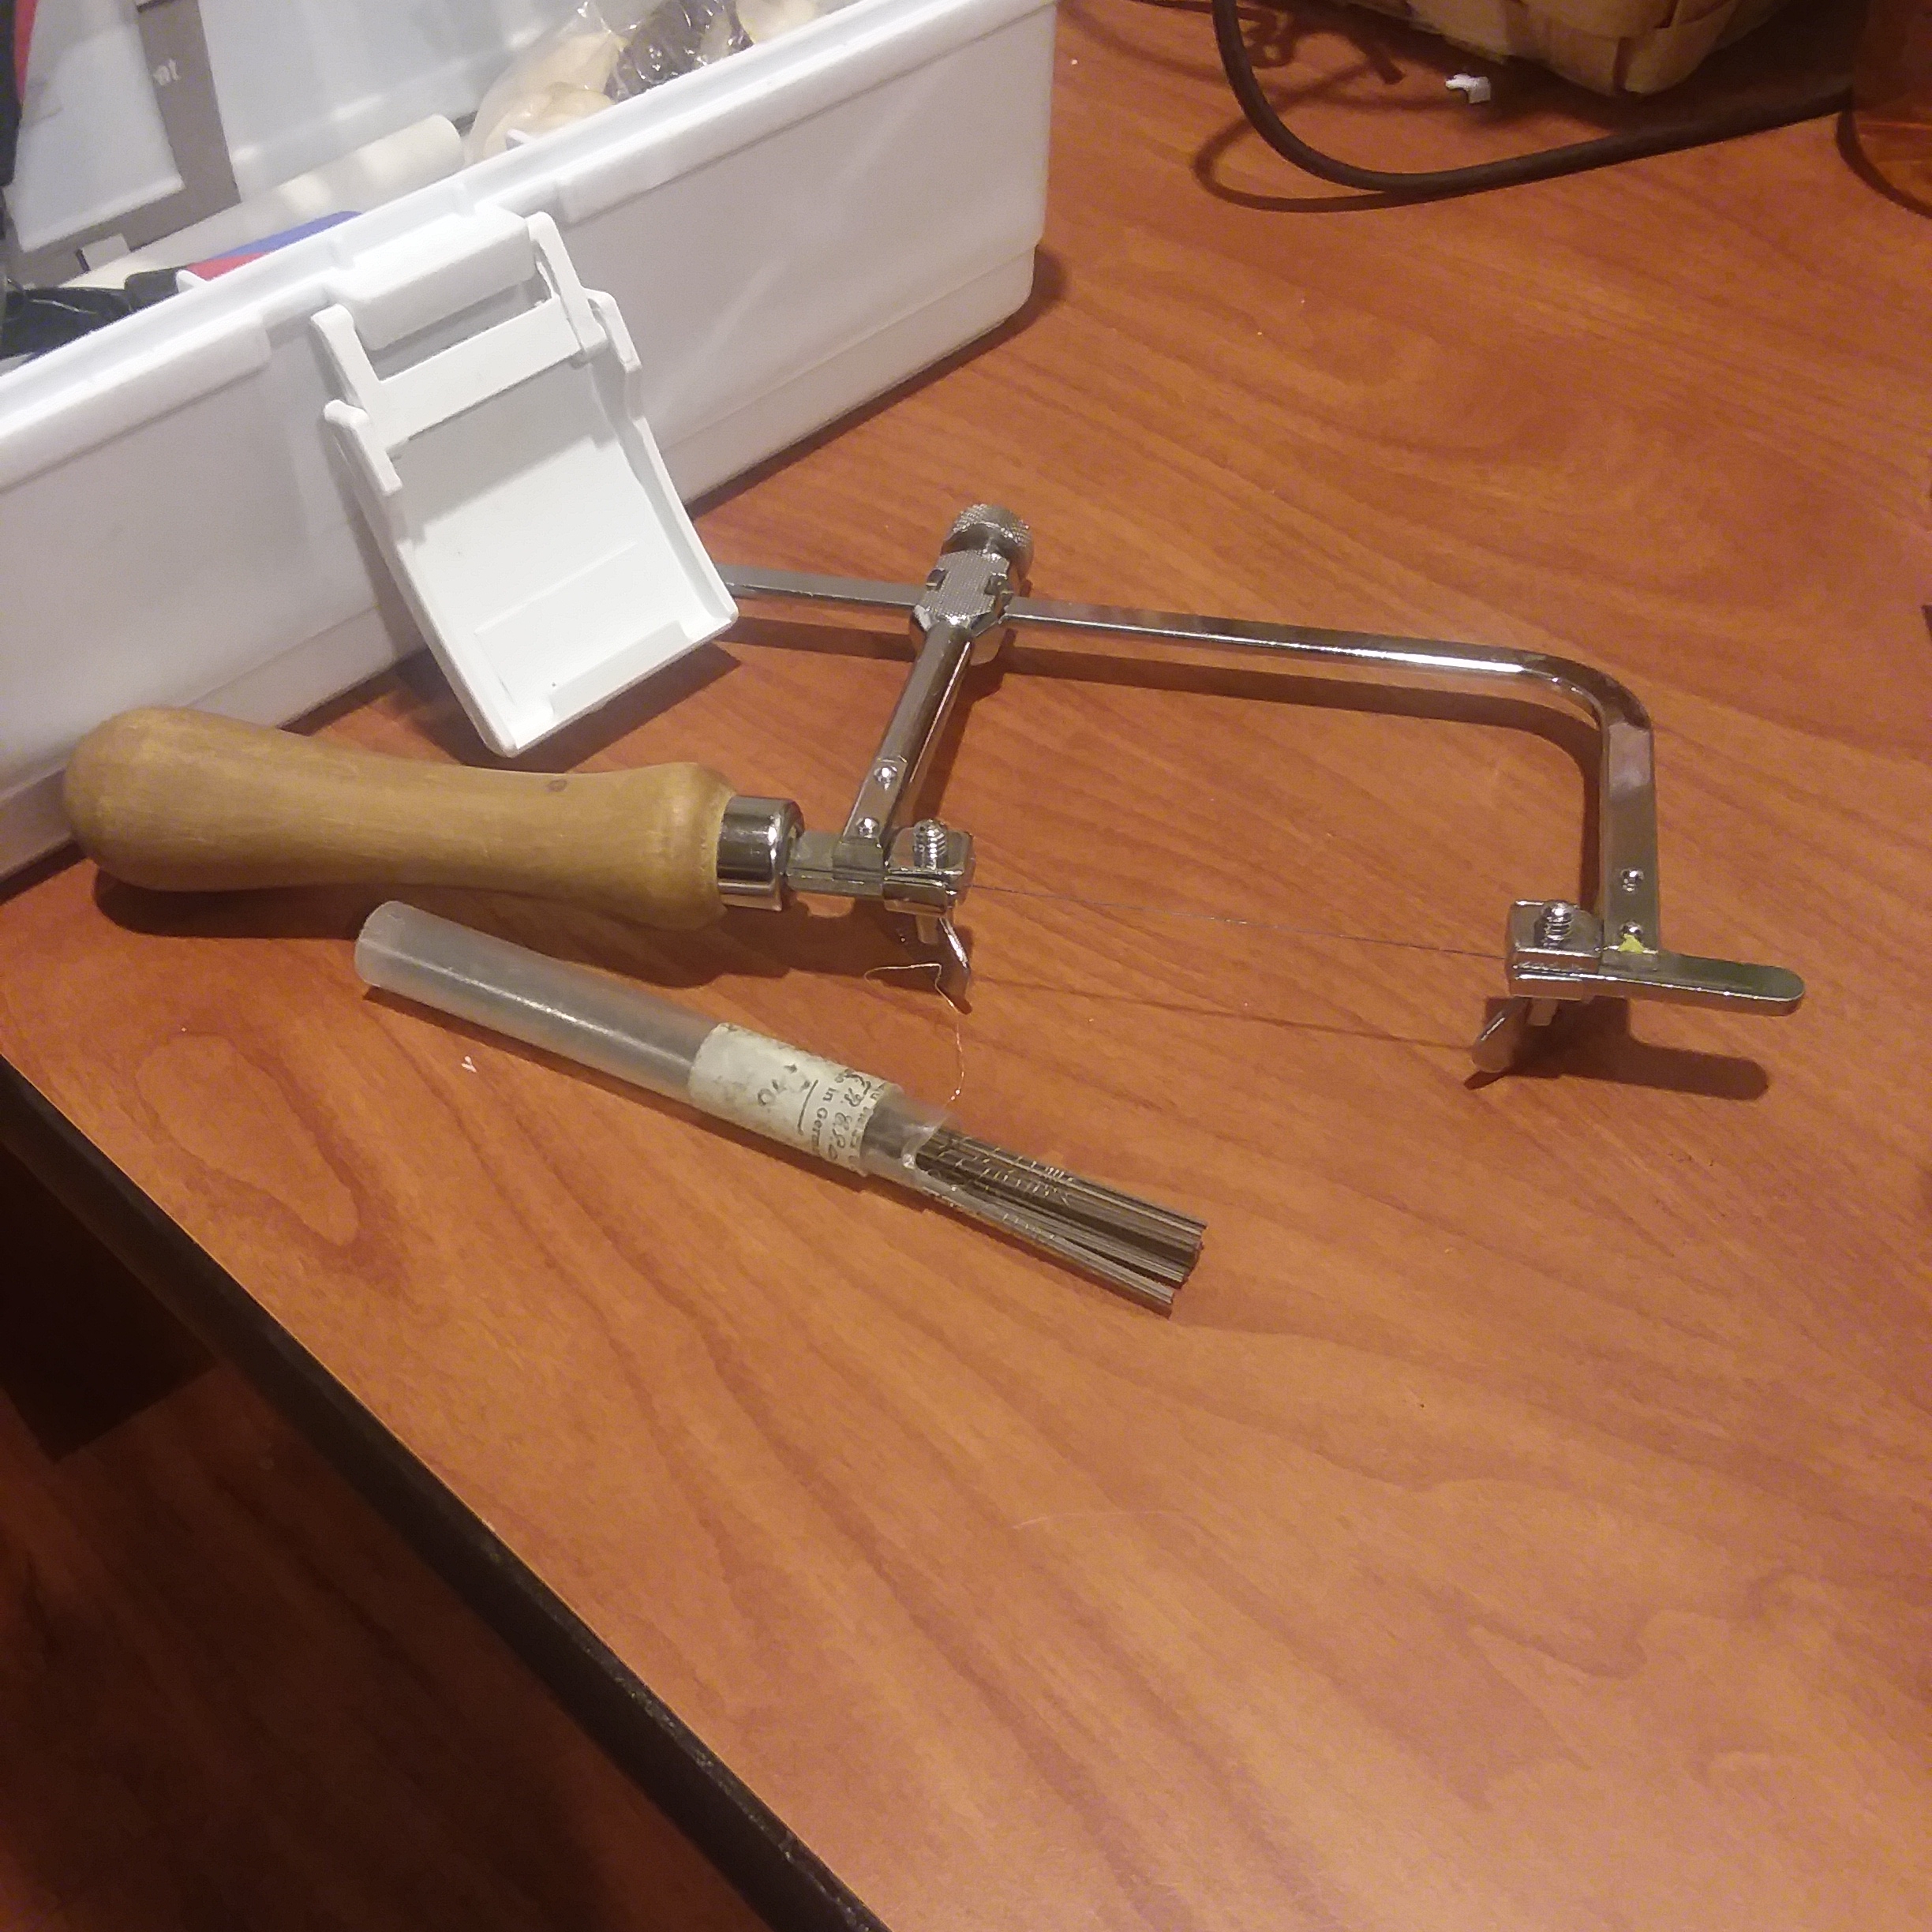
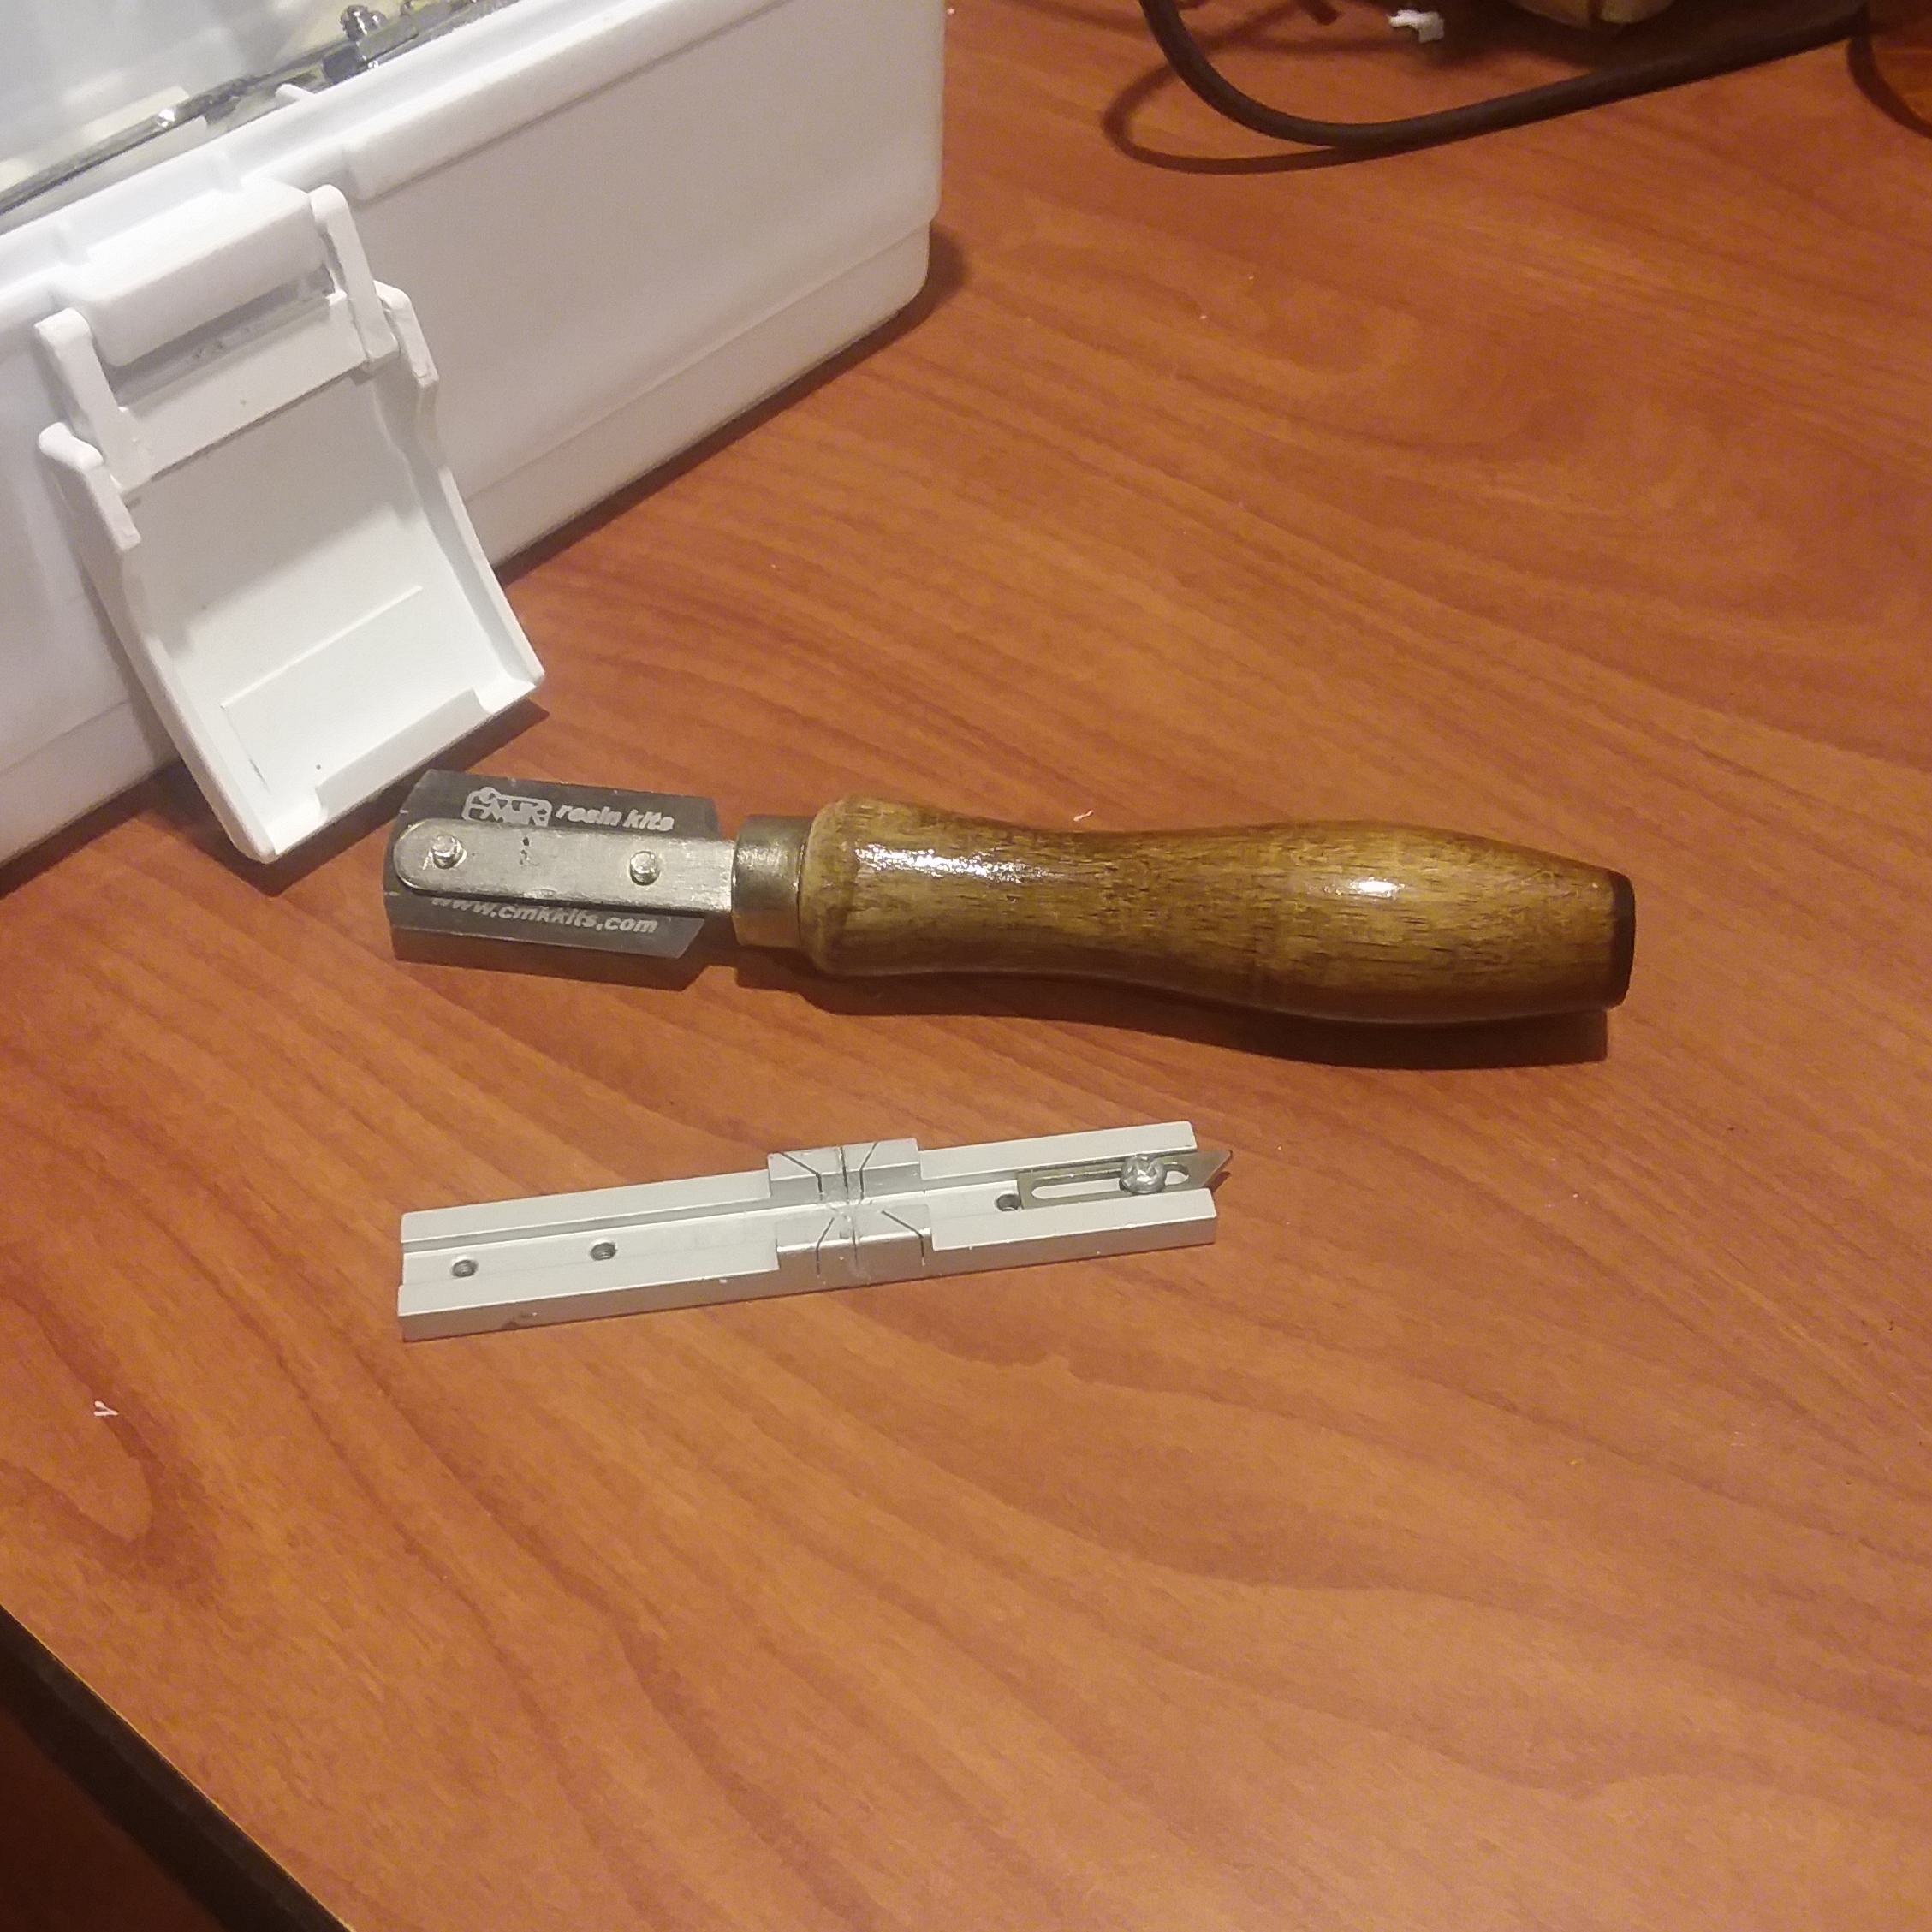
A jeweler saw with multiple replacement blades for your figures is a good investment not only for plastics but metal. A handle for just such a tool is up to your own discretion and can vary in price. I bought mine in a GW hobby kit a little over two decades ago and it still serves my need. 00 or 000 blades from an online retailer can last you for some time. Otto Frei sells blades by the gross and I’ve given dozens away to younger hobbyists from my one purchase years ago with quite a few to spare. If you happen to work with square plastic rod and want squared edges a mini miter saw and guide will make that possible. These are great for small structure builds.
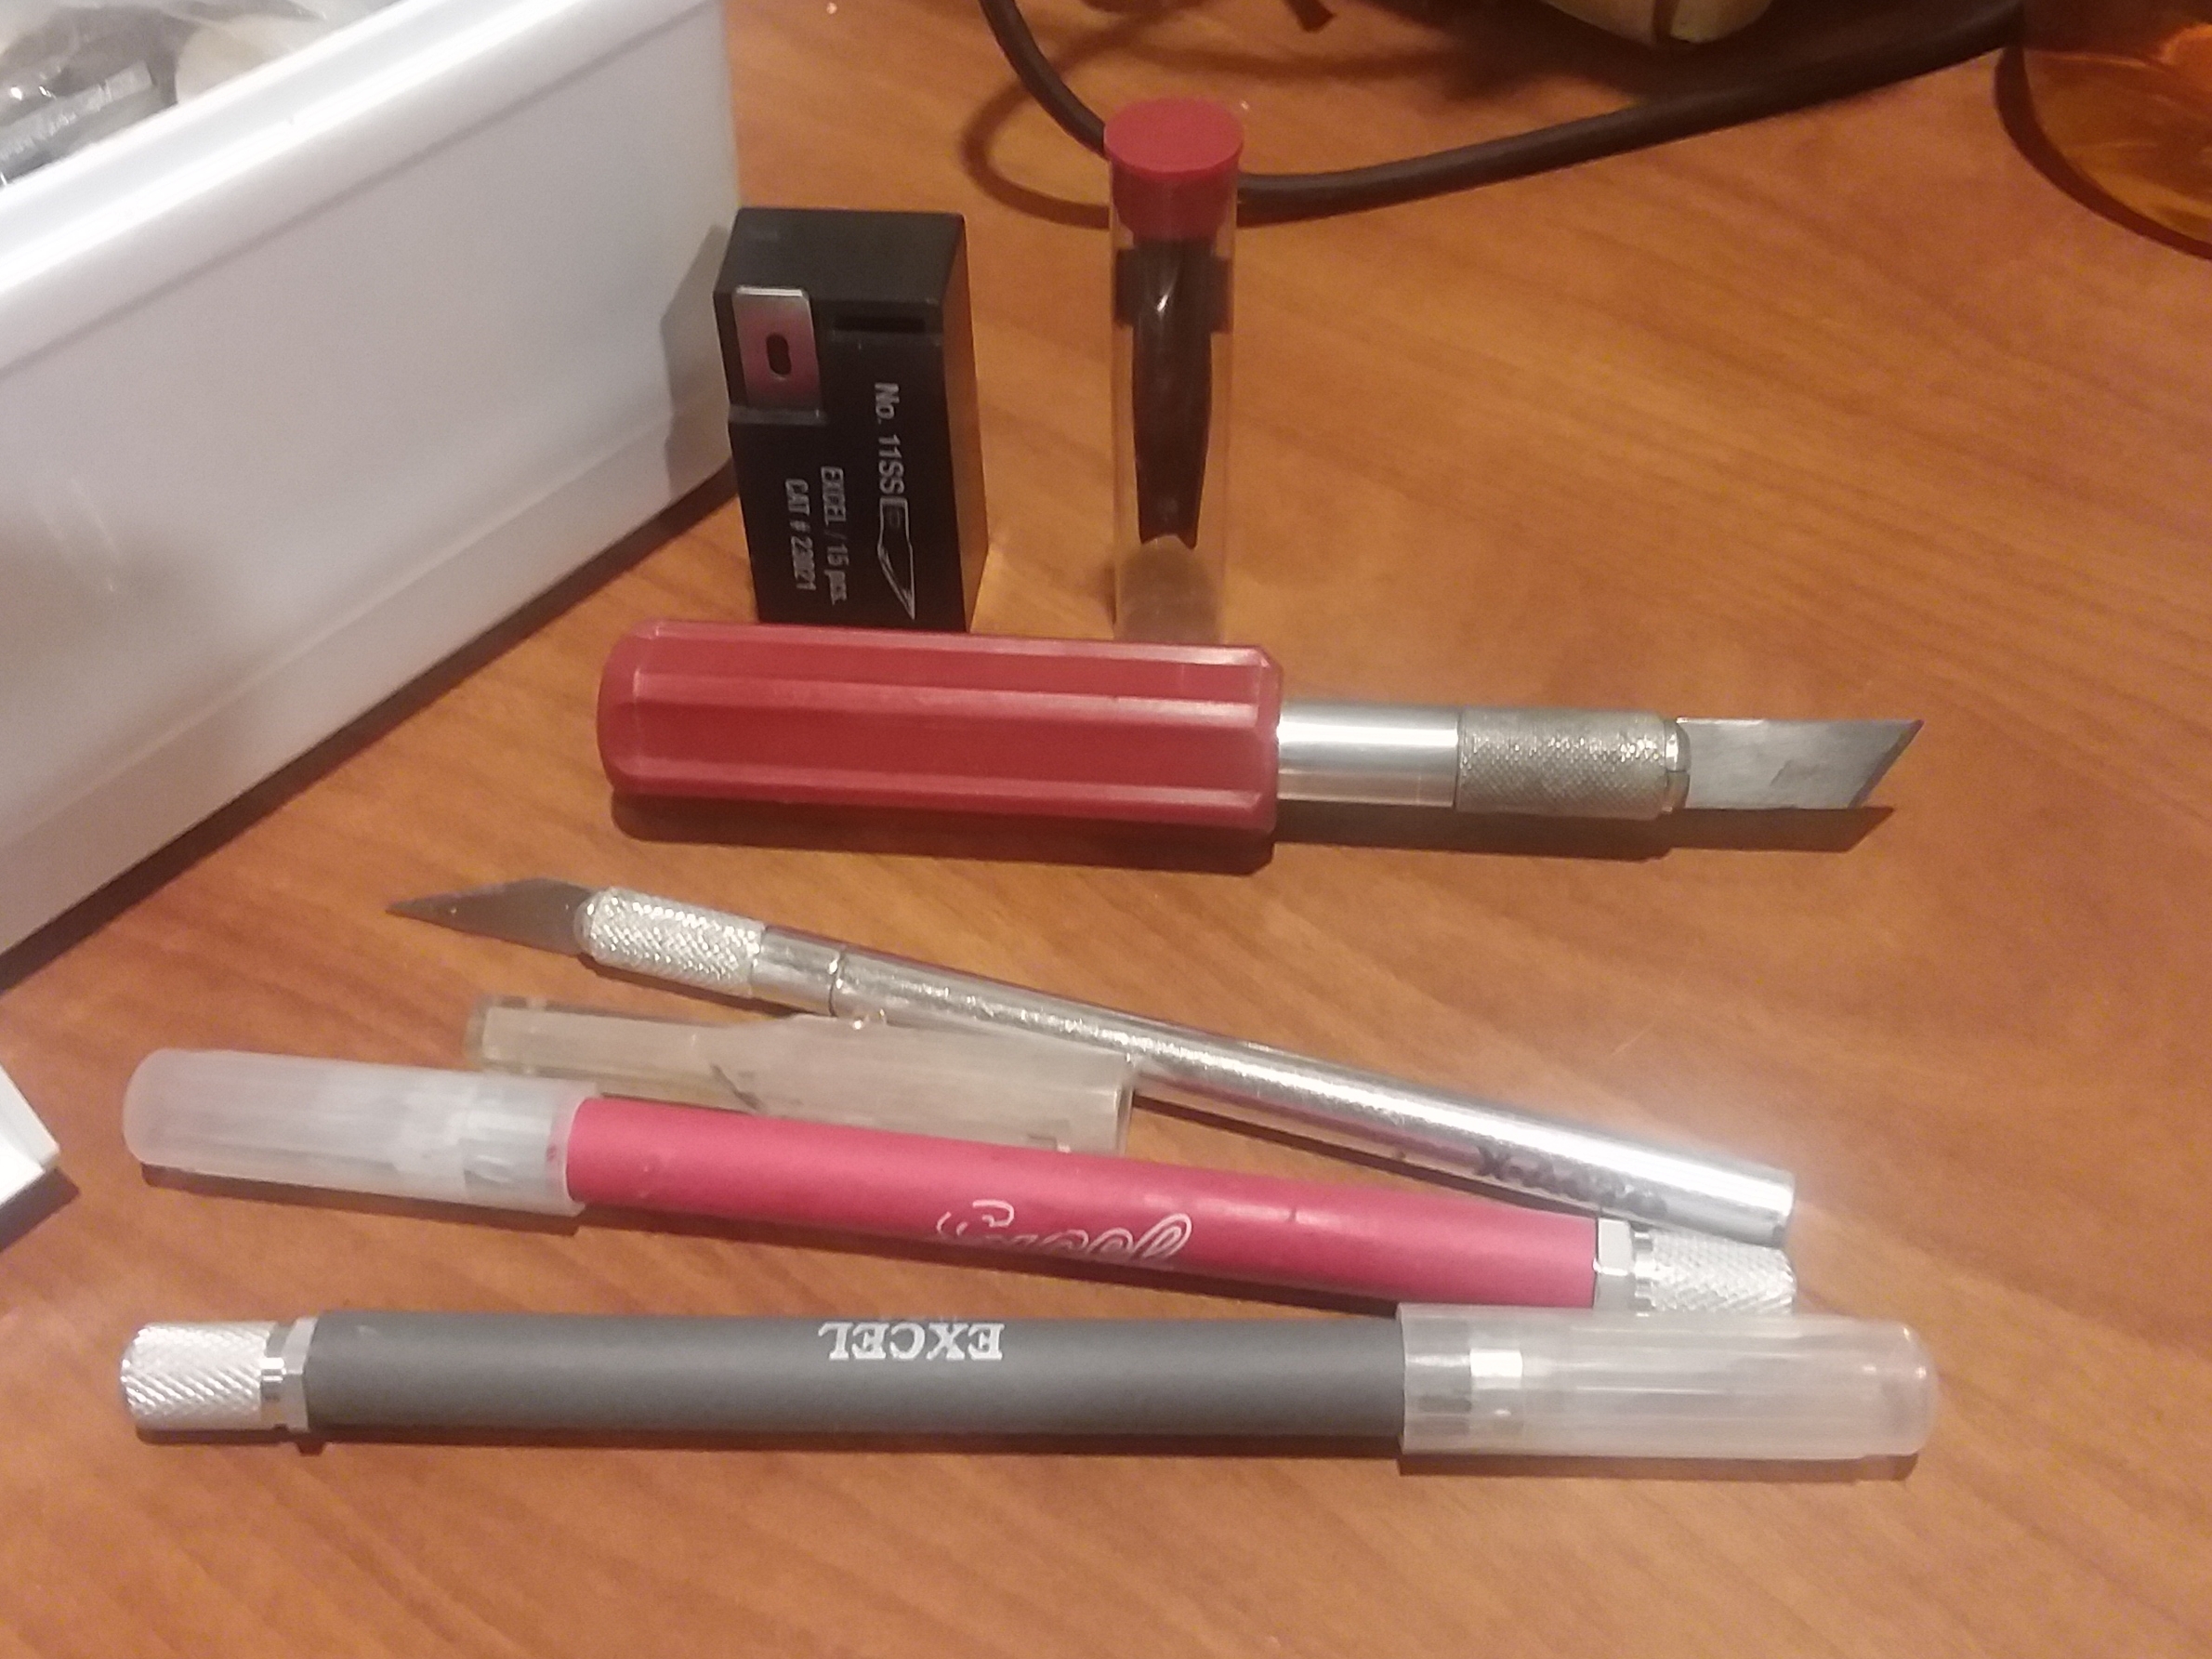
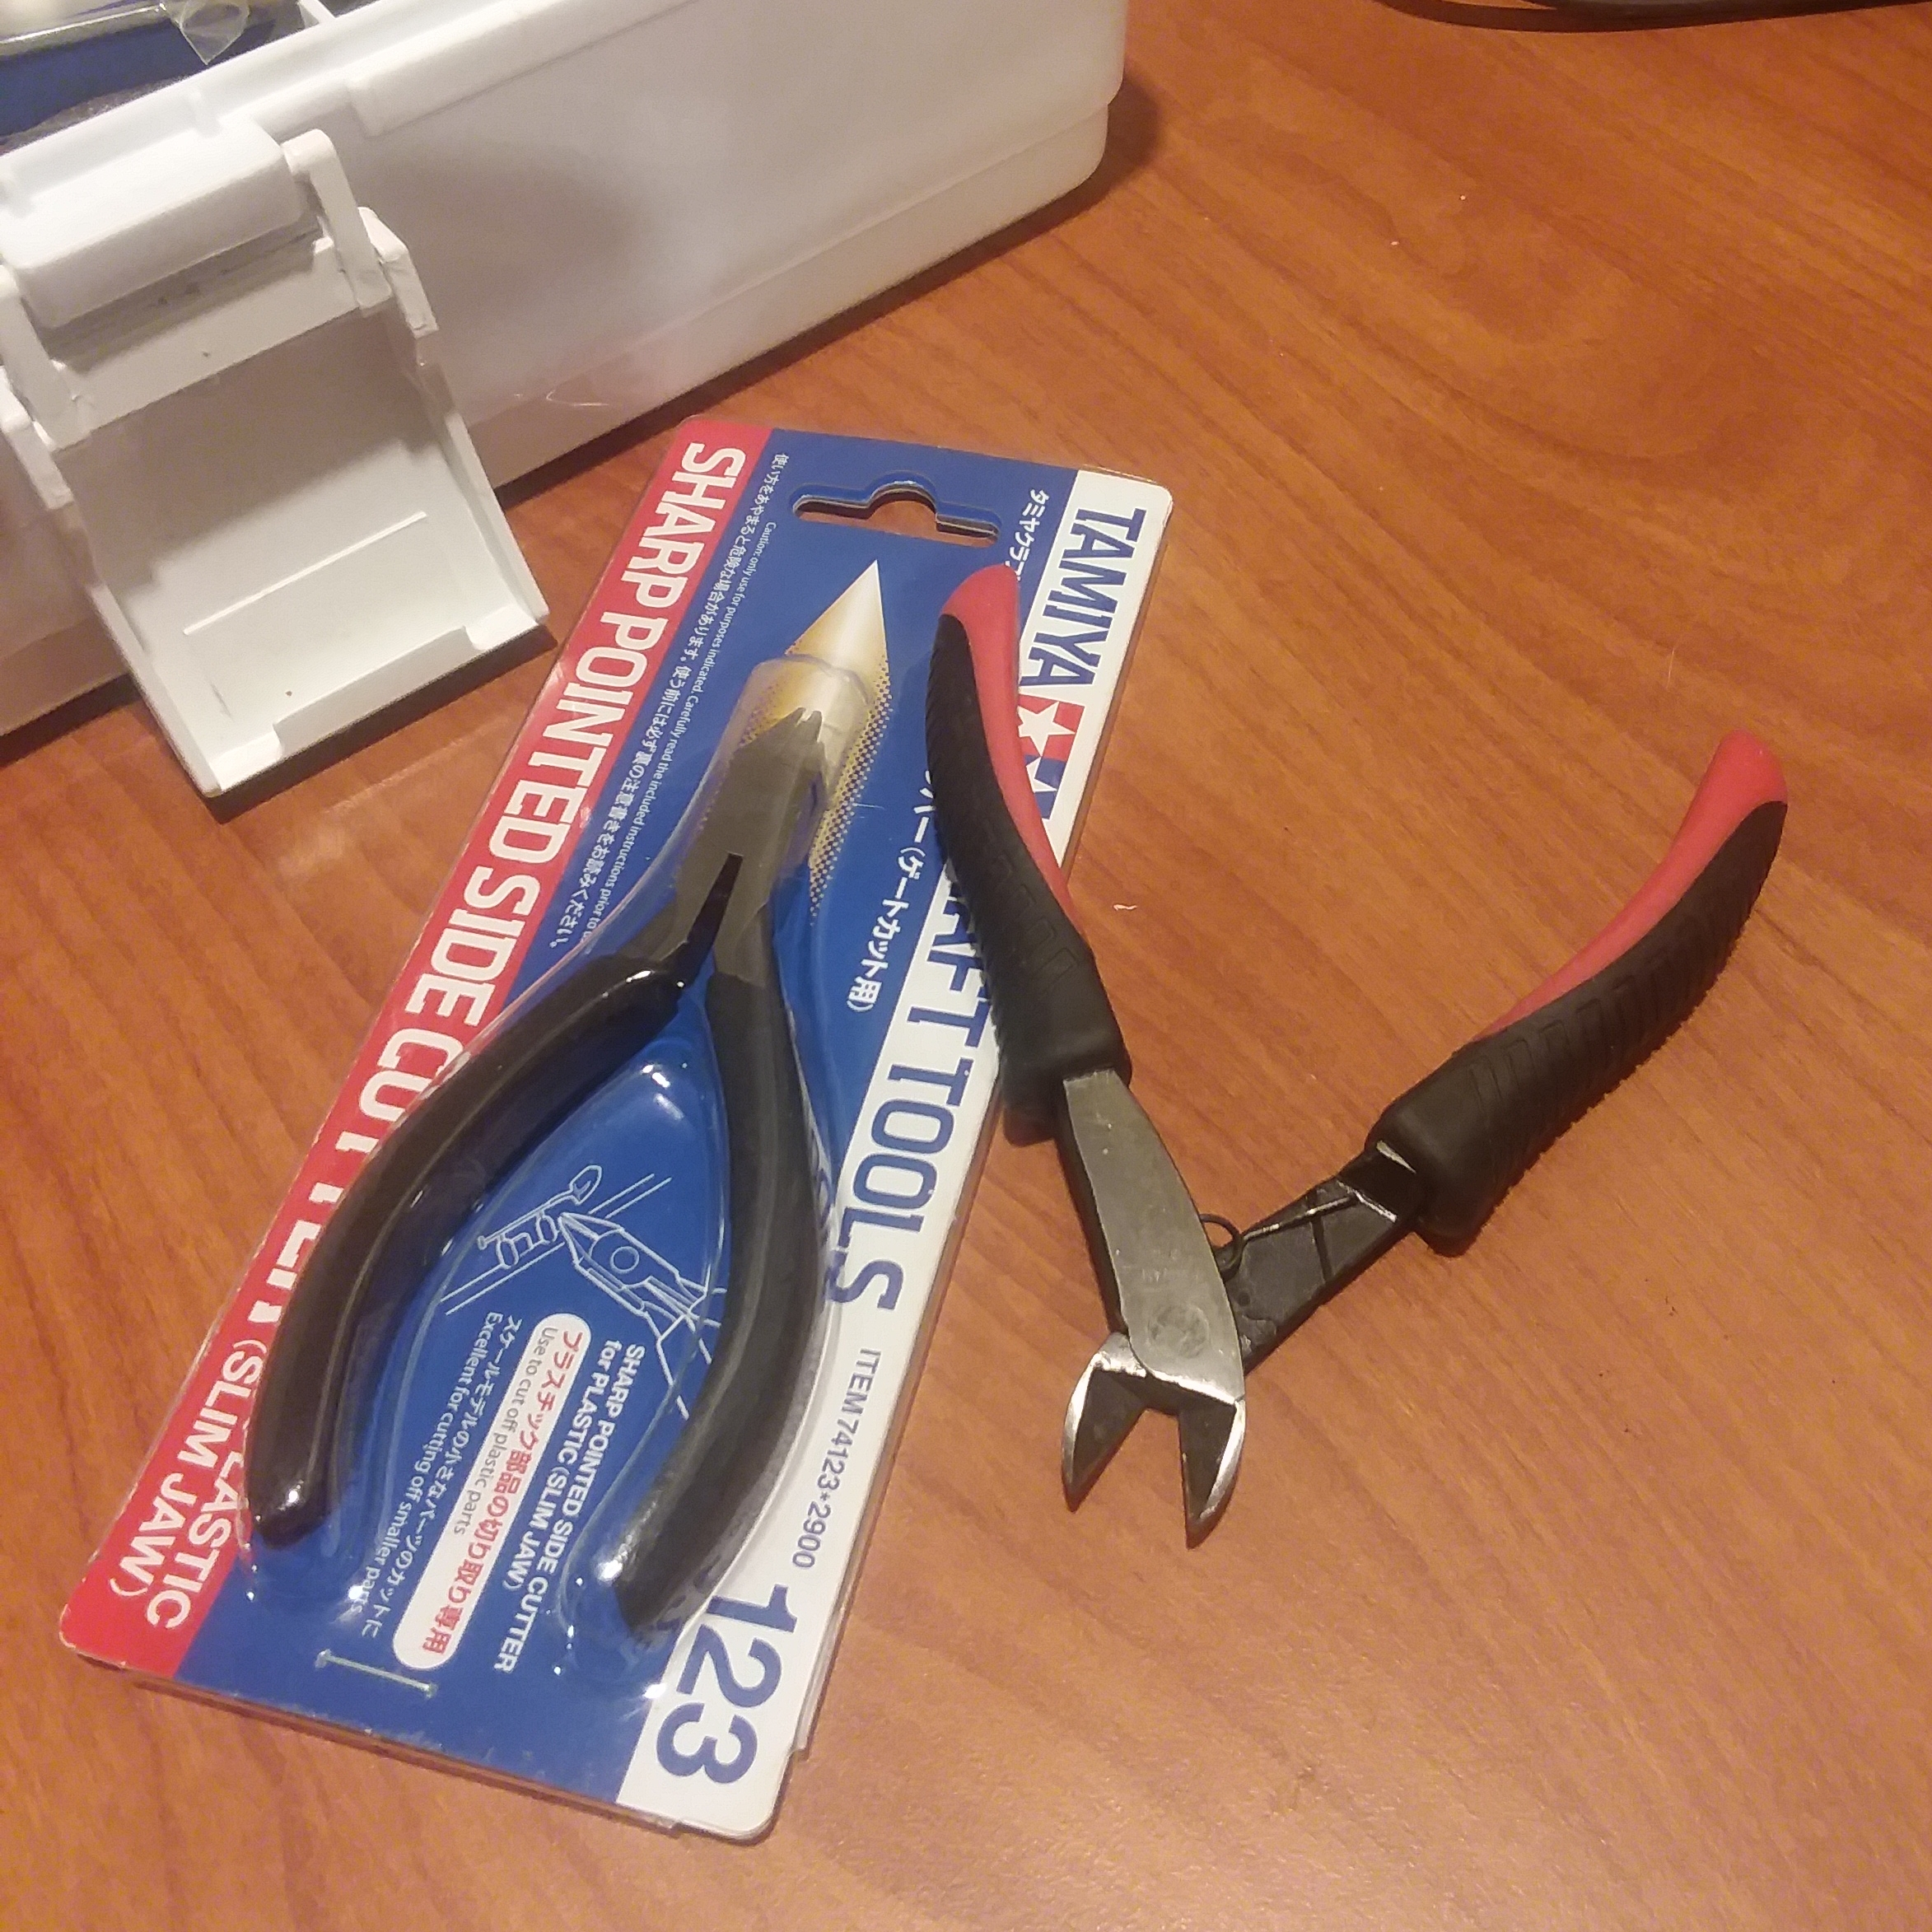
Hobby knives are a must and you end up with a few (more than needed when finding the first ones when cleaning hobby areas). General smaller sizes (#11 by some companies I think) are staples while larger chunky blades help with bulk base material whittling and heavier jobs. Plastic nippers for delicates sprue removal have been a recent addition and I can’t recommend them enough. Other nippers for cutting thin wire to pin with are a must as they also double to cut thicker plastic injection mold.


