


![Very Cool! Make Your Own Star Wars: Legion Imperial Agent & Officer | Review [7 Days Early Access]](https://images.beastsofwar.com/2025/12/Star-Wars-Imperial-Agent-_-Officer-coverimage-V3-225-127.jpg)


Gaz’ork’as – A Gorkamorka Project, … or better a Gorka Project


Recommendations: 1752
About the Project
Last year Nerd-Rage vacation, we decided to start a new group project: Gorkamorka. We would building and painting them starting from february on in a bi-monthly 50 teefs cycle up to 200 teefs. So resulting in a 8 months project. So from november to february there would be more time to do some gubbins. As usually i got overboard again. You will see here. Where ist the gorkamorka related game pull down selection?
Related Company: Games Workshop
Related Genre: Science Fiction
This Project is Active
Last Post? Possible not.
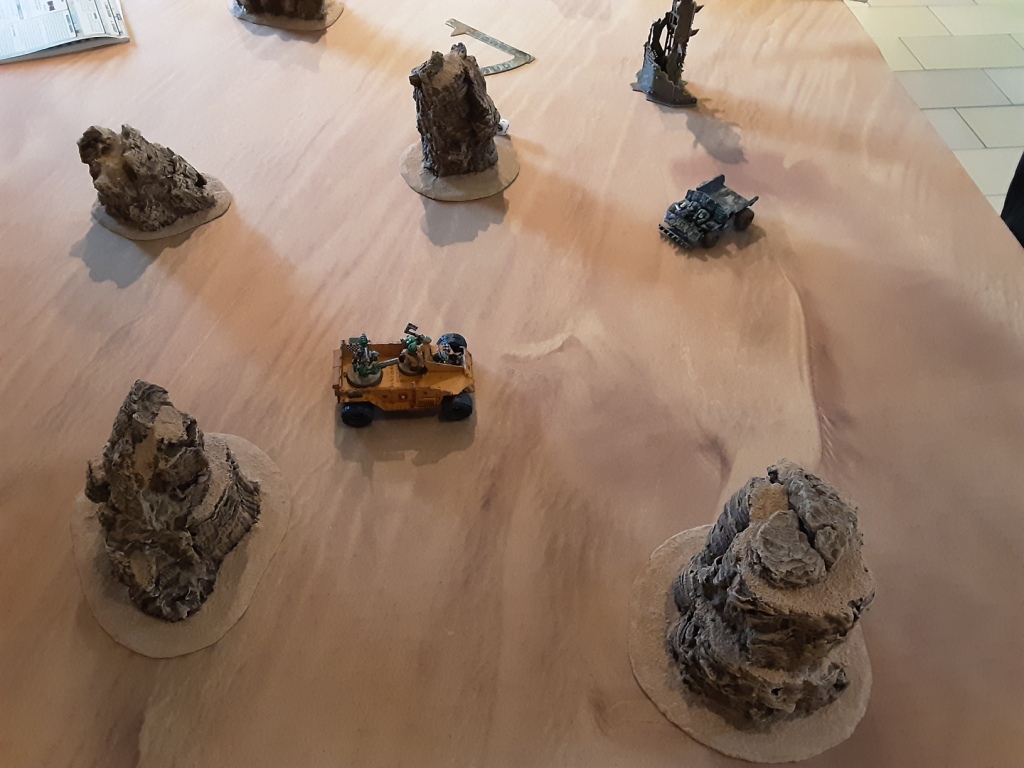
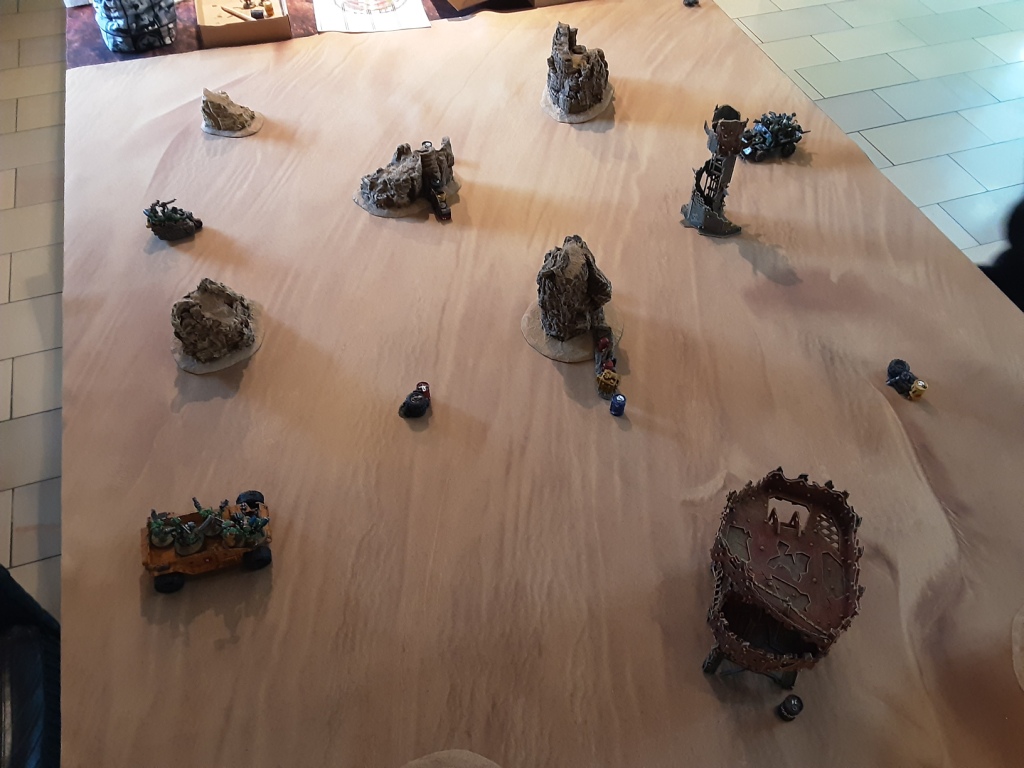
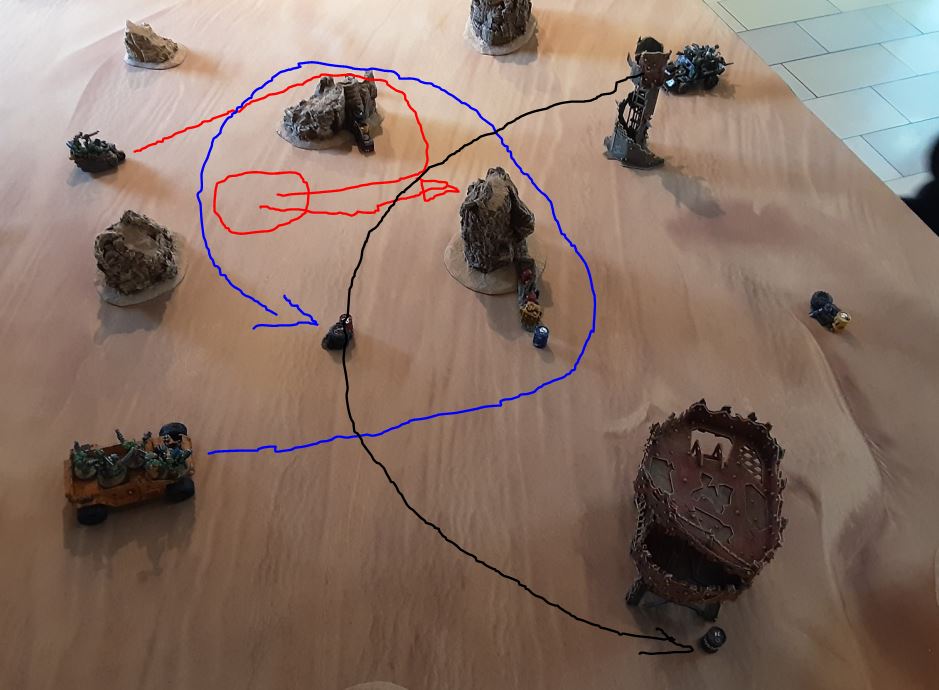
End of october we had our nerd vacation (pre Lockdown). And to finish this project we did our Gorkamorka campaign.
Here are the pics of our first match: We are the loudest!!!

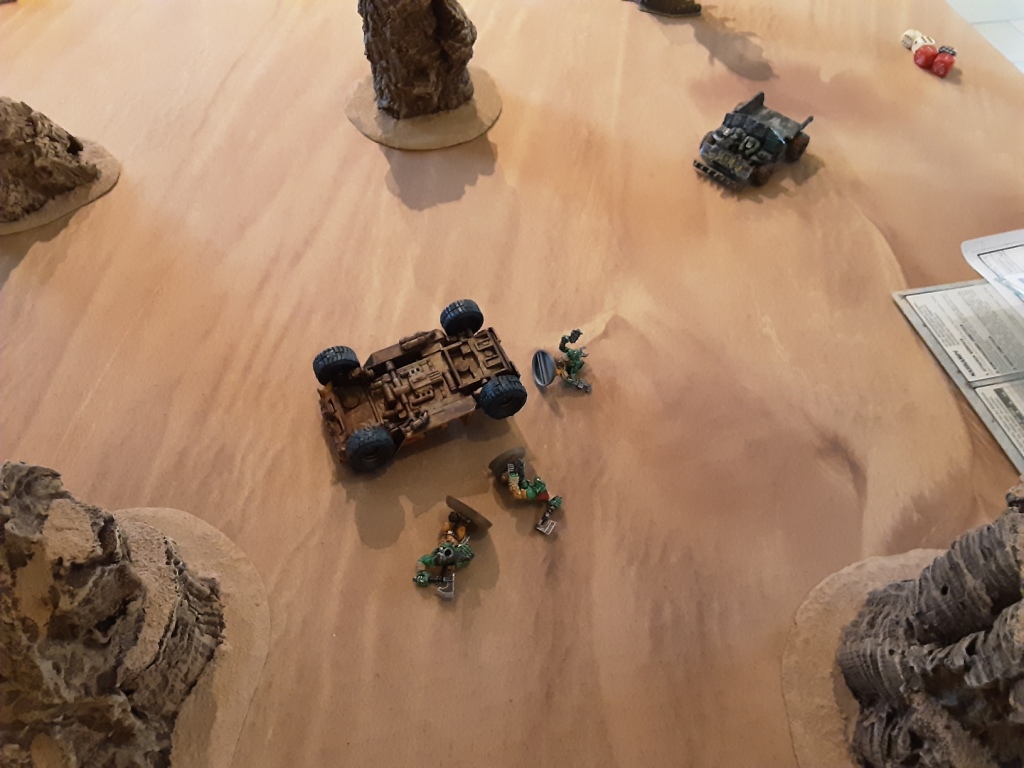
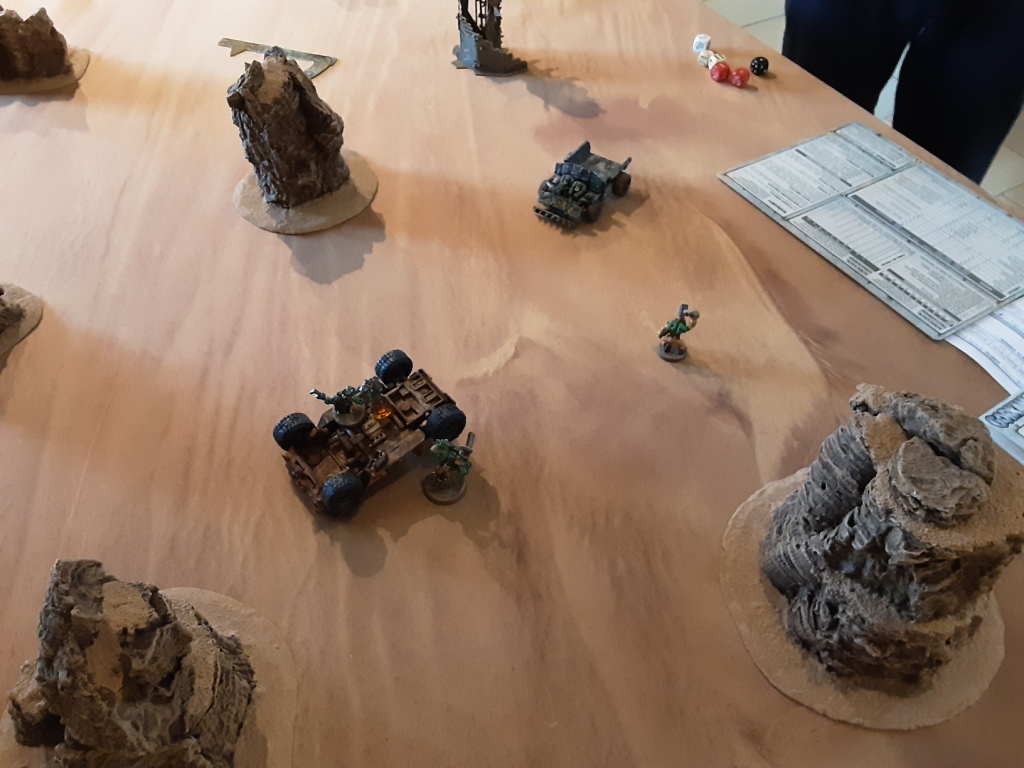
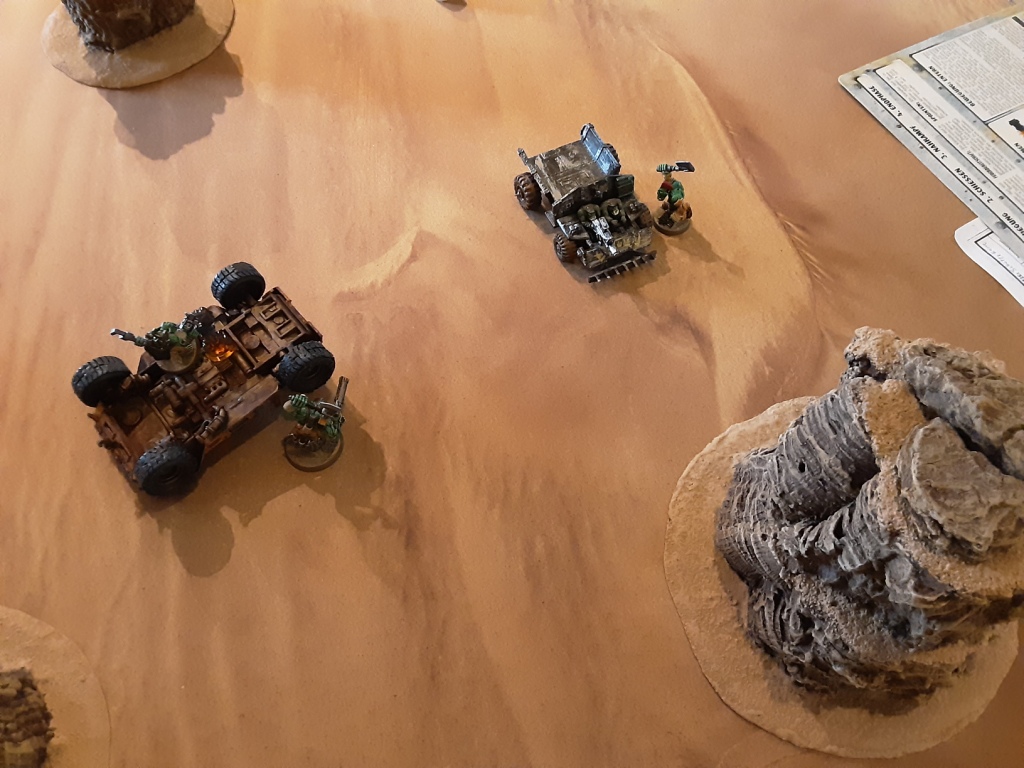
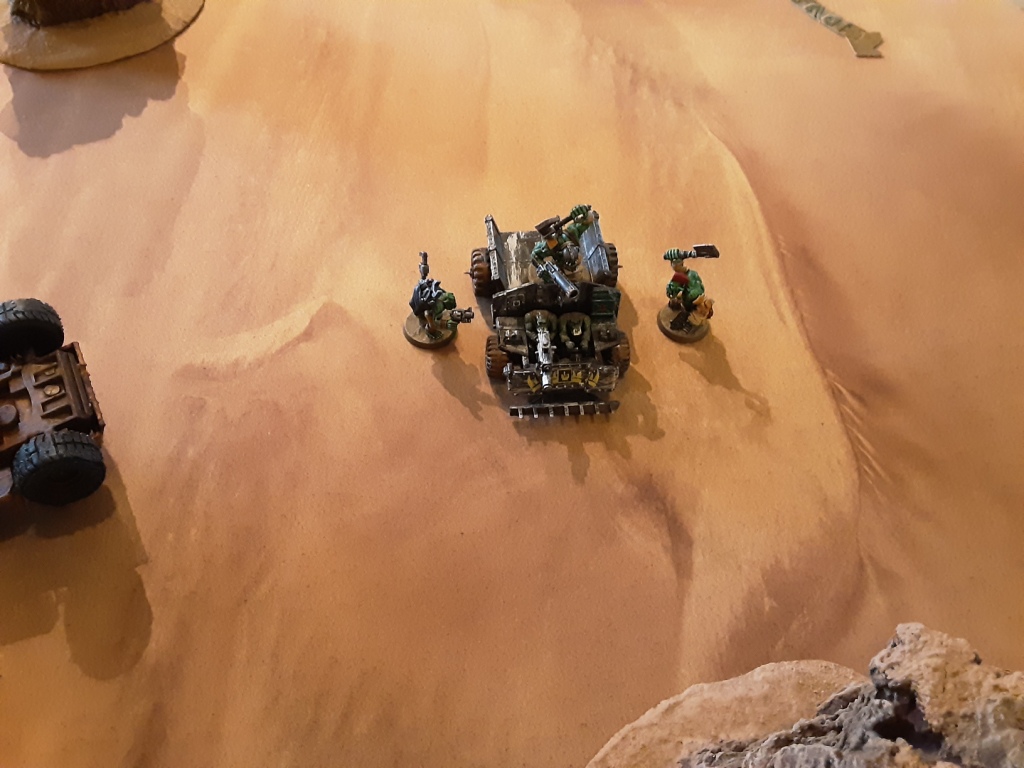
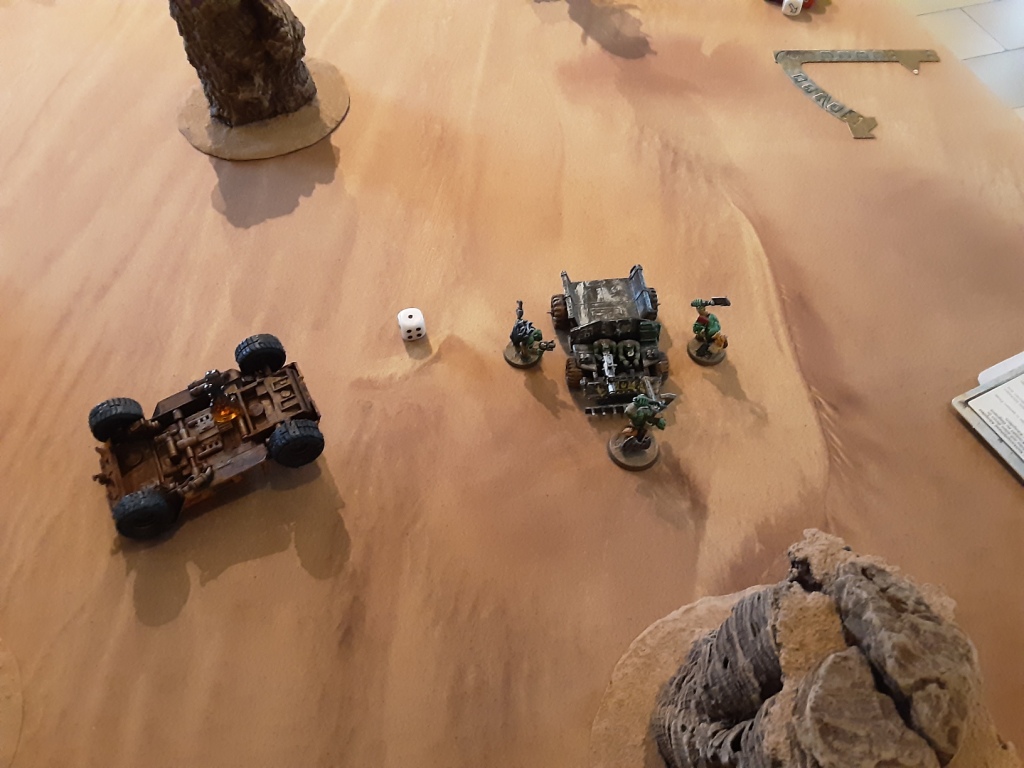

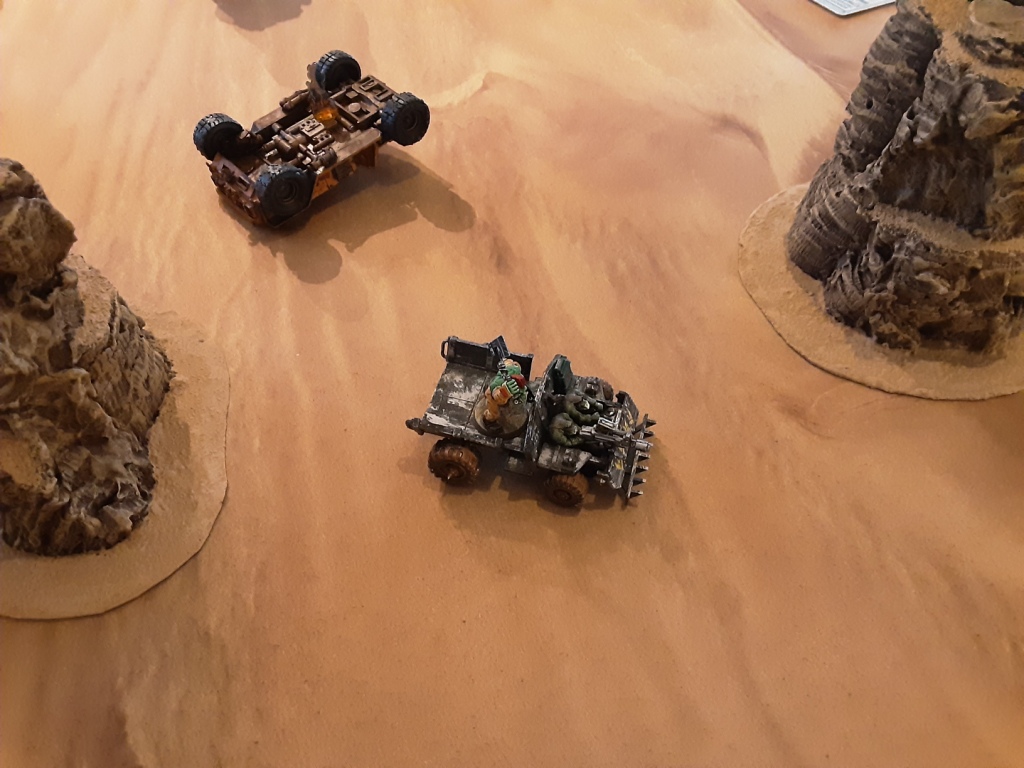
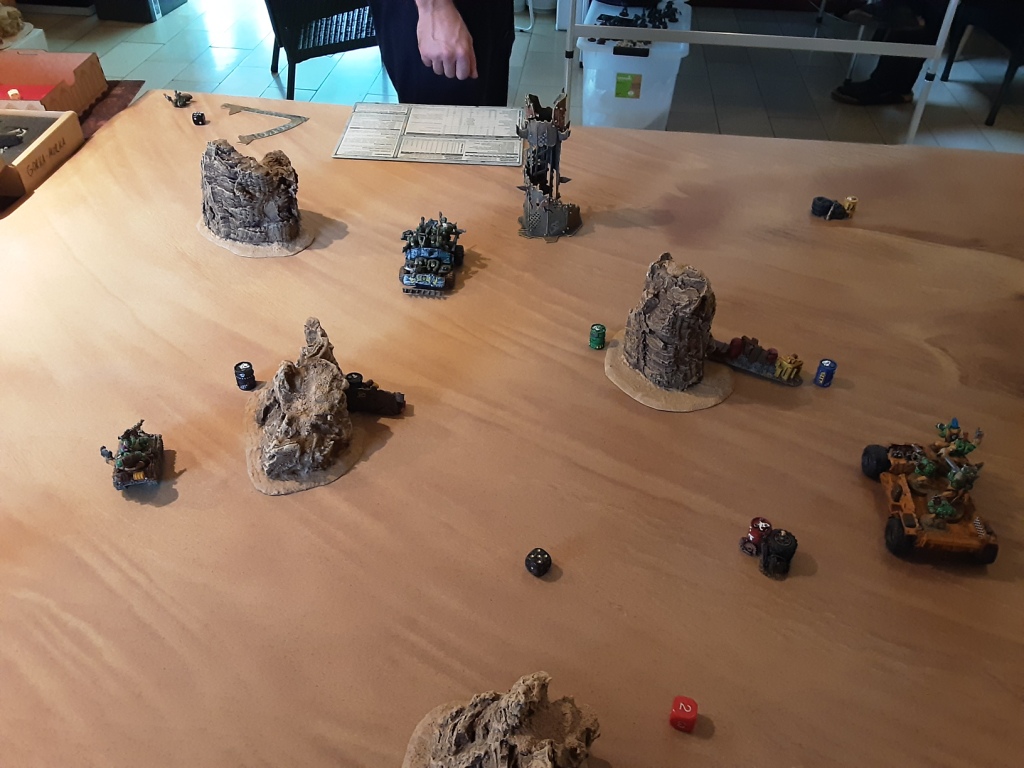
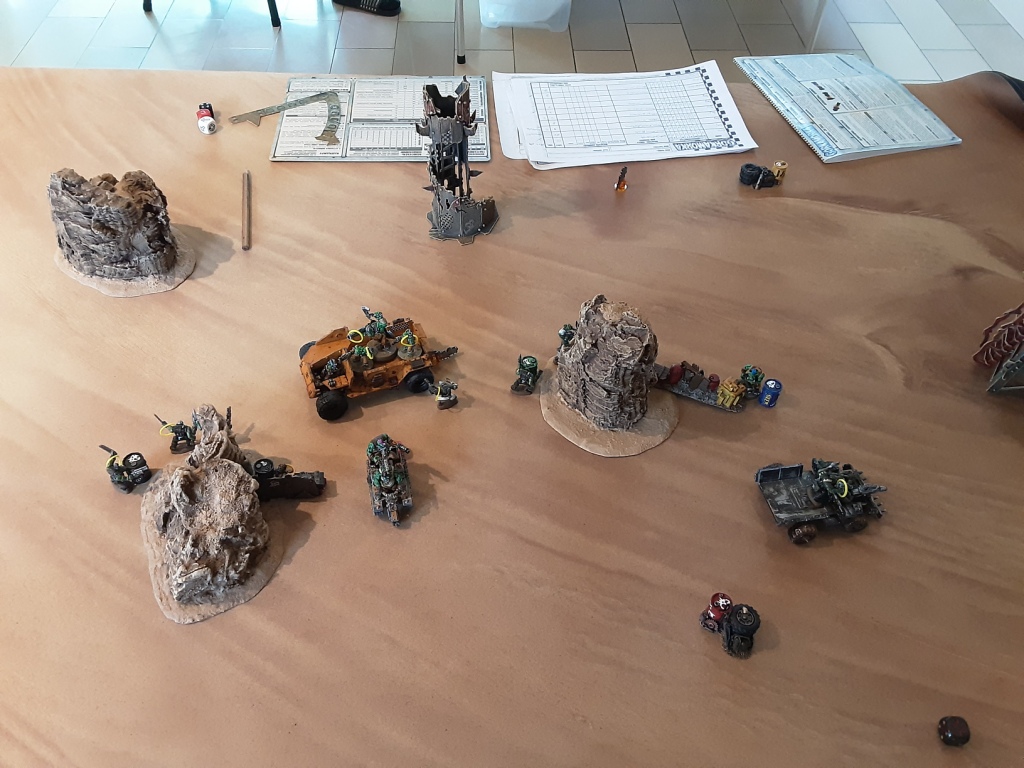
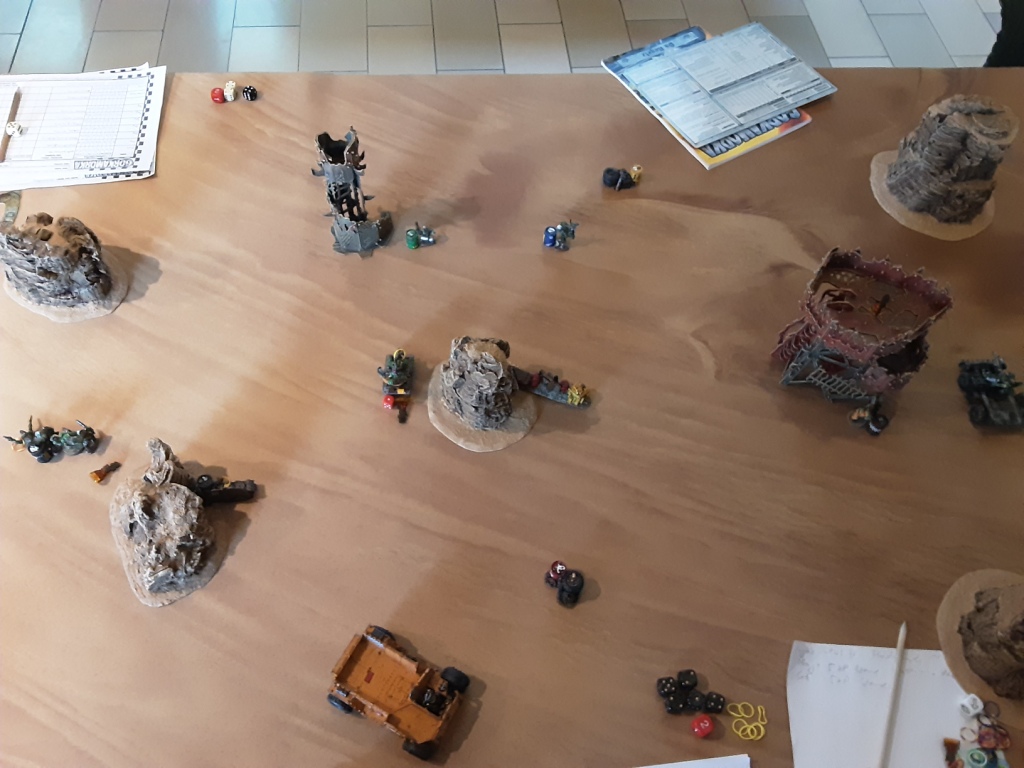
2nd game: We wore ‘ere first!
Last of their kind/HDF buildings and structures for ou GoMo campaign
So these are the last one of my kromlech HDF buildings and structures:
Mostly used acrylic paint from the hardware store.


Tank and GW Mekshop left.


4th Block finished: Gretchins
Finished my last block for our Gorkamorka campaign. 10 Gretchin slaves.
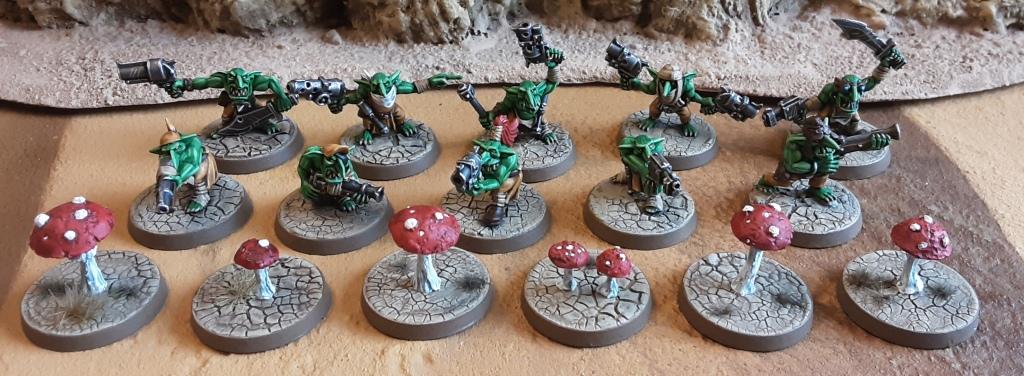
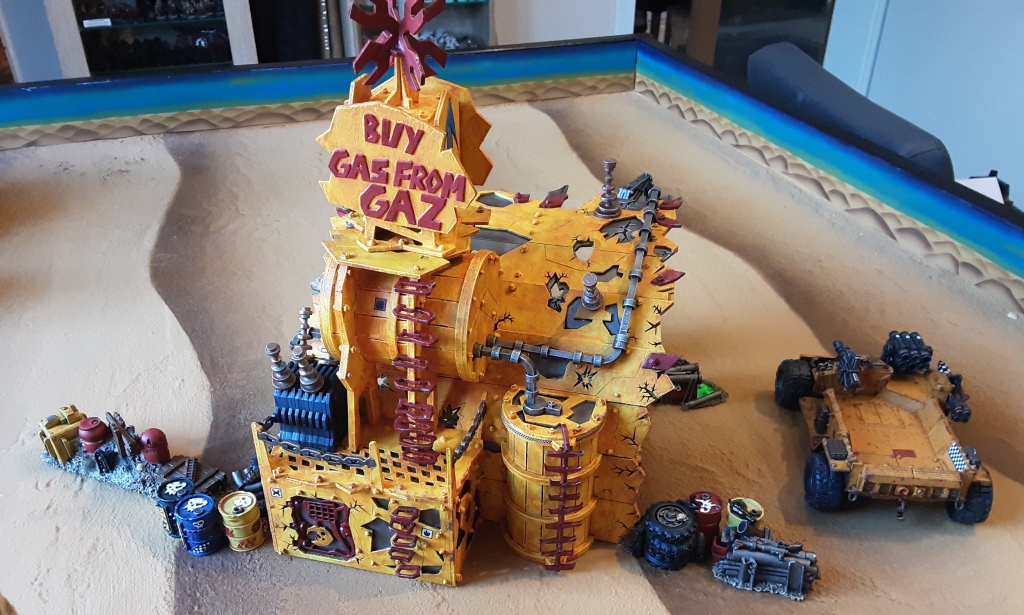
Only Bonus rounds are left: 4 terrain pieces and the tank for the war rig.
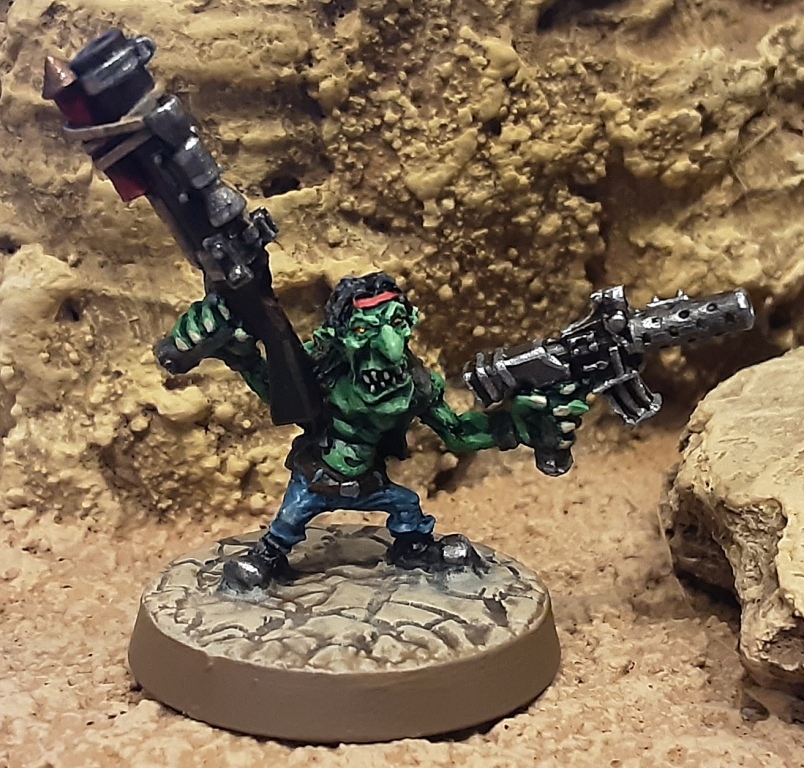
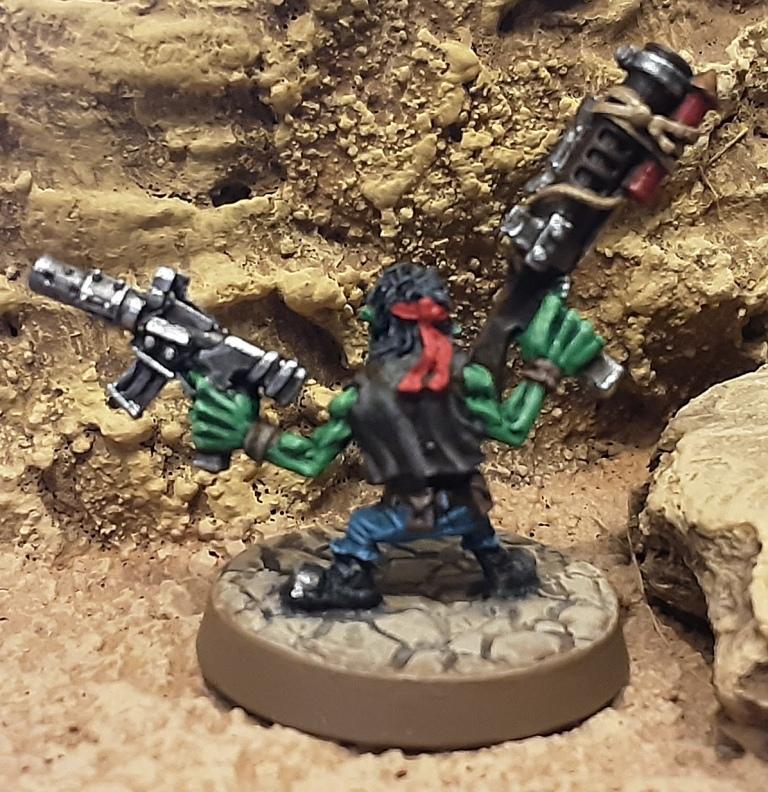
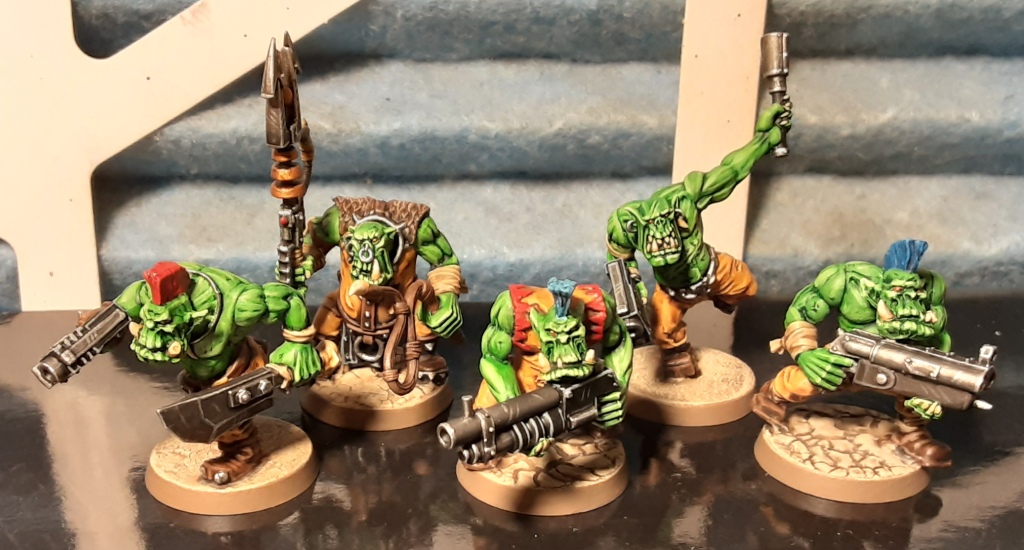
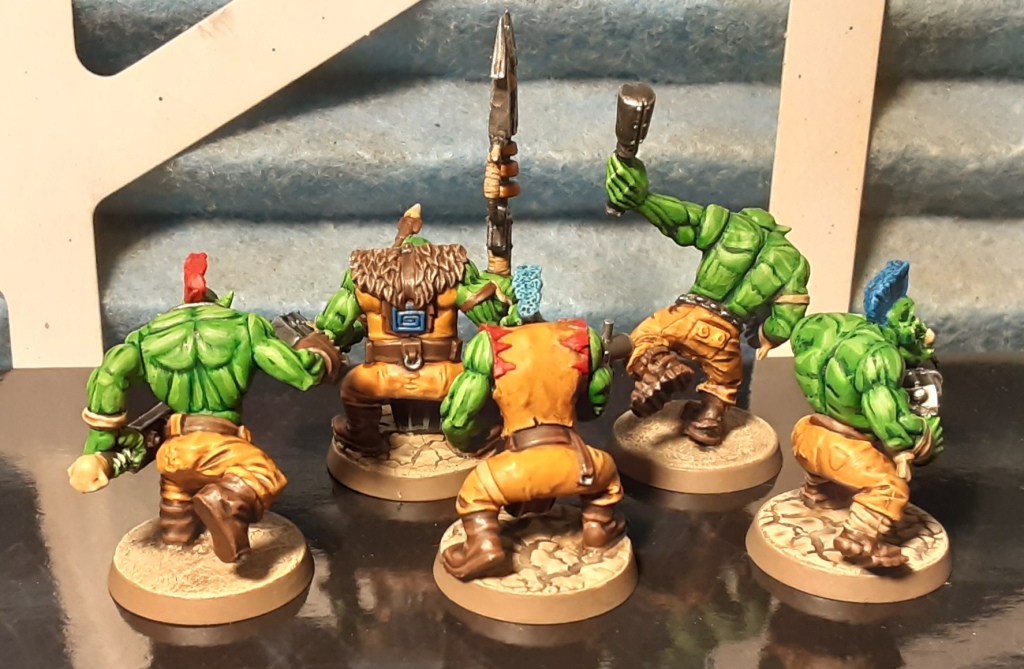
The last boys from the hood
We are closing in on Orktober. These are my last boys for this project. 11 grots, the tank for the war rig are left and 4 terrain pieces. But these could be finished in the orktober. Before we go on buddy vacation and will play gorkamorka.
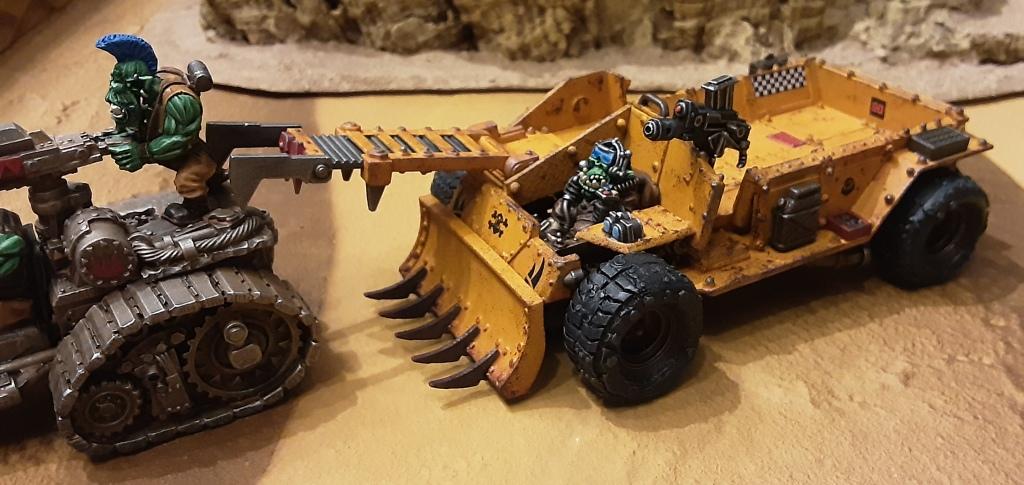
 Llyods view.
Bonus Round part 2
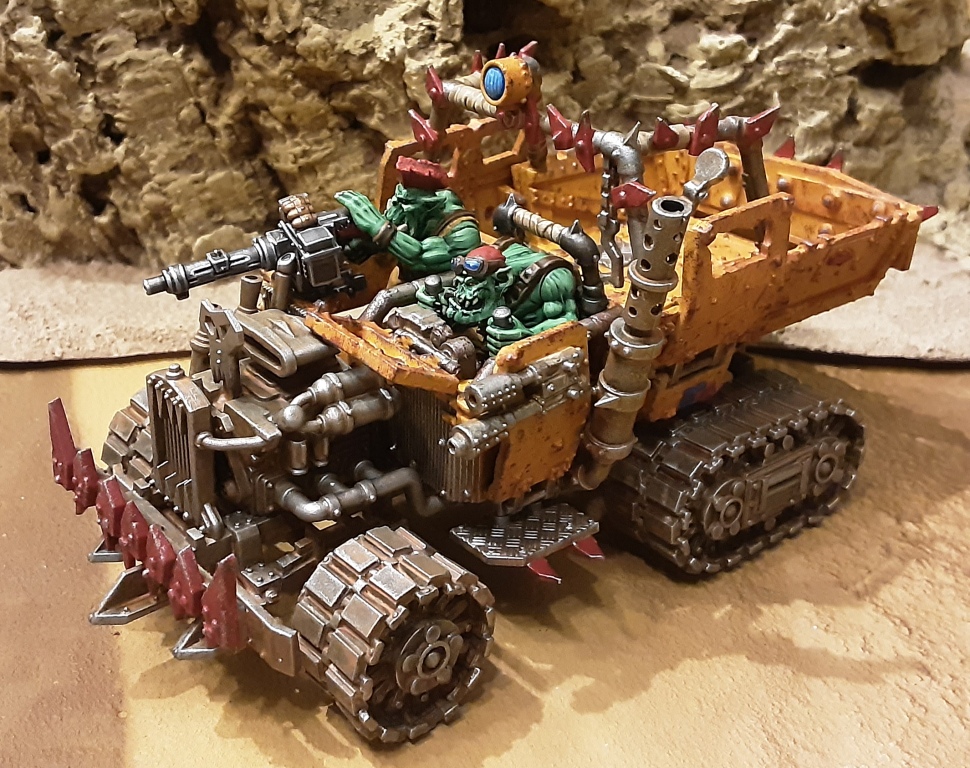
Here the step-by-step guide how i painted the truck:
I started with a base-coat of leadbelcher, then a coat of nuln oil, and dry-brushed with ironbreaker.
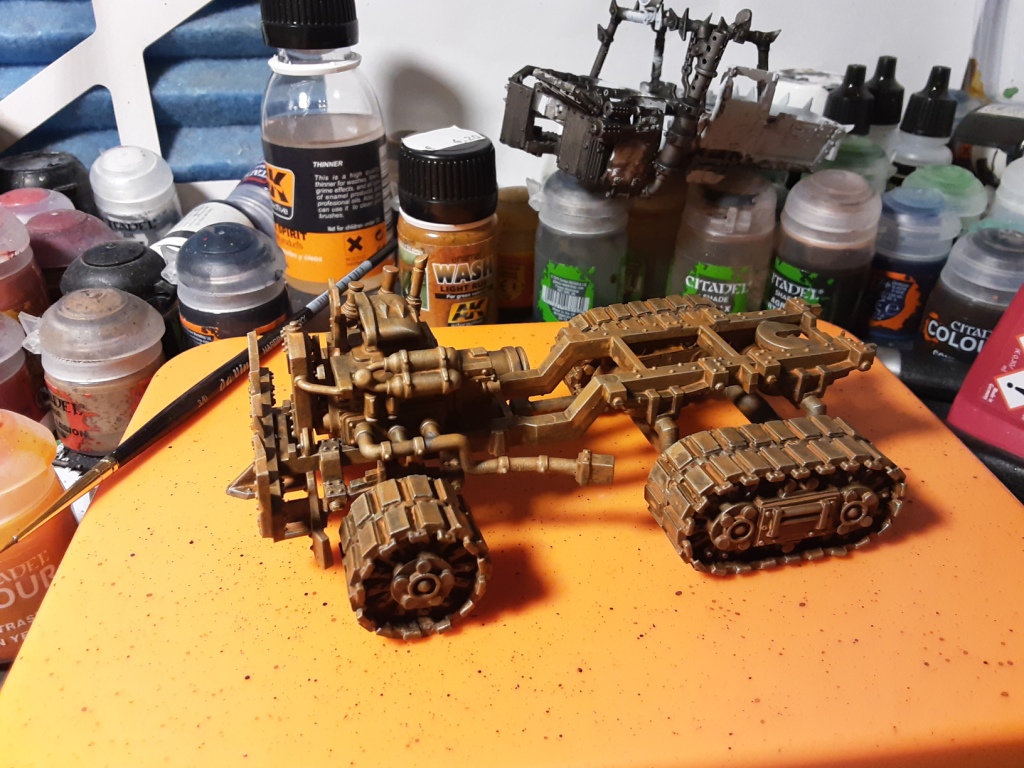 Over this AK interactive light rust enamel wash (use glooves). When dried, i use the AK white spirit to wash this. The rust will flow in the corners and a light patina will remain. When the result is sticky, i use vallejo premium matt varnish for this.
 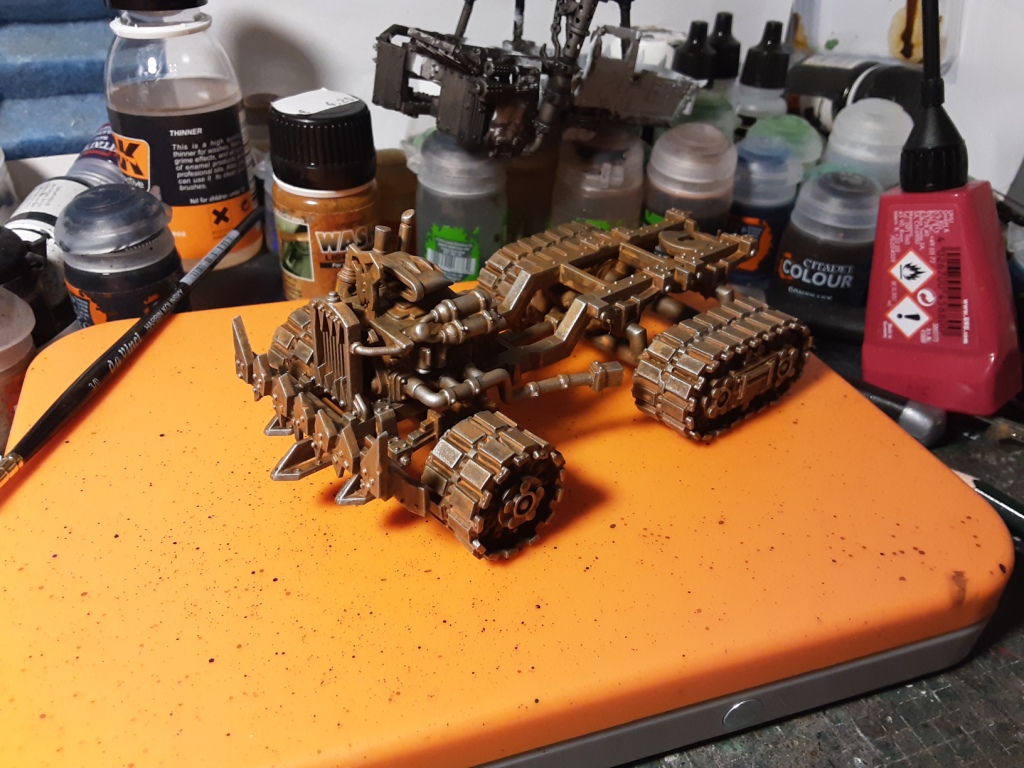 When dried, i drybrush the this very lightly with a ironbreaker.
  Same for the top part.
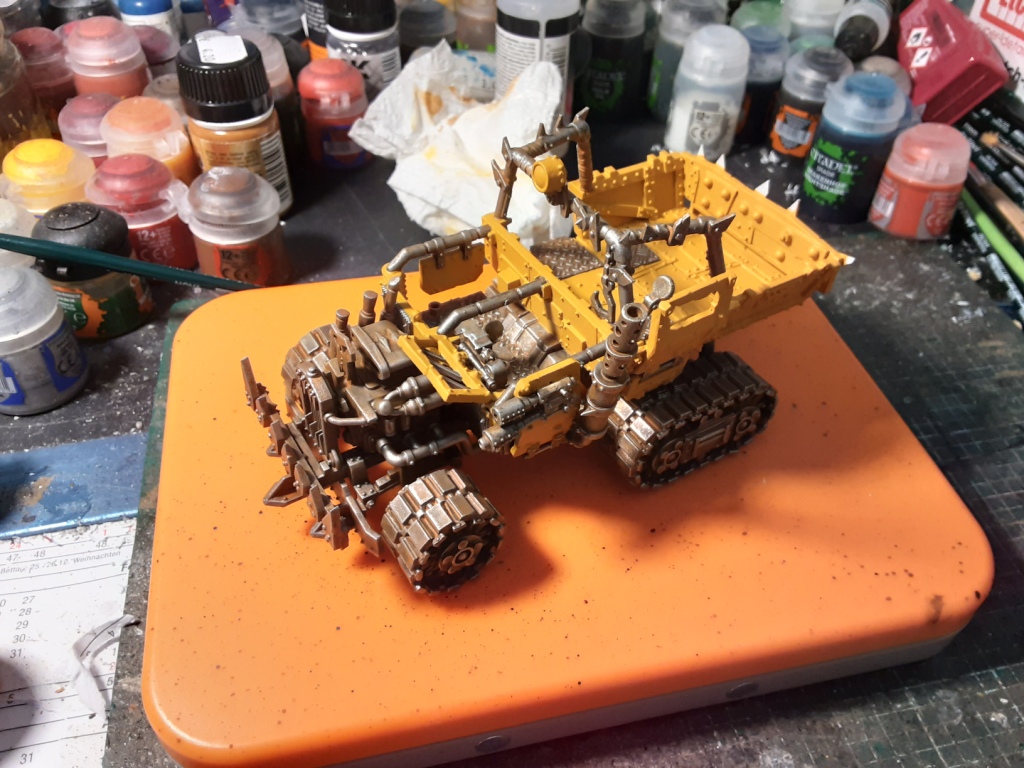 I painted then the other parts of the top part with averland sunset.
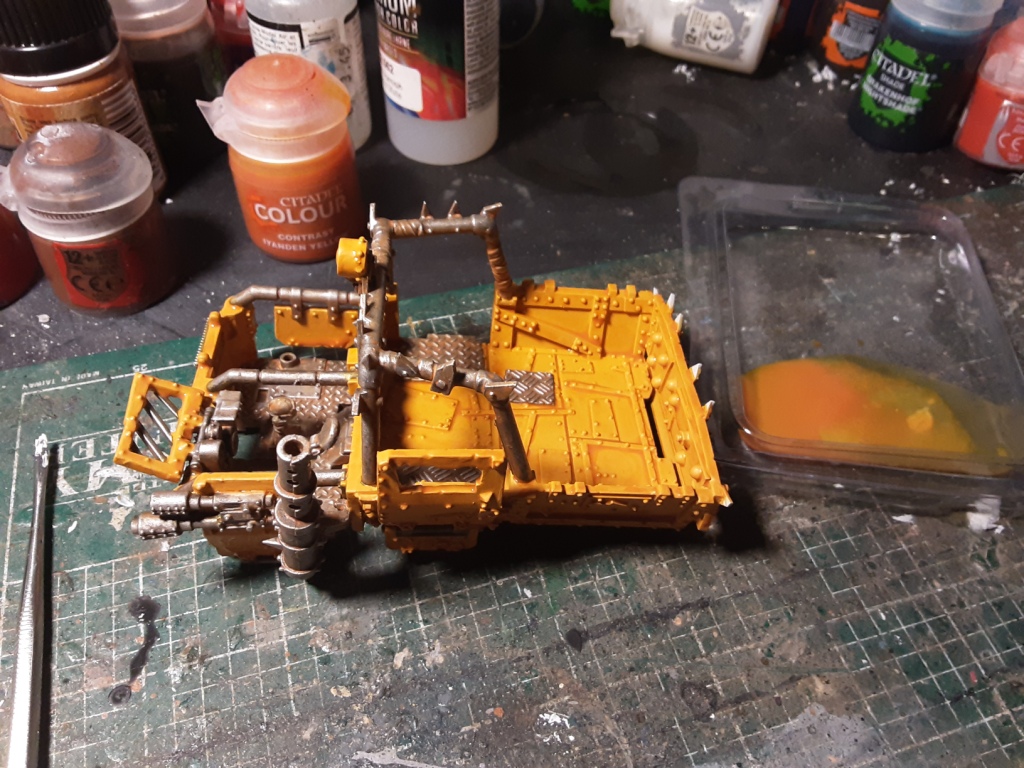 The yellow parts i washed with a thinned contrast Iyanden yellow.
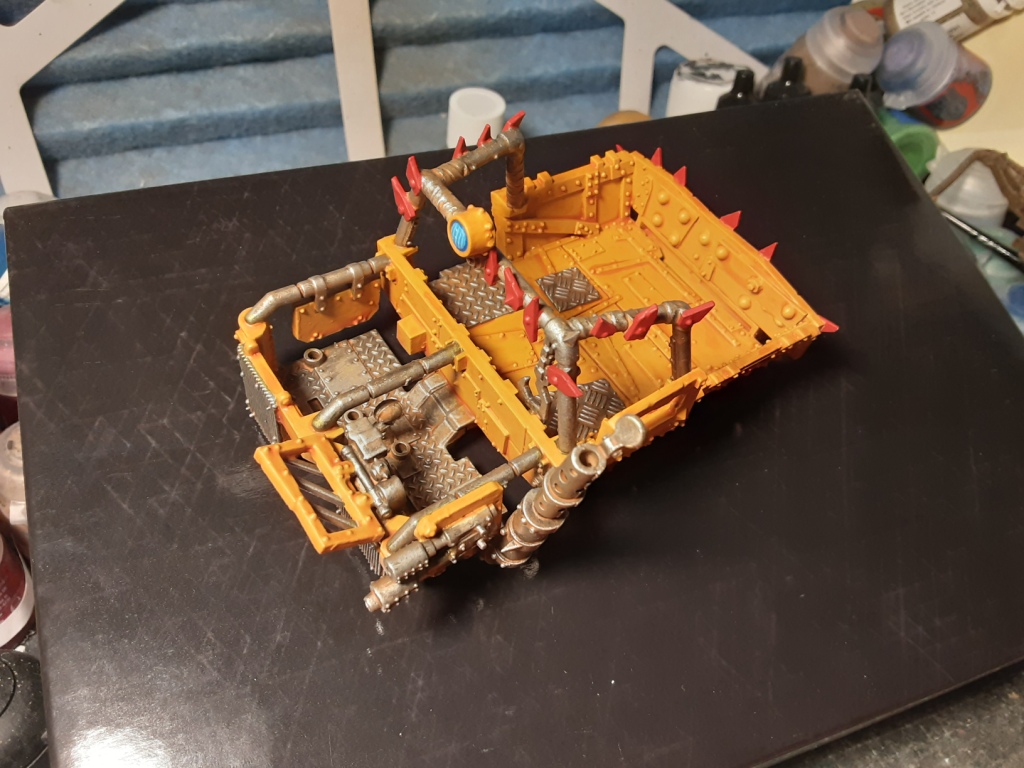 When dried i added more colours like red and blue on some sufaces and when the contrast is shiny, use a matt varnish again.
  Now for the rust. I use a mix of red brown as a basis and used a blister foam to apply it on the yellow part. Don't be afraid for the metal part. More is better. Apply especially on the raised surfaces. Then ironbreaker metal, but concentrate more on the edges..
 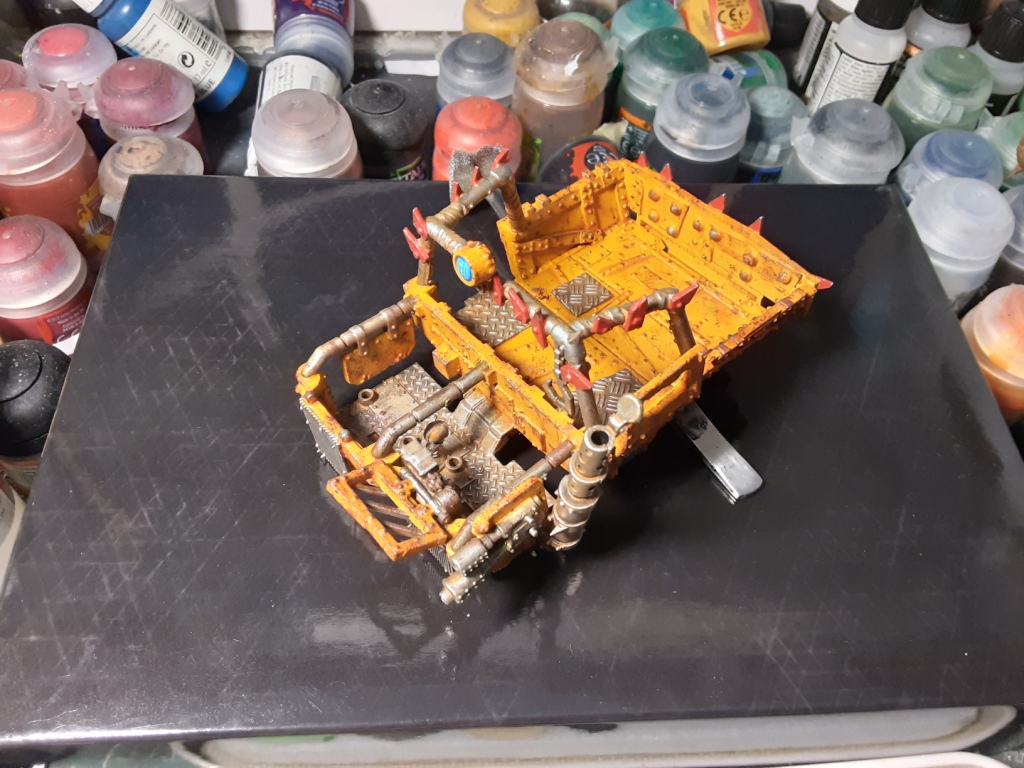 Done. Now added more details.
 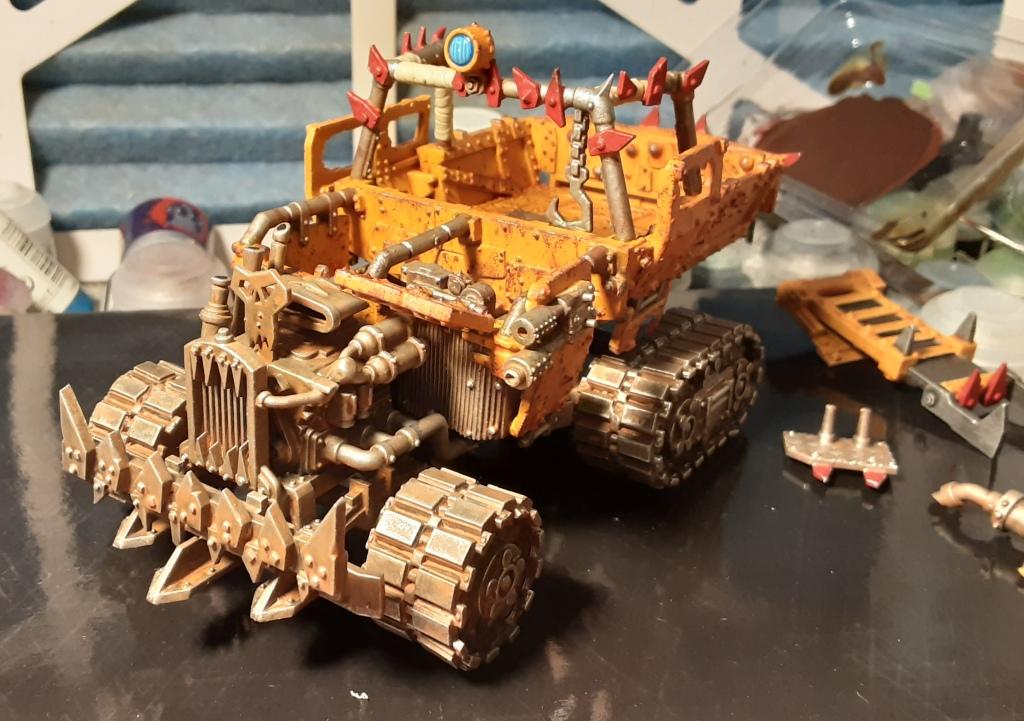 Then i glued the lower and top part together. The driver and gunner were painted separatly.
Bonus Round part 1
We are closing on the finish line of this project.
Added some gubbins to my pikk-up:

And the truck for my war rig:
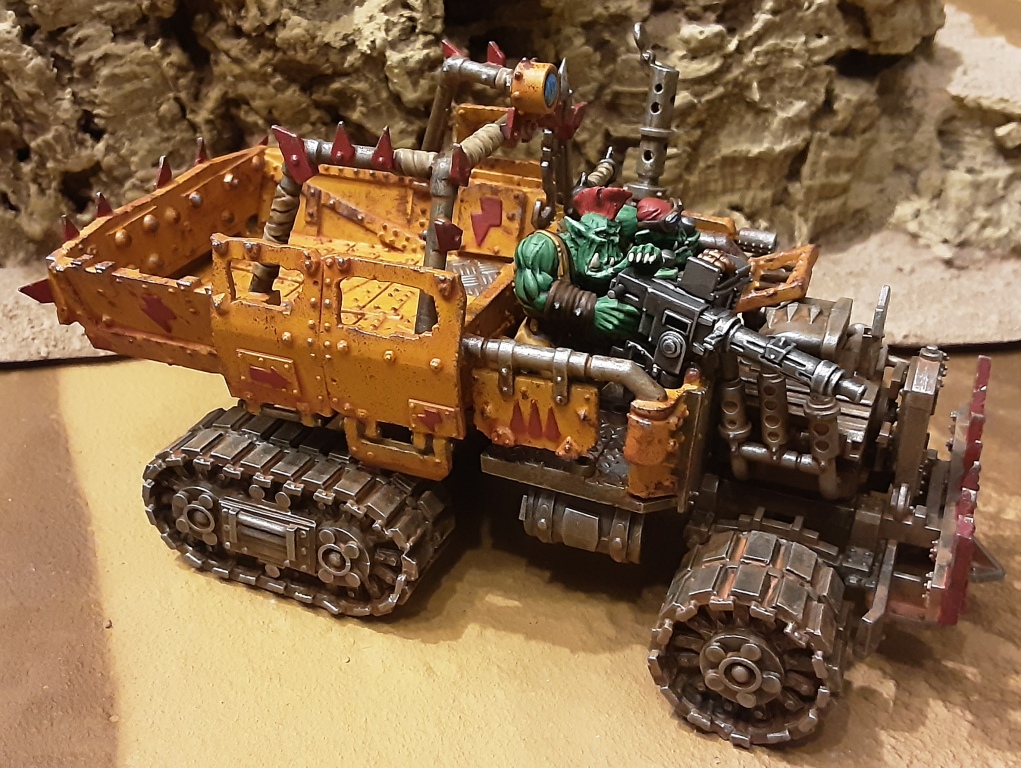
 Top view
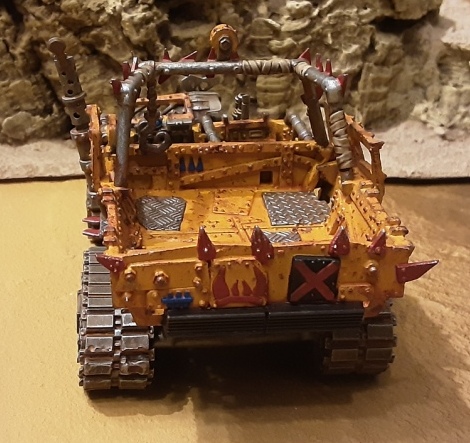 Lloyds view
Next entry will be a step-by-step guide.


