Getting better at NMM
Recommendations: 108
About the Project
Trying to get better at NMM. I don't have infinite funds for models so going to be 3D printing models to do this with. This will be an ongoing project taking each model in turn. Hopefully showing progress each time.
Related Genre: General
This Project is Active
Its been a while
Still on my quest.
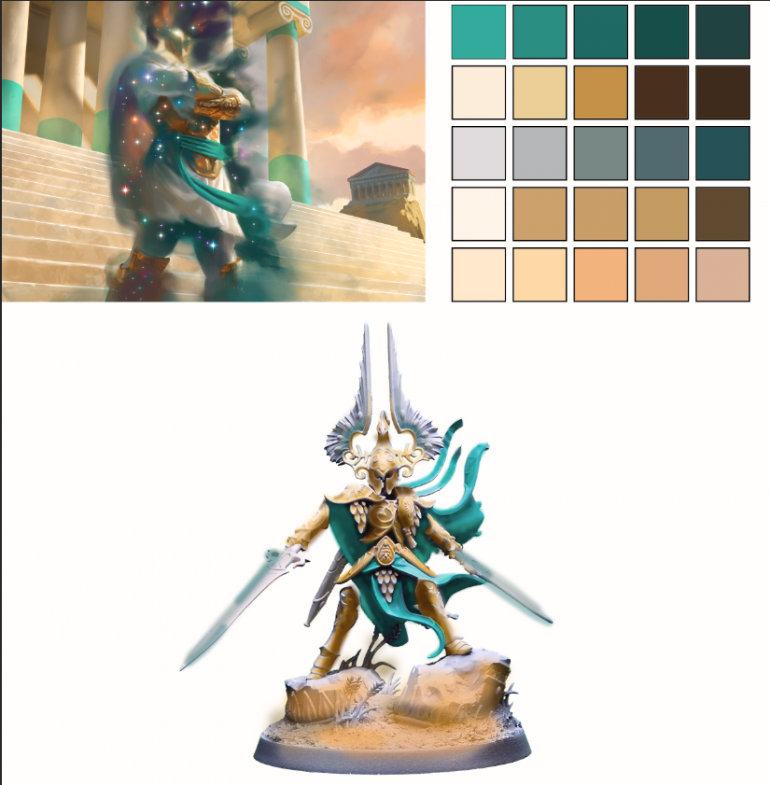
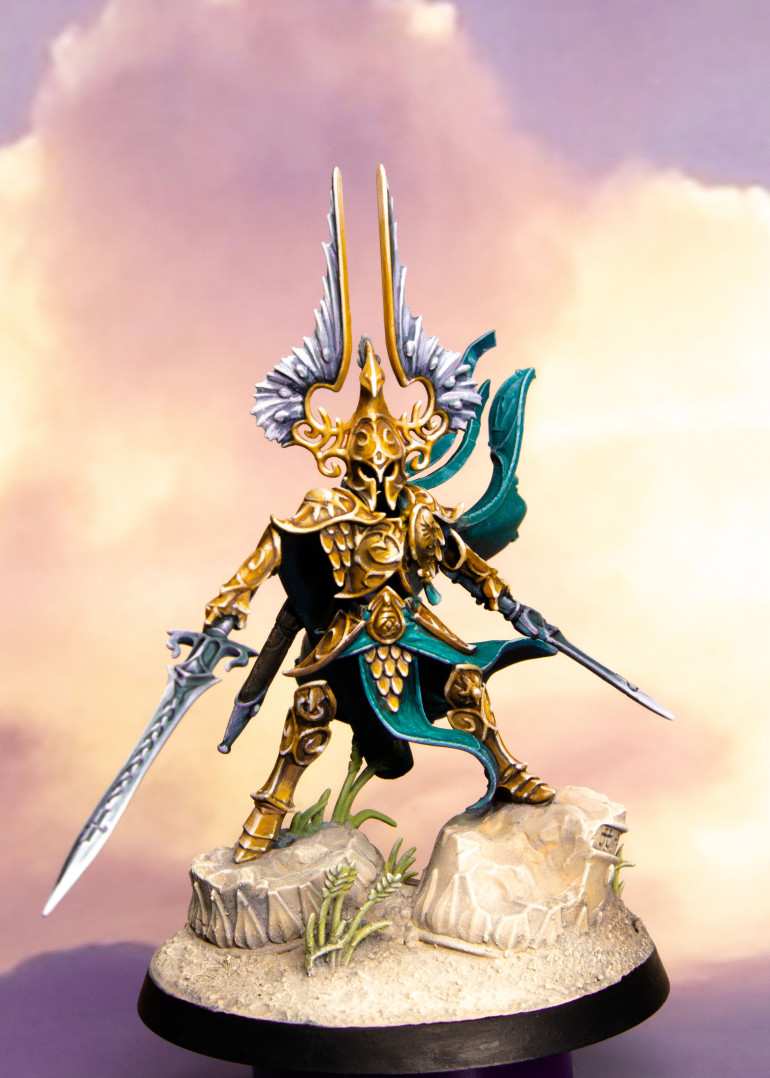
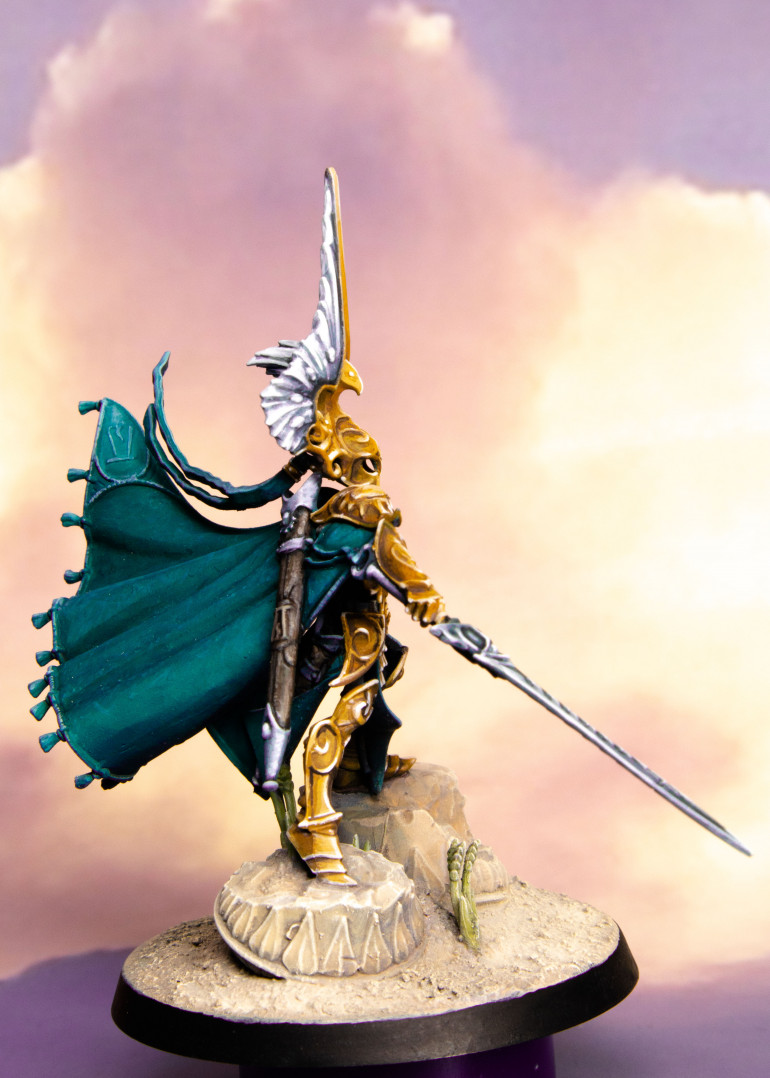
Done a commission for a friend. He chose the concept and approved the colours after I put forward two choices.
So, the quest continues.
I think I need to focus on getting the lite before the NMM.
Still pleased, but still a long road.
finishing up the first model.
If you are viewing this project it may be best to view with oldest entries last. You can do this by clicking here or on the left bar.
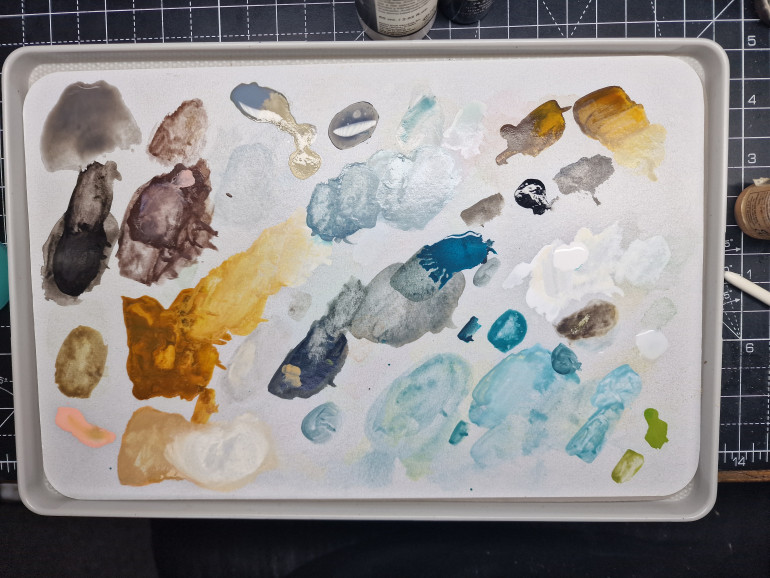
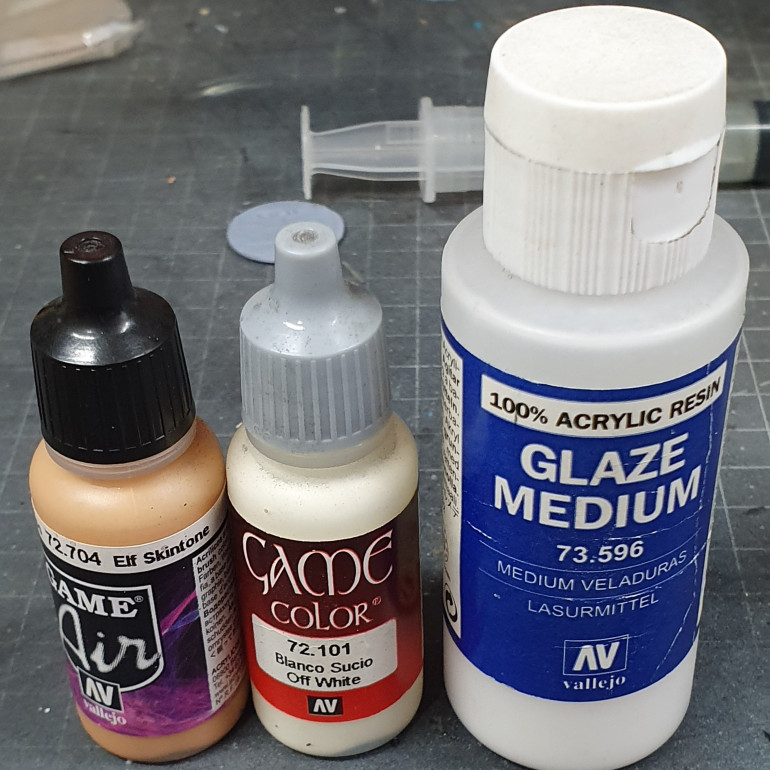
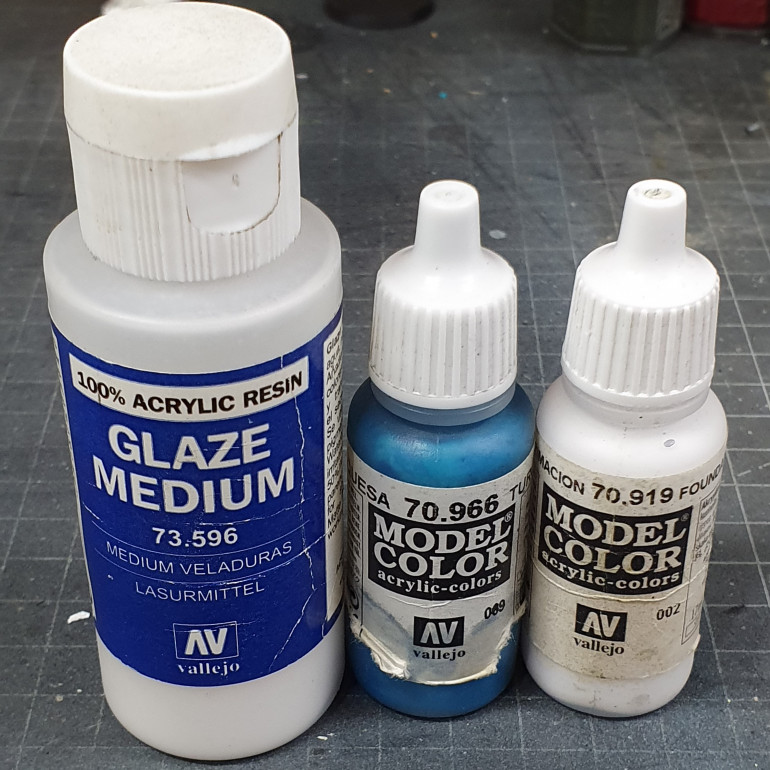
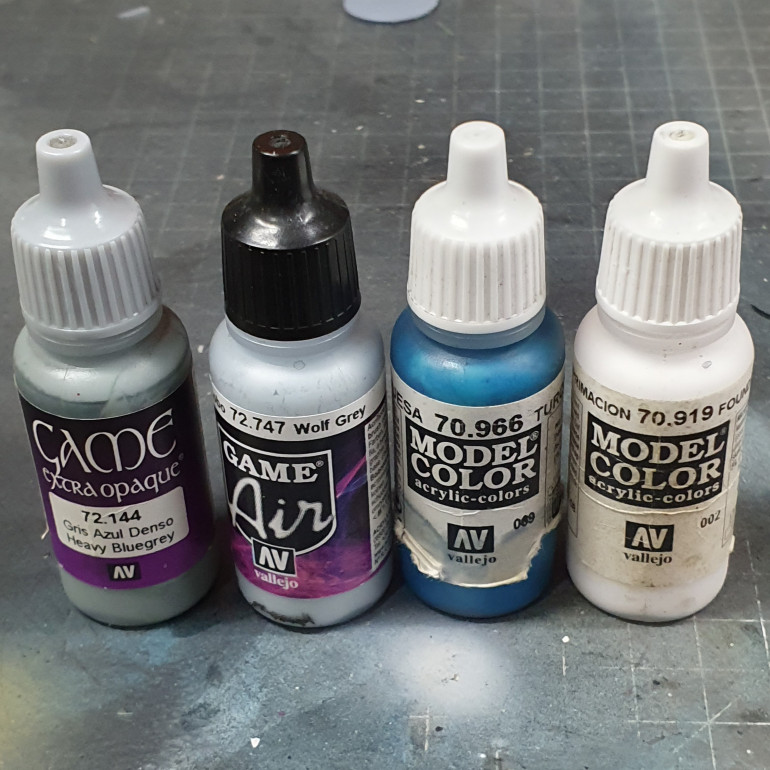
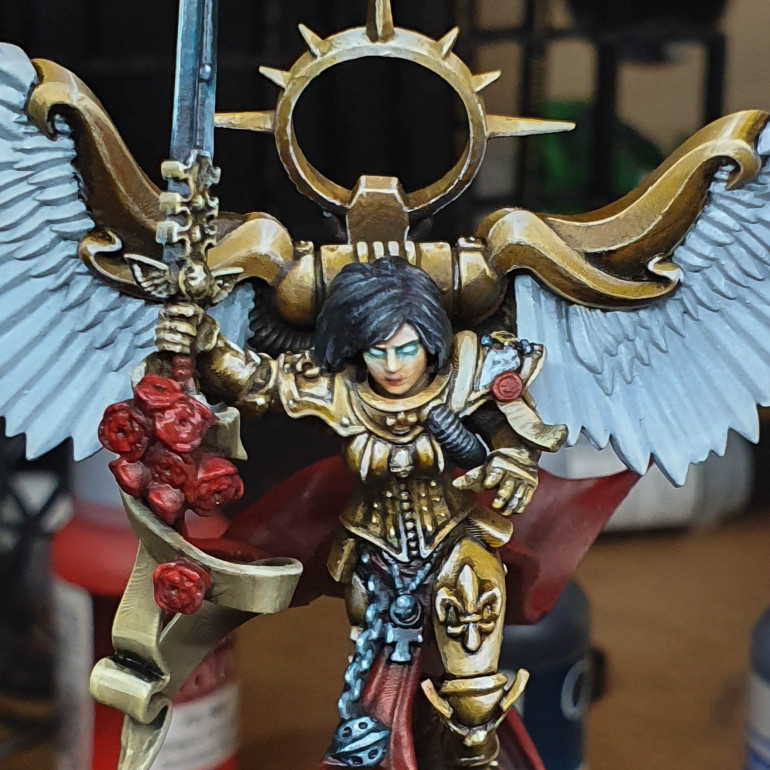 I kept the face simple I painted this very light at my second highest highlight which was a lot of white mixed with the base flesh colour. I then used glaze medium and the flesh colour on it's own to shade. Finished with a final highlight. For the eyes I used glaze medium and turquoise and done a few layers and painted the eyes white to obtain a glowing effect.
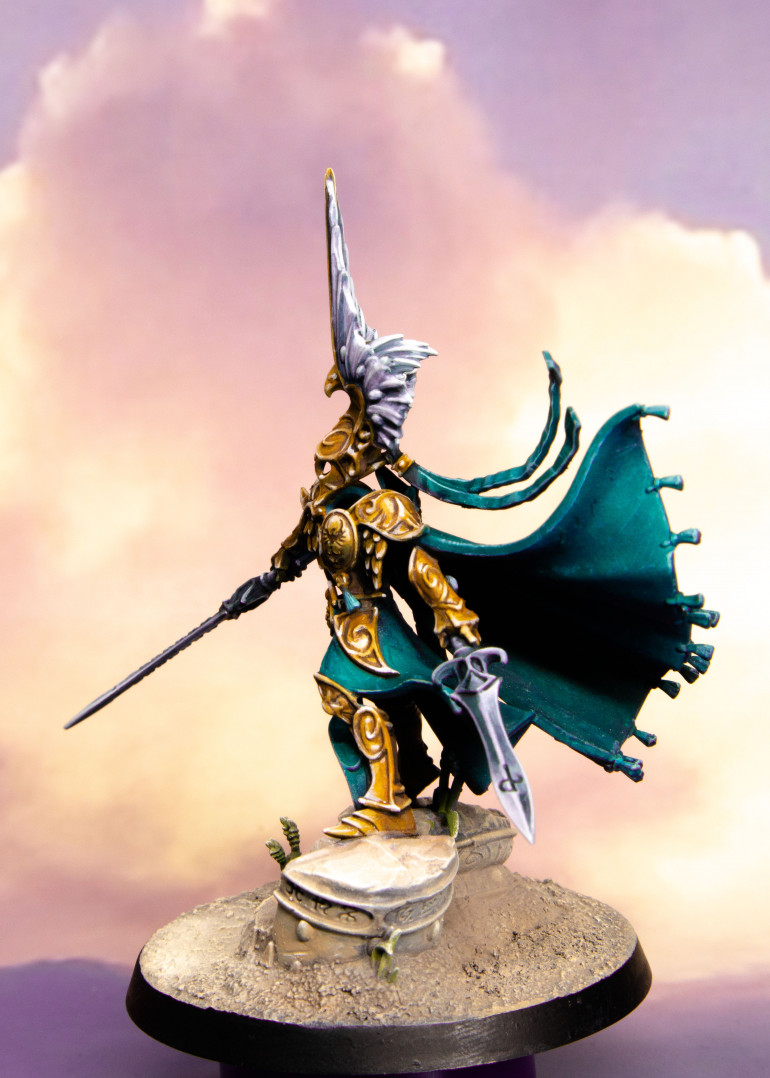
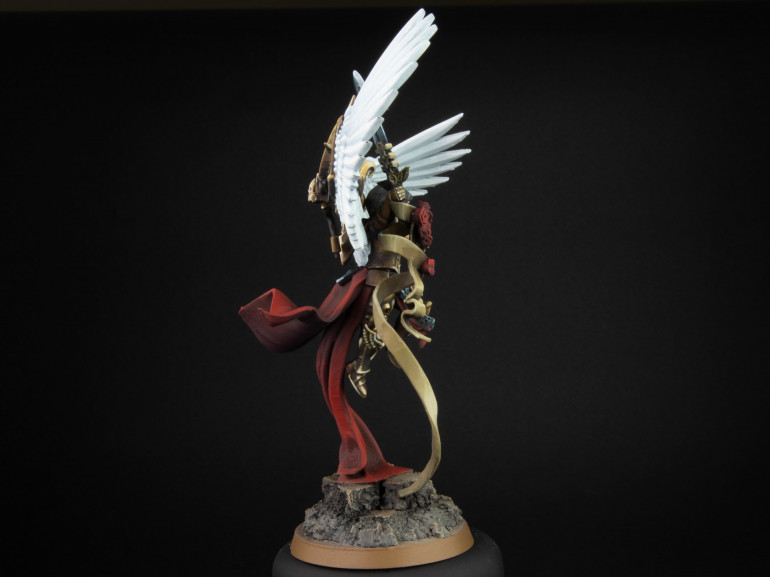
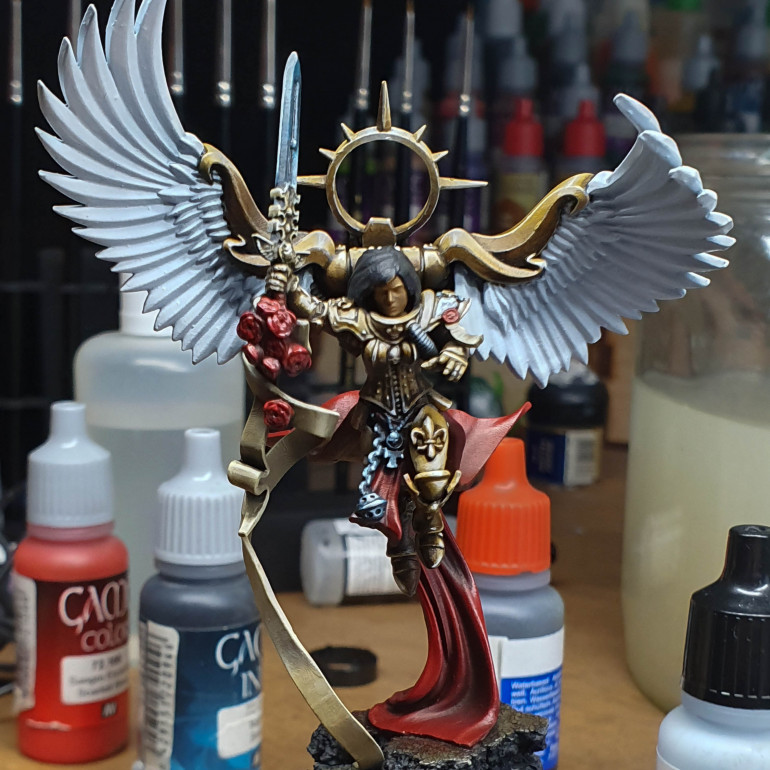
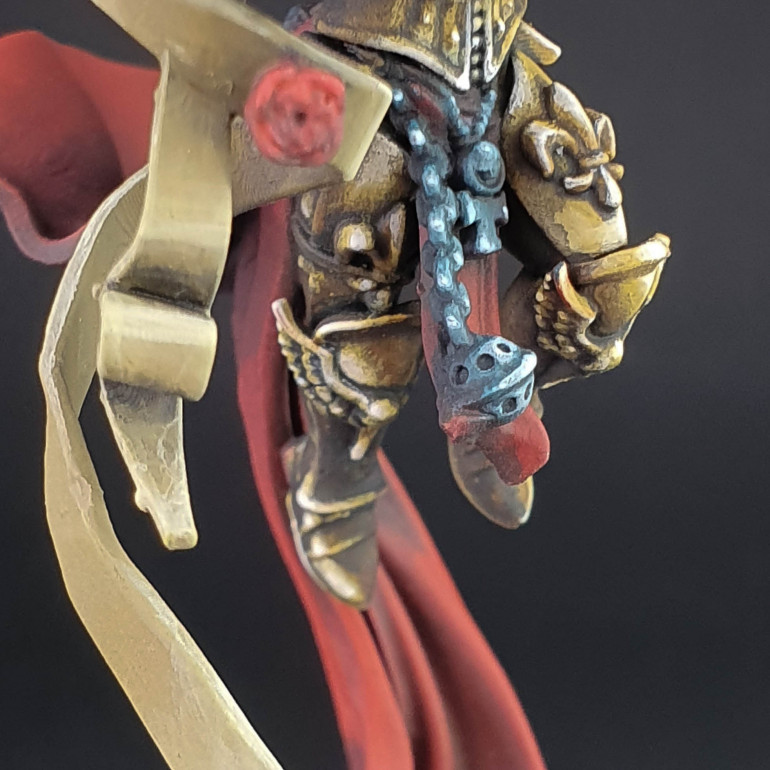 This is the past of the model I like the most. I think I should have painted the entire model like the back leg to make it pop more.
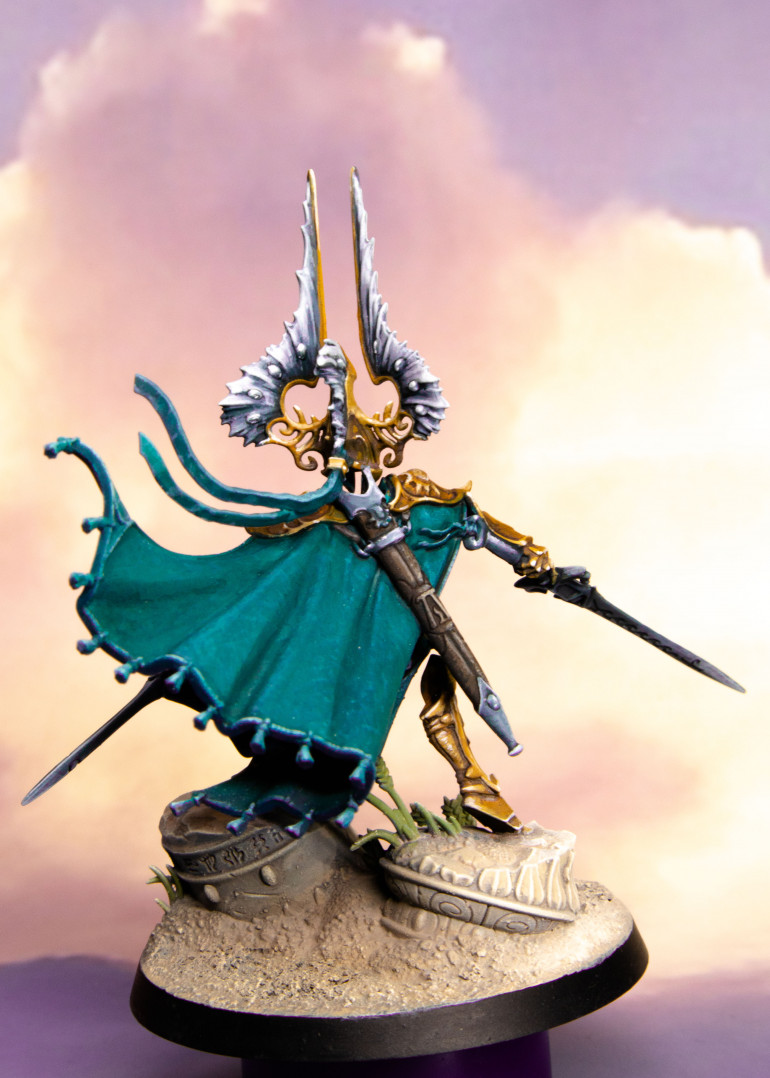
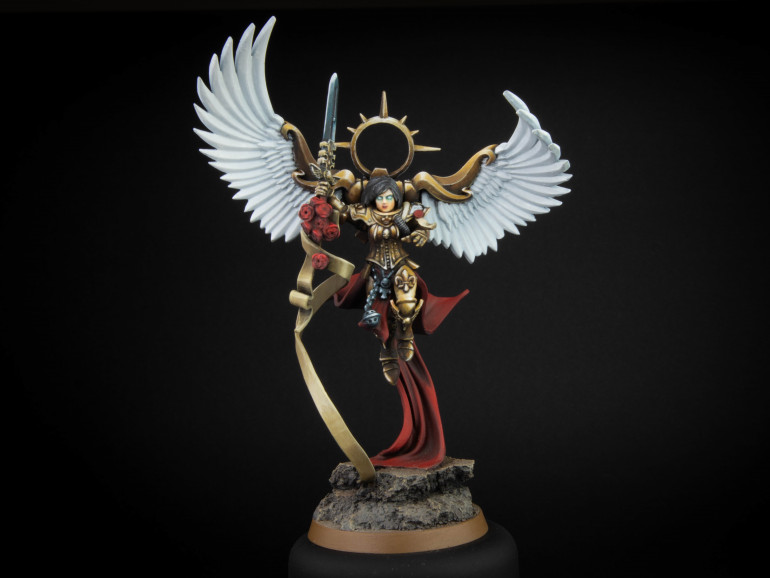
 So that’s it done. This is not the first NMM that I have done on a model. However this is the first main part of the model all done in NMM.
It’s hard thing to learn and it’s slow. I would give myself about a 4/10 from where I want to be (10 and it’s not the best painter in the world 10).
I have watched number of videos and read on the subject. I think it’s a learned artistic skill however, no offence to any of the source materials I have consulted but they are all pretty poor and just describe the process of putting paint on the model and not the thought behind it or how to apply what they are saying to any model.
This is why I started this project. I don’t think I will ever get to 10. I cant see a path from where I am now to improve other than just keep painting and hope each model I do gets better. Or an in person tutorage but I think to get the best out of that you need to be amazing at painting in the first place and just want to explore other peoples techniques.
Things I may do differently on NMM gold. Use more colours e.g. purple in the recesses. This may give variation. I think I may go overall darker and not push all highlights to white. I may also try and use dots rather than strokes with the brush. I think that’s a start of something to change to get better.
This is not the end. I am on the hunt for another model. It might not be gold but it will be NMM and my aim will be to get a 5/10
Getting a bit more done.
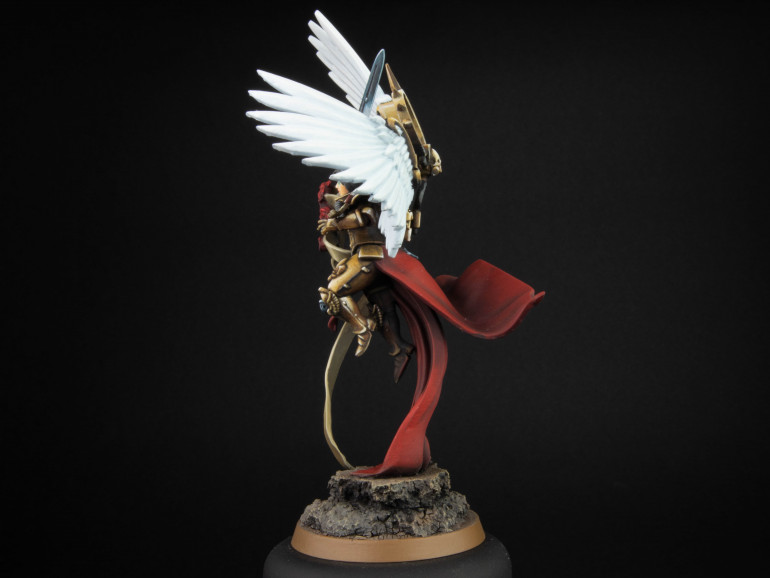
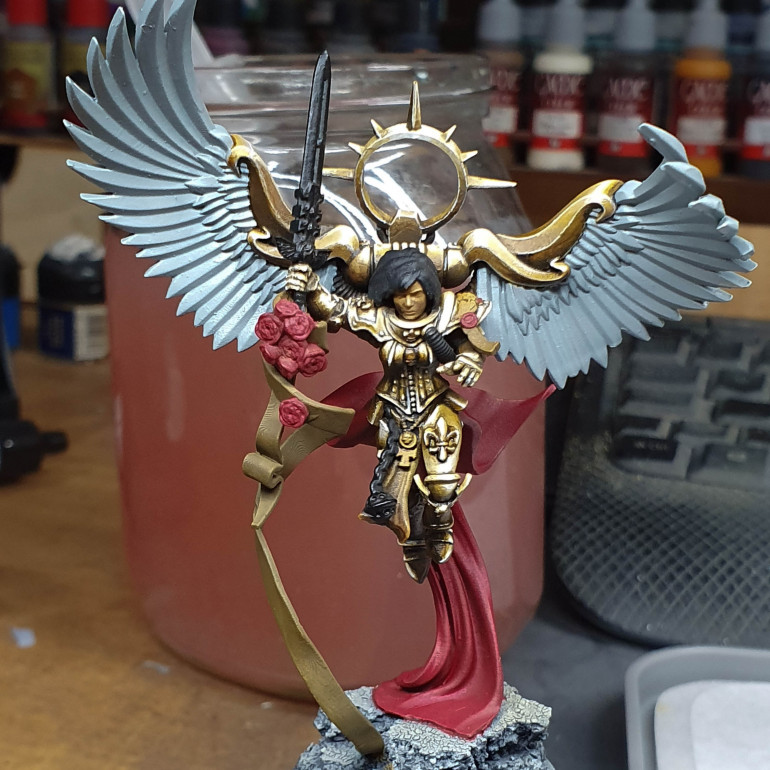
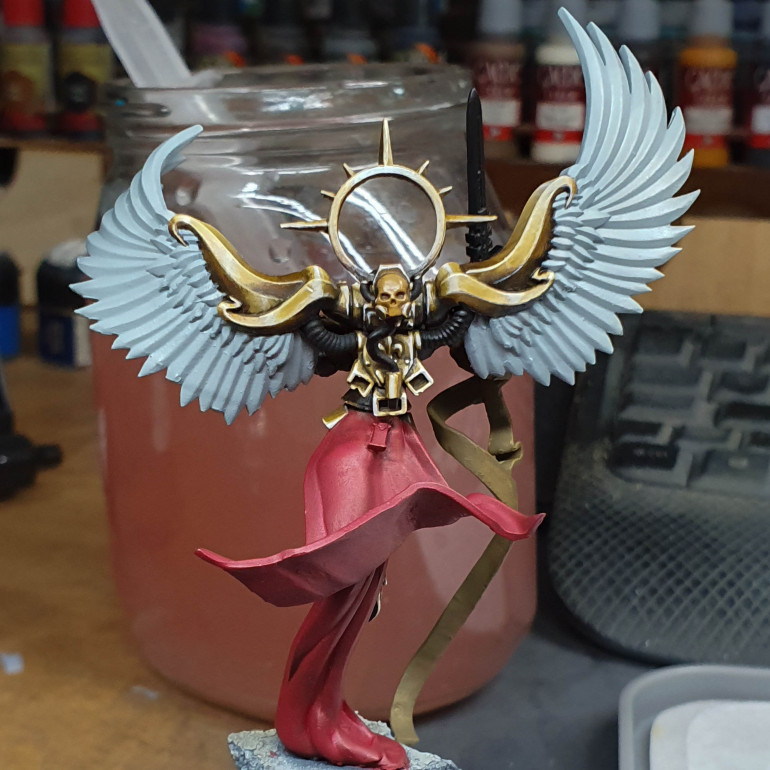
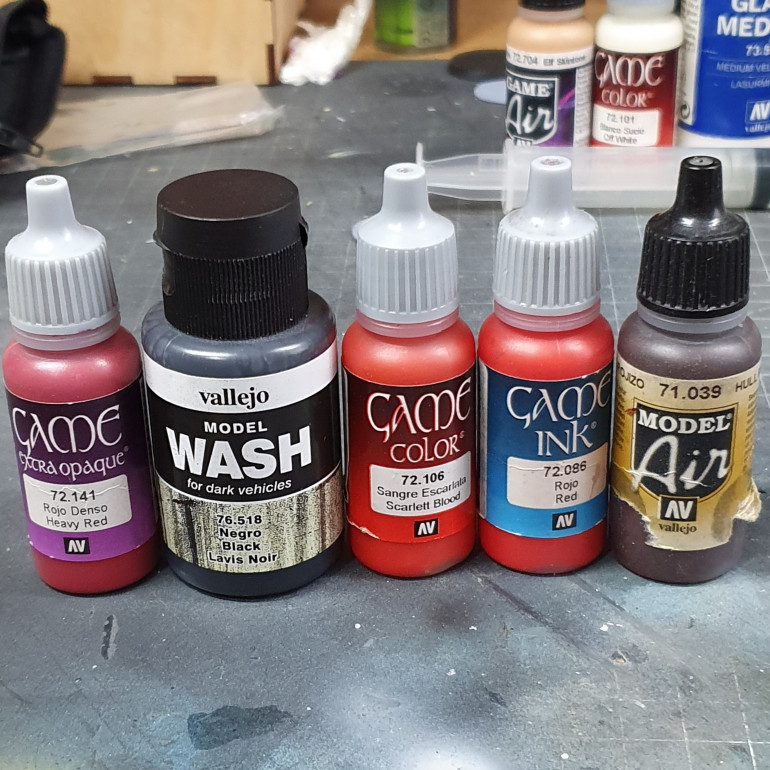
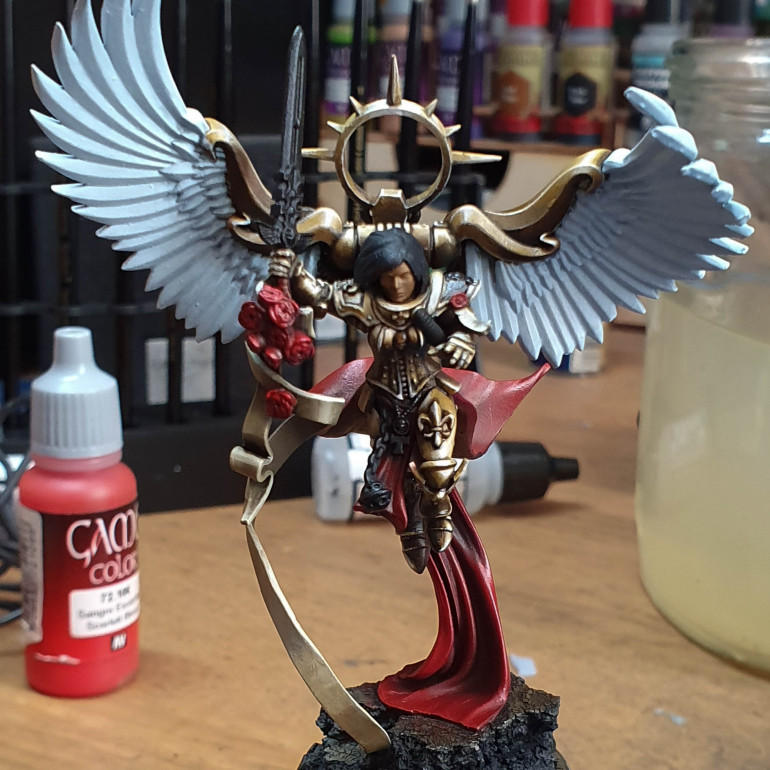
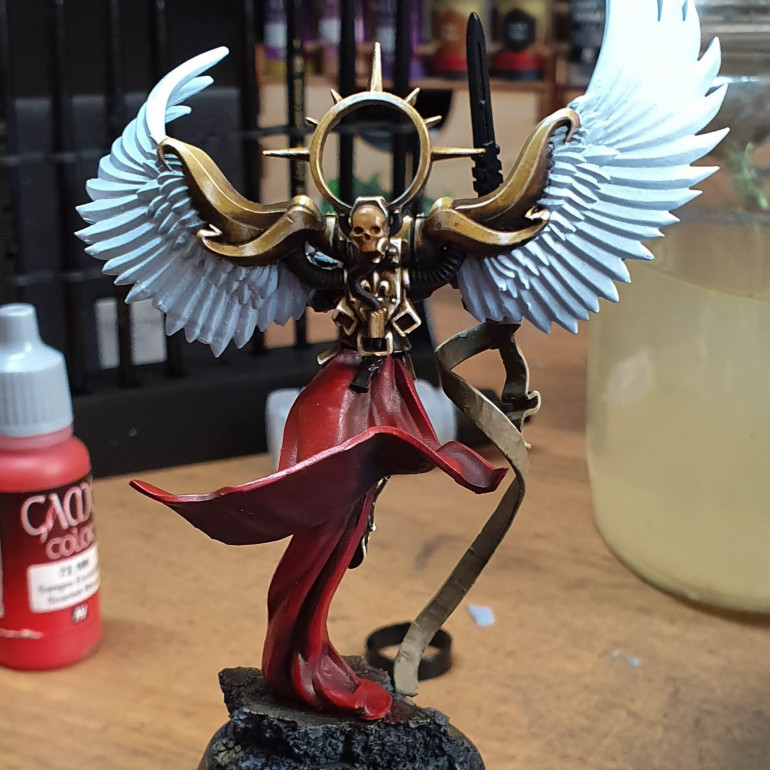
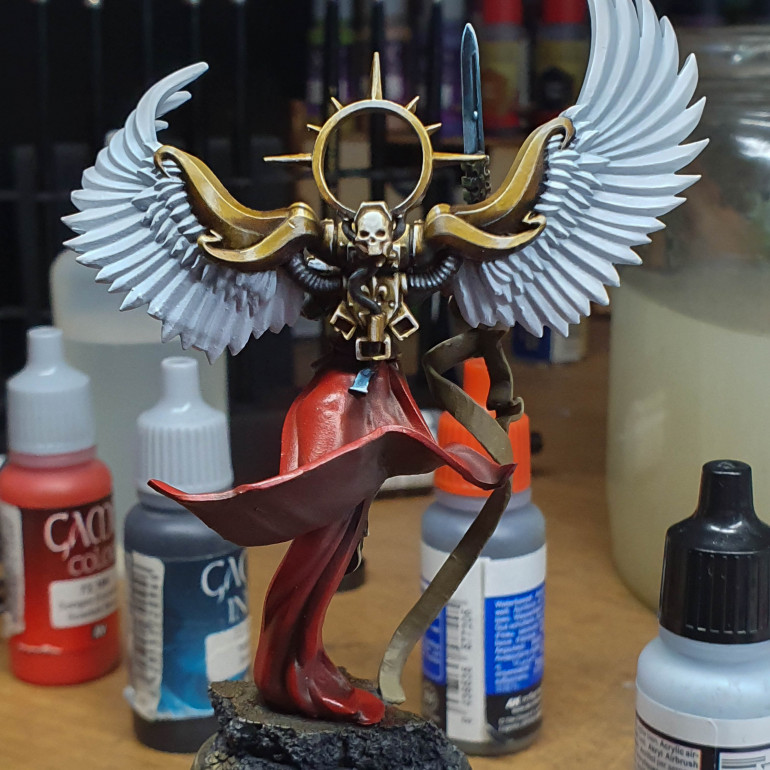
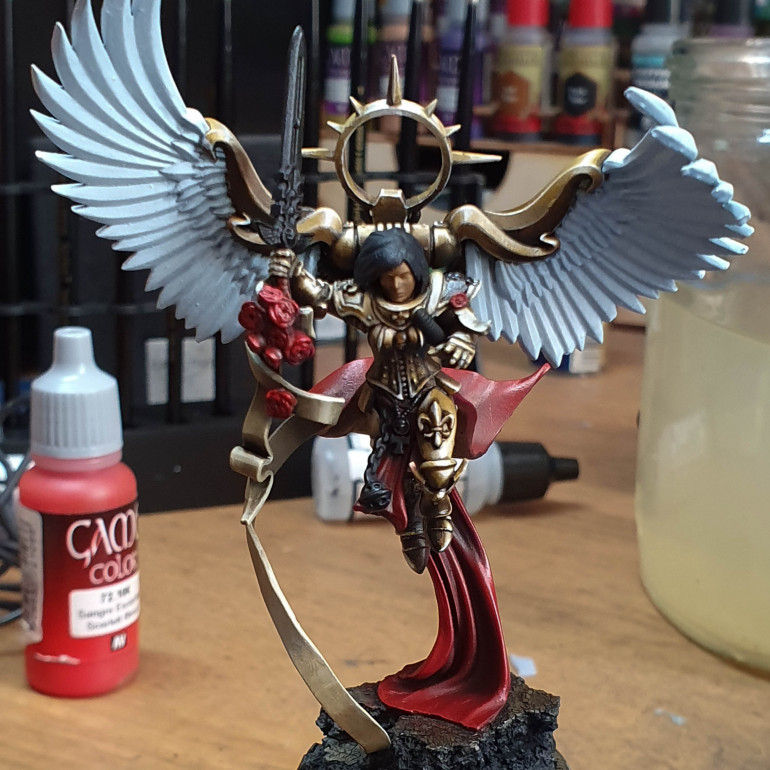 Don't know what happened to my camera here. I painted the cape I started with the base heavy red. Went in with hull red to shade then went over everything in black wash. after this went in with red then for the highlights red ink. This left it quite shiny.
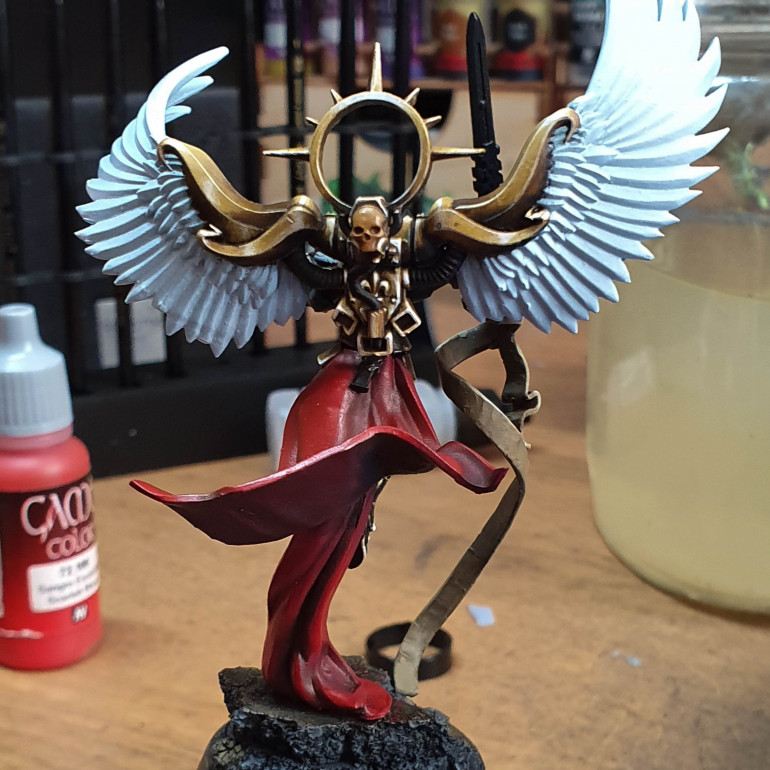 You can see the shine better here. I think I would have went over again with the normal red or mixed it with matt varnish but as I normally matt coat all my models this doesn't bother me.
 Time to print and get started
I started off by looking for a model to paint. I hopped on Thingiverse and things have improved a lot in terms of selection and quality. Still quite a lot of tat on there though.
I had collected sisters of battle in the past and seen this model, it fit the bill.
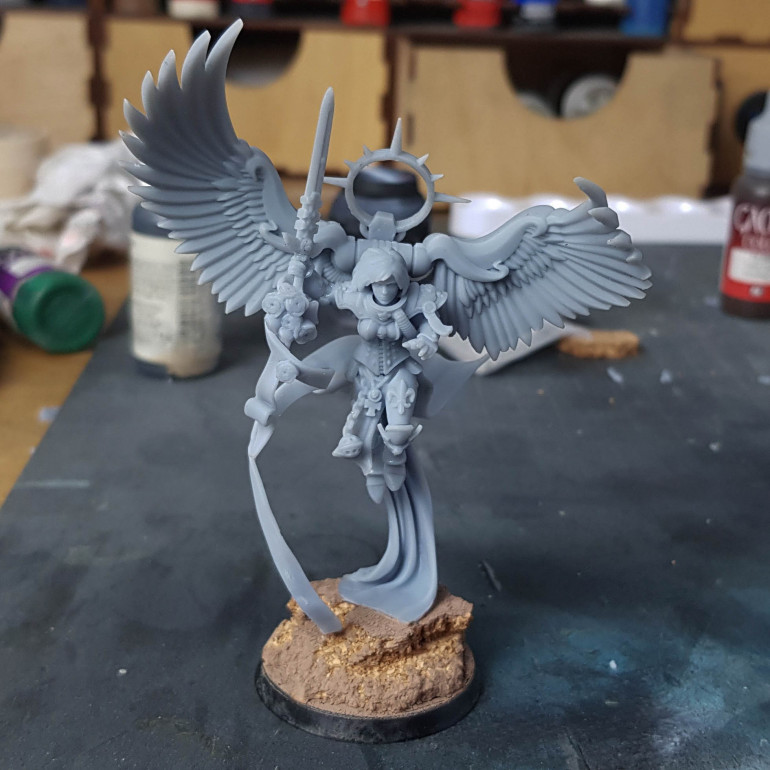
The pose grabbed me and I had to download it. This wouldn’t only help with my NMM but may also be useful for female faces which I always make them look quite masculine.
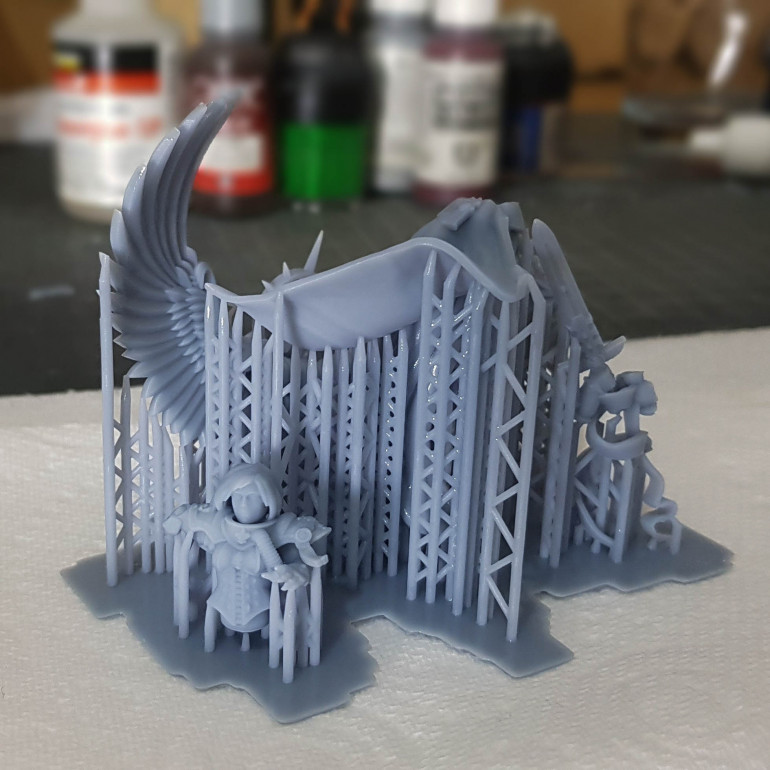
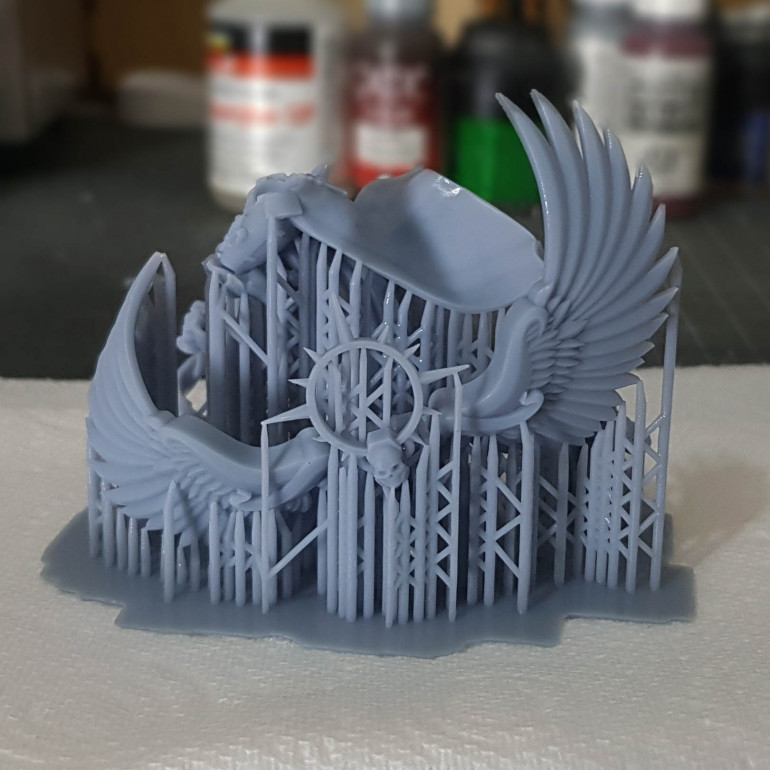
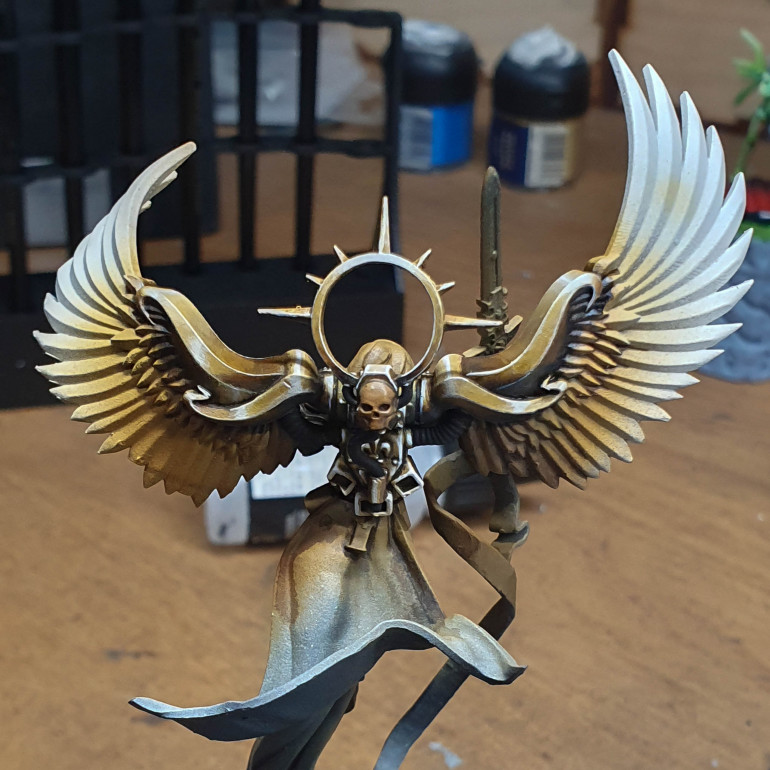
I stuck it into my slicer and did a very quick auto support and a few additions. A few hours later I had a model.
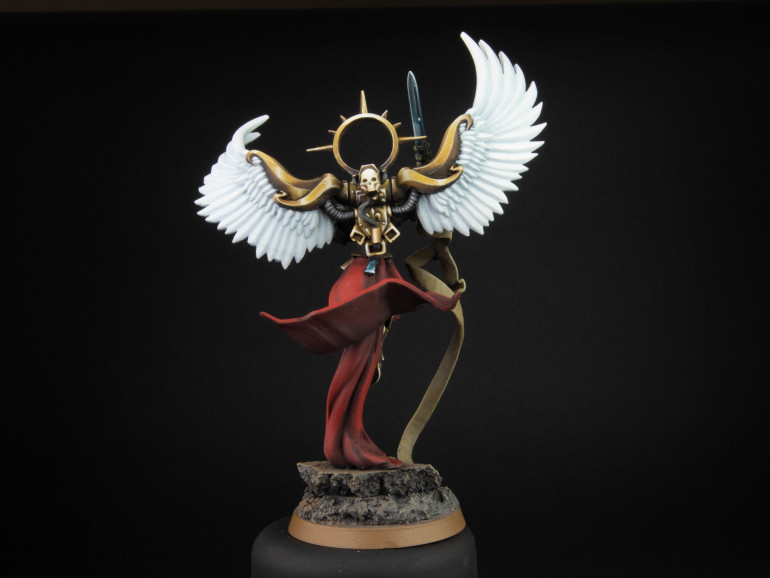
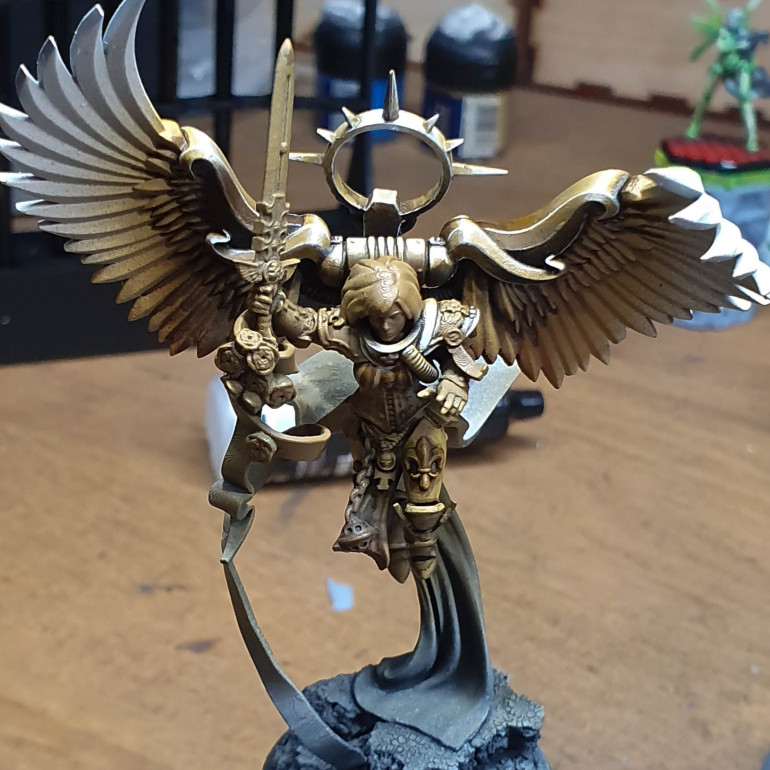
This printed out ok…. a few points of failure though. A part of one of the balls on the back pack didnt print and came out squashed and some of the spikes on the halo didnt print I just evened them off by cutting off the other side.
A few print lines from the angles used If I was going to try for perfection I could have re-printed this. Overall the model is great and is fit for my purpose.
I then printed the longer purity seal sword that came with it. I also didn’t take long enough cleaning this up. Initially I was only going to paint the armour and face.
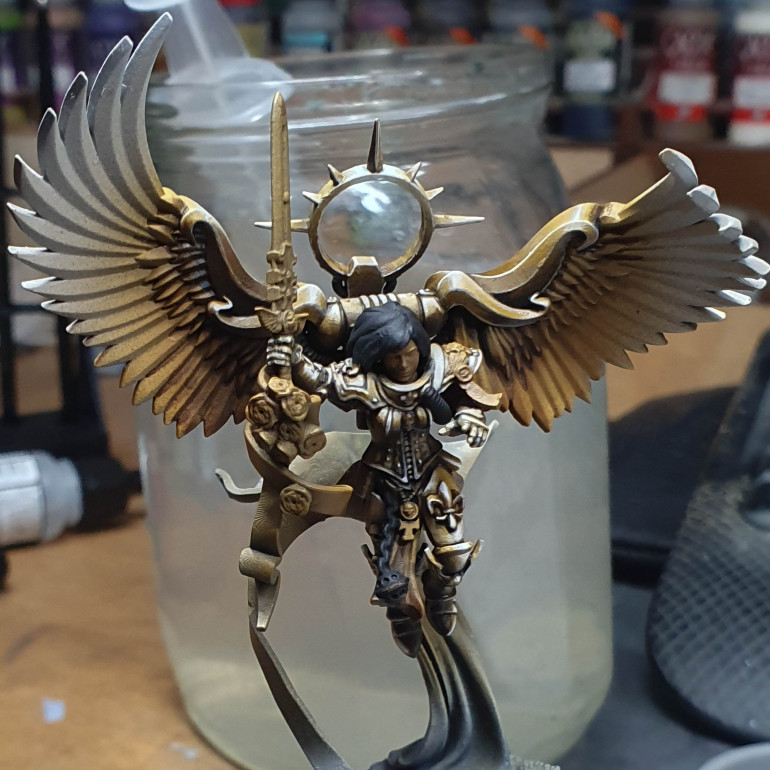
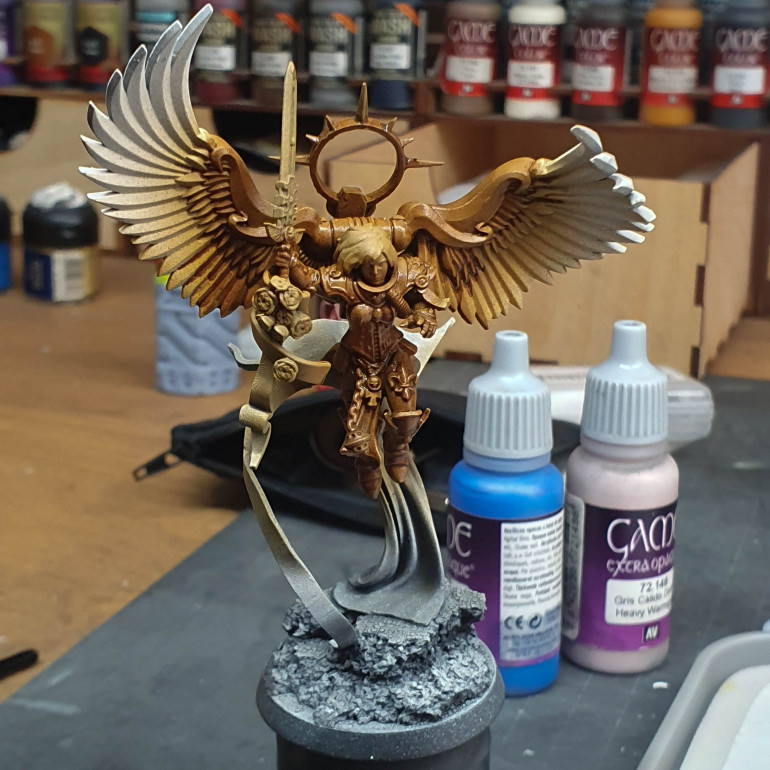
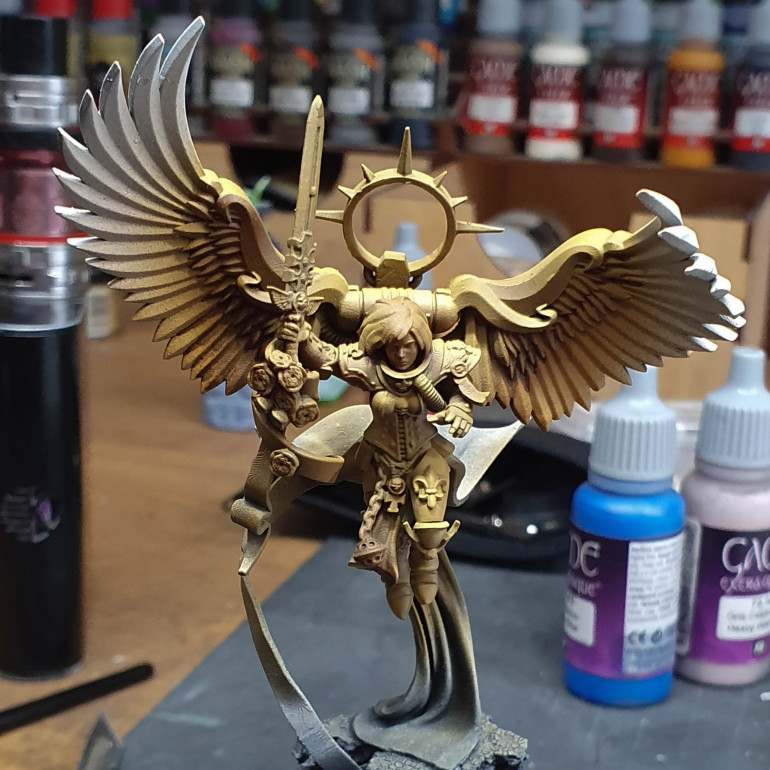 After this I came in with the gold colour and prayed this. I was hoping it was going to magically turn into NMM don't think this was required.
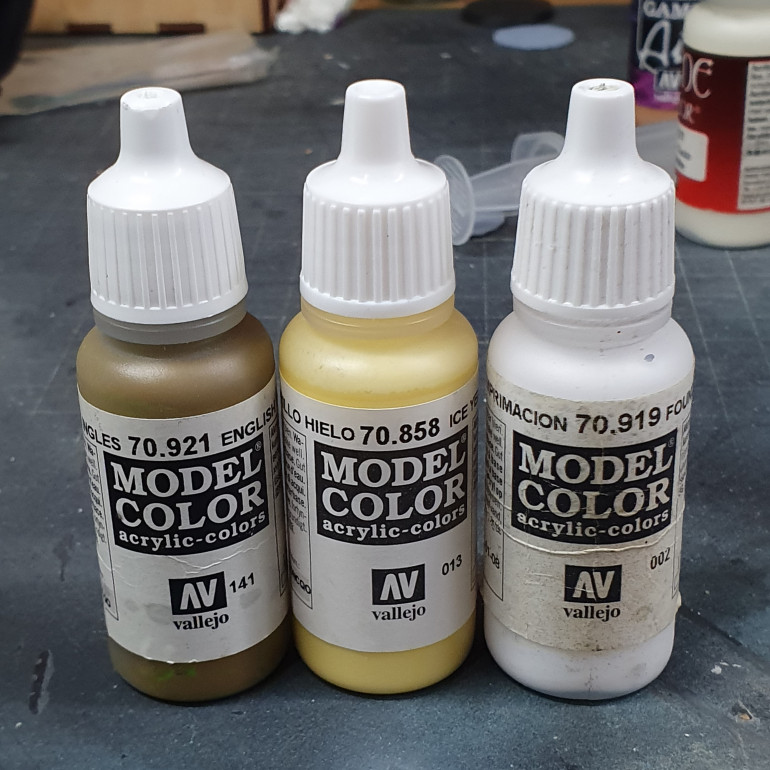
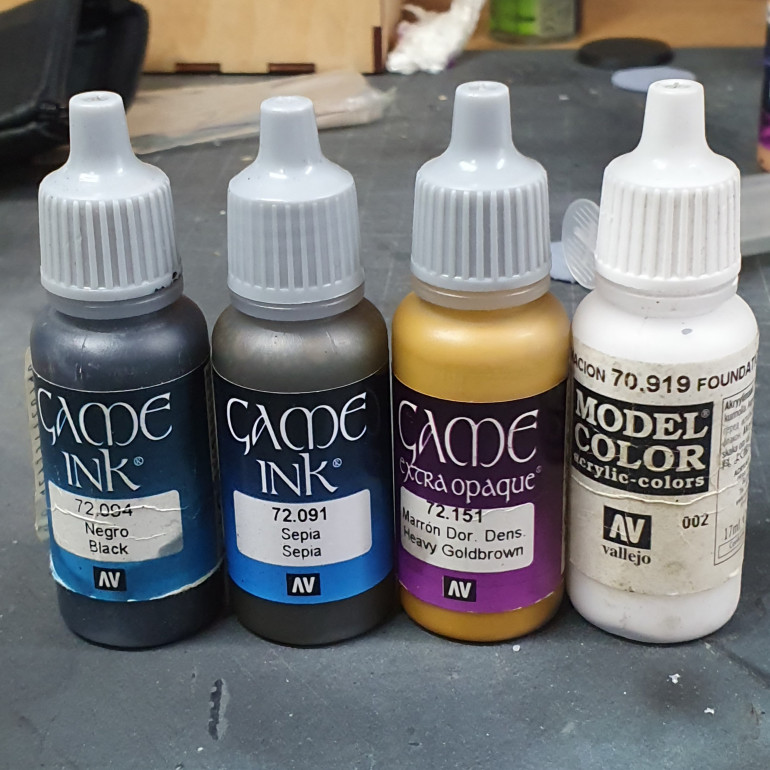
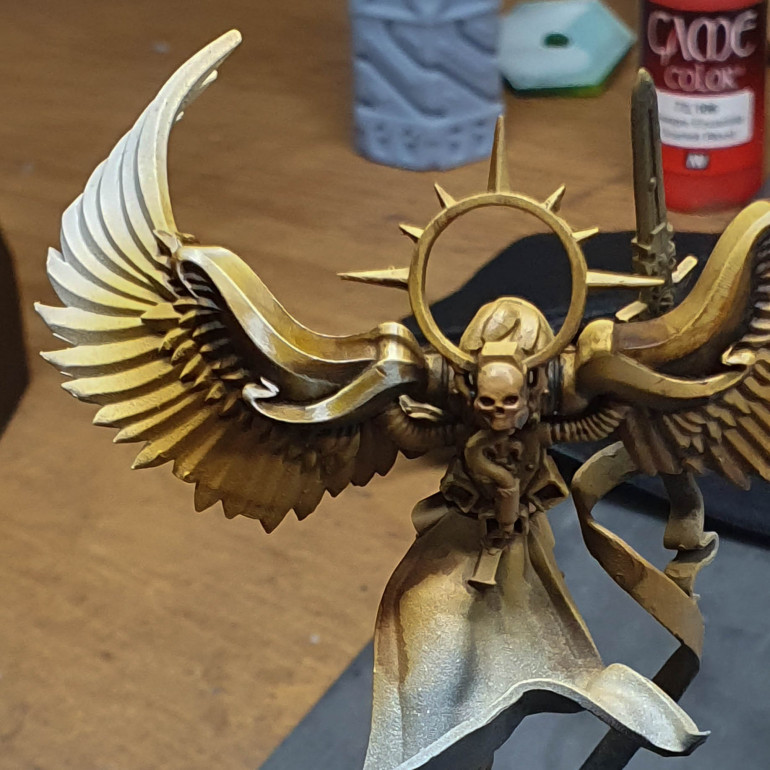 I based the model in gold brown shaded with sepia ink then black and highlighted by adding white to the gold brown I took the first section. I think this is the only real way of doing this. Taking a part at a time then painting this.
 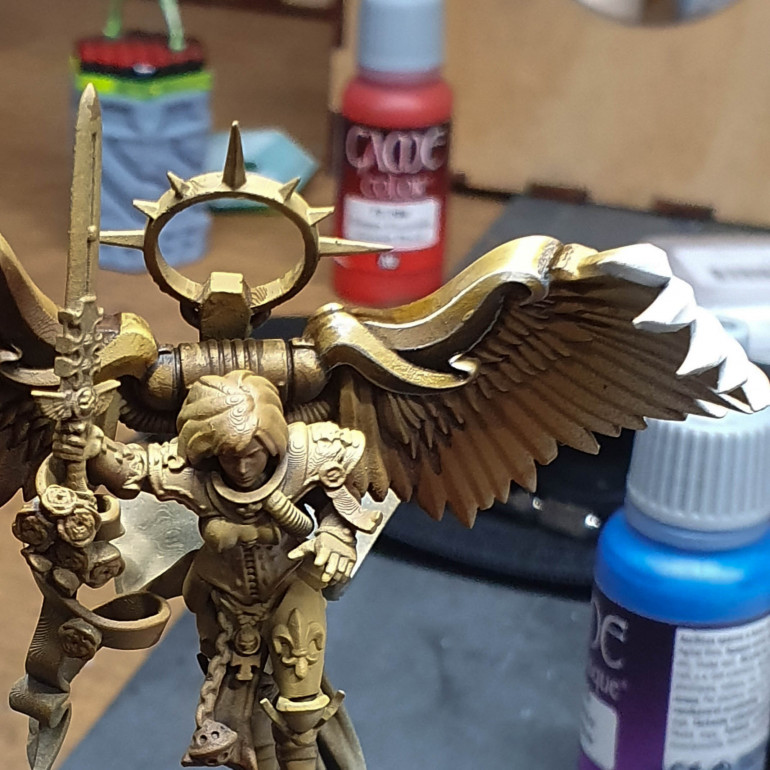 Edge highlighting I think is important I think next time I may shade this as well so it's not as solid all over. You can also see some of the layer lines here.


