KoW dwarf army
Recommendations: 535
About the Project
My challenge to paint up a Mantic Kings of War Dwarf Army
Related Game: Kings of War
Related Company: Mantic Games
Related Genre: Fantasy
This Project is Active
Oh MoMy
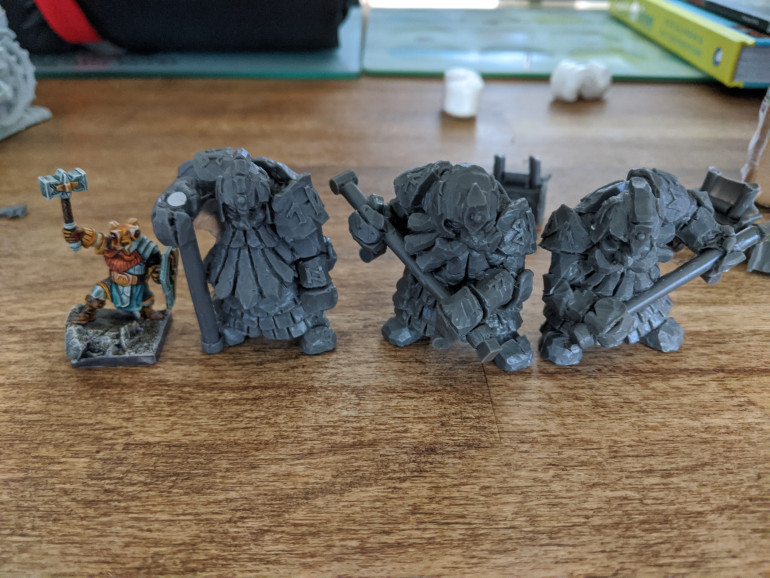
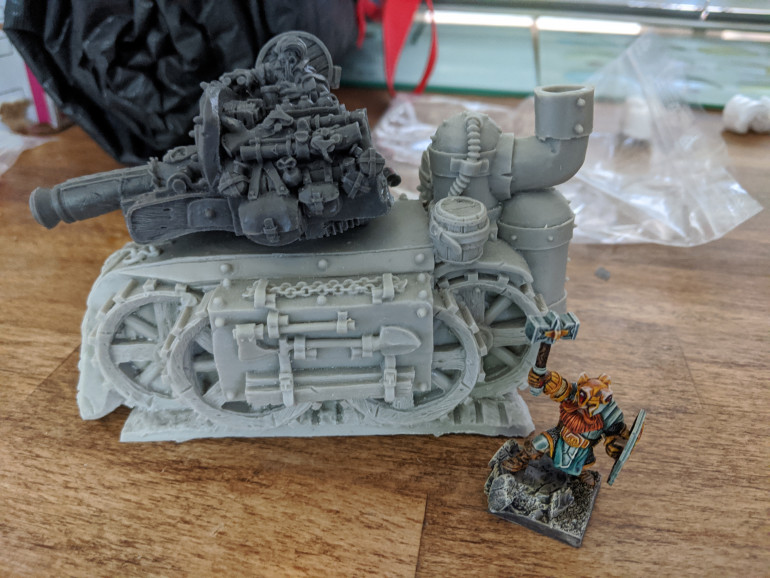
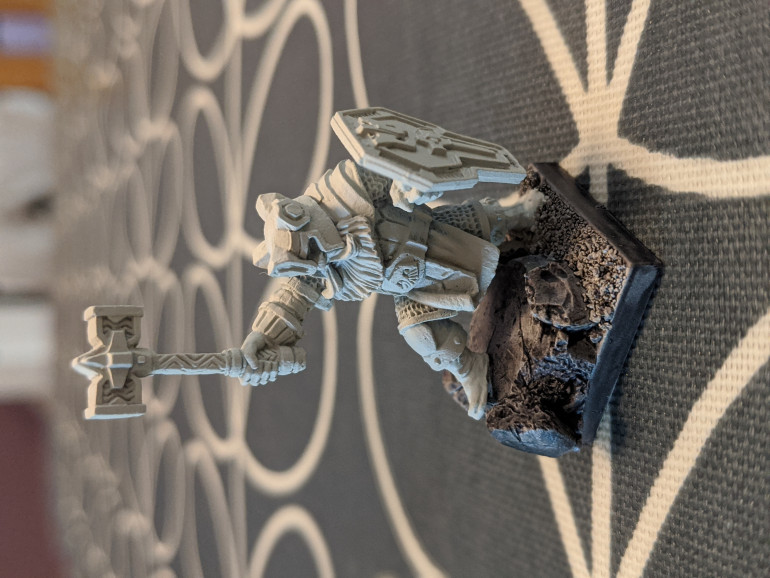
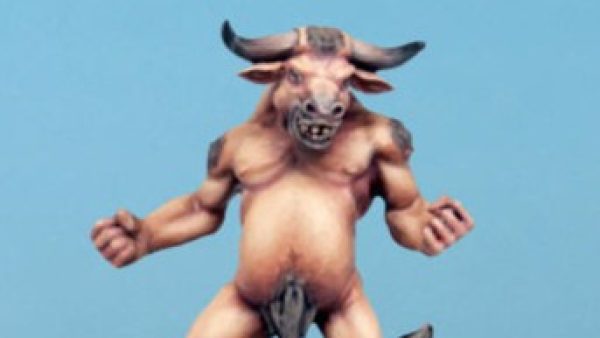
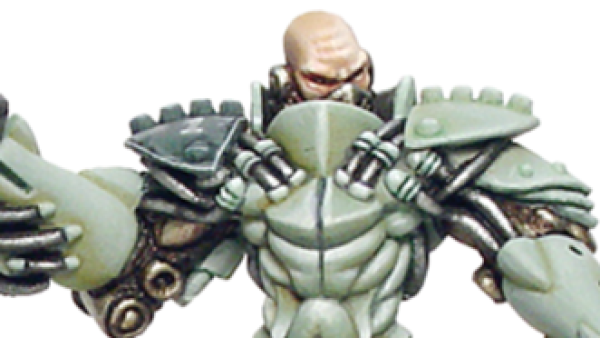
So I wanted to add some more impressive models as a centre piece for my army. I really like the idea of the earth elementals that Dwarfs can take, and the big steel behemoth. However I’m not really a fan of the Mantic sculpts so I had a look around for alternatives. I finally settled on these from MoM miniatures, a small company in Spain.
I love the Steam Tank. It’s a great looking piece of Dwarf engineering and the amount of stowage on the model is enough to keep any tread head happy. It is two pieces of solid resin, so it feels reassuringly hefty. The base is the perfect size to stand in for the steel behemoth
I really like the idea that the dwarfs would conjure up Earth elementals in their own image.
These models are great sculpts. Minimal clean up was required, they were very reasonably priced and came very quickly considering the current situation.
I’m going to try and paint up the earth elementals first.
One of a Kind
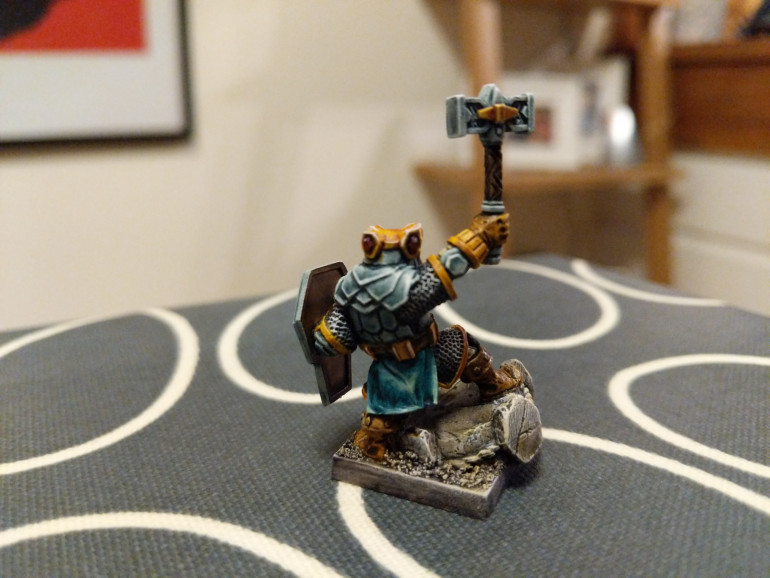
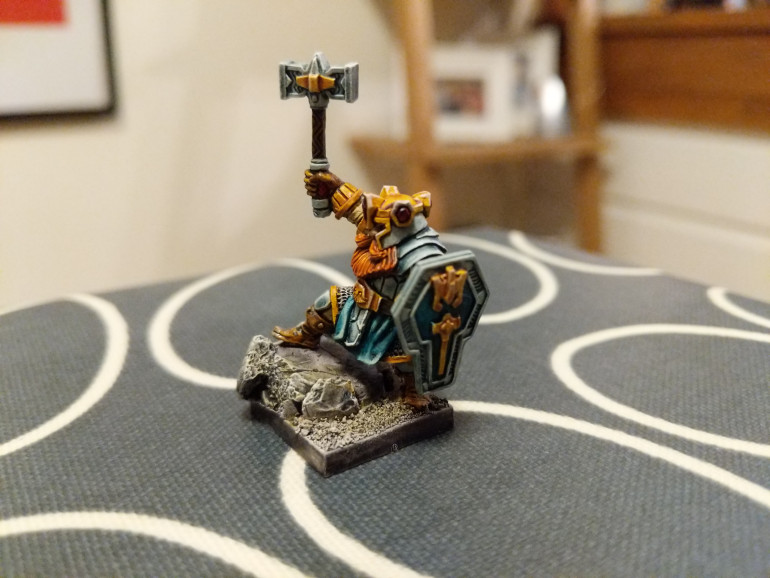
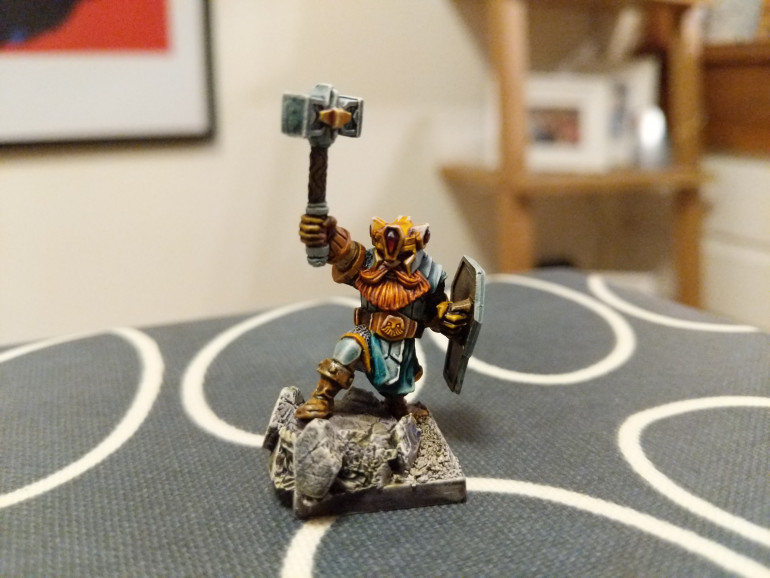
It’s so great to finally be taking some time and focussing on a single character model. I started by using contrast paints and then tried to push the use of them with highlights etc.
The armour was highlighted up to try and give a more NMM style. With the chainmail it was initially painted using contrast grey and then the recesses were done in contrast black, followed by a dry brush of white on the upper surfaces.
The metal areas were given an edge highlight to make them pop a bit more. The jewels were done in the classic GW style.
I’m really happy with how he turned out.
Something a little bit different coming up next…
Bending the rules?
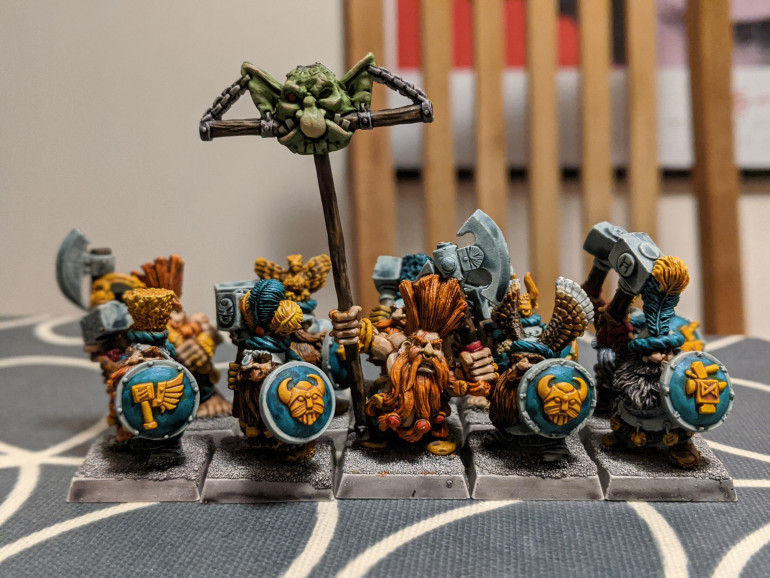
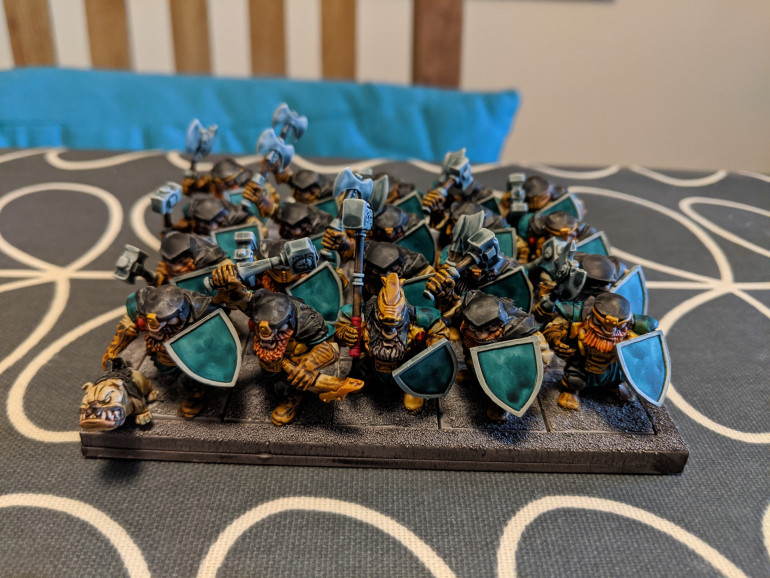
I’ve now finished the unit of old GW models that I put together. They are old (maybe 90s) dwarf Hammerers with modern shields. These old metal minis take contrast paints really well as they are packed with bold detail and don’t tend to have large smooth surfaces. I have decided to use these as elite troops in my force and therefore have used a more blue/grey for the armour to give the impression of polished steel as you would expect from this sort of unit.
The musician and standard bearer are troll slayers but they don’t look too out of place.
Back to Batch
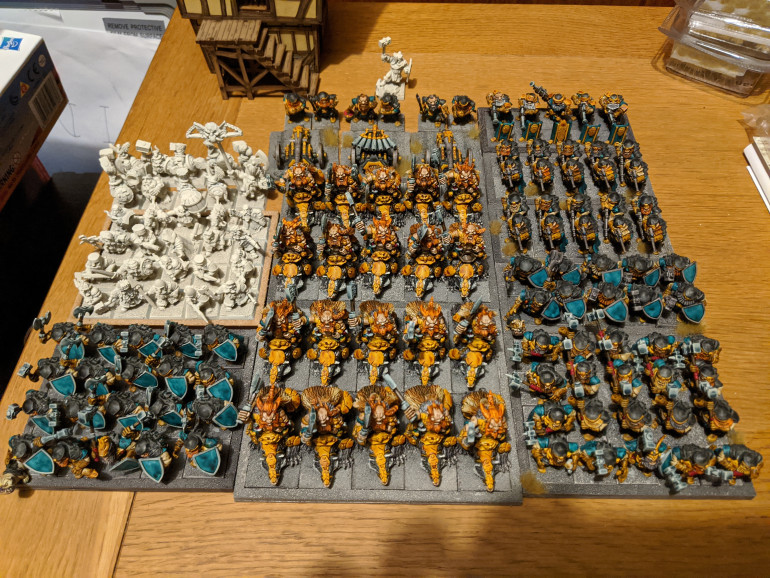
And we’re back to some serious batch painting with 20 of the standard Dwarf Warriors. As you may notice I have learnt from my more recent units and painted the weapons with Gryf charger grey to break up the colours a bit. These units still look a little dour compared to the rest but I suppose that’s ok for the bog standard troops. It does mean that I’m going to have to go back and redo the weapons on the earlier unit of these that I completed, but at least there are only ten of them.
Mission creep
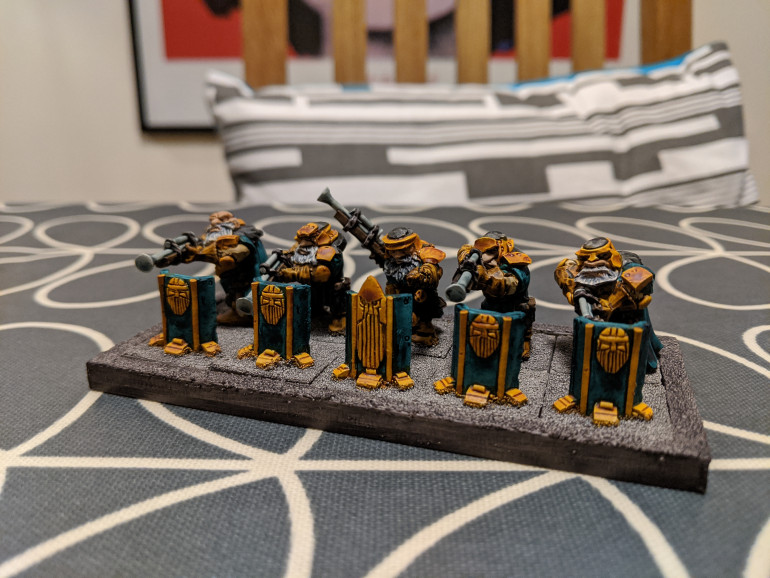
As the eagle eyed may have noticed in the last full army shot, there has been a recent addition to the force. My FLGS has been made mantic premium store, and so I couldn’t resist buying an addition to swell the gun line. They are the sharpshooter troop. I suddenly realised why mixed metal and plastic isn’t great, especially in these older mantic units.
Having a troop made up of effectively five models really helps with the rate of progress, and the shields in front create a nice change of look compared to the other units.
If one is good, two is better.
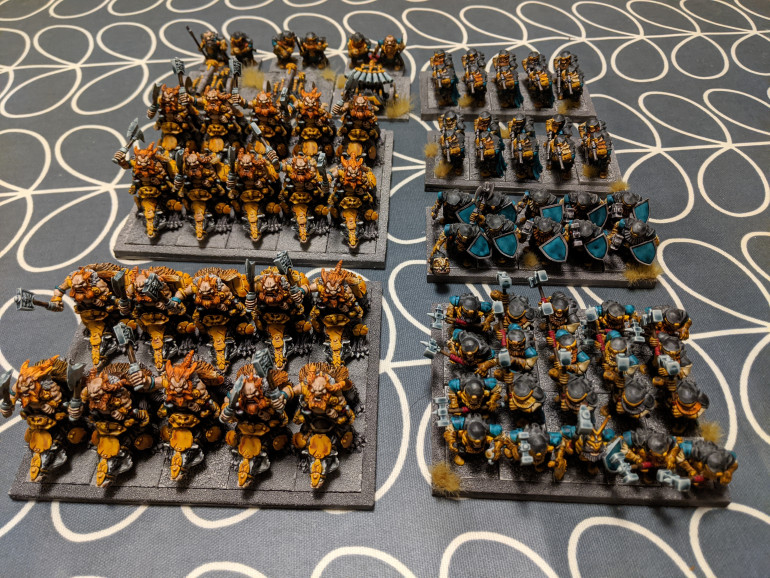
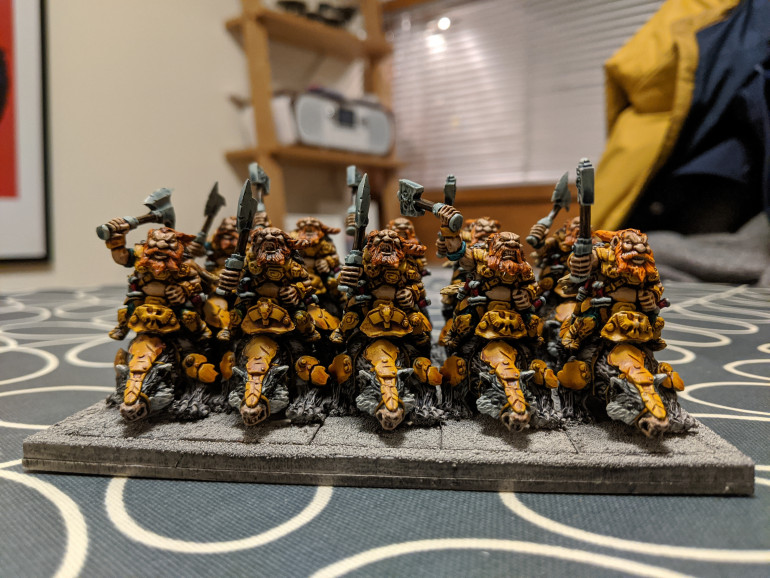
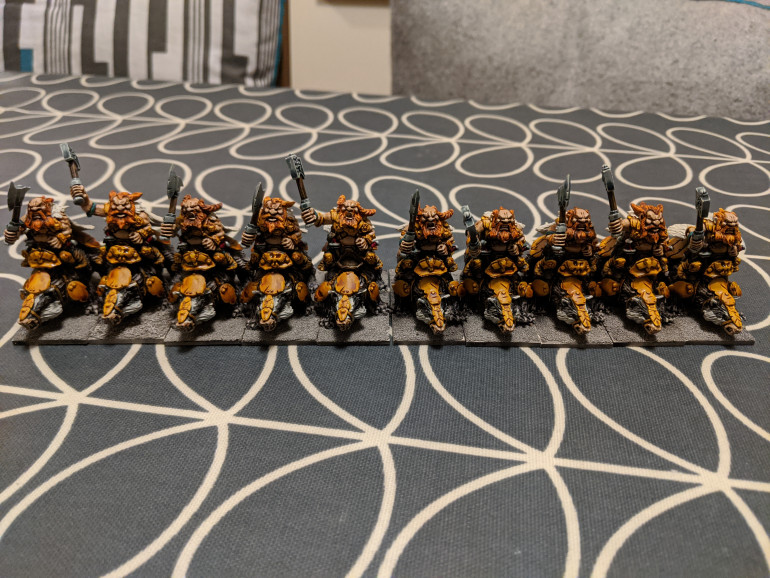
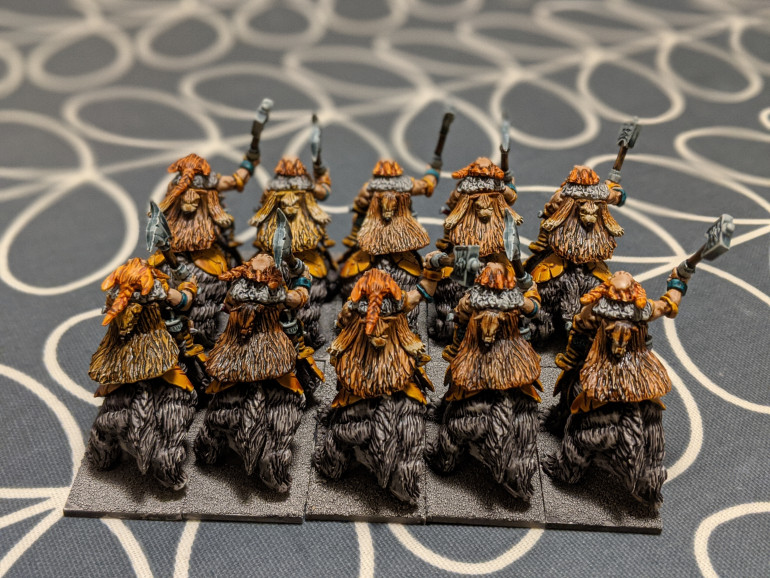
Sorry for the delayed updates. Here’s the second unit of Brock riders. Just as much fun to paint as the first!
Brock riders finished
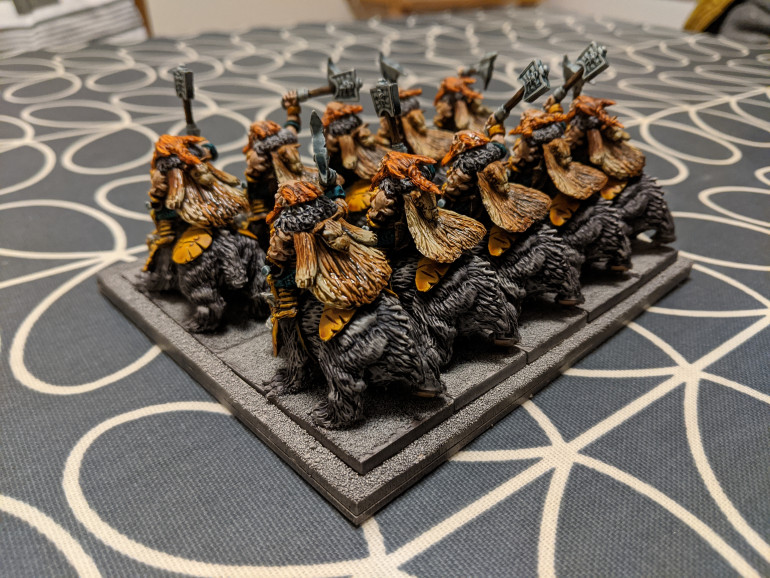
These were great fun to paint. The contrast paints work really well on heavily textured surfaces like fur. You can even mix them on the model for some lovely effects.
Next up some more Brock riders.
Going berserk for Brock riders
I’ve started the first unit of Brock riders. Feeling a bit more confident with the contrast paints, I have done a selective second coat in the recesses to bring out the shapes of the Badgers.
I can resist everything but...
My FLGS was just made a Mantic premium store. This means it now stocks the vast majority of the KoW product line. I couldn’t resist popping in and picking up something. At least I was vaguely sensible and got a unit that was not too big.
The sharpshooters are a troop despite just having five men. Much easier to add to the painting pile than a twenty man bulwarker regiment.
I hadn’t taken in to account the hell that is a mixture of old plastic models and bits in metal that apparently weren’t designed to fit with said bits of plastic.
Makes you really appreciate certain other manufacturers cad/cam products.
And then there were three...
Having finished the Shieldbreakers unit I’ve done the third war machine. I’m trying to alternate the little units with the big blocks of troops to keep the motivation up.
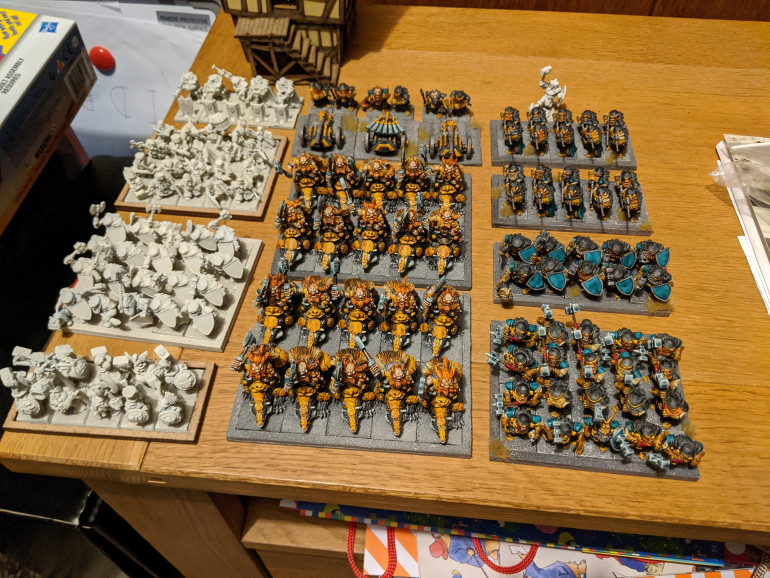
As you can probably see the last big gun is the organ gun. I’ve painted it using lessons learned from my experiments with the Shieldbreakers unit. Hence the greater use of the turquoise in the figures and the blue/grey barrel of the weapon. I think it works in making the models more vibrant and I may have to go back and adapt the first two to fit in a bit better.
Broken the back of the Shieldbreakers
I’ve pretty much finished the Shieldbreakers. The tweaks to the colour scheme have really come together. The blue/grey weapons help make the models pop, and the red adds some variety.
The keen eyed among you may have spotted a stumpy chap with a beer in one hand and nothing in the other. I’m hoping to create a banner pole and then I’ll get to paint a banner. Any recommendations for size and material of banner pole would be greatly appreciated.
Starting some Shieldbreakers
I was overwhelmed to get the button for this project. Thank you everyone for the the kind words.
Moving on with the next unit, I’m doing some Shieldbreakers. To try and combat the concerns I’ve had about the slightly monochrome look of the force so far I’ve made a coupe of changes.
I’ve tried to put a bit more turquoise in on shoulder pads etc, hopefully this will break up some of the black/grey sections.
There is now some red in as a spot colour. I’m using fleshtearer red on the shafts of the hammers for the grip section.
Finally I’ve changed the grey I’m using for the weapons. Swapping to Gryf Charger Grey will hopefully bring a different tone in as it is much more blue grey than the Basilicanum Grey I was using previously.
More Big Guns
I’ve finished the second cannon. It’s painted exactly the same as the first one. I’m still not convinced I’ve got the colour balance right. The greys and blacks are all just a bit to similar for my liking. Hey ho, I’m sure I’ll think of something.
Canines and contrast.
So I went ahead and tried the shields in contrast paint so that the colour matched perfectly. They haven’t come out too badly but I think they might benefit from a free hand symbol of some sort. Time to get my thinking hat on.
The bulldog was great fun to do and I think he came out looking grand.
Onwards and upwards (well onwards at least, they are dwarfs)
I’ve made some progress on the next unit, ten ironguard. They’ve been painted up in exactly the same way as the ironwatch units. The only bits I’m not sure about are the shields and the bulldog.
I don’t know how the contrast paint will react to the flat surface of the shields and there isn’t an equivalent colour in non-contrast paints.
I’m going to have to do some research into bulldog markings and colours before I start the canine. There’s always something new to learn when painting.
Bring on the big guns
I’ve finished my first cannon (hopefully the first of many given it’s a dwarf army). The carriage was painted Black Templar for the ‘iron’ and Nazdreg Yellow for the gold/brass bits. The barrel was Basilicanum Grey. The crew were painted in the same way as the Ironguard in the last post.
I’m a little bit worried that the force is starting to look a little monochrome so I’ll have to think about how to counter that.
First two units done
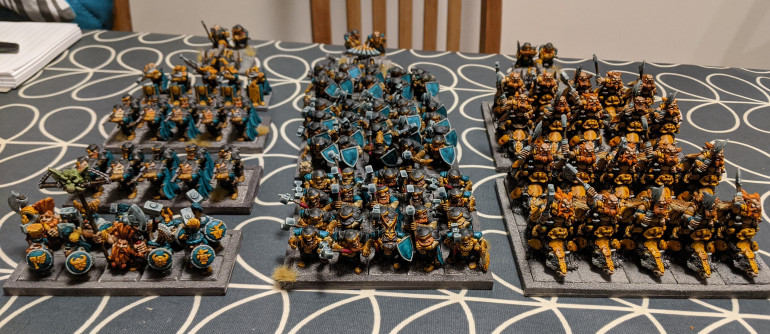
I’ve finished batch painting the first two units. They’re entirely done with contrast paints. I’ve not used any metallics so the ‘gold’ is Nazdreg Yellow, the gun barrels are Basilicanum Grey and the armour is Black Templar. The way the contrast paints work gives a very rough approximation of NMM, and save a lot of time compared to using thin coats of metallic paints and a wash.
For the beards I have used a variety of shades and then used a shade darker contrast paint in the recesses to give them some extra variation.
I’m really pleased with how they have turned out given the time input. I’ll move onto a cannon next.
Bottoms up.
I generally paint from the ground up. I’ve gone for snakebite leather (I love the retro goodiness of that name) for the boots. Knee armour and chainmail in Black Templar. Belts etc are done wyldwood. I’ve picked Terradon Turquoise as the main colour for my force. Mostly just because I love the richness of the colour and how well it works in the folds in the fabric.
And so the painting begins...
So I’ve finally put paint to model. Starting with the bases I’ve used a single coat of Basilicanum Grey contrast paint from GW. It means there is no need for wash or dry brush. They edges of the bases don’t look great but that’s not too serious if they are ranked up. I’ll put some grass tufts on afterwards to give them some variety and interest.
The movement bases are MDF. They’ve been given a coat of PVA to seal them, then sand on the edges and painted the same as the model bases.