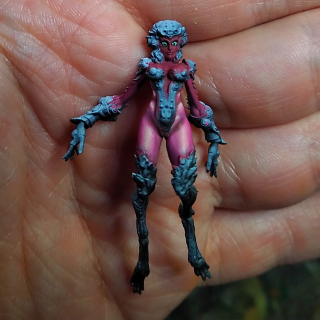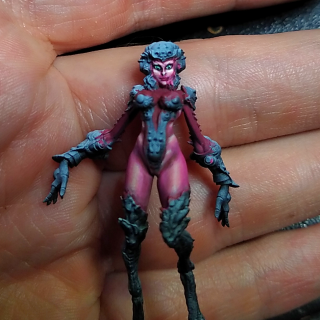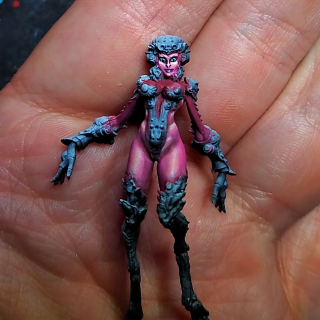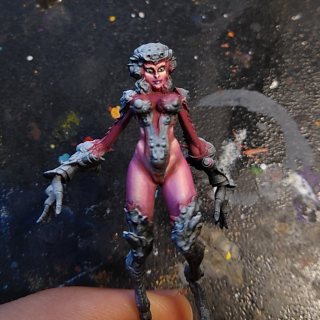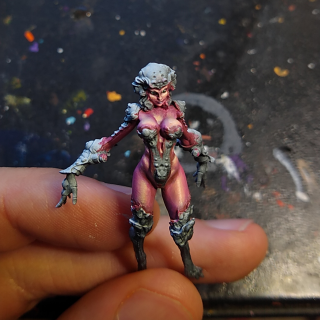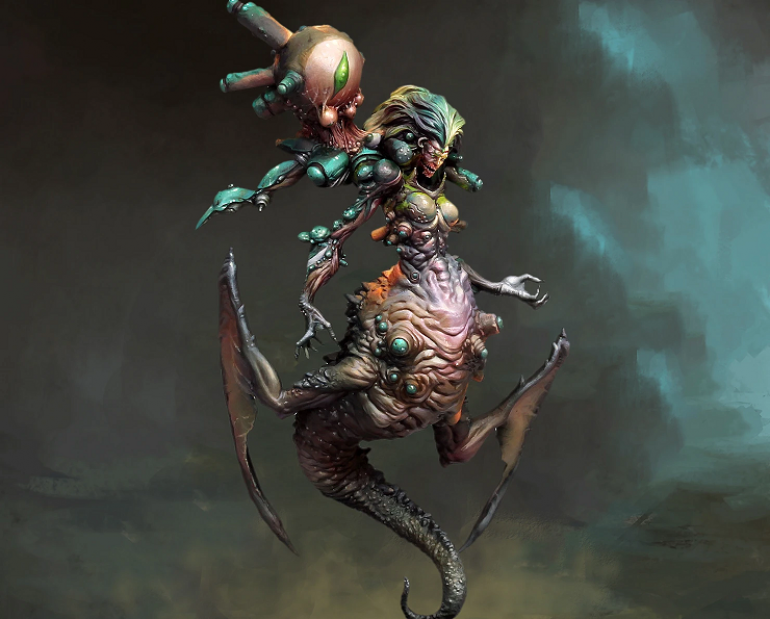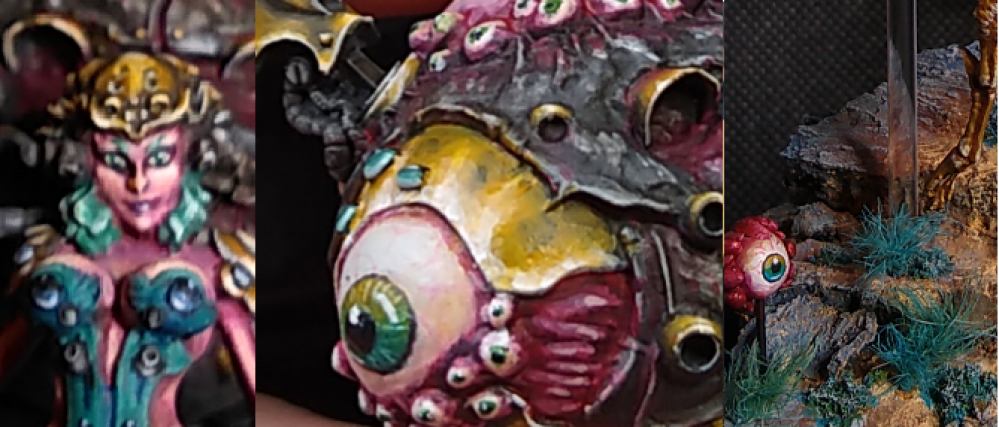
Gokufan’s Celestial Genesis: Jingwei
Recommendations: 109
About the Project
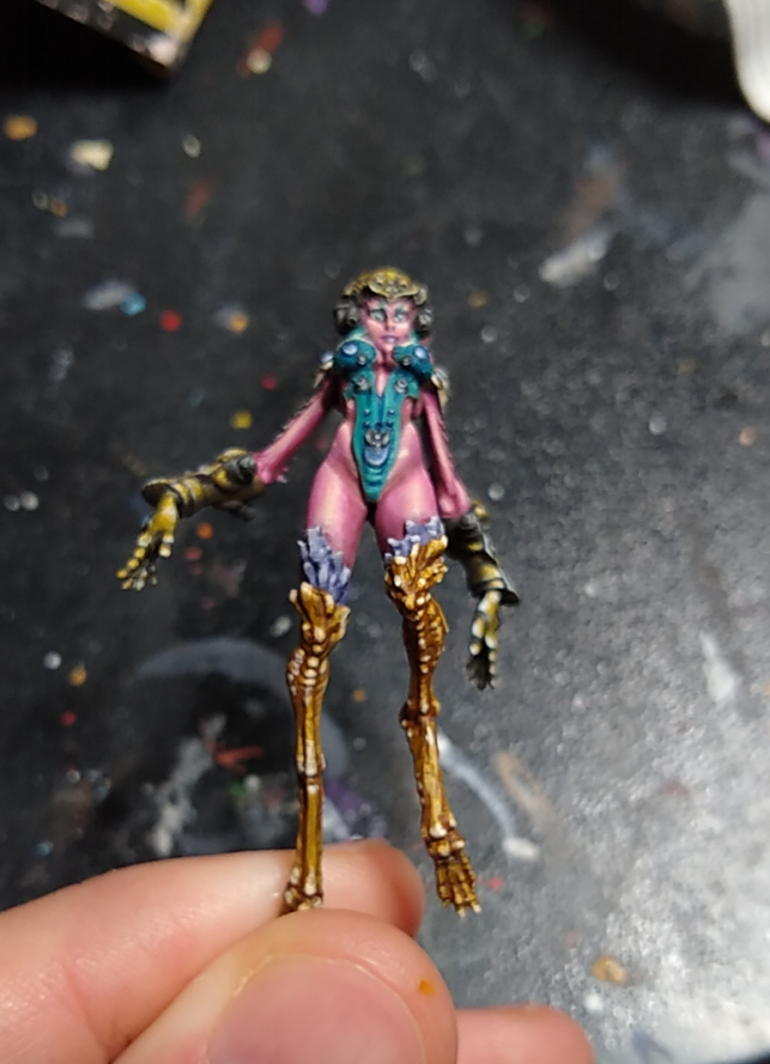
My third Celestial Genesis miniature, Jingwei this time.
Related Game: Deep Madness
Related Company: Diemension Games
Related Genre: Fantasy
This Project is Active
Glamour shots and a lesson
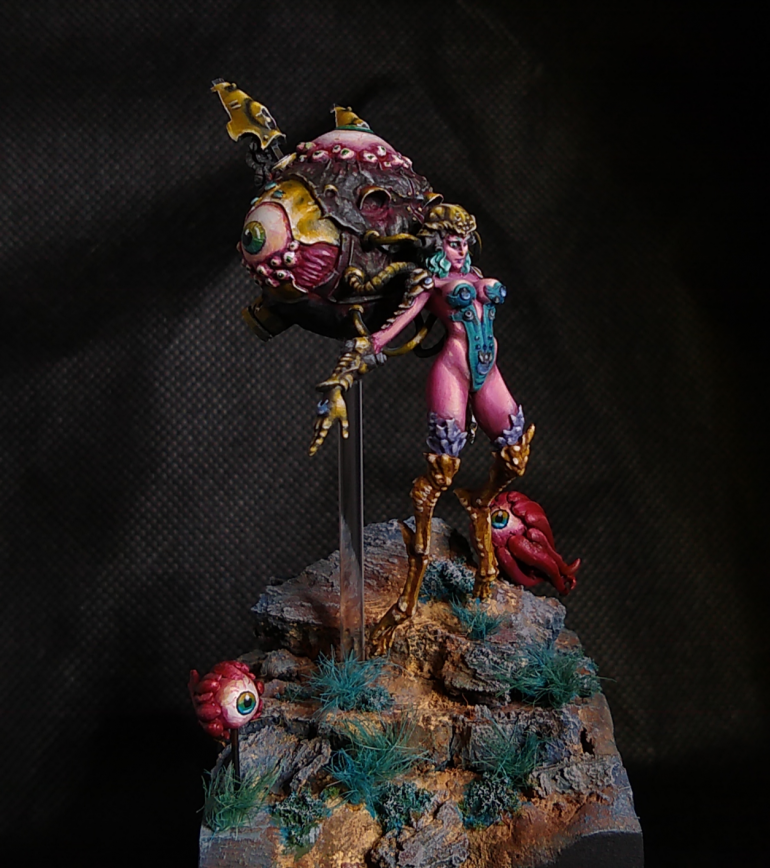
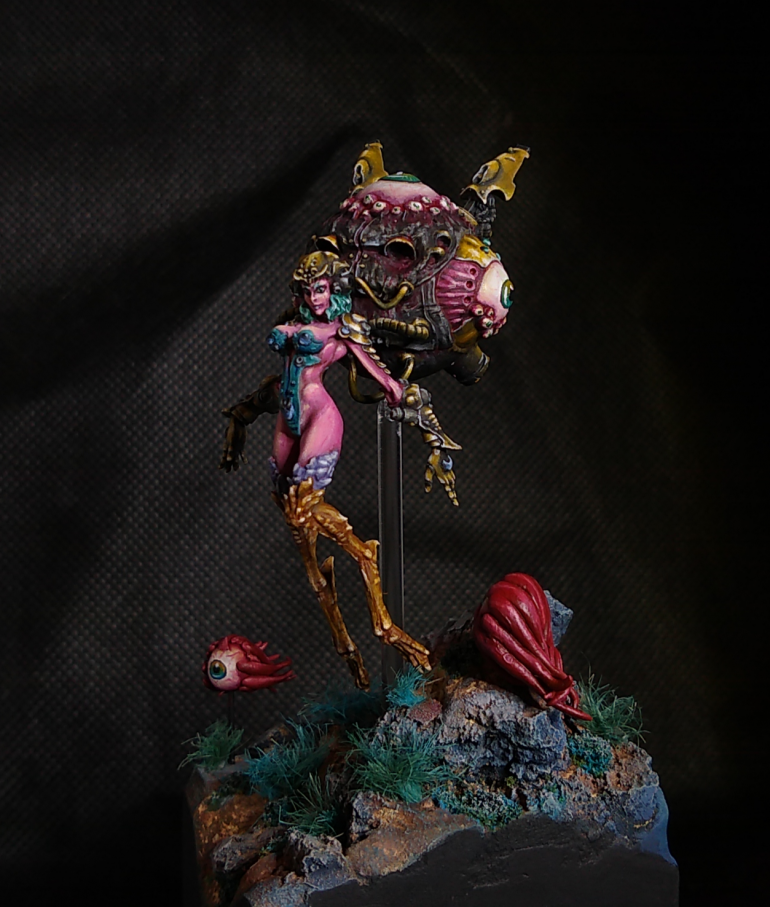
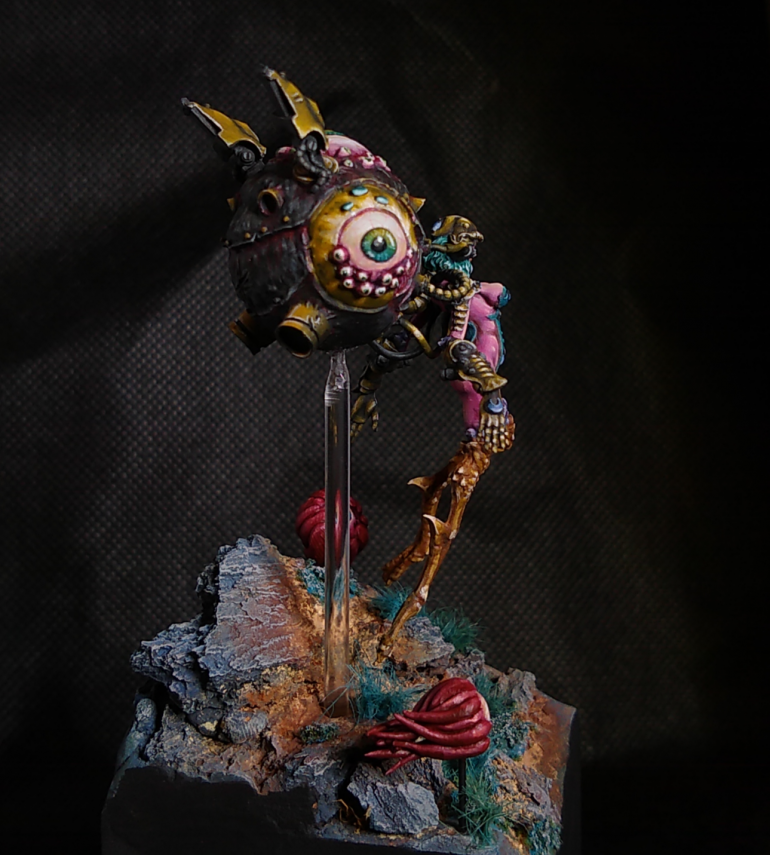
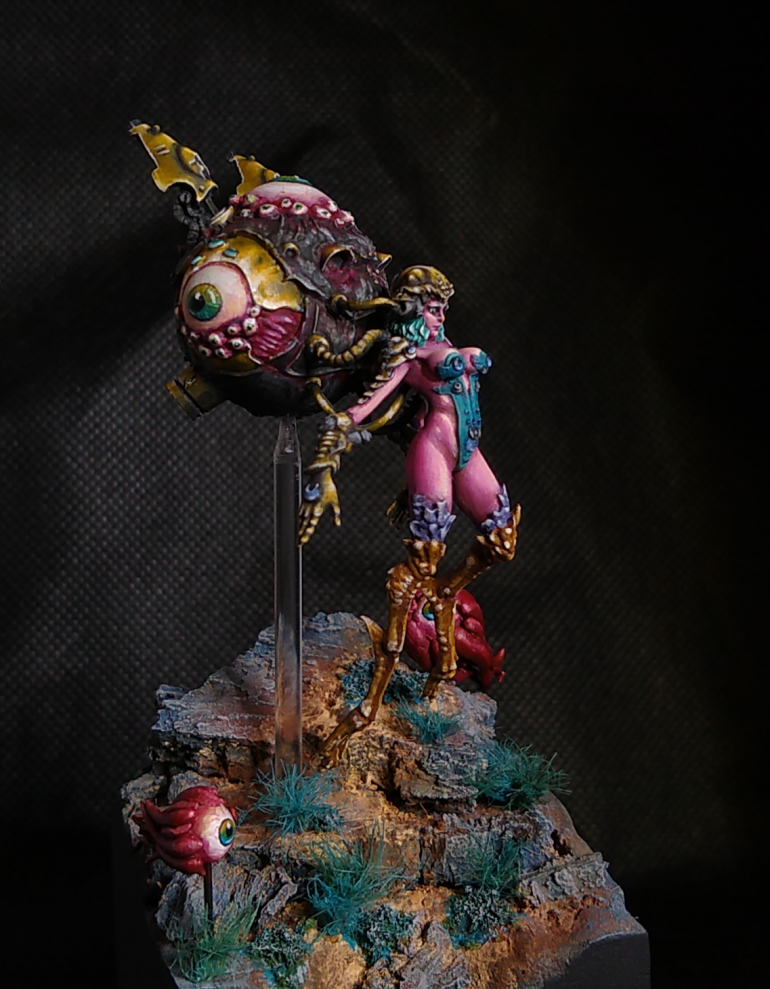
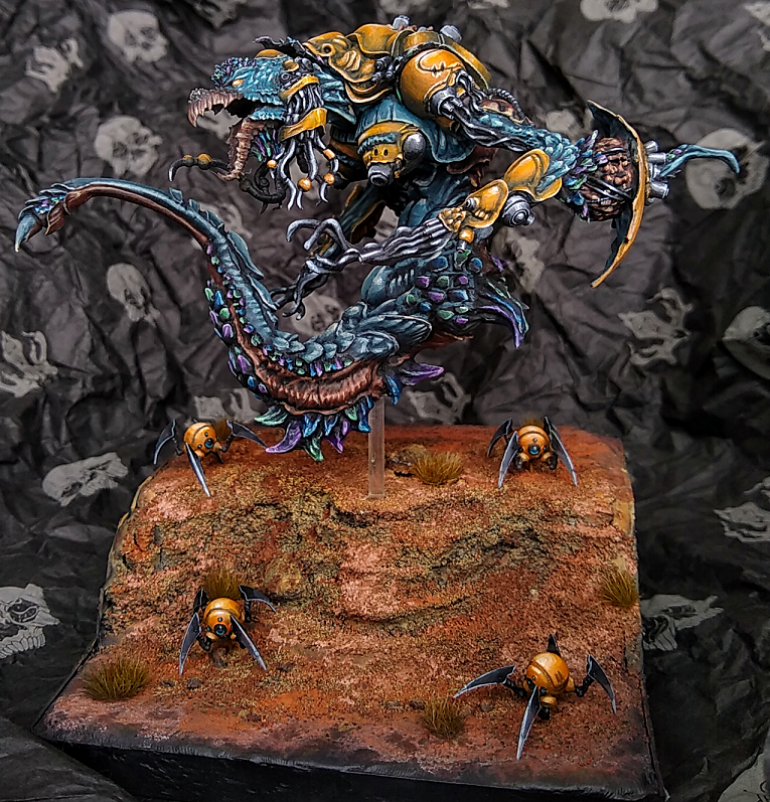
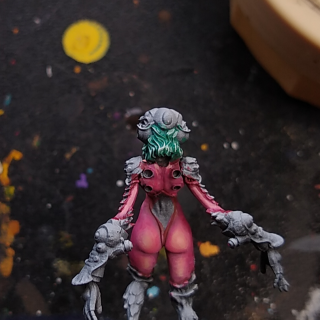
So, the final entry. Thanks for reading my project, I had a lot of fun with it even if I procrastinated a bit on writing entries. I also learned an important lesson, which I’ll get to in a bit, but first photos of the completed mini!
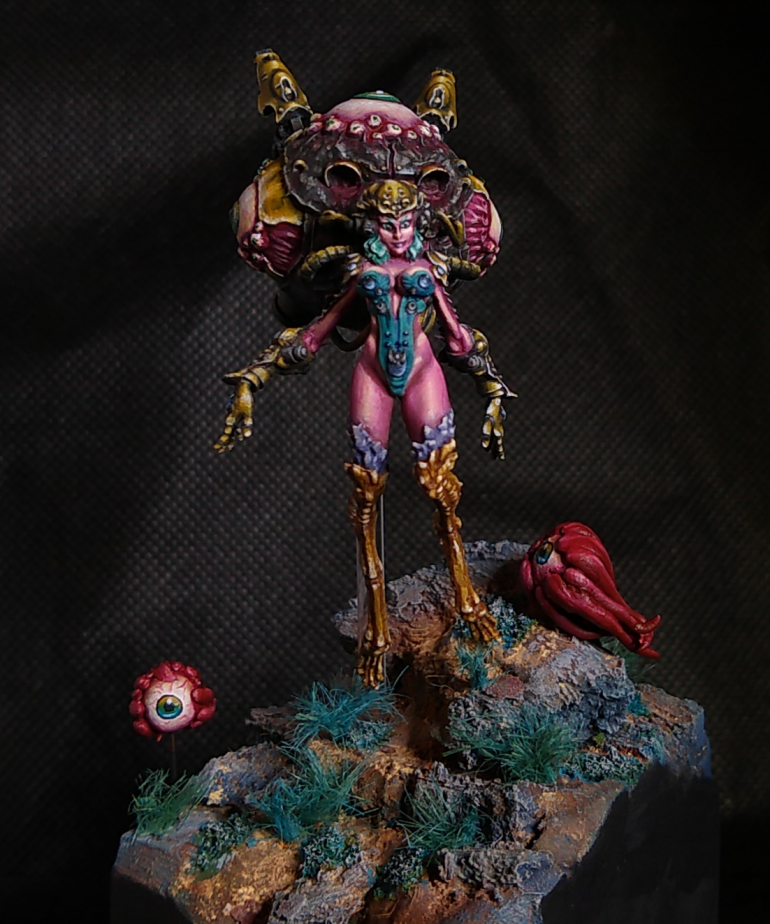 I recently got a cheap phone tripod and photo booth (<$15 total) and I think it has really improved my mini photography noticeably (just ignore the wrinkled backdrop)
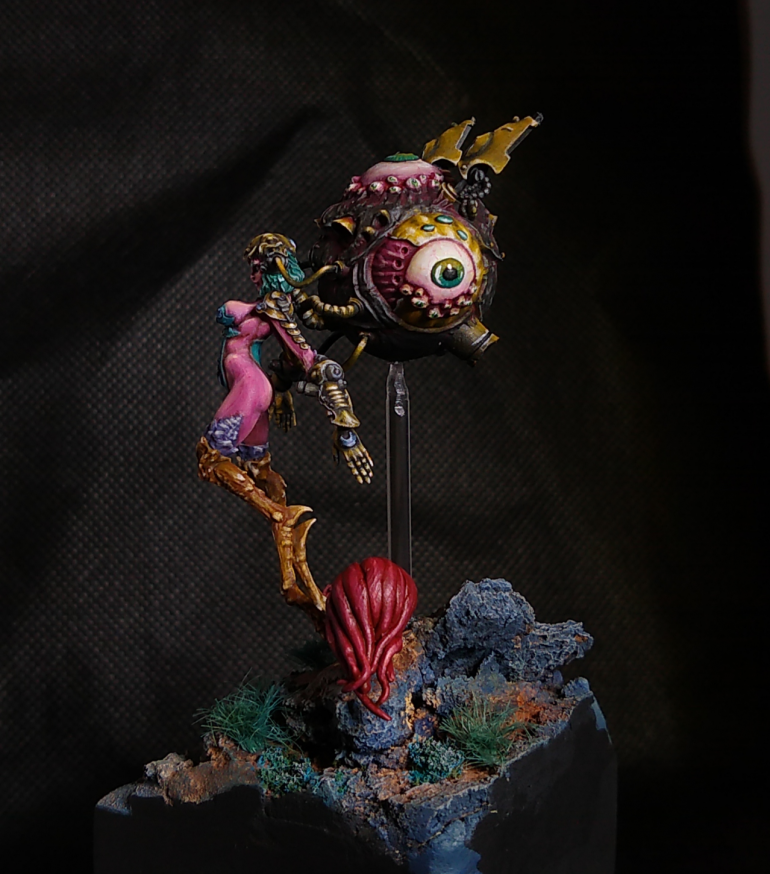 You can see where I had to whittle down the acrylic rod I mounted her on here. Protip: do any heavy duty drilling required before painting/assembly to avoid needing to do things like this
Anyway, on to my harsh lesson! Notice how the whole assembly is about three times as tall as the base is wide? I knocked the damn thing over! Off a shelf! On to a hard wood floor! She broke into about 15 pieces, one of which I haven’t found. The rest are sitting in a box. This mini has actually been destroyed the entire time I’ve been writing this blog.
So here’s the lesson: make damn sure your base is heavy and wide enough for your mini, especially a “flying” minis like this. I’ve heard people talk about how “you need to use a flared base” before and I guess this must be what they meant. Sorry if I got your hopes up for something deep and philosophical, this is just practical.
I was honestly a little surprised how little breaking her bothered me, though (still a bummer of course). I pretty much accomplished everything I wanted to with the mini beforehand. I got plenty of pictures. I can reuse the base. I’ve got a lot of cool looking Jingwei pieces I might use as basing elements some day.
Anyway, that’s it! Thanks for reading my posts and looking at my pictures! I’m not sure when I’ll do another one of these but I definitely will because I love this range.
Base
Sorry for the long gap between updates! Not starting the blog until after finishing the mini makes it hard for me to remember to do them.
Anyway, on to the base. I want to thank Oliver Spaeth’s patreon for some excellent tutorials that I followed for the first time with this base. If you like it, he has excellent step by step guides on making bases about 50 times as cool as this one.
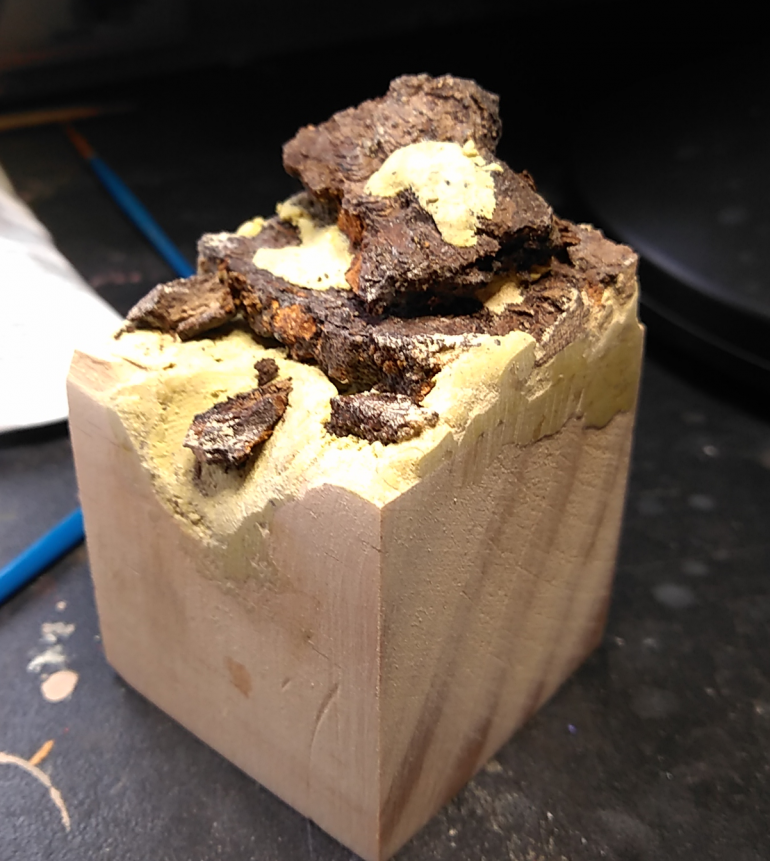
I started by picking up some dead bark off the ground in the woods near my house. I recommend drying it out at a low temperature in the oven for a few hours so it doesn’t start rotting after you finish the base.
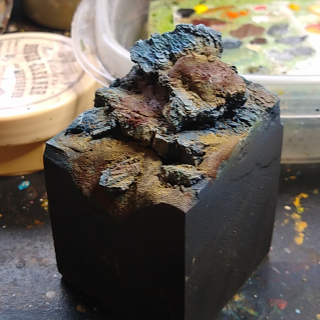
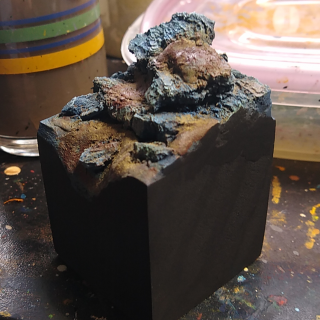
I broke up the bark into some pleasing shapes and attached them to a wooden cube. I then filled in some of the gaps with milliput, and attempted to give it a bit of a natural looking texture. I also carved down some of the edges and raised up others with milliput. I wasgoing for a nature base here so I didn’t want the edges of the base to be straight lines. (One of my big lessons learned here was to do a better job of this next time).
After the milliput dried I sanded the edges to get the bark and milliput nice and planar with the sides of the cube.
I envisioned her floating over some alien hills and vegetation, so I went for a blue and orange (as opposed to brown and green) scheme to sell the “alien” part of the concept.
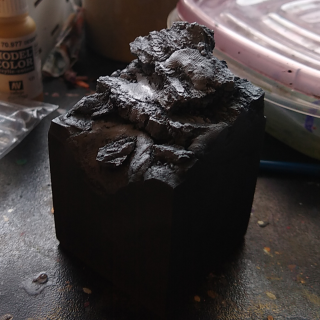
From there I zenithal primed the base with my airbrush.
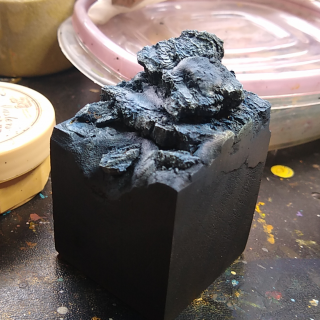
Then using the airbrush and drybrushing I gave the base a desaturated blue color all over.
From there I used some pigment powders to seperate the milliput “dirt” from the bark “rocks”.
Finally, I made some orange grass out of jute. This was my first time trying this and I did a pretty crummy job, to be honest.
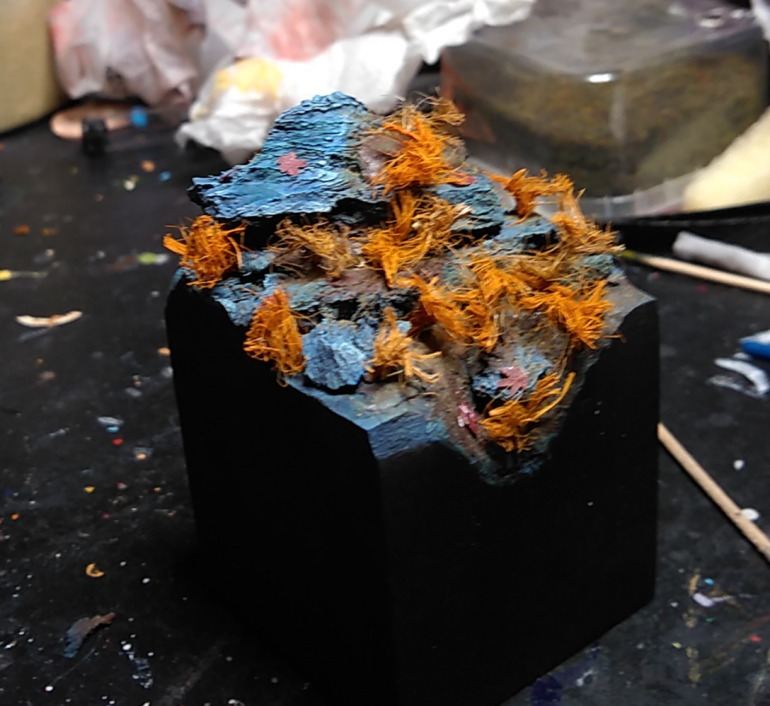 Looks, well, not great. The grass is badly made and bunched up in weird shapes, and the "dirt" has a wadded up chewing gum look to it.
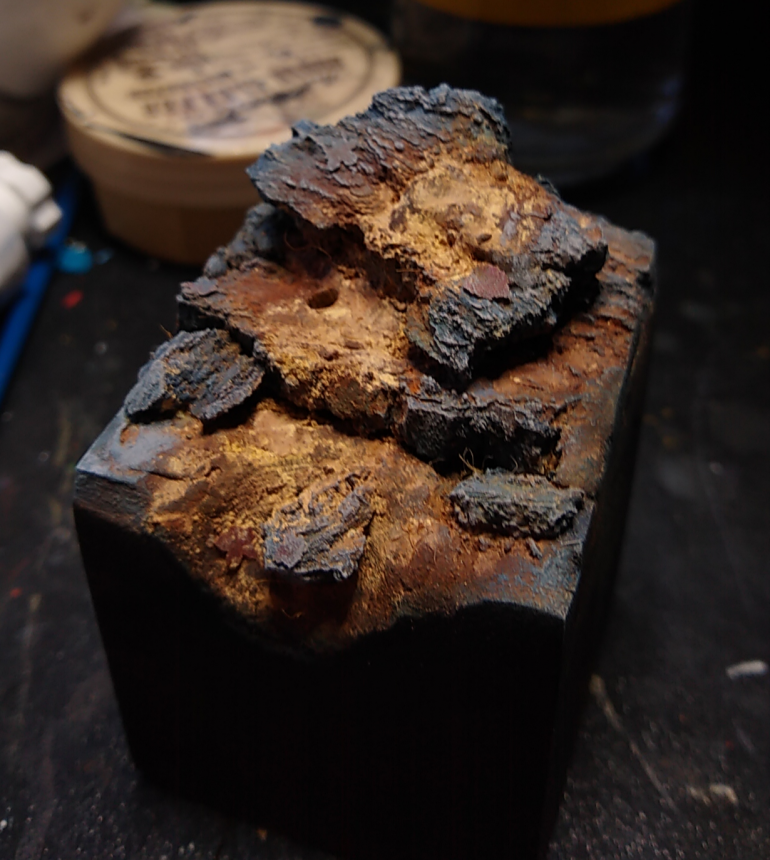 I tore off the grass and went much harder with the drybrushing on the rocks and pigments on the dirt to try and get a more natural look. Much better
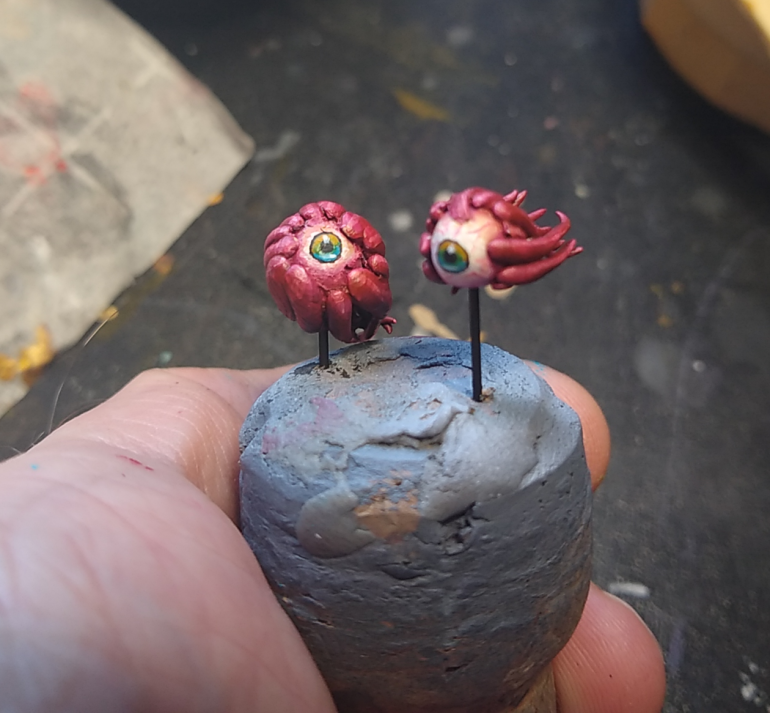 Then I sculpted Tarquin and Jimothy here to spruce it up a bit. They're inspired by the Eye of Kilrog spell from Warcraft 2
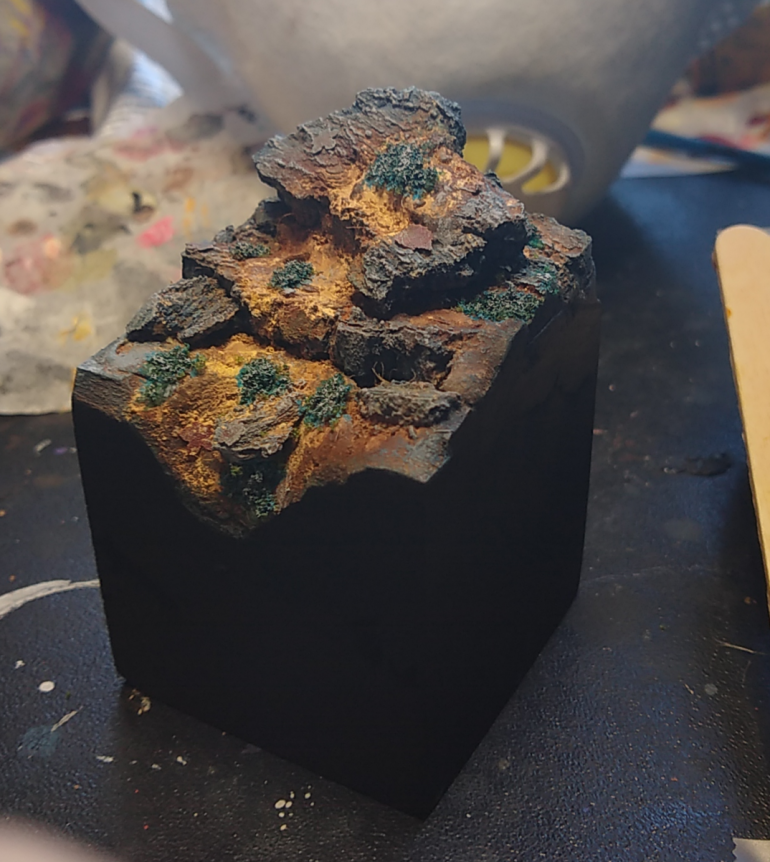 I used some fine clump flock soaked in super glue, painted with bluegreen ink, and then drybrushed with grey to create some moss/lichenish vegetation.
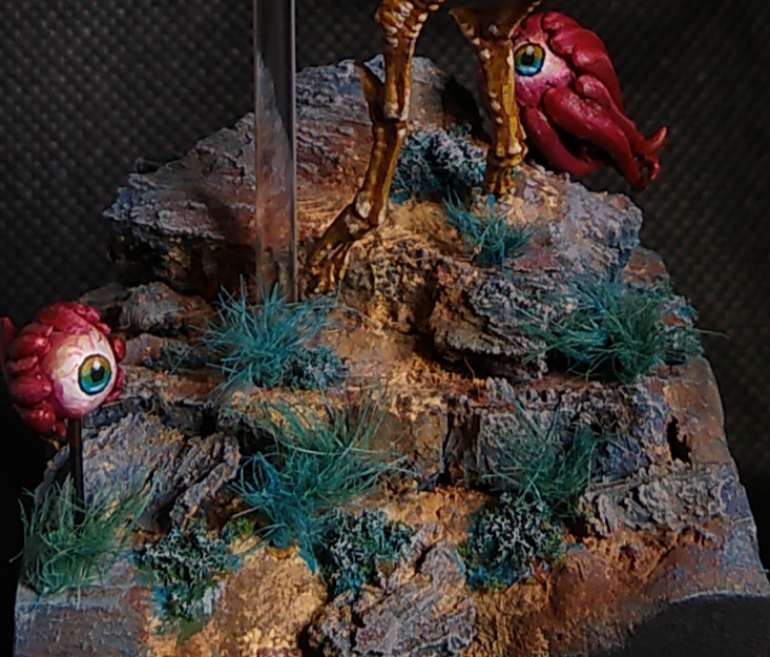 Finally, I took another crack at the jute grass clumps... and failed again. But on my third try I produced some pretty passable clumps, in my opinion. The trick is to thin the paint even more than you think you need to. It should basically be paint colored water.
And with the base finished, that’s it for the process on this mini. My next and final update will have glamor shots, my thoughts on the process, and the terrible, fatal mistake I made with the concept! See you then.
Sphere and Tubes
So I know I said there wasn’t enough content to do a whole update on the rest of the sphere, but then I remembered the tubes! I have to mention them because they were by far the most aggravating part of this whole project, which was otherwise quite fun. I’ll start with finishing up the sphere though:
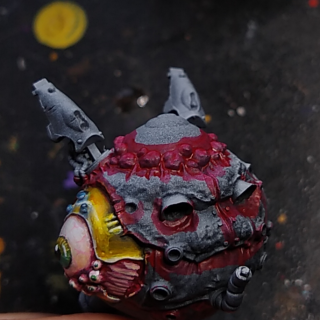
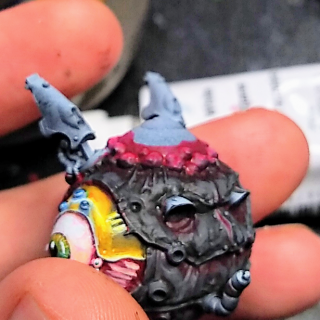
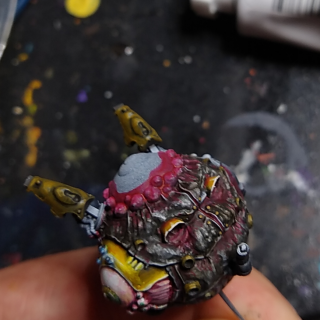
I started by painting gory red in all the crevices, to create an impression that this was some sort of gnarly biomechanical monstrosity with gore subtly oozing out where plates/carapace/whatever meet. From there I used some paints on my palette (I’ll be honest, I totally forget which) to create a grimey grey brown color, which I roughly highlighted up by adding white. I then brought it back down a bit with a AP dark tone wash.
From there I went and painted all the various metal gubbins gold in the same manner as all of the other gold bits on the mini. Not a lot of new info here, but I think they look pretty nice!
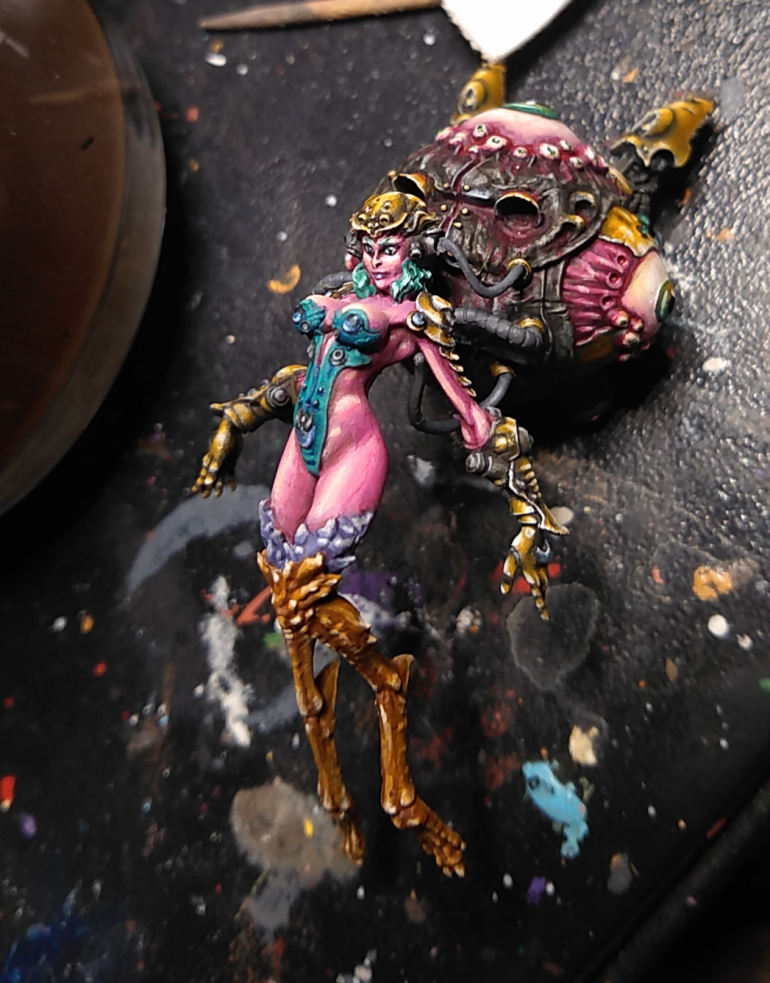
Now, those damn tubes. In case you can’t tell, these things are tiny, 4/6 are thinner than a strand of spaghetti. Additionally, they have fairly strange twisting shapes, so unless you attached the main structural tube between Jingwei and the eyeball perfectly they’re probably not going to fit quite right.
Finding a method that was both dexterous and gentle enough to position these tiny pieces of resin between Jingwei’s back and the eyeball was pretty difficult. I eventually came up with a method where I lightly stuck a tube onto a glob of poster tack and then held the glob with a pair of tweezers. Even then it took me over an hour to get the 6 of them hooked up and I still didn’t line up some of them with the holes on her back. Thankfully there’s so much going on between her back and the eyeball it doesn’t show in photos and you’d never know unless you were specifically looking for it. Also the tiniest one had an air bubble in it and broke in half, thankfully I was able to glue it back together.
Anyway, my advice if you’re building this mini and really want to perfectly attach those tubes is a) leave her arms off until the tubes have been connected and b) use some sort of gentle heating element to bend them into place. Probably more work than tube perfection is worth imo, unless you’re planning on making it a contest piece or something.
Anyway, there’s your taste of my personal tube nightmare. Thanks for reading my rant! (or at least looking at my pictures :p).
Now that the mini itself is done we’re on to the base for the next update.
Eyeball!
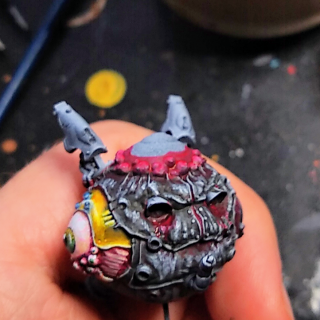
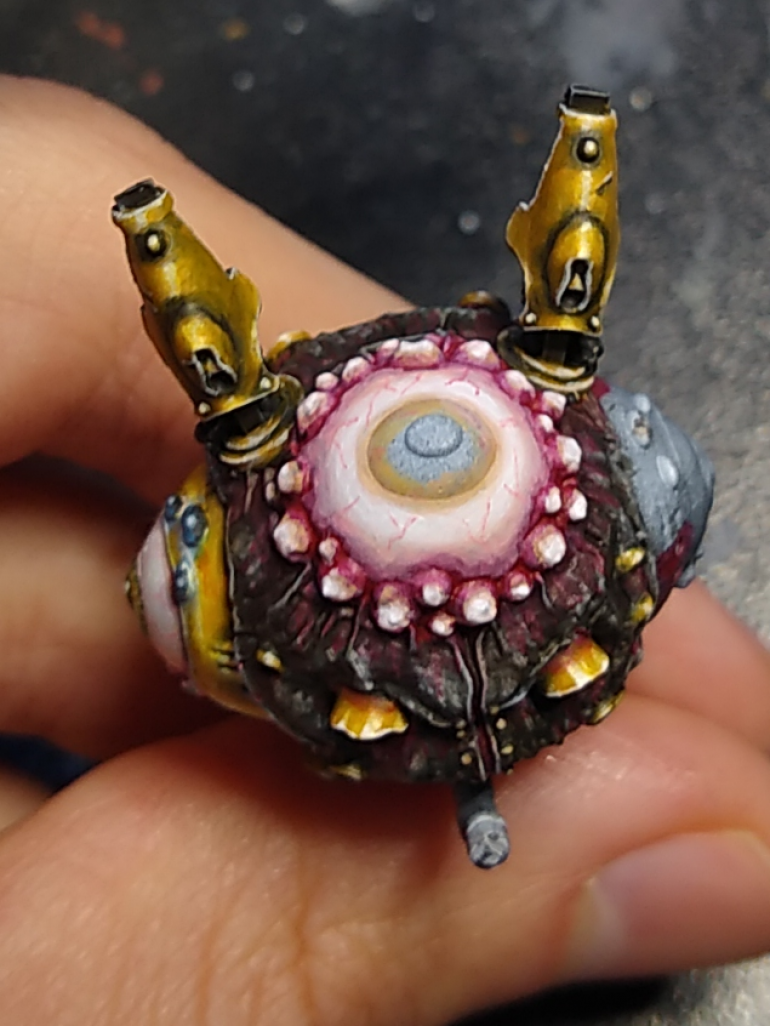
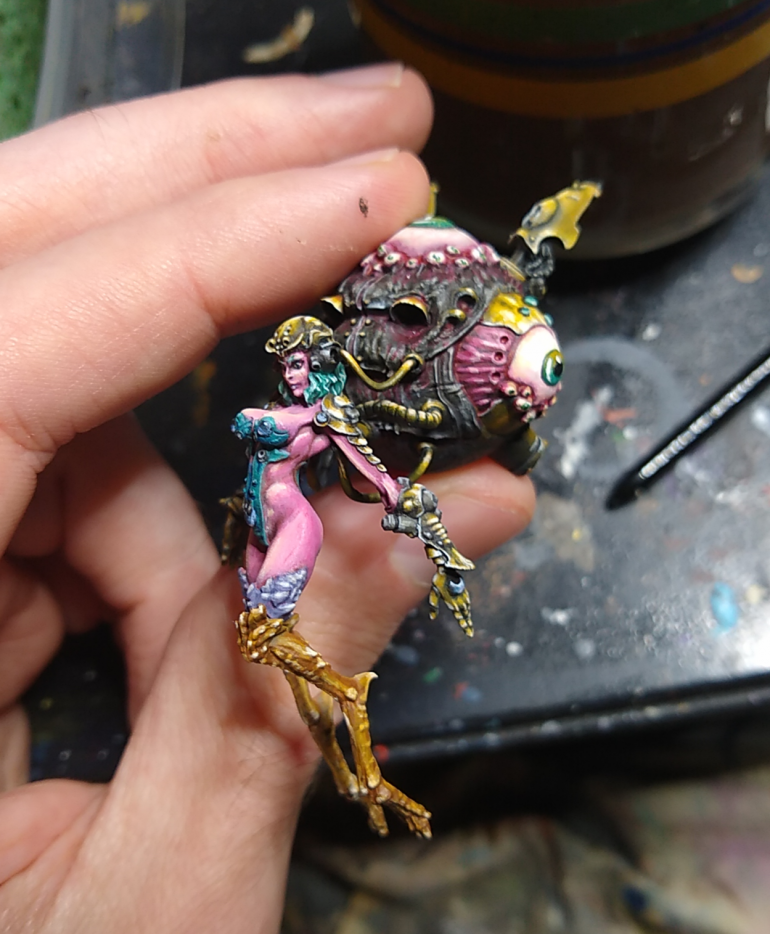
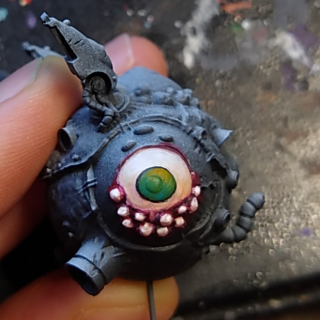
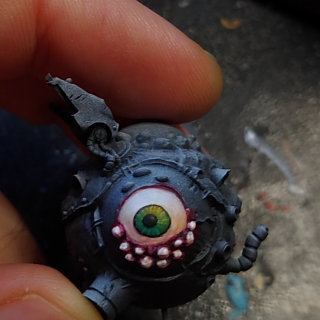
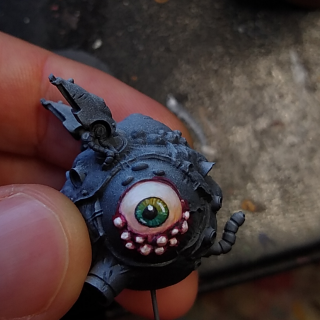
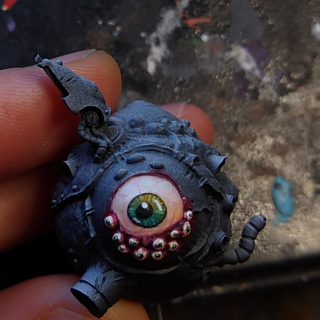
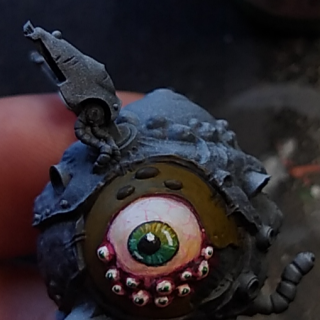
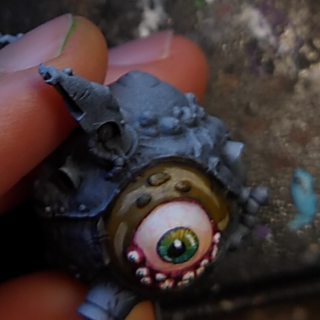
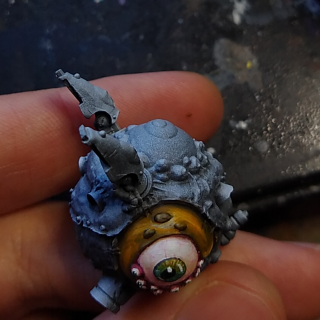
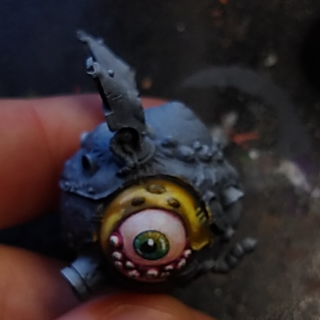
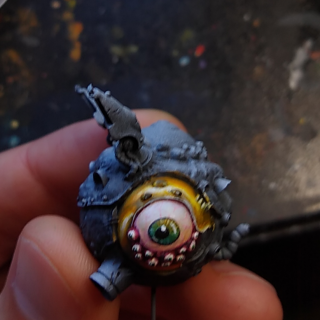
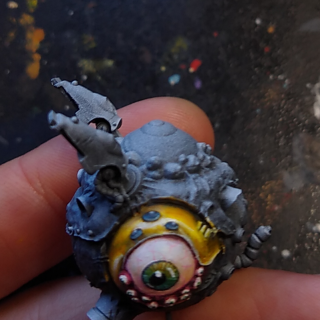
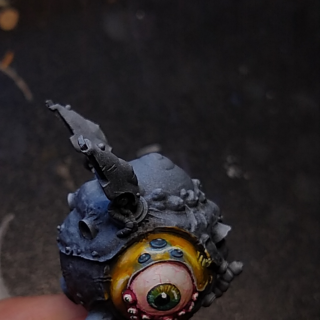
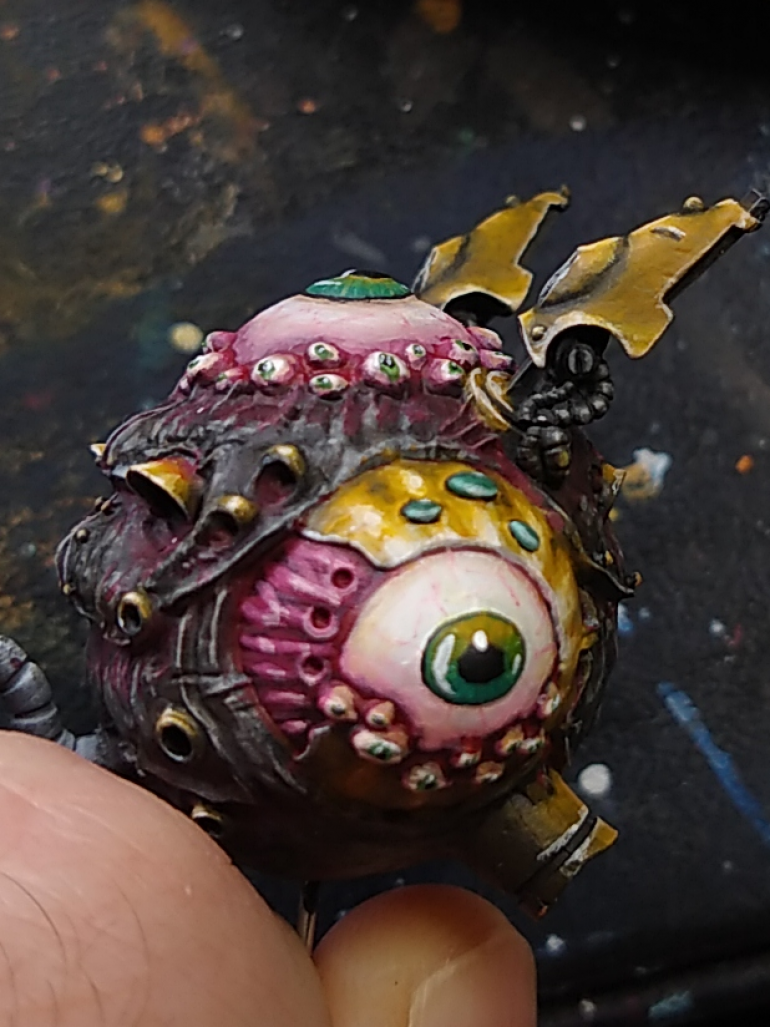
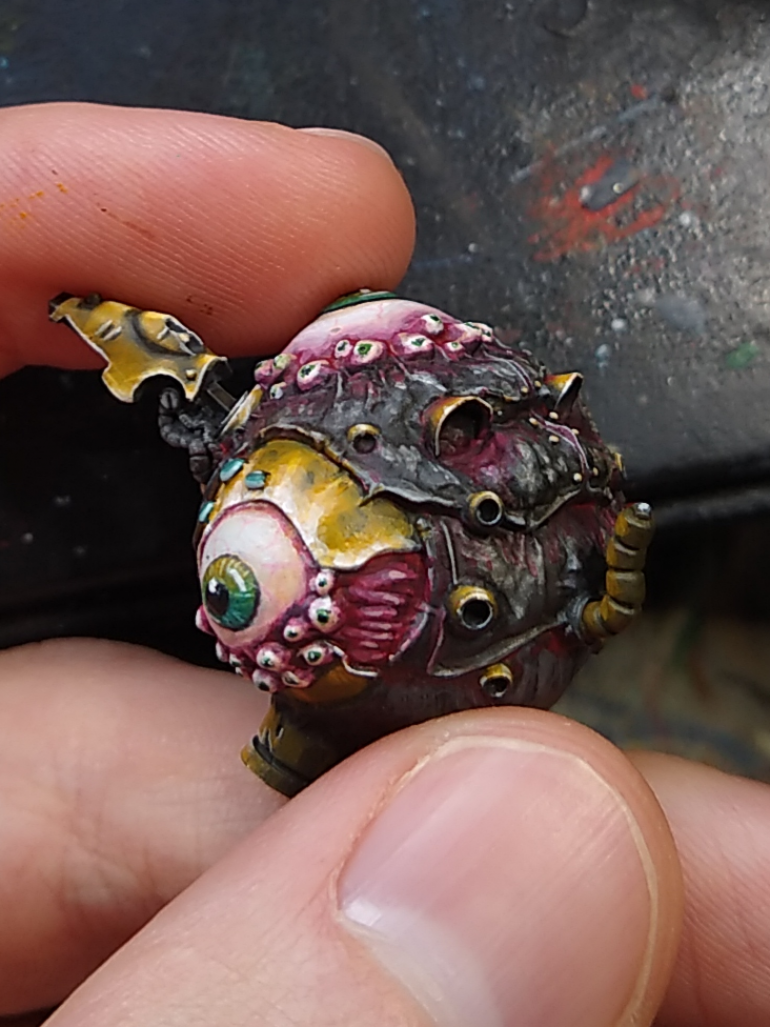
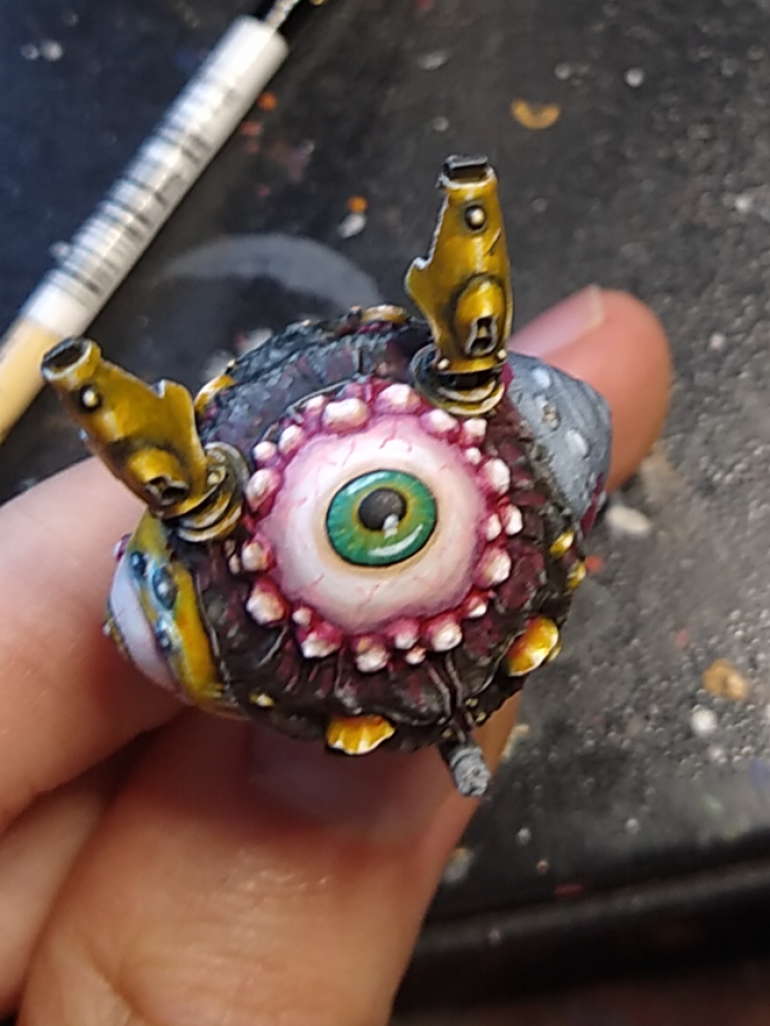
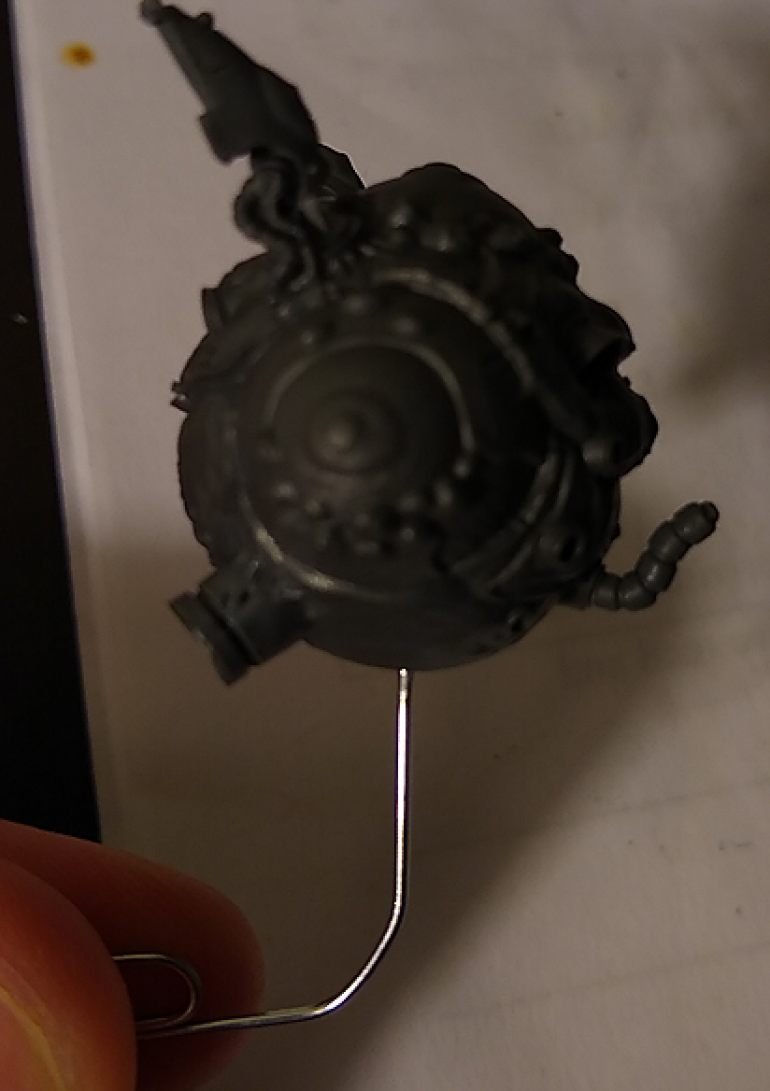
With Jingwei’s body finished I moved on to the eyeball. It’s basically a big orb with a large eyeball sticking out of the top, left, and right sides. I started by painting the right side eye.
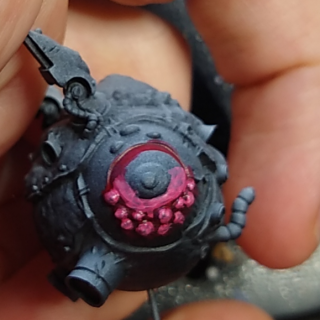
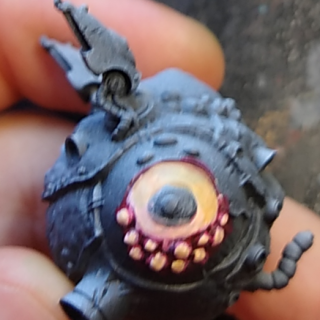
First I coated the recesses and the surrounding areas with gory red. I tried to give the eye a bit of three dimensionality by highlighting up through desert yellow and on to white on the top of the eyes, while substituting basic skintone for the desert yellow on the bottom half of the eyes.
After that I made some fine lines with a mix of basic skintone and white for a bit of a bloodshot look.
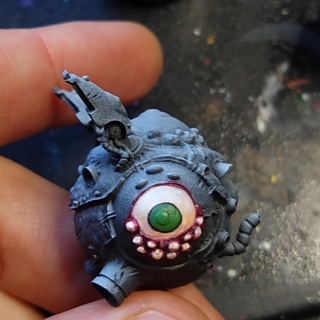
Then I coated the entire iris and pupil in black. I then did a gradient of meaty ochre at the top, green in the middle, and light turquoise at the bottom of the iris. I added a little variation to the iris by doing radiating lines of the base colors mixed with a bit of white.
I finished the eye by coating the pupil in black and using white to paint a few reflections.
For the metal surrounding the eye I tried an nmm gold similar to Jingqei’s armor. I’ve never done such a large smooth nmm surface before, so I tried added a bit of noise to make it more interesting.
I wasn’t quite satisfied with this look, so I tried something a bit different with the metal surrounding the eye on the other side later on in the process.
As you can see I painted the rest of the sphere at some point, but I’m running out of room in this update and I don’t think it’s really interesting enough to merit an update on its own, so I guess for the next update I’ll move on to the base.
Chicken Feet
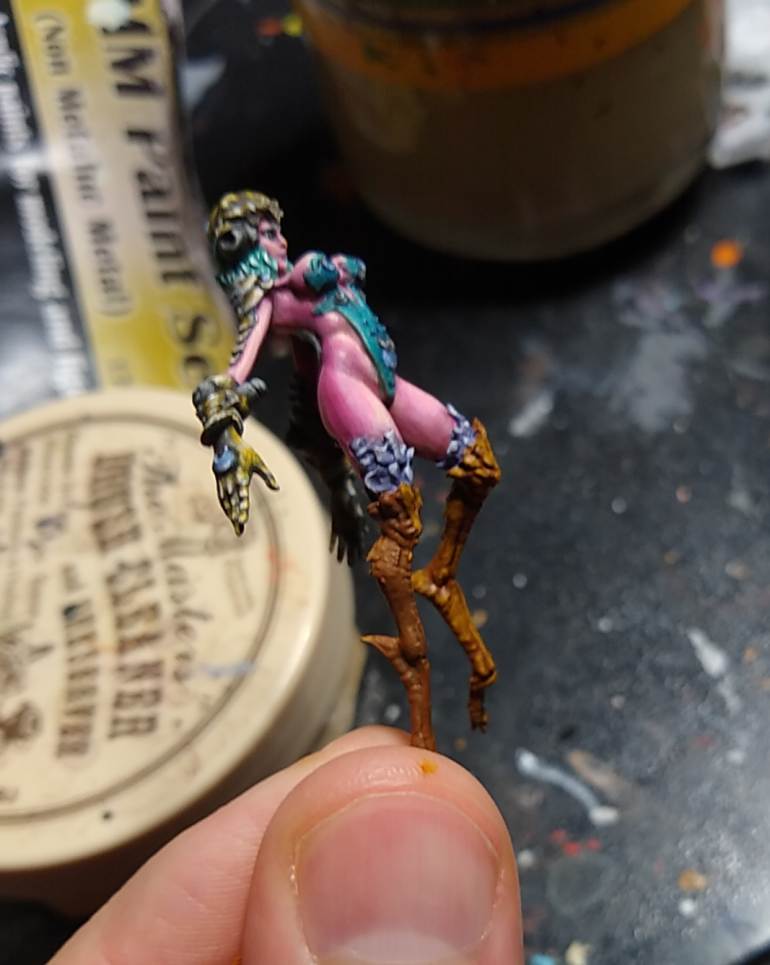
Just a quick little update today, since it doesn’t really fit in any other categories. This is on her chicken feet.
I actually painted the feathery fringe around them some time before this in the process, but I’ll mention it now. I got the color by combining squid pink and light turquoise and highlighted them pretty simply by adding white to the mix.
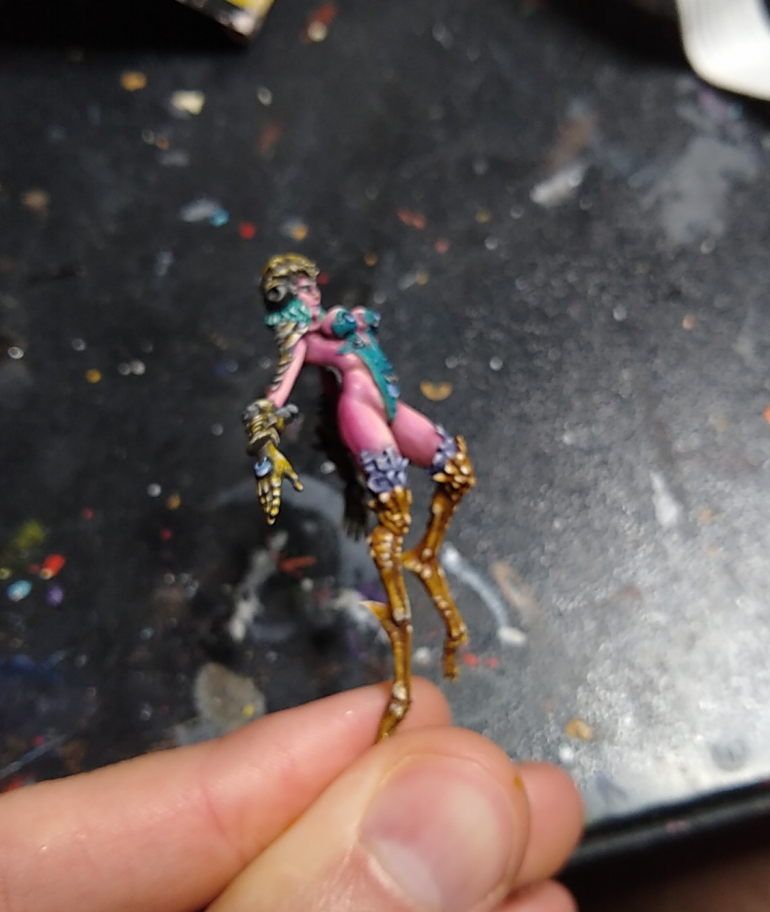 Another angle. I didn't really worry about blending at all on these to try to evoke that dry/dusty/scaly look you see on bird legs
That’s it for this one, next update I’ll finally get to the eyeball.
Clothing and accesories
With the skin finished I moved on to the clothes and accessories. To keep with the scheme I had decided on I made the metal parts gold and her leotard-thing turquoise-green.
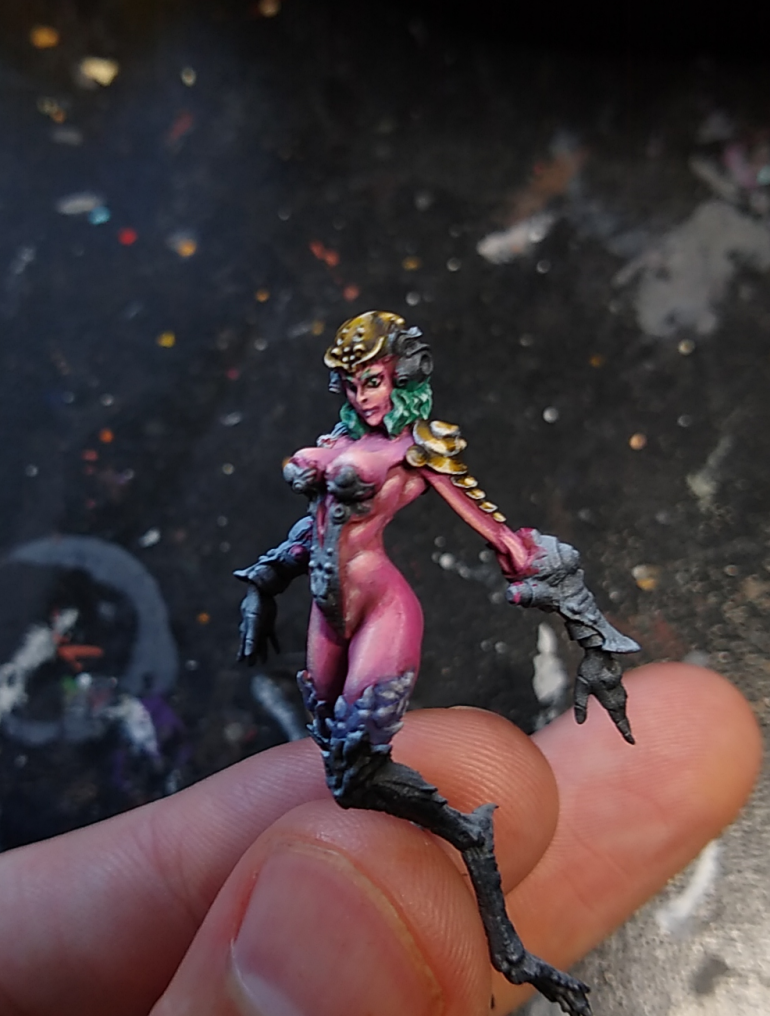 I did a good bit of work here without much in the way of WIP pics, but I'll show you some for her right arm
So my formula for gold went as follows:
Basecoat with a mix of VGC Dark Fleshtone (dark red), VMC Flat Green, and VMC Black to get a very dark brown. I hoped by incorporating colors I used in other places on the mini it would help tie the gold to the other areas, but I’m not sure how much difference it made in this particular formula.
Start adding in P3 Meaty Ocher, the main color of the mix, and do successively brighter highlights until I reach the mid tone, leaving some areas darker for shadow/dark reflections.
Add VMC Desert Yellow for the large highlights, followed by some VMC Ivory on top of that for smaller highlights.
Be sure to clean up/blend the transitions around this point in the process.
Edge highlight with a mix of meaty ocher, desert yellow, and ivory (mostly ivory).
You have a pretty nice gold look at this point, but it leans both orange-r and less saturated than I was going for here. So I glazed over the transition between the midtone and the highlight with VGC Sun Yellow to get a bit more of a classic yellow gold look.
See the gallery below for the steps illustrated
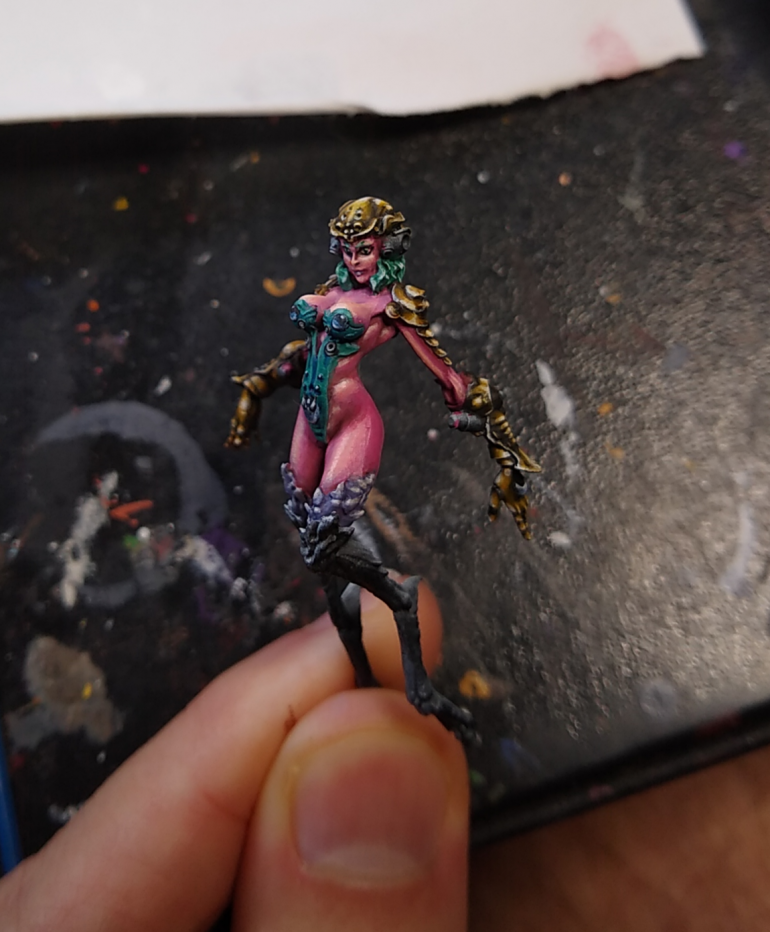 I don't have many WIP shots for her Leotard, sorry! The fabric is a mix of vmc flat green and light turqoise, highlighted/edged with a mix in of pure white and shaded in some spots with a bit of vgc midnight blue. Taking WIP pictures is a great way to notice things you might not just by holding and looking at a miniature, like that really obvious line on her left leg which I went back and fixed after seeing this picture.
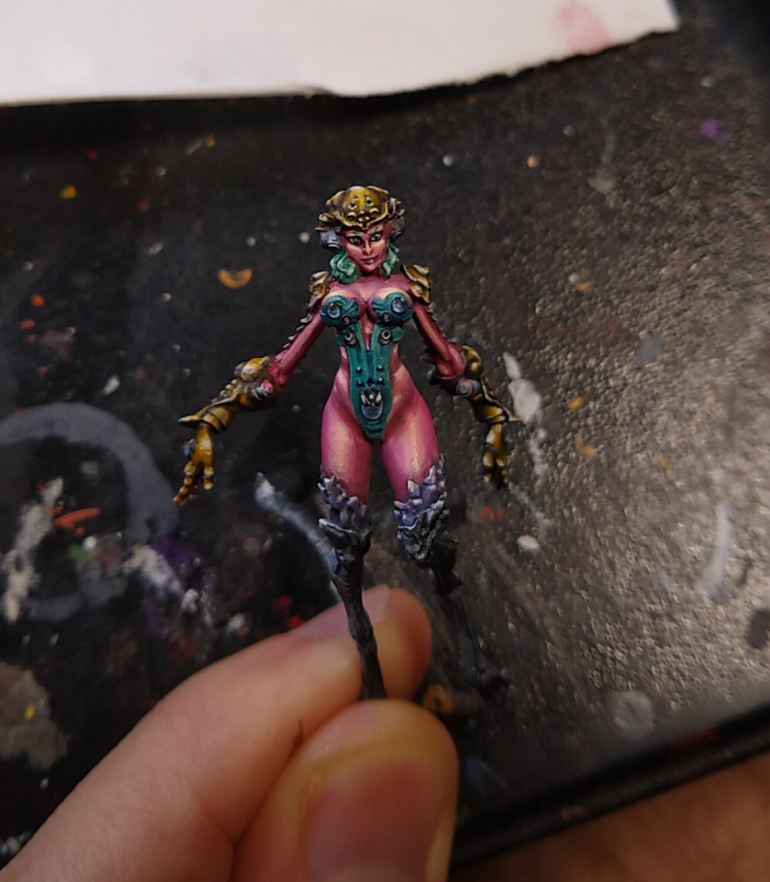 The grey metal (which you can also see on her arms and helmet) is a mix of vgc dark flesh, vmc flat green, and vmc black highlighted by mixing in whites. The pale blueish purple I used in the gems is from mixing light turquoise and vgc gory red.
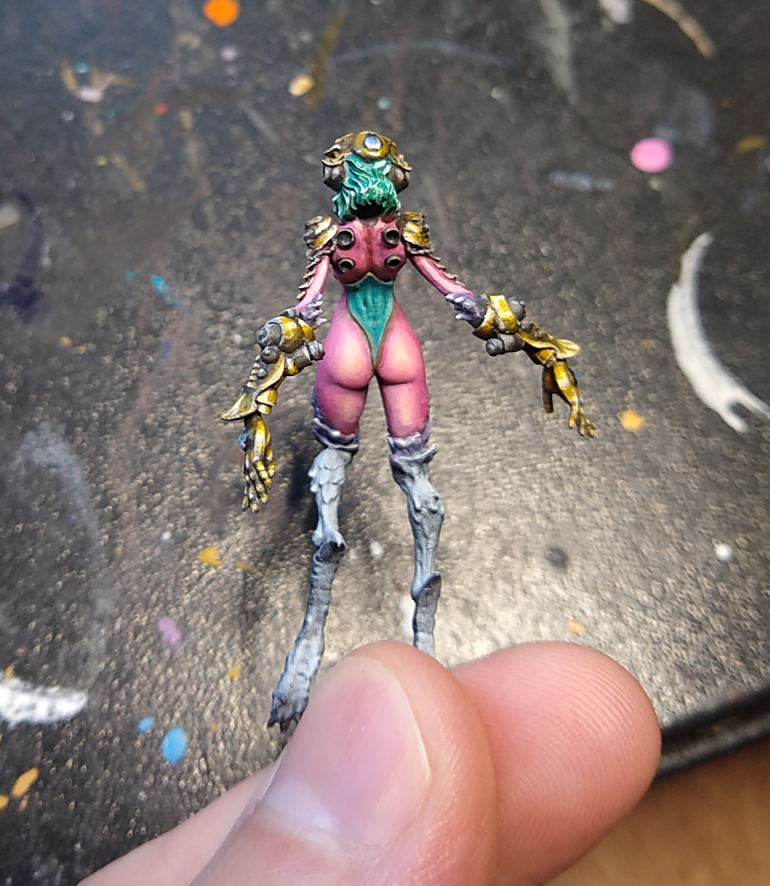 Rear view of where we're at. This angle isn't so important as it largely gets blocked by the her big eyeball, but I don't want to totally neglect it either.
At this point her main body is really coming together, with only really her chicken legs plus some cleanup work to do before we move on to her eyeball.
Skin
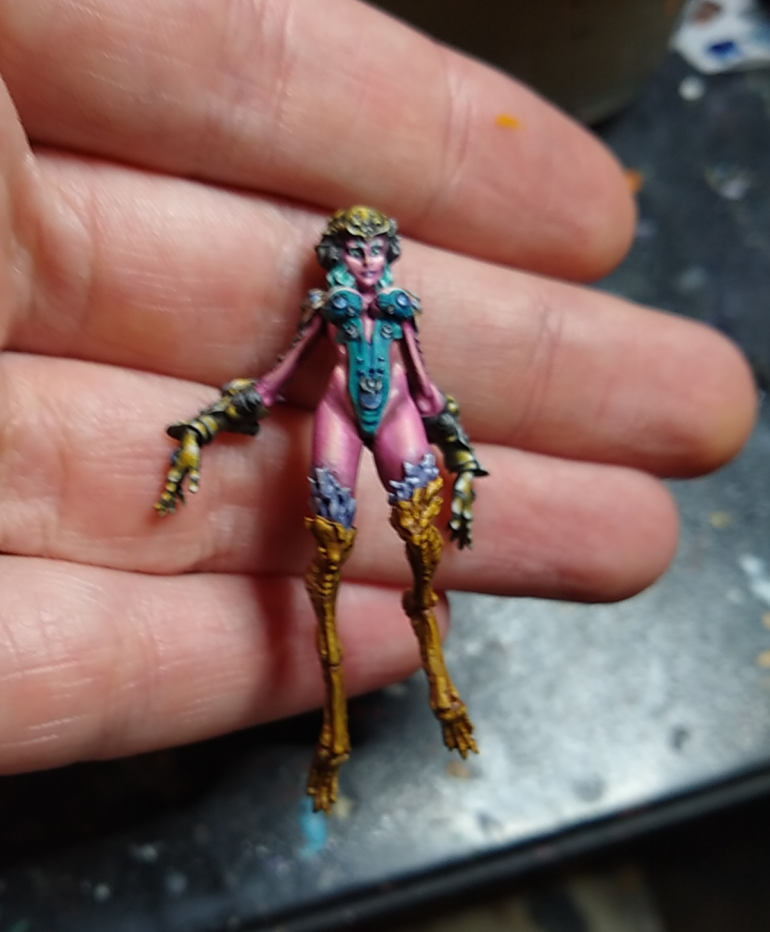
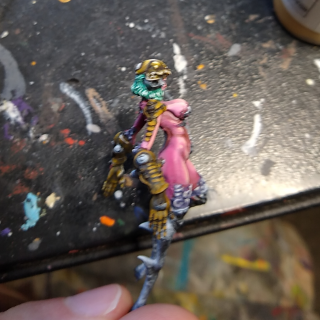
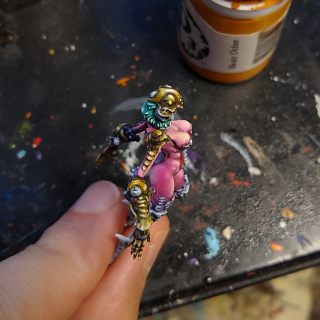
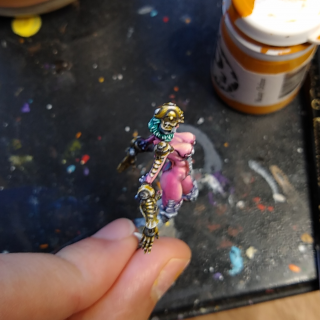
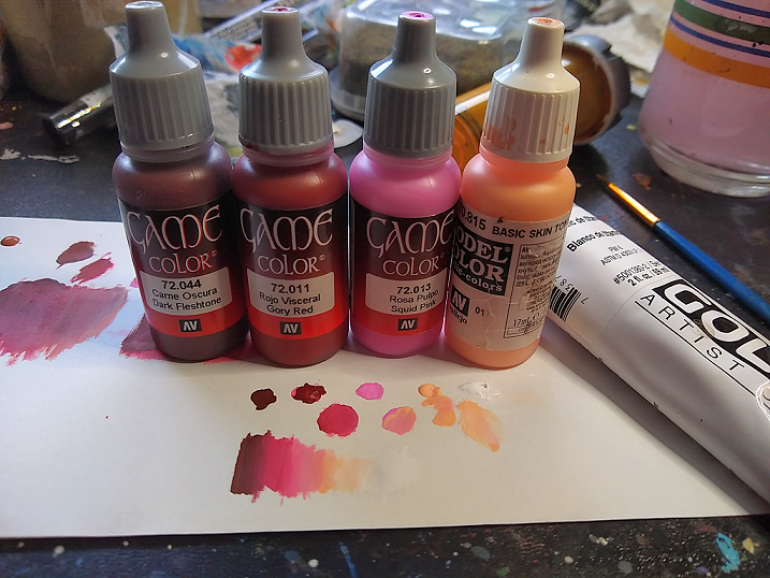
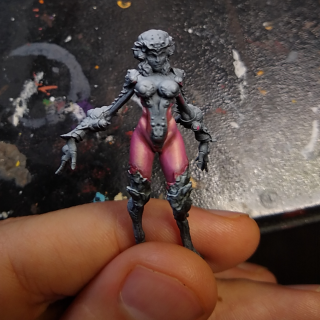
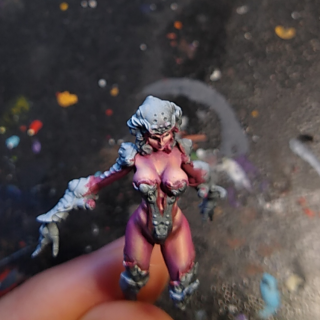
On to the actual painting! I prefer to start with the skin, which works quite well for this mini since it’s both very large and probably the single most important element of the sculpt. I originally wanted to give her red skin as a contrast to Twilight’s blue skin (more of a mood contrast than color theory contrast), but as I was playing around with my paints I came up with a pink scheme I really liked, so I decided to go with that. From there I decided on orange-gold and green-turquoise as the other two major colors in a scheme that seems roughly triadic. I’m not great at color theory but I do try.
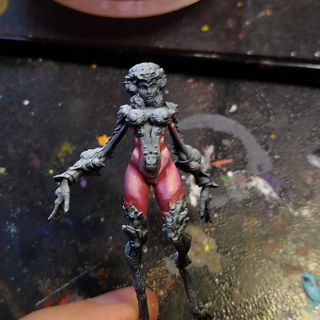
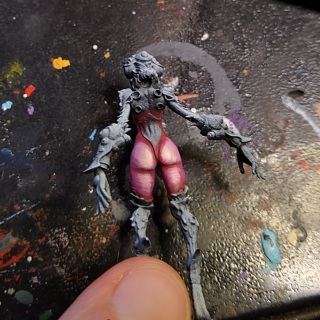
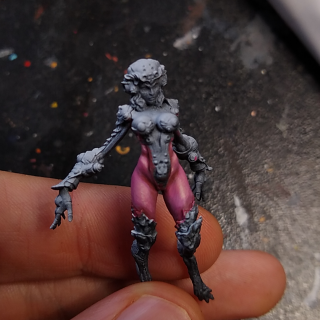
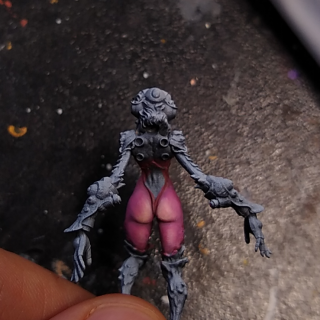
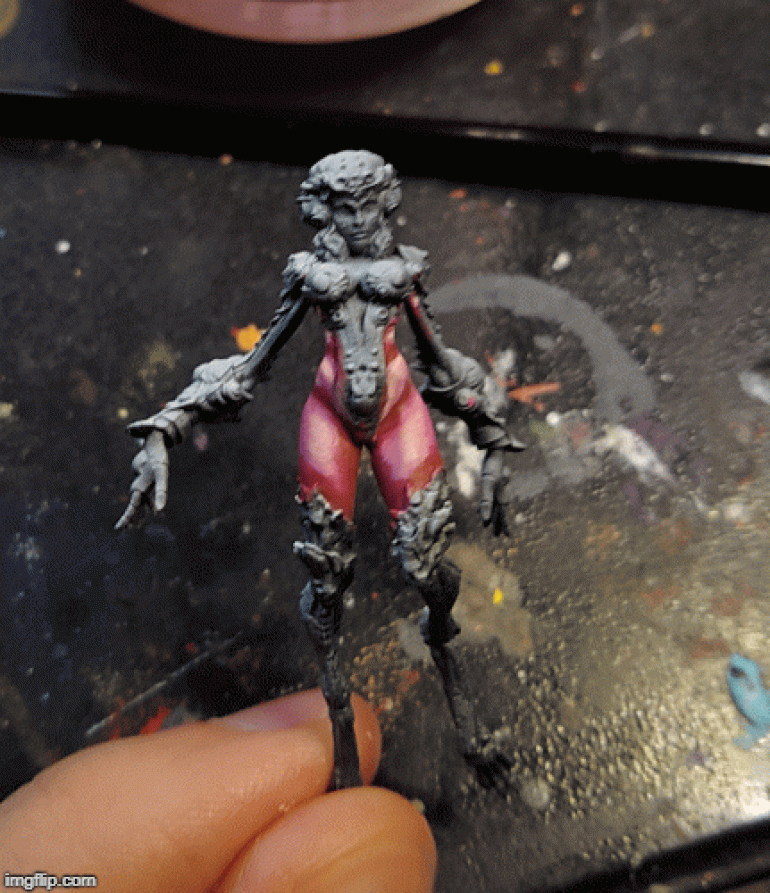
I started with her bottom half to work out how I was going to paint the skin, since it’s the largest and least complicated area. I basecoated everything with my shade color, then sketched in some midtones and highlights. From there I worked with thin layers and glazes to blend the area together and refine the mids and highlights. When I work this way I almost always end up with a much brighter product than my initial sketch, so I was sure to take that into account.
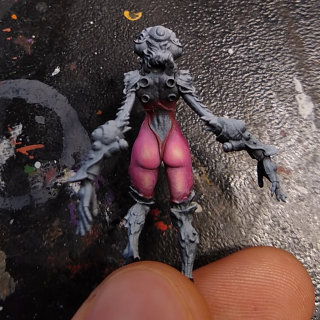
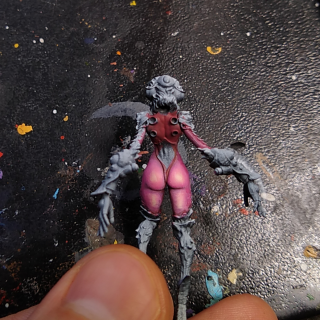
A note on her butt. I placed the highlights incorrectly in the initial sketch. A butt is roughly two spheres, the highlights should be circles in the center-top of each cheek. Instead I highlighted them along the bottom edge which gives them a bit of a deflated tire look. If you click through the gallery you can see the initial bad highlight and where I fixed it.
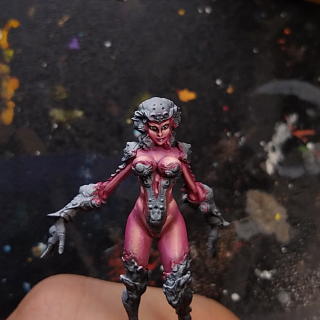
After that I painted her face. I always like to do the eyes first, since I find it easier to be messy with eyes and neat with the face than vice versa. First I shaded her eye sockets with vgc dark fleshtone with a bit of black added. Then I filled in the eyes with a combination of white and basic skintone. Then I did her irises in I think VMC flat green, her pupils in black, and a glint of light overlapping her pupils and irises in pure white.
After that I painted her face in much the same way as her legs, if a bit more carefully and with a smaller brush. I like to use little dots of glaze for blending areas like this. I also took care to make her face the brightest area of her skin, since after years of watching tutorials telling you to do this it finally sunk through my thick skull. It really does give you a better result, try it!
For her lips I combined I want to say pink and turquoise to get a purple, which I highlighted with a glint of white on her lower lip.
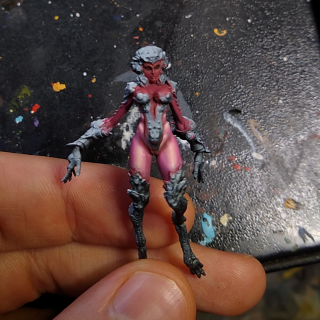
After the face I finished off the rest of her skin, namely her arms, breasts and decolletage. A note on her arms here, while her torso and head are about the height of a primaris marine (skinnier, due to the lack of power armor), her arms and lower legs are very long and distended. Her chicken legs are part of her bird theme/charm, but I wasn’t a big fan of her long skinny cylindrical arms. I just left them as simple cylinders.
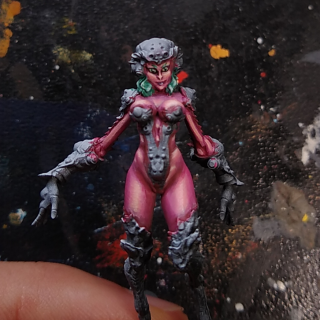
For the breasts and decolletage, I also made them very bright to again frame and draw attention to her face. I was careful to blend as smoothly as I could here since I think rough blending would stick out like a sore thumb. You can also see that I did a sort of weird lumpy job on the bit of her sternum peaking out from the cleft in her outfit. I came back and fixed this much later on.
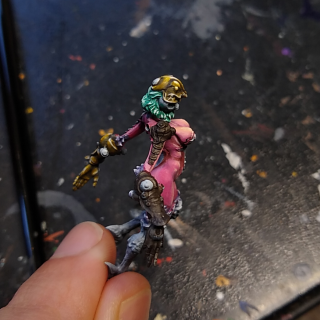
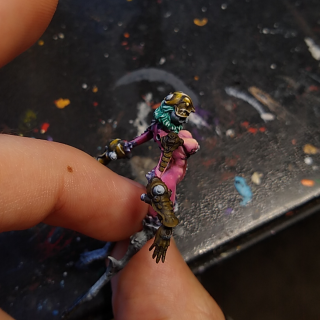
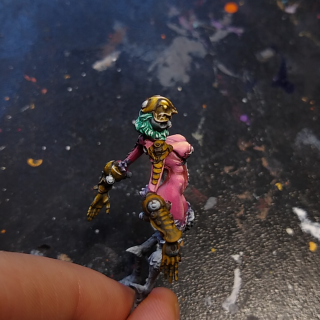
To finish off this section I also did her hair and eyebrows. I did a combination of vmc flat green and light turquoise highlighted pretty simply by adding white to the mix. I’ll admit it looks a bit, uh, Joker-y at this point but I think it comes together better when I start painting her various gold accouterments, which I’ll talk about in my next post.
Intro and Miniature Assembly
Heya, this is my third Celestial Genesis mini. I’ve been documenting my paintjobs with On Table Top projects. I previously completed Twilight and Uzeon. It’s been awhile, but part of that is because I completed the entire thing this time before starting this project! My Uzeon project had large stretches with no updates due to work, school, burnout and etc. This time all the work is already done so I should be able to put out two or three updates a week so people can follow along steadily.
Anyway, for the first entry, I’m actually going to do two updates. The first update, is about Celestial/Diemension games at Gencon ’19. The second is about assembling the mini. So without any further ado.
Assembly:
It’s a resin mini so naturally I started by washing off the mould release agent.
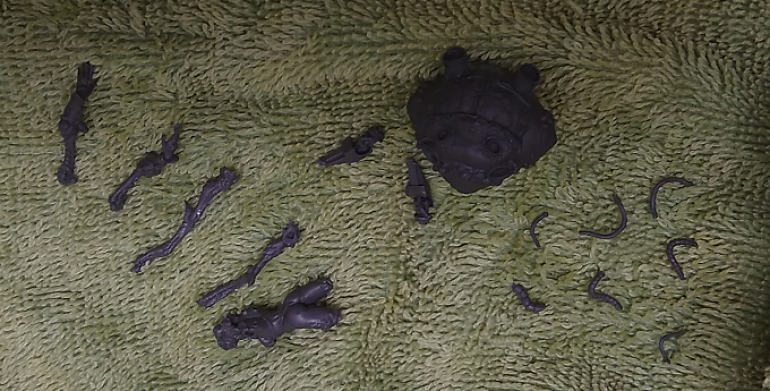
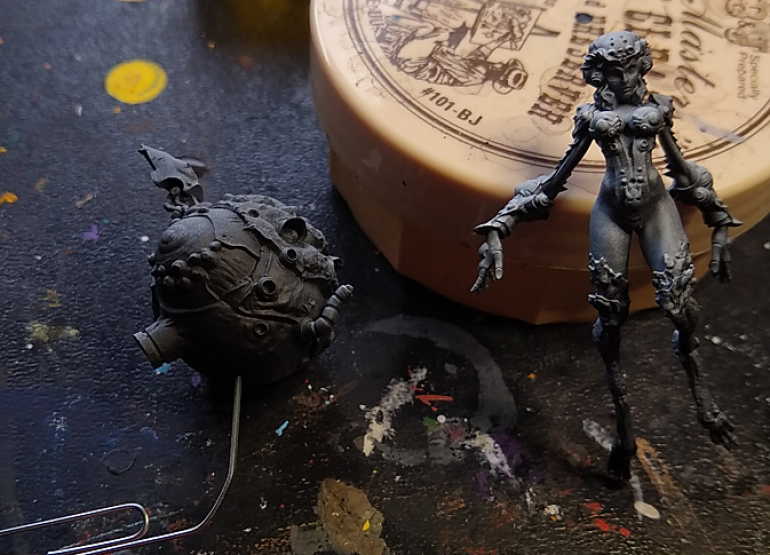
After that I settled on two fairly obvious sub assemblies, the body and the eyeball.
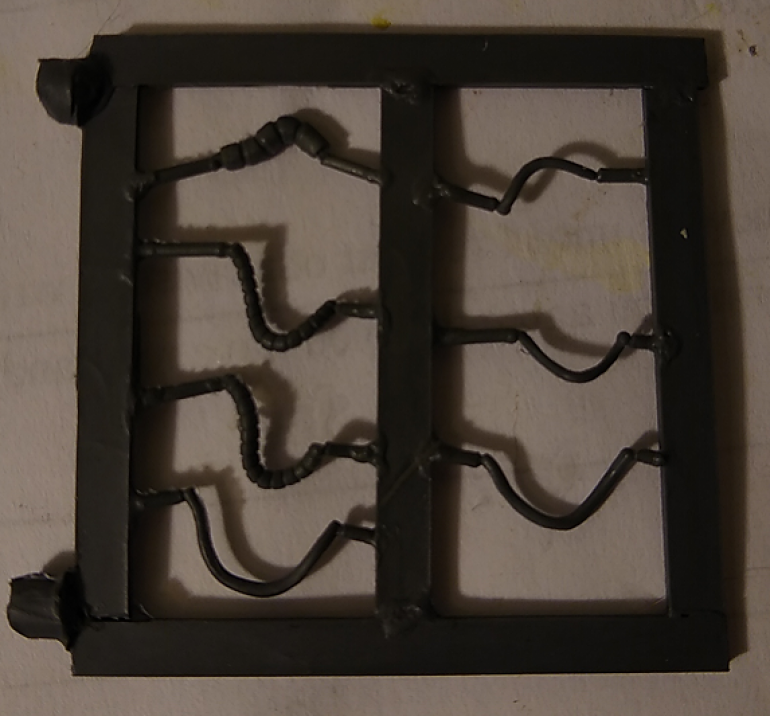
In addition to those two sub-assemblies. There’s also the matter of the tubes. Despite being listed as a single part on the box, they’re actually 6 different non-structural pieces that go between the body and the eyeball. I didn’t assemble them until after I had painted just about everything and had already attached the body to the eyeball.
It was a huge pain in the ass! After lots of trial and error I was able to put them into place using a pair of tweezers holding a glob of poster tack holding the tubes. I do think it was definitely the right decision to leave them off until that point though. I got them all going to more or less the right place, although if you really wanted to nail the placement you could consider leaving her arms off until you’ve attached the tubes. The tradeoff there is pretty questionable, though.
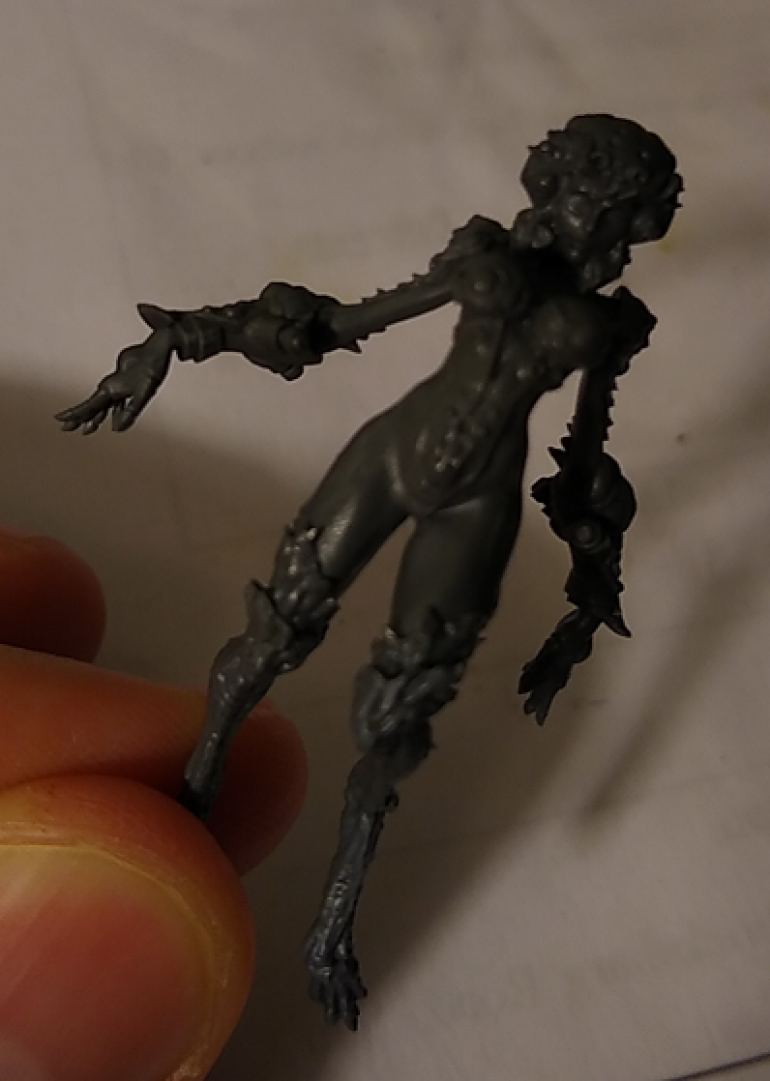
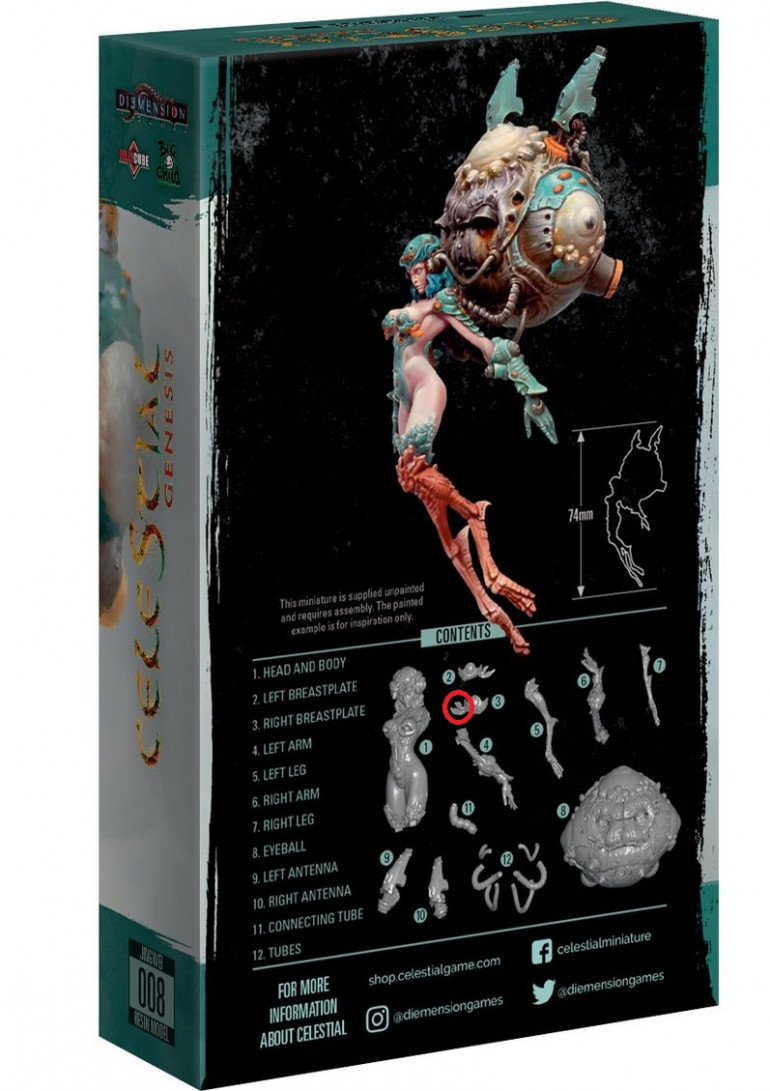
Another thing I want to mention, the parts list on the box is actually incorrect! The parts listed as 1, 2, and 3 are actually all one big part. I guess they changed things between printing the box and actually casting the minis. In addition, the little feathers that you can see on part 2 are right where a gate in the mold connects to the mini, and they actually sort of snapped in half on mine when I removed it from the sprue. I tried repairing it but failed and ended up just snipping off the feathers on parts 2 and 3 entirely. A bit disappointing but I don’t think it’s a negative impact on the end product. I guess it gives her a bit less connection with her mythological inspiration, which I believe is some sort of bird.
This update reads like a lot of gripes, but really it was mostly a smooth and easy assembly without much to really talk about(aside from the tubes!). It’s a very high quality mini as expected from something sculpted and cast by Big Child, but I might only recommend it to modelers who are pretty confident in their assembly skills, unlike Uzeon who is pretty chunky and would be hard to screw up or damage.
Anyway, my next update will be on the skin! This one was a bit short but remember it’s a twofer. If you’re at all interested in Celestial be sure to checkout the Gencon update below this one.
Intro and Gencon '19
Heya, this is my third Celestial Genesis mini. I’ve been documenting my paintjobs with On Table Top projects. I previously completed Twilight and Uzeon. It’s been awhile, but part of that is because I completed the entire thing this time before starting this project! My Uzeon project had large stretches with no updates due to work, school, burnout and etc. This time all the work is already done so I should be able to put out two or three updates a week so people can follow along steadily.
Anyway, for the first entry, I’m actually going to do two updates. The first update, is about Celestial/Diemension games at Gencon ’19. The second is about assembling the mini. So without any further ado.
Gencon ’19:
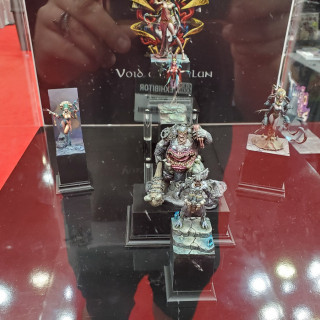
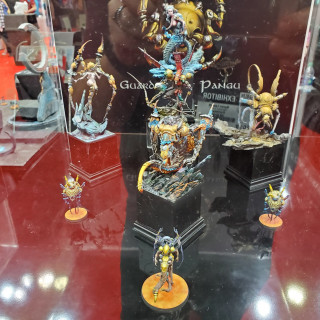
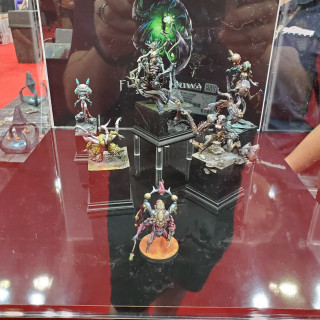
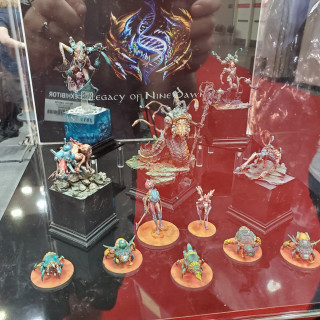
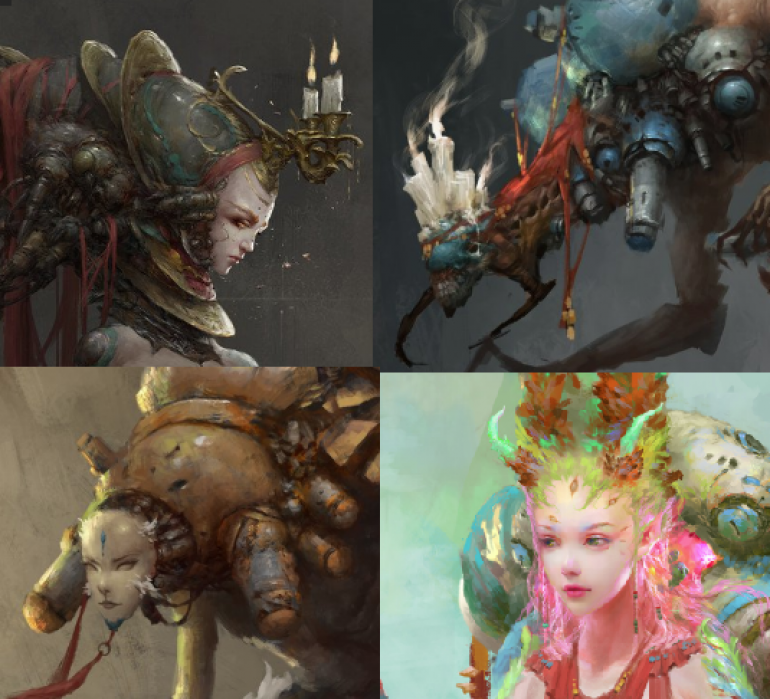
Diemension Games had a pretty sizable booth this year. They had playable demos of Deep Madness and I believe also Dawn of Madness. The highlight for me, though was the four display cases of painted celestial minis, many only seen before as concept art, renders, or even completely new!
Looks like the 4 factions are
Void of Kunlun: Featuring the Queen of the Void naturally, along with Twilight. Has the highest proportion of pinup style models. My guess for the game: this will be the sneaky/deceptive faction.
Guardians of Pangu: Featuring the Celestials based on the four cardinal direction deities, like Zhurong and Uzeon. Appears to be the most mechanical/robotic faction. My guess is that this will be the defensive powerhouse faction.
Flesh of Nuwa: Featuring Nucho and of course Jingwei. Seems to have the most “mutated” looking characters of all the factions. My guess is that this will be the specialist faction.
Legacy of the Nine Dawns: Featuring the will of the nine dawns himself, G’Gong, along with his flunk X’Hydral. Appears to be the most straight up monstrous of the four factions. My guess is that this will be the games full aggro faction.
I have no idea of the display cases represent which factions the characters will actually be in in the game. For instance Nuwa appeared in Guardians of Pangu case rather than her titular faction’s.
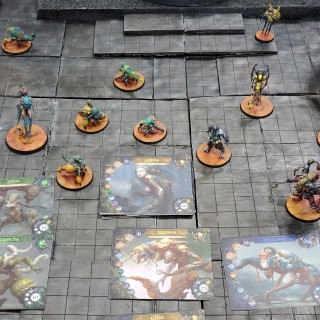
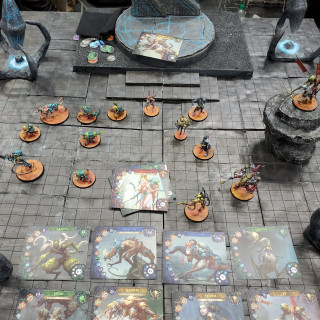
They also showed a gameboard with a mock battle set up along with some character cards.
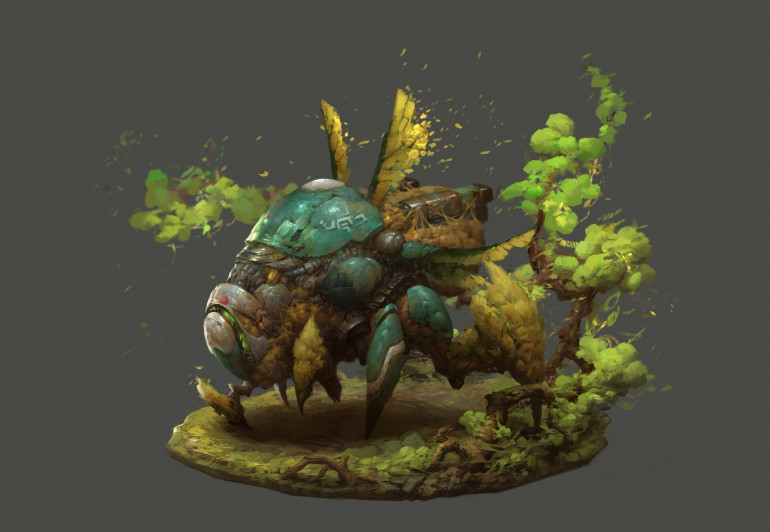
It appears that it’s going to be a skirmish style game with some nameless chumps to fill out your ranks in addition to the named celestials. Some of them are pretty cute:
I spoke with a few people at the booth, the guy who seemed to know the most about Celestial made it sound like we might be getting some new Celestial Genesis releases sometime this winter.
That said, I know they had to delay their Dawn of Madness kickstarter a bit since then, so I have no idea what their timetable looks like at the moment. I believe they’re still planning to do a kickstarter for the Celestial game with hard plastic miniatures at some point in the future. (Personally I’m way more of a painter than a gamer, so I’m mainly looking forward to more releases in the resin Celestial Genesis line).
Speaking of Deep Madness, the kickstarer for that recently successfully wrapped up. I didn’t back it because I don’t really need more minis in my life at this point, and the aesthetic is a bit too, uh, gruesome for my tastes (they’re seriously some of the gnarliest minis I’ve ever seen). That said, they are very well done, the painted versions at the Gencon booth looked amazing (I don’t know if pictures are available anywhere, sorry!), so if you’re interested I imagine they’ll be open for late pledges at some point in the near future.
Finally, there were some new Celestials released for Gencon. I particularly like Nucho. They’re still on sale at the site, check it out if you’re interested. (I should mention I have no connection/arrangement with Diemension so that’s not an affiliate link or anything, I’m just a fan).
Anyway, that’s it for Celestial news from Gencon, next update we’ll cut to the chase and start building Jingwei.


