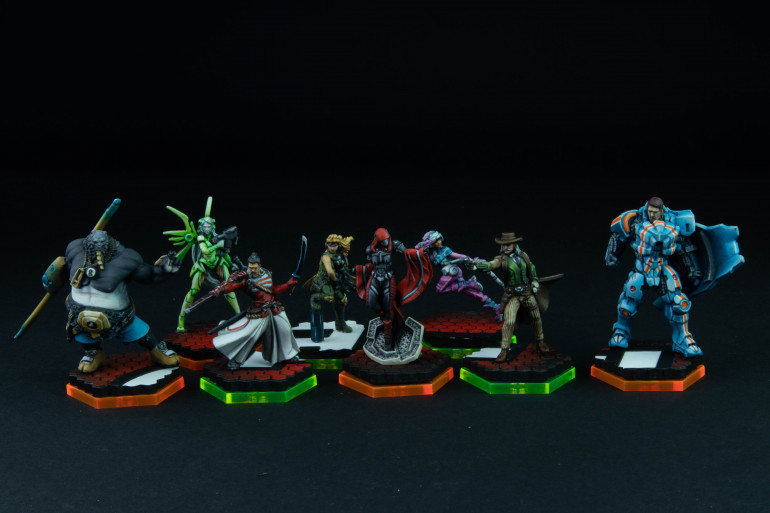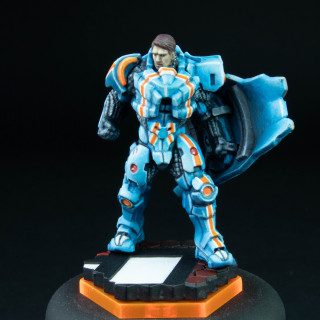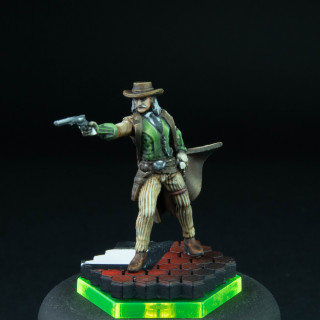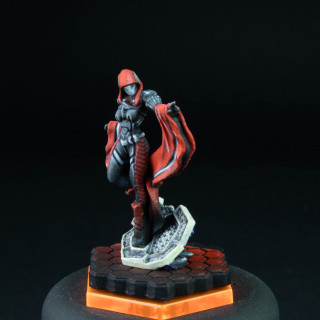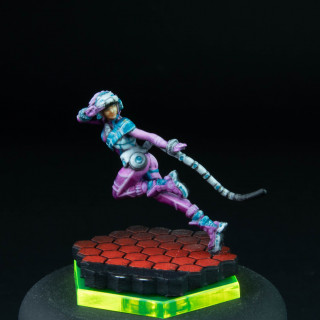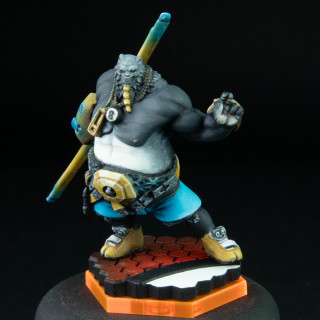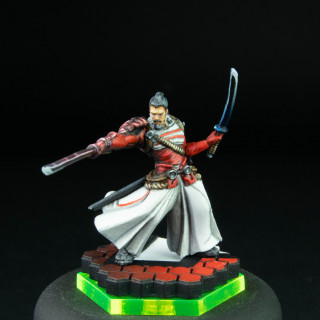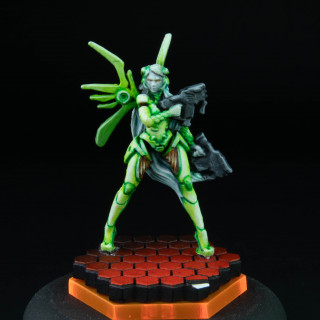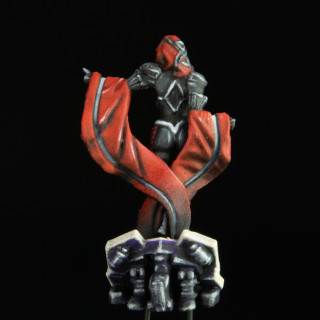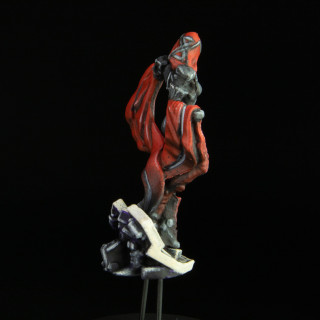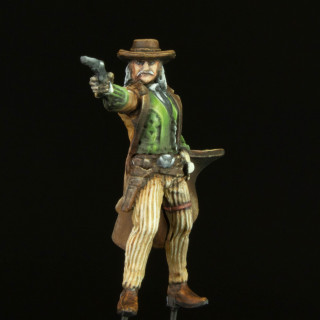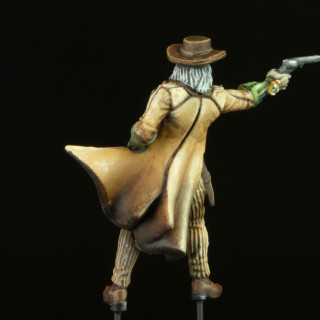
SoapDoDger’s Aristeia!
Recommendations: 85
About the Project
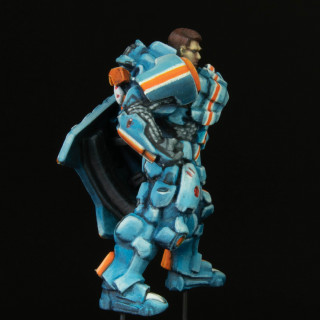
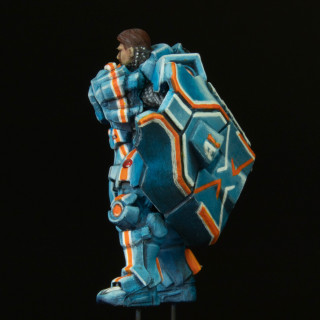
This is my next trip into the infinity universe. The ultimate sports show that is Aristeia! I will be starting with the core set and more if I like it. The hope is that it looks great and is easy to play when drunk (because infinity is not). Lets see where this goes.
Related Game: Aristeia!
Related Company: Corvus Belli
Related Genre: Science Fiction
This Project is On Hold
Early update due to procrastination
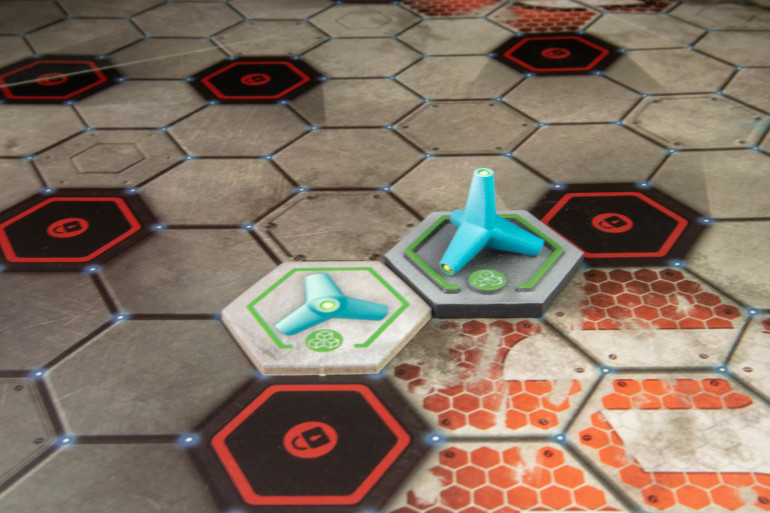
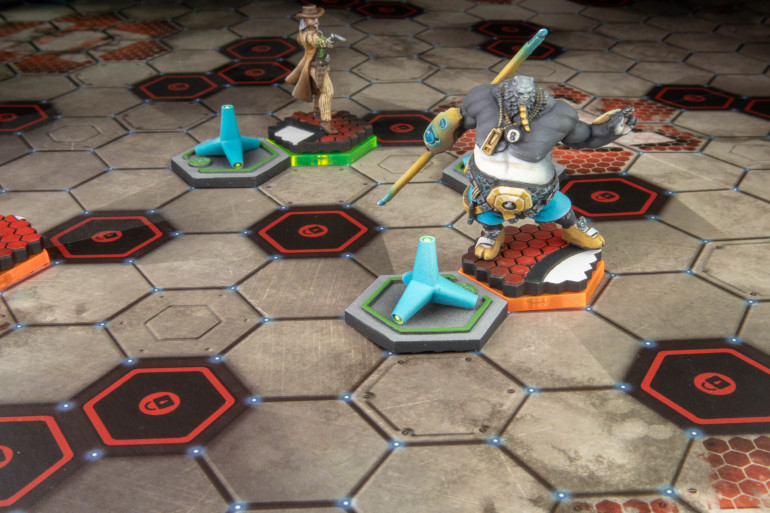
I was painting some more infinity and the red, white and black got to me. I just needed some turquoise in my life. How could I achieve this you ask? Some 3D counters.
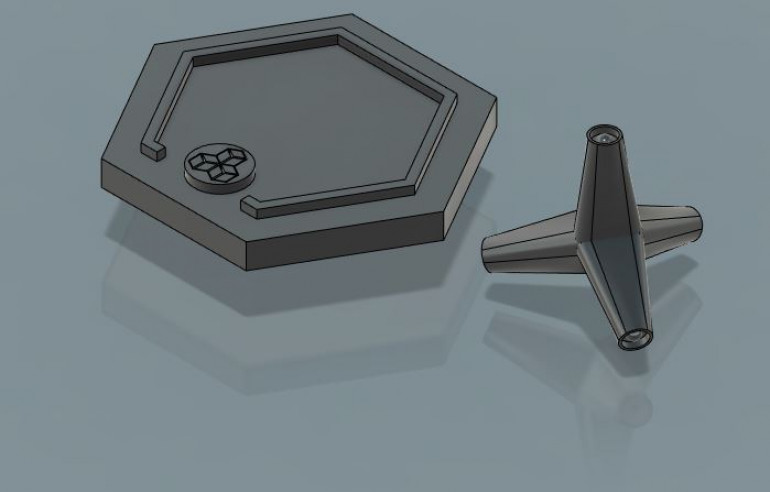
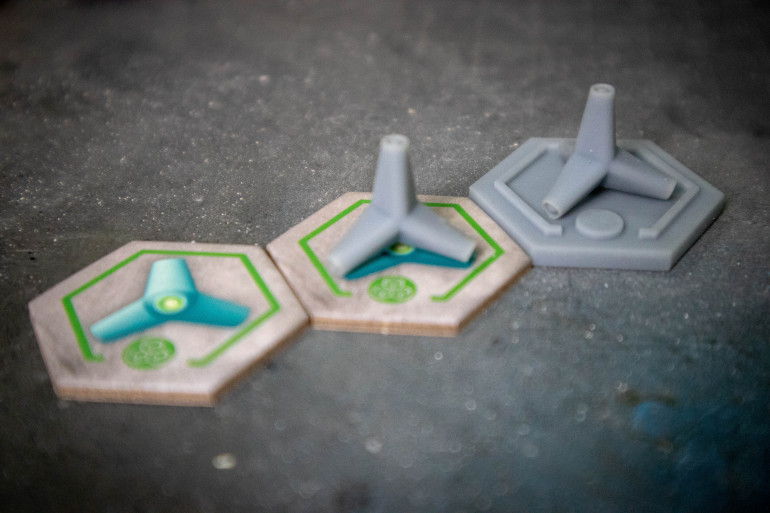
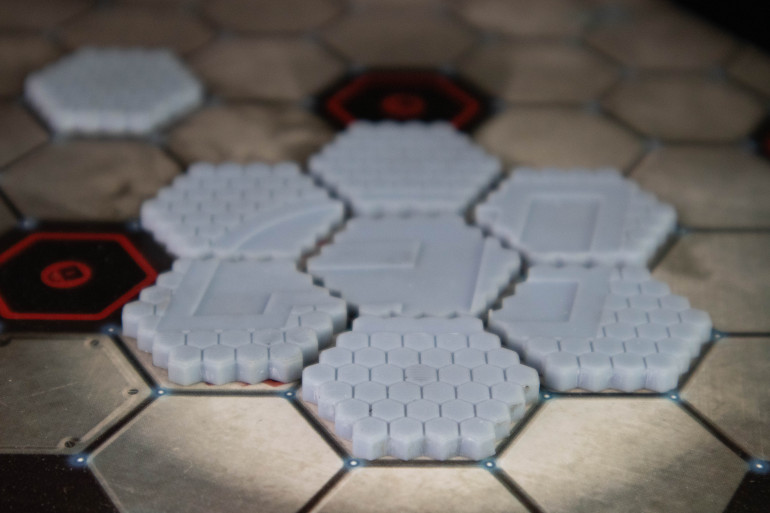
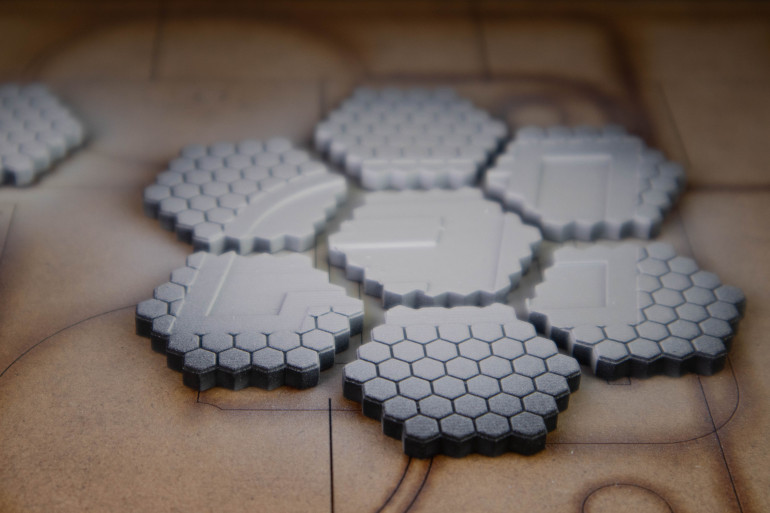
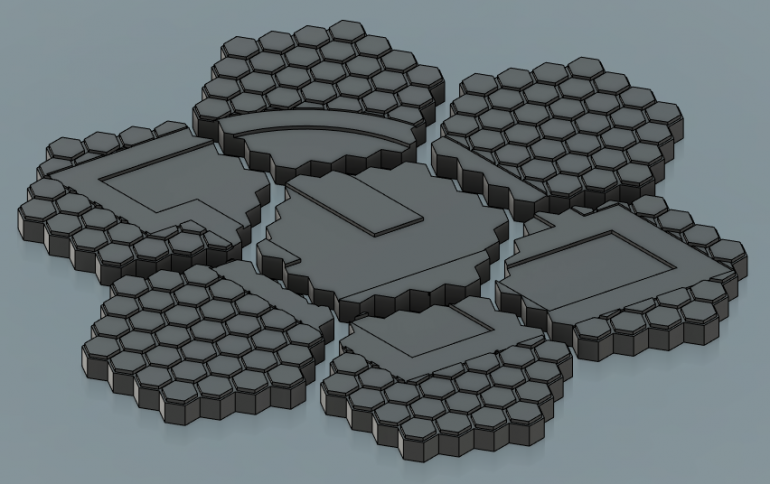
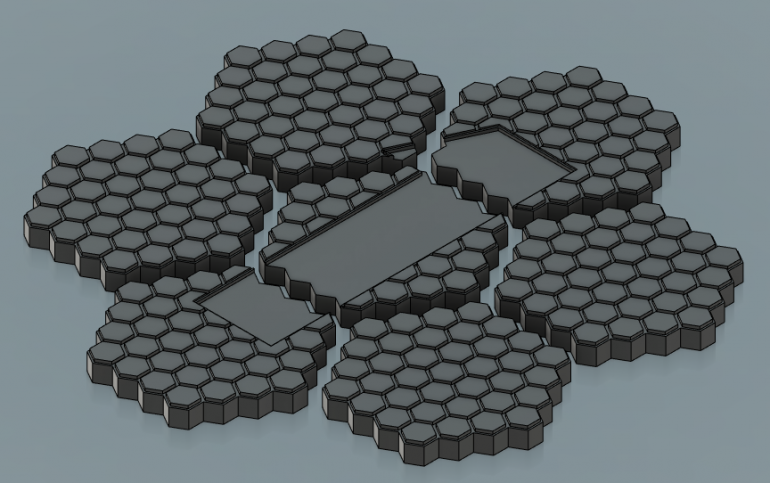
So I opened up fusion 360 and grabbed a obstacle counter. I want to keep the game abstract and accurate to the original vision for the board game. I took the 2D tile and translated it using the available information on the tile into 3D
The version I am showing is version 1.1 as version 1 had some issues with geometry, that being the inverted three sided equilateral triangle. This took 3 hours to work out in maths. Annoying thing is I bet 15 year old me would have sorted it faster. If you are reading this at 15 pay attention to Pythagoras, it may just help you in the future.
I printed out v 1.0 and spotted some issues. Changed this and printed v1.1 it still amazes me that you can conceive design and manufacture something in a matter of hours with automation rather than hand crafts. Also I have no clue as to how I would make this shape any other way apart from a sphere and pegs and some putty.
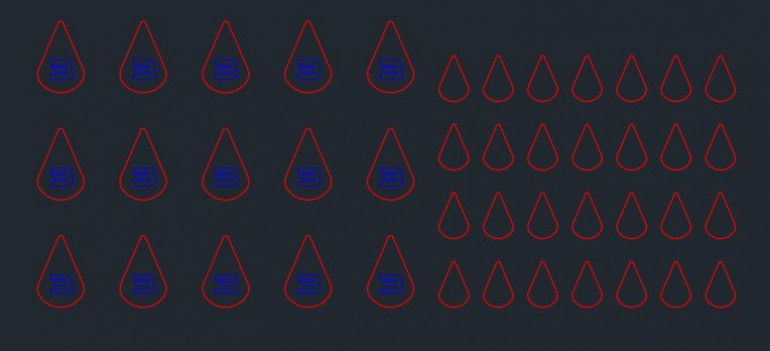
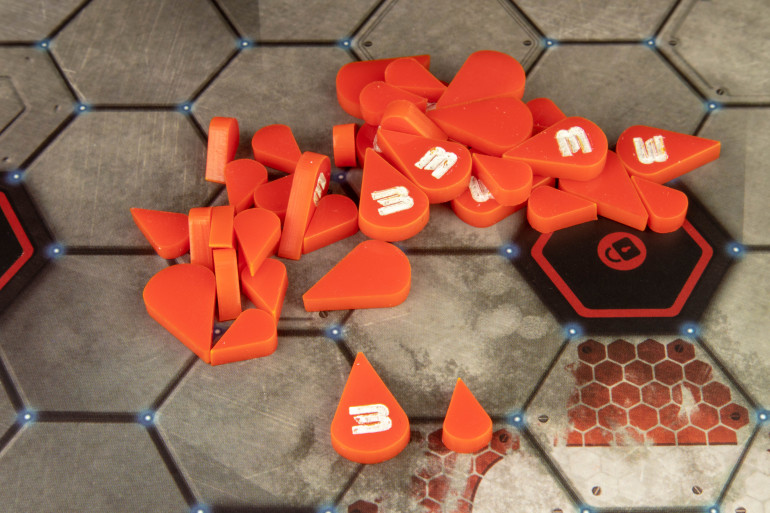
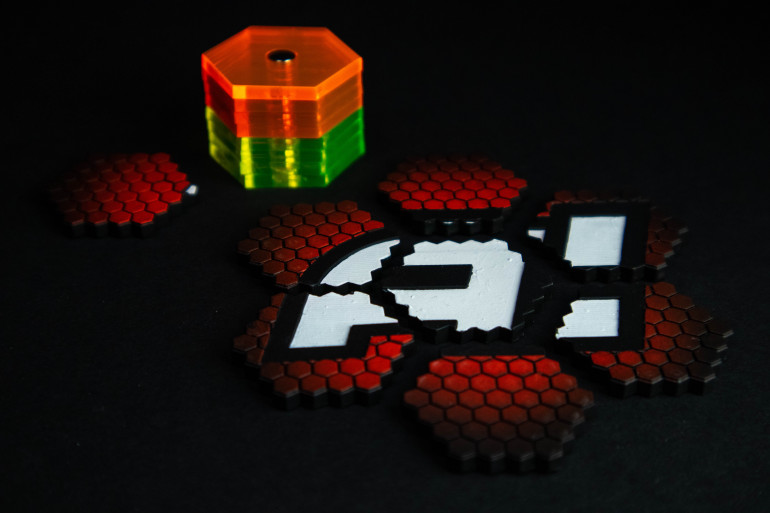
With that being done I turned my attention to tokens for a moment. I had some 3mm red acrylic so I went to town cutting out some tokens to replace the cardboard wound tokens.
These were drawn in fusion and exported the sketch as a dxf file so I could laser cut this.
I then engraved then cut out the tokens. I painted the 3 in them in white and then wiped off the excess. This worked but it’s not as clean as I want. I used acrylic for the infill but I think an enamel would have worked much better and be more durable. So I will probably revisit this.
Overall a mixed bag very pleased with the obstacles. displeased with the opaqueness of the tokens for photography but they work well in normal light and are pillar box red. The 3’s though that needs some more work. |They are not the quality that I hoped for I may need to do some further research. First time doing infill on an engraving.
More to come. Again perhaps after I have played a game.
Putting everything together.
Now it’s time to put everything together and finish phase one of this project.
I cut the paperclips the models were mounted to painted the bottom of the cut clips in white and while still wet placed them on the base in the orentation I wanted.
I then used a pin vice and micro drill bit to drill holes and then superglued the models to the base. I don’t this for each of the models.
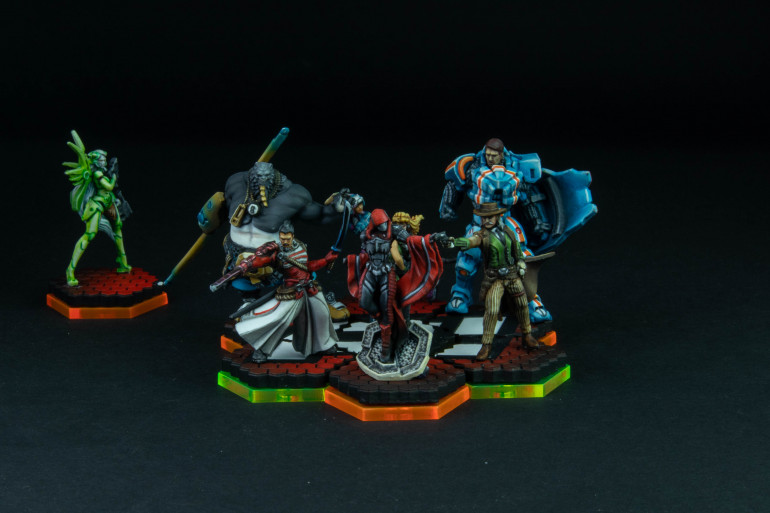
So that’s stage one complete. Quite pleased with the results.
Still don’t like the plastic game pieces but overall they do a job. Just to play the game in a few weeks and I will base the decision on phase 2 on the outcome.
Next up could include a few expansions, obstacles, barriers, custom tokens. Just don’t know if I want to invest the time yet.
Will not be updating this project for a few weeks until the game and will post a response to that along with next steps or marking this as complete.
We will see but at least I can say more to come.
Finished bases
I completed the 3D prints in the early hours of the morning. I cured them under a UV light and sanded them down. This went ok but I could have been a little less rough with the prints when they first came out. Also a couple of issues with the tips off the bottom as I printed at an angle. I could have also made these a little more print friendly when designing them.
I inserted the magnets on the bottom and also sanded these flat and removed the magnetic powder. this was quite minimal though. I used 2mm x 6mm magnets. Seems like really good pull on them and keeps them in place.
After that came the priming I wanted to treat these just like a mini so done a 3 colour zenith. Black, grey and white in the centre.
A fortune moment happened when I realised I could stick the bases onto a spray board with magnets. This made things a lot faster.
After this I went in with red ink black ink then black and white paint. I did test out a grey instead of black to closer match the base but didn’t like the results.
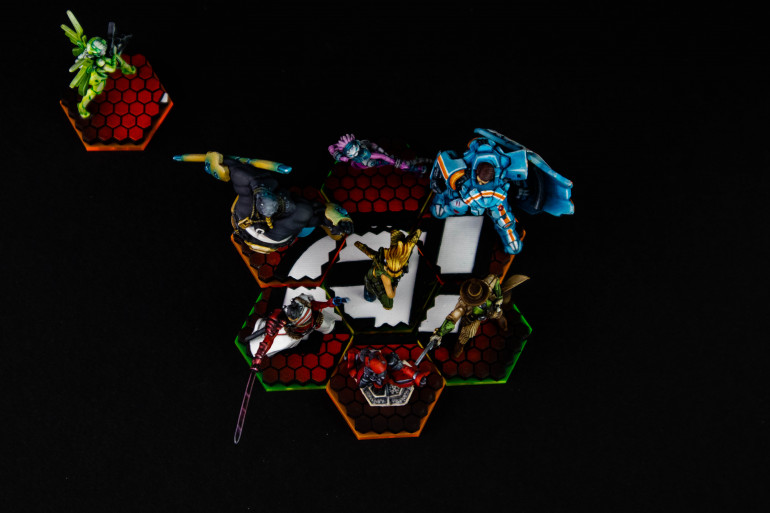
I also then went and cut the acrylic and glued the magnets in place with 2 part epoxy so but to haze the acrylic. this worked better than expected as I can stack all of the acrylic team markers together when not in use or during draughting.
After this I gave everything a coat of gloss varnish then matt. I liked the gloss look but only on the raised surfaces but my patience had it’s limit.
All that’s left is to put everything together.
Designing bases
Now that’s everything is painted I need to create more work for myself.
I looked at a lot of bases, I liked elements from all of them. No base I found had the complete package.
They needed to be able to take team colours, Gameboard inspired and cheap as I have earmarked all of my funds to the Defiance Kickstarter.
I seen some small hex ones but the bases seemed very 2D and they were painted black with acrylic inserts I didn’t think they fitted in with the gameboard to much. I also seen some round cinematic ones but felt the same way. See some on @joshtogo ‘s Aristeia project hit everything but didn’t sit well on the game board for my tastes.
This left me with two options rebasing them on their bad plastic bases or designing my own. I opted to design my own.
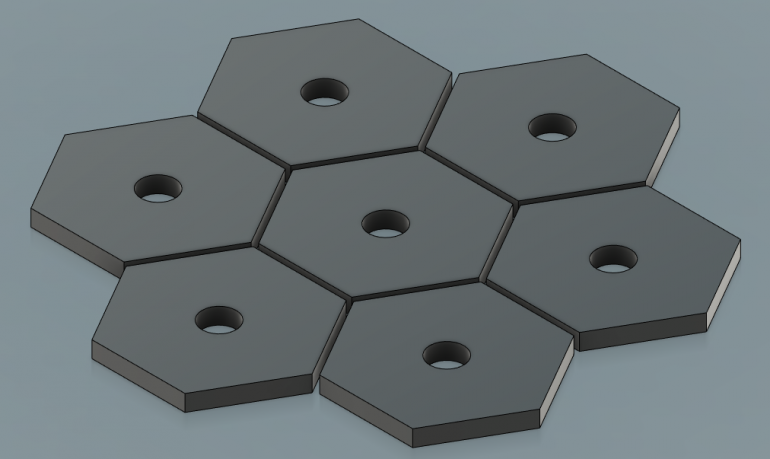
I took the scoring zones from the game board and modelled them in Fusion 360 Tried to make them 3D as opposed to being flat. This proved to be more difficult than I imagined more due to my stupidity than anything else.
When you draw a hexagon in Fusion 360 using the tool I did it takes the measurement from the centre to the flat of the hex. This made them almost double the size they should be. Great thing about fusion is you can scale the original sketch before making it 3D. Issue is it also scales all the gaps. Though it would get away with it. Sadly not the gaps filled in so are just hairlines on the base.
A redraw later (which was faster than the first time) and I am now printing new toppers now.
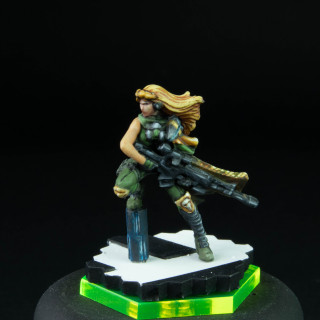
The toppers have a holder underneath for a magnet to fit in. The coloured team bases will be laser cut out of light gathering acrylic and a magnet put in place of them as well meaning I can change the team bases whenever I chose.
The reason that I think I need team bases so much is that when drinking and playing games the models may get a bit blurry but I hope to still be able to distinguish between yellow and green.
I hope to get one final print out tonight of the first 4 bases and the Acrylic bases cut out tomorrow along with the final 4 bases.
If I am lucky I should be able to get the start of the project complete tomorrow night and back to painting some infinity. I have my first game planned for the end of the month and that will decide if I continue onto making Blocked tiles, obstacles and possibly a board.
I think it might just end in that!
Boxed game painted.
The box is all painted now. I had visitors this week and it look a little longer as they were in the spare room (in which I paint). Finished up yesterday.
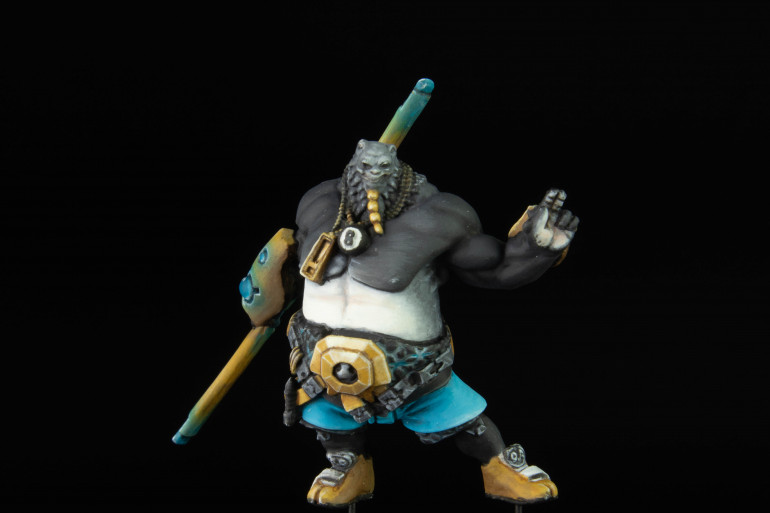
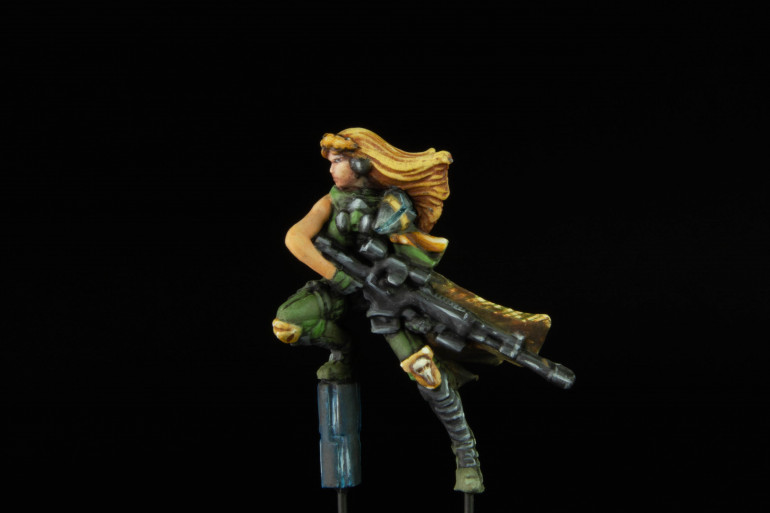
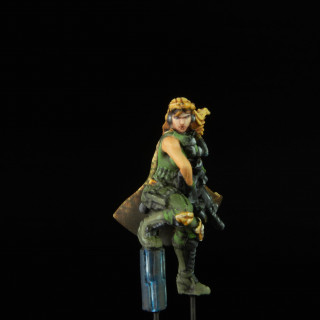
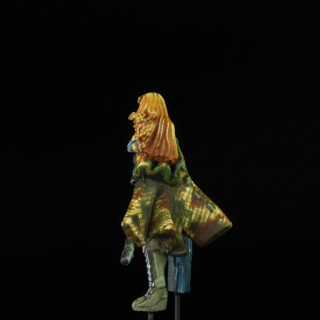
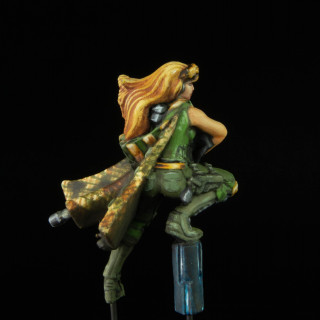
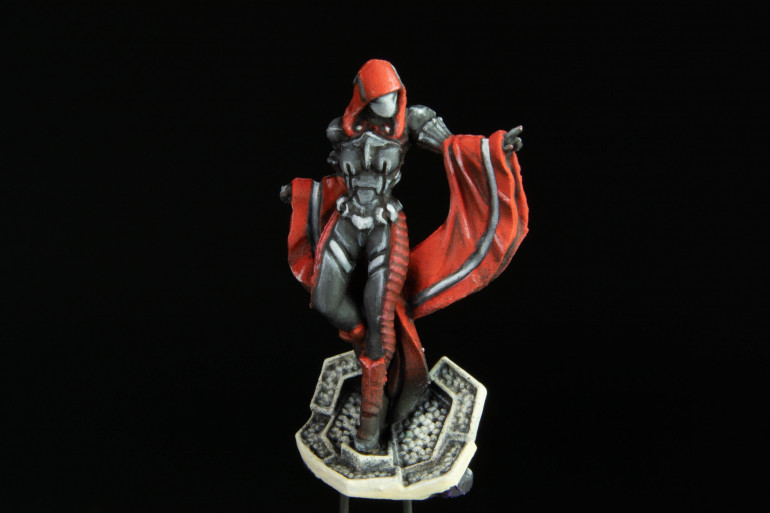
A bit nerve wracking in the OSL on 8-Ball. Decided not to do his tattoo. Major luna’s camo cloak was also pretty much out of my comfort zone so didn’t feel like doing that again.
Don’t think it detracts from the scheme to much. I think it was Just Angel Giraldez showing off. overall quite pleased at the results.
Now the paintings done it’s time to move onto basing.
Another three done
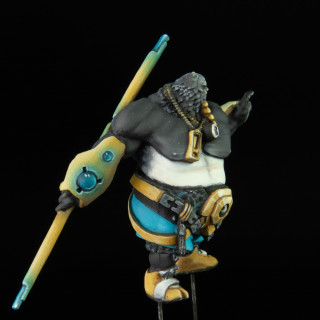
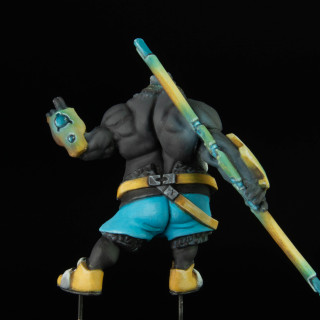
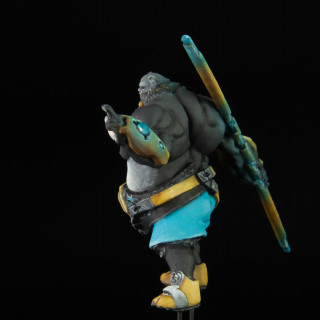
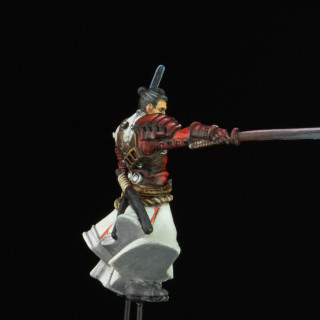
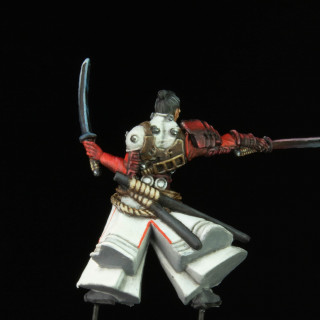
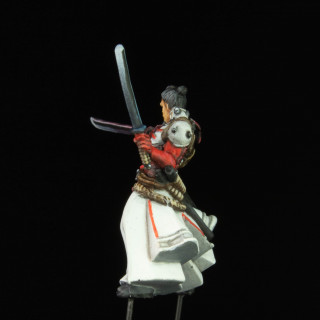
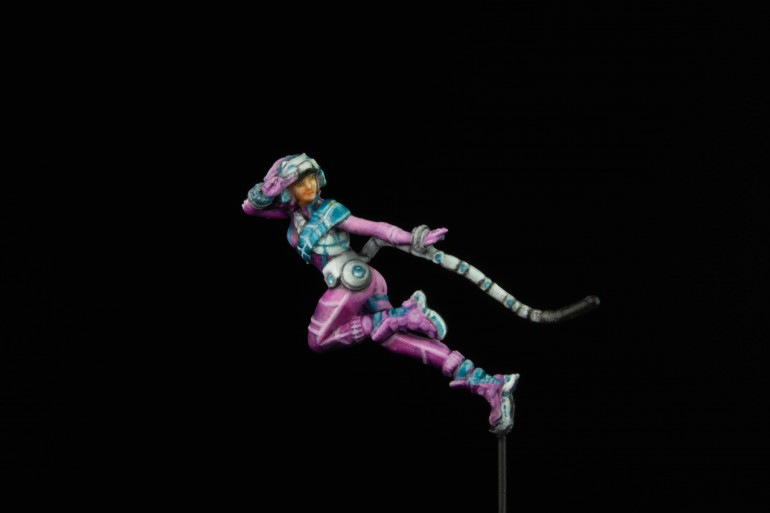
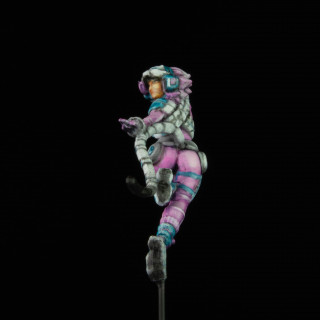
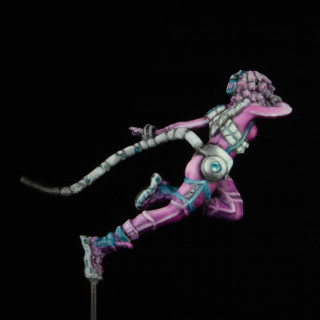
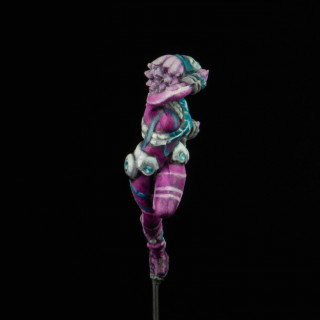
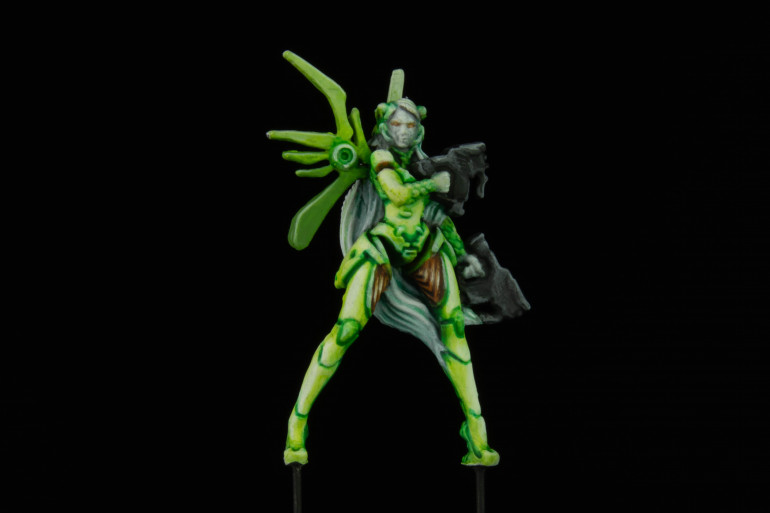
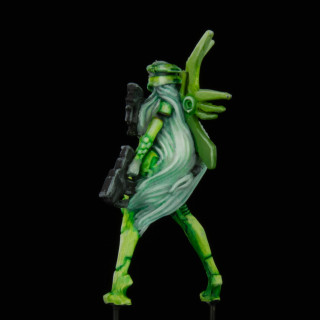
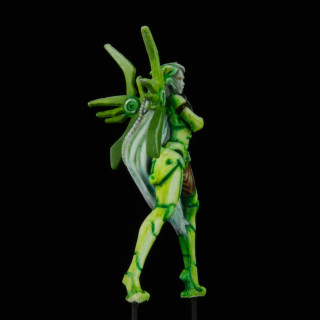
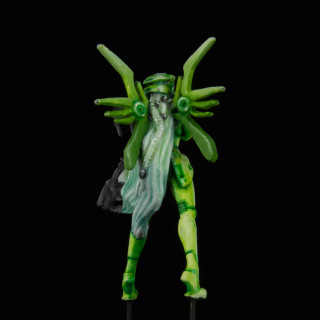
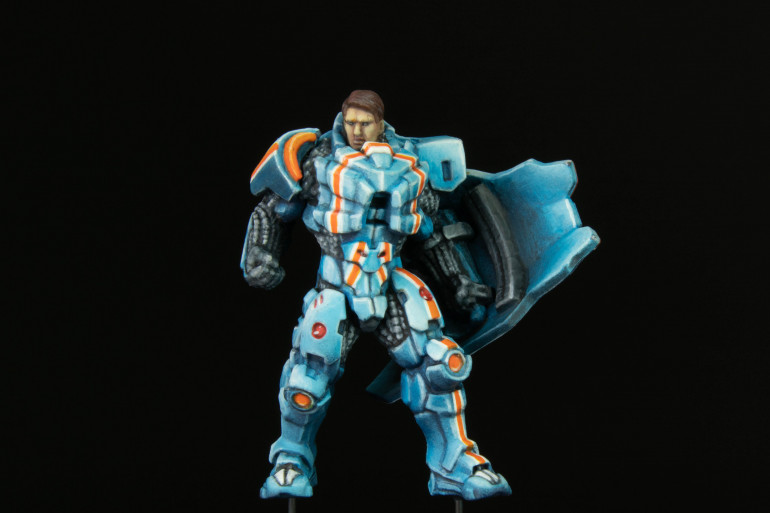
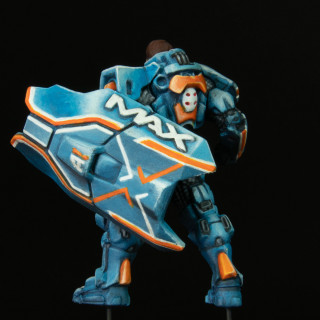
Another three models done! learning to accept mould lines and un-sharp details on the plastic minis. Still rough because the sculpts are amazing. Also I wasn’t sold on the colour schemes before I started. Just seen a line up of what I have done so far and they really pop. Which is what you would expect from the ultimate sports show.
Hope to finish painting this weekend but I am going out drinking tonight so… may not?
I am starting to get itchy to make the bases. Just ordered some magnets for an idea I have but we will see. I think it’s a bit of a rip off of some I have seen but cant find them again. Whatever I go with I think they will be based on something magnetised on a colour team base.
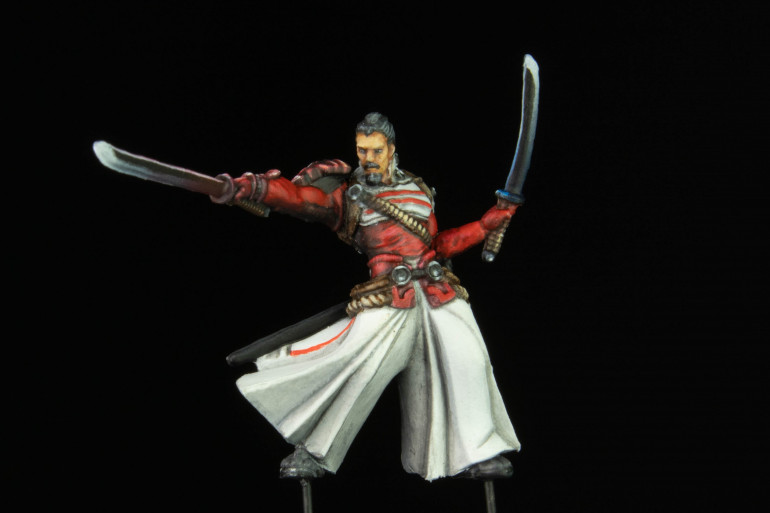
I also wimped out of doing the freehand of Mushashi on his back this was due to doing it not being happy and wiping it off and having to build back up the white.
I also changed my tact with all three of these and base coated in almost pure white. The reason? Only that the colours were so vibrant. I didn’t want to spend years layering so I mostly shaded then then done one very bright highlight.
The wierd side of doing that makes Gata and Parvati almost glow under strong light. Had to dial back the exposure of on my camera to compensate.
On the photo side of things, I think the images are to close. It’s unrealistic and makes me see every imperfection which drives me nuts. As I look at them on a table or even a foot away it’s not as noticeable.
So that’s progress so far. I have the least colourful model and the weirdest to come. Then onto bases.
I also swapped back to a 0.15 mm needle on my airbrush and I am working on getting better at airbrushing rather than just a base coat and rough highlights. We will see how well this pans out.
We will see what difference this makes if any.
Just pleased the Defiance models are metal so see that in the future and no doubt another project.
But more Aristeia to come!
First painted models.
I have started by painting the first three models with varying success. The plastic makes normal painting techniques not work. Like edge highlighting it’s like trying to paint a snake and the paint does not go where you would expect it.
I have also seen mould lines. I knew these were present but when trying to remove some it chews up the plastic so if I couldn’t get to it with a knife to cut it off it’s staying.
Needless to say I have found myself in a position again that I need to remember this is a board game. But feel free to criticise or comment as if they are not.
So that’s what’s been done so far. I am selecting the characters at random so next up is Gata. I am going to continue painting and hopefully finish the painting in the next week or so.
That means more to come.
The plan!
It’s always good to start with a plan or a brief.
I have already started at this point so I think the first thing is just get stuck in but then come up with a plan?
Short Review
Frist of all to comment on the standard base game box. The quality is superb overall for a board game. The components are great and it seems compelling and punchy overall.
The above would be my review of a board game… My thoughts as a wargamer is that I think the quality of assembly on the models is poor, especially the bases. The choice of the bendy plastic is horrendous and does not do the sculps or models justice. The details on all the surfaces of the models are rounded and the initial paint layer if done thin though brings through that smoothness to the models which makes them a challenge to paint.
I need to put the above into perspective, this is sold as a board game and just because I am a wargamer and an Infinity fan should mean I cant judge this as a war game. Though I just did 🙂 . I toyed with getting the collectors edition but then I would have a metal core box and plastic expansions unless I missed something, I cant have that it will hurt my head.
On with the Plan
First of all Due to the bases they have to go the time filling and ensuring they are smooth would kill me and I don’t think filler would work well on the models in certain places.
I have cut them all off the bases pegged them using a micro drill bit and paperclips. I will then decide on hex acrylic bases or circles. Circles are winning at the moment but I will do a test.
I am then going to treat them like normal infinity models and zenith and paint in the standard colours that have been done by Corvus Belli, I am not going to avoid freehand as I normally do.
After all is done I want to play some games. I think I want a more 3D board so I may make my own but again I may not. If I don’t enjoy the game it’s not getting done.
If everything is likable I will then expand the range of models I have to play with.
-
Remove from bases
-
Clean up the models as best I can given the material
-
Peg with paperclips to create new mounting points
-
Base coat and Zenith the models
-
Paint
-
Cut acrylic bases
-
Mount models using paperslips to bases
-
Play some games
-
Make some sceanery
-
Expand
Next up is painting I have already started so the next update will be quick!


