Boardgame Floor Tile Storage
Recommendations: 34
About the Project
I've been looking for a good storage solution for board game floor tiles for some time... in particular, Mansions of Madness 2nd Edition and its expansions. The floor tiles are brilliant, have lovely art, and look great laid out for a game but I wanted a way of storing them in a nice, easy to use fashion. There's lots of them too, so it needs to be something that can grow to accommodate more expansions (or be used for other game systems). Ideally I wanted to be able to store the tiles in A4 ring binders... so I've found some A3 poly pockets, and with some cutting and fusing, I've found that I can create custom pockets to suit all the various tiles. Best of all they fold neatly to be stored in ring binders.
Related Game: Mansions of Madness
Related Company: Fantasy Flight Games
Related Genre: Game Aid
This Project is Completed
The bits required
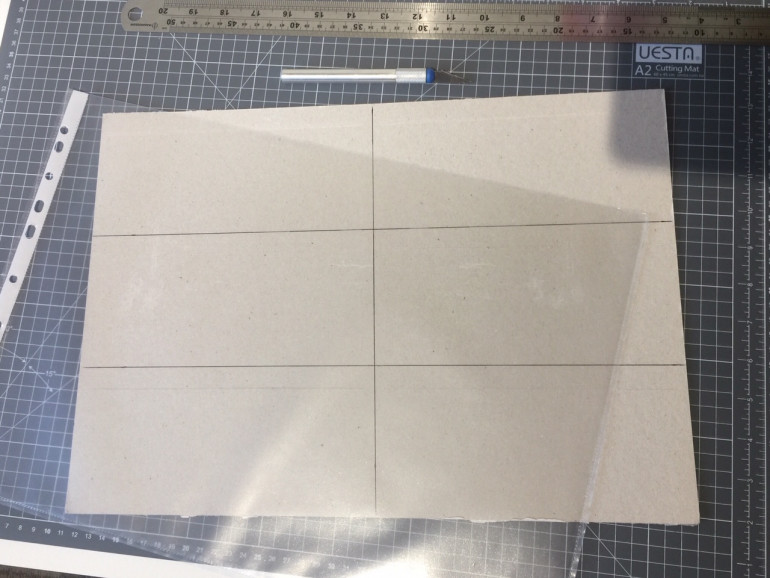
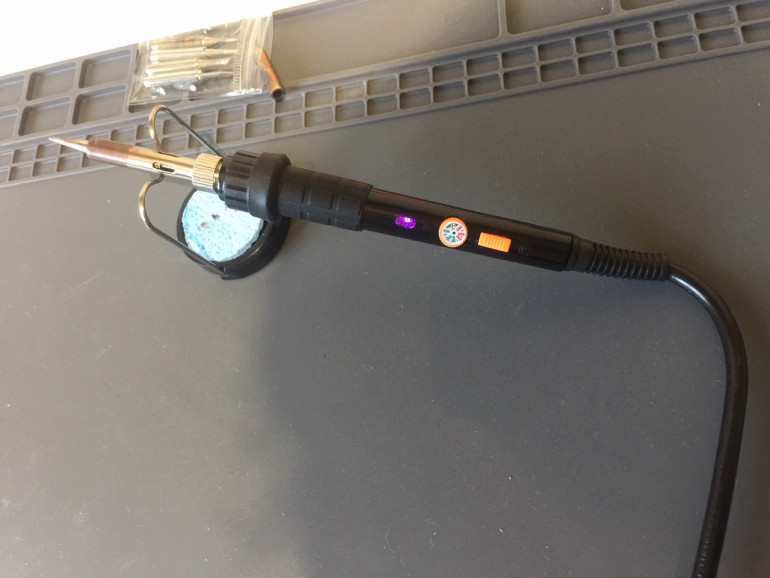
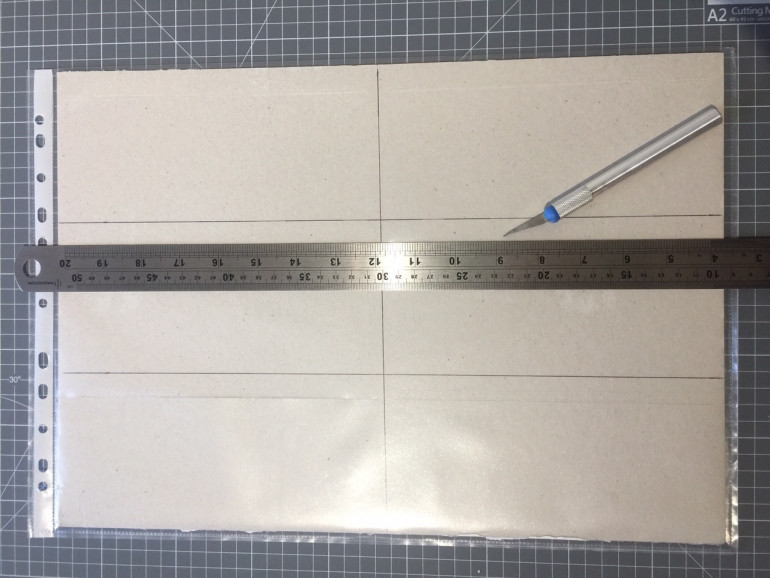
So the first thing you need are A3 poly pockets, a good pile of them. They have an open edge at the top, but we’ll be fusing that closed later. You’ll also need some thick card, a cutting mat, a hobby knife and a soldering iron.
Slicing and fusing
So depending on the game you are creating the storage for, you’ll need to plan out the pockets required but for Mansions of Madness they conveniently divide nicely into the arrangement you see that I’ve marked on the card.
Insert the thick card into the poly pocket… then use the knife to slice openings in each of the required areas (depending on what you are looking to store in the poly pocket overall. Use the lines on the card as a basis for this, to keep things consistent. I’ve sliced around 1cm down from the diving lines that run horizontally, taking care not to cut all the way across the full width of the pocket.
No vertical cuts required! Also, it’s important that we do this with the card inside the poly pocket because we only want to cut through the front side of the pocket to make an opening.
Creating the pockets
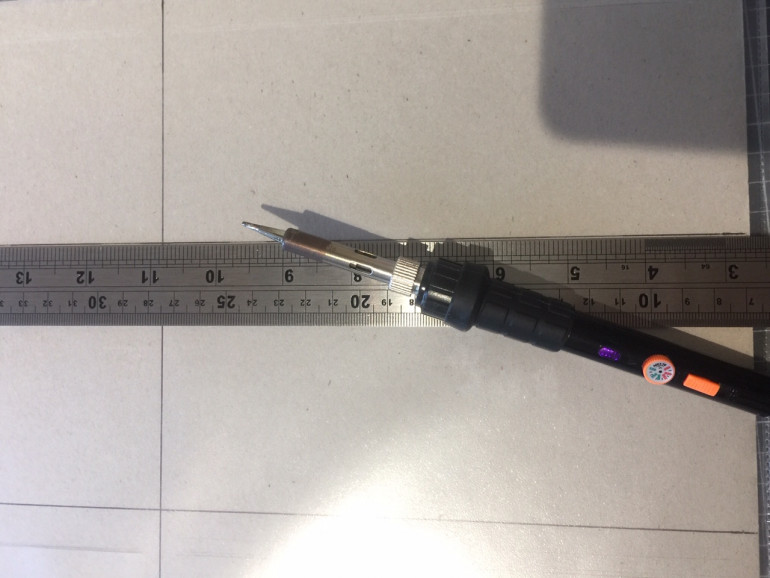
Next, remove the card from the poly pocket and place it under so we can use it as a guide for fusing the plastic.
With your metal ruler, run the soldering iron tip along the guide lines on the card, moving slowly (but not too slow or you will melt holes into the plastic). Each case can be different depending on the arrangement of tiles to be stored, but there should always be a vertically fused join down the middle. That way the A3 poly pocket will fold easily to A4.
The finished solution
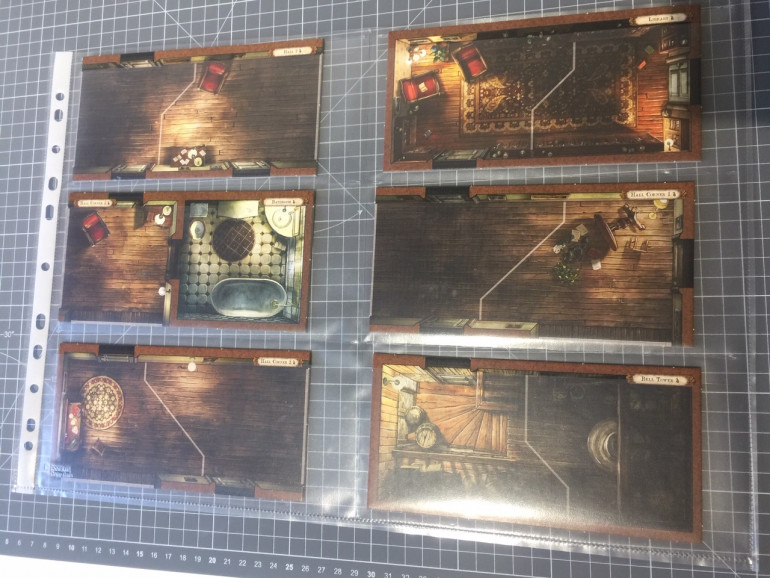
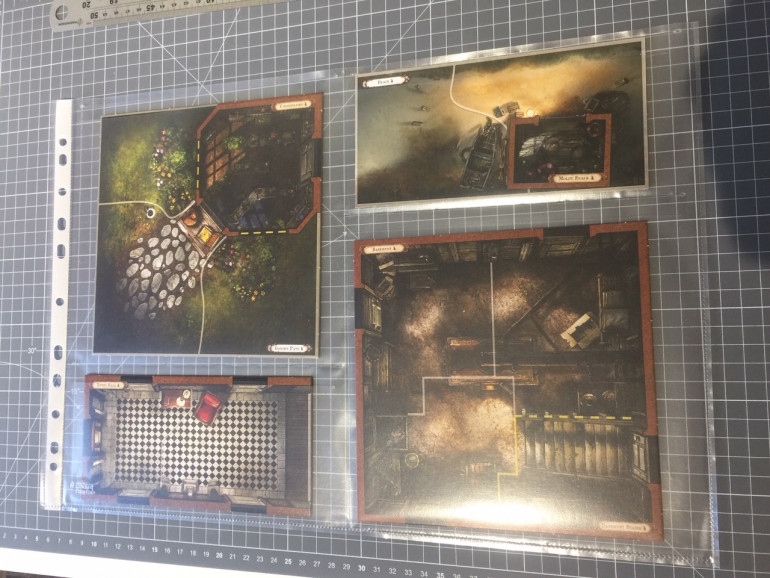
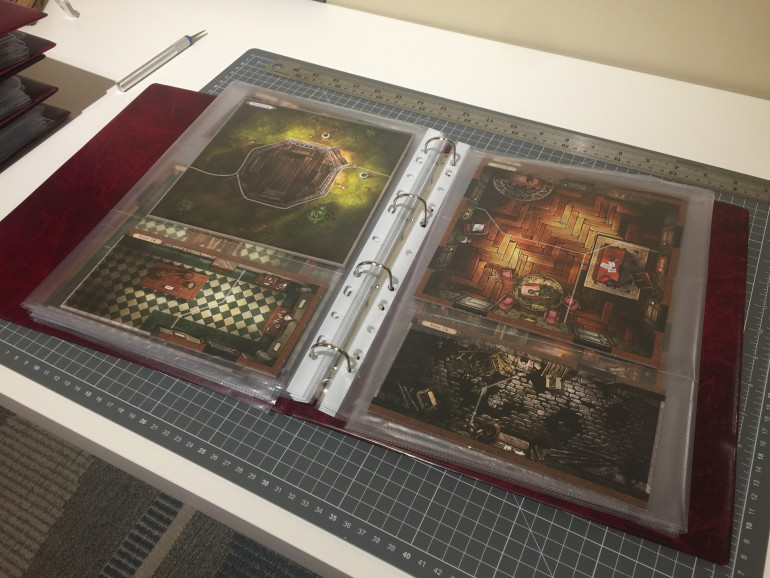
With those lines now fused, or welded, you can slip a tile into each pocket and they’ll fit really well with enough resistance to hold them in place when on the move. You’ll notice that the various sizes of tiles can all be arranged neatly to fill the available space. And having done the base game and expansion tiles, each set tends to use the poly pockets really well without leaving many empty spaces.
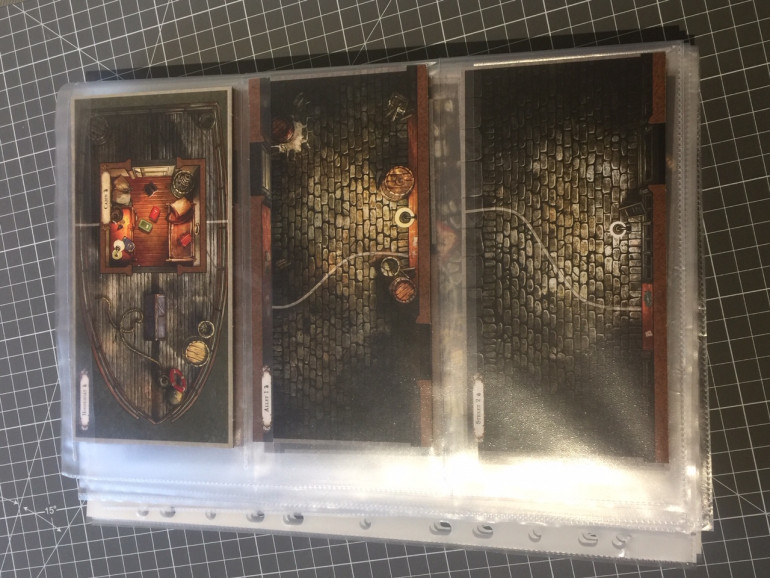
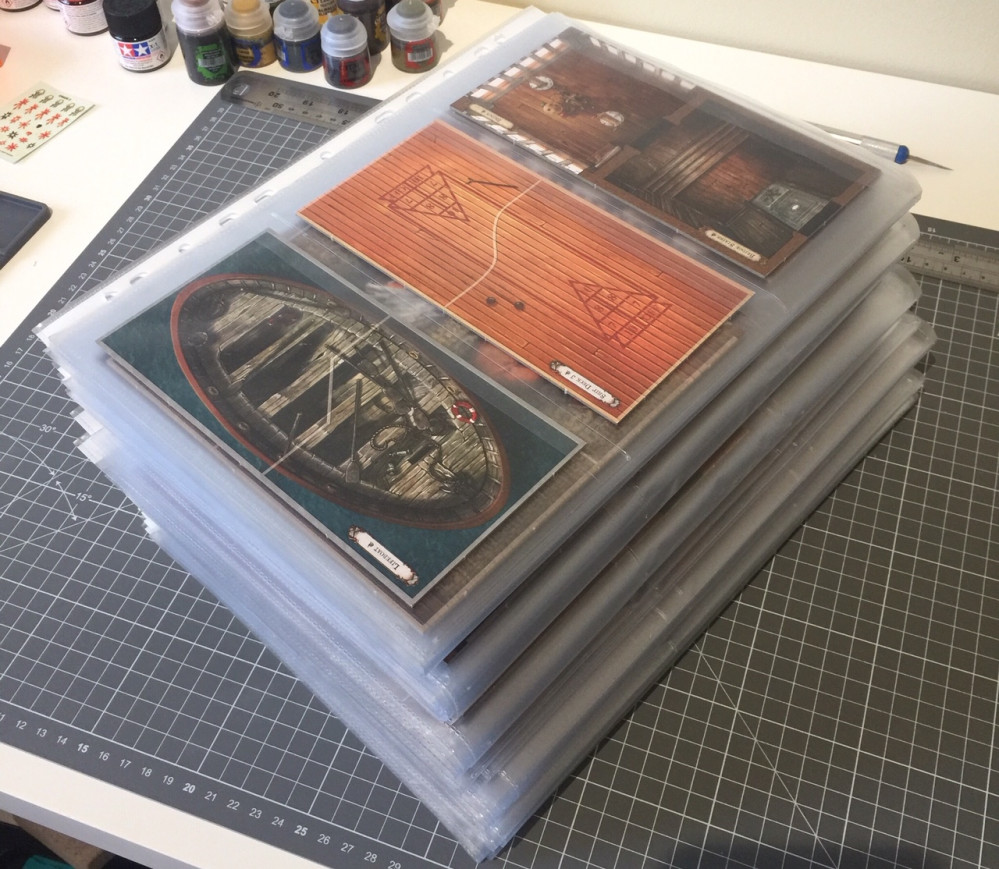
Here’s a view of all the tiles for one of the sets then stacked and folded over into an A4 form… ideal for going into a standard A4 ring binder.
Each expansion could get its own ring binder, or be grouped together… you’d just need to watch the weight of all the tiles combined if using one binder, but it should work well split up over a few.
I’ll just need to get some suitable, old looking, leather ring binders to keep these in! Thanks for taking a look and I hope this helps anyone else looking to find a solution for storing floor tiles.
p.s. fumes
Faux Leather Folders
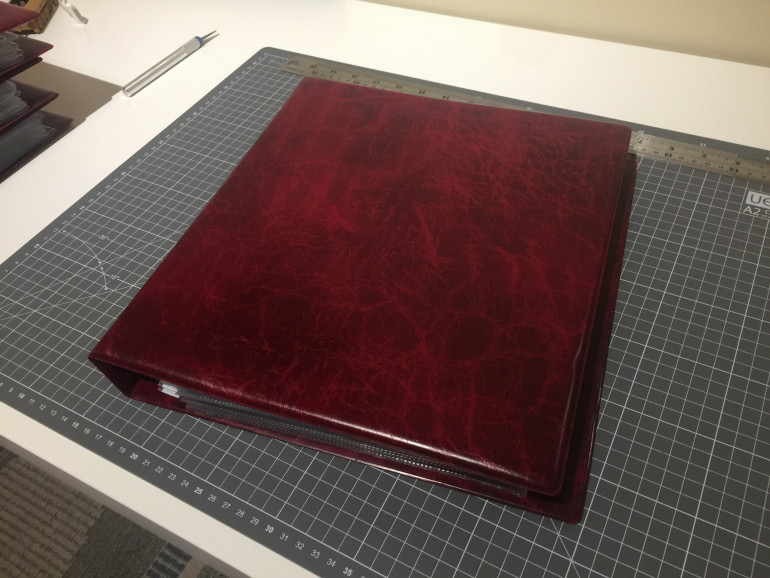
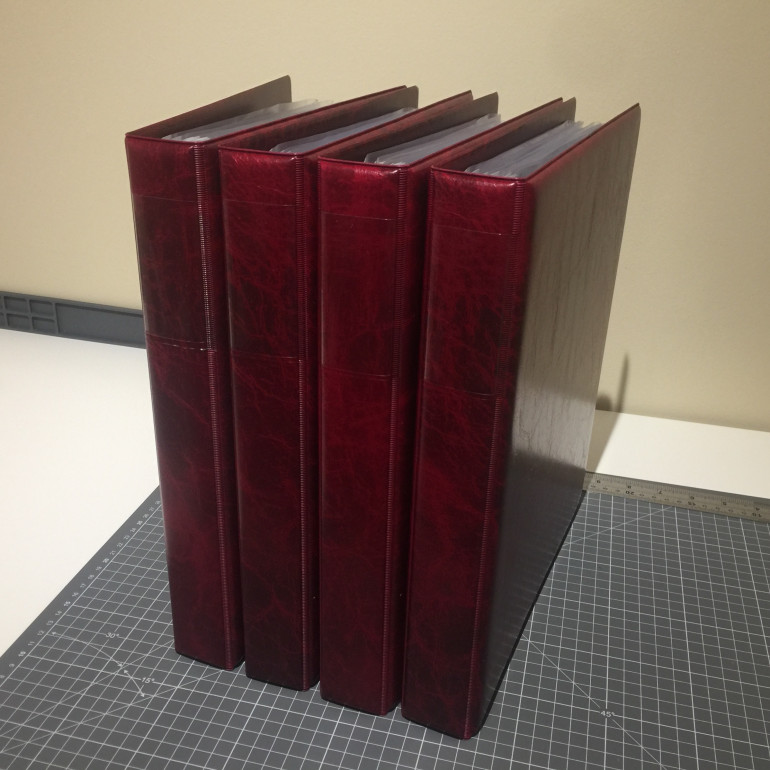
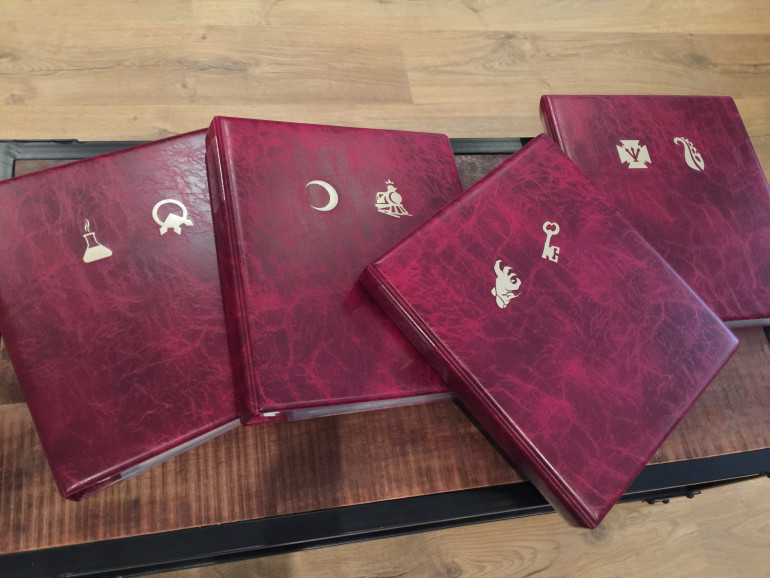
So here’s the folders I’ve sourced, suitably burgundy reddish in colour and in faux leather. Looks good on the shelf and keeps all the various tiles stored neatly. There are two expansions per folder (including base set).
So surely all that remains is to get some gold leaf type symbols onto the front and sides of these folders to depict the expansion content within? All the sets have their own distinct emblem so it would be great to get that as a stencil or cut out to then use some gold spray on. Will look into that.
Making stencil templates with a Cricut Maker
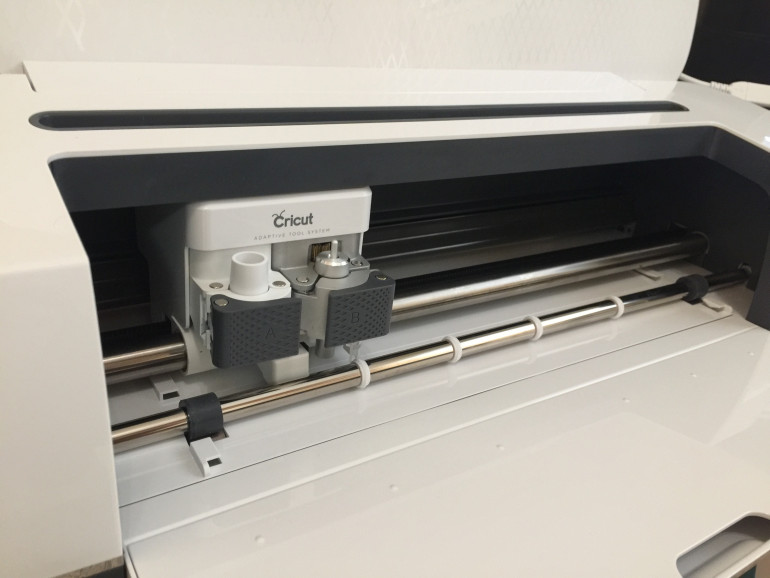
So fortunately, Santa brought me a Cricut Maker for Christmas.
Yes it’s very much marketed towards a certain demographic, however I think there are lots of uses for a machine like this in hobbying more in line with board games and tabletop games, terrain and building construction tasks. Especially when you consider that you can cut material like balsa wood, thin plastics and simple card stock. So my first job for it is to cut out some stencil type templates for spraying icons into these folders I’m using in this project.
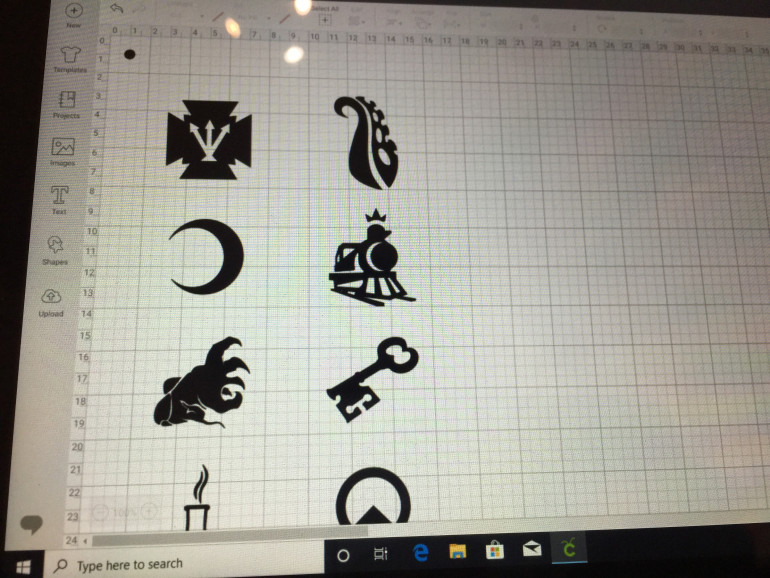
I first of all scanned in the various icons for Mansions of Madness and it’s expansions. These will hopefully get sprayed onto the fronts of the folders I have for all the boardgame tiles.
I traced round the icons using Adobe Illustrator and laid them out onto an A4 sized sheet and sent it to the Maker.
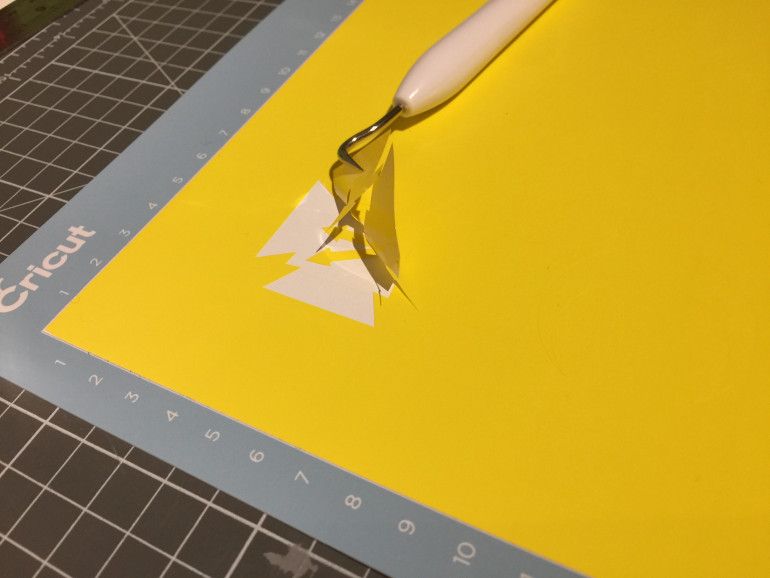
Next stage is to do the “weeding” as they call it. That’s when you go in and take away all the pieces of the vinyl you don’t need.
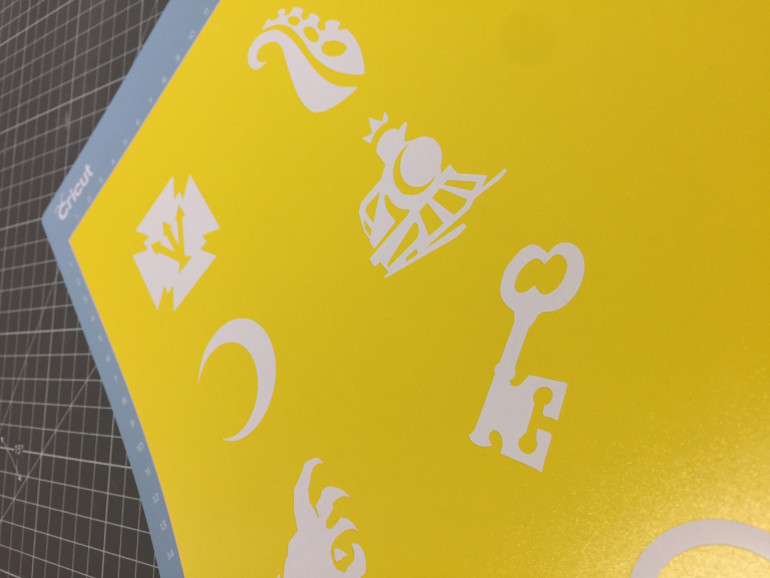
And here’s all eight icons ready for the next stage.. I know there is another expansion out, but I’m happy to leave it at eight for now.
The plan will be to use these with gold spray paint and to add the shapes to the fronts of the folders to show which expansion’s tiles are contained within.
There is some sheets of transfer vinyl for lifting and sticking the icons in place, and I’ll try that and see what happens.
The only problem might be the spray paint getting under the vinyl template and spoiling a neat edge.
Applying the Icons to the Folders
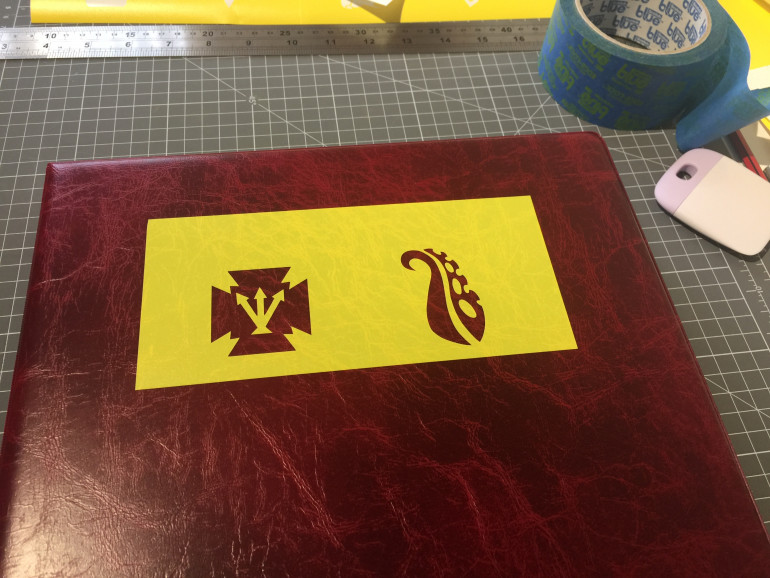
With a rough guide each of the pairs of icons was stuck onto the fronts of the folders. Then I masked off the rest of the folders with newspaper to try and save any overspray.
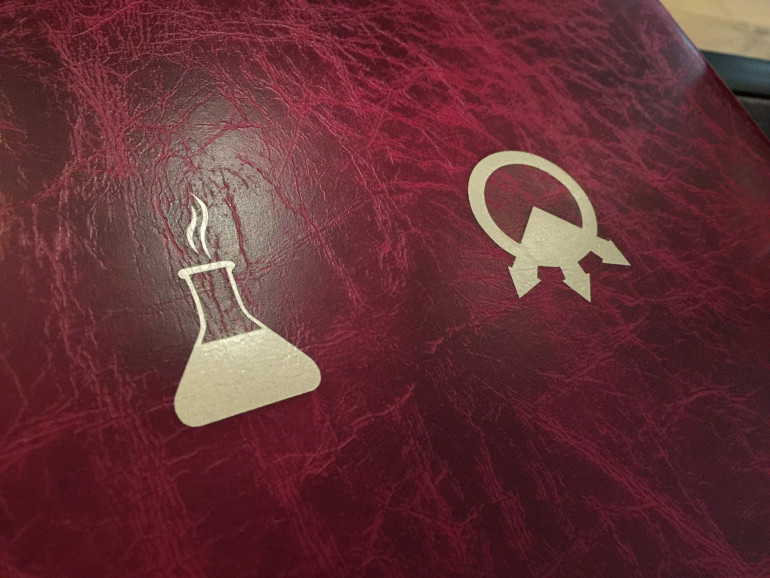
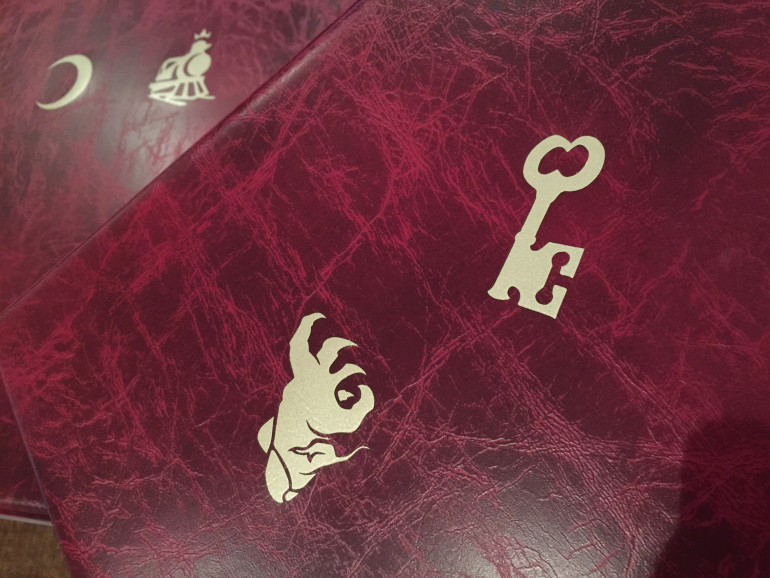
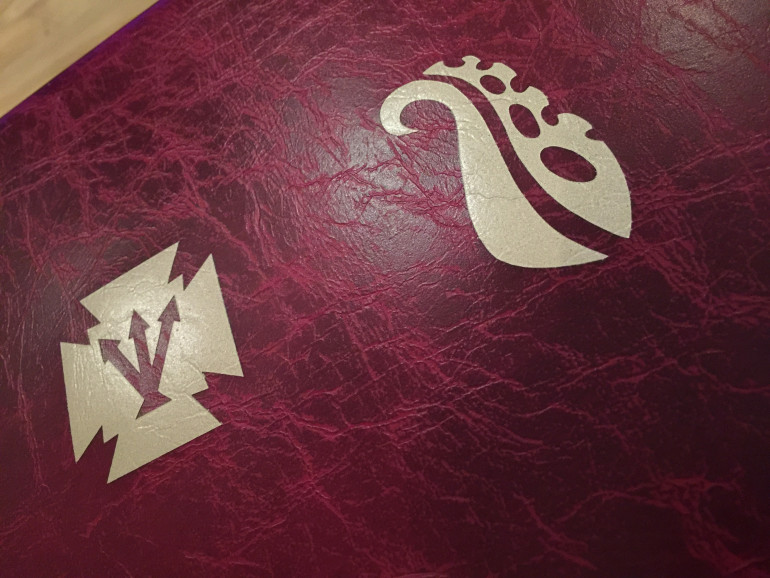
And that’s the icons sprayed with gold and the templates removed. It’s worked as good as I hoped and it finishes off these folders nicely.
Well I’ll leave it at that for this project.
Over the top? Expensive to do? Yes and yes, but this was a test for the new machine and I’ve bigger projects in mind for it to tackle next.
That will do it for my Mansions of Madness set, other than painting all the minis…


![TerrainFest 2024 Begins! Build Terrain With OnTableTop & Win A £300 Prize! [Extended!]](https://images.beastsofwar.com/2024/10/TerrainFEST-2024-Social-Media-Post-Square-225-127.jpg)


