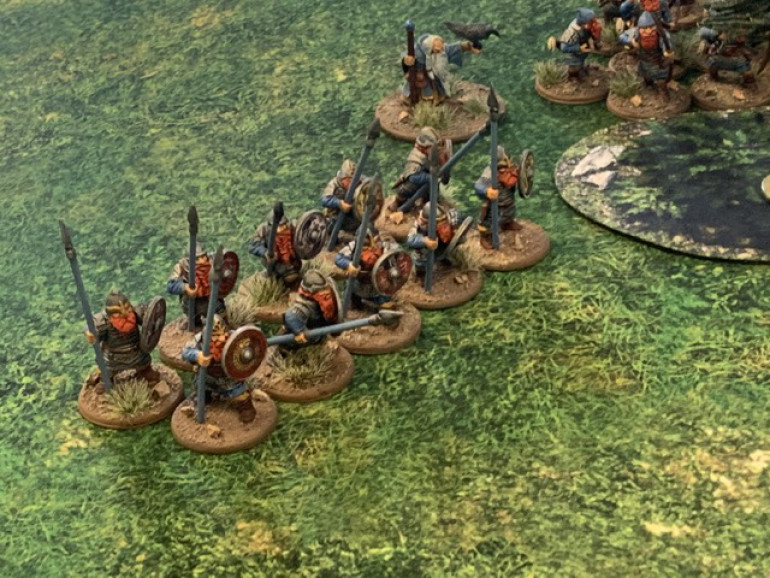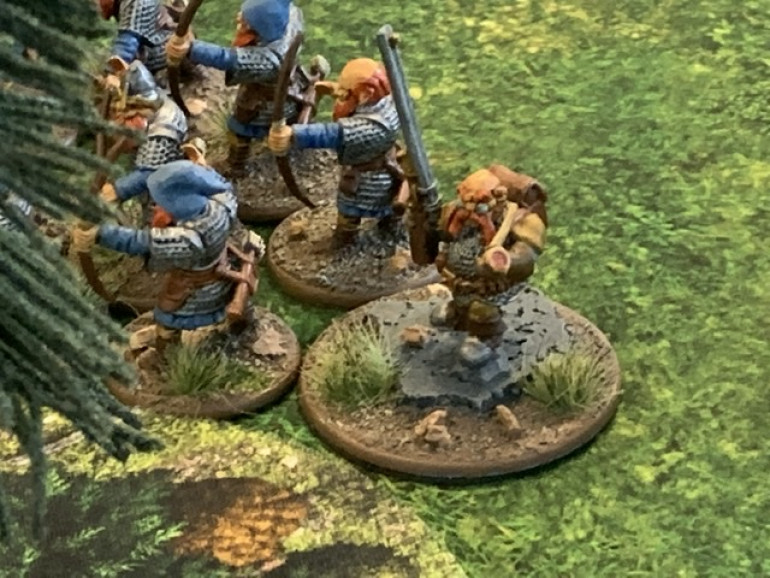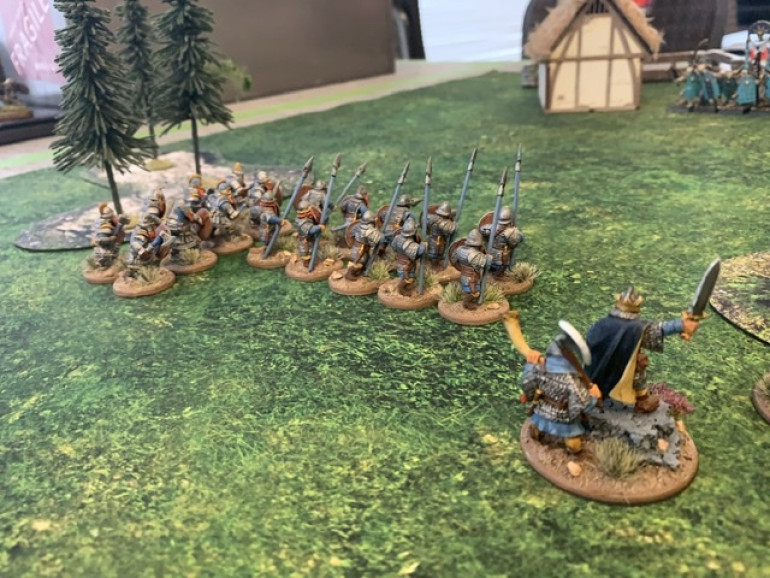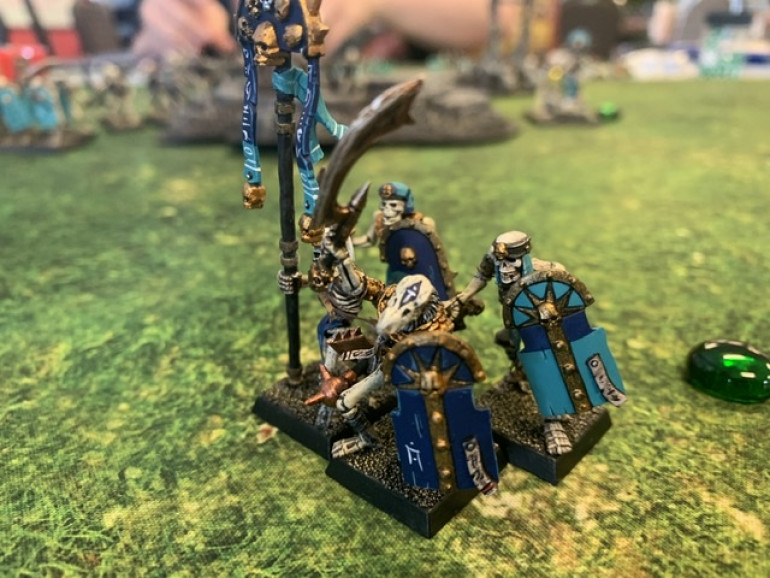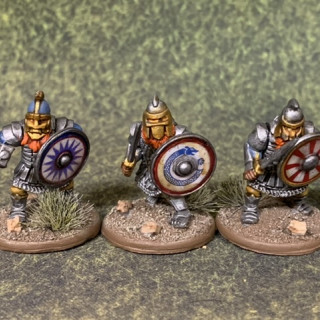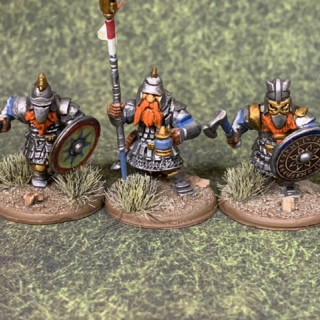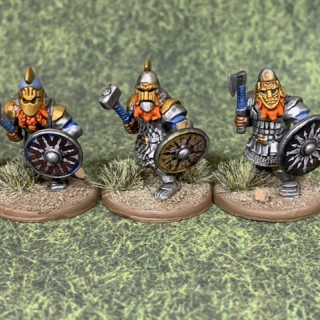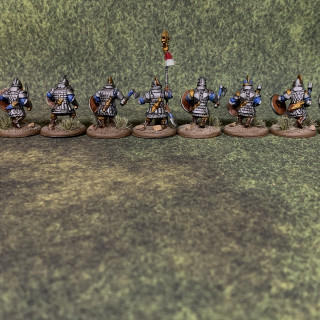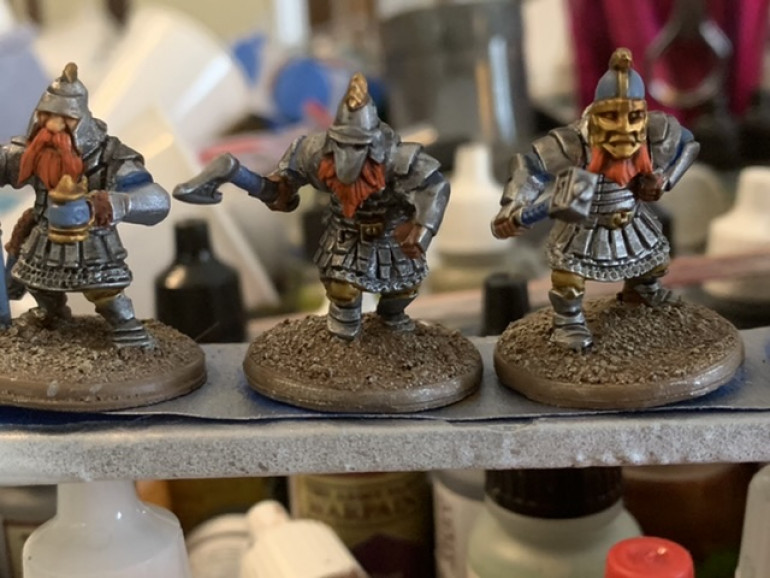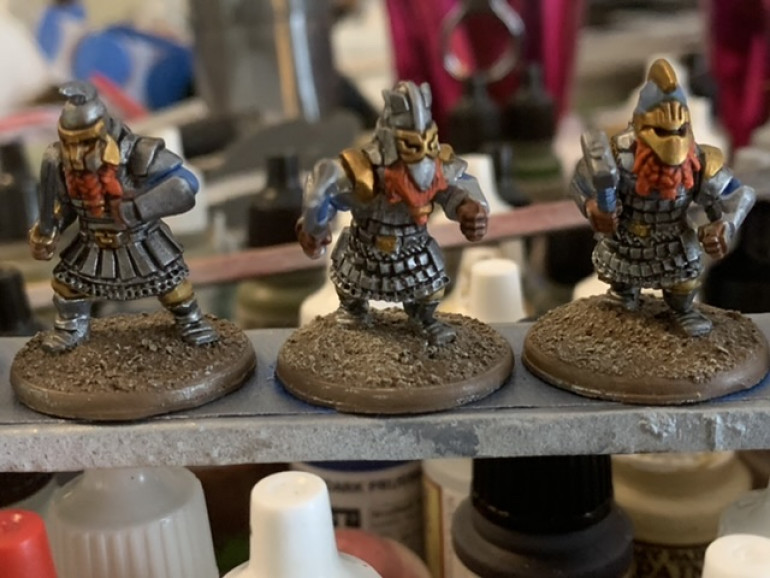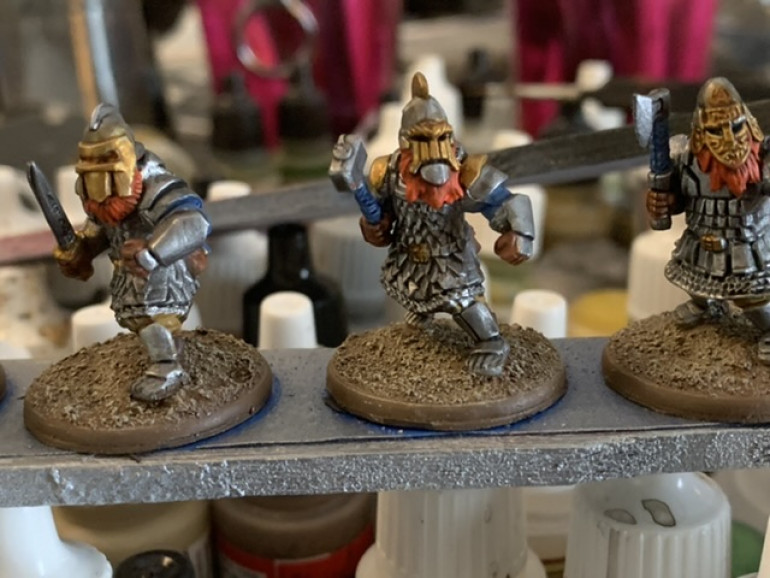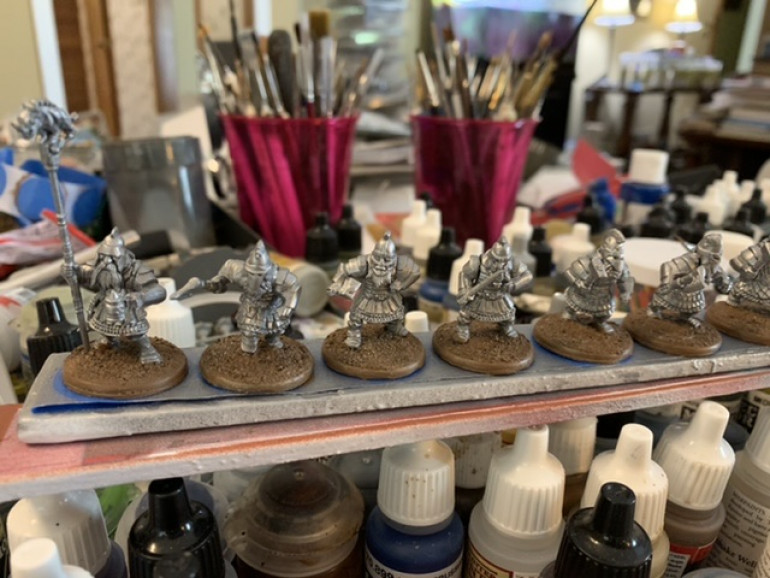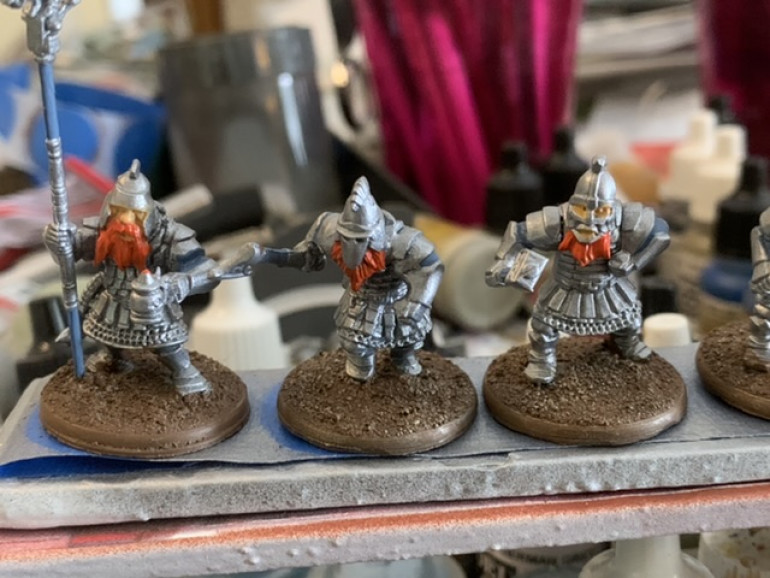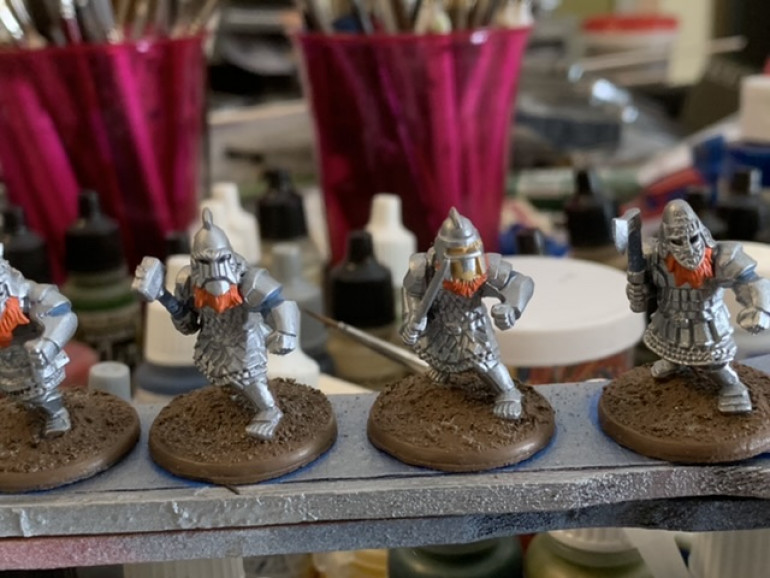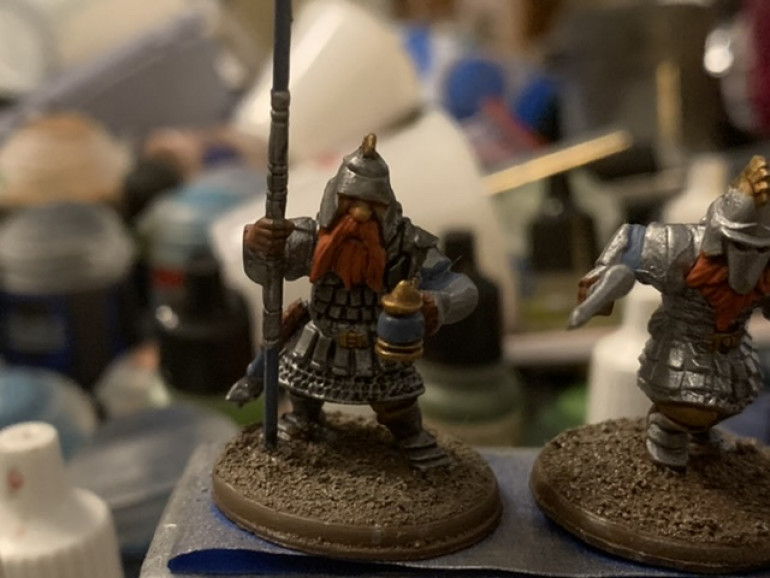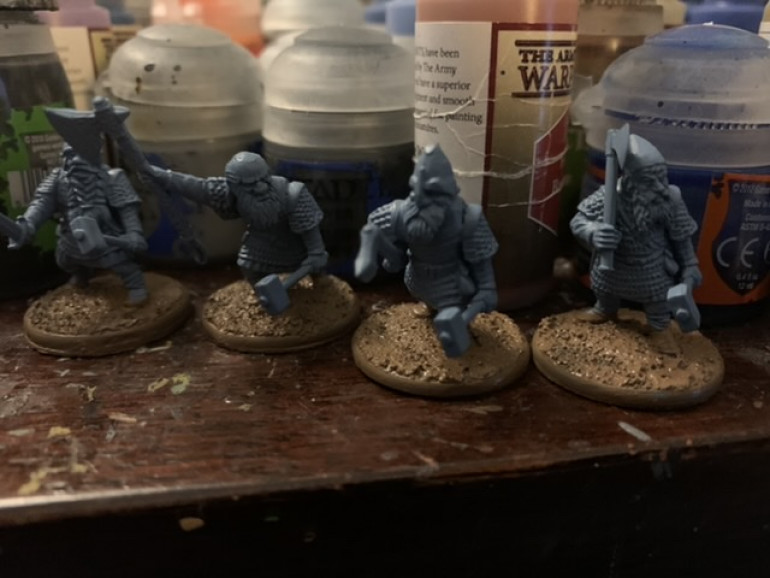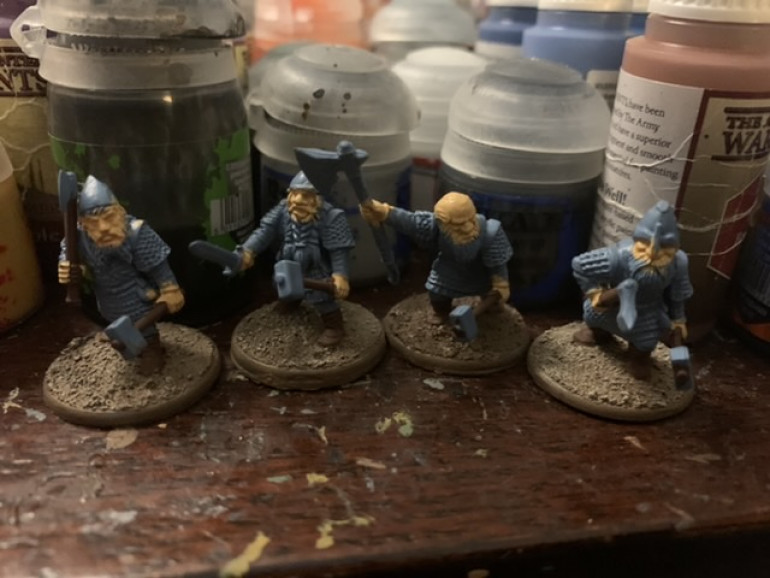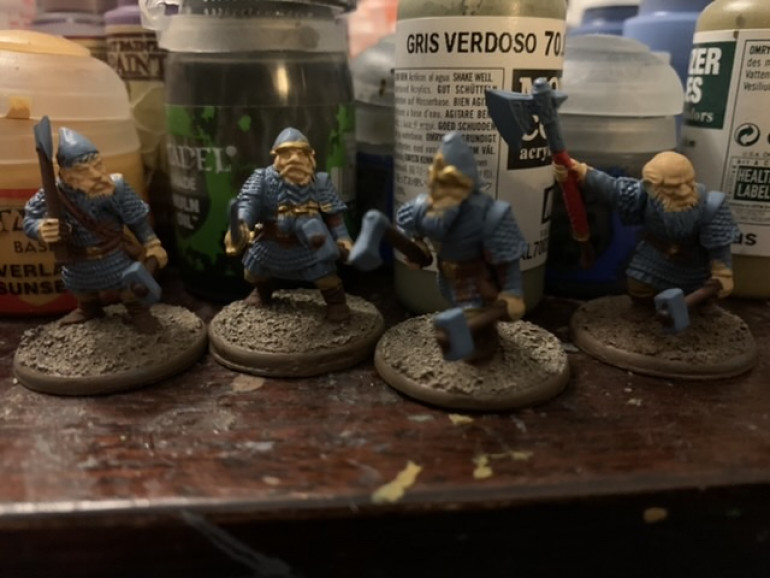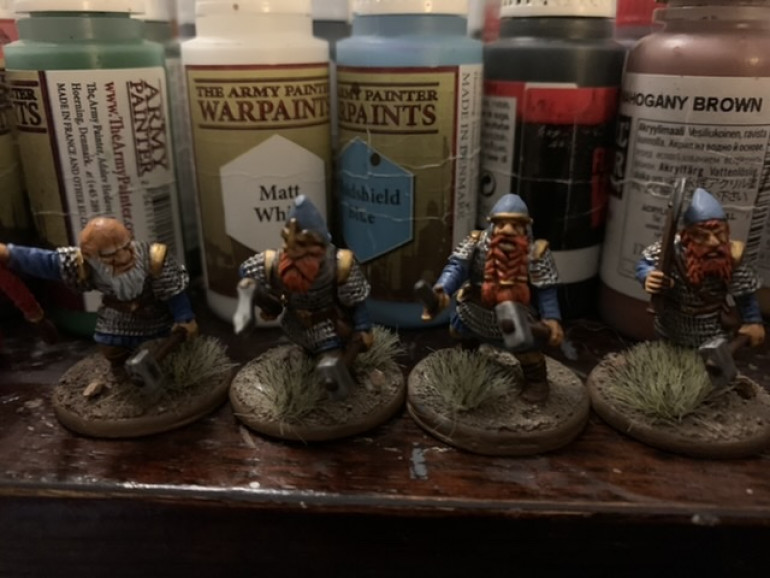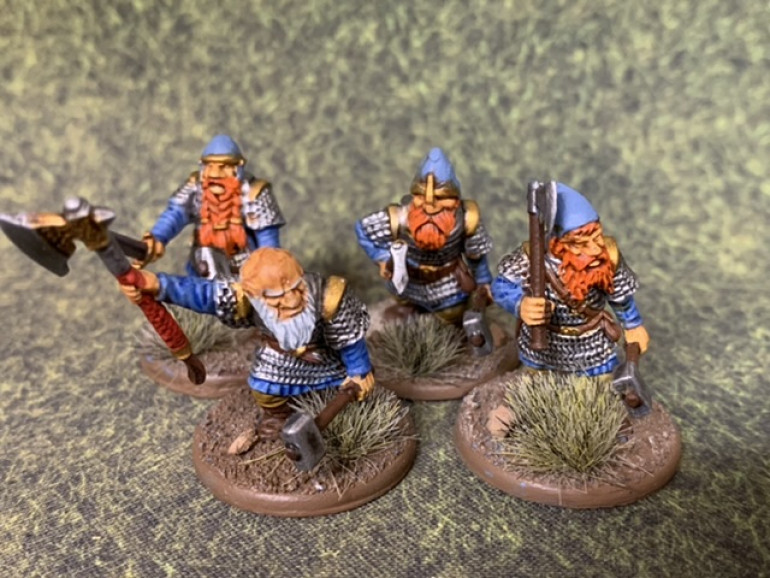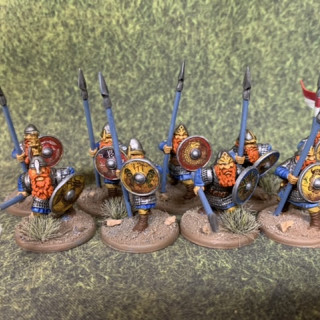
Blipvertus multigame Dwarf army
Recommendations: 655
About the Project
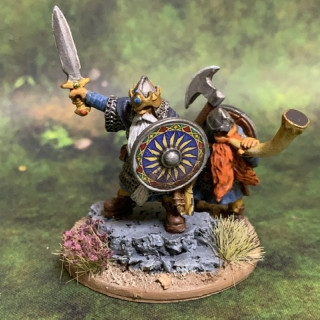
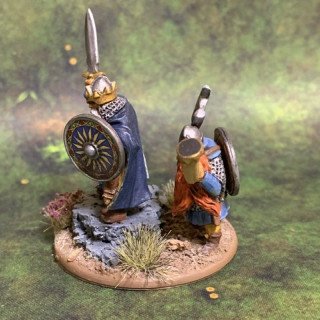
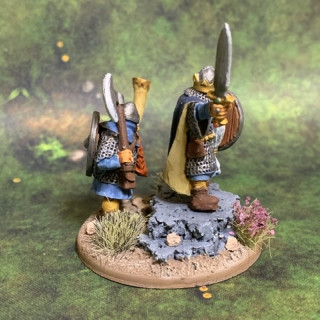
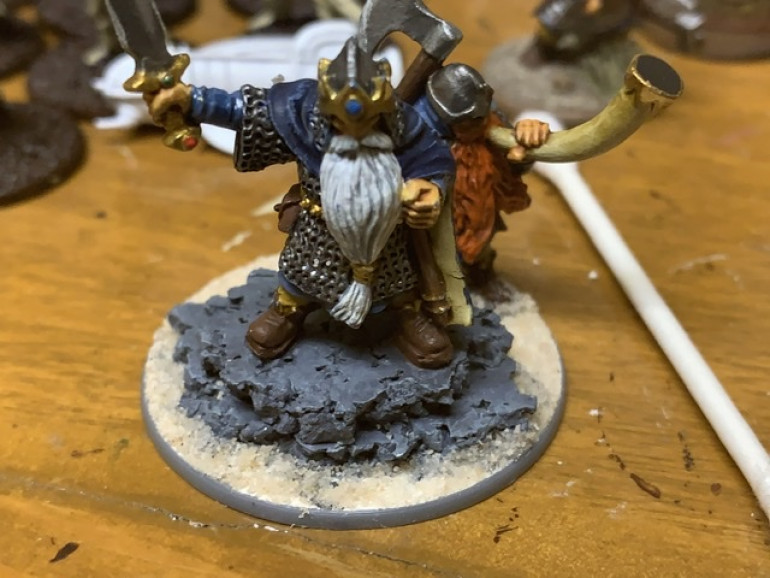
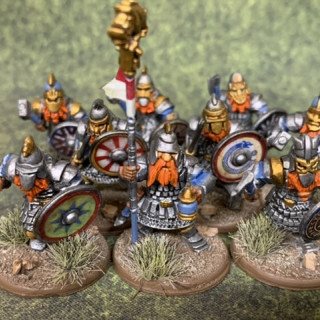
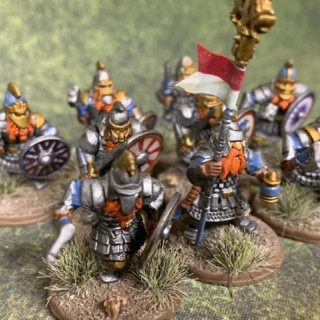
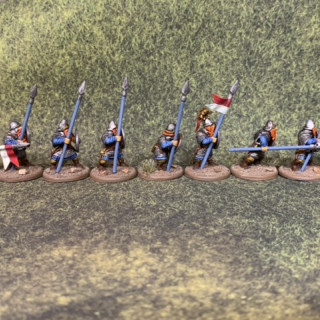
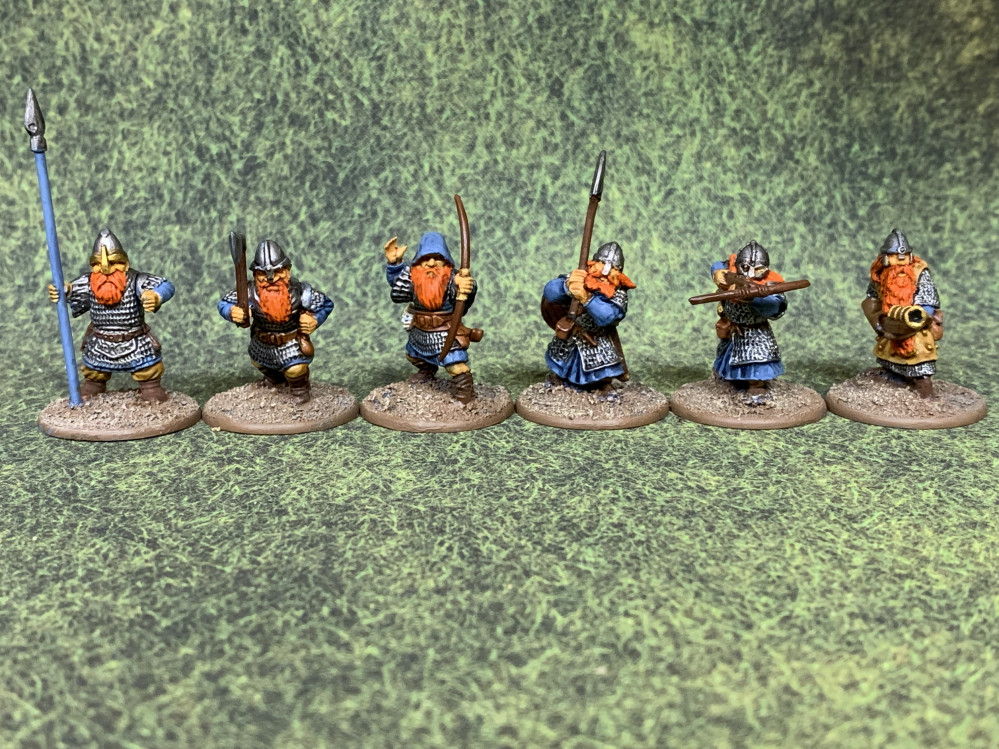
It started out simple. I wanted a Viking army for Saga but I wanted it to be different because everyone does Vikings. So instead I did seven other armies. I finally hit upon the idea of using Dwarves as my Viking stand in. Dwarves are also a part of Norse mythology and they’re ill tempered and armed with axes. Seems like a natural fit! When Oathmark came out with a plastic Dwarf infantry box I found everything I’d need for a Saga army. You can make dwarves armed with bows, something that is pretty rare for most Dwarf models, as well as spear and axe armed dwarves. You can also equip figures with a weapon in each hand making them a great substitute for Berserkers. One of the nice things about this box is all the figures are wearing chainmail and to me, that’s quintessentially dwarfish. Originally I was going to make the spear armed dwarves my warriors and my axe and sword armed dwarves as my hearthguard. But Oathmark came out with a box of Heavy Infantry Dwarves so I may use them as hearthguard. These also feature chainmail but also have segmented armor and some platemail. They also feature a lot of steel face masks integrated into their helmets. This is something I love because Tolkien mentions something similar in The Silmarillion about the dwarves in Middlearth. With my Viking army all planned out and a couple of boxes of minis, I was set. Huzzah! Then Age of Magic arrived. And Warlords of Erewhon. The unit options in both games increased the variety of units a Dwarf army could take. So I set about trying to find suitable minis that would look good together. I found a nice set of crossbow armed dwarves from Conqueror. Conquer also had dwarves armed with two-handed axes. Both units are also in chainmail thus making it easier for them to blend in. I then found some chainmail wearing handgunners from Mirliton. Because I’m getting minis from several different ranges I worried about how to make them look like a cohesive army. I asked our local guru, Sean Twiddy. He’s one of the smart guys that teaches art at one of the local universities and uses miniature painting in some of his lessons. Sean is also an avid Saga player. He suggested using the same color pallet for the whole army in order to tie it all together. So I tried it and painted up a test color scheme and I think it’ll work. The header/thumbnail photo is of the test minis. I’m going to try to document how I got to those finished images. I’m going to try to show and explain every step as well as show the sources of the materials used.
Related Game: SAGA
Related Company: Studio Tomahawk
Related Genre: Fantasy
This Project is Active
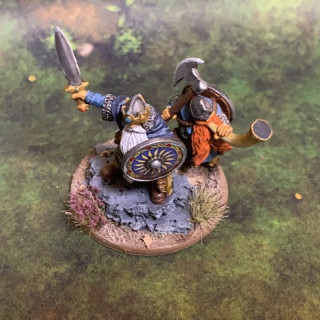
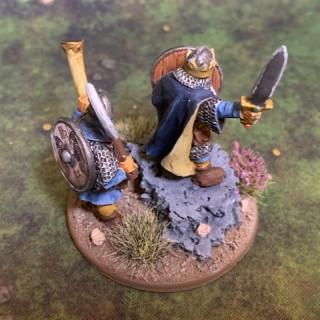
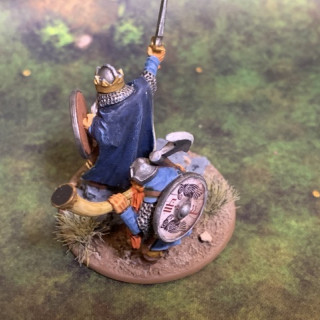
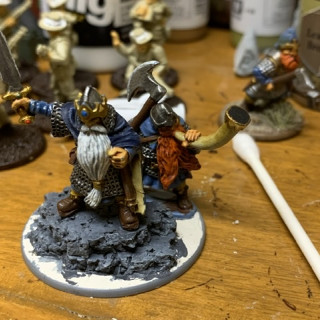
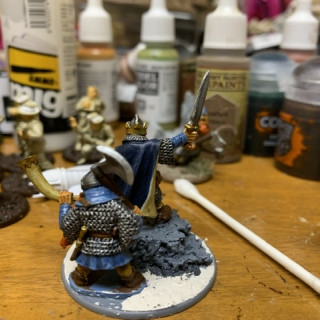
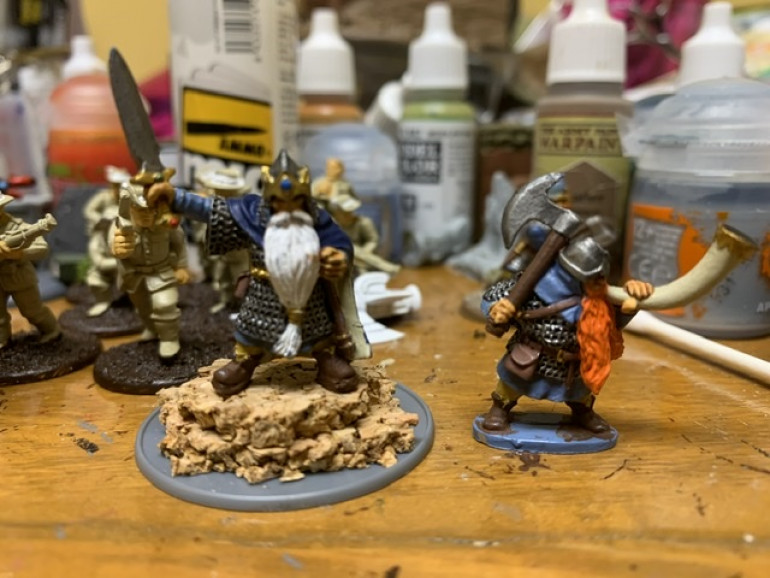
Dwarf King finished
I added some shields from the plastic Oathmark kits to both the King and the musician whom I’m still calling Horatio. Like the other shields, I painted the back with Army Painter Fur Brown and waded with GW Seraphim Sepia. The metal rims and boss are Army Painter Plate Mail Steel.
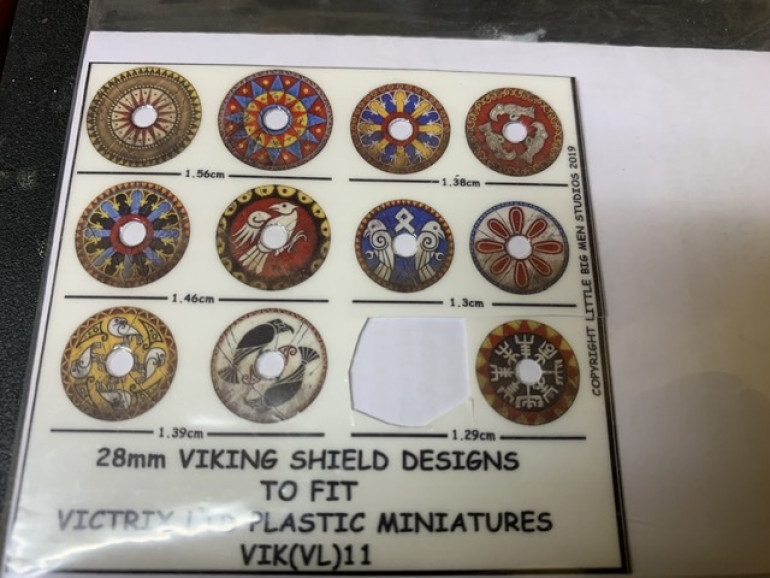 I used one of Little Big Man Studios transfers from their Viking range for the Dwarf King’s shield. The musician also got his shield transfer from LBMS but from the Oathmark Dwarf range. Note that the 1.29mm sized Viking shields fit perfectly on the plastic Oathmark shields. Of course as an alternative, you could get the Victrix plastic shields and use them instead.
 A few glamour shots and first outing.
The king still isn’t done but I did bring him out to play a game; the first time this army has hit the table.
Played a game of Saga: Age of Magic. I brought out 1 Wizard, a Lieutenant, 3 points of Warriors, 2 of Hearthguard, 1 of Levyies with bows and a unit of 2 bipedal creatures.
My opponent was playing an undead army with a warmachine and a piece of terrain that made his undead regeneration shenanigans more effective. As I was worried about the war machine with its unlimited range, I started a retrograde maneuver with my warriors while sending the creatures forward to either tempt the warmachine or force him to send a unit forward to prevent them from smashing into the warmachine.
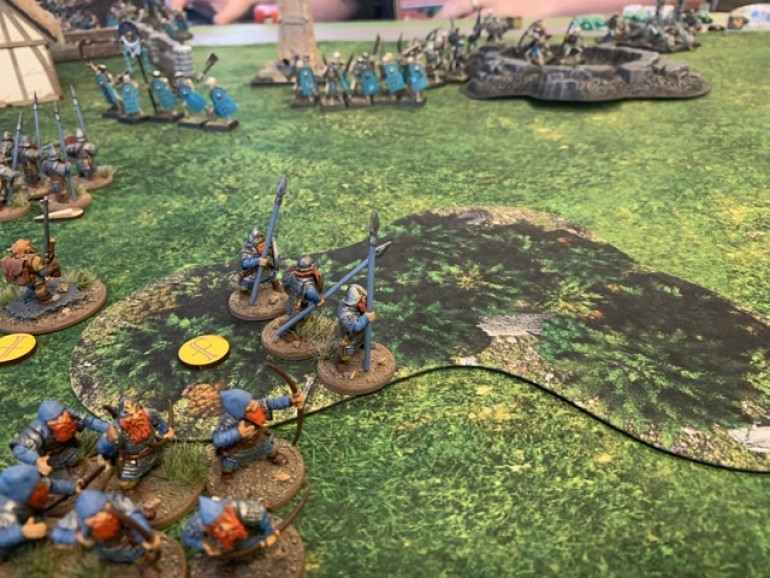 That enemy Hearthguard unit eventually reached my Warriors on the right flank and mauled them then went after the archers. Here my wizard does his shenanigans and temporarily removes the forest giving my archers a few shots on an approaching enemy unit. The Lieutenant also takes a few pot shots.
 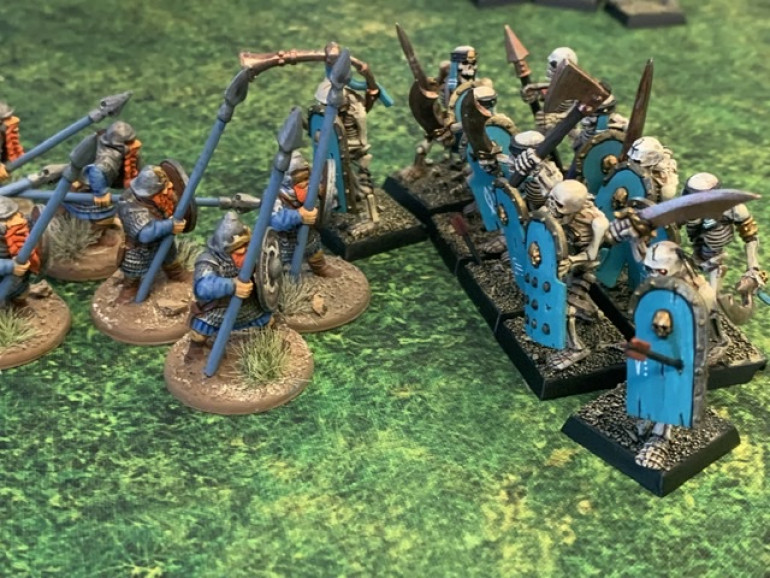 My wizard then boosts my infantry’s movement and they surge forward into an undead unit that thought it was safe.
 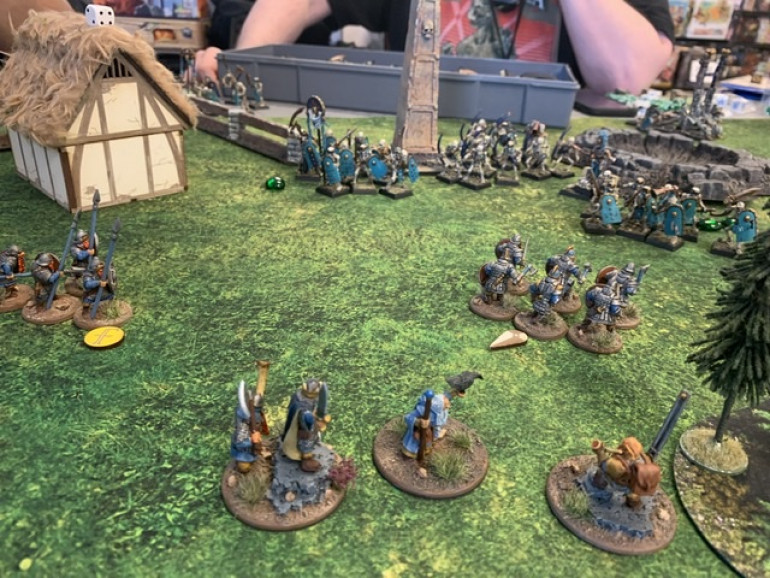 With that undead unit weakened, it falls back and the enemy Necromancer combined with the sacred ground of the pillar regenerates it’s warriors. My wizard and warlord combined their powers to order forward the Hearthguard with an extended charge range. I then threw in all my Saga abilities to get 11 hits. The undead player plays one, cancels my 11 hits, takes 4 fatigues and suffers zero casualties. I fall back. Game ends with this being the final position.
 Base Work
I spread some PVA glue on the base then put the whole base in a tub of sand. I also used a brush to paint on some matt lacquer.
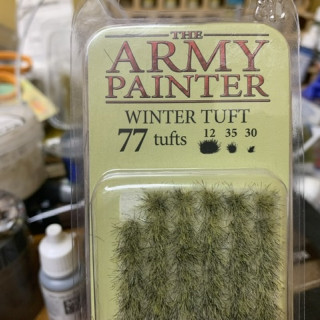
After dry brushing the base I added Army Painter Winter Tufts, Gamers Grass Lavender Flowers and Army Painter Battlefield Debris to the base.
Final details and painting tactical rocks
I gave Horatio’s beard a second wash of Seraphim Sepia then got some Vallejo Silver to add an edge to the king’s sword and Horatio’s axe. I also used Army Painter Plate Mail Metal to highlight the ridge on top of the king’s helmet. I then added a little Vallejo Gold to the king’s crown and a few highlights to the sword hilt, belt and beard jewelry.
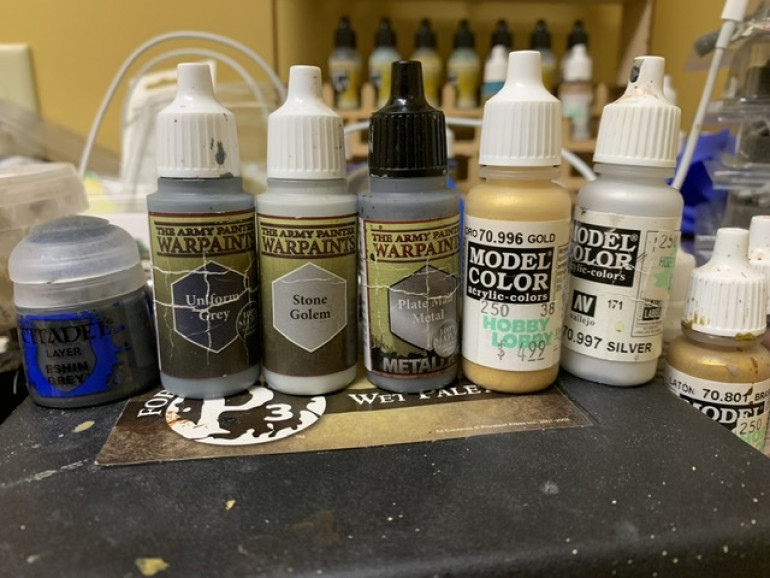
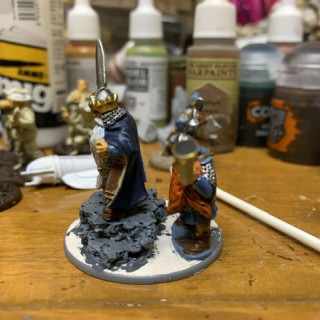
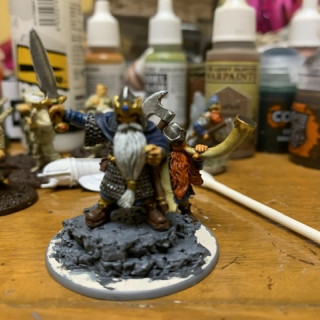
I painted the rock Army Painter Uniform Grey but decided it was too light so I repainted it with GW Eshin Grey then drybrushed that with Army Painter Uniform Grey followed by Army Painter Stone Golem.
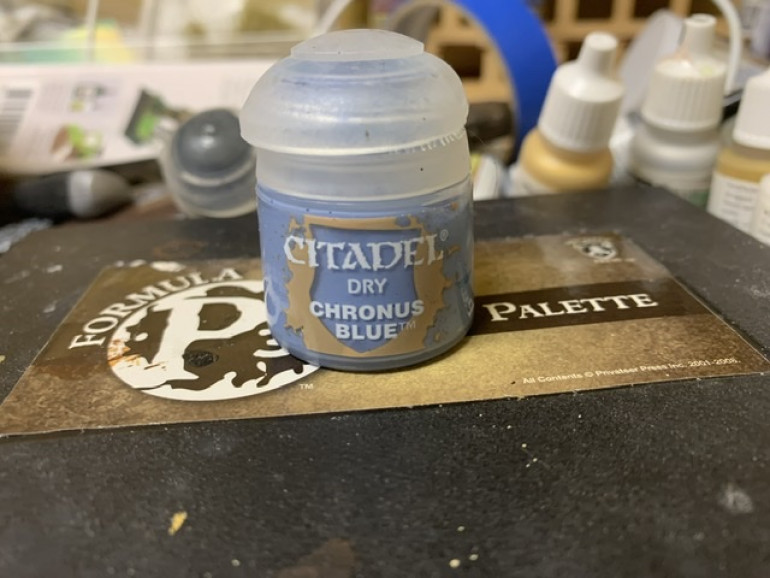
I also drybrushed the kings cloak with GW Chronus Blue.
Final Washes and basing compound
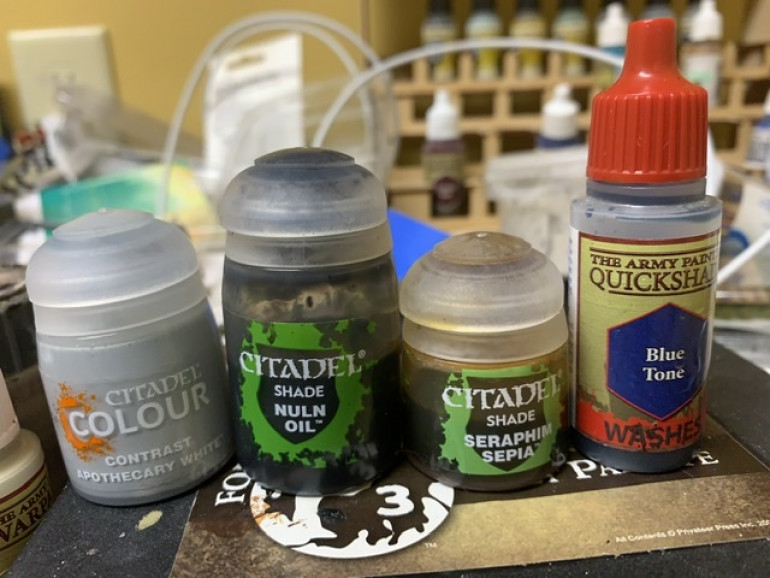
I used GW Apothecary White on the King’s beard, GW Nuln Oil on his cloak, GW Seraphim Sepia on all the leather gear, brass and pants as well as Horatio’s beard. Army Painter Blue tone was used on the tunic sleeves and hem.
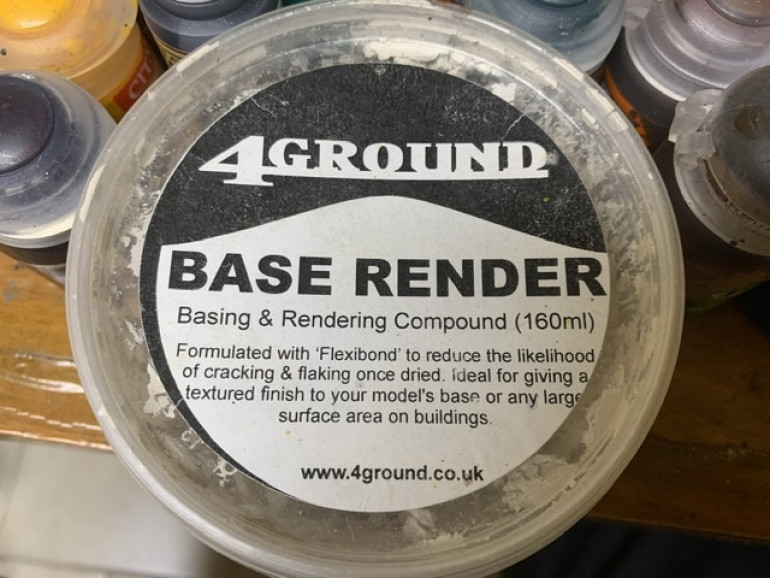
While the washes are drying I applied some filler to the recessed base. I used 4Ground basing compound.
Jewels and Washes
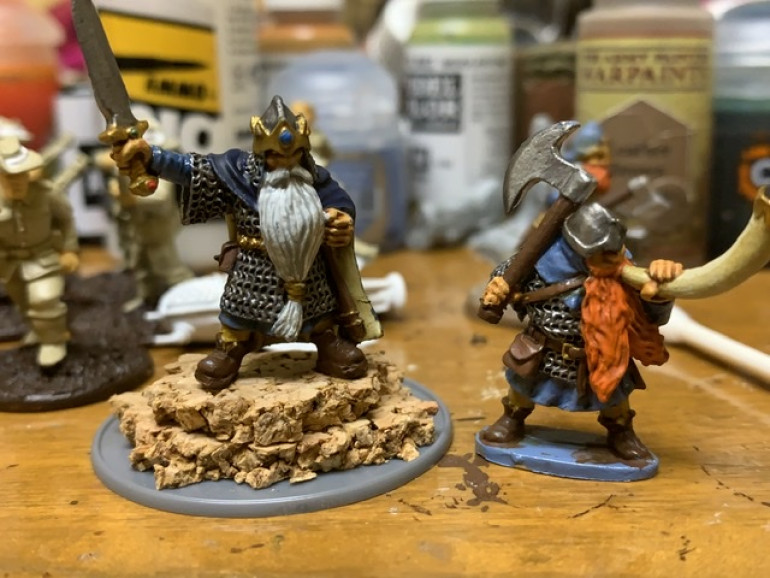
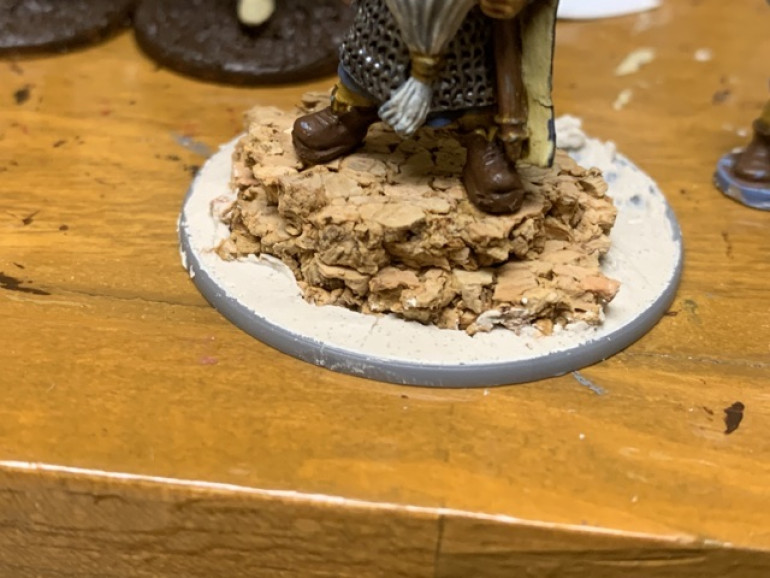
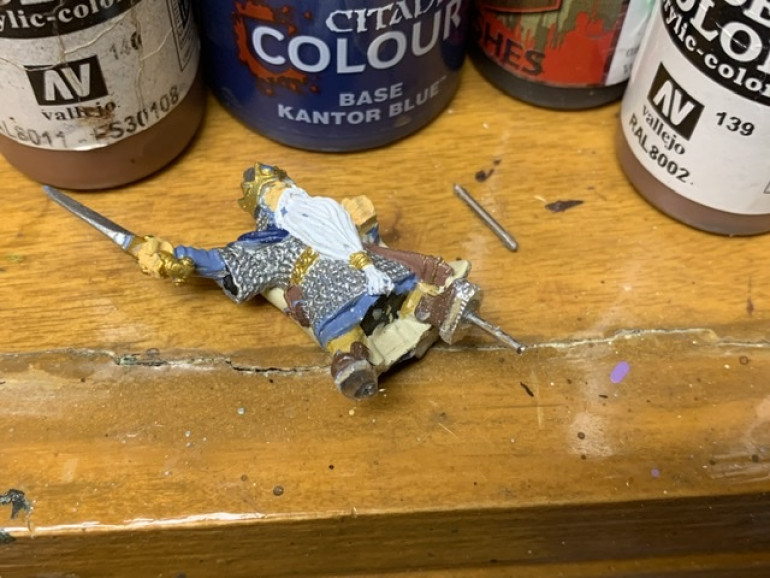
I glued the cork into place then pushed the wire rid on the King’s foot into the cork. I then pulled it back out and applied super glue and then reinserted the rod.
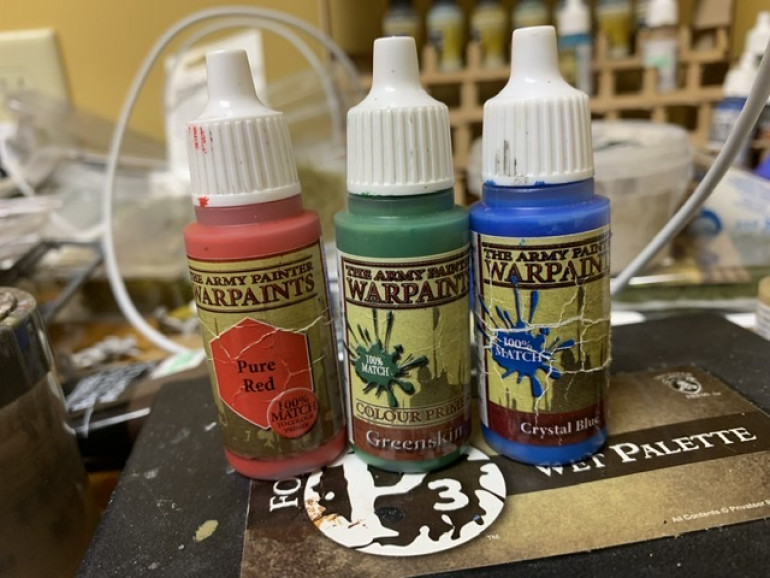
Once in place, I painted the jewels on the sword, the crown and the kings Kringle. I used Army Painter Pure Red, Greenskin and Crystal Blue.
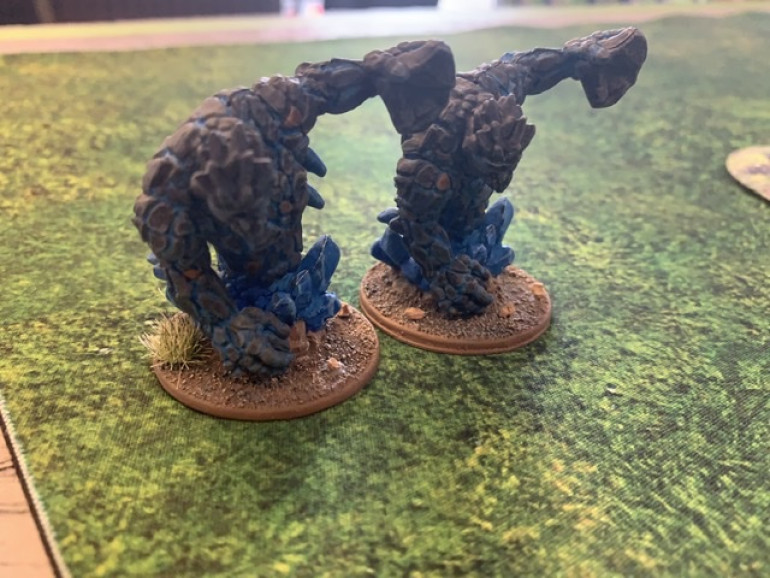
I’ve used Crystal Blue throughout the army as my version of magic so it appears on the King’s crown and ring as well as on the elemental creatures and magically powered war machines and on the wizard characters.
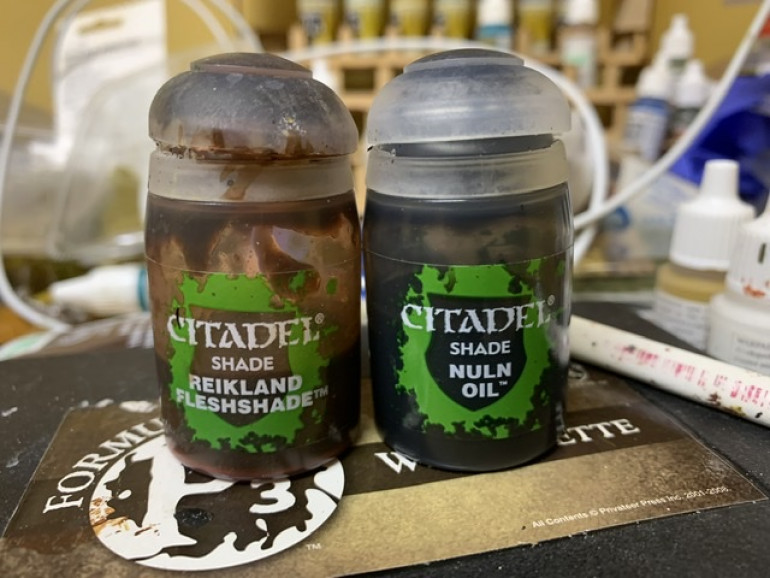
I started on the washes and used GW Reikland Flesh Shade on the hands and faces and then GW Nuln Oil on the chainmail, sword, axe and helmets.
Adding a Tactical Rock
After painting the King I noticed his eyes were downcast and he had a slightly hunched look. I decided to put him on a rocky outcropping to make it look like he’s looking down the side of a mountain and urging his troops forward.
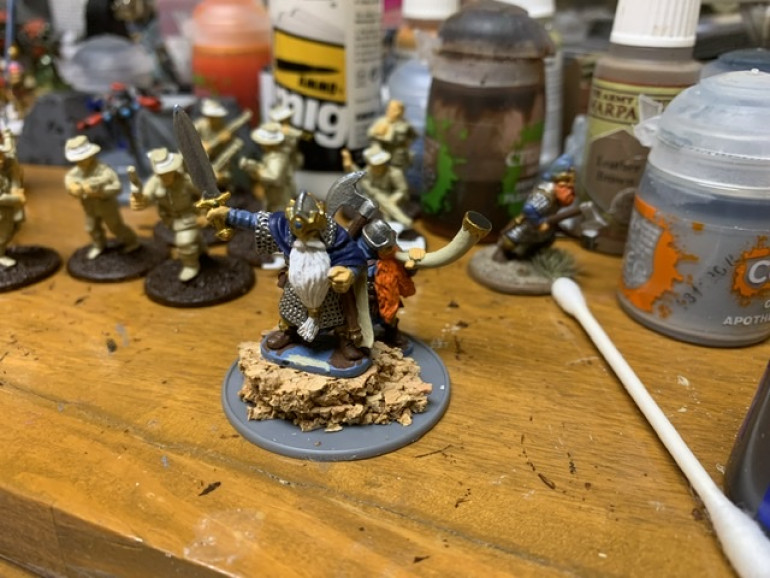 I used cork and tore it by hand to give a rough outline. Here I’m just working out the size and shape.
 I should have done this before painting but I cut off the puddle base with some clippers, then used a metal file to neaten things up, then drilled a hole and inserted a wire rod in the foot.
Cloaks and 2nd coats
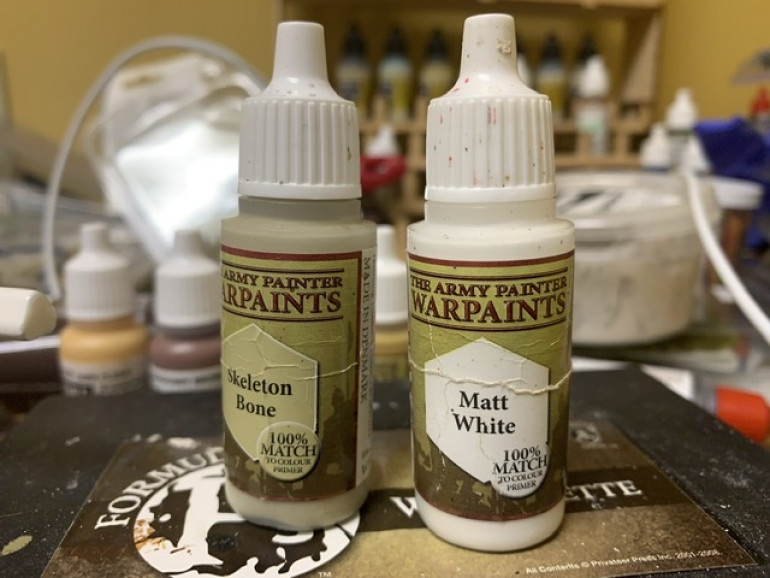
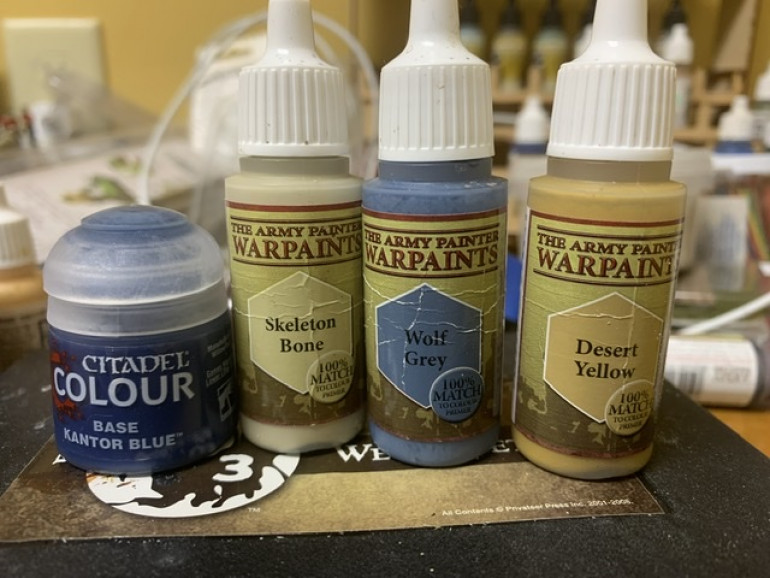
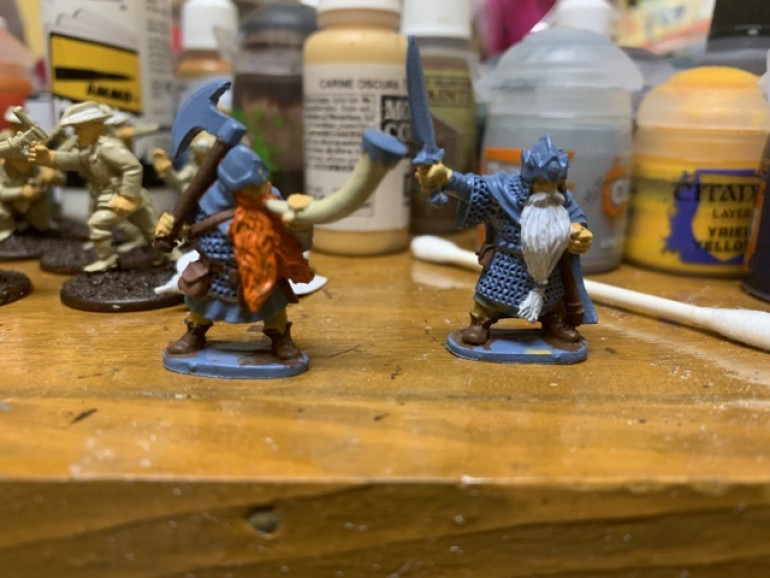
I decided on GWs Kantor Blue for the king’s cloak with the inner side painted Army Painter Skeleton Bone. I then did a second thin coat of Army Painter Wolf Grey on the tunics and Army Desert Yellow on the pants.
In working on the king, he has a slightly downward cast to his eyes, almost as if he’s hunched over. So I think I’ll cut off the metal puddle and then pin him on top of some cork to make it look like he’s on top of a rock looking down.
Horatio has a leather strap for a shield. I’ll paint it up separately and glue it on later.
The King & Horatio
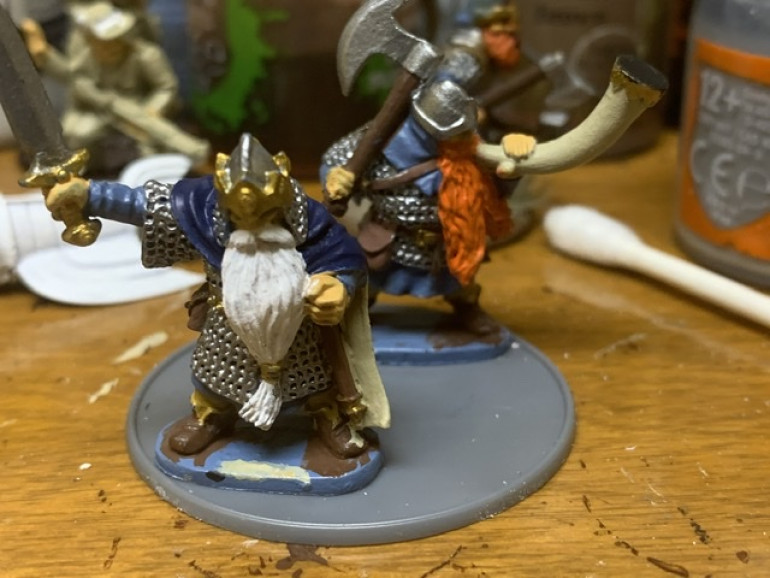
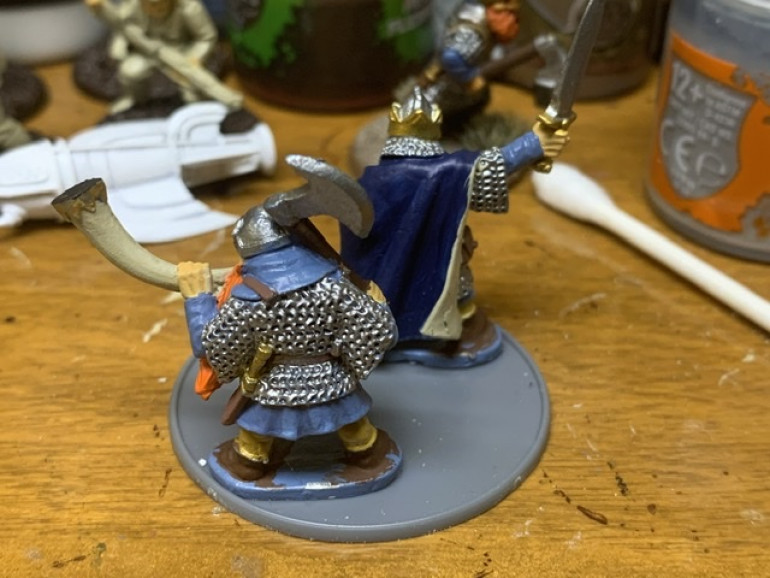
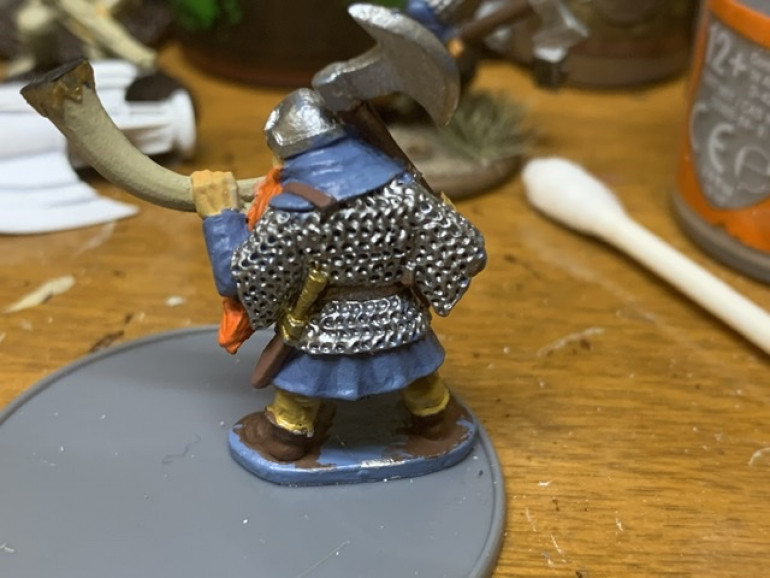
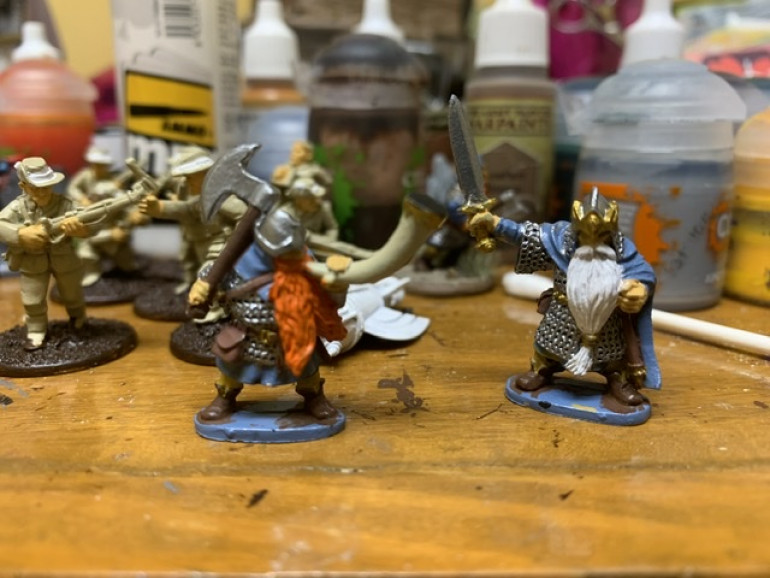
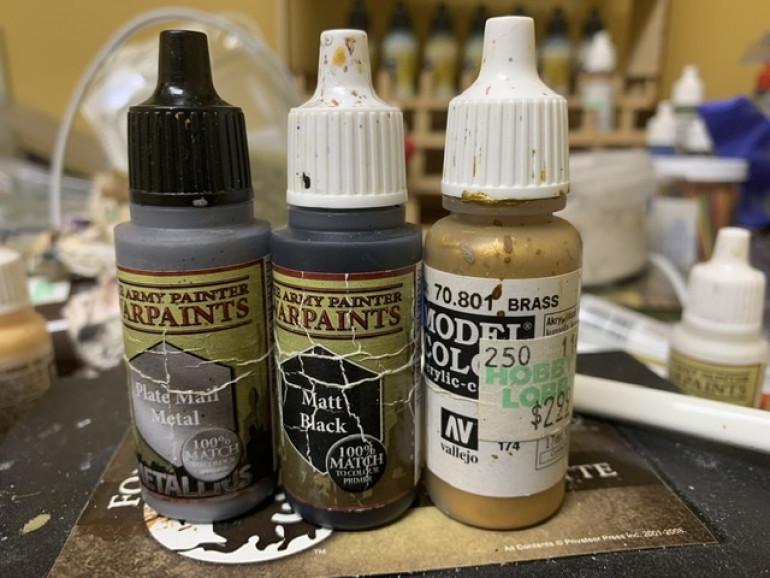
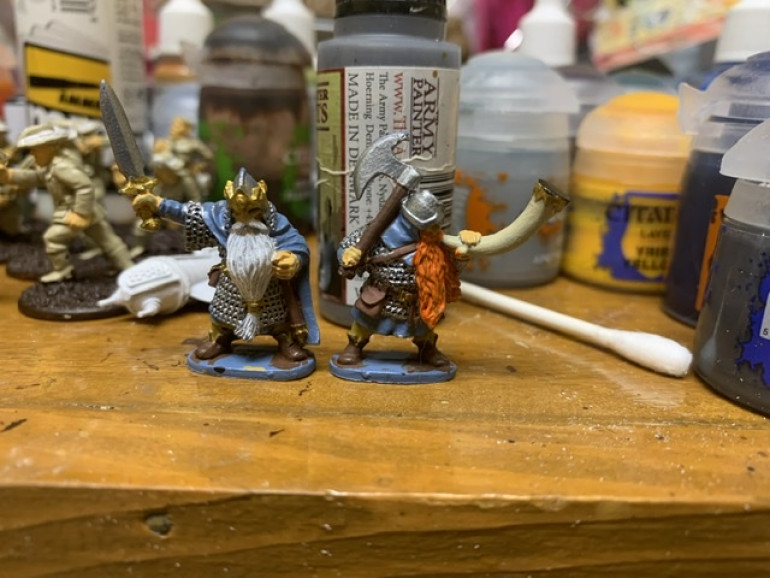
Blocked in a few more colors. I used Army Painter Plate Mail metal for the helmets, chain mail, sword blade and the head of the axe. I used Army Painter black for the mouth of the horn and the openings in the kings upraised sleeve. I used Vallejo Brass on the sword hilt, the king’s crown, his belt, the decoration on the end of the horn and the belt bucke of Horatio’s belt.
So, I got distracted
Like most gamers, I got distracted by other projects, some of which you’ll see in the background.
I decided to work on my warlord next. The figures are metal and are from the Oathmark range. As they’re going to share a 40mm base, I decided to paint them up separately and mount on a base later.
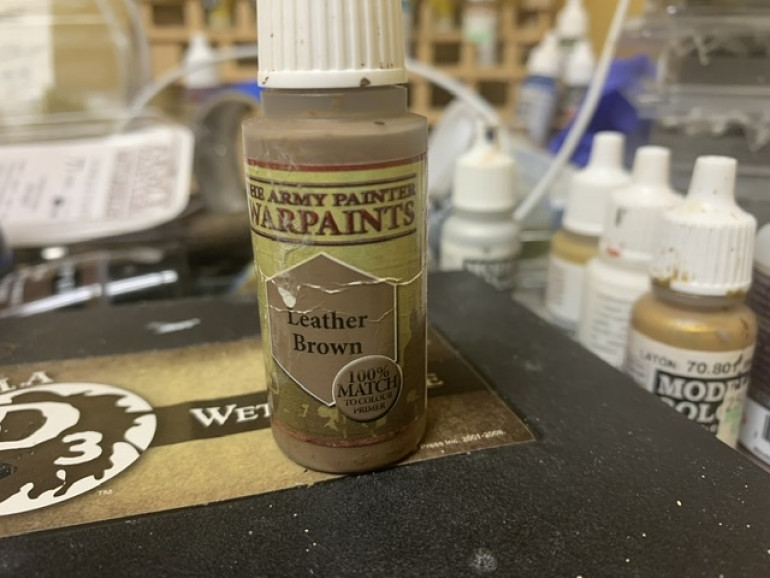
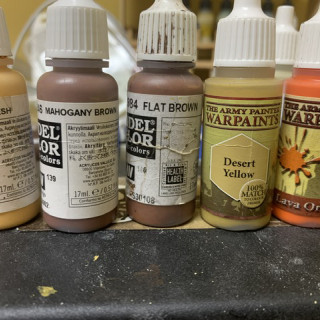
As usual I base coated with Army Painter Space Wolves Grey. The flesh is Vallejo Dark Flesh, the leather belts and straps Vallejo Mahogany Brown, the boots, axe haft are Vallejo Flat Brown, the pants Army Painter Desert Yellow and the musician’s beard Lava Orange. The kings beard is Army Paiinter Matt White.
Not quite sure what to paint the warlords cloak. Any ideas?
Heavy Infantry Glamour Shots
After the shields were dry, I gave everything a spray of Army Painter Matt Varnish and let it dry. After the varnish dried, I got the “Hold my beer!” miniature and added a pennant.
For the pennant I added to the banner bearers pole, I cut out the pennant from a Flags of War pennant set, then used PVA glue applied to the interior of the paper and wrapped it around the pole, then aligned and shaped the paper while the glue was still wet.
Once dry, I used some Army Painter Pure Red to cover up the red edges and some Secret Weapons Concrete Wash to cover the white edges.
Shields Pt 3
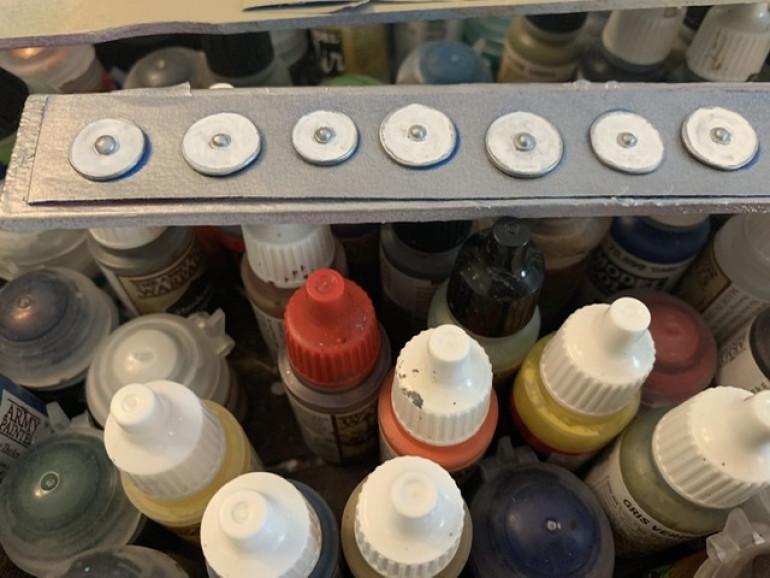
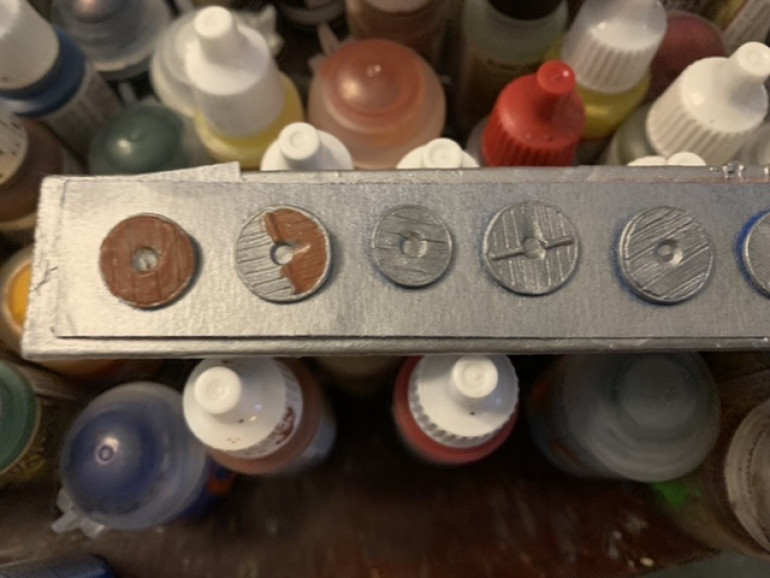
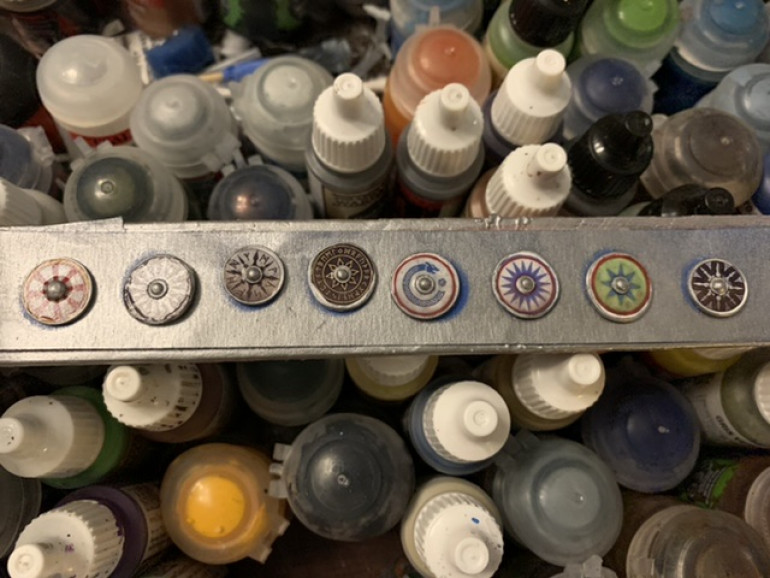 I trimmed the transfers, peeled off the plastic covering and then applied them sticky side down. I then firmly pressed them onto the shields. I then wet the transfers by sticking the whole assembly into a clean cup of water and then again pressing the backing paper firmly onto the shield. I then peeled off the paper and applied Micro Sol transfer solvent. After several applications of Micro Sol, I then found matching paint colors and carefully painted around any gaps between the transfers and the shields. I then scraped away the paint down to the bare plastic on the back of the shield and either the hand or forearm of the minis. This enabled a good surface to use Testors plastic cement to create a chemical weld. After the cement dried, I washed the back of shields with Seraphim Sepia and the rims and boss with Nuln Oil.
Shields
The heavy infantry sprues comes with five shields per sprue but the have raised designs on them. Rather than bother to try and sand them down I used some of the spare shields from the regular infantry set plus some Gripping Beast Plastic Dark Age shields. I’ll then use a mix of the Little Big Man Studios shield transfers for the finishing touches. The Oathmark specific transfers are sold through Northstar Miniatures. The Gripping Beast Dark Age shield transfers are sold directly from the Little Big Msn Studios site.
For future builds in this project I’ll also be using the Victrix Viking plastic shields and the associated Victrix shield transfers. Those transfers are also sold directly from the Victrix site and don’t appear on the LBMS webpage.
Heavy Infantry mostly done.
Washes finished, maybe some touch ups then on to shields and basing.
Heavy Infantry Update
Even tough the masks cover the faces, they still have a lot of character. A few more washes and I can move on to basing.
Heavy Infantry
Based around the Oathmark Dwarf Heavy Infantry box, these figures can serve as hearthguard, veterans, or unit leaders.
I’ll build the first batch armed with one handed weapons then a second batch with two handed weapons.
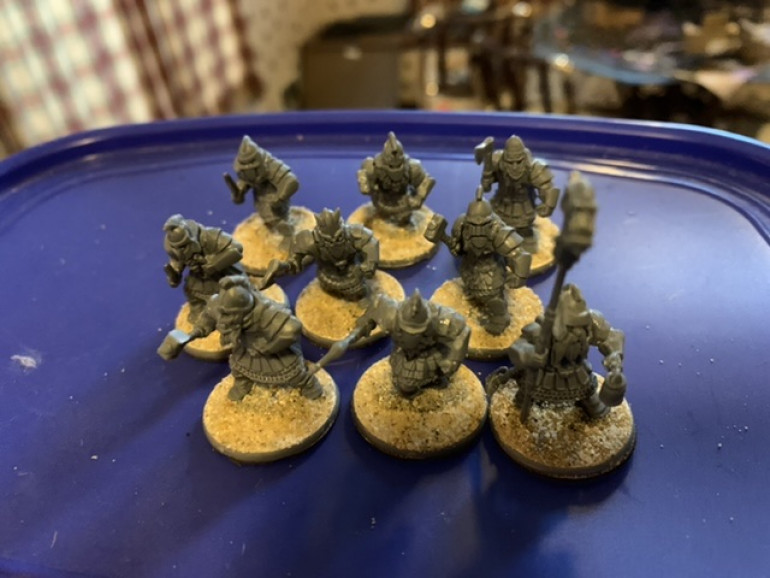 The sprues have more head options than bodies and in this case I opted to make the banner bearer with an open faced helmet and everyone else with an iron mask. After assembling the minis I filled in the base with Warlods basing compound. Once dry I applied PVA glue and sand as per usual.
 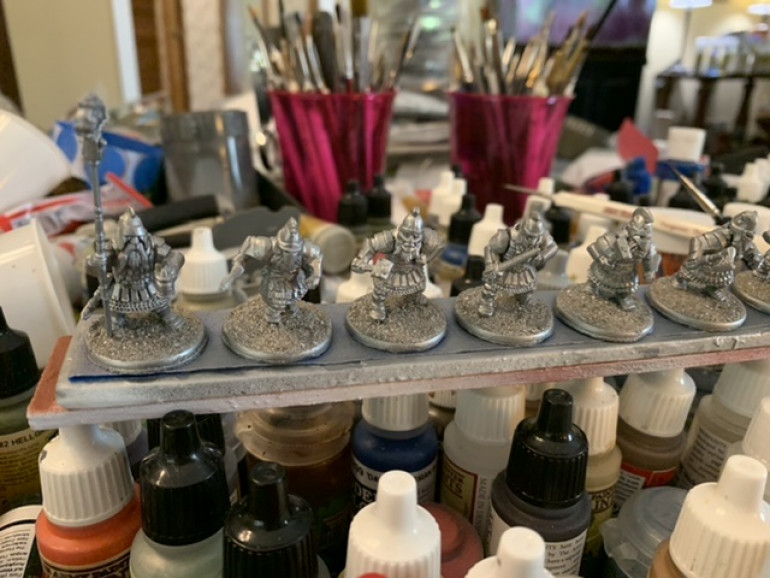 Because there’s so much armor on these figures, and virtually no cloth, I elected to use Army Painter Plate Mail Metal ad the primer.
 Berserkers!
A Saga Viking army can take a single four man Berserker unit. I built mine using the Oathmark minis. The Dwarf infantry box comes with only one left handed weapon and that’s a hammer. Since the Berserkers have twice as many attacks and less armor than equivalent units, I opted to scrap the shields and give everyone two weapons.
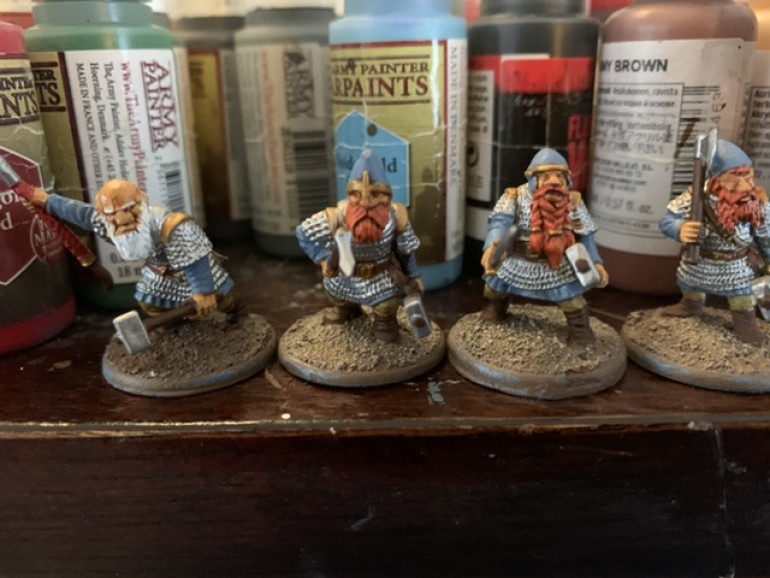 I used Apothecary White on the white beard and hair and Seraphim Sepia on the other beards. The chainmail was painted with Army Painter Plate Mail Metal. I left the helmets Wolf Grey just to differentiate the unit a little more. The beards are painted Army Painter Lava Orange. The bald dwarf’s beard was painted Army Painter Matt White.
 Final group of Spearmen done
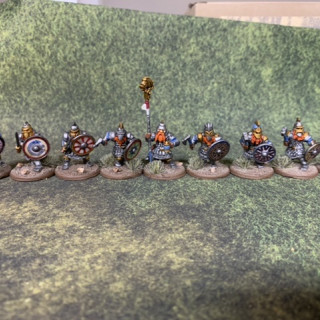
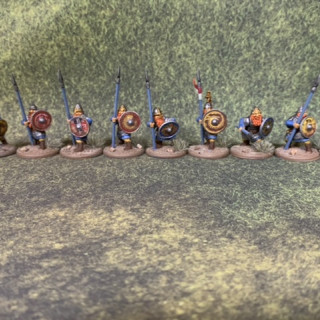
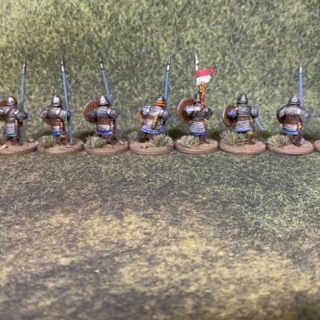
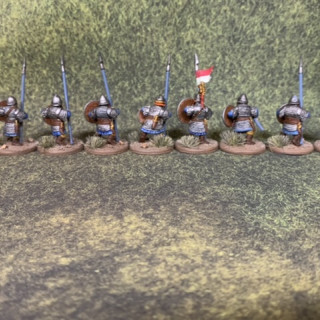
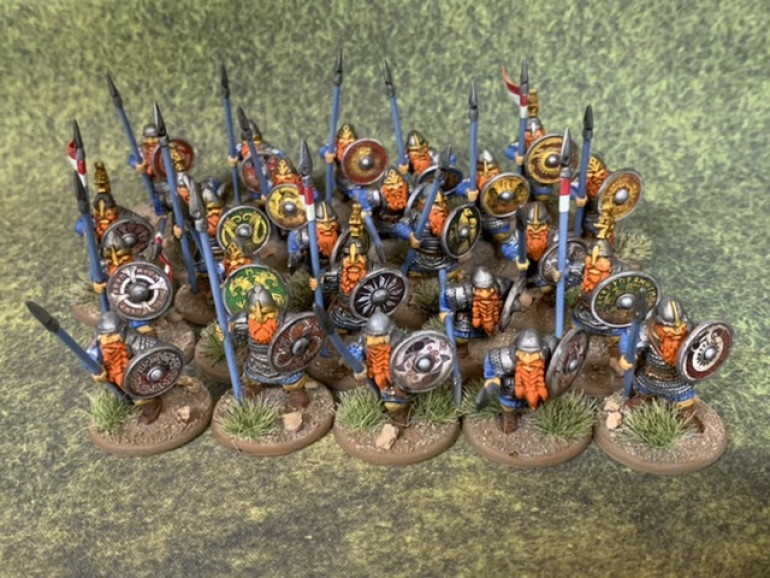
Here’s a few glamour shots of the last group of spearmen followed by some group shots of all the spearmen.


