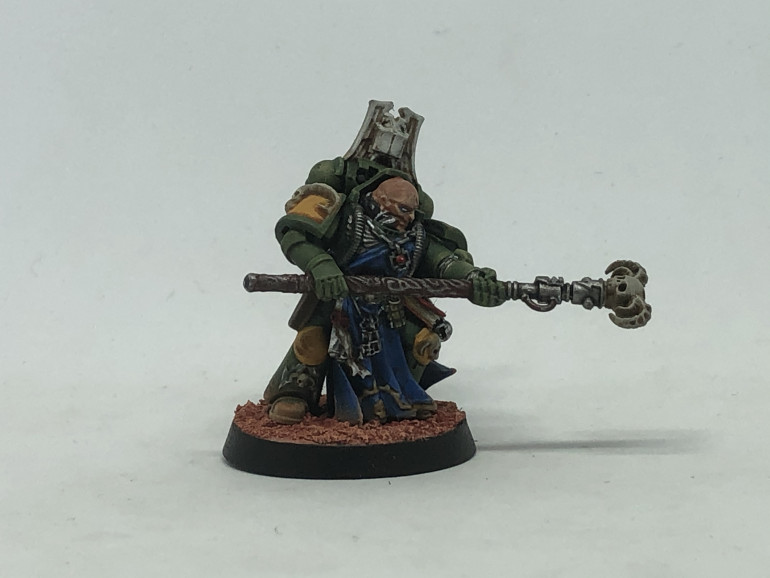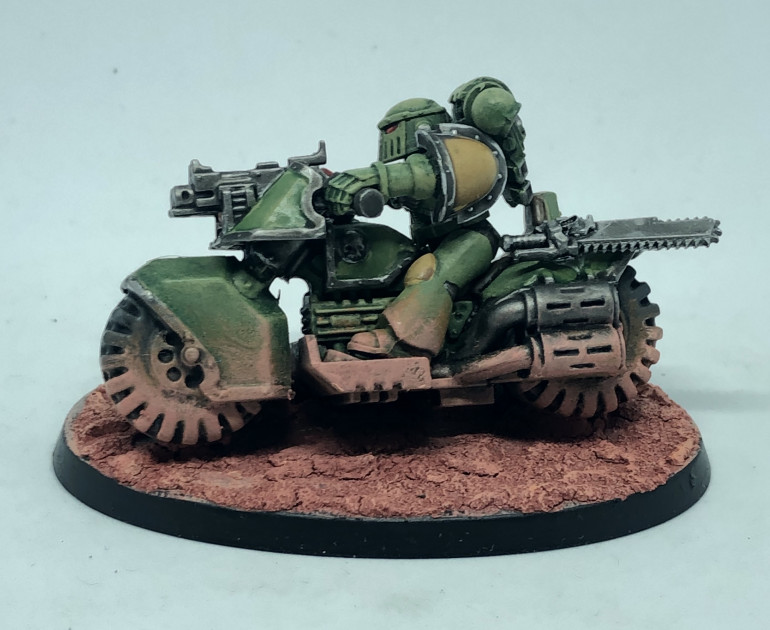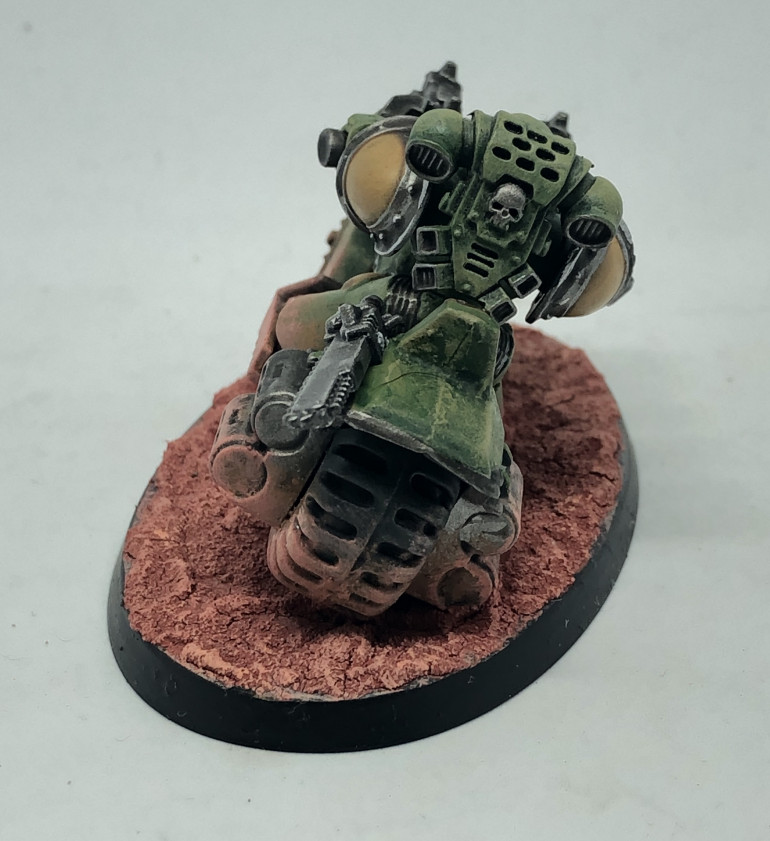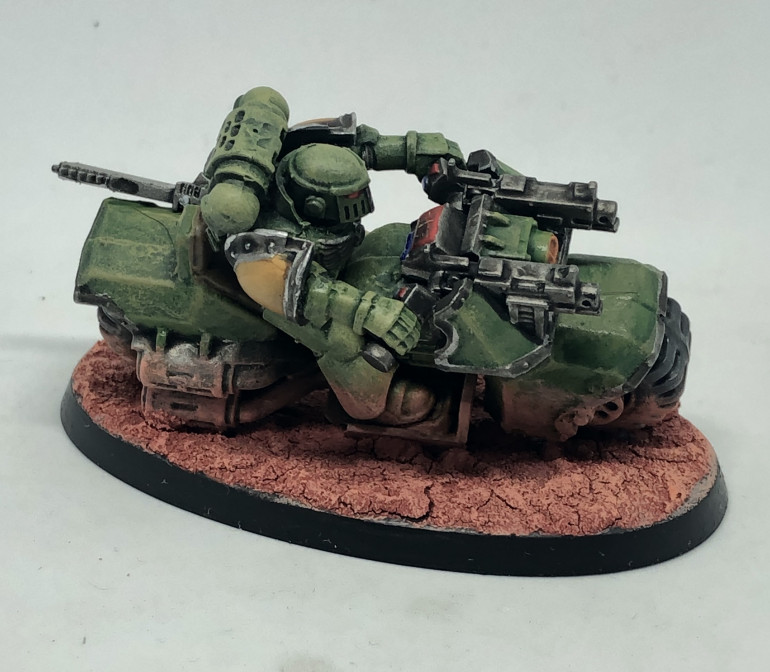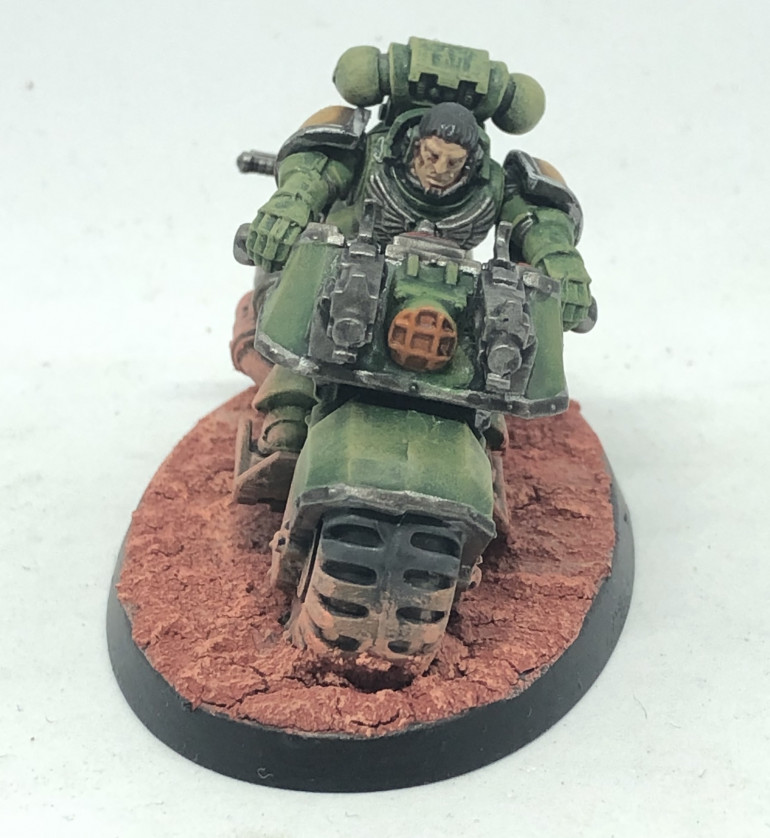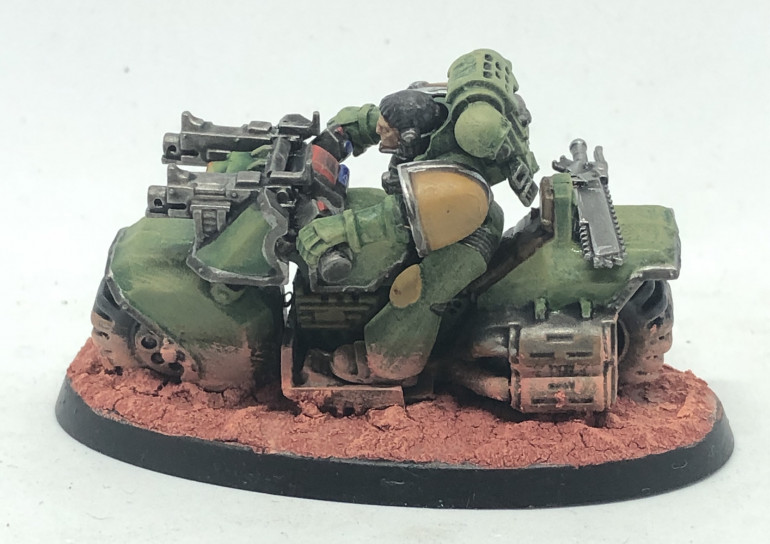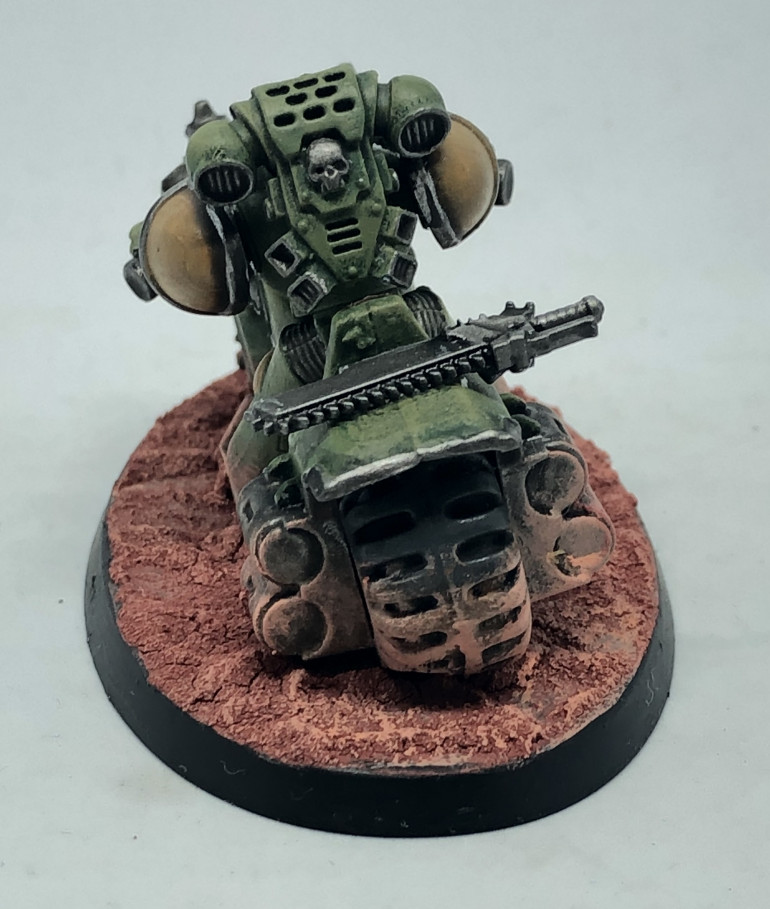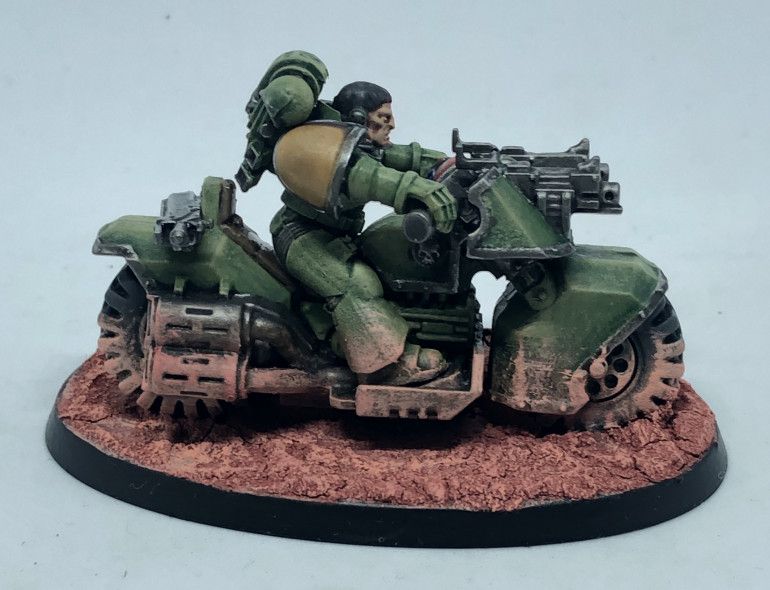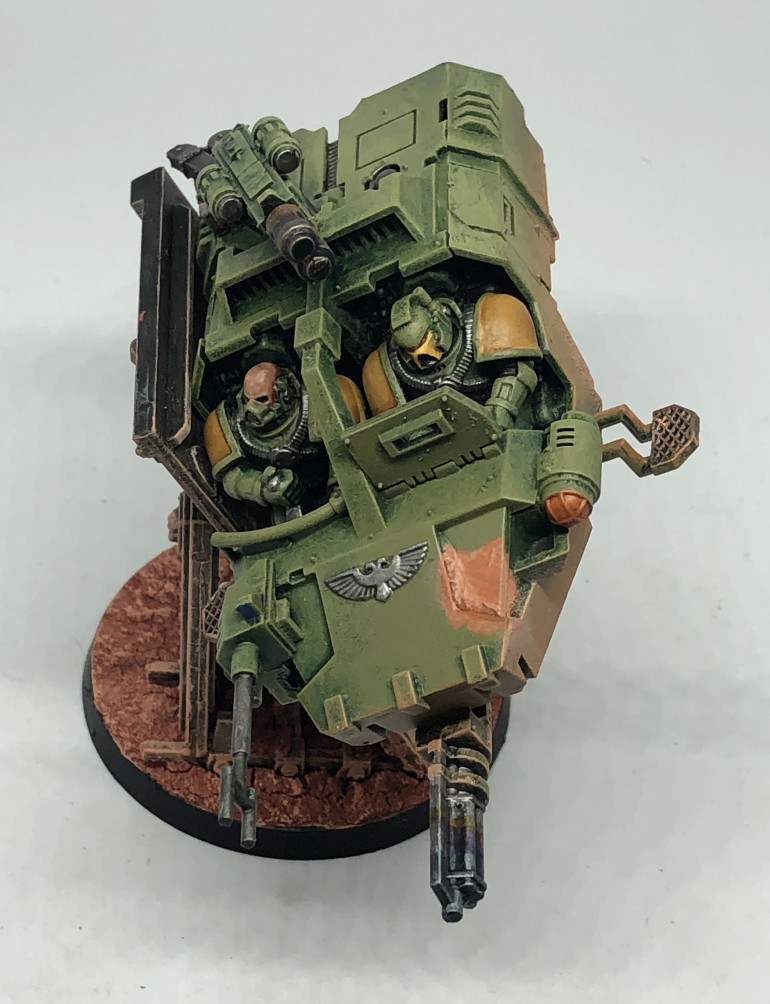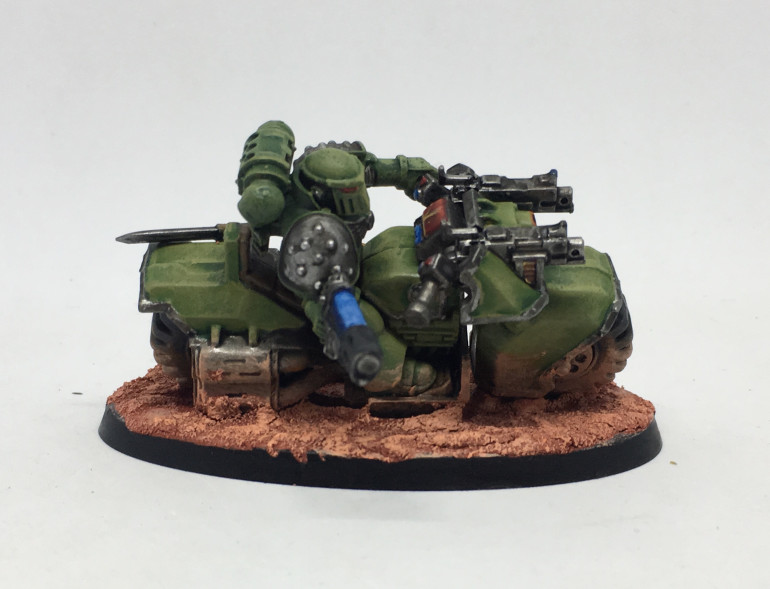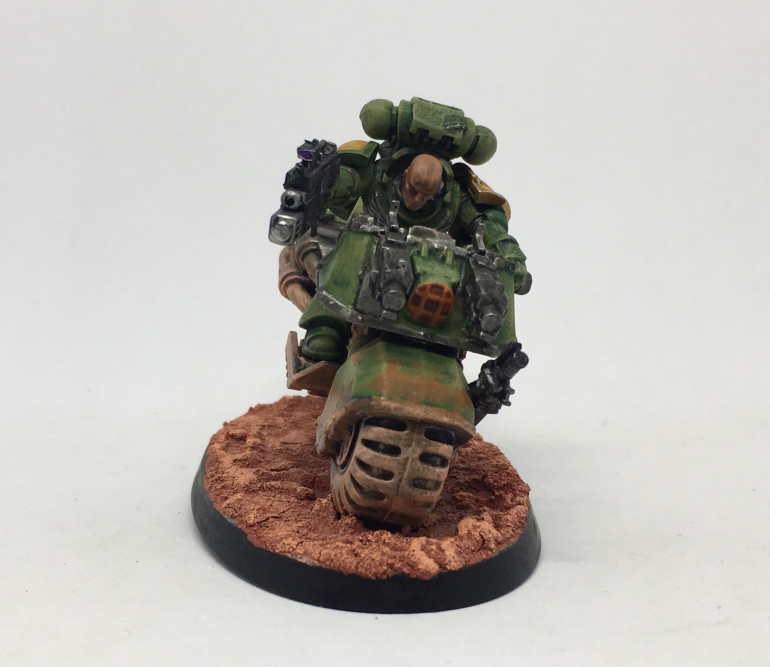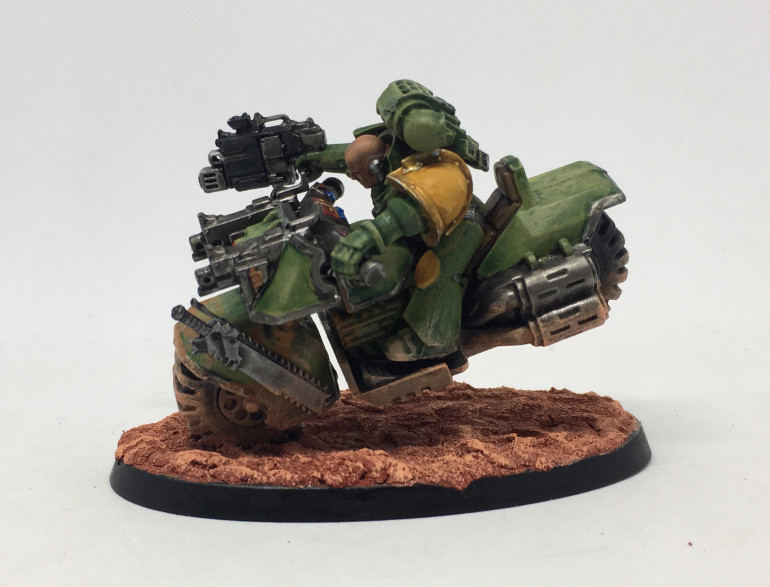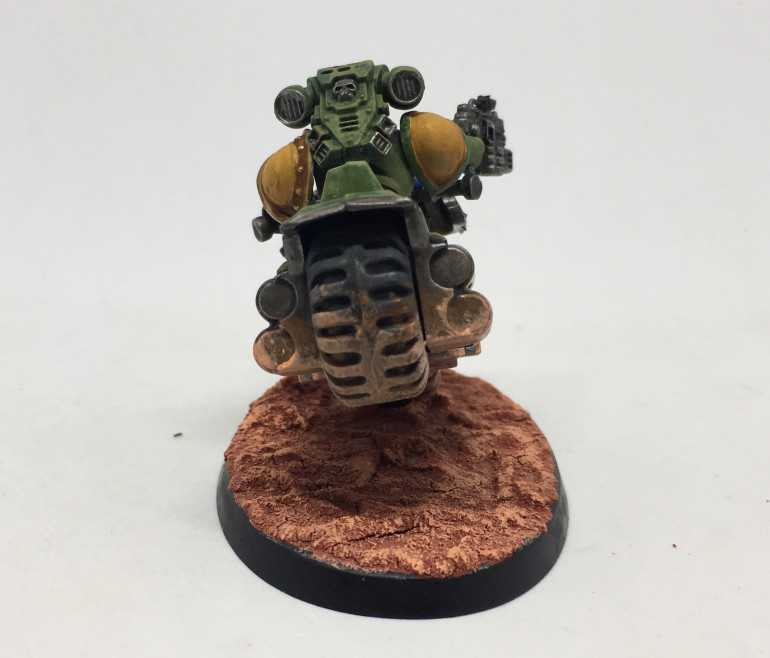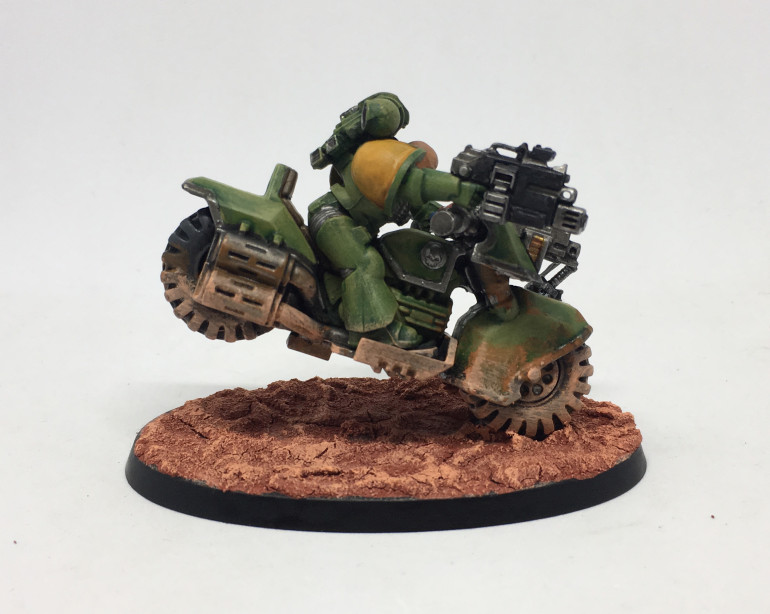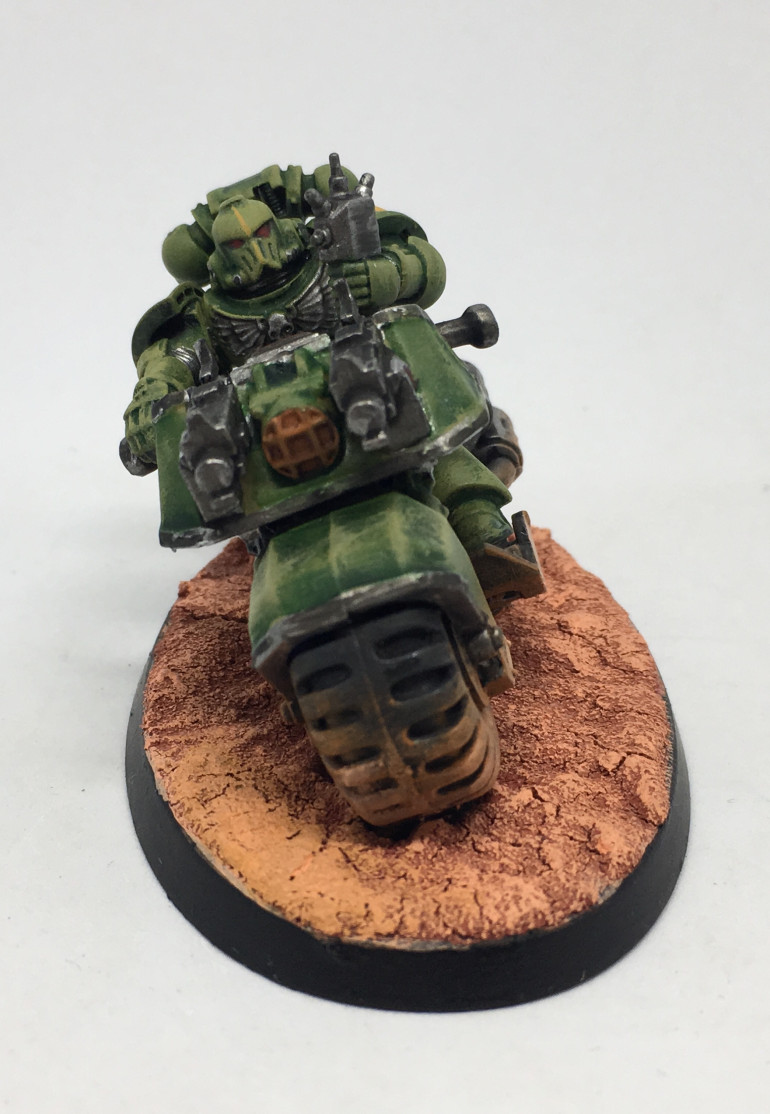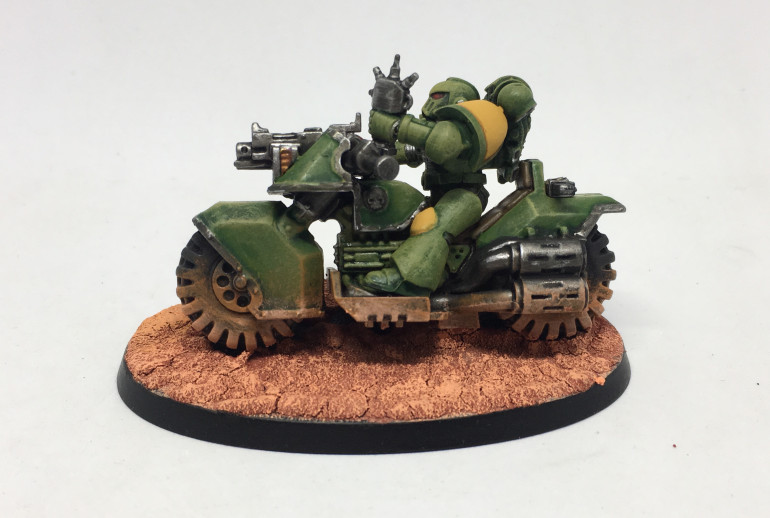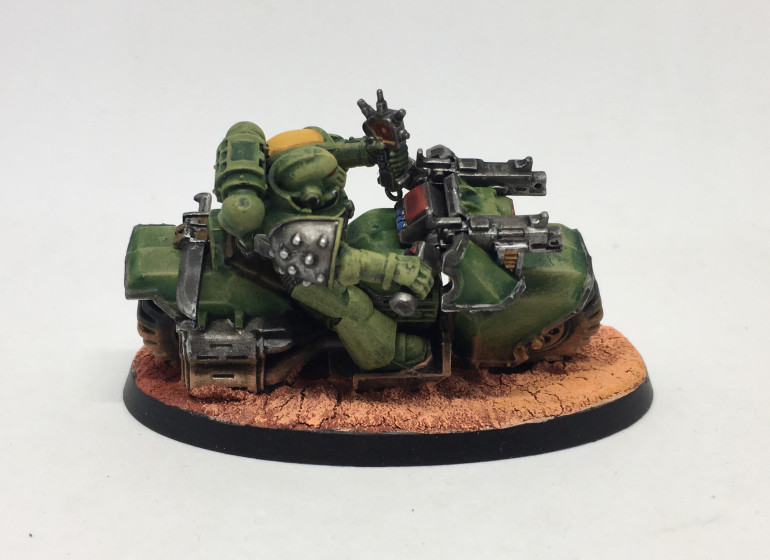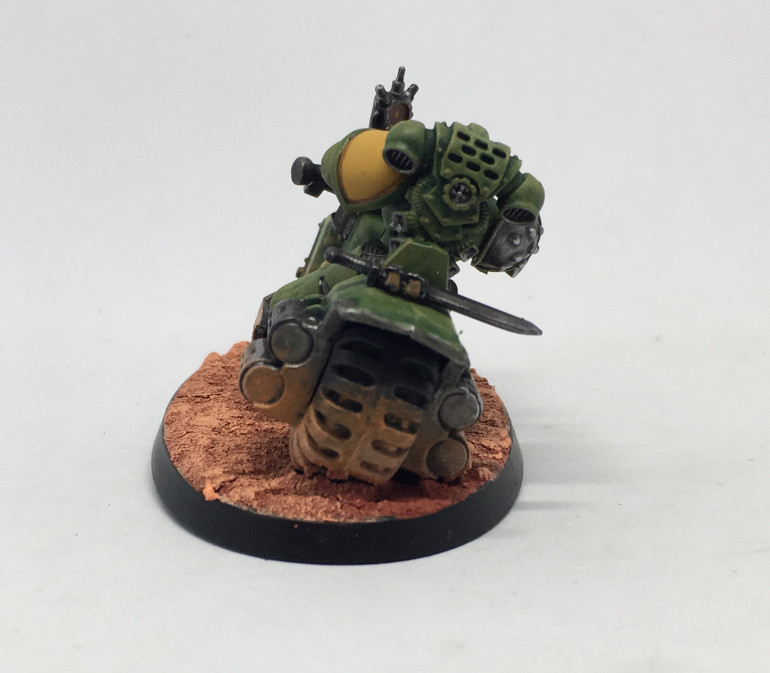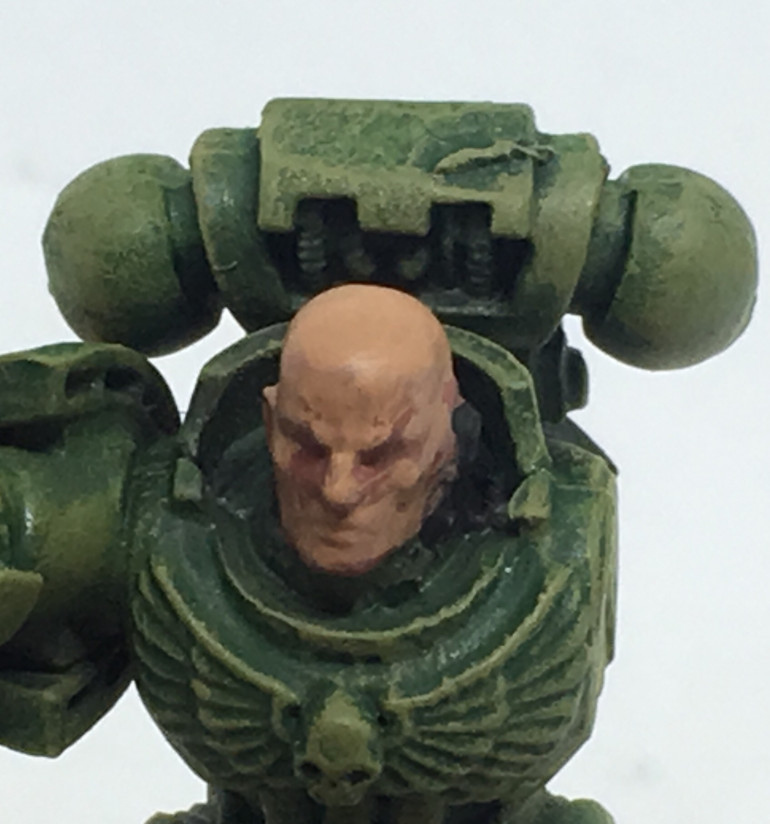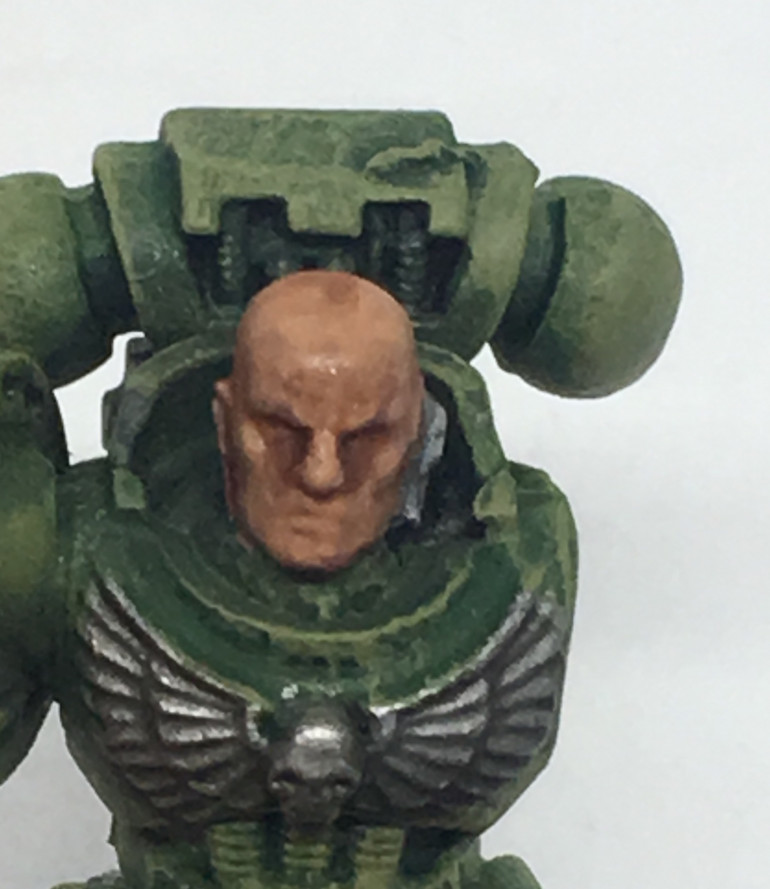
Mage’s Mantis Warriors – Updated 15/02/20 HQ Librarian Completed
Recommendations: 157
About the Project
This is another Space Marine project log of mine! How original! These are Mantis Warriors, secessionists from the Badab War who allied with the Astral Claws but inevitably lost but were found to be redeemable and sent on a penitient crusade.
Related Game: Warhammer 40,000
Related Company: Games Workshop
Related Genre: Science Fiction
This Project is Active
Entry 15: WIP Primaris Lieutenants and Ancient
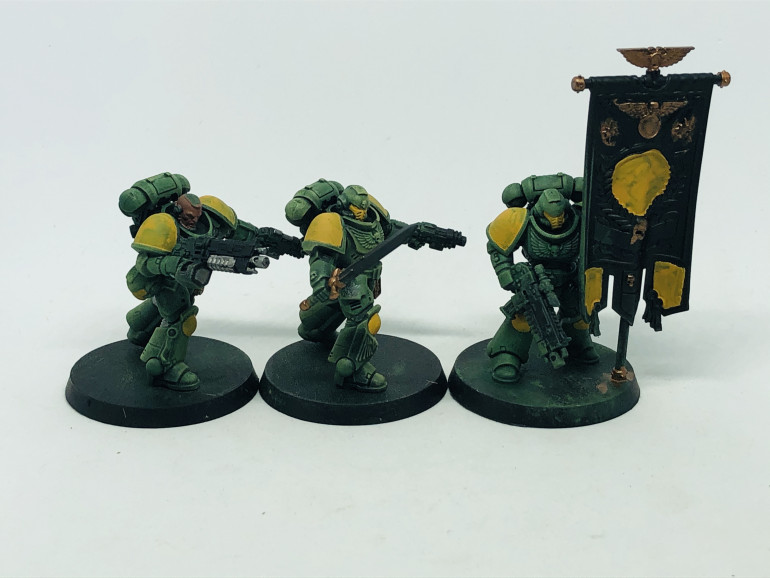
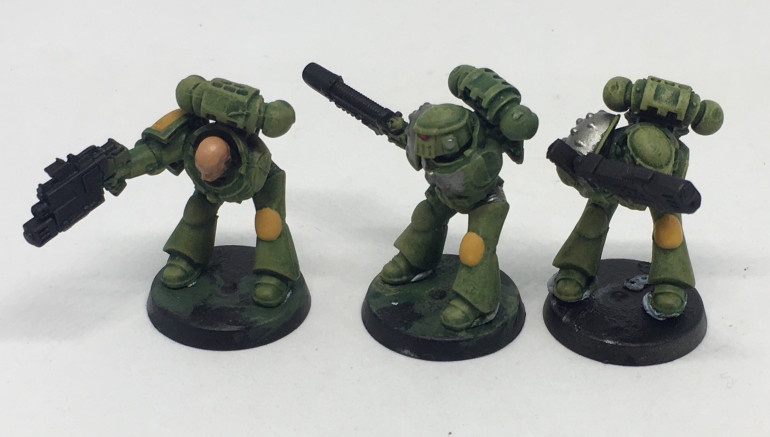
I’ve had a box of two attack bikes in sub assemblies, two ten-strong Scout Squads and some Primaris Characters leftover from Conquest magazine. I chose not to add them to my Minotaurs and absorb them into my small Mantis Warriors detachment. They’ve been sitting in a box for a while and put on the backburner.
I was a little board with doing detailed characters for Arcworlde so am using these guys as my ‘B-Project’ for batch painting and doing more limited surface areas and textures. It’s been a breath of fresh air since the Arcworlde models have so much details and character compared to small uniformed groups of Space Marines.
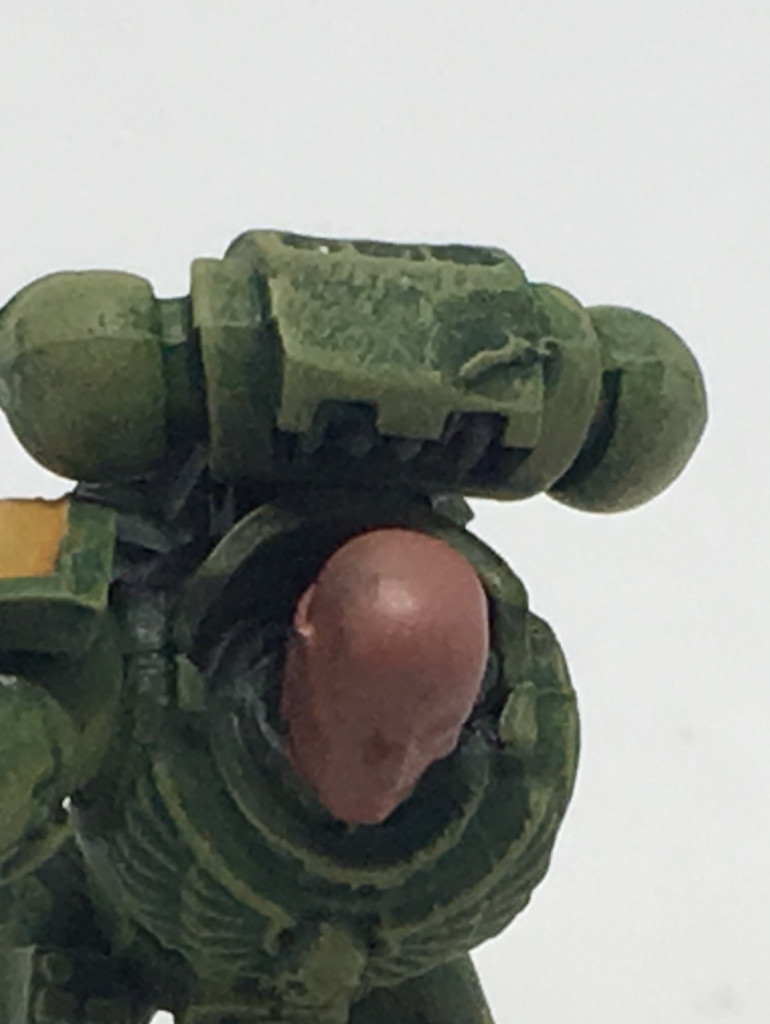
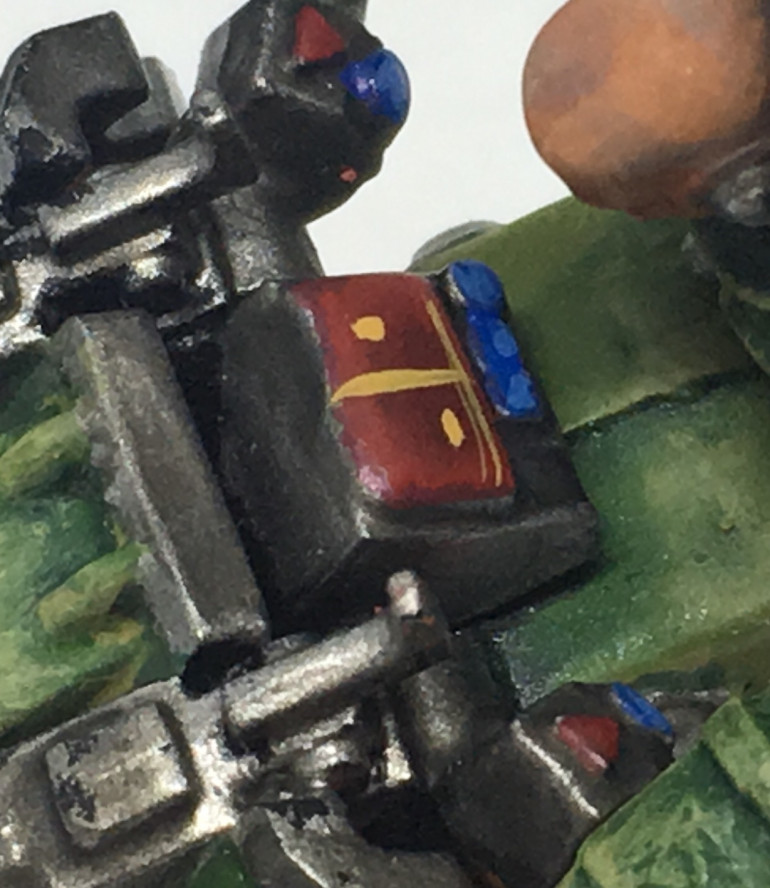
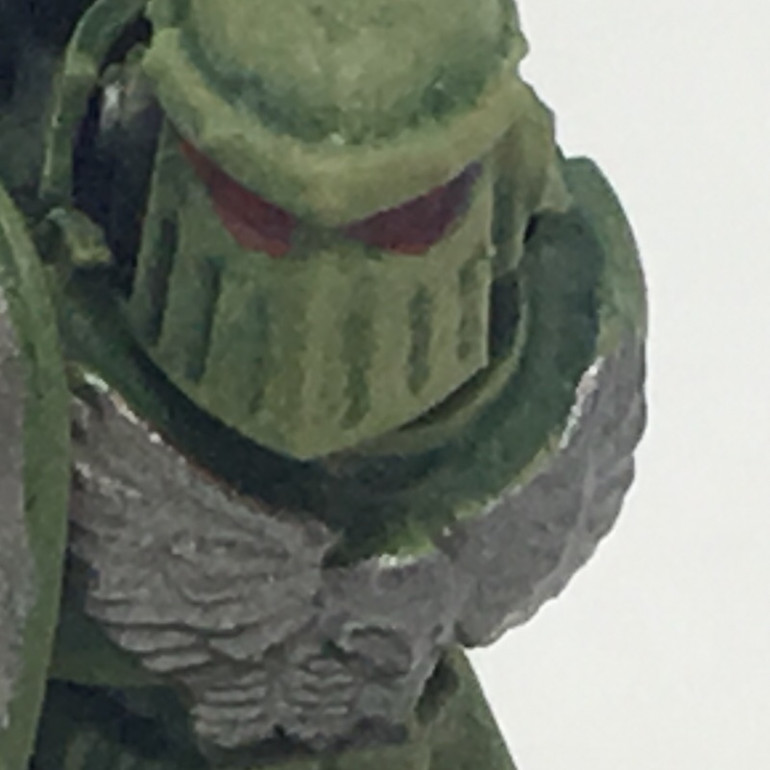
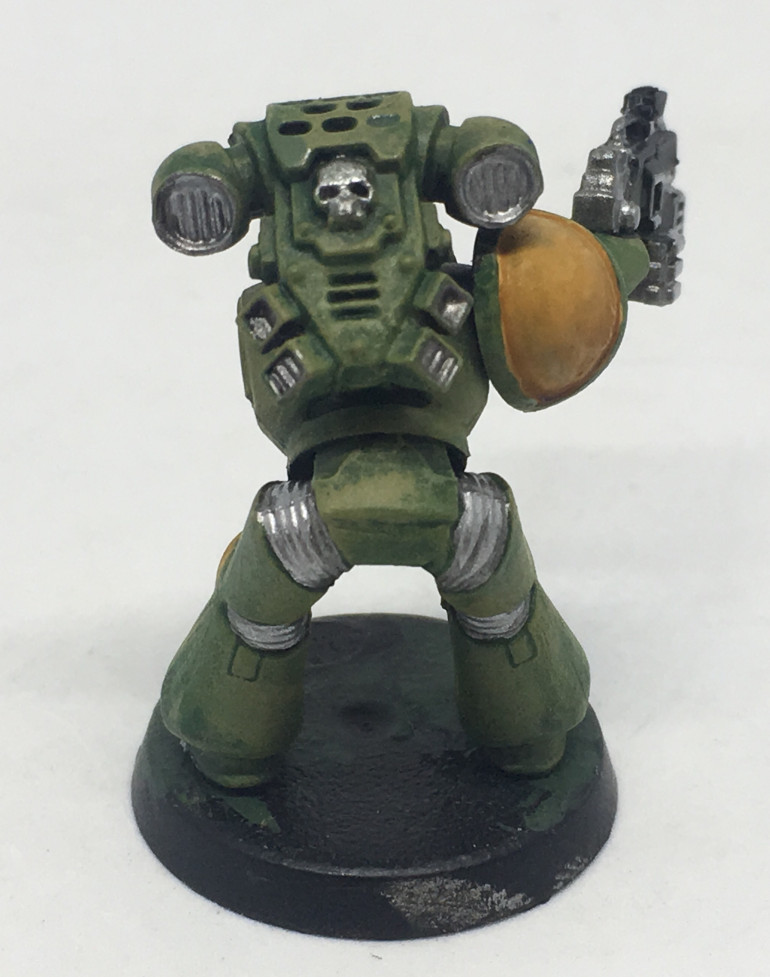
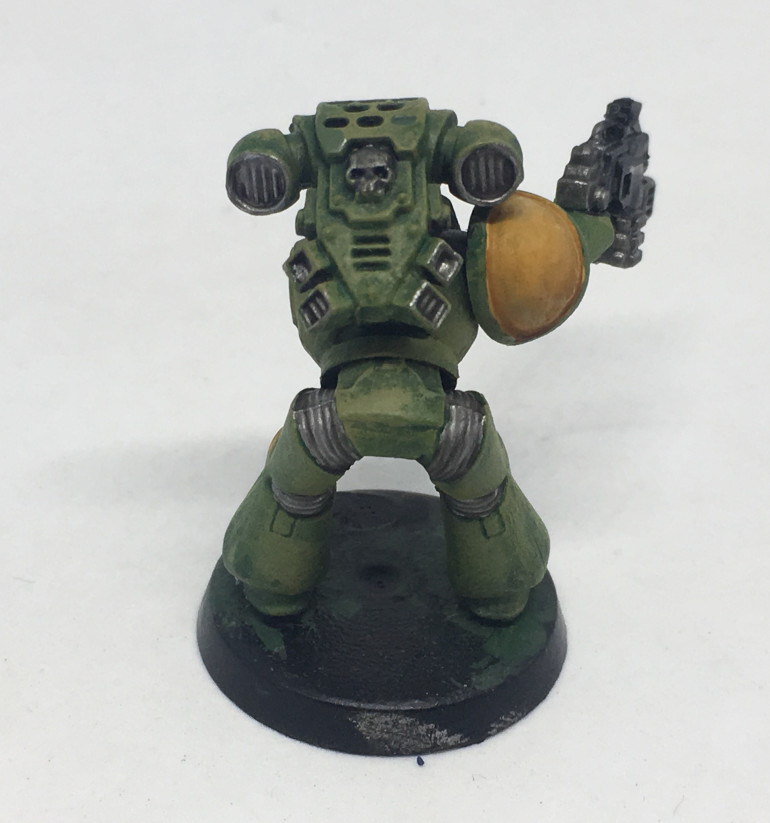
The green is done bar touch-ups and I am starting on the yellow, skin and metal next.
It is not much of an update but I did want to get back into the habbit of working on and updating my logs.
Entry 14: Librarian
It’s been a while! I’ve been busy and butterflying around different projects as well as sorting stuff in my personal life and avoiding forums. I’m back for a bit.
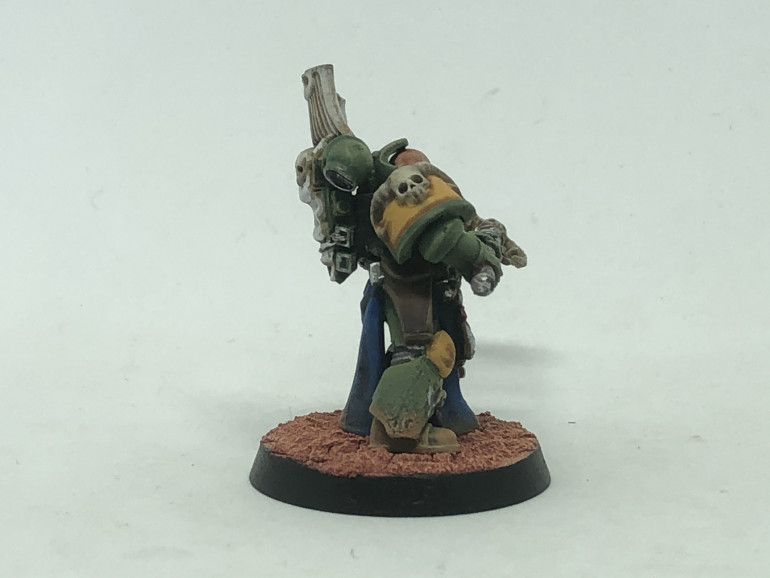
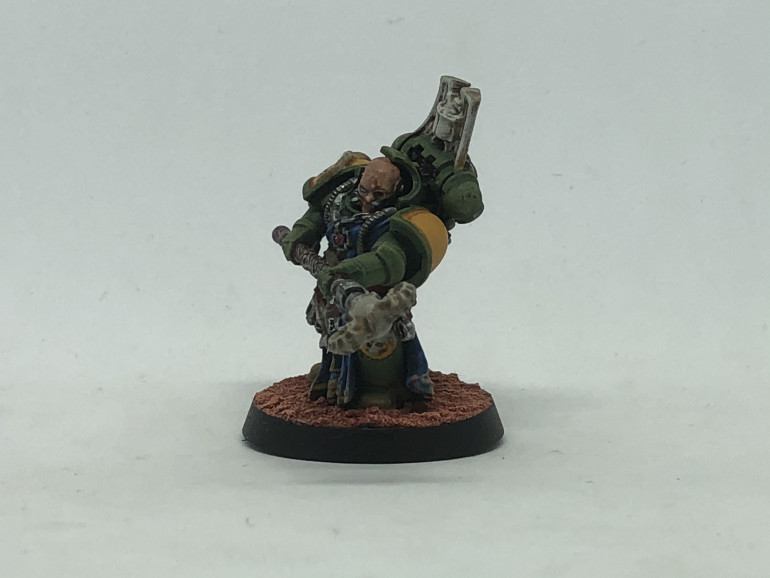
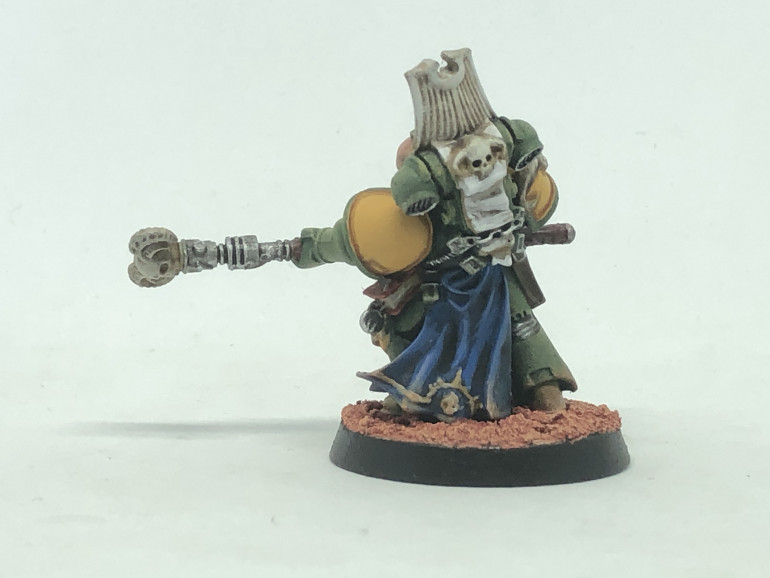
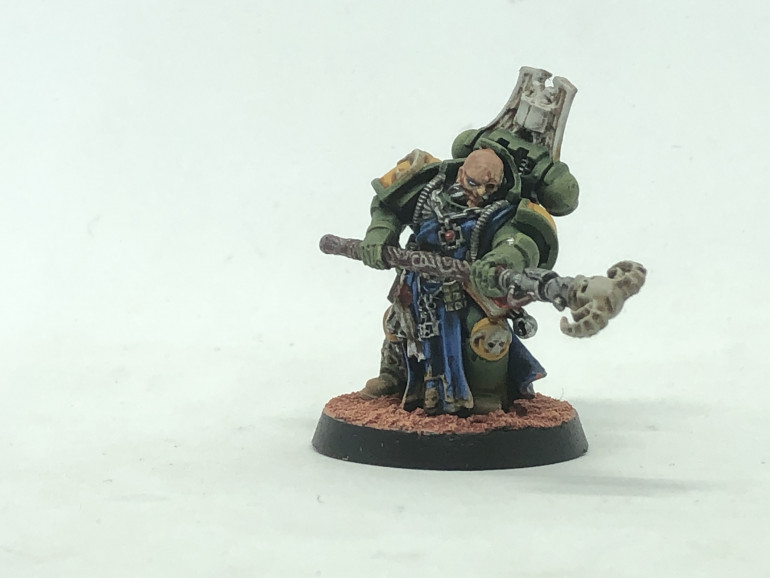
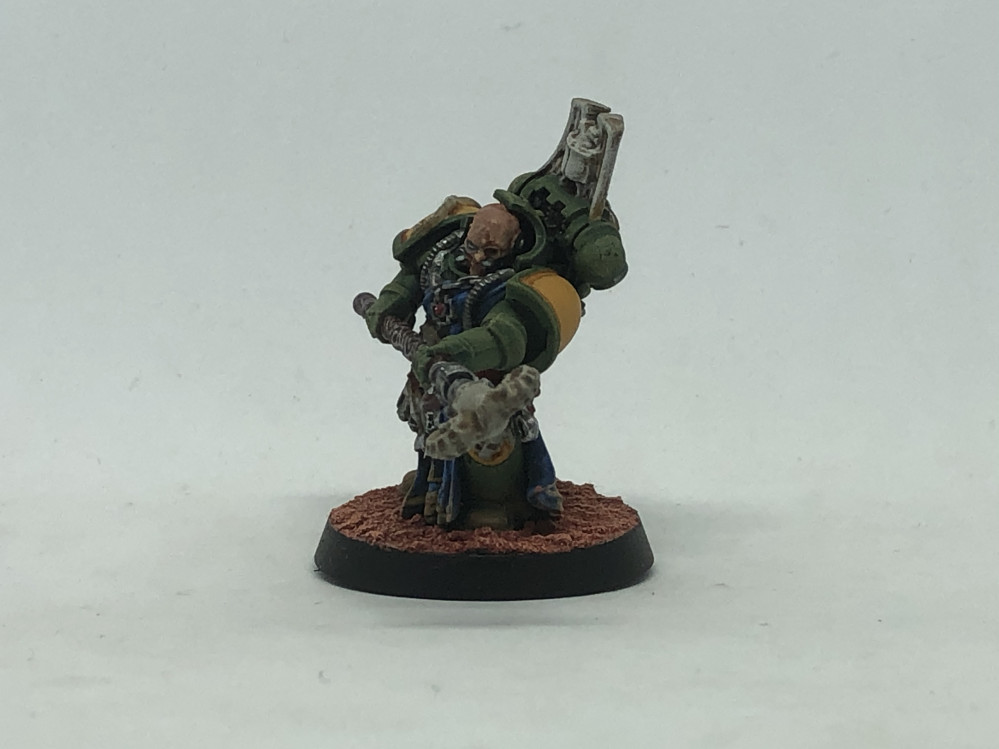
This is my Mantis Warriors Librarian. He will count as Ahazra Redth, the special character from the Forge World Badab War book.
He has had a head swap (with the Chaos Space Marine Master of Executions) and not been assembled with his foot rock. This had given him a haggard, maybe older look with his frame being haunched.
I like to think he had been drained from overuse of his powers over the course of the Badab War. Interestingly, he was MIA and his body never recovered. Maybe he was corrupted by Chaos and fled with the Astral Claws after the war and possibly became one of the first Red Corsairs Sorcerors…
https://wh40k.lexicanum.com/wiki/Ahazra_Redth
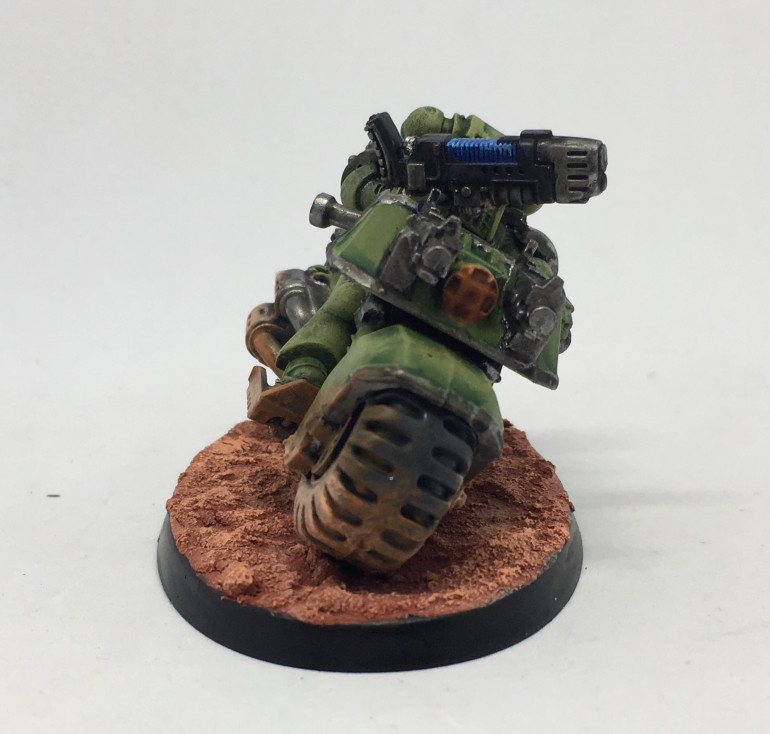
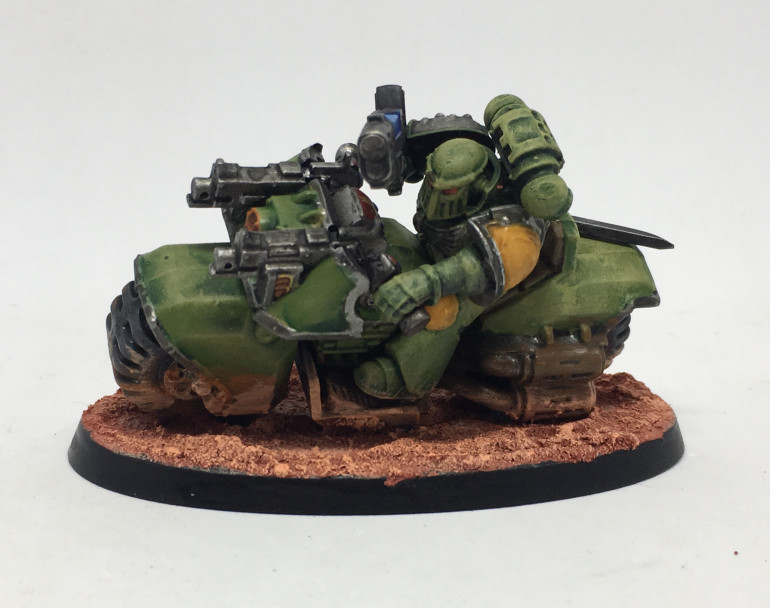
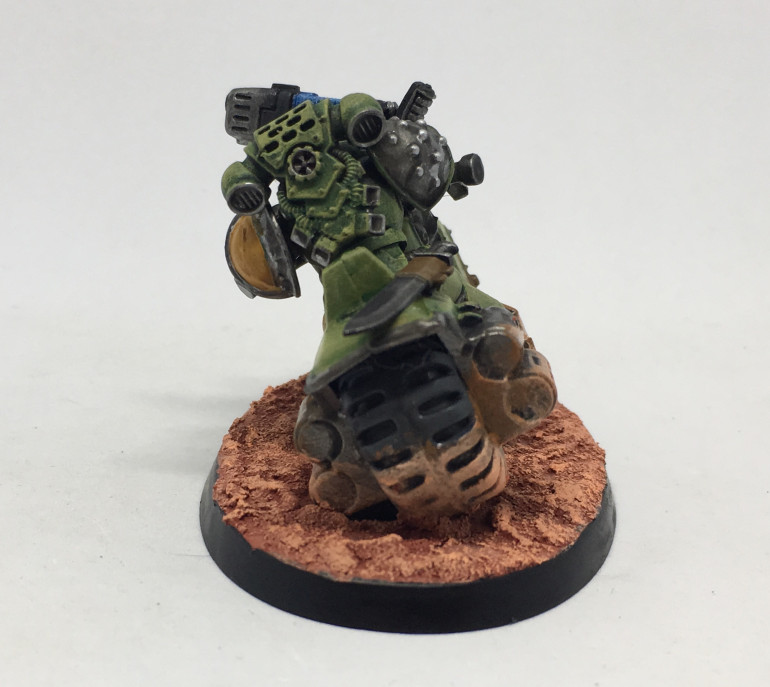
Entry 13: Bike Reinforcements Completed
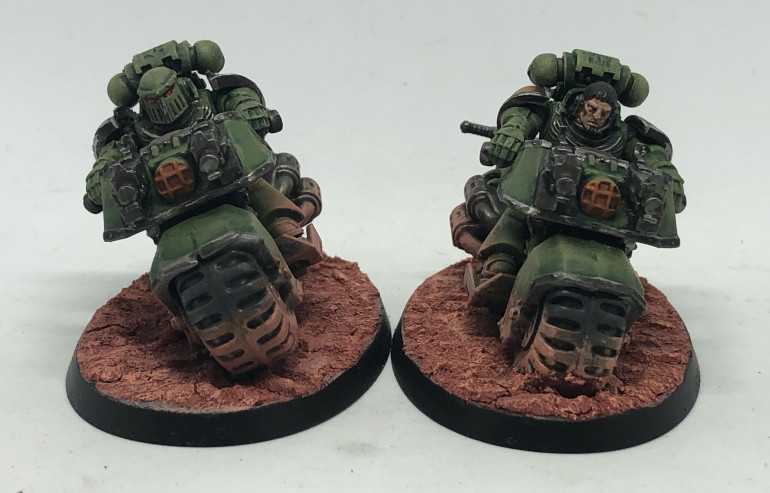
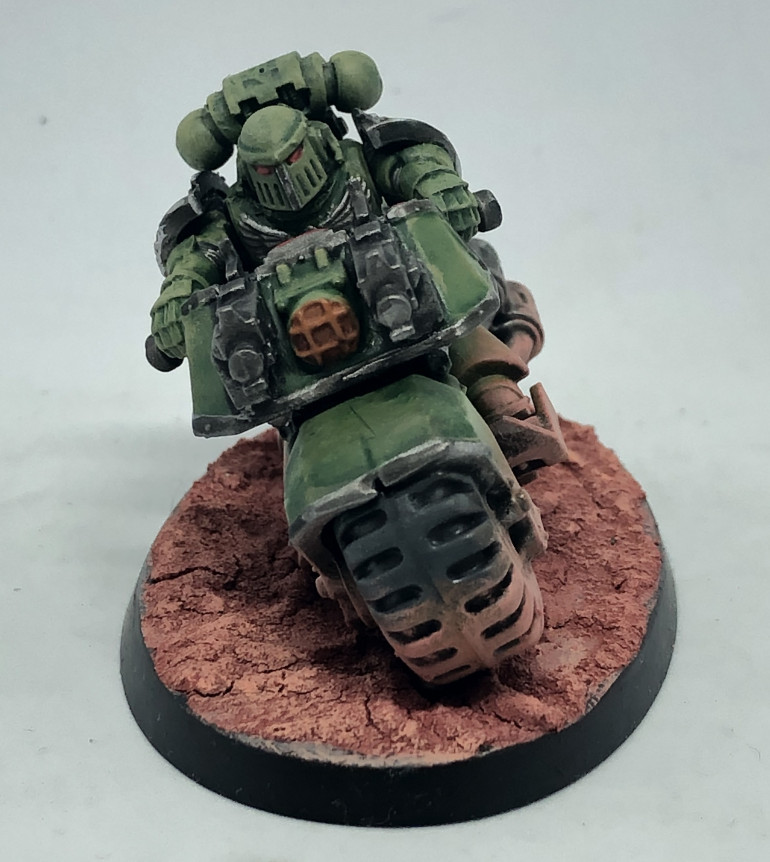
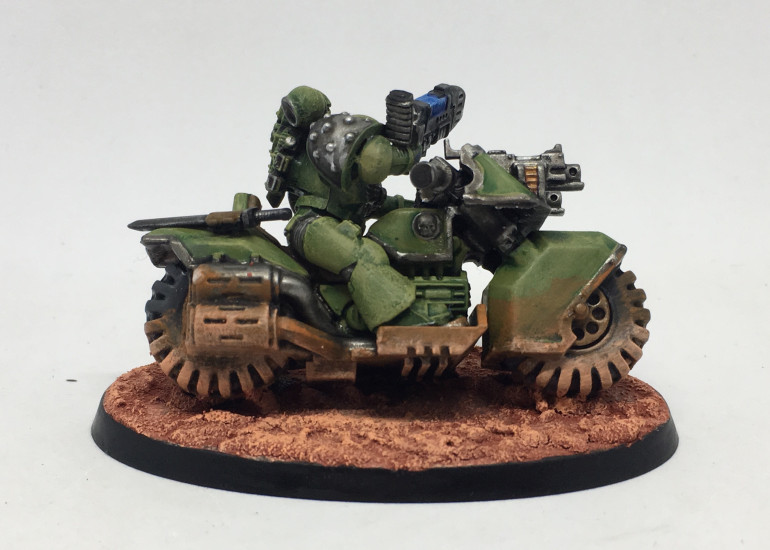
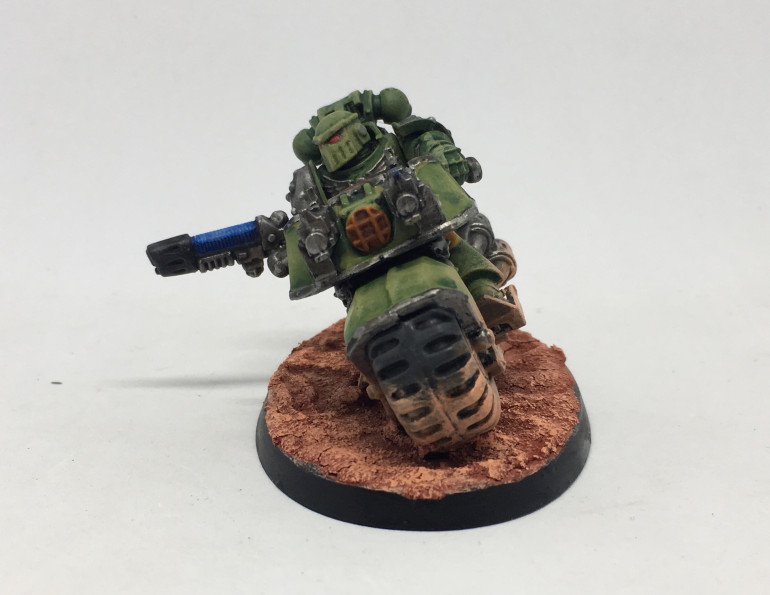
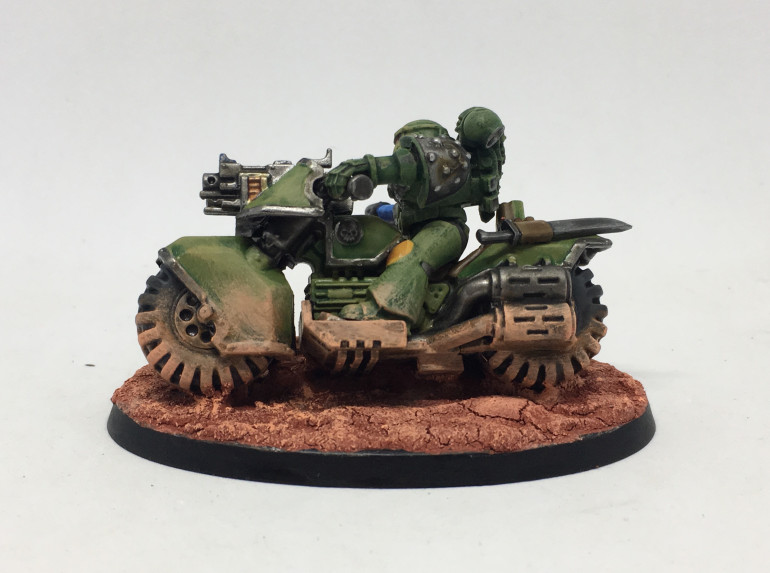
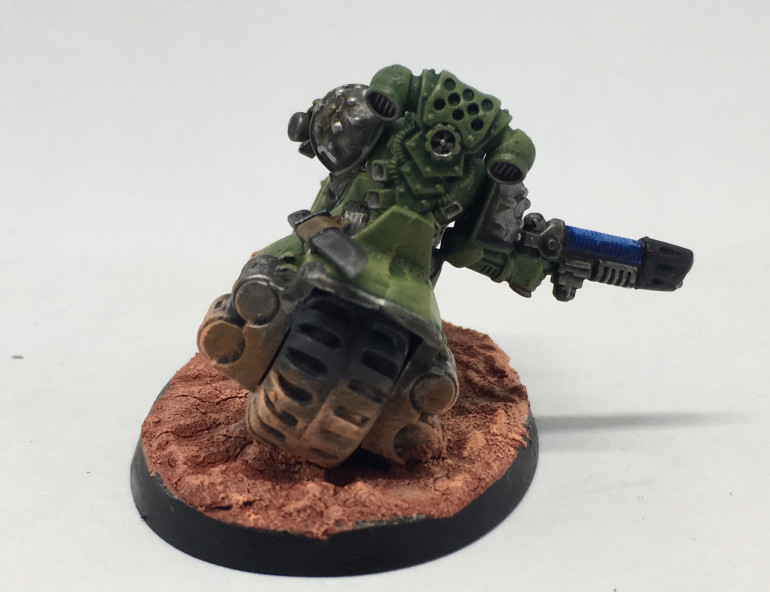
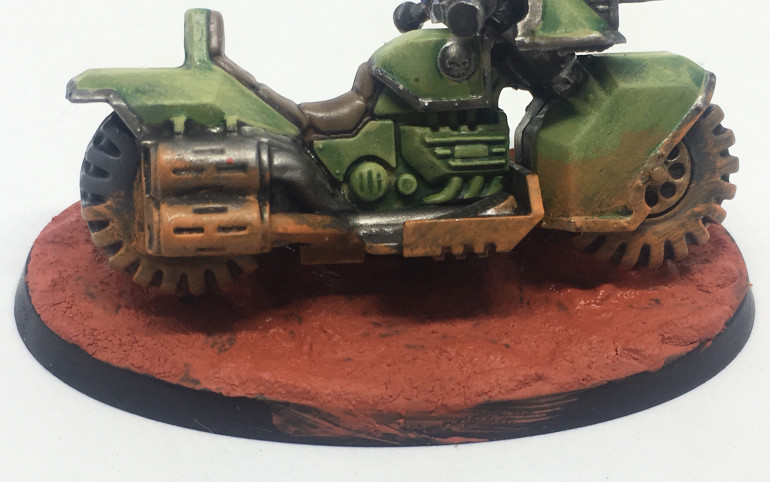
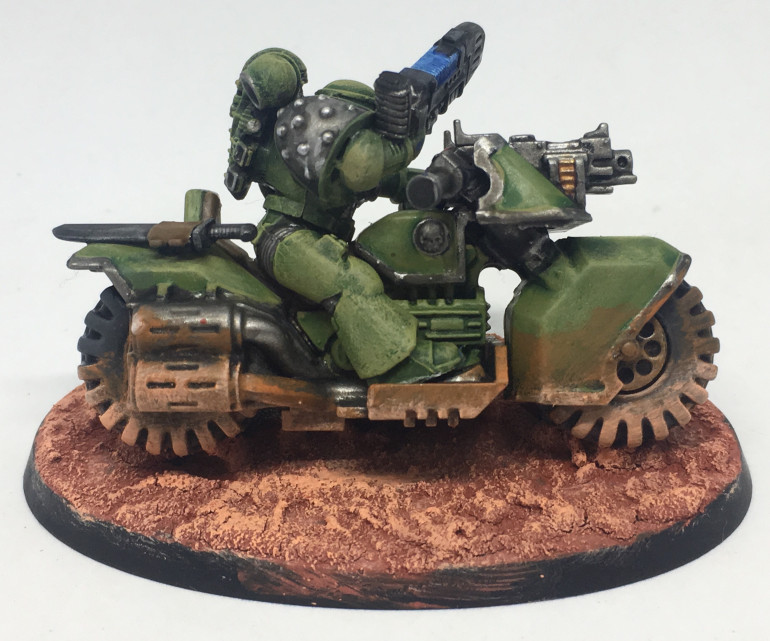
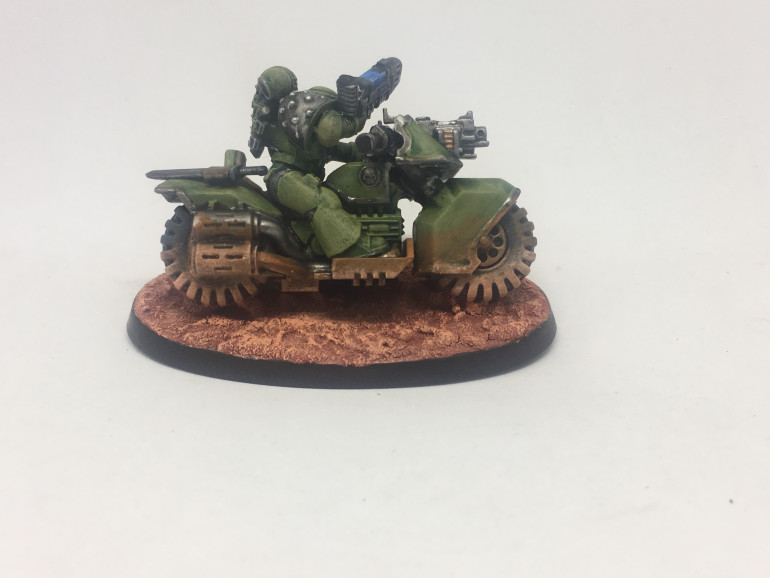
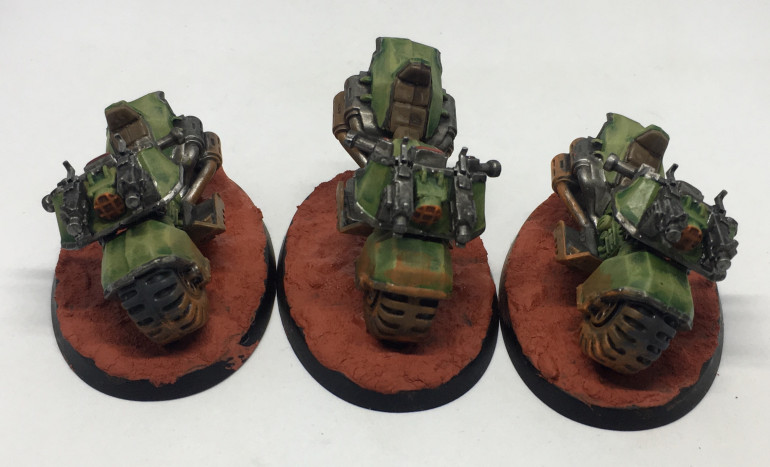
I finished another couple of bikes from my Conquest Magazine series. Most of the models (the Primaris ones) have contributed to my Minotaurs Chapter army. The more scouty, fast, reconaissance stuff that is not primaris has gone toward my Mantis Warriors force on here. I envision Badab War games in the not too distant future 🙂
The Bikes were fun and quick to do.
Next up for this project are two Attack Bikes and ten Scouts with Bolters. These are in the process of being primed and basecoated respectively. Hopefully if I can get a non-rainy day (in Ireland, in Autumn? Forget about it!) I can finish priming some of them…
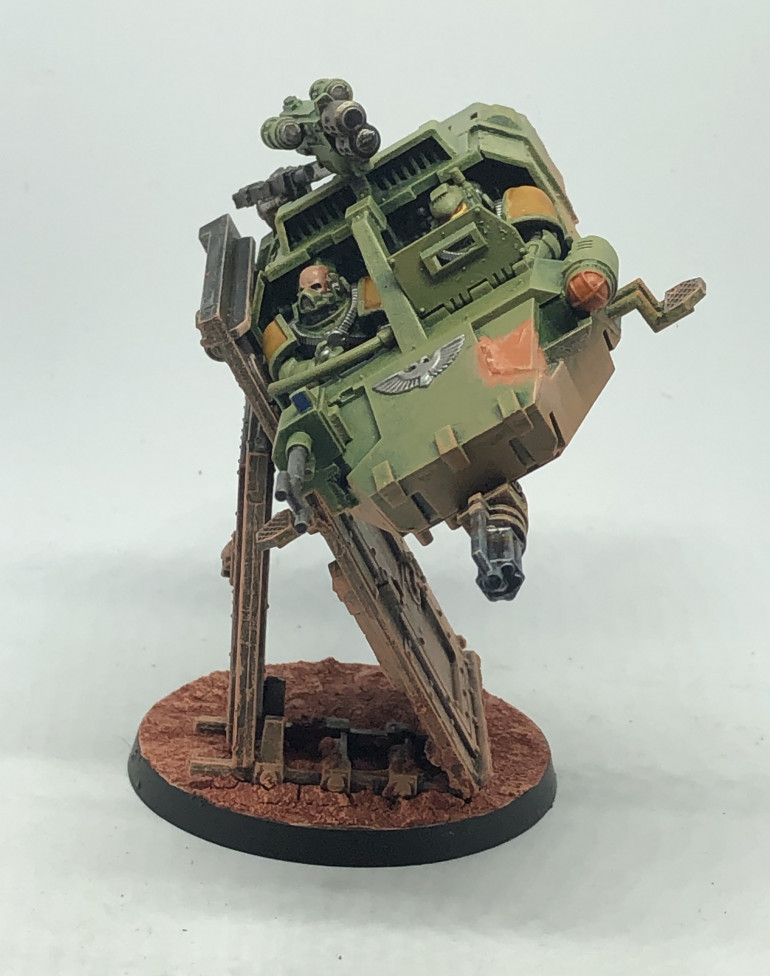
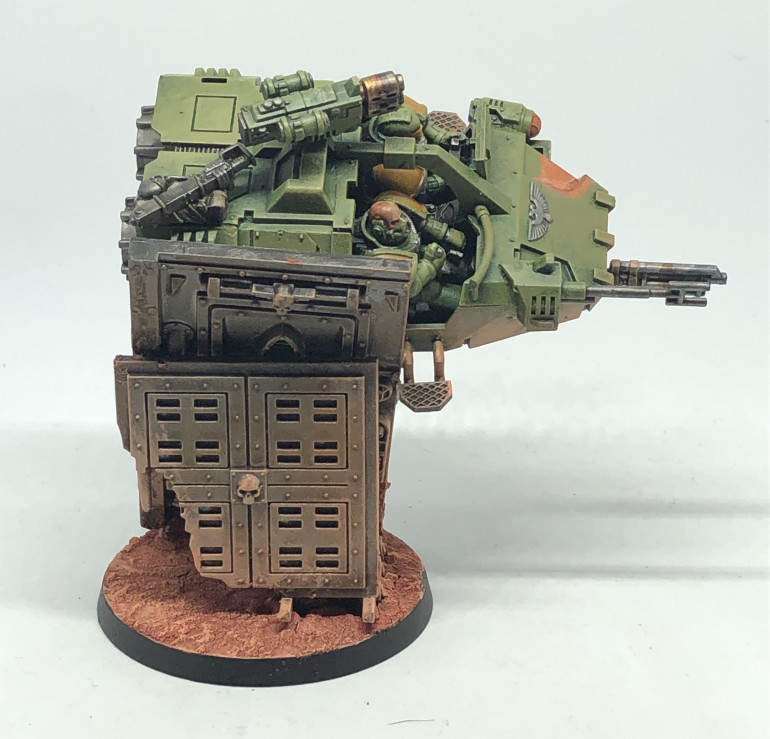
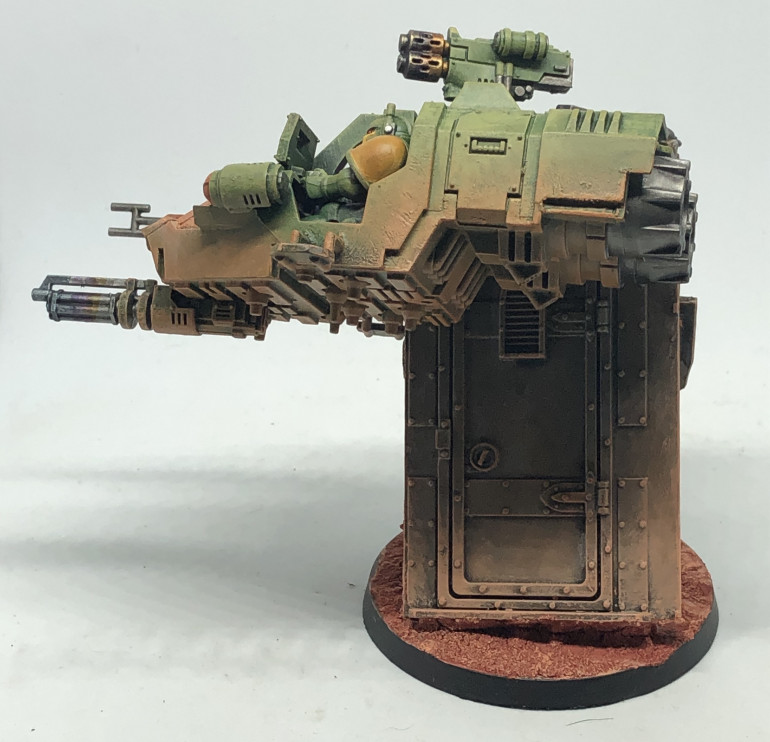
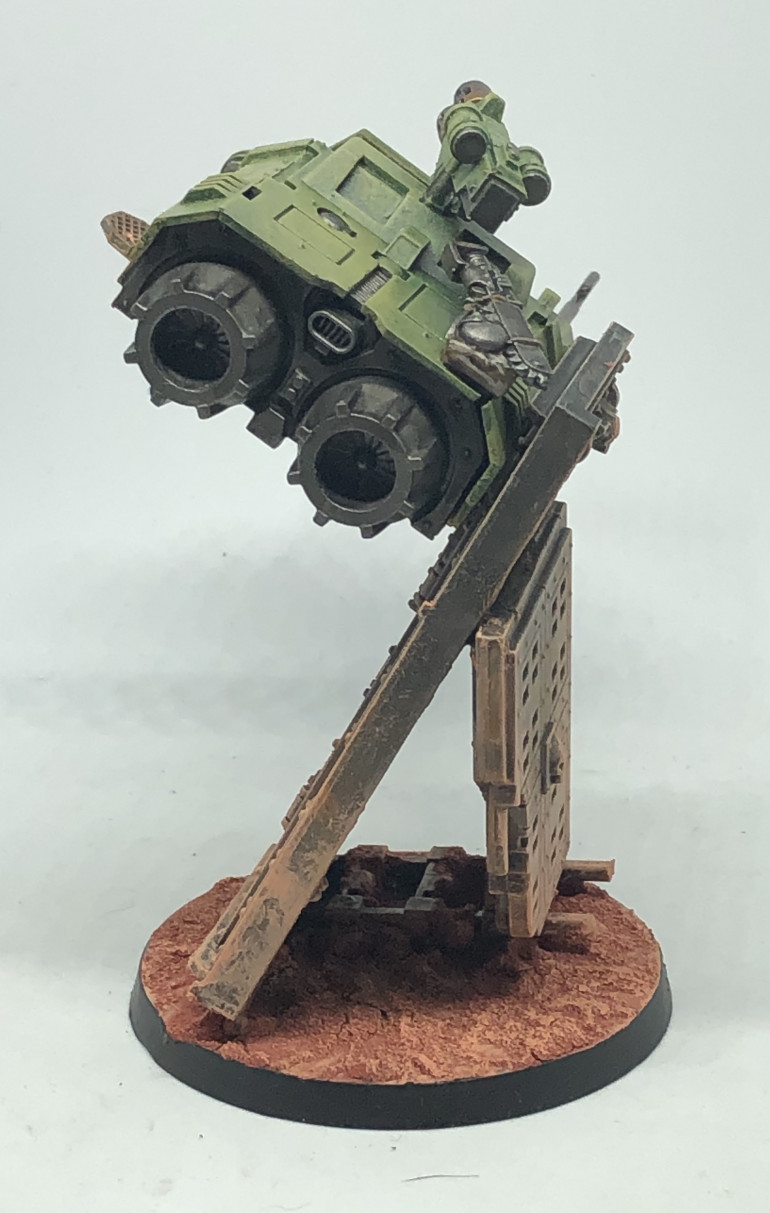
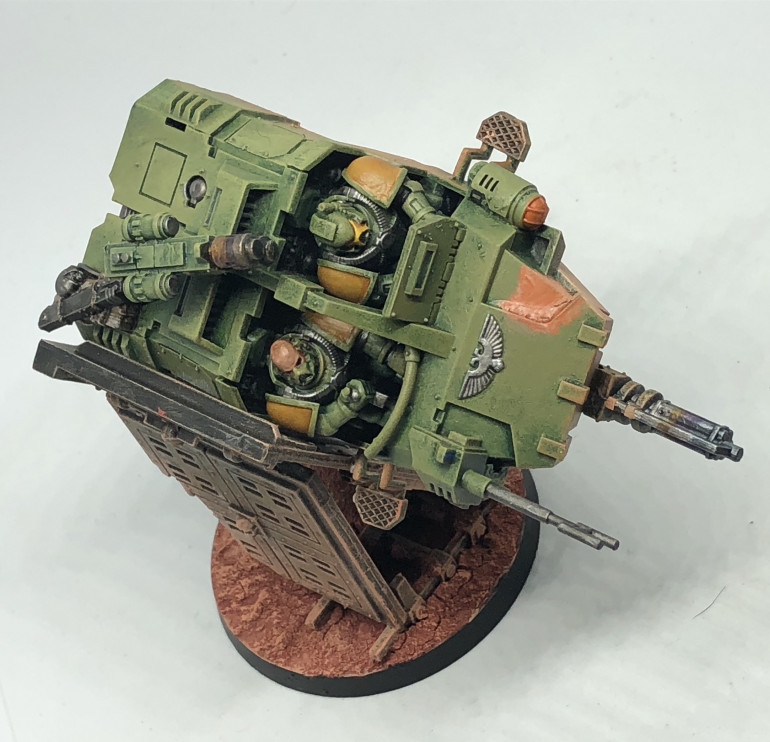
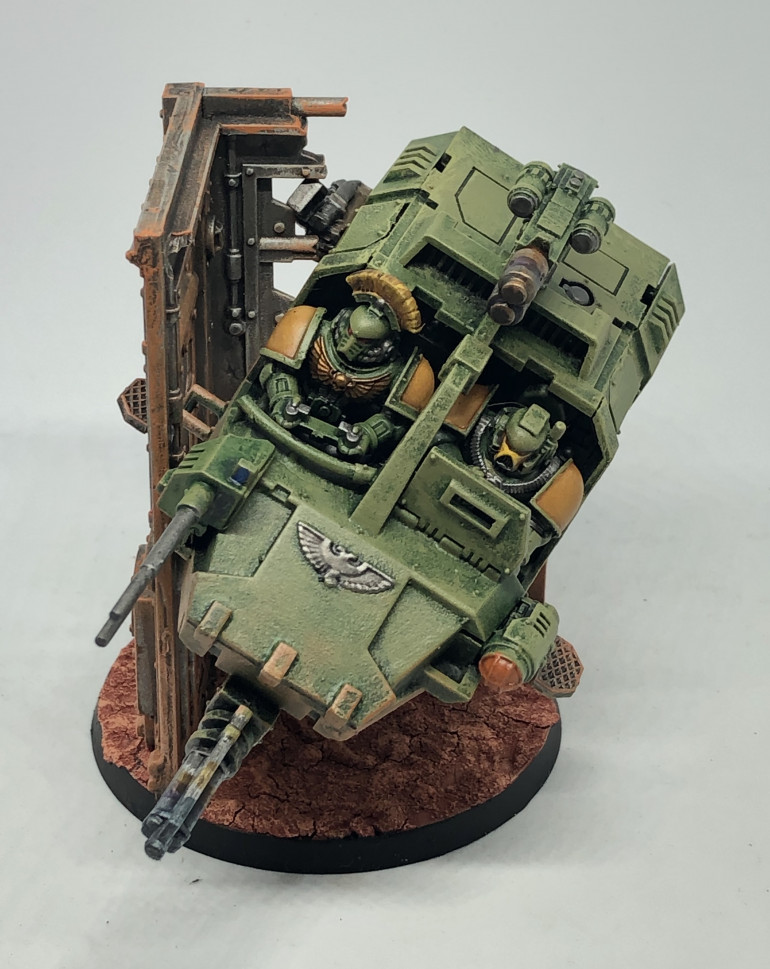
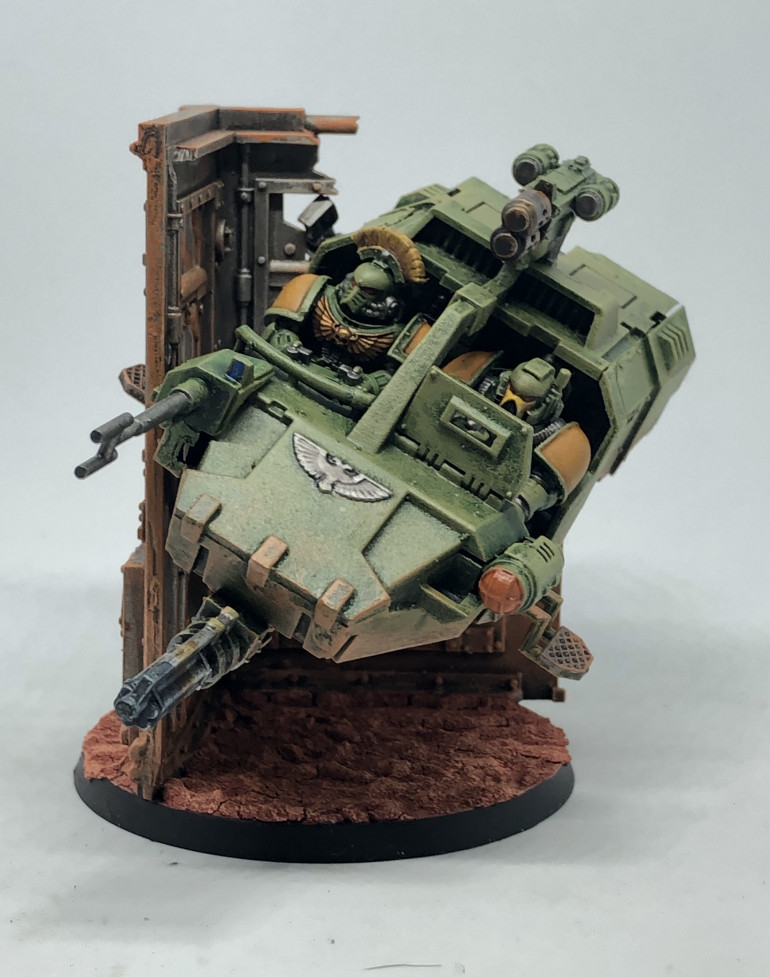
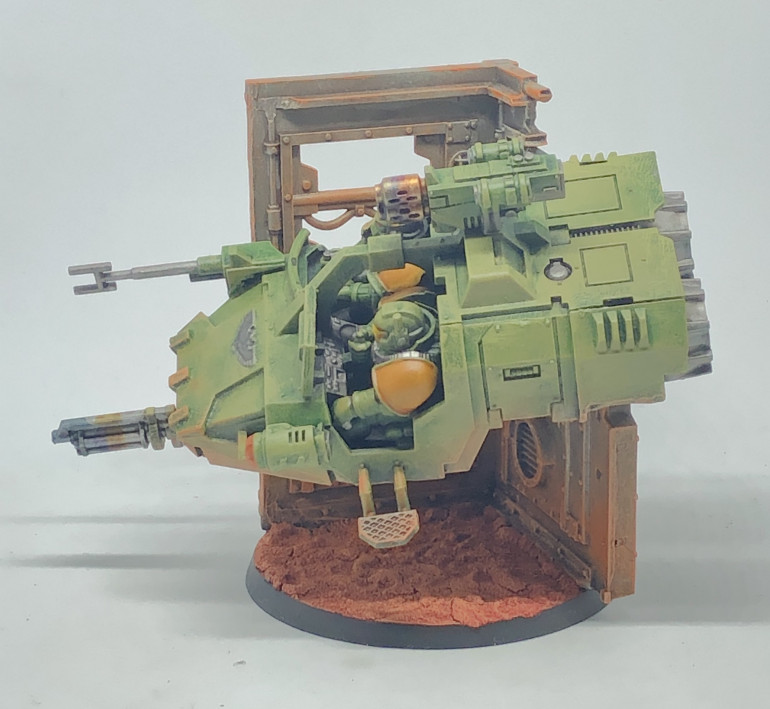
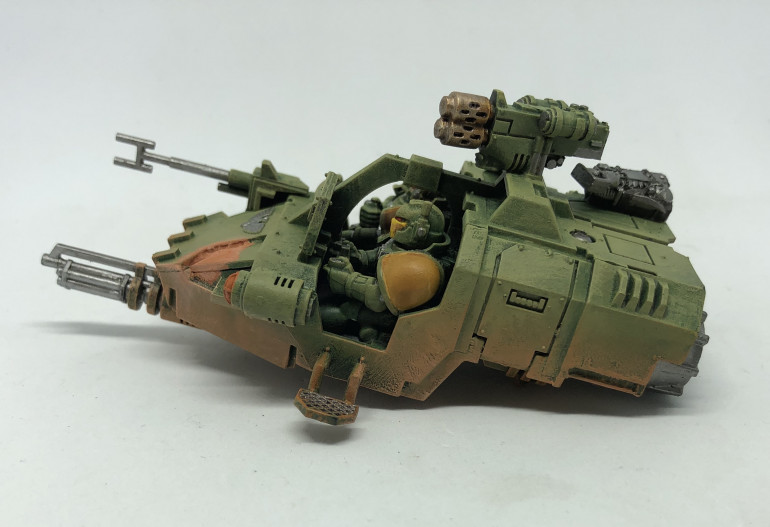
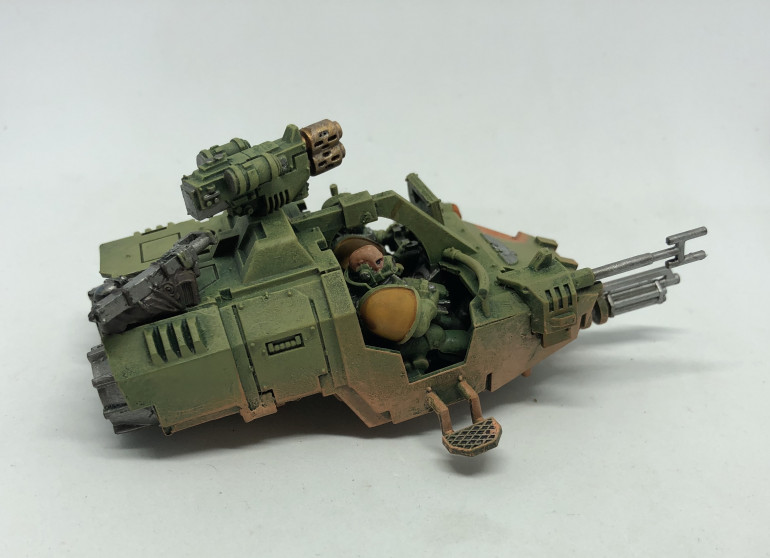
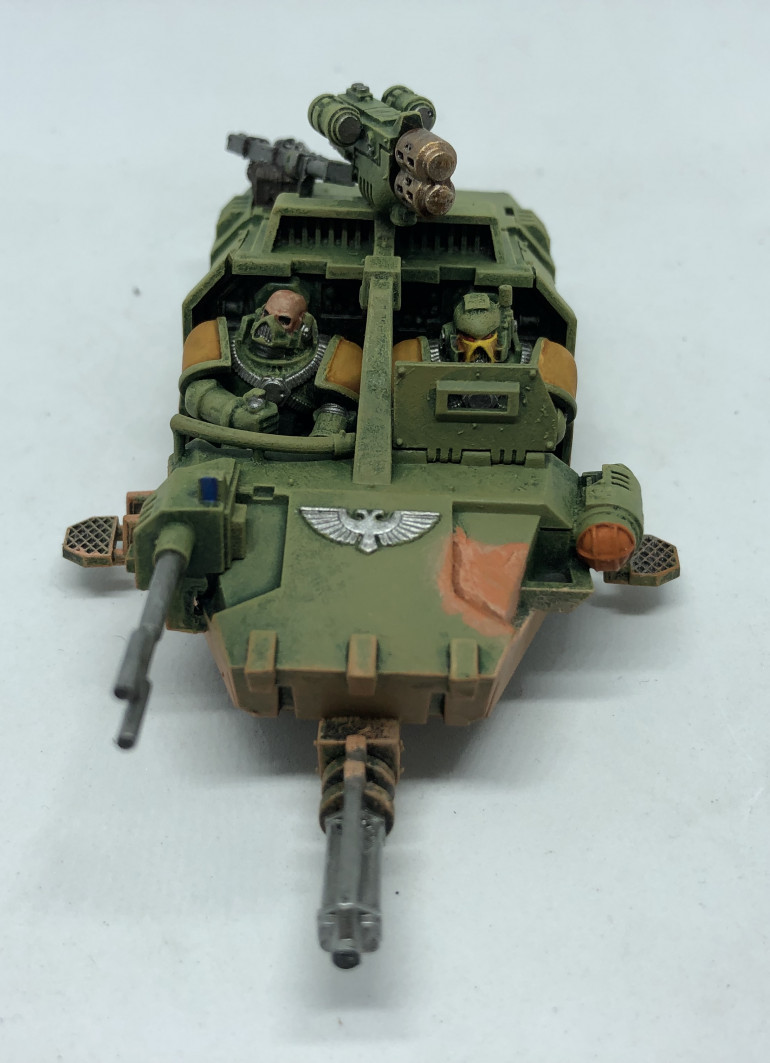
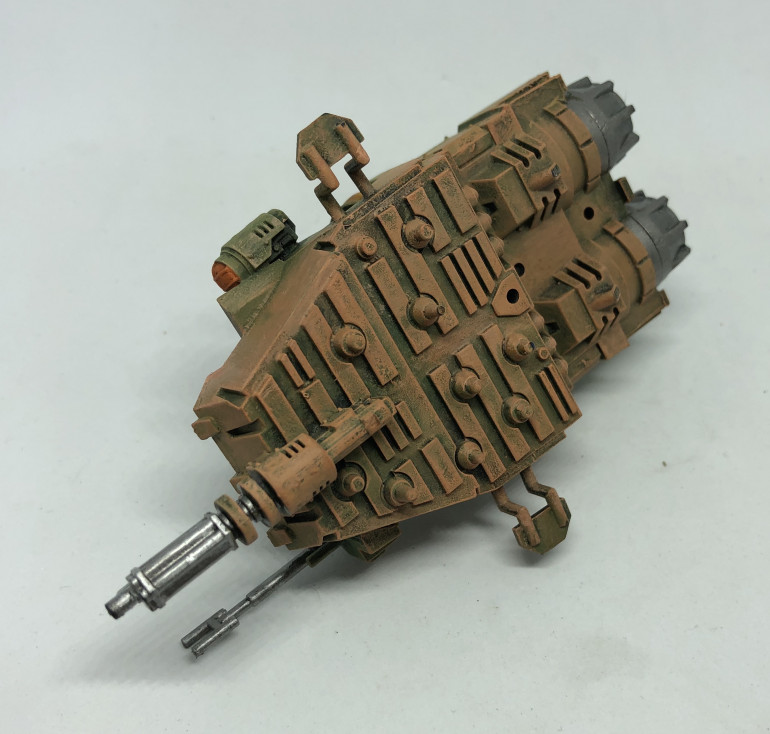
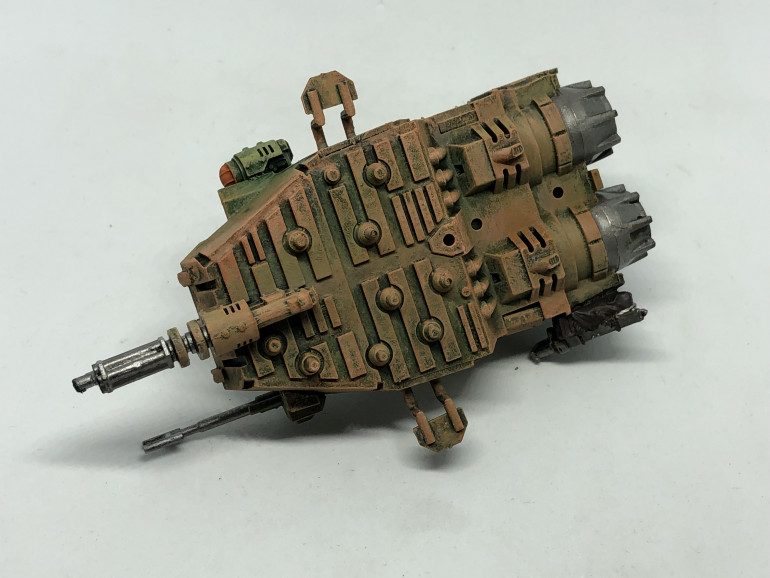
Entry 12: Completed Landspeeder 2
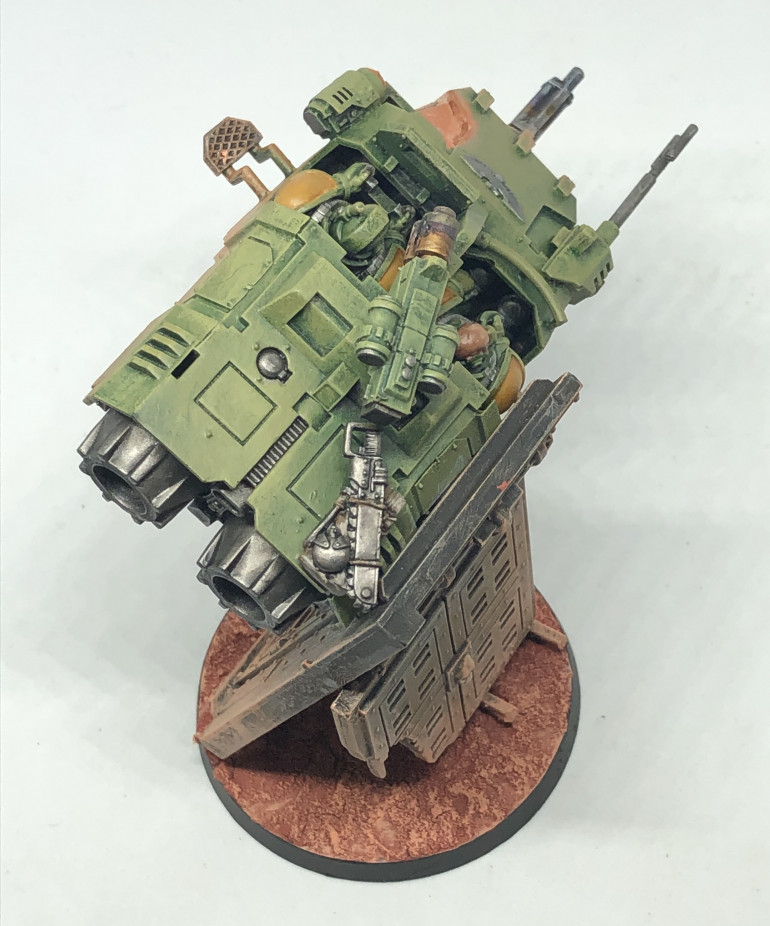
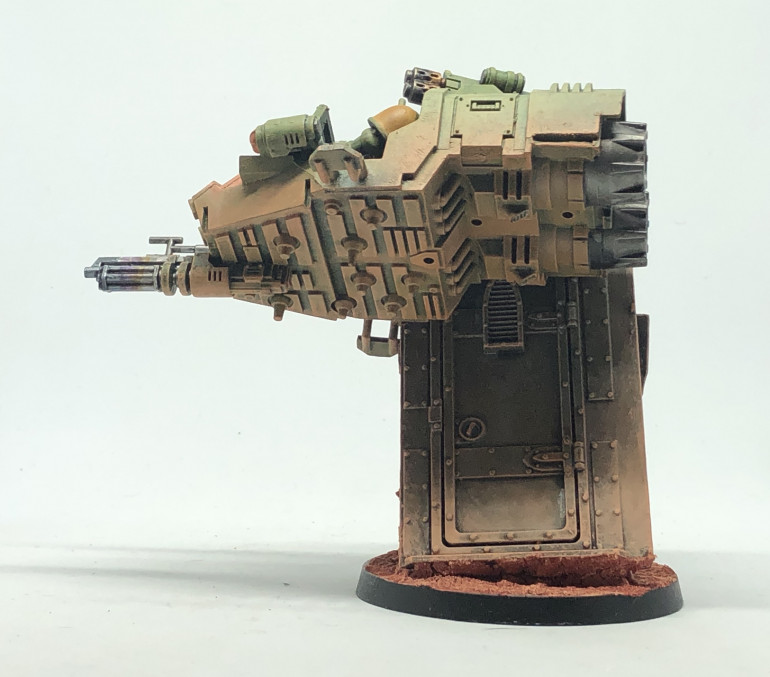
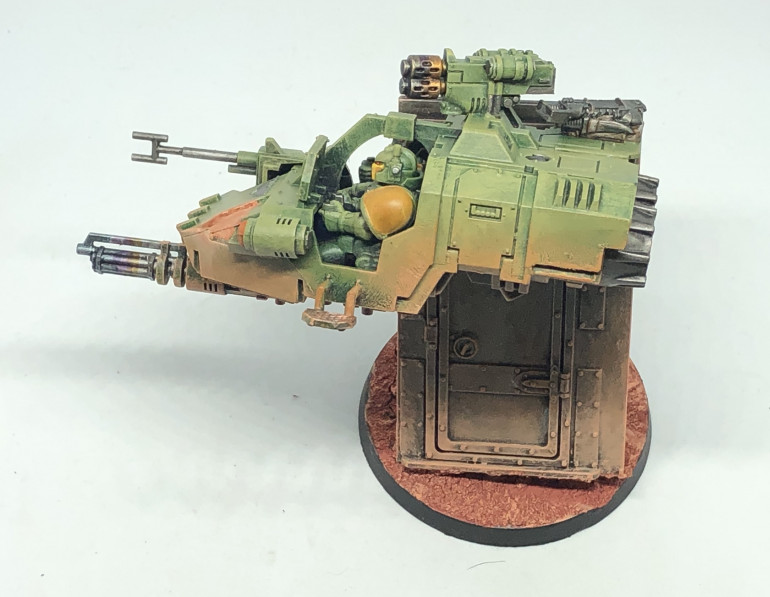
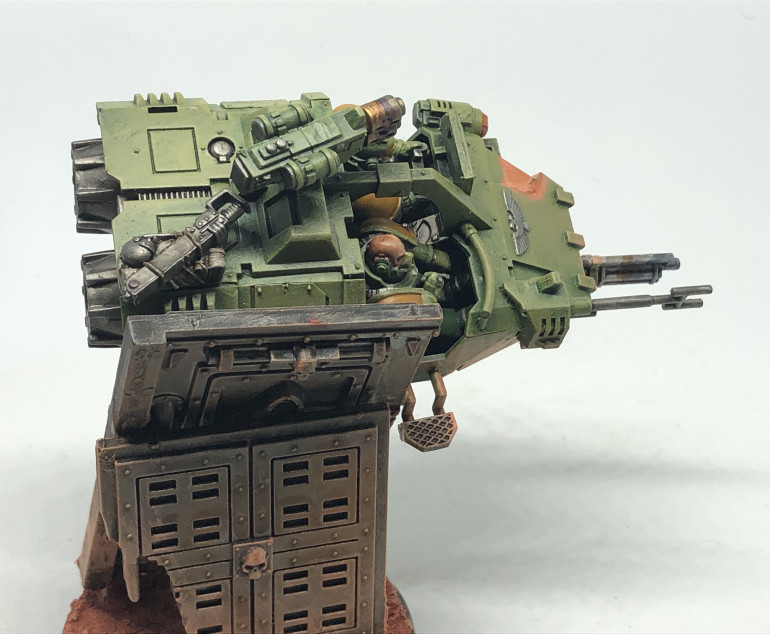
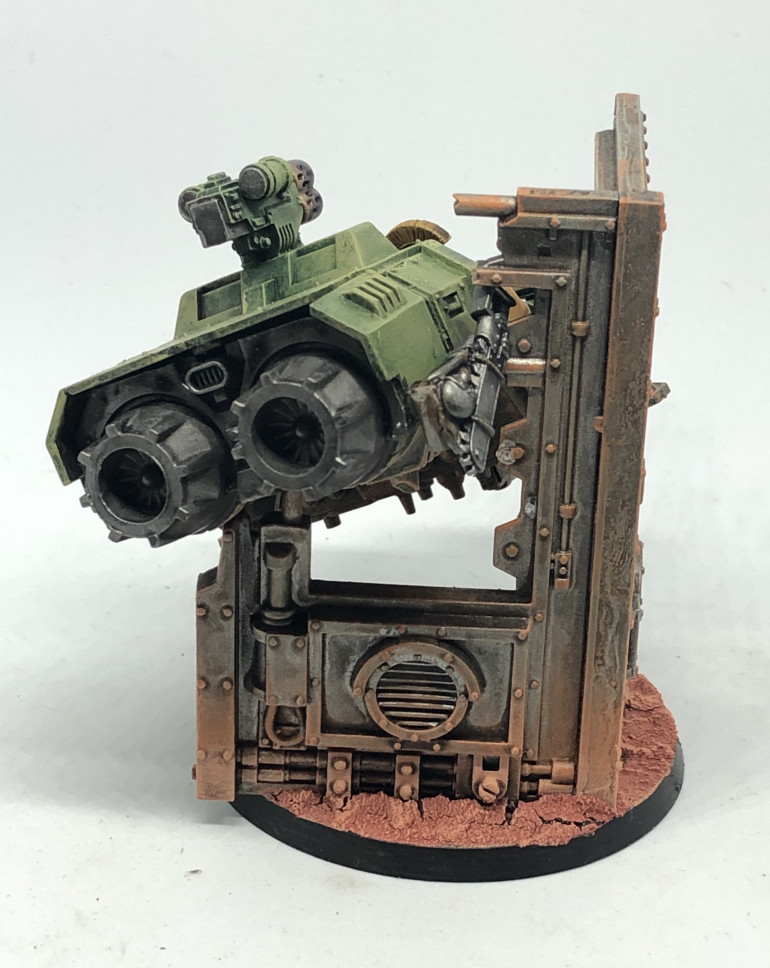
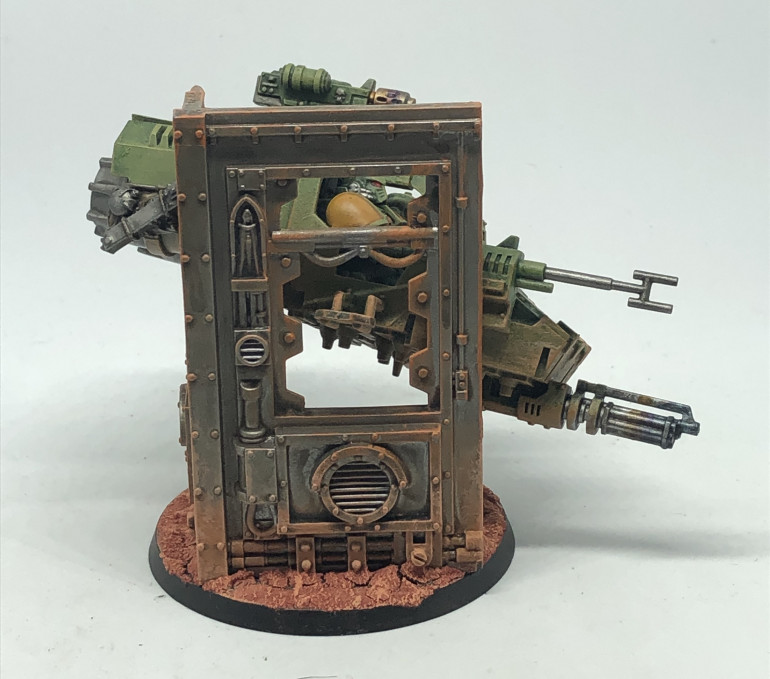
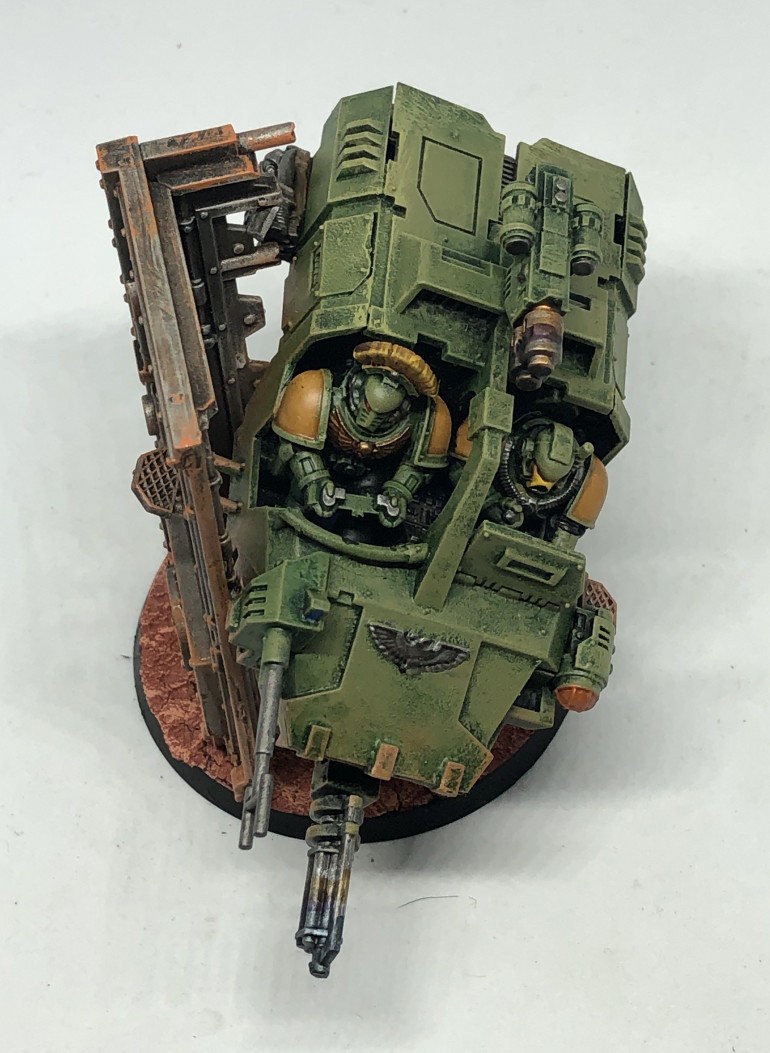
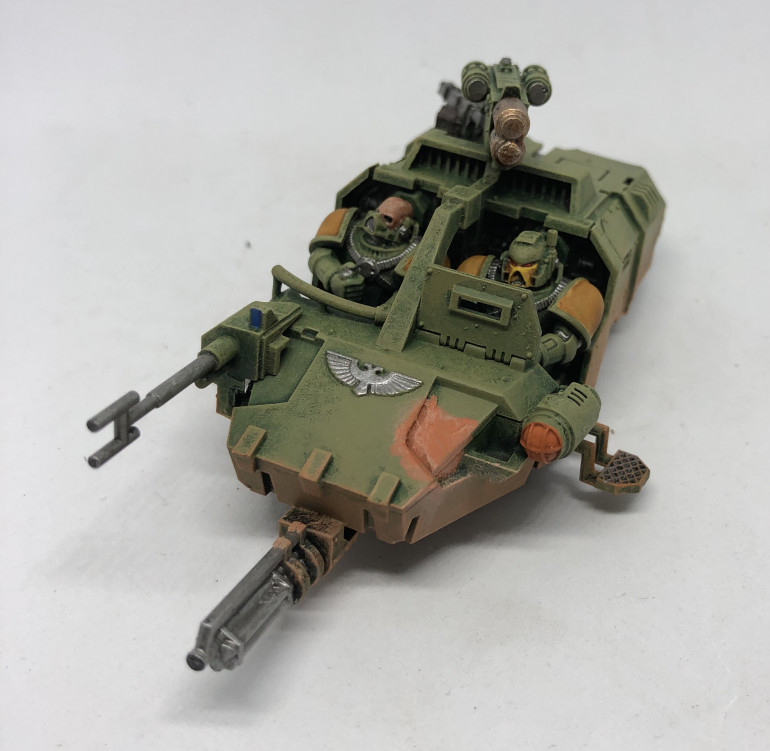
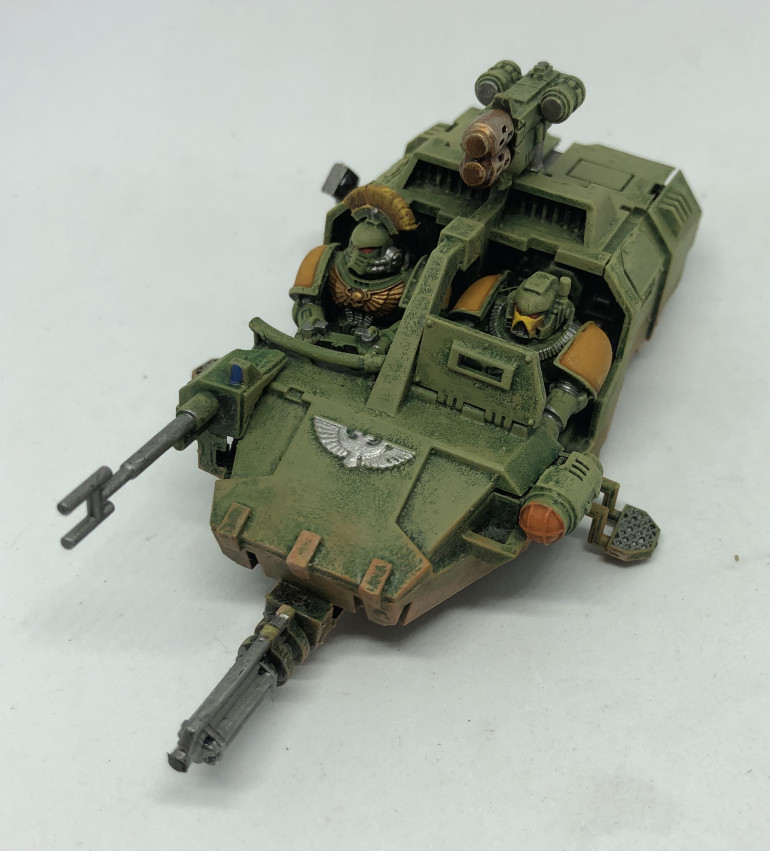
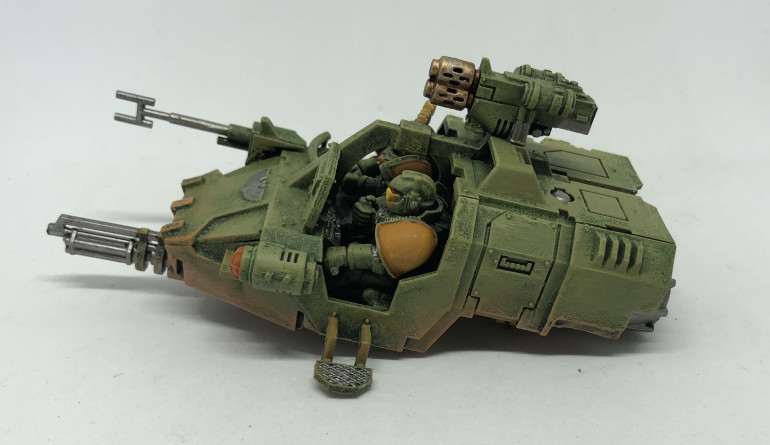
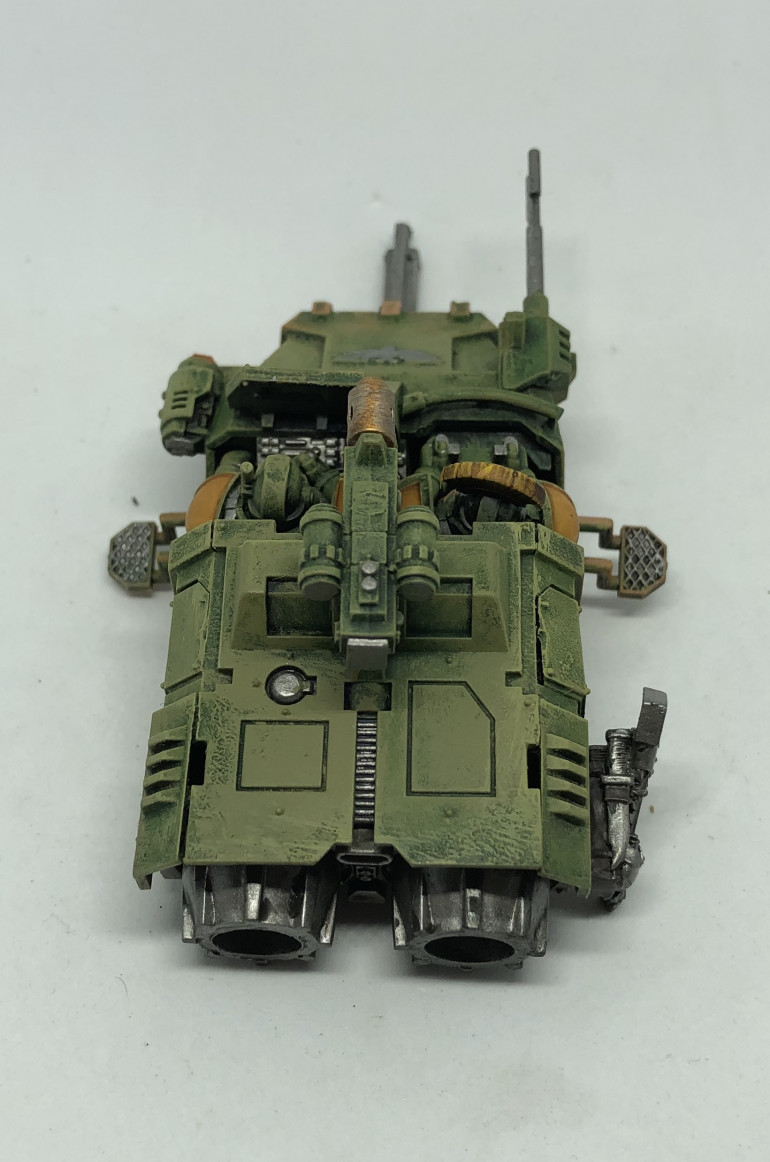
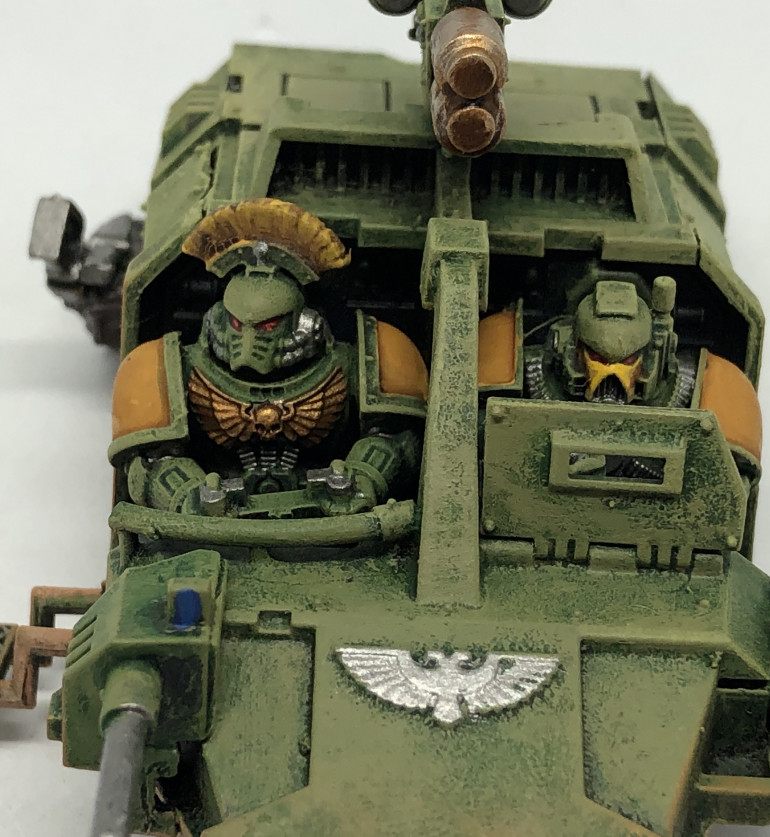
The second Landspeeder was completed a while back at the same time as the first one. I wanted to space out updating the project log and allow the previous post time to ‘breathe’as it were. Much like the first one, this one takes inspiration from the Rogue Trader style Landpspeeder and also has a diorama base of it hovering around ruins.
Regarding the diorama base, the base and vehicle were not attached. They were painted separately and then glued together before varnishing.
These were a lot of fun to paint and I might add some tanks in future as painting these vehicles was quick and fun.
Entry 11: Completed Landspeeder 1
A while back I completed a pair of Landspeeders but got sidetracked both updating this log and working on the army. Here is the first one. Enjoy!
Entry 19: WIP Landspeeders - almost finished
These were surprisingly fun to paint. I converted them to resemble the Rogue Trader era Speeders. Next time I post they will be complete and have diorama bases
The second Speeder
Entry 17: Completed Sergeant and Biker
The Sergeant and another Bine Squad member are complete. Not much to say other than enjoy looking.
Entry 16: Twin-Bolter mag rounds
Another quick and simple one
Entry 15: Future Tutorials
Next I’ll cover gold and plasma glow. Below are completed examples. I was eager to finish the models
Entry 14: Gun scope lens
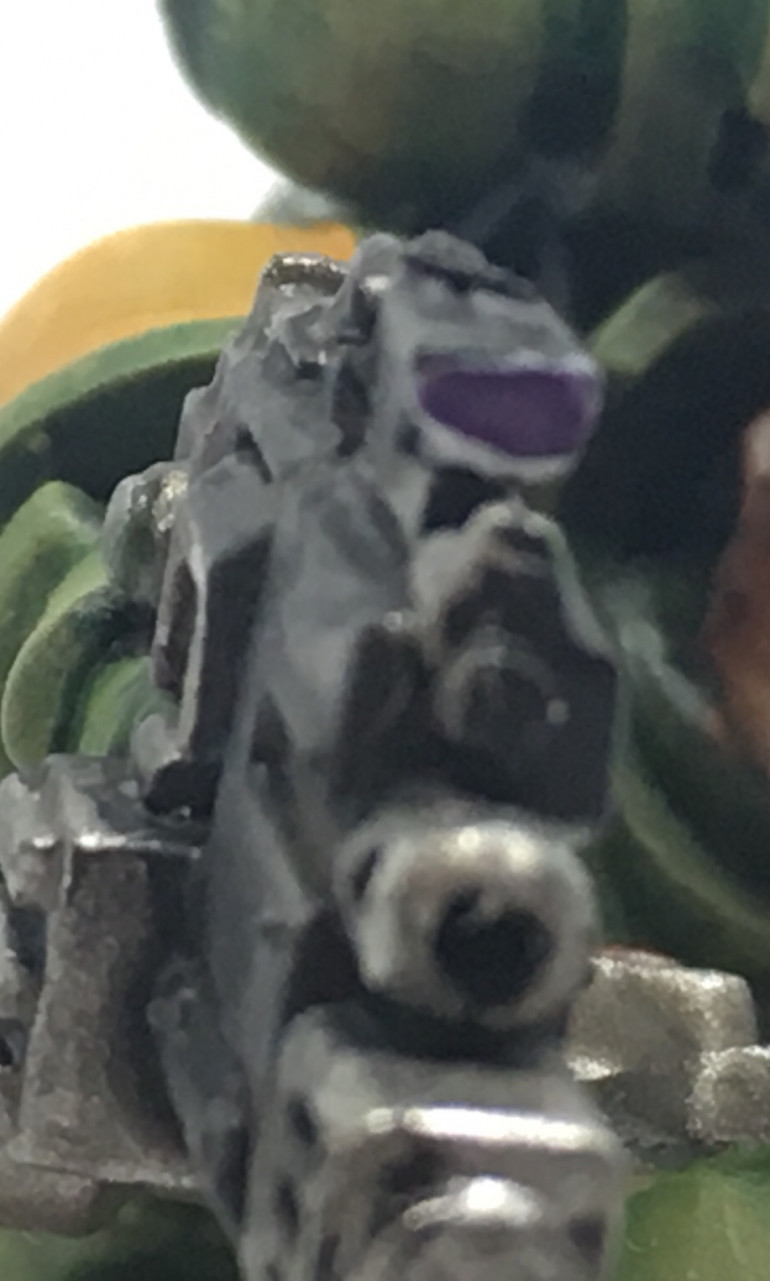
Do two thin coats of Ceramite White followed by a coat of Army Painter Purple Tone
Entry 13: Gun casing Tutorial (WIP, incomplete)
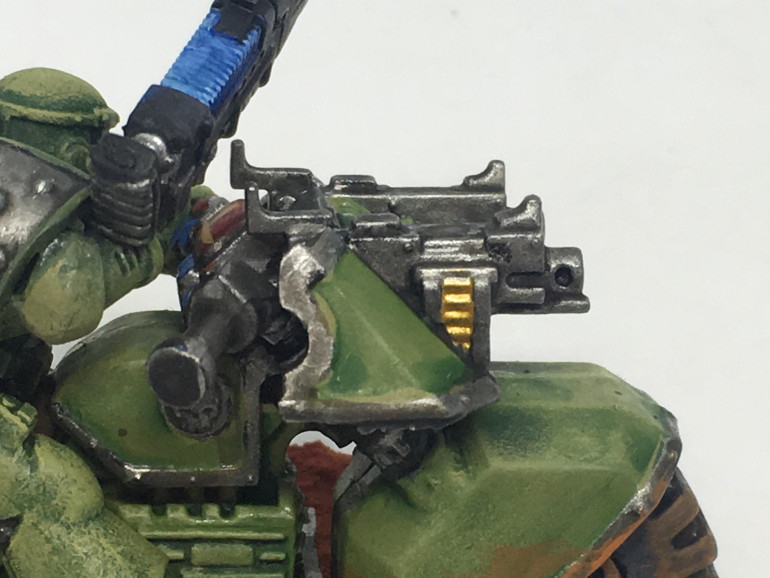
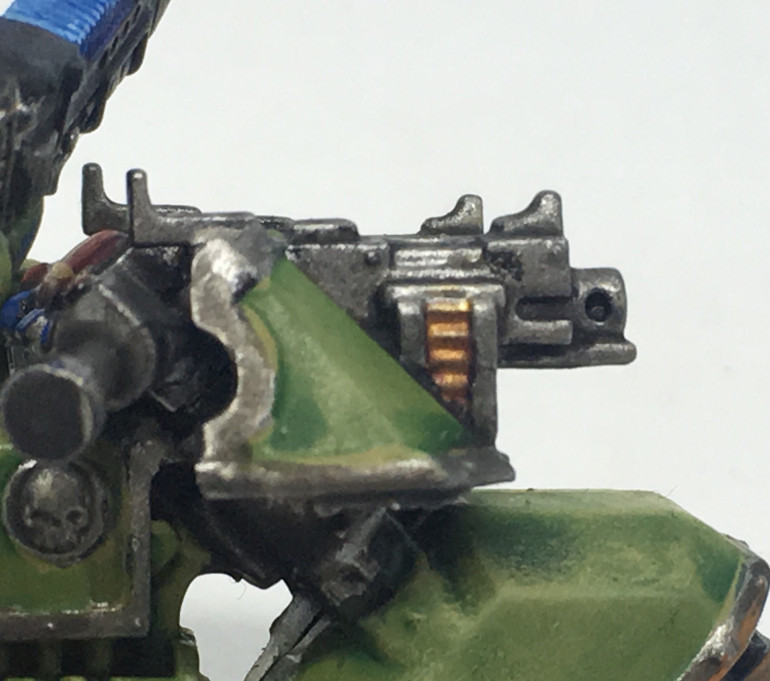
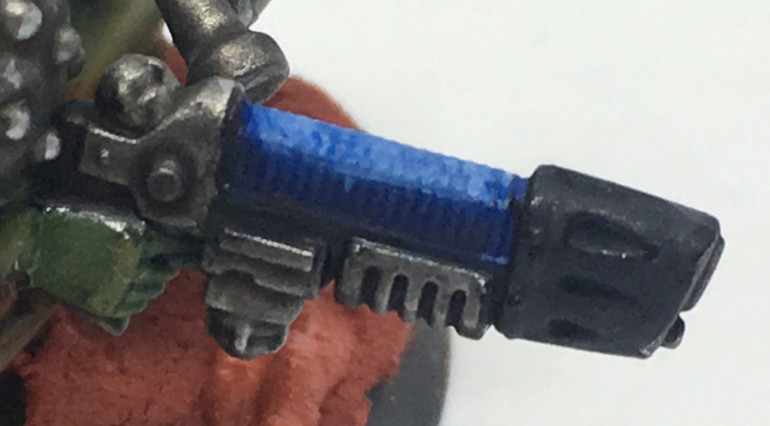
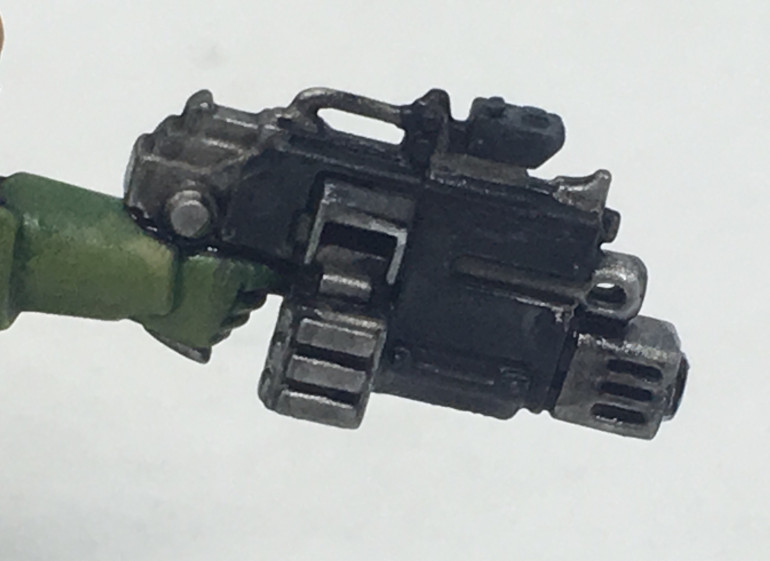
Another short and sweet tutorial of a gun casing.
Entry 12: Skin
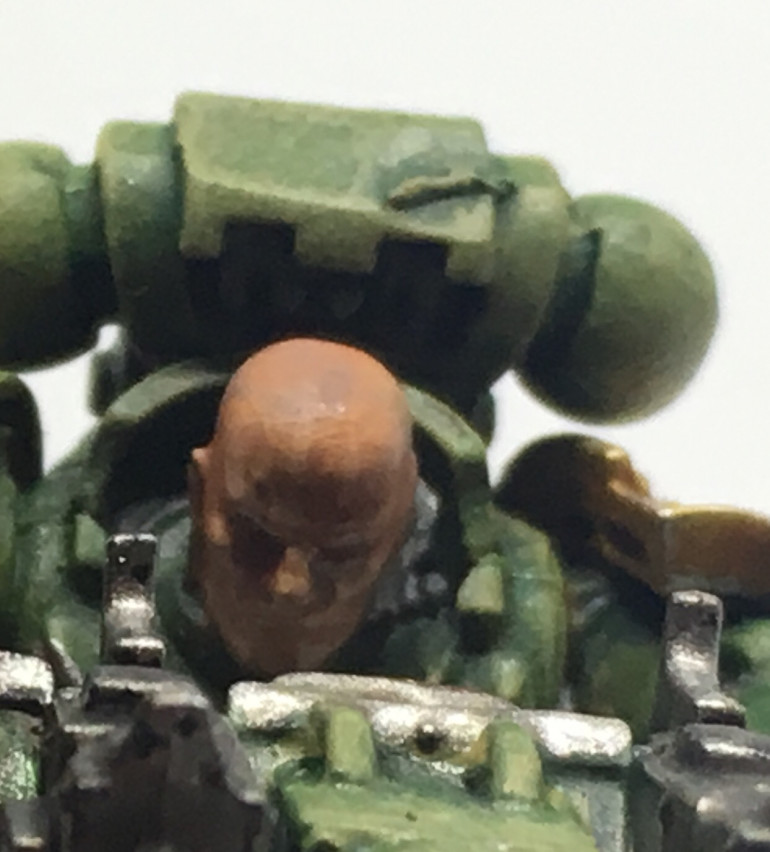
The skin, which is less common across the armour with all the power armour and whatnot, is something I put more effort into it. Enjoy!
Entry 11: Yellow
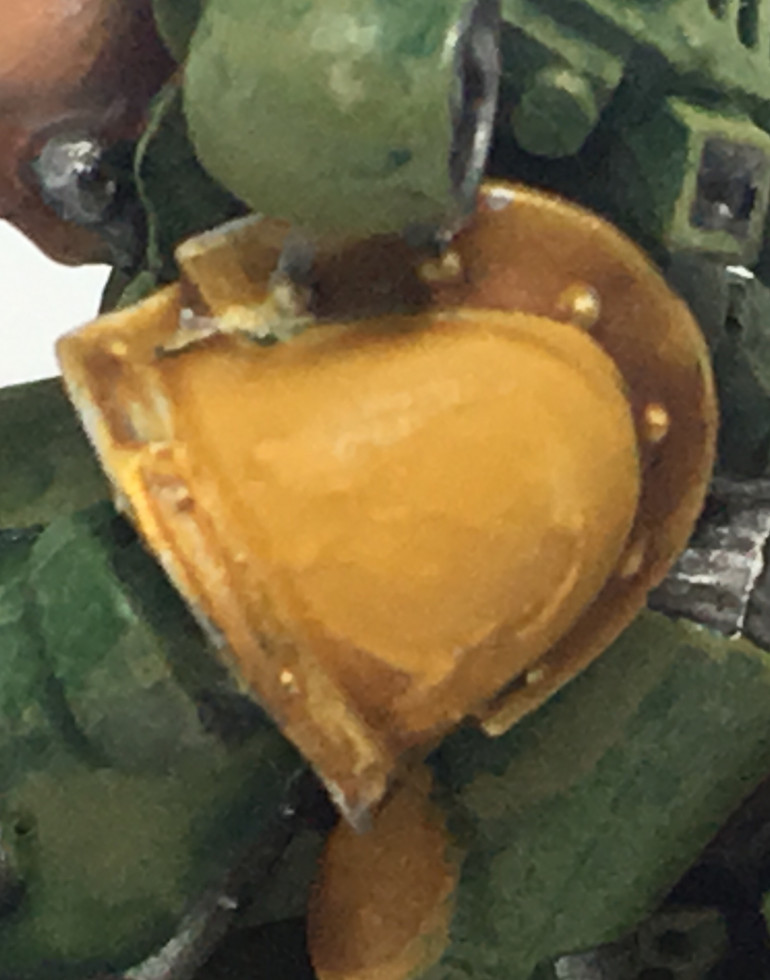
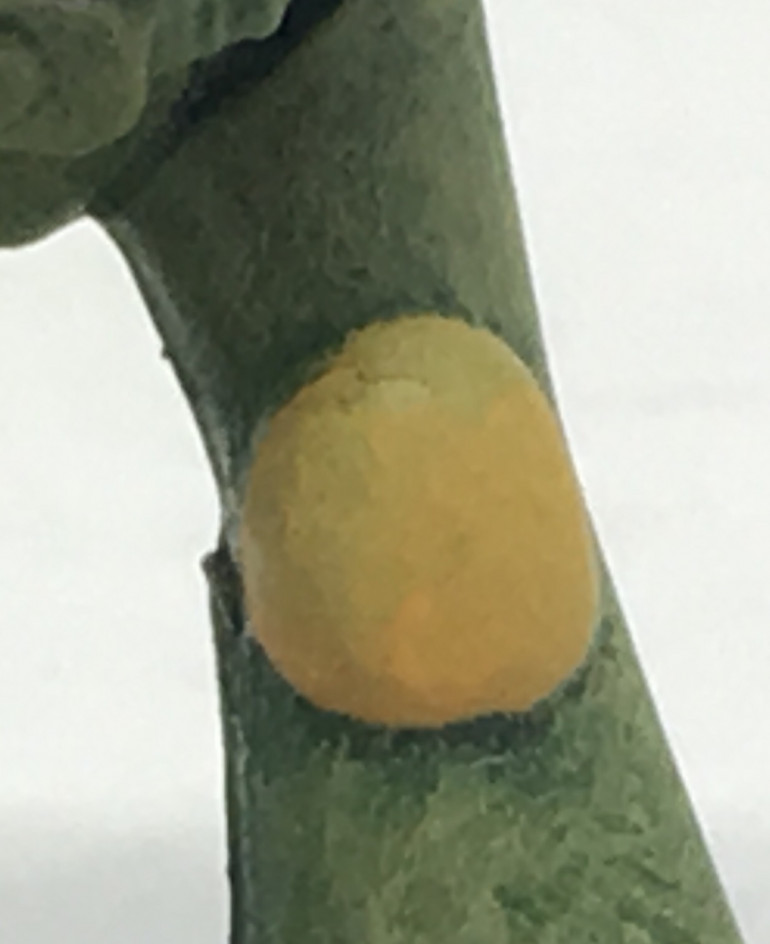
This stage is a little longer as yellow is a pain to paint due to its pigmentation and opacity.
Entry 10: Tyres
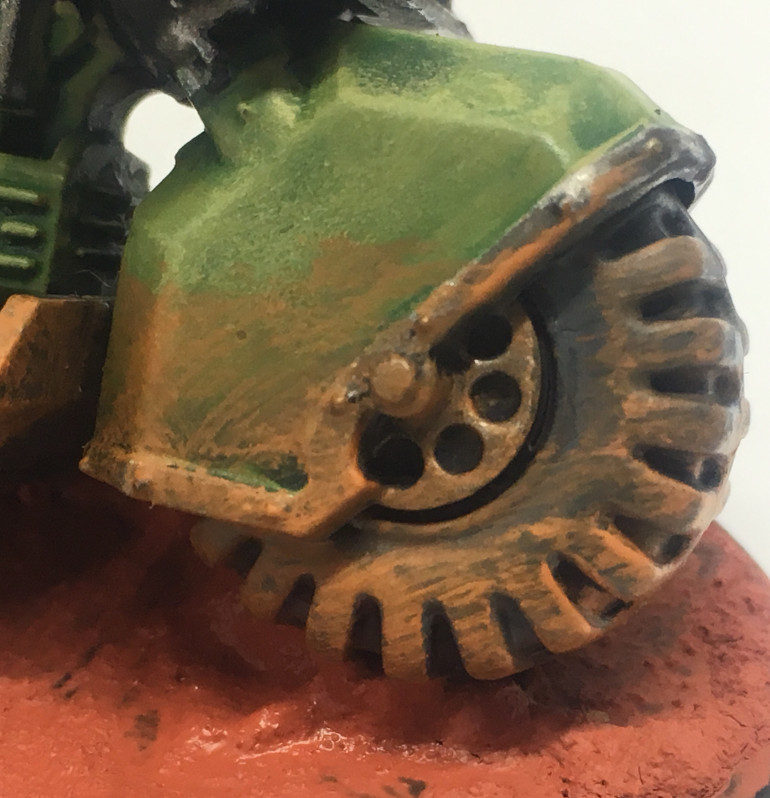
Paint the tyres with two thin coats of Mechanicus Standard Grey. Then give it a liberal wash with Nuln Oil. Done. Weather it later with orange, mentinoed in the previous entries.
Entry 9: Basing Tutorial
When the bike is complete paint the top of it with black paint. It could be Thamar Black from P3 or Abaddon Black. Don’t paint the rim black til the top of the base is done.
Important Note:
Do the bases last, after the subassemblies get glued together
Its easy to have a finger slip and smudge, smoosh or bulldoze the basing material with your digits. As I did.
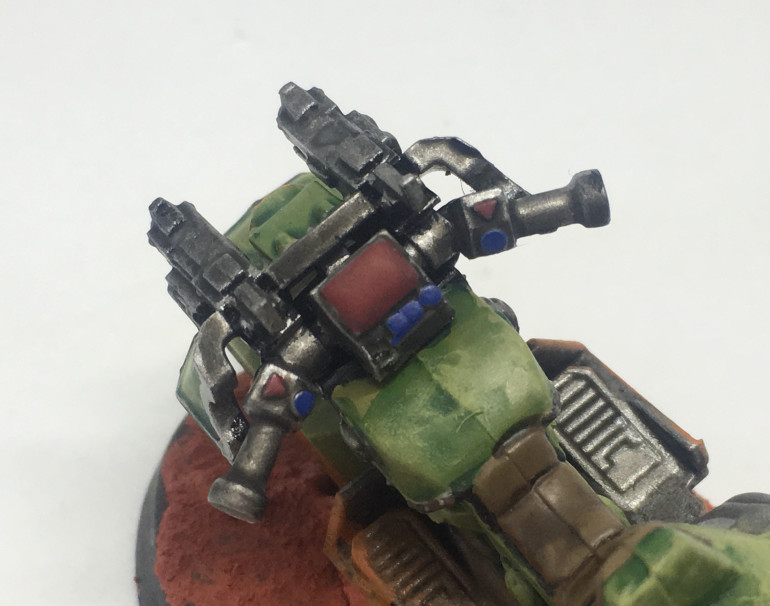
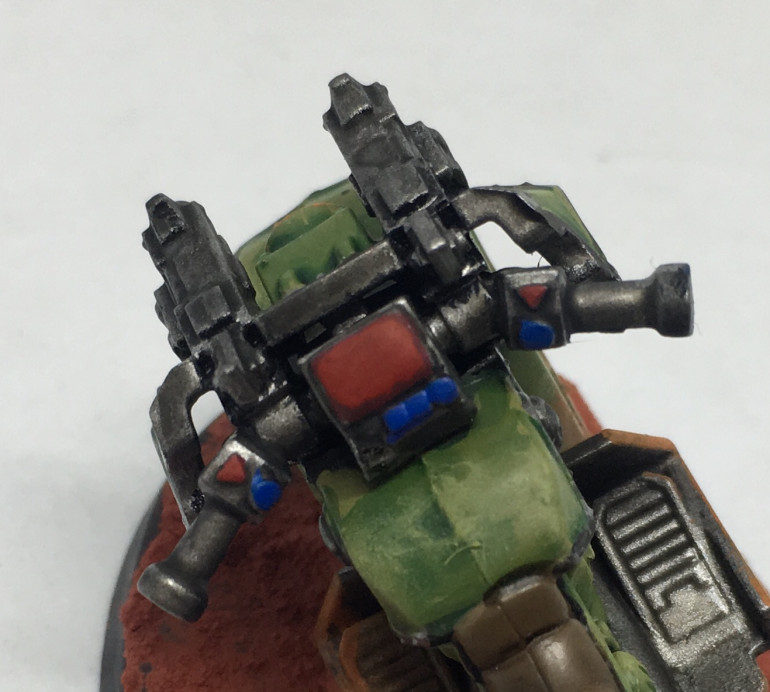
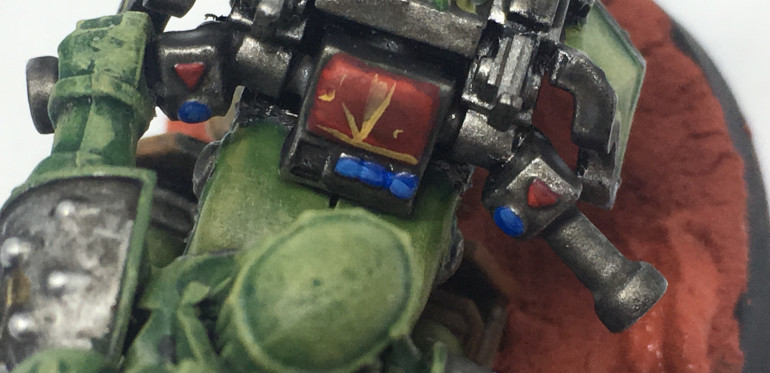
Entry 8: Bike buttons and screen
This is a bit more detailed than other parts of the the plog but small details like this can make a model and make up for shortcuts taken.
Entry 7: Metal on the Power Armour
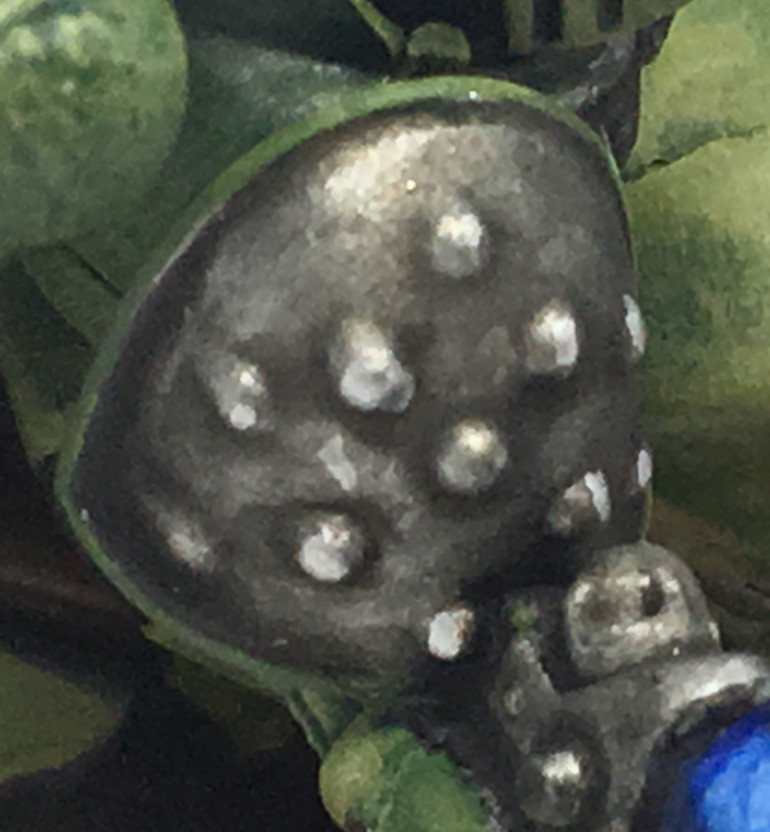
That is all there is too it. If you have retro style studs on any of the armour, paint the raised 50% portion of the stud with Shining Silver or Stormhost Silver:
Entry 6: Metal on the body of the Bikes and Landspeeder Tutorial
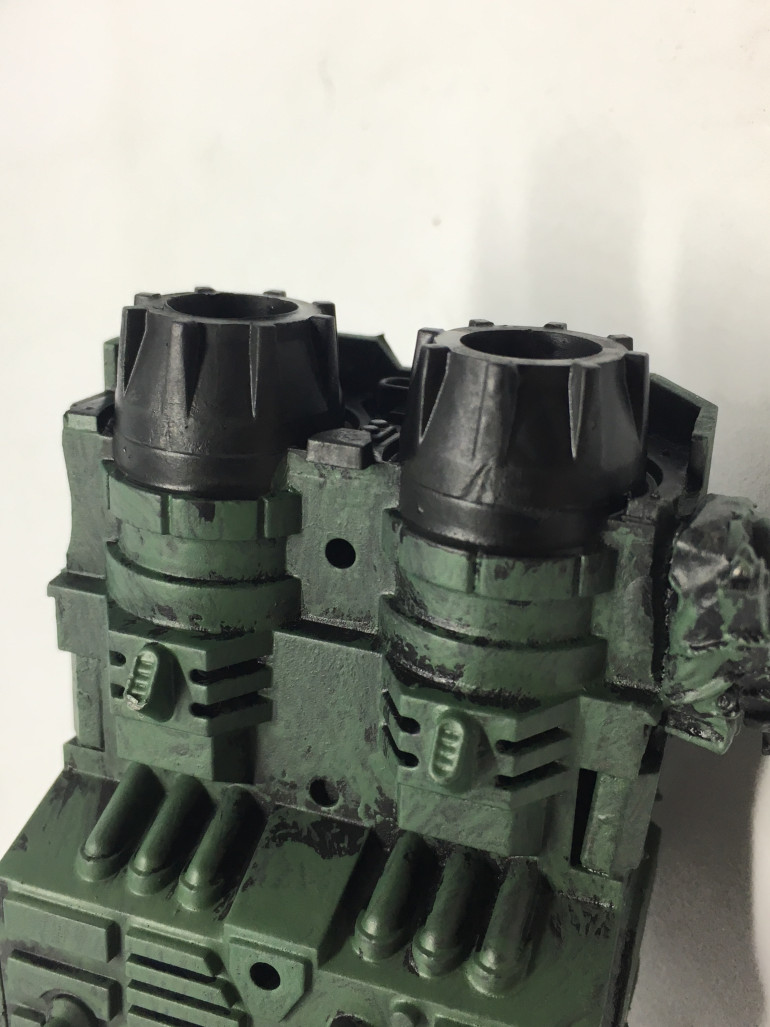
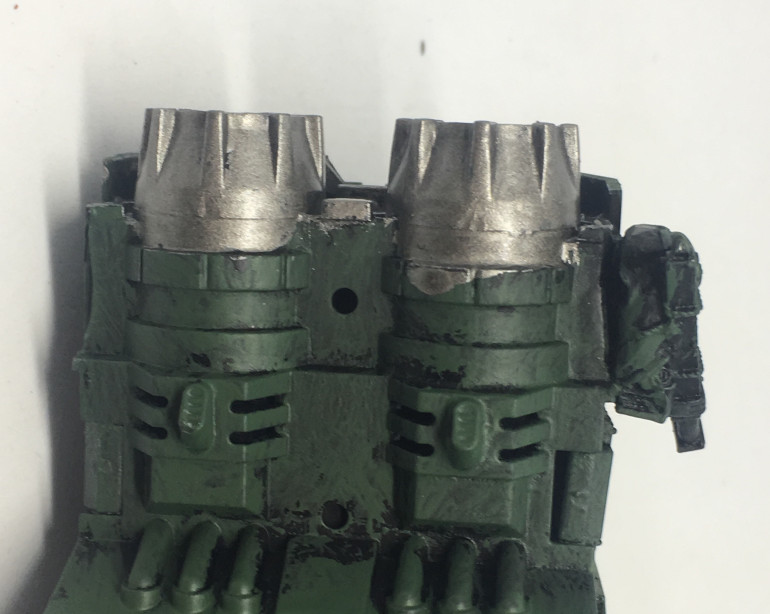
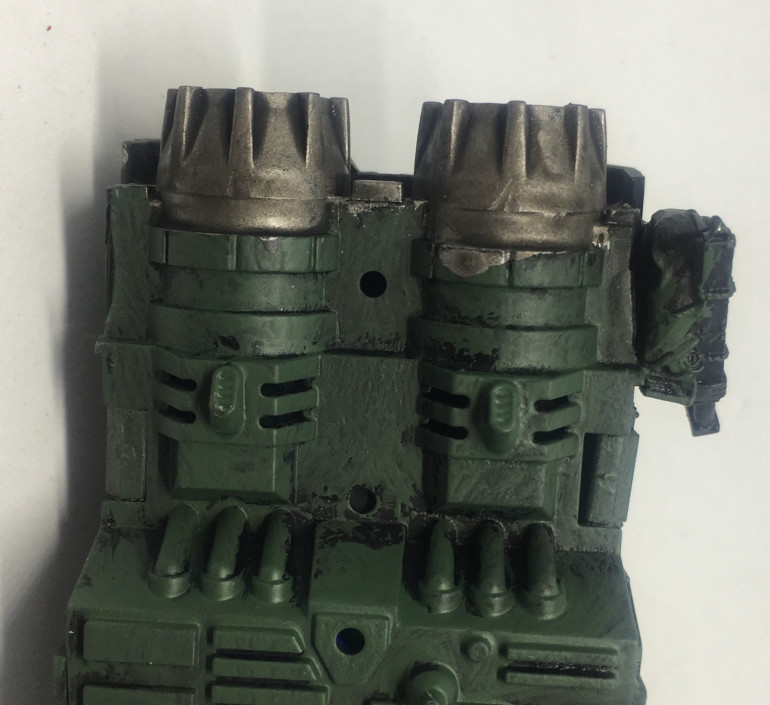
Another short and sweet tutorial. Behold! Note that the metal on the bike is different to the metal on the armour. I wanted the bike to look more worn by the desert landscape, as well as being a big dirty smoke belching vehicle.
Entry 5: The Subassemblies
I cannot stress how much easier and quicker the sub assemblies made this project.
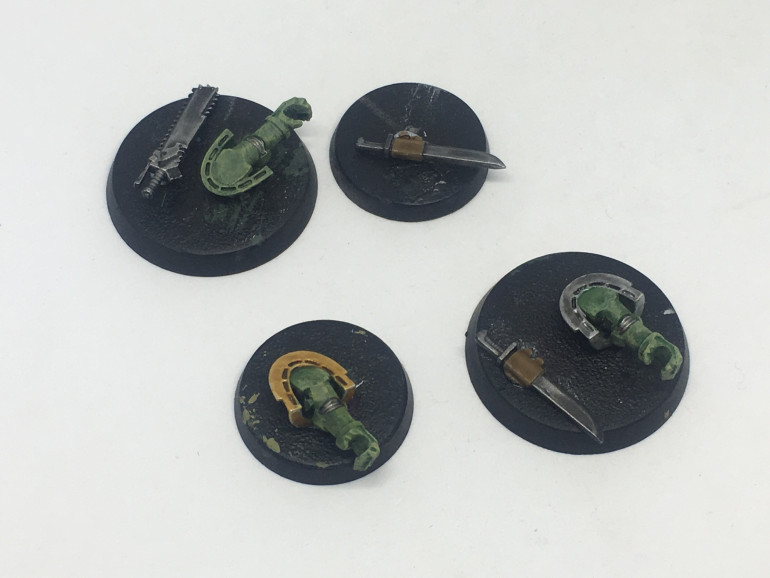
For the combat knives glue them down on the side that will be attached to the bike at the end. You save time by not painting said side.
Also, glue the shoulder pads on the outside of the pauldron facing down. It will be the easiest to paint on the outside after being assembled. It has only the trim of the shoulder pad adjacent to it so it makes it the easiest, most logical choice.


