Painting Big Trouble in Little China
Recommendations: 207
About the Project
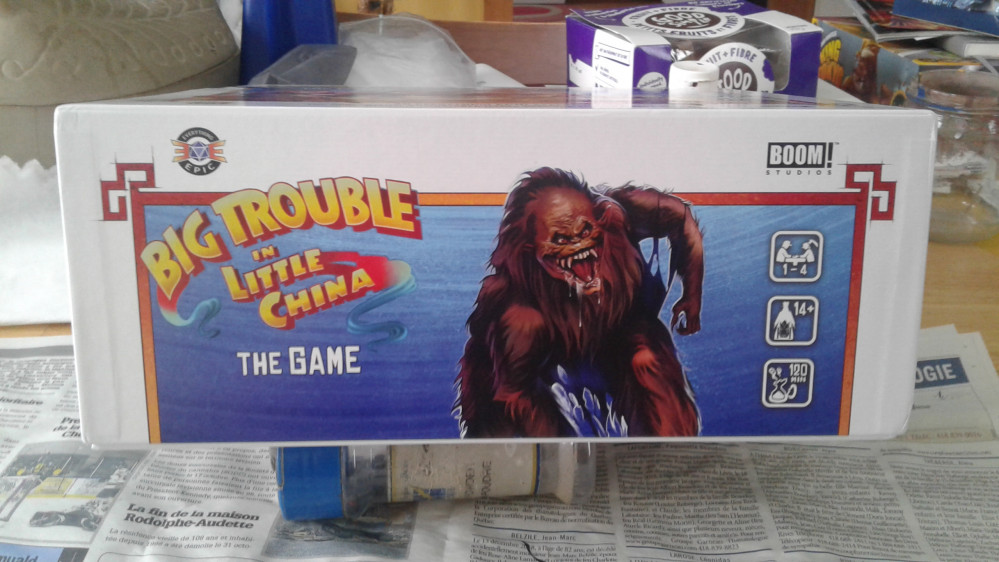
Hi there! Another project. This time it's my painting of the Big Trouble in Little China boardgame. Had a couple of plays of this game and found it fun enough that it earned its right to be painted. So here is my diary of it. Enjoy!
Related Game: Big Trouble In Little China
Related Company: Everything Epic Games
Related Genre: Humour
This Project is Completed
The Lords of Death
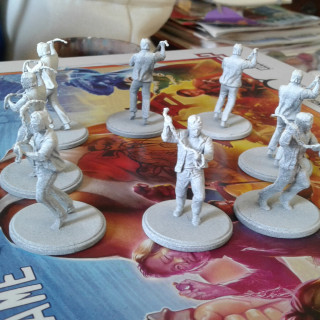
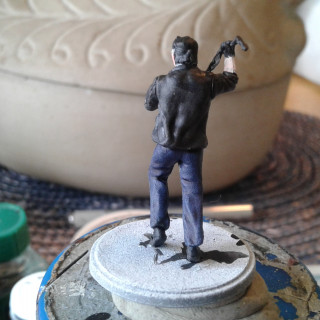
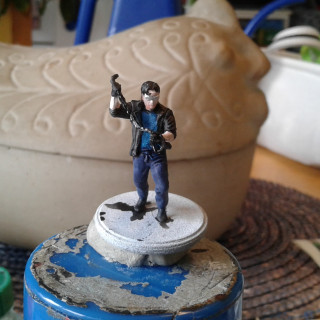
Decided to paint the minions first. In retrospect, I should have painted the heroes first as this would have enabled me to continue playing the game while painting. I don’t mind playing a game with its heroes painted and the rest unpainted but not the contrary. So now I’m stuck with an unfinished project that I cannot play. Oh well, I guess there are worst things in life…
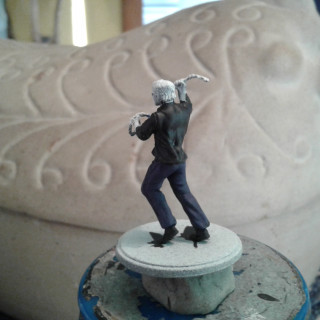
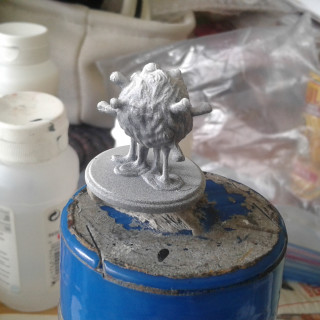
This is also my first try at Contrast Paints. Didn’t bother buying the official Citadel primers as they are way too expensive and I though that I could achieve the same results with what I have. Turns out I was right, you just need to think about it in advance. So the minis were cleaned and prepped as usual and I then primed them with a regular Krylon grey primer. I then zenith highlighted them with straight Krylon white primer. Normally, I would have primed them in black first, but since GW recommends using their preferred primer only, I decided on a two-tone zenith prime. I simply added more white than I usually do to achieve a cooler undercoat.
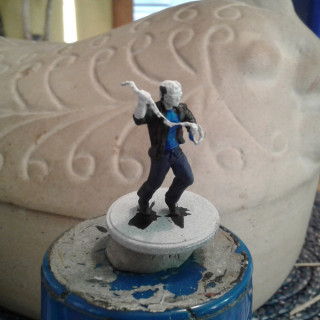
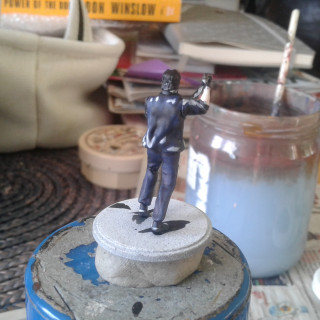
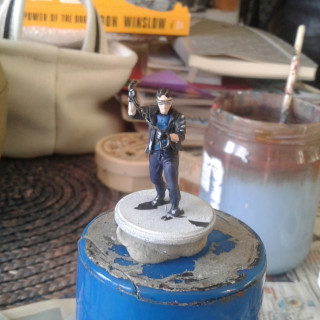
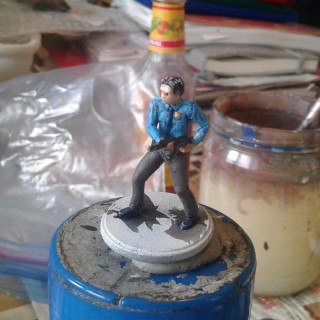
Once the primer was dry, it was time for the dreaded first use of Contrast Paints. I decided on painting the pants Leviadon Blue to imitate jeans. Simply slapped on the paint as advised. It worked a treat with the recesses filling with darker paint and the flat surfaces having a thinner coat.
The jackets were another thing. Since Black Templar seems to be rarer than gold these days, I had to improvise. I simply busted out the old Liquitex flow improver and Formula P3 Thamar Black. I thinned the paint more than usual and added some water and hey presto! I had my Black Templar. Except maybe it is a little bit too dark but I found it fine enough to simply move on with the rest.
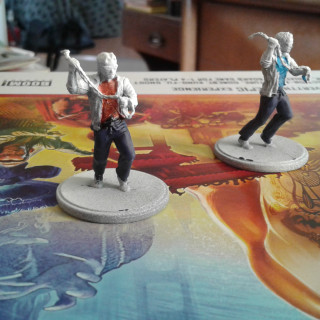
I also tried out Ecoline inks that I had laying about. The red shirts were done with this. I don’t recommend it. Those kind of inks are too thin and they didn’t cover the previous coat of Leviadon Blue. Since those are only minions and I didn’t want to waste much time on it, I left them as is. The blue shirst were done with real Contrast Paint, Thalassar Blue. Again, this wasn’t strong enough to cover my mistakes with Leviadon Blue. That may be the main drawback of Contrast Paints, you need to be very precise. Anyway, more on that later…
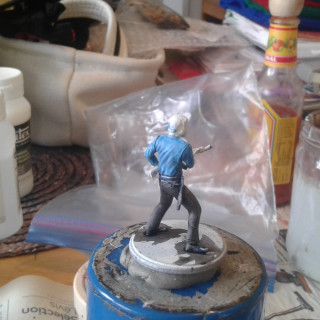
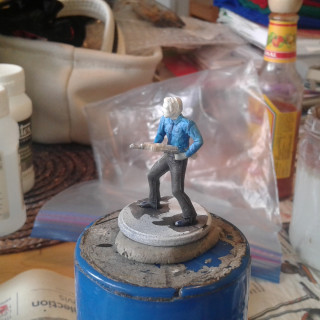
In the pictures you might see the grain of my zenithal prime. Maybe that is something that the Citadel primers and method cover better as you apply only one smooth coat, but in real-life this didn’t show much especially once my varnish recipe was applied in the end. Also, if I ever get an airbrush I should be able to produce a much more smoother zenith prime.
Lords of Metal
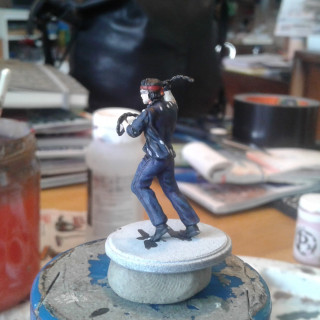
Continuing on my Lords of Death. I added some metallic details. Simply painted the chains Thamar Black and then drybrushed AP Gunmetal over it. On the pictures and the movie, the Lords have shiny shades on their faces. Unfortunately this didn’t translate that well on the minis’ sculpt. So I had to draw the glasses with Gunmetal more than paint them. Not too difficult for me but it might be more trouble for beginners. Once that was dry I applied a simple Nuln Oil wash.
The quality of the minis for this game is quite average to stay polite. It’s too bad because the game is quite fun. Once painted it doesn’t show much, but as stated above it might be difficult for beginners to paint these.
Lords of Final Details
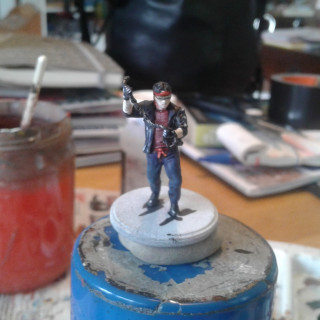
This is some of the final steps for my Lords of Death. I wanted to represent their jackets as being made of black leather. I don’t remember if that was the case in the movie but I found it fitting. So I first made a highlight pass using P3 Exile Blue. I then added P3 Morrow White to that in roughly 1 part Exile Blue 3 parts Morrow White. In other words, almost white but with a little blue in it still. I then further highlighted the areas where I added Exile Blue. The goal was to create a kind of shiny reflections for the jacket’s leather. However, I think I did it too much. You’ll see on later minis that less is more in that case.
The skin was done with a basecoat of P3 Menoth White Highlight. I tried to achieve the same effect as Citadel’s Wraithbone spray. I did only one layer of this thinking that it was enough. In retrospect it wasn’t the case. The darker coats underneath still show through. Anyway, I wanted to use Contrast Paint for the skin but instead ended up using Ecoline pink ink. The wet effect seemed perfect. However, it dried a really muted tone. I find the effect is ok for «asian» skin, but I had to add an outline of Citadel’s Reikland Fleshade to make it more lifelike. Those are not zombies afterall.
The rest was simply small easy details like the red bandanas etc. I won’t dwell on the techniques here as they are quite basic.
Wing Kong Hatchet Men
These are another kind of minions for the game. While the Lords of Death are run of the mill bad guys and quite squishy, the Hatchet Men are more of a threat to you.
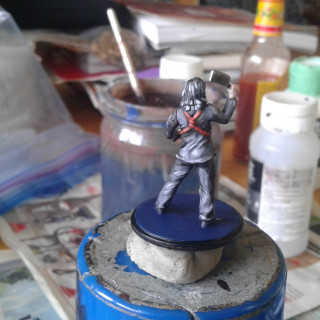
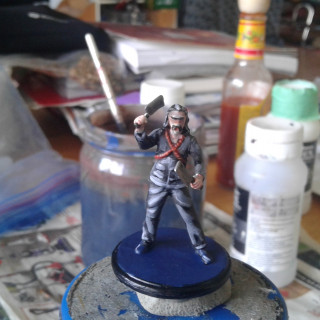
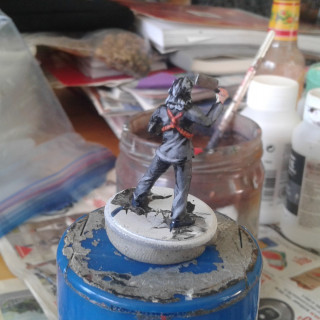
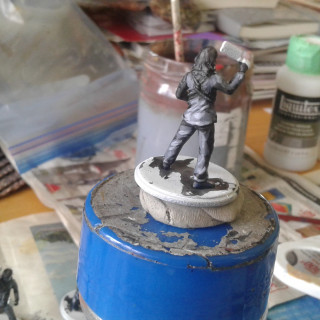
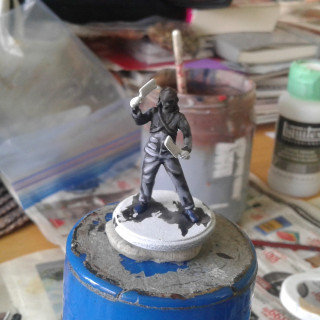
I decided to portray them wearing the traditional chinese shirt which is pitch black. Again no Black Templar to save my life and I was running out of P3 Thamar Black. Decided to try artist’s acrylics in the form of Liquitex Heavy Body Black. Experiment not successful. I don’t know how they make their paint, or maybe it’s P3’s that are simply excellent, but pigment separation was really bad. I had to put several coats of Liquitex to achieve the same coverage as P3 and you could see my brush strokes everywhere. I think that I tried all of Liquitex’s line of paint additives but to no avail. A complete waste of time and money, I don’t recommend that at all. Maybe you have some tip and tricks for me but I bought more P3 Thamar Black instead of pursuing this route.
Otherwise it was simply a question of highlighting the black. I think I did it on the heavy side because it ended up almost grey. Again, this is good enough for tabletop gaming.
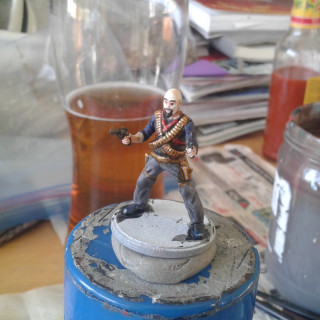
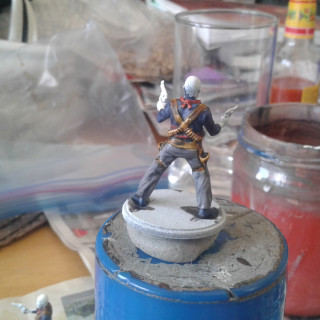
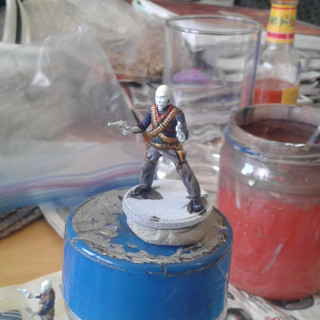
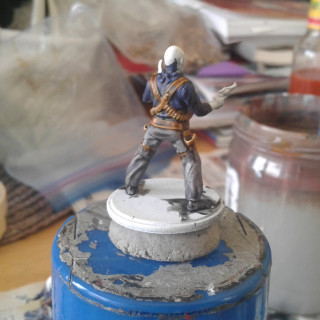
Wing Kong Six Shooters
These, with the Security Guards, are the shooty guys of the game. They are a little bit worse than the Guards but those too are not really fun.
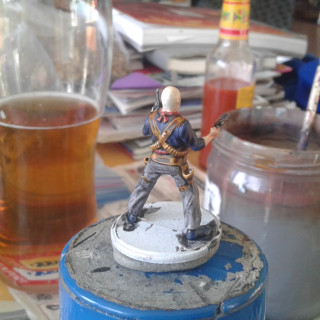
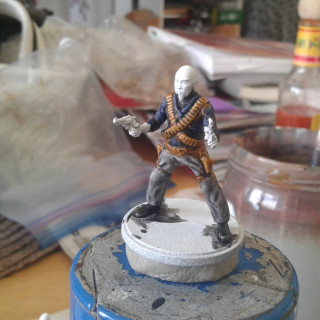
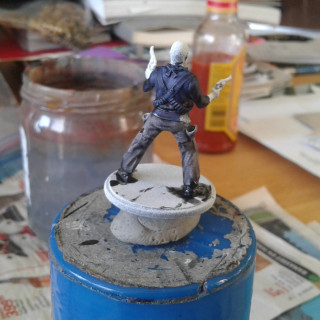
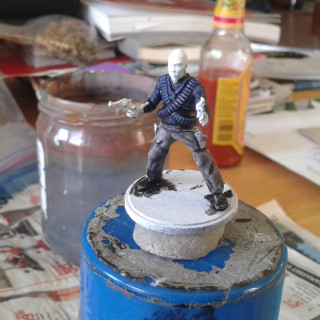
There isn’t much new techniques with painting these guys. I used Basilicanum Grey for the paint, Leviadon Blue for the shirt, Snakebite Leather for the bandolier and a little bit of normal paints for the details etc.
The skin was painted a little bit different this time. I basecoated it with P3 Menoth White Highlight and then tried making my own Contrast Paint. I first started with P3 Ryn Flesh and then added about 2/3 of Liquitex Glazing Medium and 1/3 Liquitex Flow-Aid and little bit of normal water. I then slapped this on the model like I would have done with the real Contrast Paint. It did the job, however this color was a little bit too muted for the effect I wanted. I simply used Citadel’s Reikland Fleshade as a kind of glaze to darken/redden the areas that I wanted. Here you go!
Security Guards
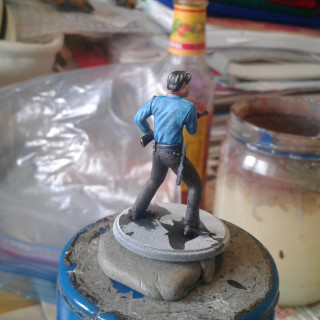
Again not much new technique here. Used my custom black contrast paint recipe (see below) for the pants and shoes as I still couldn’t get my hand on a pot of Black Templar.
The shirt was done with thinned down Talassar Blue. I added a little bit of Apothecary White to the mix and then added Contrast Medium until I had the tone I wanted. I painted this mix on a white sheet of paper while mixing it to know when to stop. Contrast paints are really dark in the pot and I find it easier to see their true color this way.
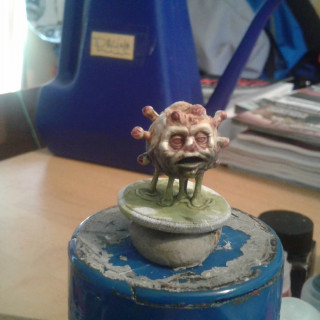
Guardians part 1
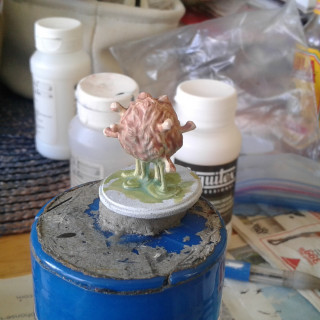
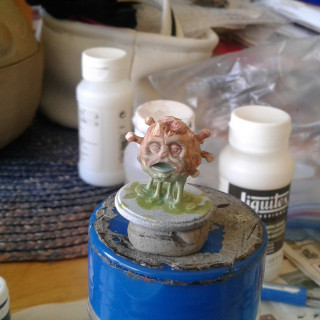
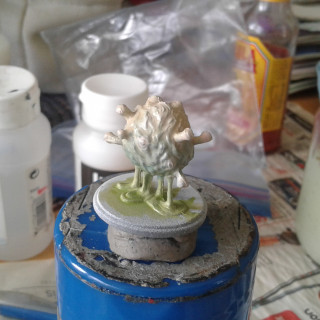
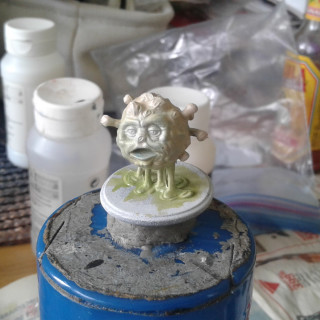
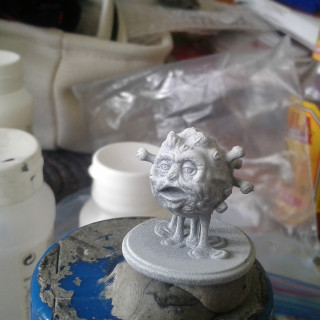
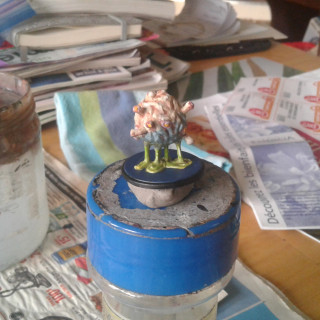
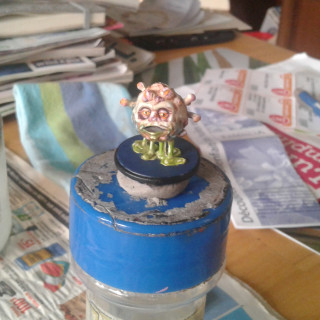
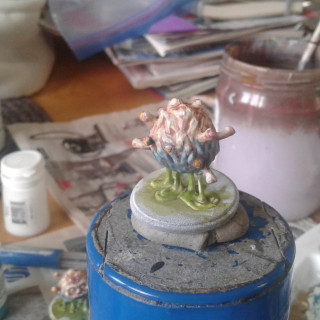
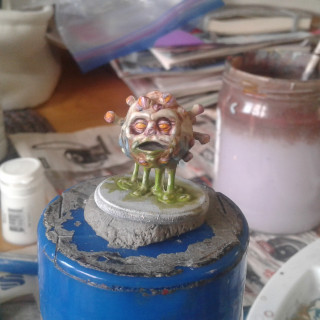
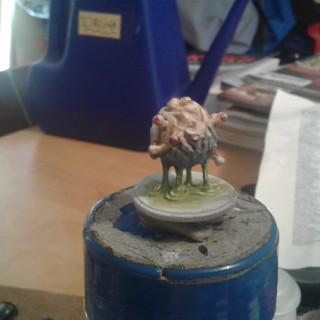
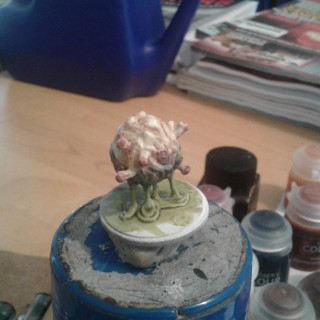
Those were a bit more challenging to paint. I decided to retire my Contrast Paint and use more traditional methods. I first based the miniature with Formula P3 Sickly Skin mixed with Liquitex Retarding Medium. I then wet blended P3 Underbelly Blue towards the bottom and then P3 Wurm Green for the slime coming out of the thing.
Once that was dry I added an overall Citadel Reikland Fleshade wash. I should have waited a little bit more to do that as the previous paint coats weren’t dry enough and the wash mixed with it. In the end it wasn’t too bad but I should erred on the side of caution and let everything dry a little more before washing it.
Reikland was only my first wash pass though. I then followed with Citadel Drakenhoff Nighshade where there was blue and Athonian Camoshade where there was green. Being careful to blend everything. Almost using the wash as a glaze instead of the normal method. Having learned my lesson I left that to dry thoroughly before continuing on.
Guardians part 2
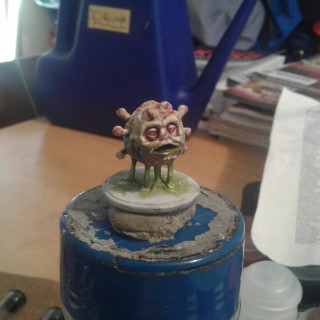
Once the paint was dry, I added the last details. Beginning by highlighting the skin etc. I simply added P3 Morrow White to my previous mixes right until the moment it was almost white. Those disgusting things are quite slimy so I wanted the skin to look glistening. So the highlight was pushed almost to white.
I then added Citadel Carroburg Crimson in all the little eyes and the main ones. This was followed by pure Morrow White for the eyeballs per se. Once that was dry I added Citadel Fuegan Orange around the perimeter of the eyeballs and Citadel Yellow Glaze. I simply let that do its job. I only painted irises for the two main eyes and added a specular white highlight everywhere. And with that the Guardins were done.
Bosses.
I have actually completed this project now, but since some members wanted to follow along here we go. Sorry for the delay. I was quite busy lately and found just enough energy to finish this project but not necessarily post it up here.
I won’t go into detail on each of the bosses but I will try to highlight what I found challenging or what I think is noteworthy.
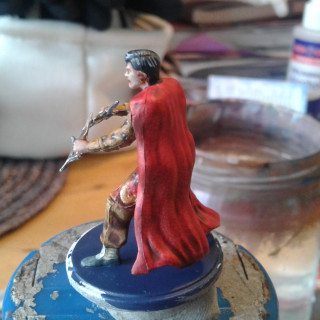
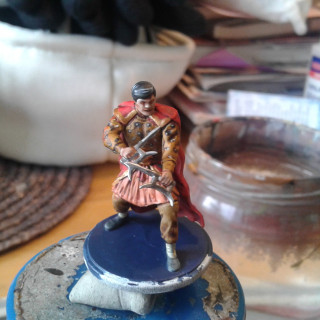
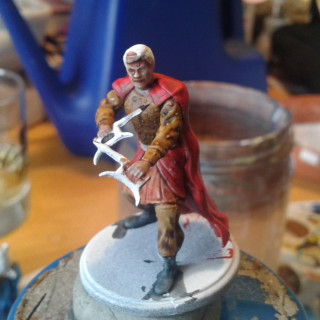
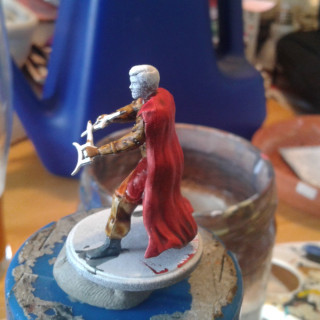
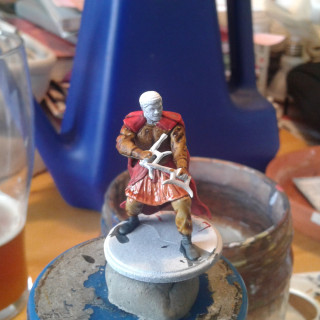
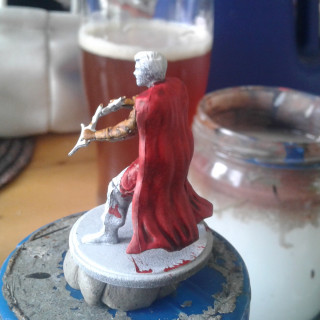
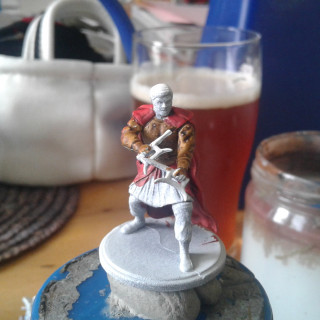
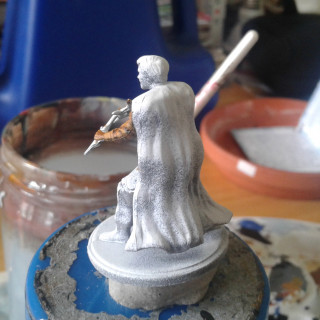
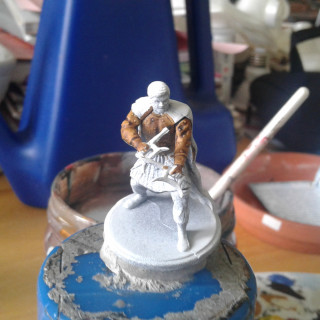
I’ll begin with Thunder. He wasn’t that challenging to do so I’ll just skip ahead to the other ones. Here are some pictures of the process though.


