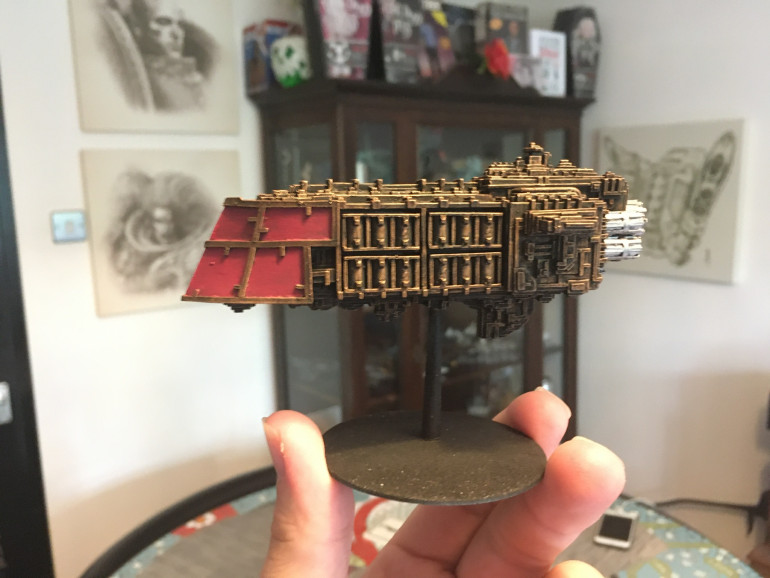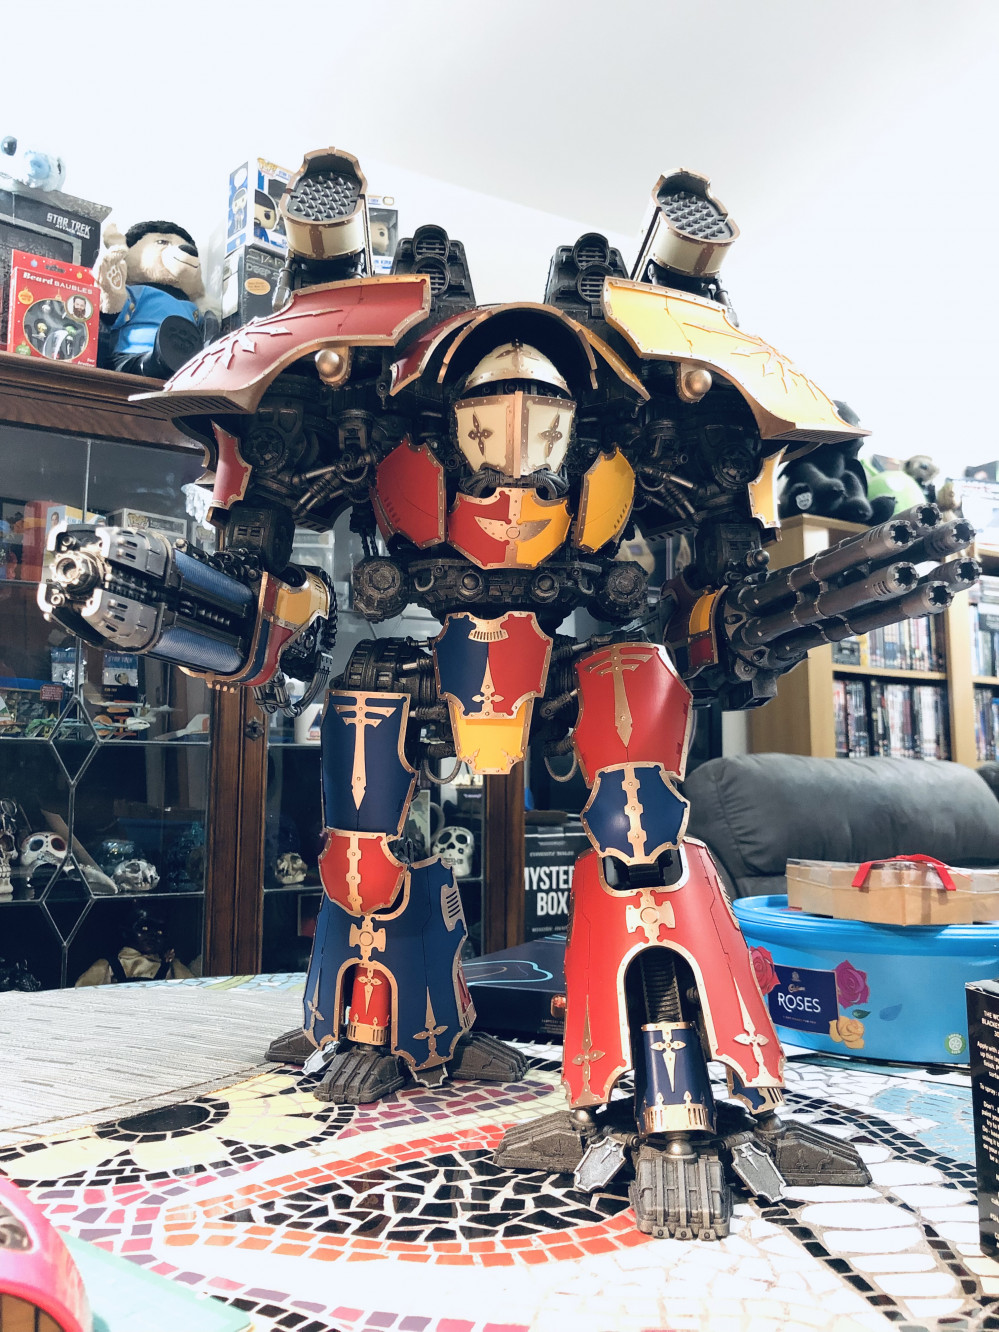
Back to HH Blackshields! FW Warlord Titan. Also Dark Mechanicum/Battlefleet Gothic.
Recommendations: 2940
About the Project
Just me working on my battlefleet gothic, mechanicum, HH Blackshields and occasionally random other things.
Related Game: Warhammer 40,000
Related Company: Forge World
Related Genre: Science Fiction
This Project is Active
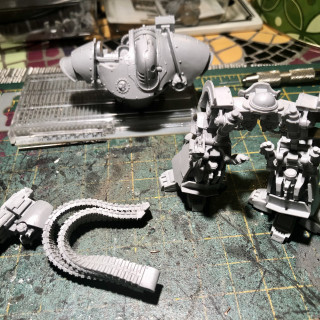
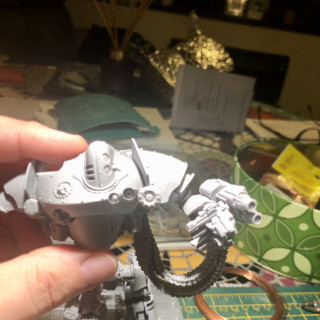
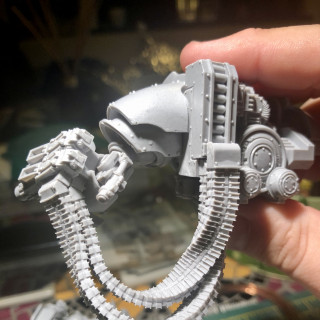
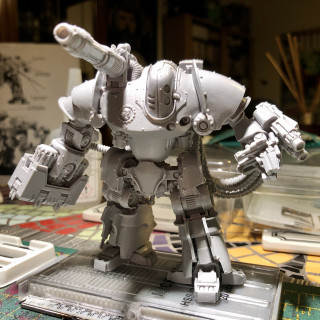
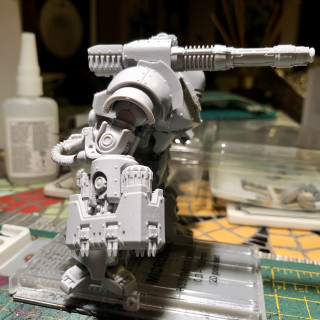
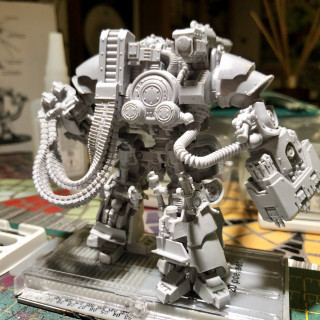
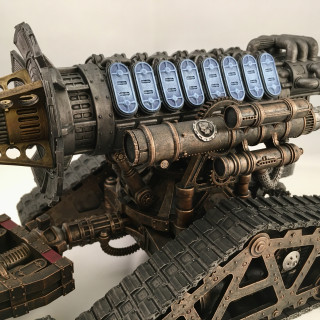
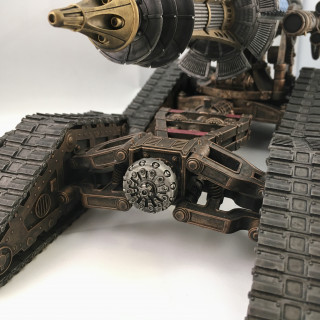
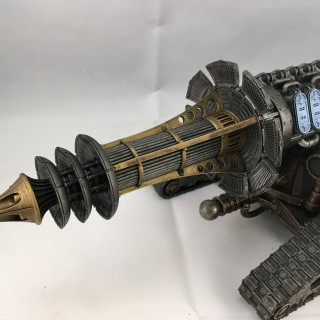
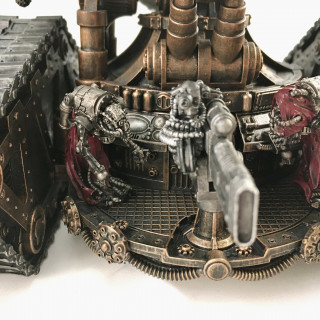
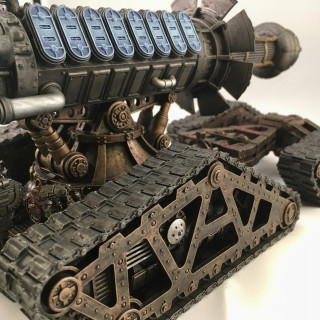
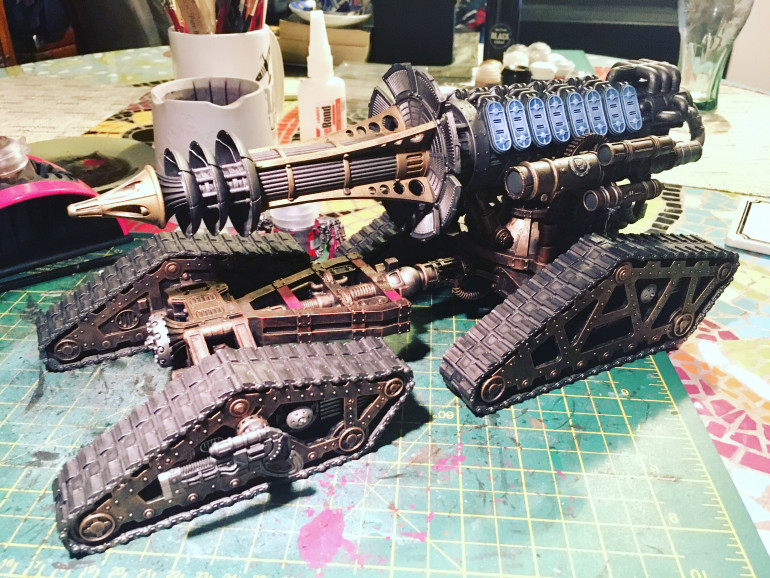
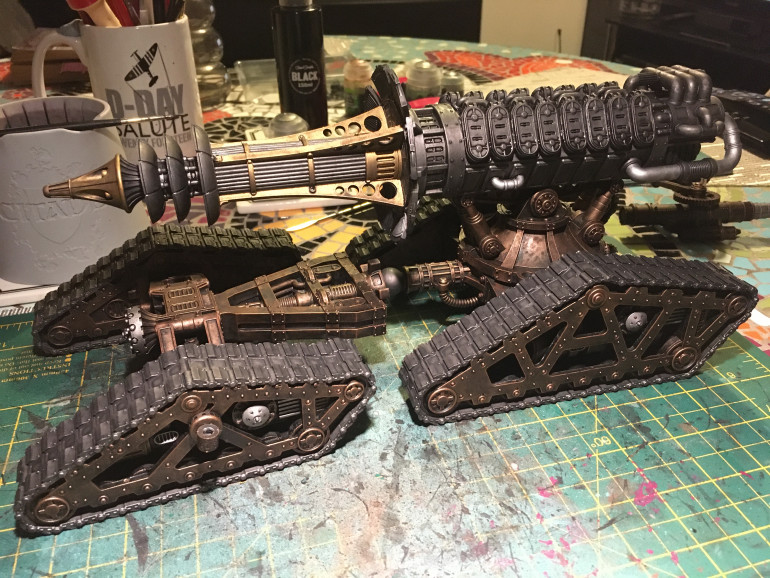
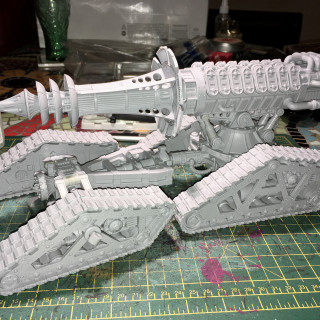
Thanatar-Calix class Siege-automata
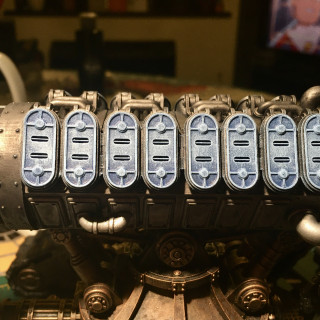
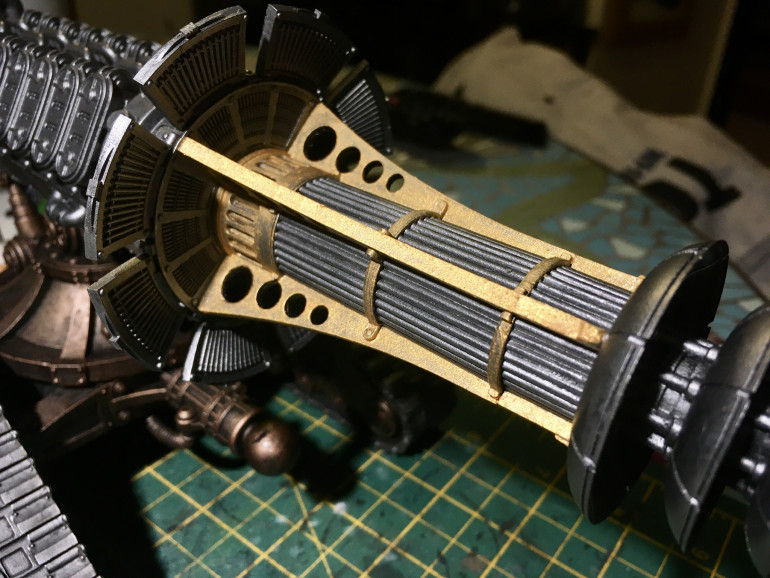
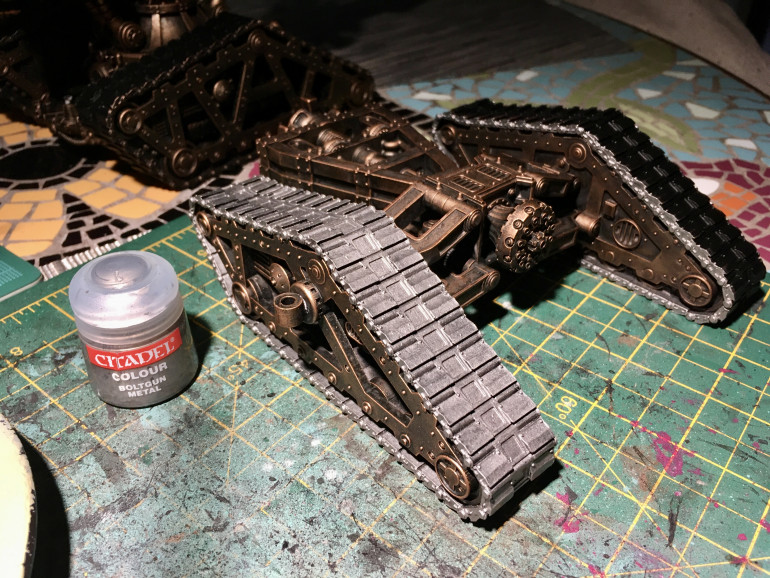
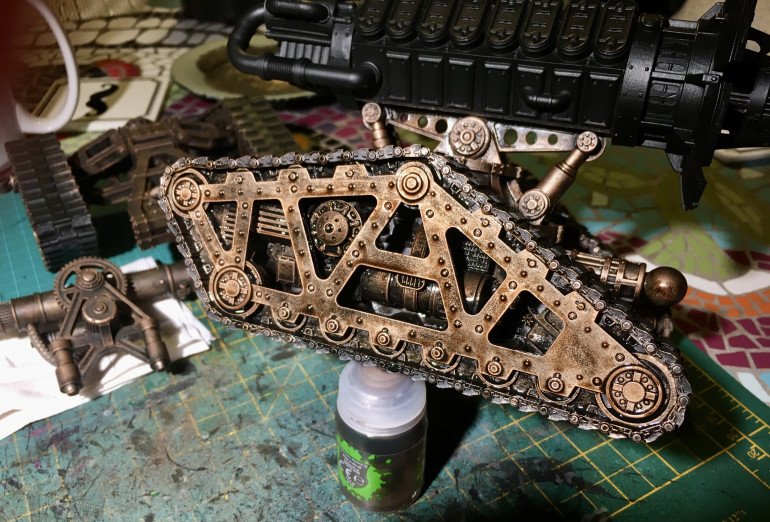
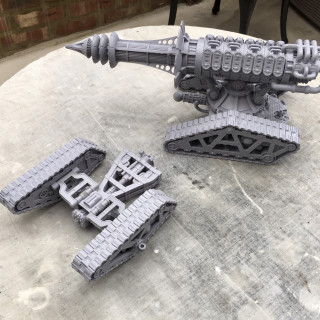
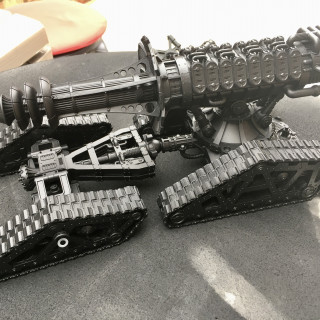
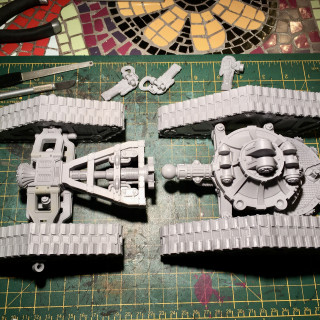
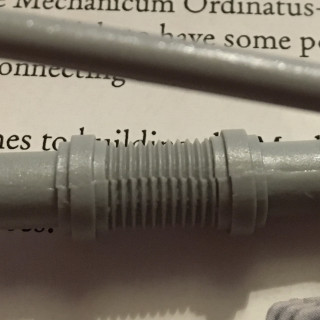
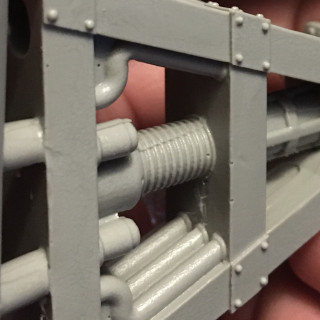
Got this one for crimbo, so what with lockdown again, thought I’d get it assembled. Biggest pain in the ass was heating and repositioning the ammo belts on the bolt cannon. But apart from that, it’s a gorgeous kit.
Fancy Photos
Well, thought I’d get some good pictures using the light box. But found it’s a tad too big. But never mind!
Calling it done ?
Well, calling it done. Pleased with the overall look. Kept the scheme simple and it’s good enough for gaming.
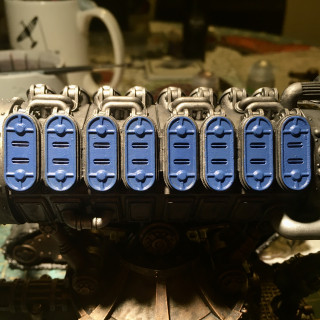
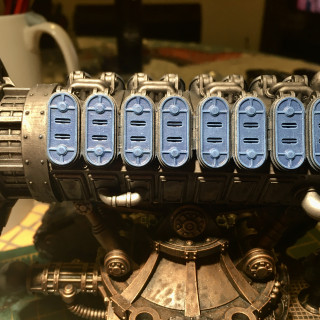
Easy three stage glow.
Easy this one. Start with blue. Then dry brush a 50/50 mix of blue and white. Then drybrush just white.
Base Coated the Ordinatus
Took a whole can of paint ?
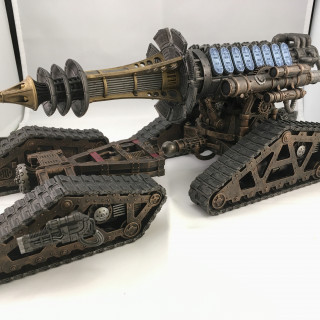
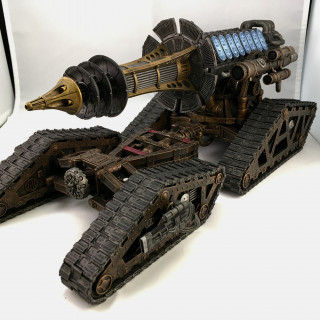
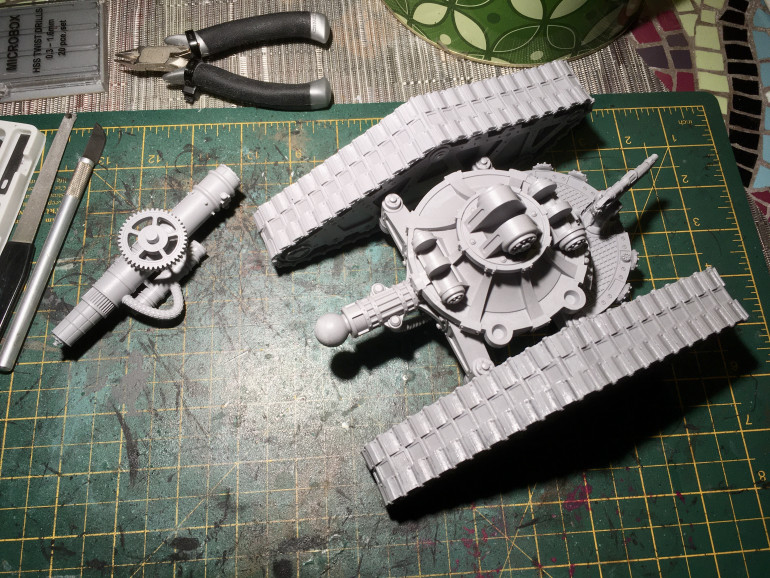
Ordinatus mostly assembled ?
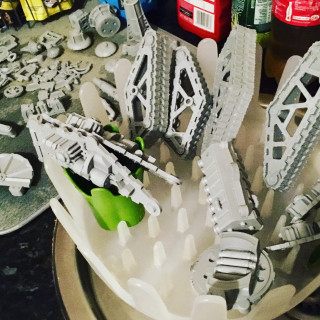
Assembled the bulk of the model. Leaving off a few parts to paint before final assembly like the smaller guns and crew.
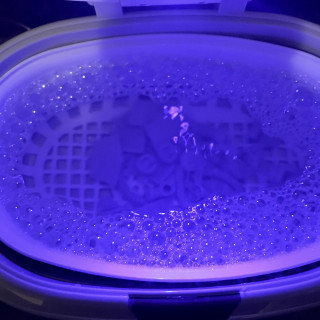
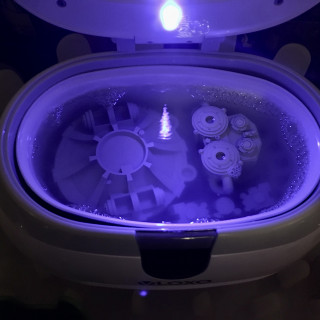
Sonic Cleaning resin parts
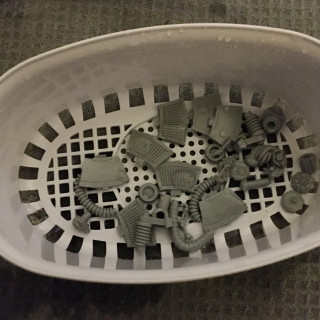
Nice and simple this one. Add water to your sonic cleaner, add a splash of washing up liquid. Put in enough parts to fill the cage and let the sonic run a for a few minutes. After its run, lift the parts out in the cage and rinse in a bowl of clean water. Then leave to air dry. Repeat for all parts.
Prepping the Ordinatus
Finally starting to prep the Ordinatus. Will remove all the gates, clean off the mould lines. Then I’ll give all the parts a wash in the sonic cleaner with soapy water.
Pin Washing the tile gaps.
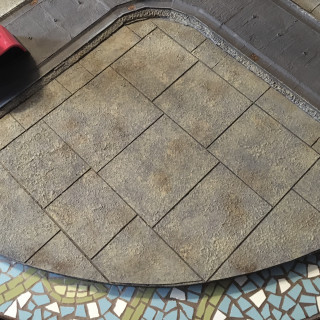
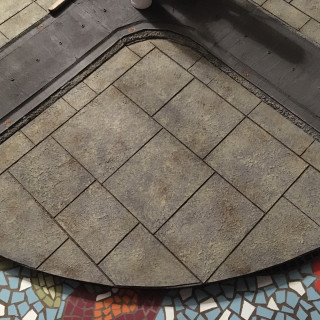
Next step was to darken the gaps between the tiles. So I used raw umber paint, peed it down to wash consistency and spent the next two hours carefully pin washing the lines in. Just adds some depth to the tiles and covers up where any paint went in the gaps from stippling. Before and after pics included.
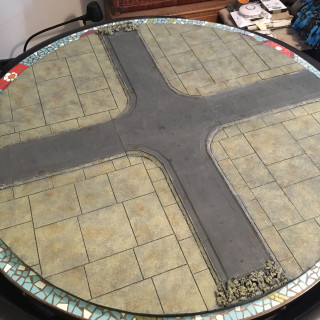
Repainting The Gaming Board
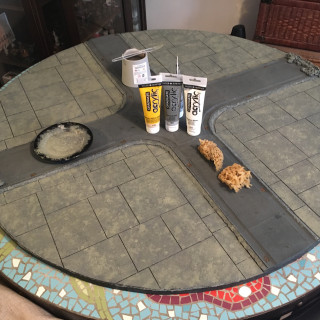
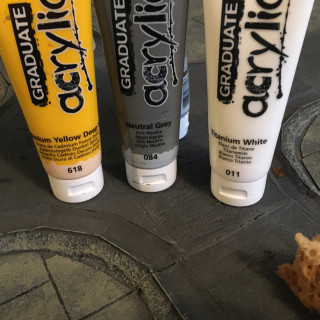
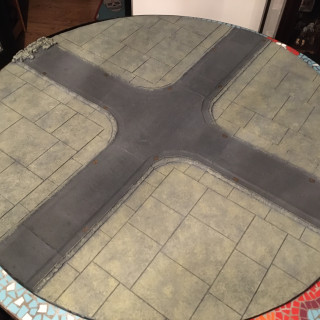
Had a bit of spare time so decided to have another go at my gaming board. Decided to go back over the tiles using a sponge stippling method as opposed to dry brushing it like I did the first time. Just mixed the colours dark first and gradually added more white on each layer with a tiny amount of yellow in each mix as it takes away the monotone greyness. After I’d finished the stone effect, I let it dry and applied water to the whole board and dabbed on brown paint and stippled it to weather the stone.
Dreaded Mould Slip
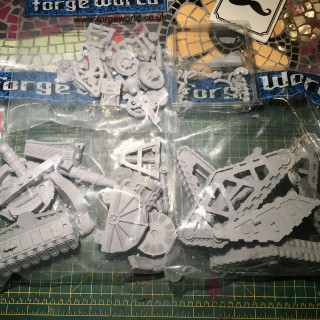
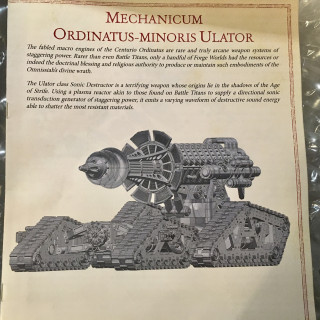
Well the ordinatus arrived, went through all the parts with a fine toothed comb. As the money you spend on a kit like this, you want it to be top notch casting. Mould lines are part and parcel with resin miniatures, but mould slip* can be an absolute nightmare to repair. Luckily I only found two parts that I thought were more effort to fix than I thought reasonable. I have fixed parts like that before, but they usually involve resculpting that section with greenstuff and I just can’t be bothered lol. So sent an email off to Forgeworld and I await a reply.
* For anyone that doesn’t know, mould slip is when the mould hasn’t settled into its neutral position during casting, so parts and details don’t line up. Unfortunately, you can’t tell until you’ve already cast the piece.


