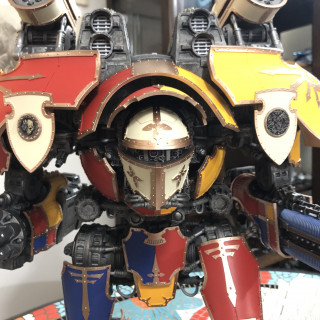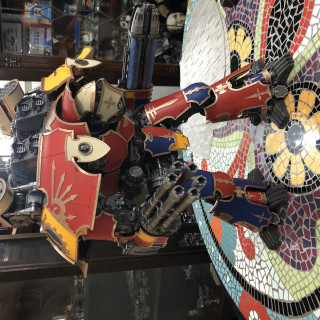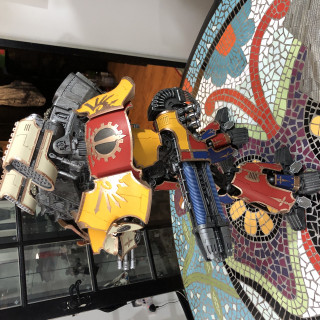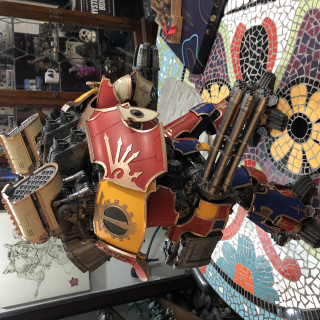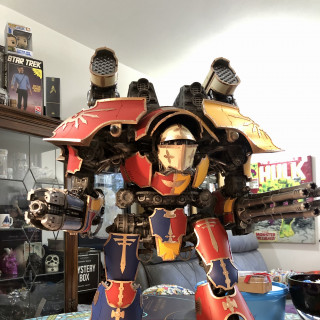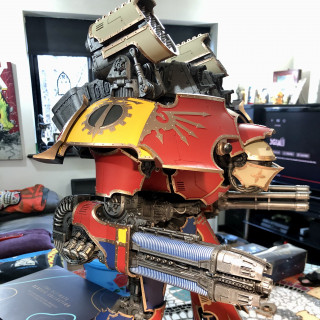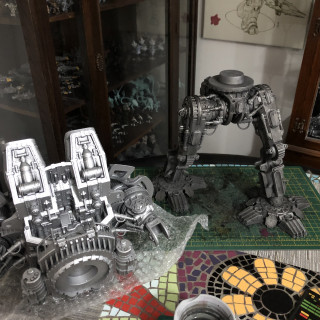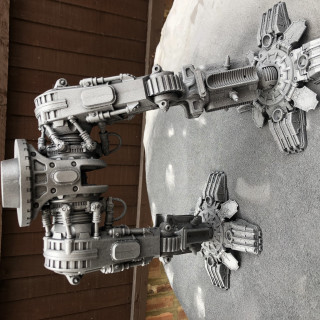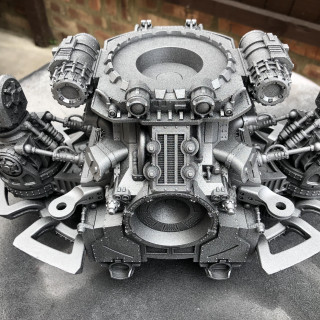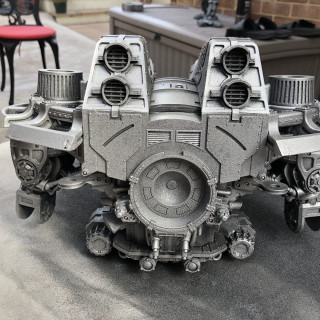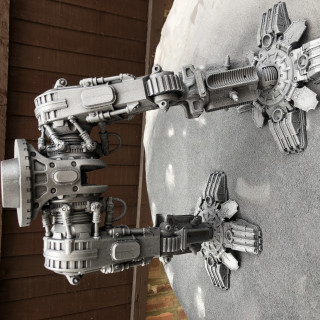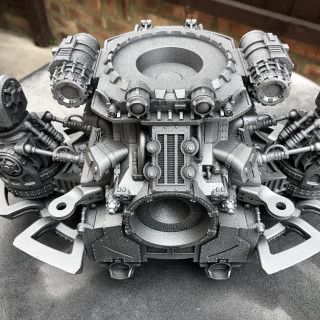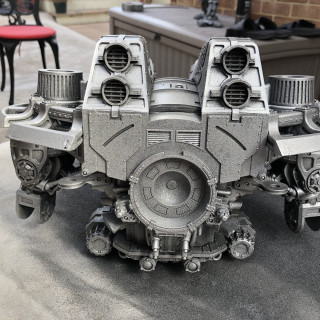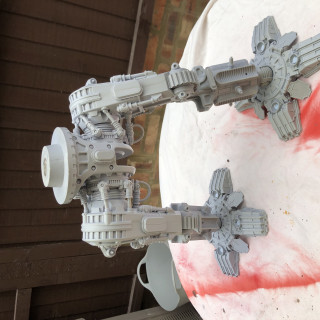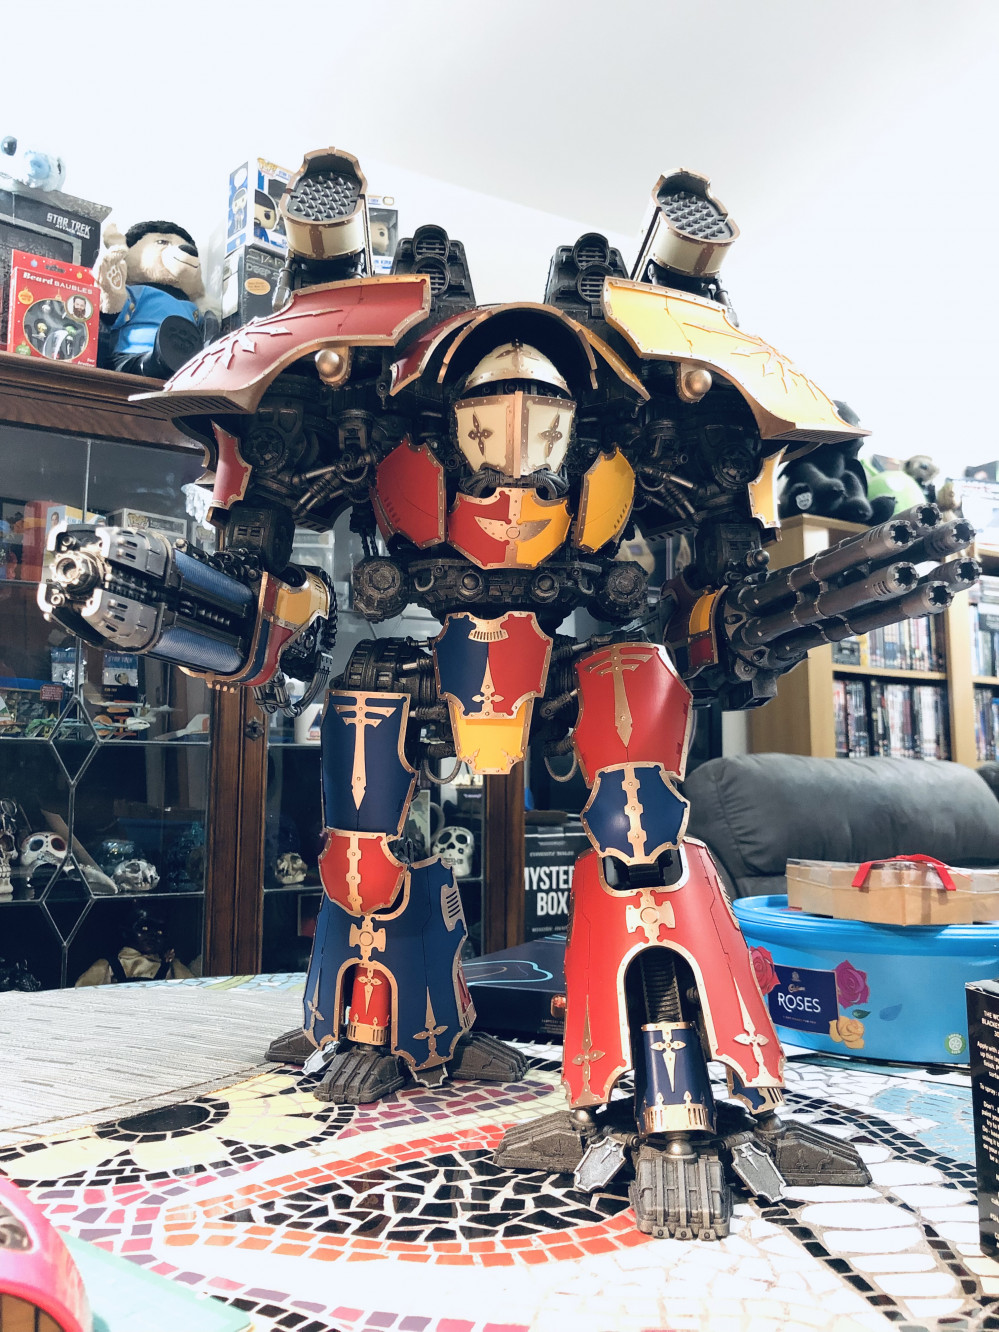
Back to HH Blackshields! FW Warlord Titan. Also Dark Mechanicum/Battlefleet Gothic.
Recommendations: 2940
About the Project
Just me working on my battlefleet gothic, mechanicum, HH Blackshields and occasionally random other things.
Related Game: Warhammer 40,000
Related Company: Forge World
Related Genre: Science Fiction
This Project is Active
Turbo Laser
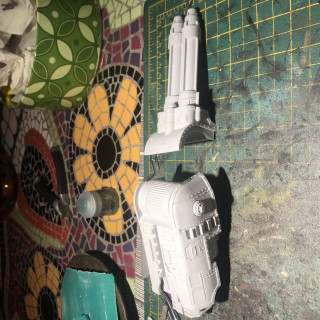
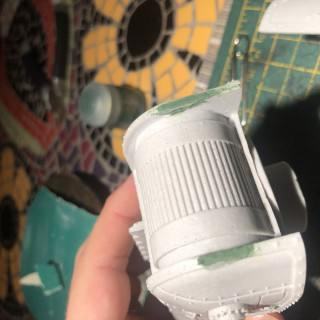
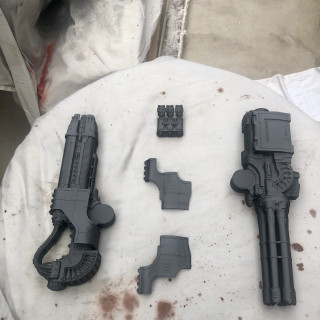
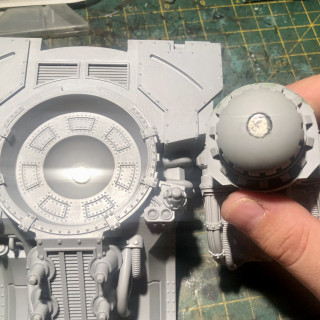
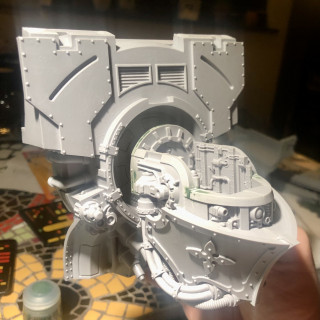
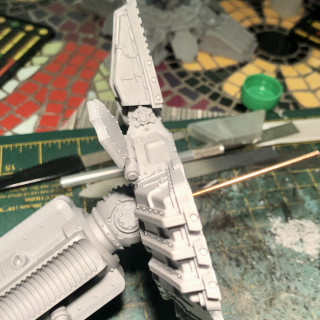
Managed to get hold of one of the double barrelled turbo lasers. Was in a rough state, so plenty of greenstuff being used! Going to convert it to a shoulder weapon for the warlord.
Introducing the Sons of Knossos Blackshields
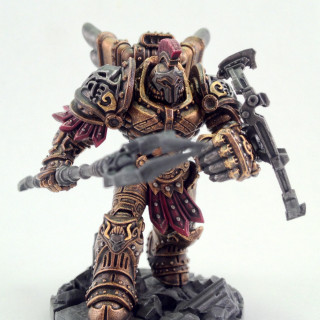
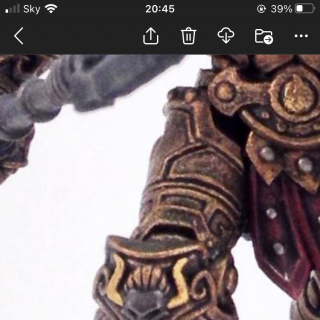
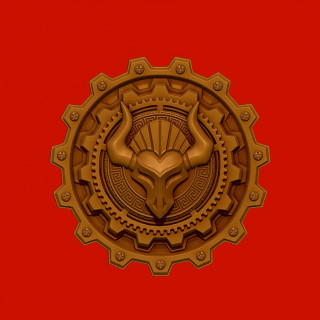
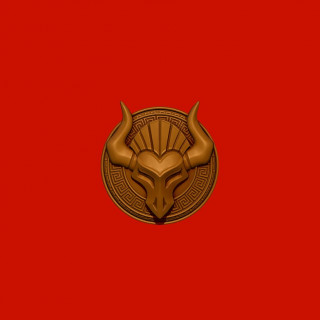
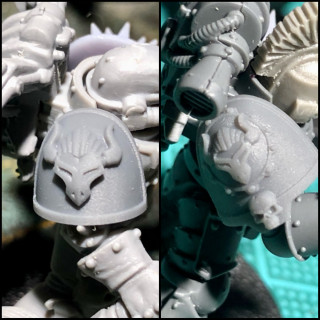
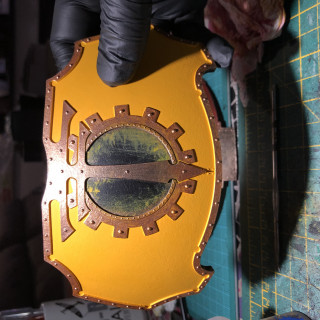
When I had my custom Cor Tauri miniature sculpted, one of the features I wanted was a cross between the iron warriors symbol and the Minotaurs chapter. It was sculpted on to the knee of the model. I then had a mate of mine draw up a couple of variants on the symbol as well. One with the cog, to represent the Blackshields alliance with my dark Mechanicum from the narrative campaign I’ve been playing with a friend of mine for nearly a decade now! And from that I had a sculptor make me up the two variant shoulder pads as well and had a bunch printed. So the name for my Blackshields is the Sons of Knossos. The background for the name is in Greek mythology. King Minos dwelt in a palace at Knossos on the island of Crete. He had Daedalus construct a labyrinth, in which to retain his son, the Minotaur.
Painting the yellow
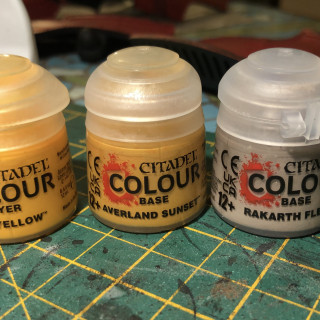
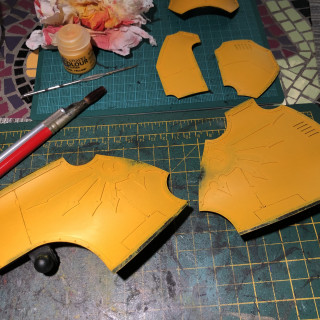
Did keep a log of progress while I worked on the warlord. Here’s the process for the yellow. Base coat black, 3 coats of Rakarth Flesh, 3 coats of Averland Sunset, then up to TWELVE coats of Yriel Yellow. Was the only way to get a smooth and even finish as I did all the application by brush.
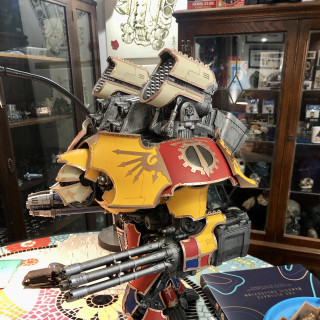
Finished.
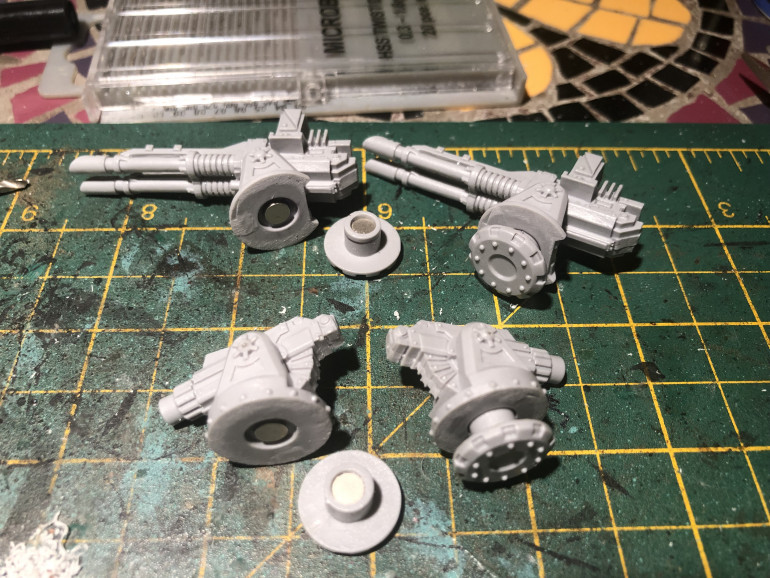
That’s it, final bits glued on, the two small shoulder shields, the anti personal guns and the shield generators.
Custom symbol
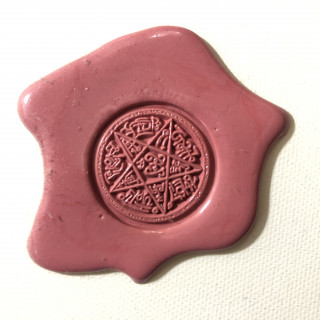
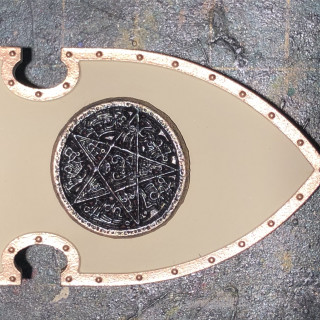
Used my seal to make a hard wax symbol for one of the shoulder shields. Once I’d melted some wax and pressed the seal into it, let it cool. Then carefully removed the outer edge, painted it up and glued it on.
99% there
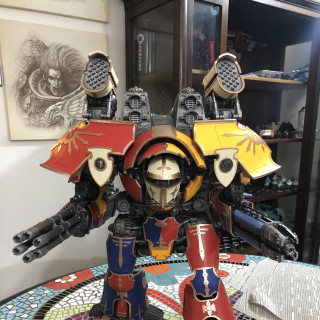
Well, been a while since an update, been working on the warlord last few months. Apart from a few small bits, it’s done! What a slog! Over the moon with how it’s came out. Would I get another one? Noooo! Lol. If I can get a big enough background, I’ll do some decent pictures when it’s 100% complete.
On with blue.
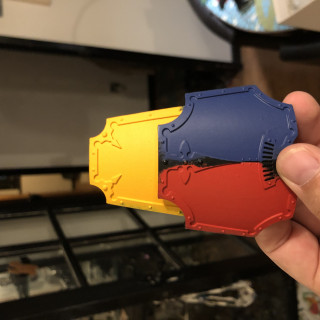
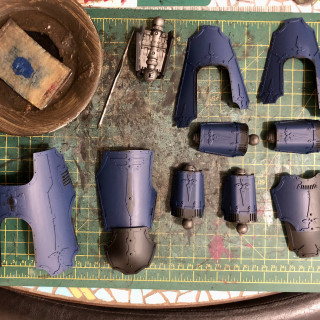
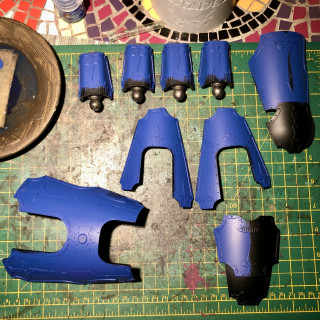
Three coats of dark blue to get a decent base over the black. Then three of light blue.
Nuln oil.
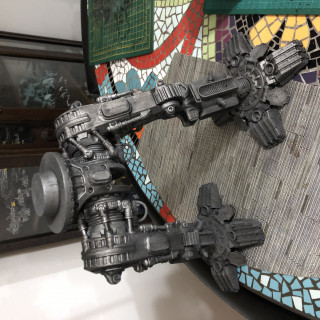
Starting a coat of nuln oil on the silver. Took nearly a whole pot to cover the legs which is better than I expected! And a comparison photo of the silver before it’s coated with nuln oil.
Silver Spray
- That’s the silver done. Next will be a coat of nuln oil.
Silver Spray
- That’s the silver done. Next will be a coat of nuln oil.
Let the spraying begin!
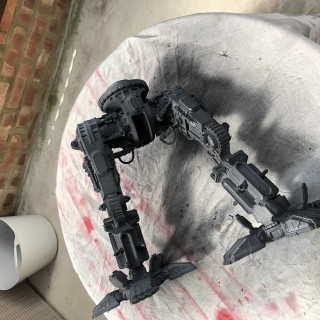
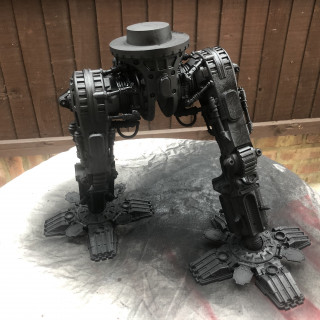
Started the spraying. Primed everything first, then coated everything black. Probably used about ten rattle cans so far. So over £100 worth ? Next will be to spray the legs and torso silver as I don’t fancy doing all that by brush.
Shoulders on
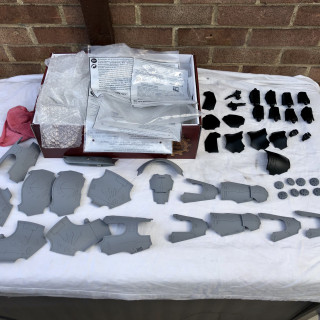
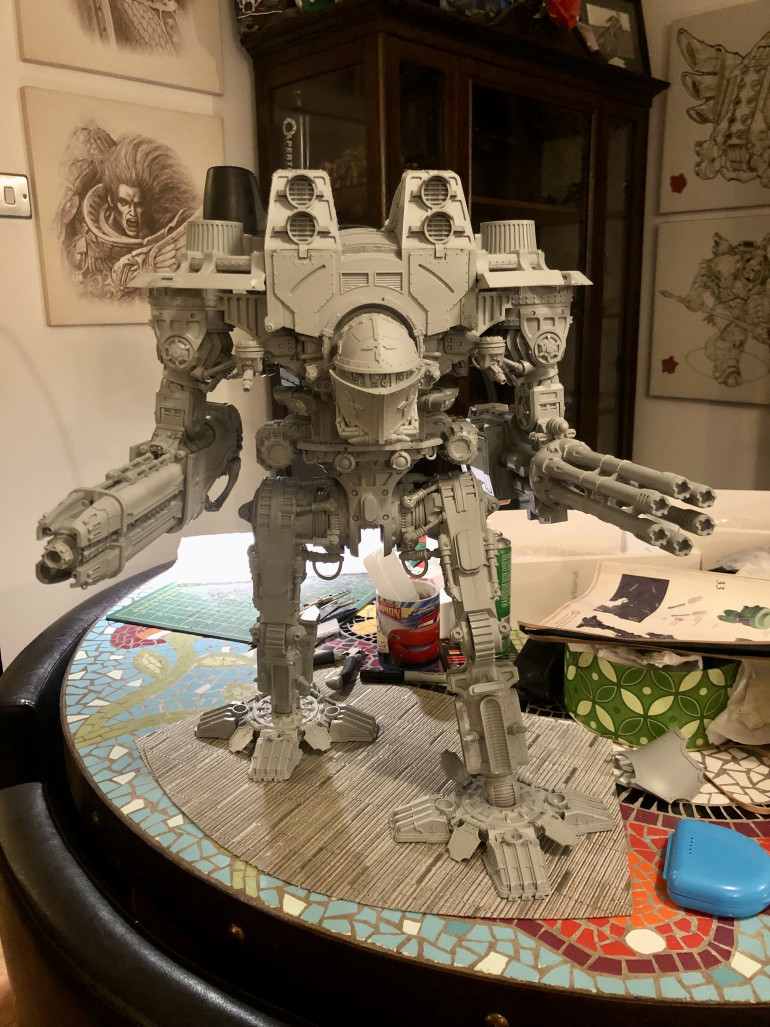
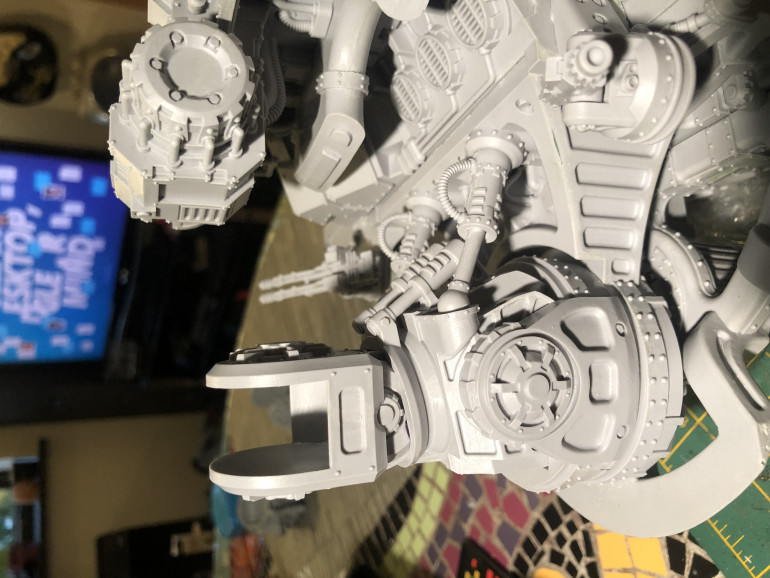
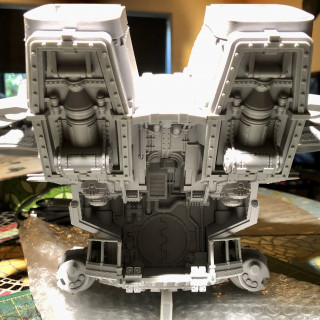
Shoulders and various other bits on the torso are now assembled. Slowly getting there as this has a lot of prep work to make everything fit. Definitely not a kit for beginners.
Torso taking shape
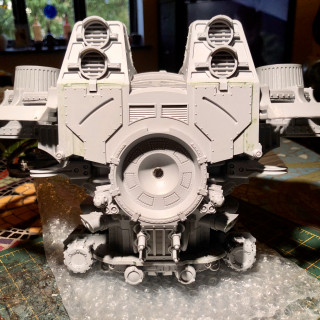
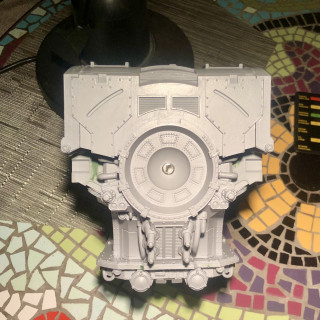
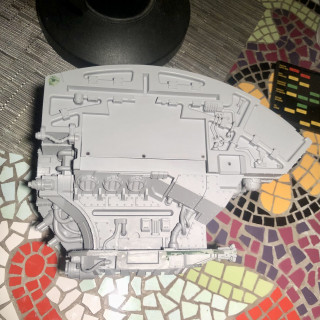
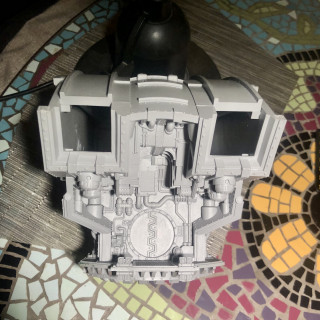
hi Started the assembly on the torso. Lots of shaving and trimming on parts to get them to fit. Also various parts are pinned as well.
Pinning, pinning and more pinning.
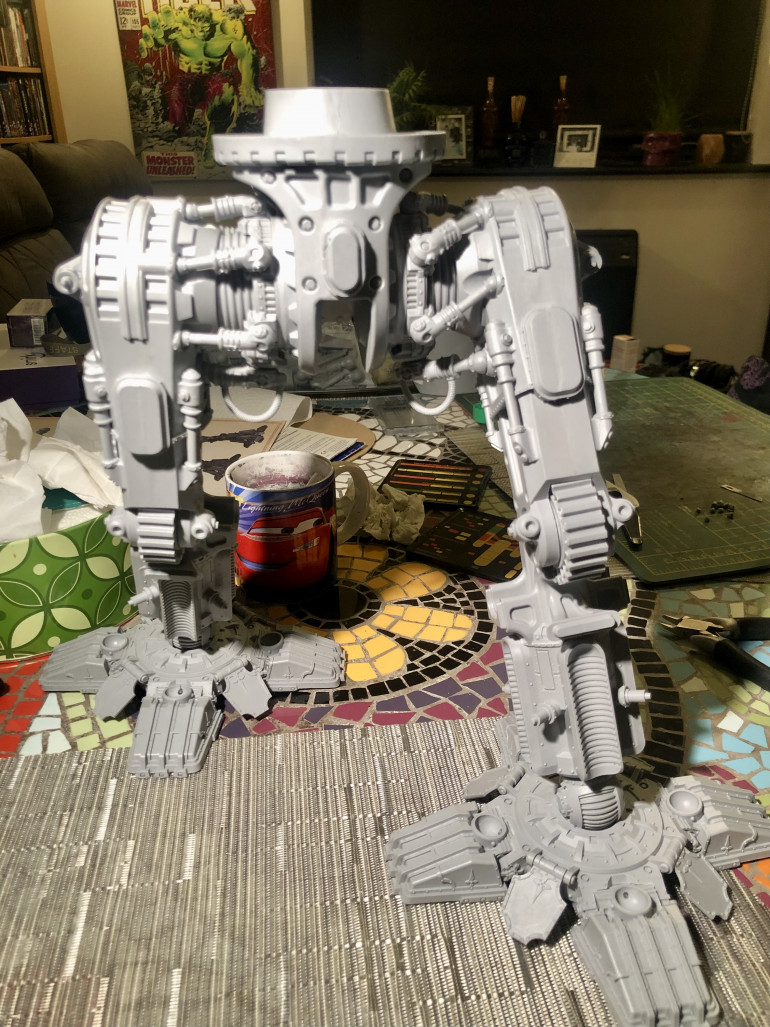
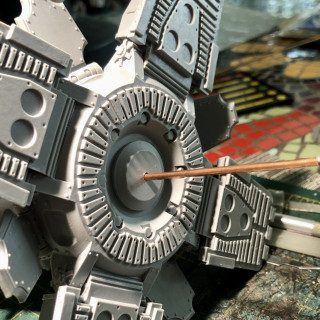
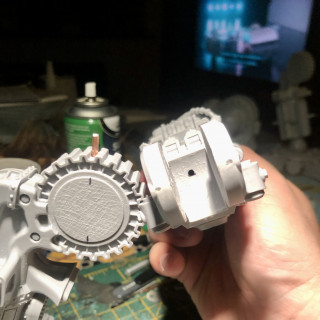
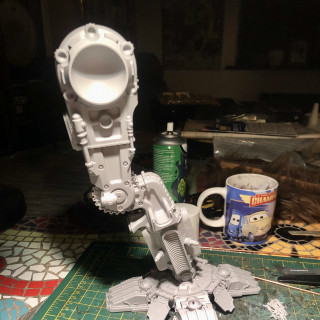
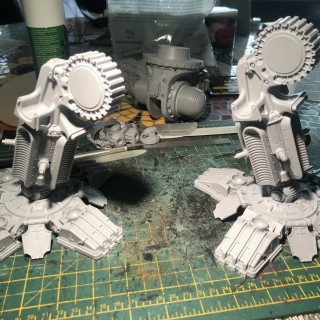
Pinning just about everything on the legs that could break and fail catastrophically and cause it to fall over. Foot pinned to ankle. All of the toes pinned to the foot. And two pins in the knees, one vertical and one horizontal.
Attaching feet.
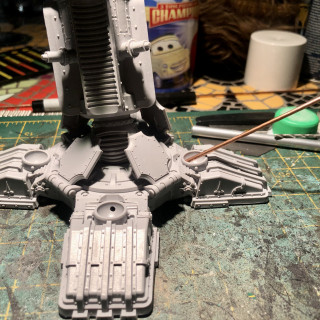
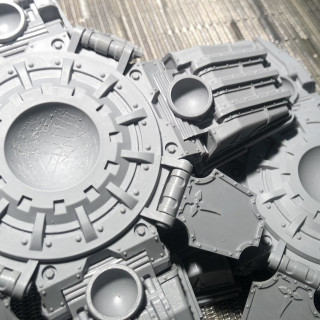
First I did some deep scoring on the ankle ball joint to increase surface area for the adhesive. Then glued the feet on. Going to let it all set, then I’ll drill and pin the ankle from underneath so I’m not just relying on glue!


