Affordable housing
Recommendations: 203
About the Project
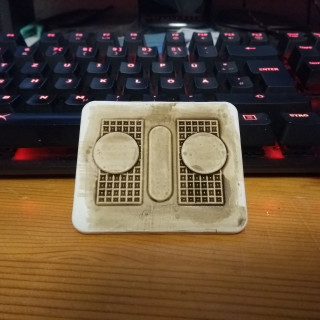
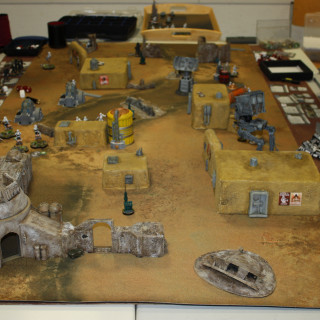
So I'm still lacking some buildings for a descent Star Wars: Legion table. What better way to reuse the inlays of some Legion boxes as terrain?
Related Game: Star Wars: Legion
Related Company: Fantasy Flight Games
Related Genre: Science Fiction
This Project is Completed
The foundations
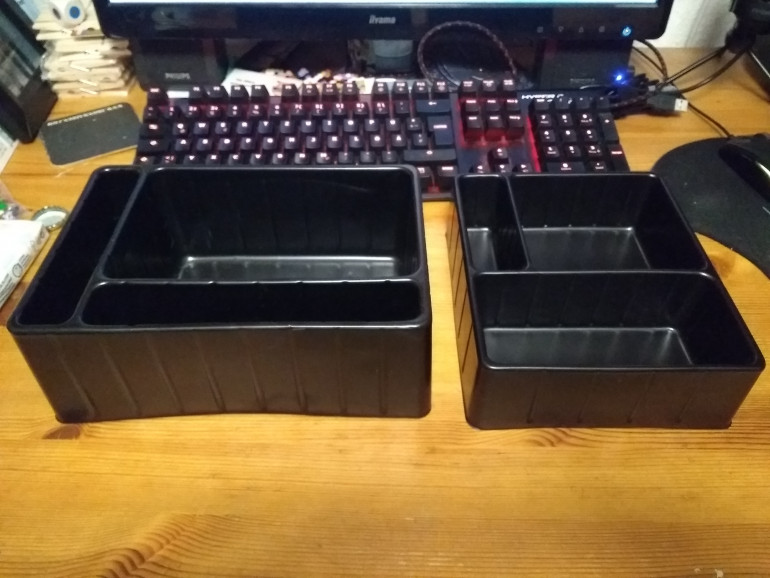
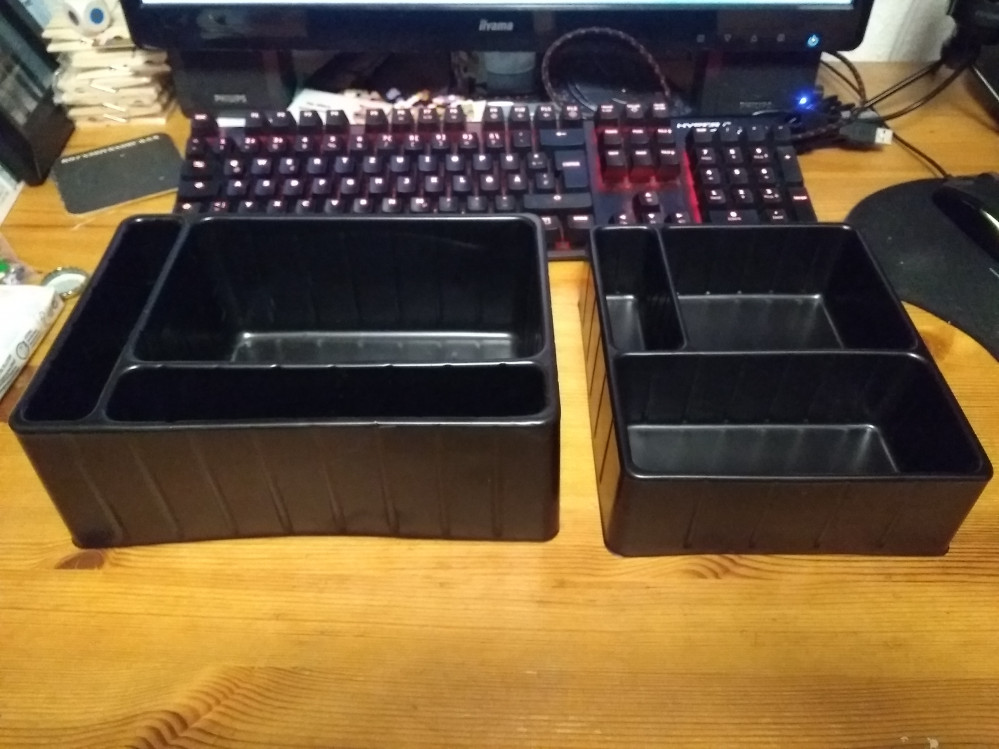
So I’m using the inlays from the Star Wars: Legion sets “TX-225 GAVw Occupier Combat Assault Tank” and “X-34 Landspeeder“. Hardest part is cutting them without tearing them. They are made with some sort of vacuform method where one sheet of thick plastic is heated until it’s soft and then pressed on a negative form. This stretches the plastic and after it cools of stays in shape. But the stretching thins the material especially with the Tank inlay so cutting is a PITA.
Strengthening the base
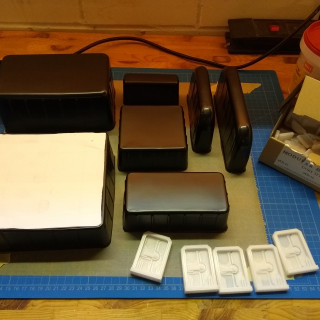
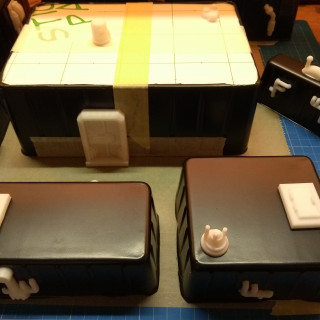
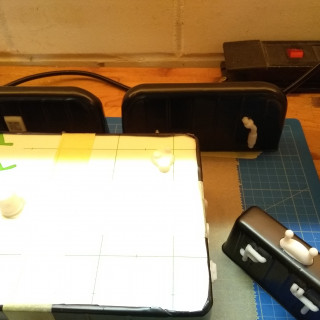
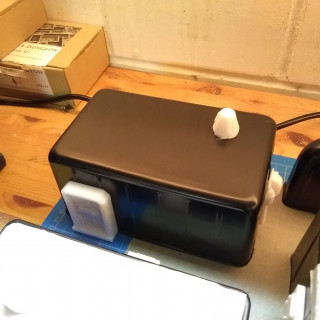
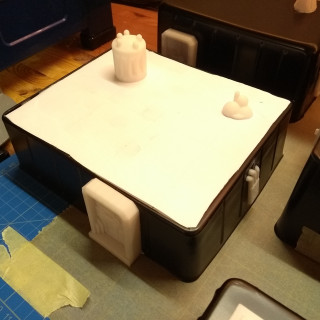
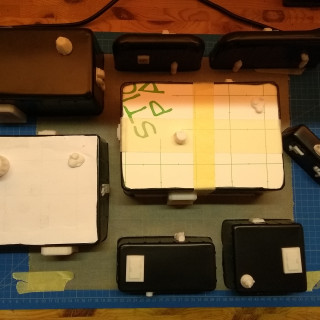
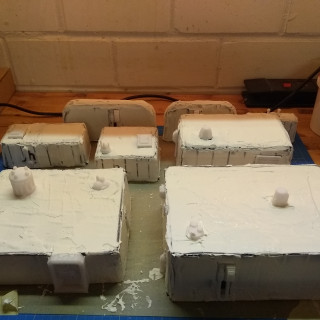
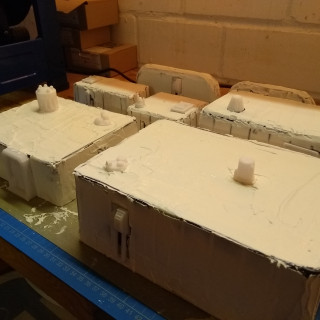
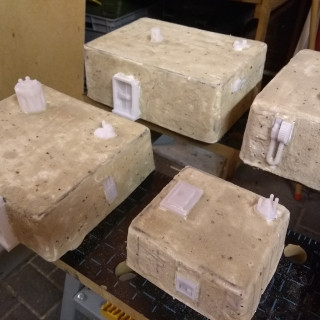
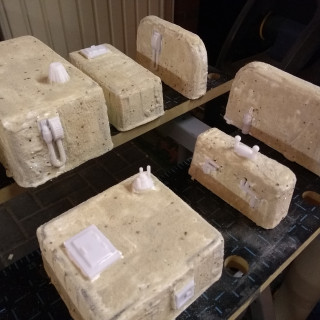
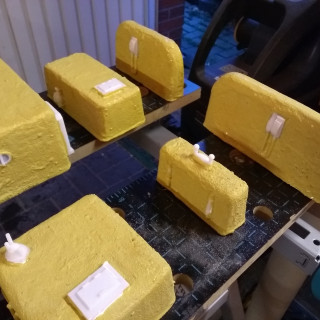
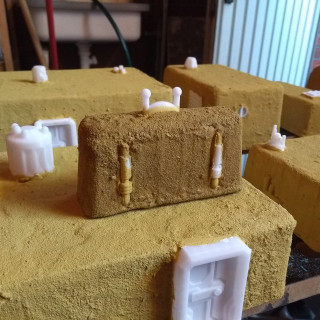
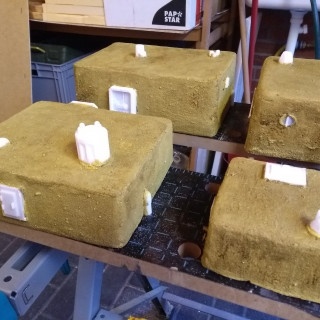
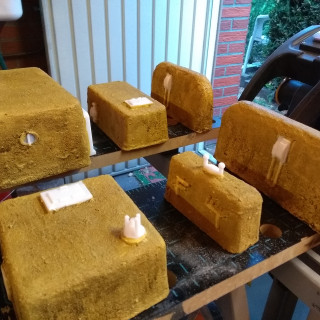
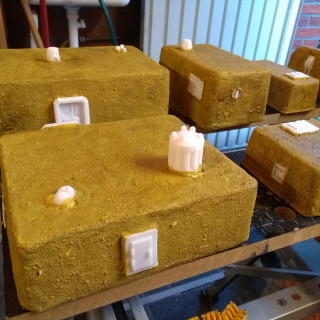
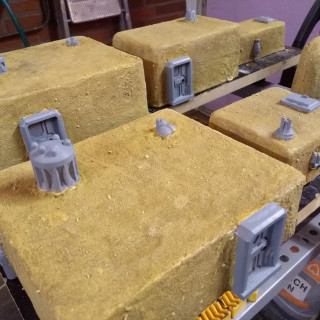
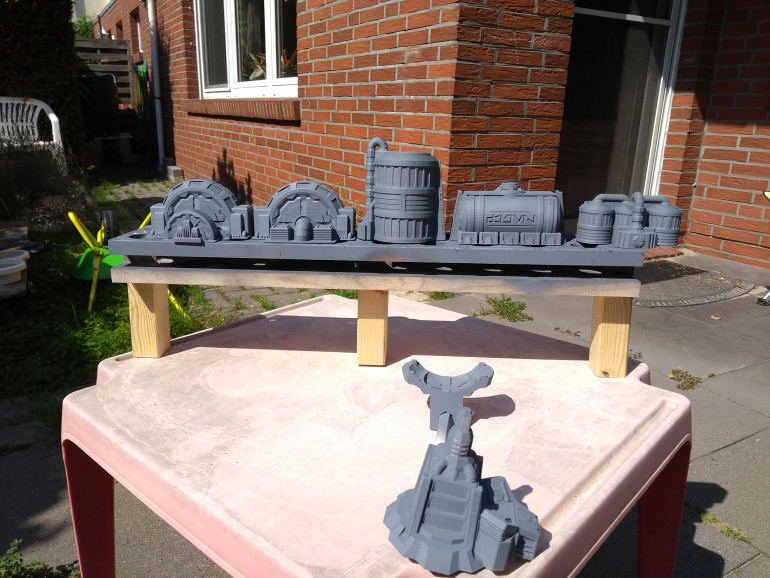
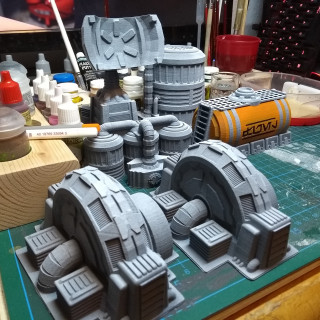
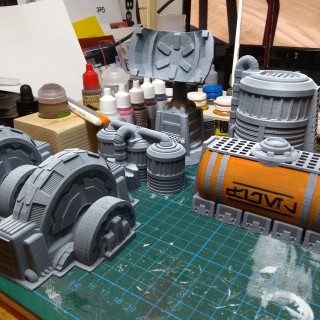
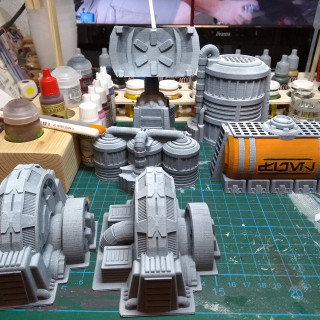
After I’ve cut all pieces I glued 1cm thick foam-board into the lower parts to give them a base. The two biggest parts, the outer rim from the inlays, got a new upper part too. After that I glued on some 3D printed pieces I got send by @evilstu (thanks again mate those make this really go a long way) And then I needed to wait another day for everything to dry.
Spackle all the things!
Of course the plastic looks boring plus it’s very flimsy. So what to do? Spackle to the rescue! (thanks @theterraintutor for his love of spackle)
Oh and @avernos keept me company 😉
Sand.... I hate sand...
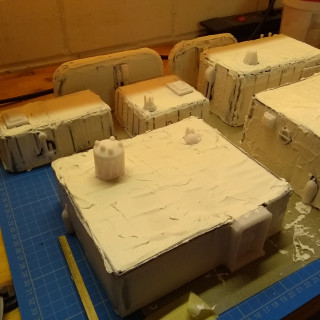
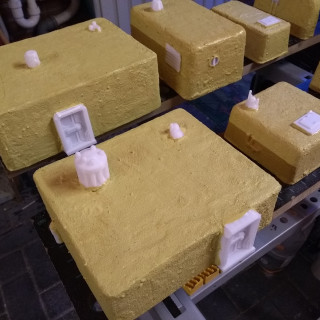
…and PVA. At least for the moment. The spackle had enough time to dry and so I went over all edges and ridges and smoothed it up a bit.
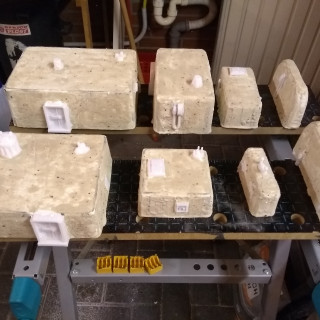
After that I applied ONE THICK COAT (do you hear me Duncan!? ONE THICK COAT!) of PVA to each terrain piece and then sprinkled them with lots of sand.
This is decorative sand. It’s rather fine but has a lot of “bigger” pieces like splinters of shells in it so the texture is rather varied.
Now wait again for it to dry.
Paint it!
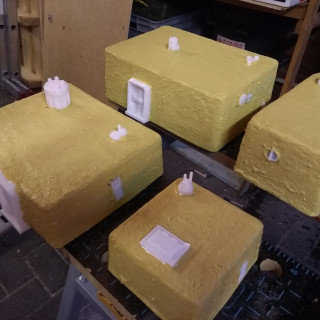
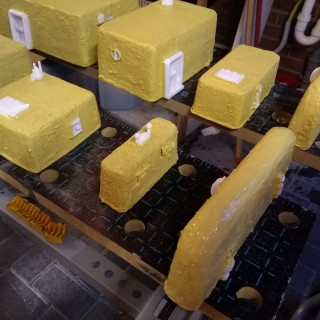
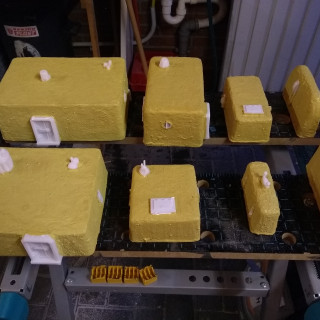
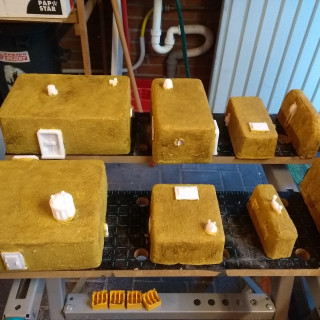
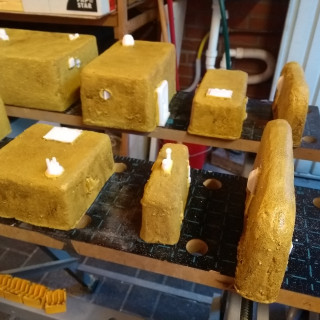
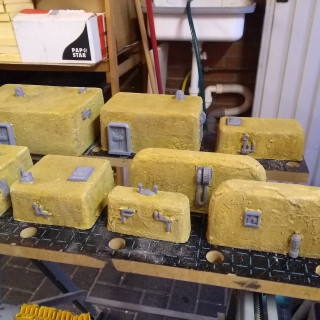
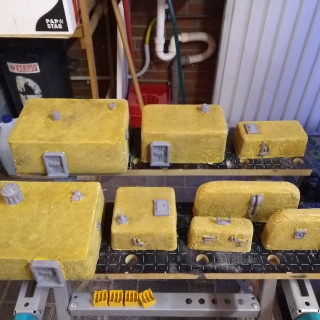
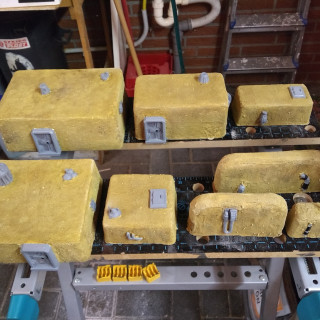
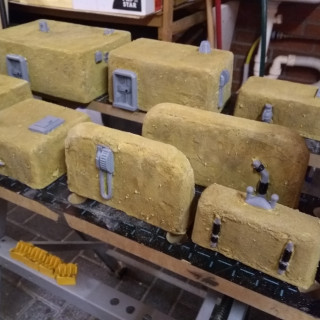
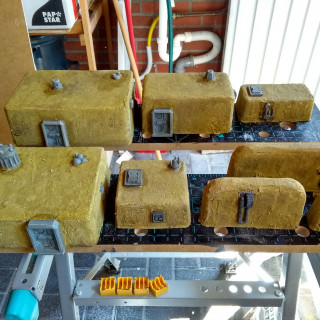
The paint should have been some beige sand colour but somehow I mixed a more mustard like colour… oh well, slap it on and let it dry… again. Which is getting really long because currently we have a rather high humidity… relatively speaking. I hope it’s dry enough tomorrow to by dry brushed.
Dirty them up
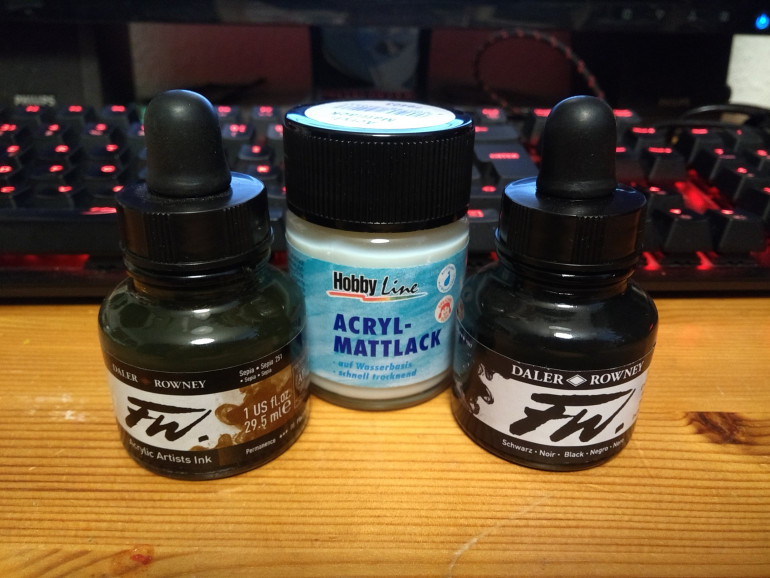
And what better to use to dirty them up then a wash…. of course I won’t use the little GW washes for this kind of terrain… I would go broke! So I’ll make some washes myself. Yes the upfront cost for the ink and matt varnish are higher but last a lot longer.
Ingredients:
- Acrylic matt varnish
- Acrylic Artists Ink (sepia)
- distilled water
- distilled water with a drop of dish soap
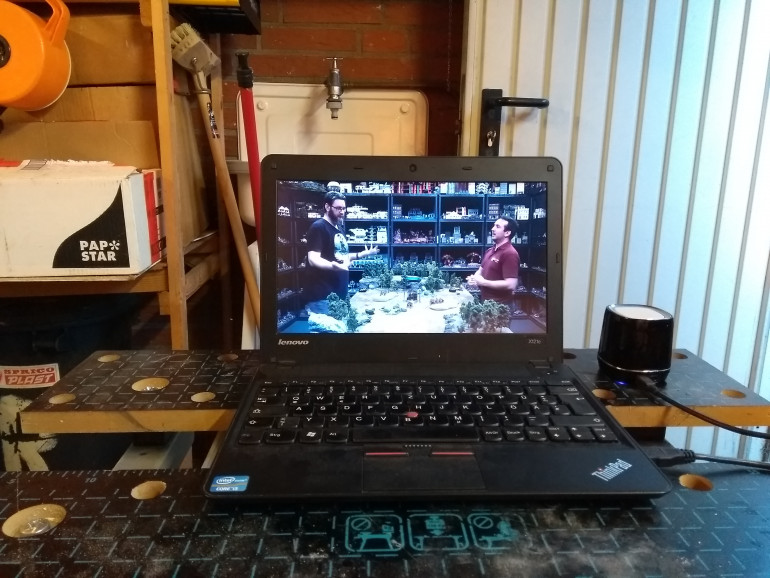
I’ve tried to keep close the video from Lukes APS but everything is eyeballing… let’s see how this works.
And here are two test pieces
Ok, seems to work…. now to slap it on everything!
…and now wait for it to dry again…
Dry and very wet
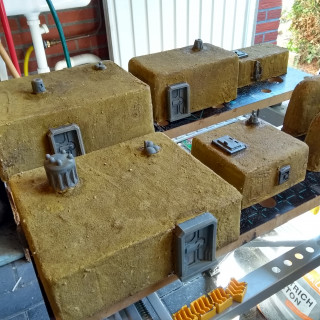
Time for some drybrushing. First a heavy drybrush with a slightly lightened up base colour and then a light drybrush with a much lighter tone.
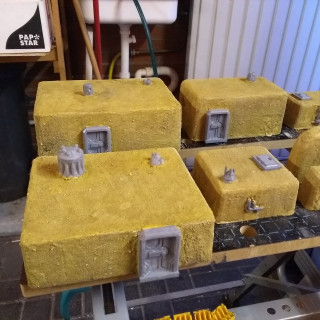
After that: colour blocking all “metal” parts with grey.
Aaaaaand it’s time to wait again…
More grey and a bit of black
So after taking a small hiatus I got back on the terrain today.
This time with “proper” miniature paints (Extra Opaque Heavy Bluegrey from Vallejo and The Army Painter: Warpaint Matt Black) and an army painter “large drybrush” for working a bit more precisely. Before that I used big painting brushes.
The lighting in the garage really isn’t good for detailed painting or taking photos but I think it’s serviceable. When they are done I’ll try to do some sexy shots.
Washes and sexy shots
Second to last step: washes on all the grey dry-brushed things.
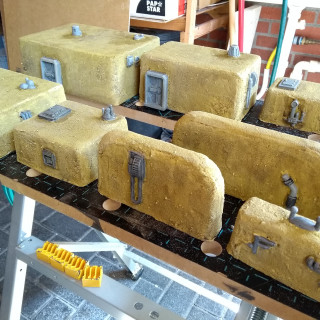
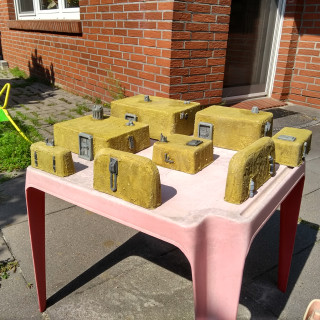
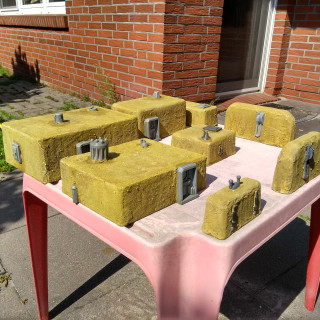
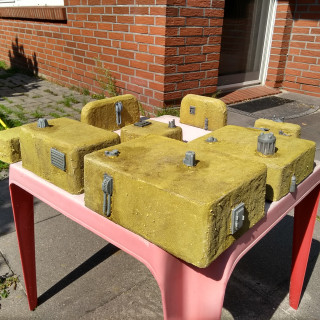
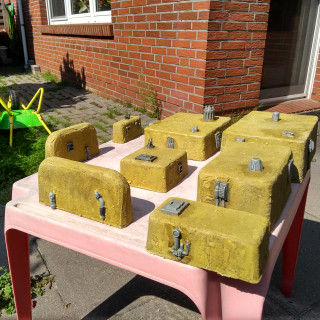
After everything has dried, here is the nearly completed build
Currently they are drying outside (did a generous coat of watered down PVA) but the next terrain is already in the que
Oh look, some more terrain!
Yeah… couldn’t just stop painting terrain could I? I did a zenith highlight with white, dotted in the black in the recesses and the started painting one tank “orange fire” Vallejo Game Color.
Finishing touches
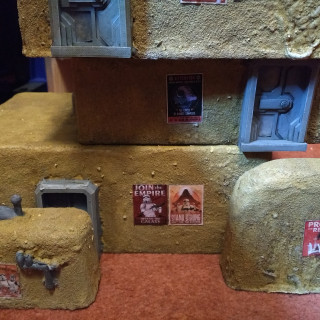
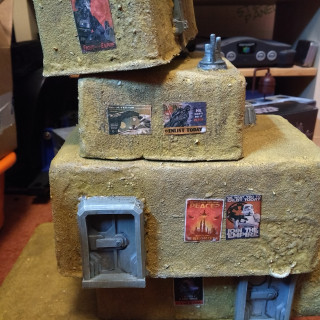
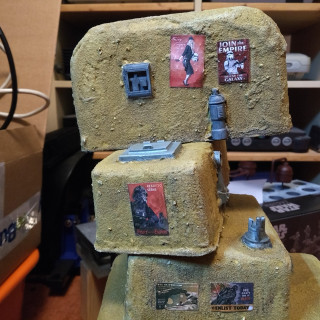
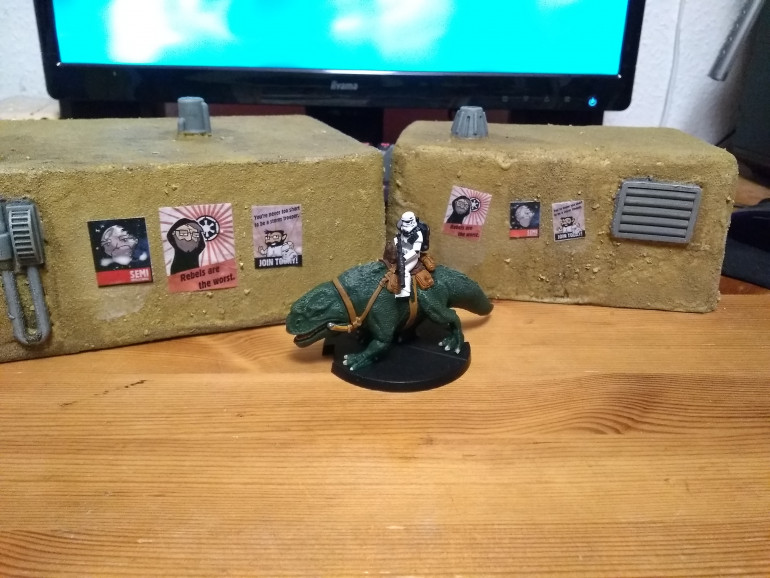
On the facepage Star Wars Legion group I found lovely imperial posters. Those make nice decoration. I’ll take some pictures on the tournament at the coming weekend.
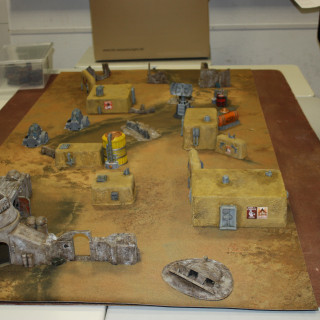
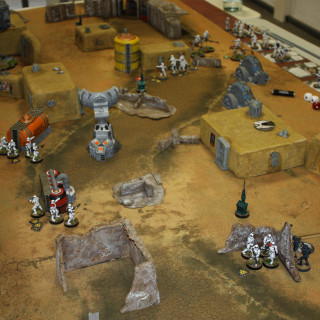
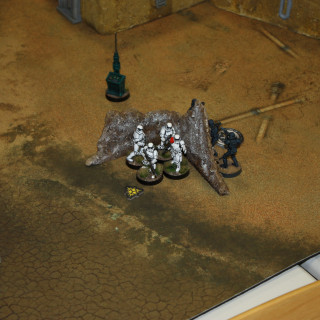
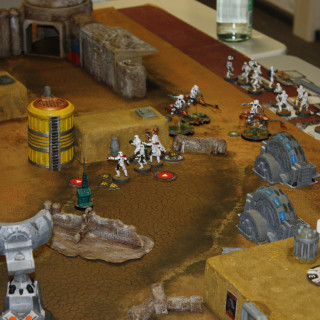
A layout in the wild.
And this is how it looks on a proper table. From the RPQ in Oldenburg 2019. Haven’t played on it myself but maybe tomorrow 😉
Addendum
So there are two things.
A) I’ve got a golden button! 8) *gleeee*
B) I’ve made some final improvements 😉


![TerrainFest 2024 Begins! Build Terrain With OnTableTop & Win A £300 Prize! [Extended!]](https://images.beastsofwar.com/2024/10/TerrainFEST-2024-Social-Media-Post-Square-225-127.jpg)


