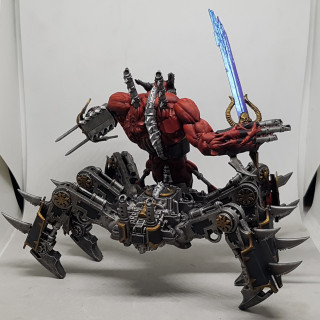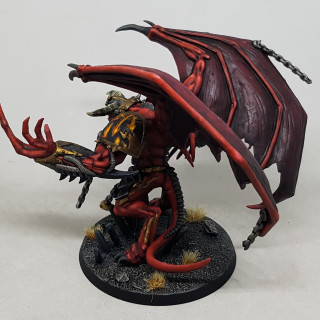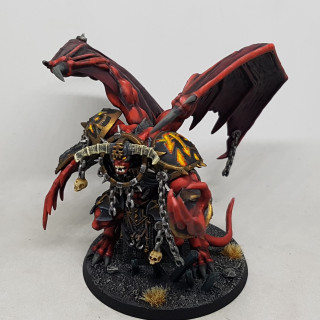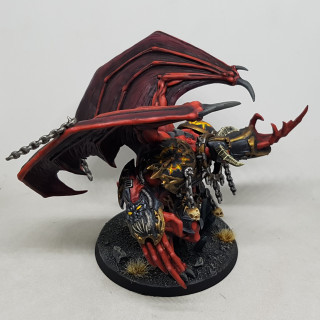
40KHW1: Daemons of Khorne by Lawnor
Recommendations: 168
About the Project
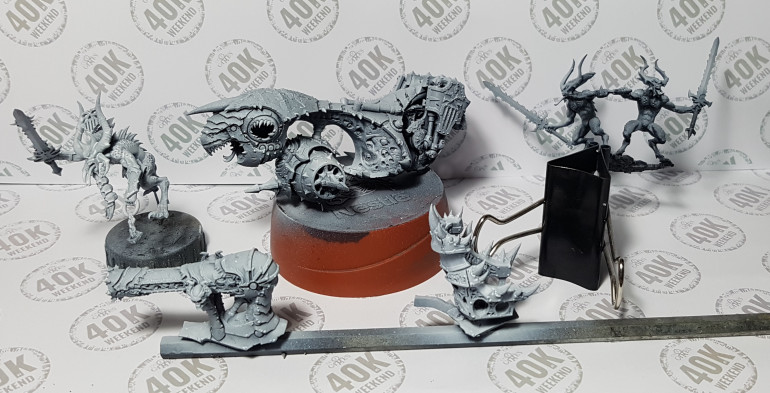
My Blog for the August 2019 Hobby Weekender. I got the Start Collecting Daemons of Khorne box, with the intention of making an AoS army.
Related Game: Warhammer 40,000
Related Company: Games Workshop
Related Genre: Science Fiction
This Project is Completed
Introduction
Index
- Introduction & Plan
- List of models
- Paint Schemes & Recipes
- Prep Work & Basing
- Works in Progress – The Build
- Works in Progress – Priming
- Works in Progress – Painting shots Part 1 – Starting Everything
- Works in Progress – Painting Shots Part 2 – Bloodletters
- Works in Progress – Painting Shots Part 3 – Bloodcrushers
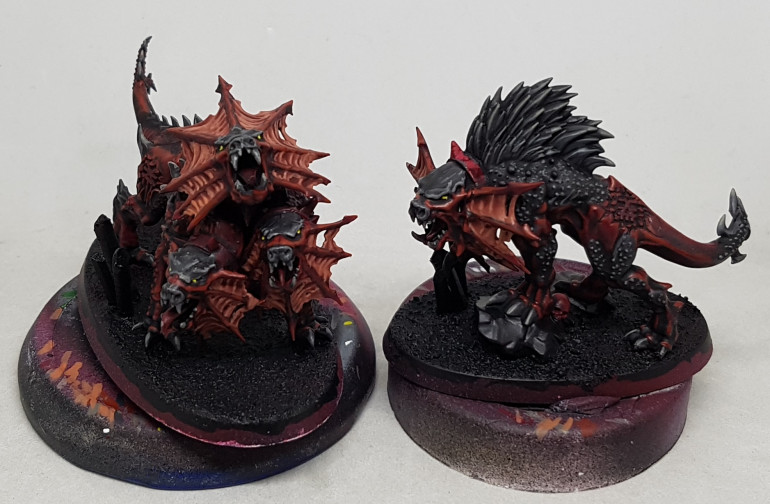
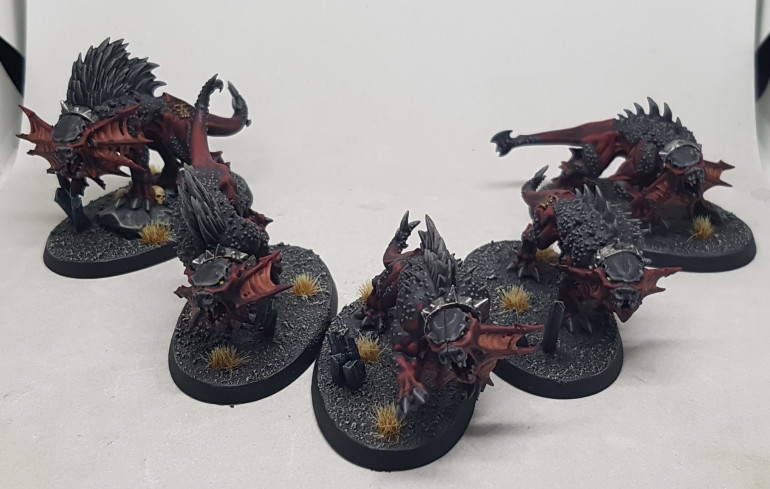
- Works in Progress – Painting Shots Part 4 – Flesh Hounds and Karanak
- Works in Progress – Painting Shots Part 5 – Skull Cannon / Blood Throne
I’ve experimented a little with 40K and found its not really my thing, but I’ve never tried AoS. I wanted to take part in this weekend so I thought I’d get an army that’d let me play AoS as well aso 40K, and I already own 3 Khorne Daemons and the Wrath and Rapture box, so Khorne it is.
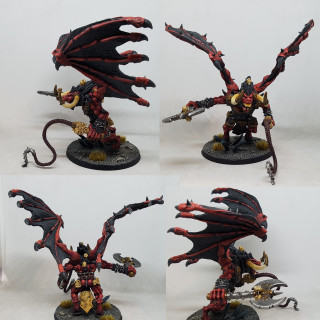
I have already finished painting up 3 big Daemons over here. It is my intention to use the same paint schemes and recipes where applicable, although maybe use fewer steps on the front line infantry as they don’t warrant the same level of attention as the bigger special pieces. Here are my existing painted models as an example of the effects I am hoping to match or improve upon:
My plan is to paint the Khorne half of Wrath and Rapture at the same time as this start collecting box. I’ll be breaking it down in to its two primary colours: the red of Daemon Flesh, and the black of my Daemon armour. I’ll be airbrushing these colours on to the models first so it makes sense to get the similar models together and do them all at the same time. The Vehicle might be saved until later as it has a multitude of colours on it and I am still thinking through how I want to approach that. I hope to have a better idea once I’ve built it. I do plan on finding a way to magnetise it to allow me to use both variants at will. The Flesh Hounds will also be a separate task.
OPINIONS WANTED:
I am currently thinking of painting the Bloodletter swords as if the blades are made of fire so as to add another colour to the scheme. Anyone any thoughts on this?
List of Models
So, once I’ve totalled up everything from the Start Collecting box, Wrath and Rapture, and the 3 models I randomly ended up owning, here is what I will have built:
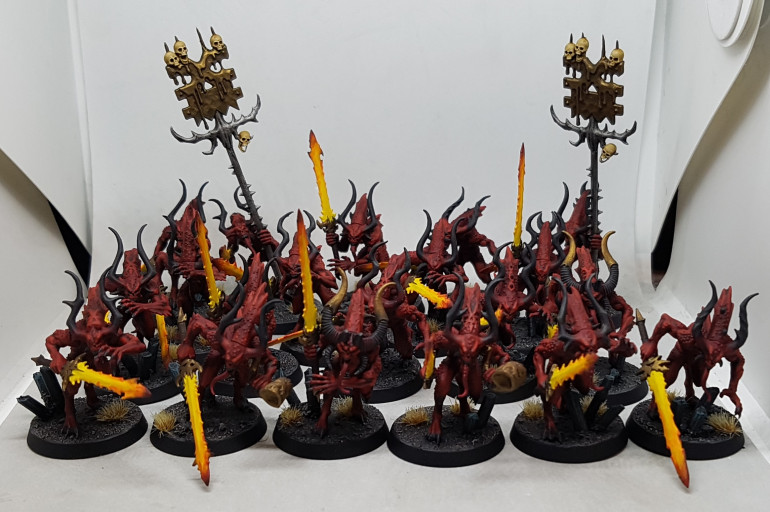
20 Bloodletters (2 instruments and 2 banners)
6 Bloodcrushers (1 instrument and 1 banner)
1 Karanak, the Hound of Khorne (To be painted at a later date)
5 Fleshhounds (To be painted at a later date)
1 Skull Cannon/Blood Throne
1 Daemon Prince with 2 Malefic Claws & wings
1 Bloodthirster of Unfettered Fury
1 Soul Grinder
Garrek’s Reavers
As I’ve said, I’ve never played AoS. I believe this is around 1500 points although I’ve not taken the time to count, and thats somehow without ever chosing to buy any Khorne before now. I know the Prince isn’t legal at the moment as double claws isn’t an option in AoS, even though it is in 40K, so lets pretend he’s just put his sword away for a moment.
How does this look as an army? What would you add to it for AoS or 40K? Bonus points if it works in both systems. What is the typical points level for AoS played in the UK at the moment anyway? Would you add in the Slaanesh half of W&R and call it Chaos Unaligned, or wouldn’t that be a good plan?
Paint Schemes and Recipes
Rather than write them down as I go I thought I’d list my recipes here up front. Then when I’m painting I’ll be more likely to update with WIP shots as I won’t feel obliged to describe in detail what I’m doing along the way. Here are my recipes, as I’ve already used:
All paint schemes assume a zenithal preshade, unless I say otherwise.
Red Daemon Flesh
Base: VGC 72.012 Scarlett Red
Wash: GW Carroburg Crimson
Highlight 1: GW Evil Sunz Scarlet
(For the Bloodletters I then drybrushed with GWWild Rider Red and then stopped)
Highlight 2: 3 parts Foundry Nipple Pink Shade with 1 part Evil Sunz Scarlet
Highlight 3: Foundry Nipple Pink Shade
Highlight 4: Foundry Nipple Pink Base
Highlight 5: Foundry Nipple Pink Highlight
Glaze: P3 Red Ink to unify the layers together
Daemon Horns
Base: VMC 70.995 German Grey
Drybrush GW Karak Stone
Wash/glaze with GW nuln Oil going over the boundary with the red
Black Armour
(No preshade needed. Black primer is best)
Base: Revell Aqua Color 36106 Tar Black
Highlight 1: 50/50 Tar Black and 36174 Gunship Grey
Highlight 2: 33/66 Tar Black and 36174 Gunship Grey
Highlight 3: Gunship Grey
Highlight 4: Gunship Grey mixed with 36176 Light Grey
Highlight 5: Light Grey
A Glaze of the base colour, or GW Nuln Oil can be used to unify and darken.
The Bloodchargers were airbrushed with the 3 cshades of black, and then edge drybrushed with Light Grey. They then got a Nuln Oil wash.
Iron
Undercoat: Black
Base: P3 Pig iron or GW Ledbelcher
Wash: Nuln Oil
Highlight: P3 Cold Steel
Bronze
Undercoat: Black
Base: Darkstar Blackened Bronze
Highlight: DarkStar Bronze
Wash: 50/50 water with Secret Weapon Sewer Water
Highlight 2: DarkStar Bronze
Black Cloth
Base: Vallejo Model Colour German Grey
Highlight: P3 Menoth White Highlight (Ivory)
Wash: Nuln Oil
Bone
Base: P3 Jack Bone
Wash: GW Seraphim Sepia
Drybrush: P3 Menoth White Base
Drybrush 2: P3 Menoth White Highlight
Flesh Hound Flesh
Base (red bits) : GW Khorne Red
Base (Hair, nails and dark bits): P3 Greatcoat Grey
2 washes of GW Nuln Oil
First red Highlight: Thinned GW Khrone Red
Second Red Highlight VMC 70.982 Cavalry Brown
Highlight All Greyrey: Thinned P3 Bastion Grey
Teeth and Claws Highlight: Thinned GW Karak Stone
Neck Fan Base; 1:2 P3 Idrian Flesh & P3 Khardic Flesh
Neck Fan Shade: GE Carroburg Crimson
Neck Fan Highlight: P3 Khardic Flesh
(I’m following this video from Duncan for now)
Horns, Hair and Nails
Base: VMC 70.955 German Grey, leaving some red showing at the base of the horns
Drybrush: GW Karak Stone
Wash: GW Nuln Oil, going over the exposed red for the horns
Wash: GW Nuln Oil
Leather Hilts & Straps
Base: VMC 302 Dark Rust
Wash: GW Nuln Oil
Sometimes followed by a drybrush of P3 Bloodstone (See Behemoth)
Fire
Undercoat: White
Base: Mr Paint’s Deep Yellow
Highlight 1: 50/50 mix Deep yellow with Mr Paint’s Fire Orange
Highlight 2: Fire Orange
Highlight 3: Mix of Fire orange and Mr Paint Deep Red
Highlight 4: Deep Red.
Finally, very little Kromlech Soot pigment was brushed dry on to the tips of the reddest areas just before airbrush varnishing
Blighted Vehicle Flesh
Base: Mix of P3 Ryn Flesh, P3 Carnal Pink, and P3 Trollblood Highlight
Wash 1: Mix of P3 Ryn Flesh, P3 Carnal Pink, P3 Trollblood Highlight, and P3 Traitor Green
Wash 2: Mix of P3 Ryn Flesh, P3 Carnal Pink, P3 Trollblood Highlight, P3 Traitor Green, and P3 Beaten Purple
Wash 3: Beaten Purple, Traitor Green, and P3 Midlund Flesh.
Highlight: Mix Ryn Flesh, Carnal Pink, and P3 MenothWhite Highlight
Bruised Flesh from the Throne
Base: Mix of of P3 Ryn Flesh andP3 Cryx Bane Highlight.
Wash 1:Mix of P3 Sanguine Highlight and P3Traitor Green.
Wash 2: Mix of P3 Sanguine Highlight, P3Traitor Green, and P3 Thornwood green just to deeper shadow areas
Highlight 1: Blend translucent highlights onto the flesh with a mixture of Ryn Flesh, P3 Trollblood Highlight, and P3 Menoth White Highlight.
Highlight 2: Add more Menoth White Highlight to the previous mix
Intestine Flesh
Base: GW Pallid Wych Flesh
Wash: GW Carroburg Crimson
Teeth/Spike/Horns of Vehicle
Base: Mr Paint Brown-Grey
High: Lines of Mr paint Brown Grey mixed with Mr paint Dust Grey
High 2: Lines of Dust Grey from tip to half way down the spike
High 3: Dust Grey mixed with Bone White half the length of previous
High 4: Bone White half the previous length
Shade: Glaze with Brown Grey with a tiny amount of black. Apply lightly over base of spikes
Pink Tentacles
Base: VMC 72.013 Squid Pink
Wash: ComArt 1.035 Op. Bright Rose, with a touch of Squid Pink, applied twice
High: Squid Pink with P3 Ryn Flesh
High 2: High 1 with more Ryn Flesh. Based off the steps found here
Nurgle Infected Flesh
Undercoat white
Wash: Mission Models MMP-034 Nato Green
More colours to come as I remember they will be needed.
Prep Work & Basing
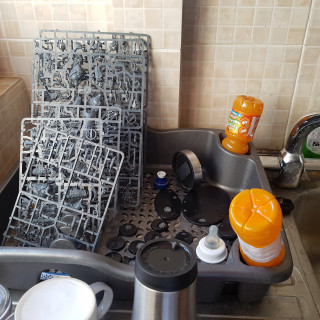
Everything gets a wash with warm soapy water and a scrub with an old toothbrush, and left as long as it needs to air dry. Then I build individual models, clipping off the sprue and cleaning up mould lines as I go. Pins are put in to the feet etc of everything I can. This is much easier with a small electric drill than with a pin vice. The riders are kept separate from their mounts or vehicles, but connection pints are determined and pin holes will be drilled where appropriate, although I am considering the possibility of magnets.
Basing
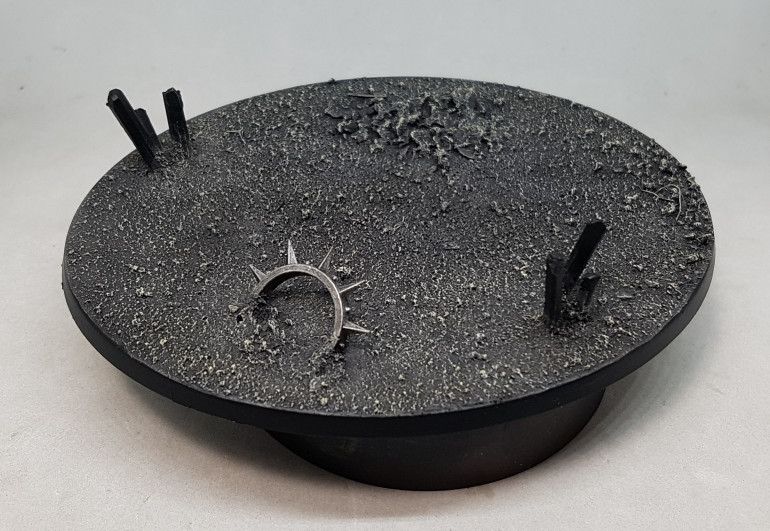
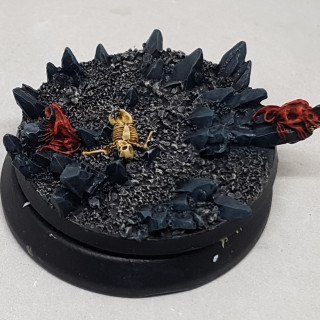
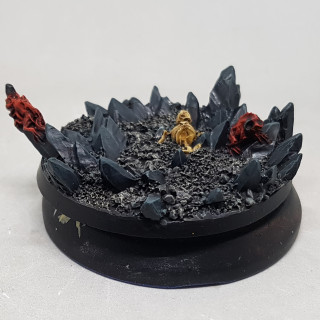
This is something I learned from AssetDrop for making crystal growths I’ll be painting these up to look like obsidian, as detailed below.
Firstly, remember to put pins in the feet of the model. Then you need to mark matching holes on the base. Drill the first roughly where you want it and then put the model in that hole. Rotate it around that pin scratching a path on the base with the other pin. You can now drill the other hole in that guideline. Double check after to ensure they do match up.
The first step was to save some sprue and cut out some straight sections, removing any writing or jutty outy bits. Then you take your hobby knife and shave off the corners so you have an irregular 8 sided shape. Then you bring one end to an irregular angular tip. I then cut a flat bottom on to it at the angle I want.
As you will see below, this gets very messy very fast. Plan for this, and for gods sake, don’t blow on anything like I did!
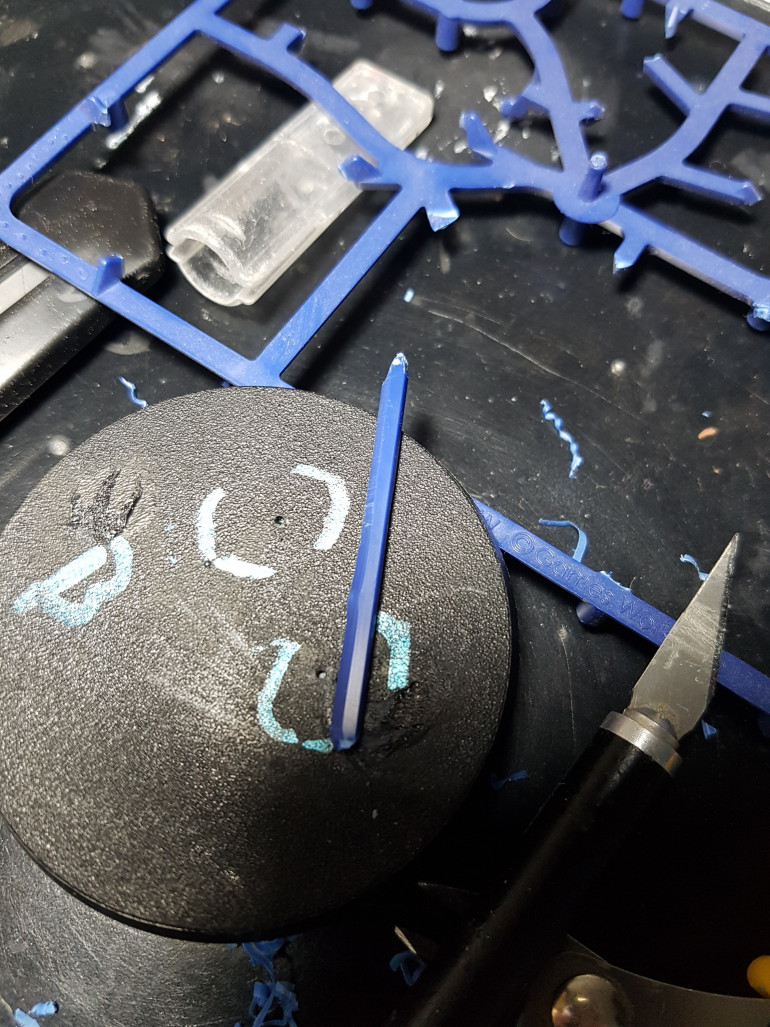 My first crystal and the base. You can see I've marked out where the feet will go so I do not put anything in the way.
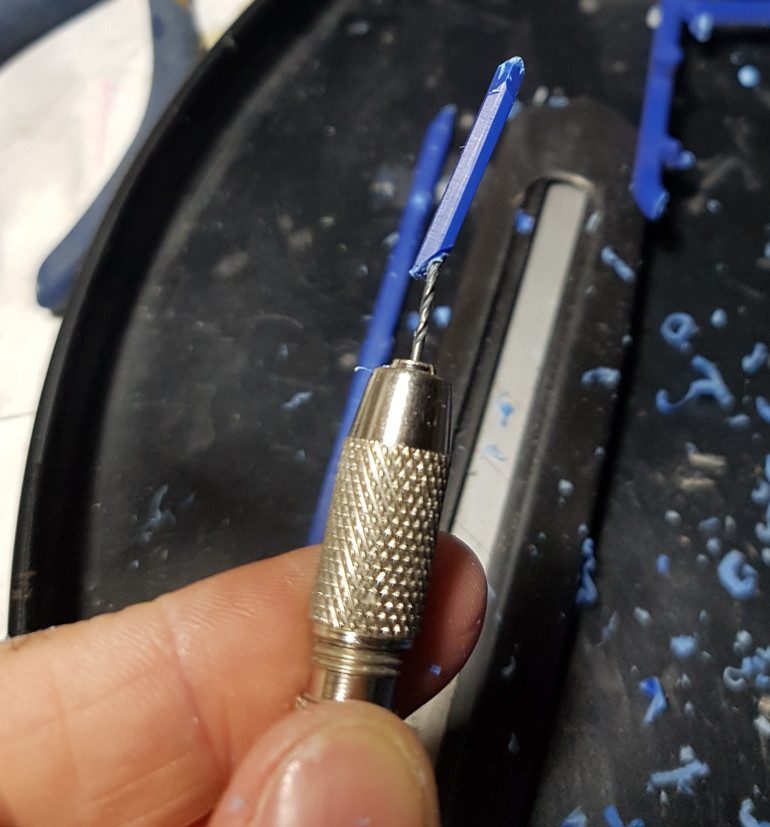 Then I drill a pin hole in the bottom of each. I drilled a guide hole perpendicular to the surface, but once I'm about 1mm in I angle the drill to go alone the middle of the crystal as best as I can.
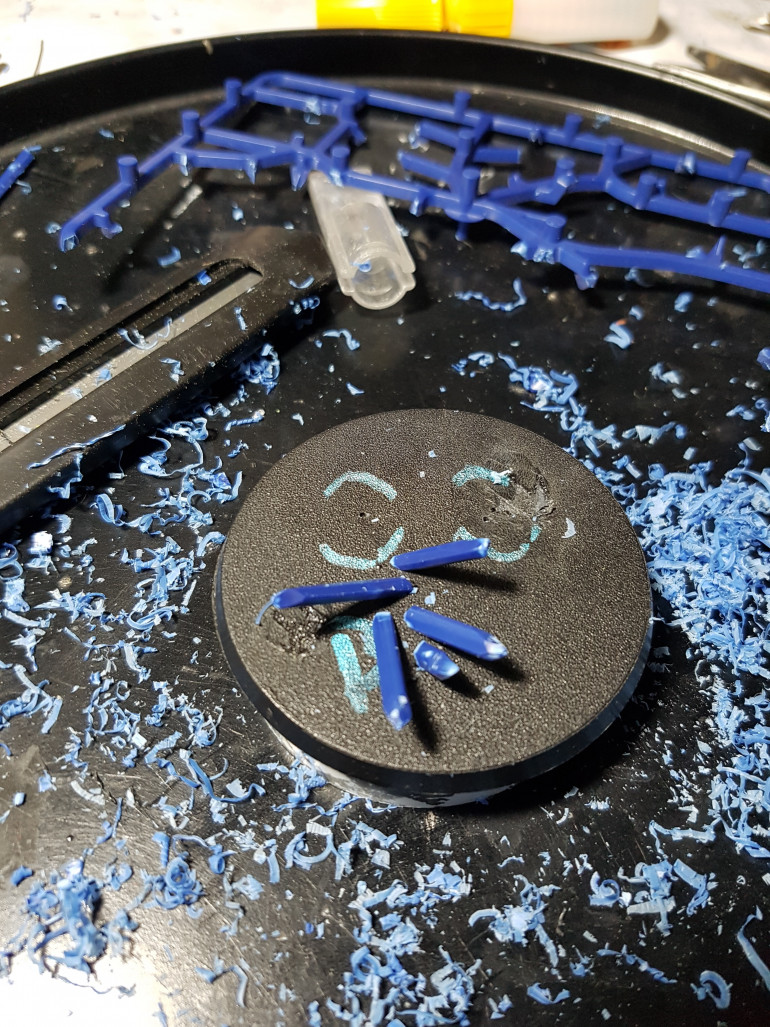 Drill holes in the base using the same method as before. Do this one at a time, dry-fitting crystals until you are happy with the arrangement
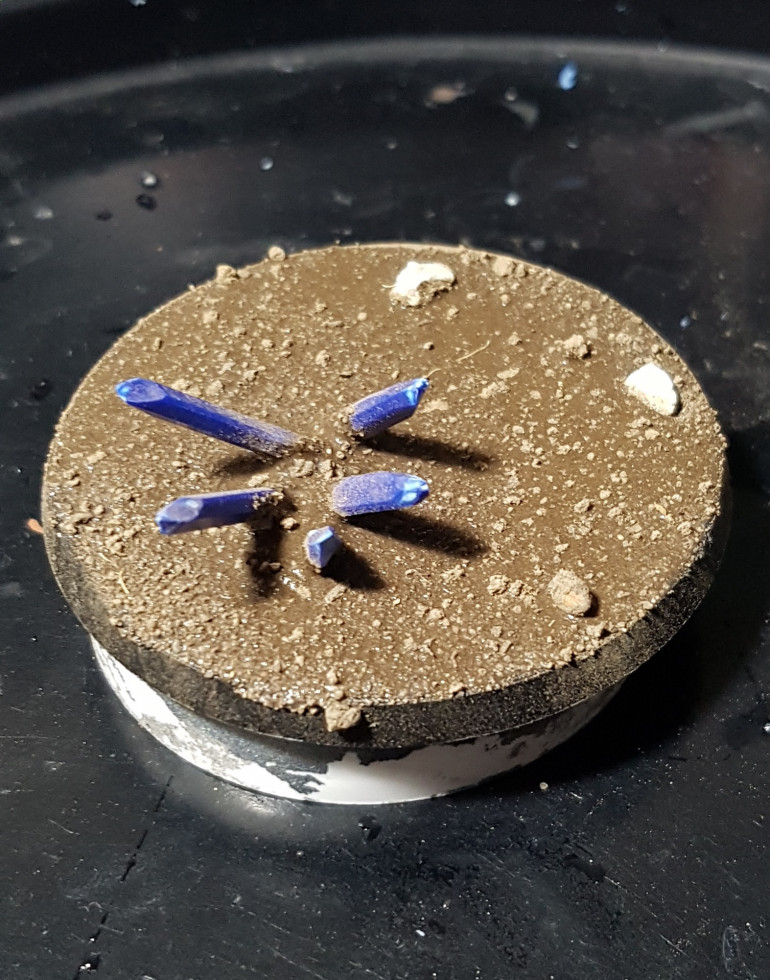 Some kitty litter was superglued down, and then some watery PVA was spread over the base and over the bottoms of the crystals. Fine garden dirt was then crumbled over everything. Once the glue is dry (8-24 hours) I'll go over it with even more watery PVA
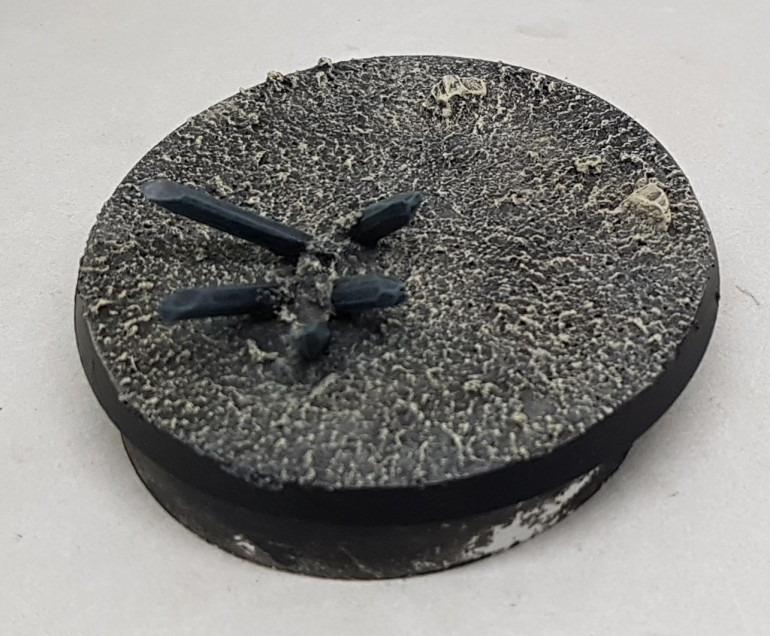 Here is what it looks like fully painted. Remember to re-drill those pin holes before painting so you can cover over any damage that happens
The base was primed black and then painted with P3 Great Coat Grey. This will be based on the guide from the book, “Warhammer: Age of Sigmar: Painting Guide” p120.
Then I mixed up some GW Nuln Oil with water and applied this in patches over the base, focusing on areas that would have more shadow. Once dry, more was then applied evenly all over the base, with the hope that the hard edges around the first wash would be less clearly defined but some areas would still be darker than others.
It was given a drybrush of GW Karak Stone and then GW Screaming Skull. The edges were then reclaimed with black.
The shards were base coated black, and then the upper half of each surface was painted with a thinned mix of P3 Coal Black and P3 Thamar Black
Add some P3 Menoth White Base to the previous colours. Using a drybrush you have removed every bit of paint from that you can, drybrush the shards in the directiin light would hit them. Clip the hard edges on the upper parts of the undersides too.
Drybrush with a mix of Coal Black and Menoth White Base, on just the top sides on the shards.
Coal Black was mixed with P3 Menthoh White Highlight and drybrushed to just the tips and the 1/3rd-ish of each shard leading up to the tip. Army Painter Highland Tufts or Serious Play Scenics Burnt Grass tufts were later added to the base.
Works in Progress - The Build
The only build of interest here is the Skull Cannon / Blood Throne, which I have chosen to magnetise to get the best use out of it. The bulk of the build is common between both designs. The bulk of the difference in down to what lump you put on top. The both share a platform with 2 guys stood on, which goes on the front with the Blood Throne and on the back with the Skull Cannon. I’m not motivated enough to magnetise their limbs in to the two different positions so I’ve found a way to mount them on the back for both designs and allow them to swap in and out.
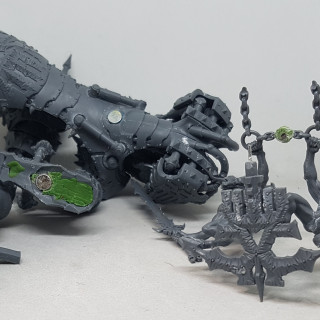
The undersides of the Throne and Cannon were hollow, so they were stuffed with green stuff, and once dry, holes were drilled and magnets were added to the body and the attachments.
The platform will attach to the Cannon as per normal, but I have added a pin so it stays put without the aid of glue. I have also placed a magnet in the underside of the chain the Daemons are holding and another magnet in the top of the cannon so they stay in position. The trick is modifying the Throne.
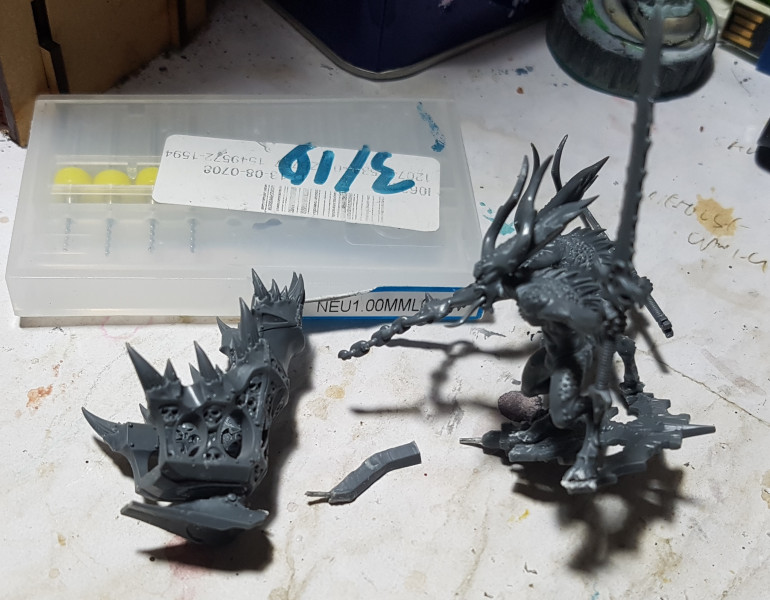 I took a piece of sprue around the right shape and cut it down to size with repeated dry fitting. I then drilled a pin hole at each end and in the back of the throne and glued in a pin.
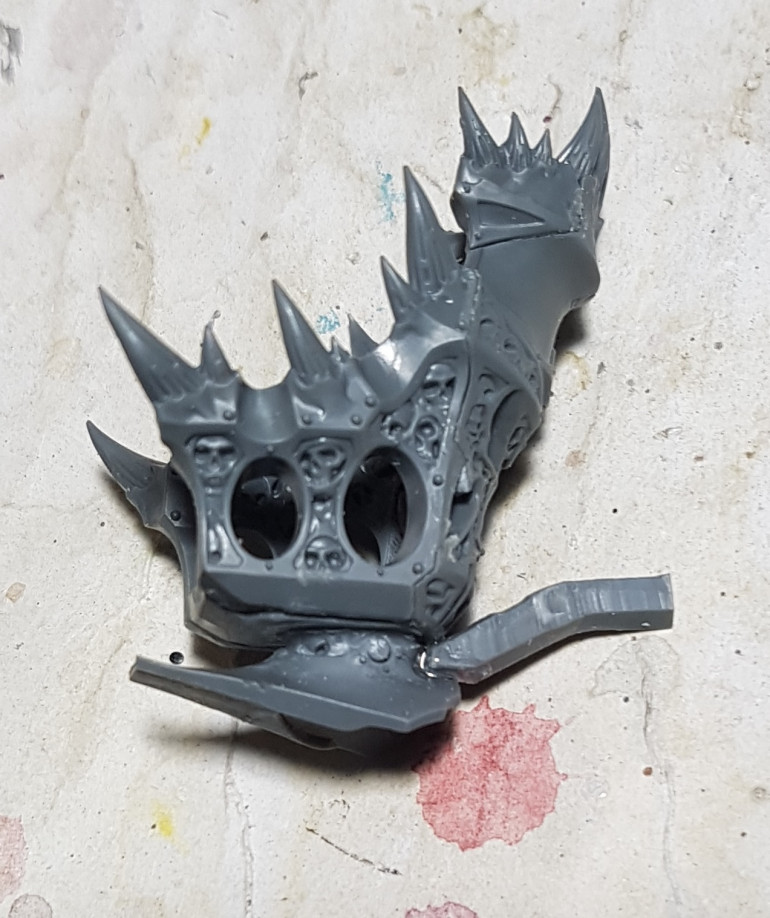 The sprue was then glued on to the back of the throne as central as I could get. Later on, some green stuff was added around the anchor point for strength. Once the platform is slotted in to the pin hole the chains now rest on the throne providing stability and looking more or less like they connect
For anyone building one of these for the first time, I would strongly advise adding the vehicles tongue during the first couple of stages. At the last, try a dry fit. Adding it when the instructions tell you is really awkward and my hole needed enlarging to stick it all the way in there properly (Insert sounds of Warren laughing here).
I’ve also now built and based the rest. All in all I spent 2x 3 hour evenings and a 12 hour Saturday getting everything this far. That’s around 18 hours work so far. Right now the second coat of watery PVA has been applied over the basing material (Dirt from my garden) to seal it, and is being left alone for a few days to dry thoroughly. Before the weekend the Bloodletters will be glued on with superglue, and everything will be rubbed down with the toothbrush to get off any lose dirt from the models. Then I can prime ready to start the real work during the Hobby Weekend
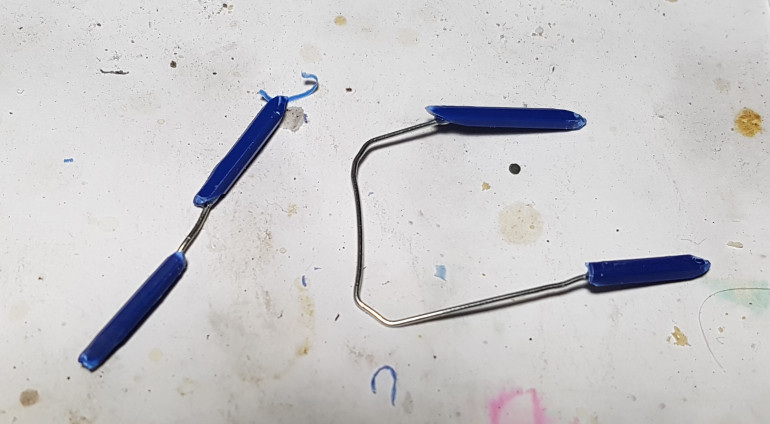
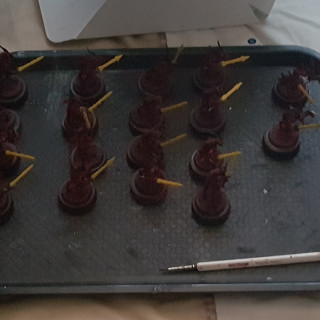
The riders for the Bloodcrushers and the Throne are supported on paperclips sticking out of milk bottle tops. There is blue tack in the bottle tops to provide weight and stability. The pins are attached to the riders in their inside legs just above their knees where I do not expect to see once painted and I hope I can use as a pin hole to attach to their mounts. My hope is that I don’t have to glue them down and can add and remove for ease of storage, but we will see. I’ll also be painting the body of the Throne separate from its base as I don’t yet know how I’m going to paint it or what kind of access I’ll want to its undersides.
There’s more than 19 hours of work in to this, and two 8-12 hour drying periods so far, with a minimum 48 hour drying period needed now and I haven’t looked at paint or primer yet. This is why I wanted to start prepping before the actual Hobby Weekend. Maybe I’m slow. Maybe I’m anal about my prep routine. If I’m going to do this I want to do it right.
Works in Progress - Priming
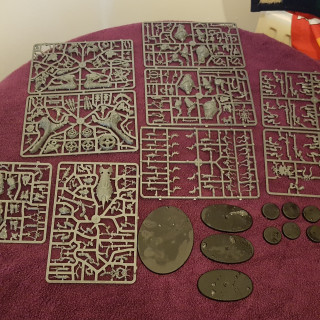
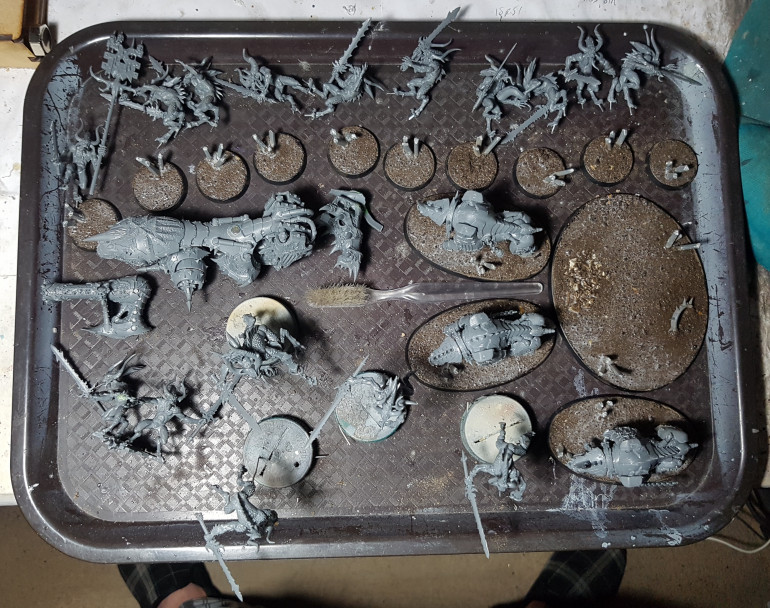
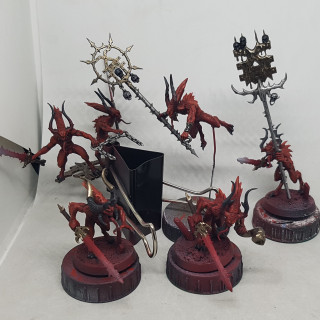
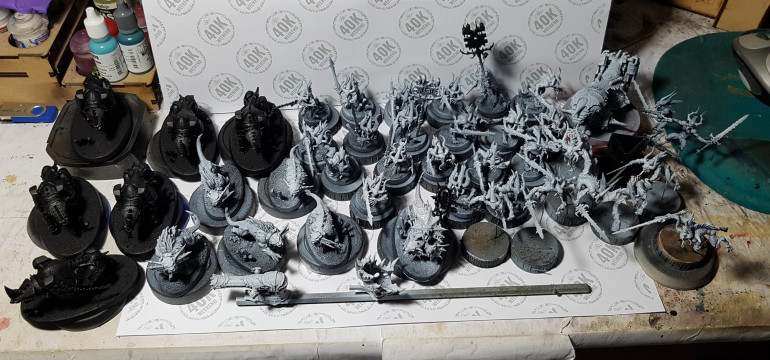 And here we have everything Khorne I plan on painting together. It's the Start Collecting box and all the Khorne from the "Realm of Chaos: Wrath and Rapture" box
It’s taken about 10 days to get the Start Collecting box to this stage, but most of that was waiting for things to dry (And going to work). The W&R stuff was built and primed ready when this weekend was first mentioned. I am a little keen.
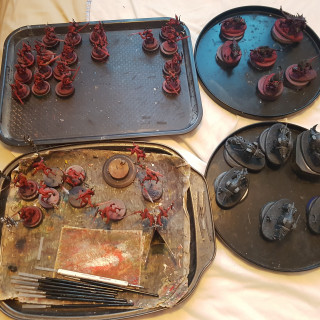
My plan for the Friday of the hobby weekend is to start by airbrushing all the red on everone and then leaving that to set for an hour or two. While it is drying I will airbrush the black on all the mounts. Then I go back and wash the daemons and then carry on with the mounts for a while. Everything then depends on how long the red wash takes to dry.
I will leave the cannon/throne itself until after all the Bloodletters and Bloodchargers are painted, and I won’t touch the Flesh Hounds until last. I doubt I’ll get anything finished over the weekend but if I can get all the black metal, and all the red flesh finished, I’ll call that a win.
Works in Progress – Painting Shots - Starting Everything
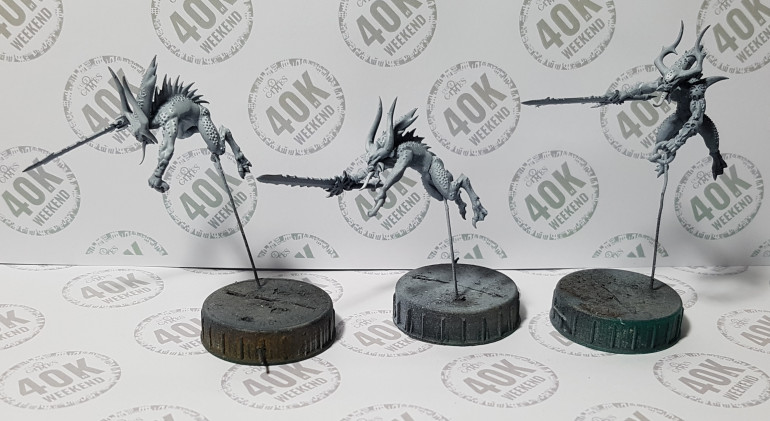
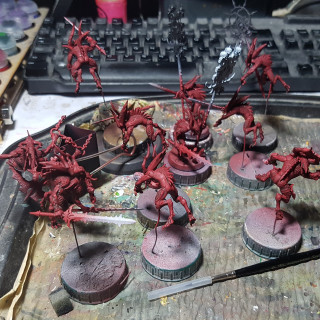
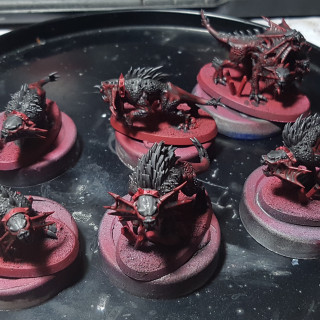
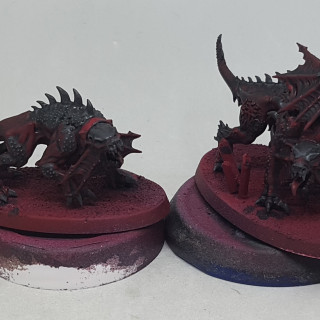
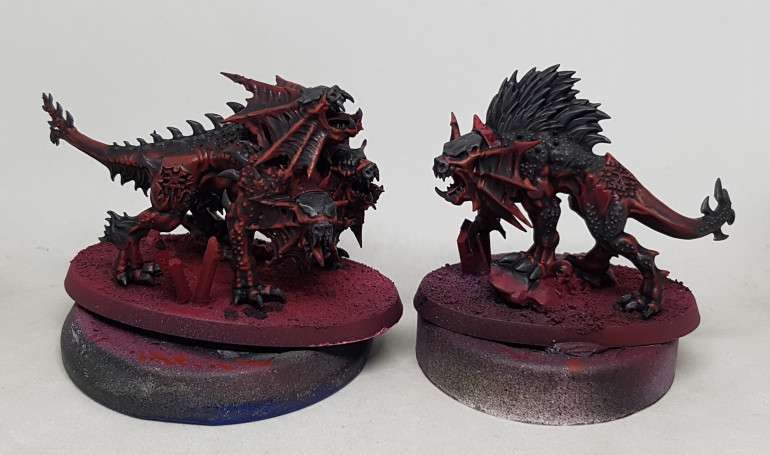
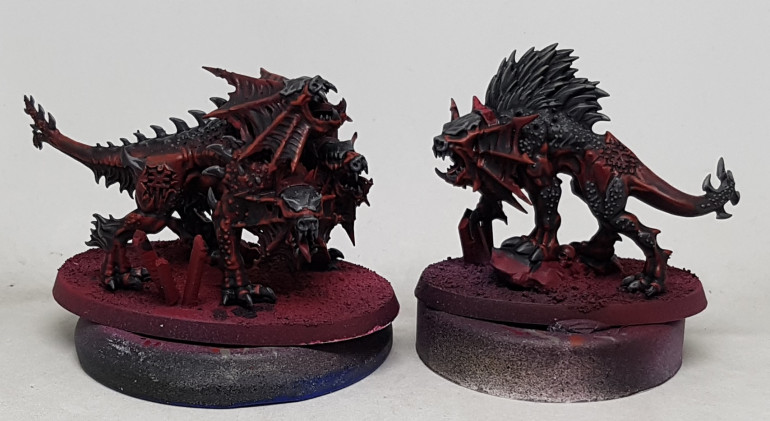
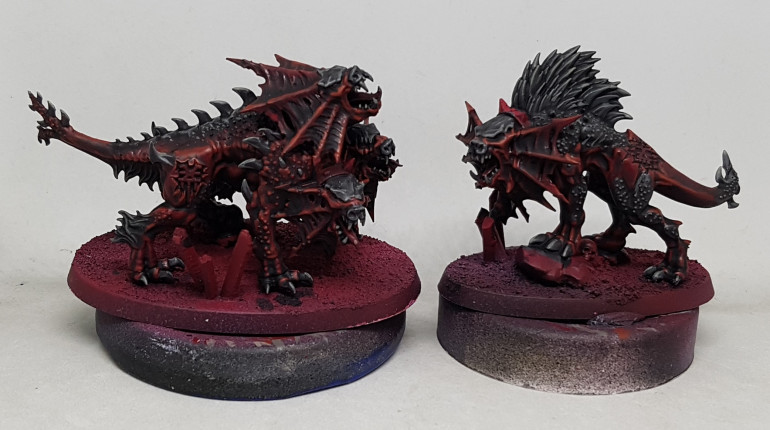
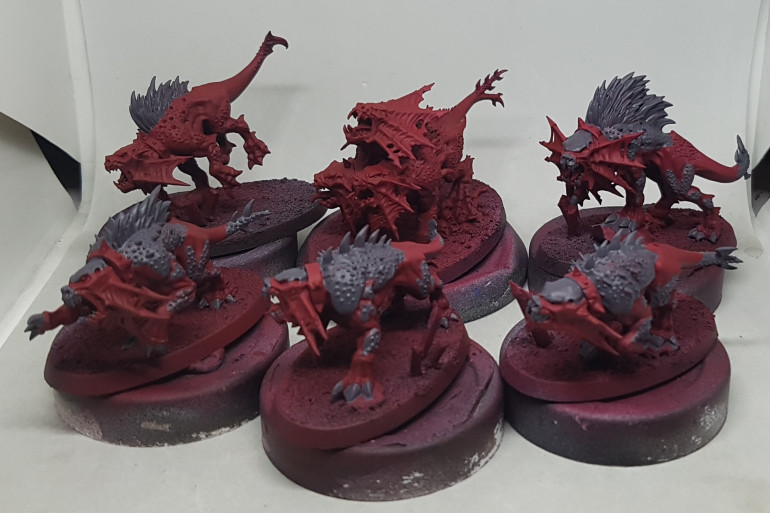 Flesh Hounds, painted this far on Thursday evening. I'm not cheating by starting early as they weren't part of the Start Collecting box
———————————————————-
Its friday evening now. I started work early and finished early as a result so I’ve
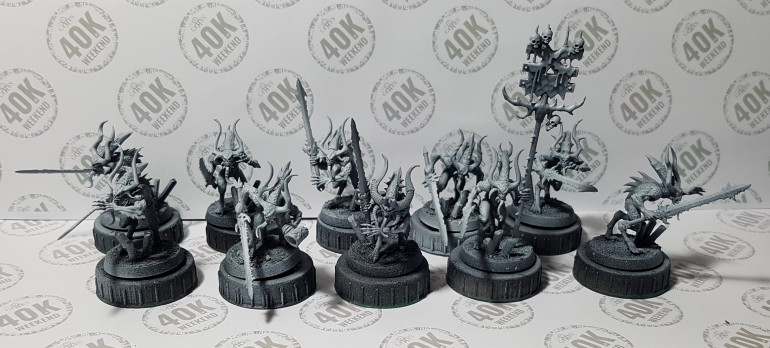
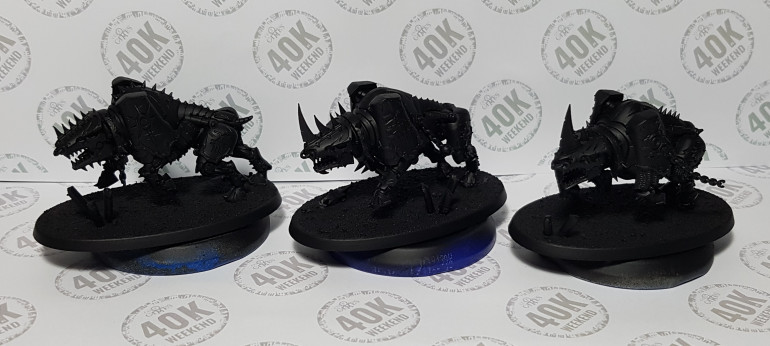
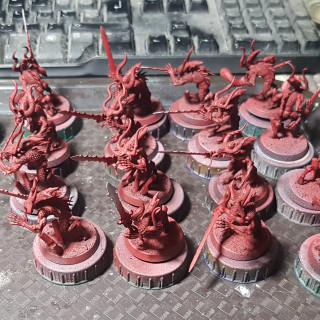
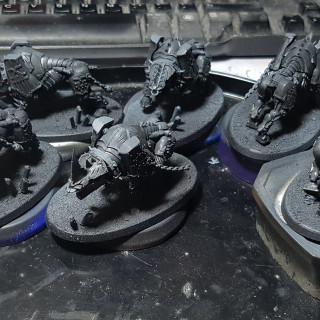
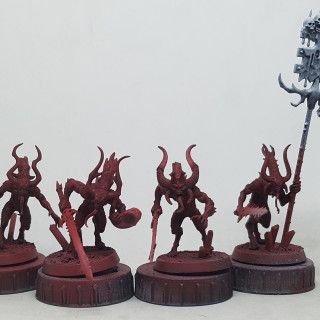
gotten a litle painting done. Here’s my progresss. Flesh Houinds are based and have their first wash on. The Bloodcrushers have 3 shades of black on the, and the Bloodletters have their base colour on. I will carry on work after I have a pizza.
Its friday night and I’m packing up for the evening I think. The black of the Bloodcrushers is now finished. The red flesh is base coated and washed. The hounds hav ebeen based and washed. Tomorrow I start work on the horns and hopefully get the red flesh finished. I’m thinking I’ll just do the one red highlight. Maybe I’ll add an extra for the faces if I feel like it.
Its currently Saturday, 19:40. My goal for the weekend was to finish the black on the 6 Juggernauts and the red flesh on all 29 daemons. I’ve done all that, and the black of the horns and started work on the black armour on the 7 guys that have some, and done a lot of the work on the 6 Flesh Hounds. The red flesh was the single largest job so I think I’ve broken the back of this project now, and I still have over a day left to go. I’ll never get it all done, but what’s left shouldn’t be that demanding.
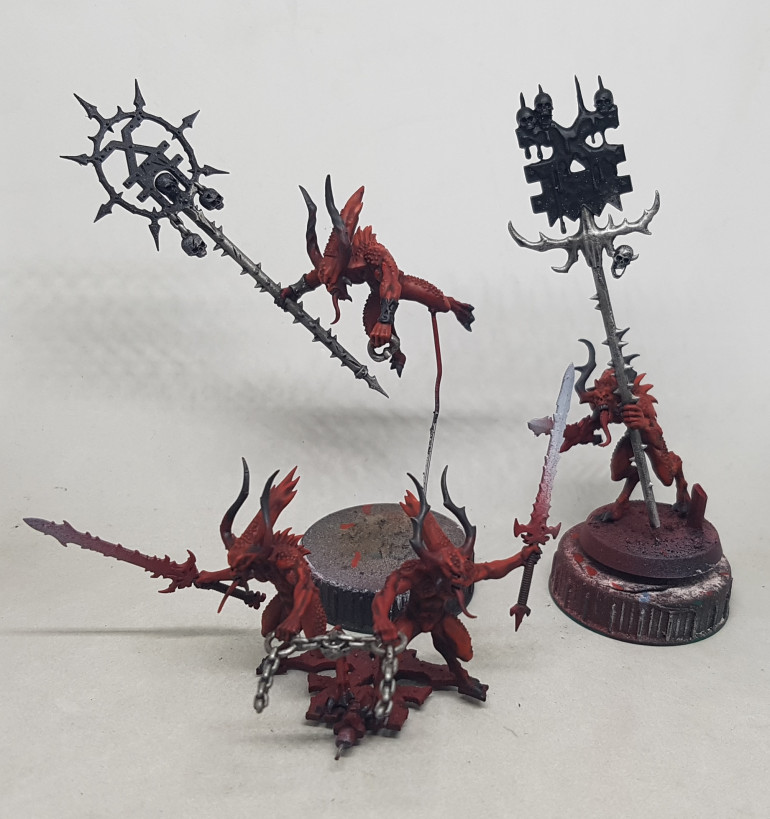 It's sunday now and I started work before 8AM and it's 10.30AM now. I have the iron done for the Bloodletters, and I've started work basing the Bronze. I'm focusing on the red guys only for now.
Sunday, 12:30pm, and the first coat of the bronze is down
—————————————————————————
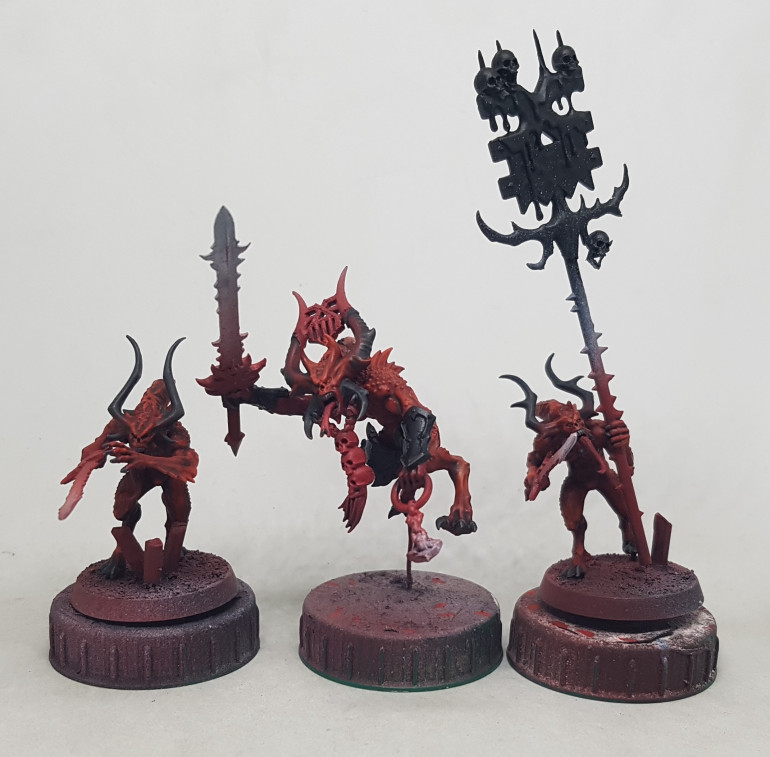
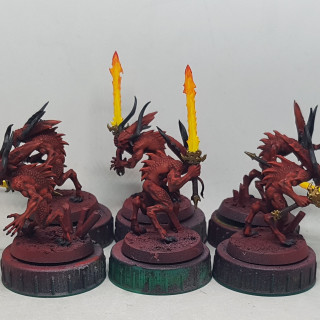
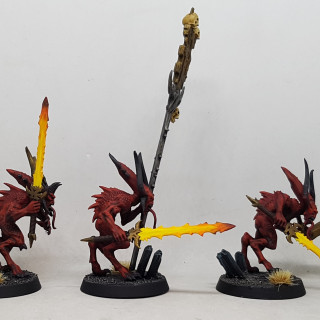
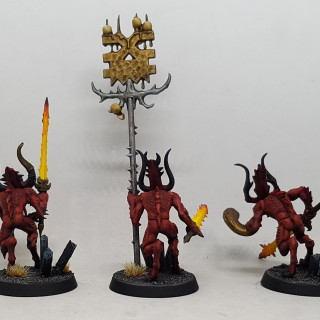
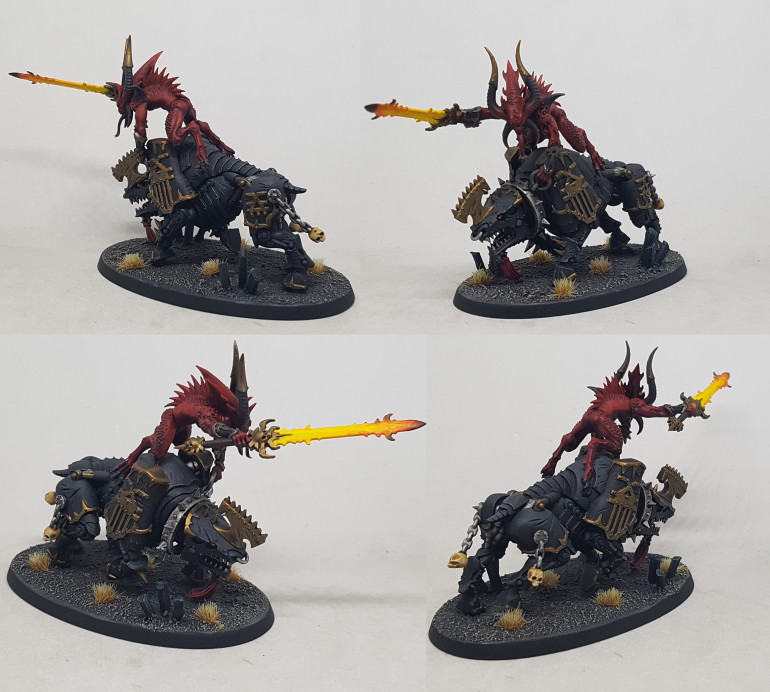
I put my stuff away around 10:30-11pm on Sunday. I pushed through and finished the bronze and the fiery blades, and the hair on the one guy who has some. This just leaves skulls on 3 models, and the leather straps on one. So basically I pretty much painted 29 models in 2.5 days without contrast paints, except for the bases. I think that’s a new personal best.
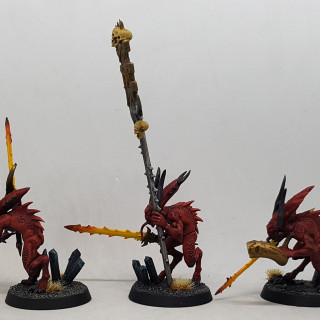
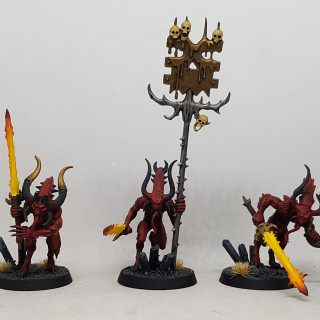
I really like the effect of the swords. When I turn the lights out all I can see is dark silhouettes and glowing blades, like a group of Jedi’s in the dark. Up real close the fire effect is not the best, but I guess the quality suffered due to bulk painting and me rushing. At 1 foot away in bulk they look great I think.
Works in Progress – Painting Shots Part 2 – Bloodletters
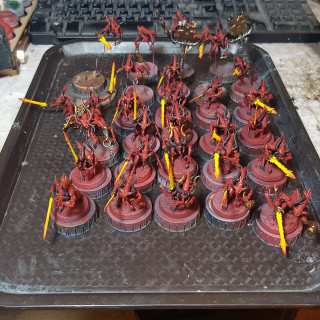
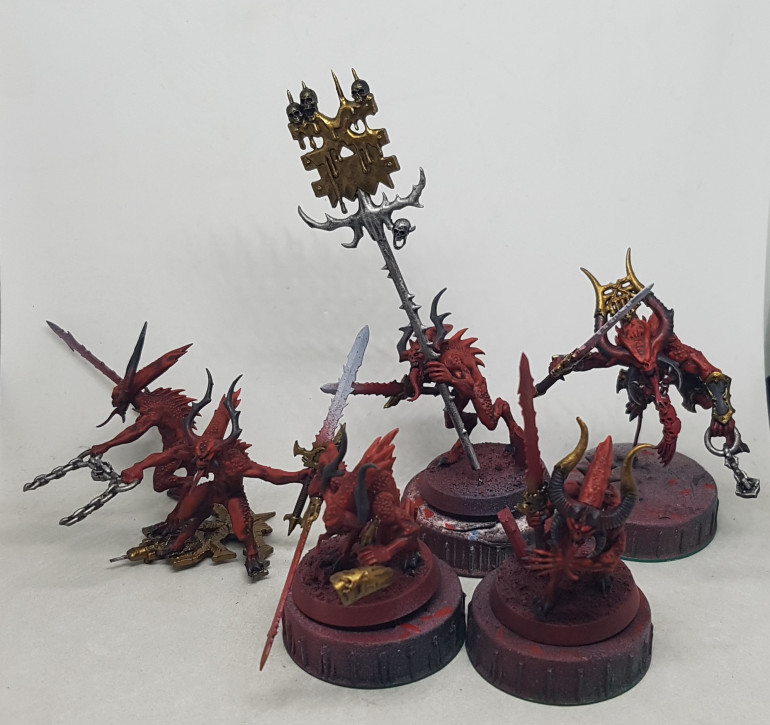 Thats the brass done for 29 red daemons. If I can get the blades done this weekend, then I think I can call the Bloodletters all done bar the bases.
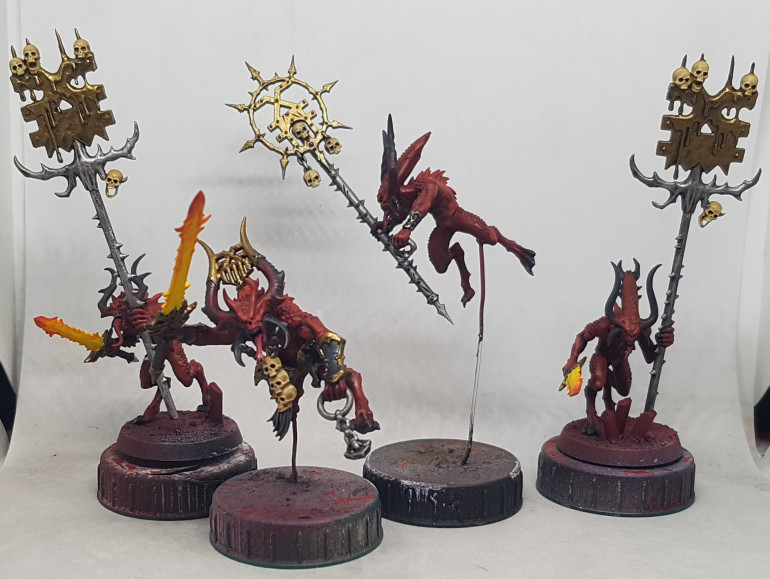 Monday 12/8/19 20:15 and the skulls and the last of the leather are done. That's everything for the red guys except the bases finished.
Works in Progress - Painting Shots Part 3 - Bloodcrushers
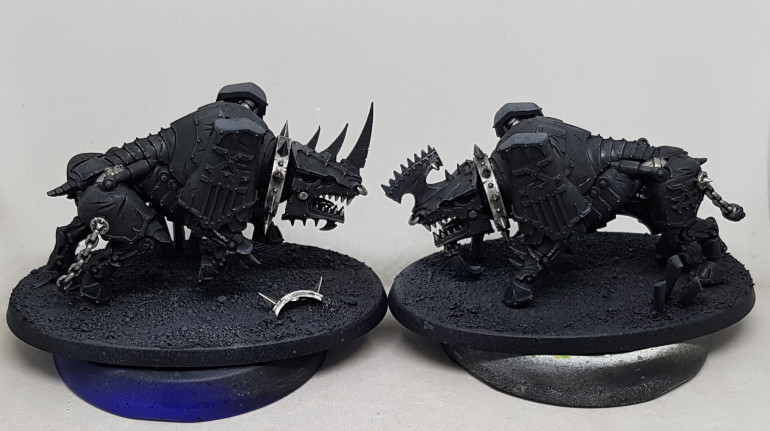 Sunday 15/08/19: The black was done last weekend, but now the Iron is finished for all 6 Juggernaughts. Next up, the bronze.
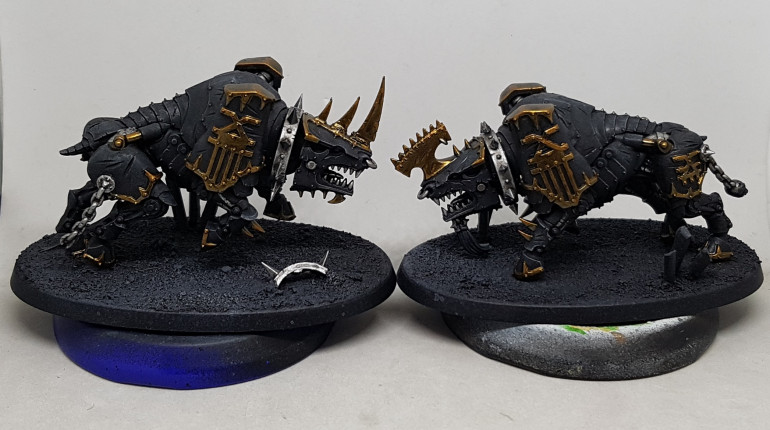 Monday 16/08/19: The Bronze is now finished for all 6. This just leaves the skulls, eyes, one tuft of hair/cloth, and the bases I think.
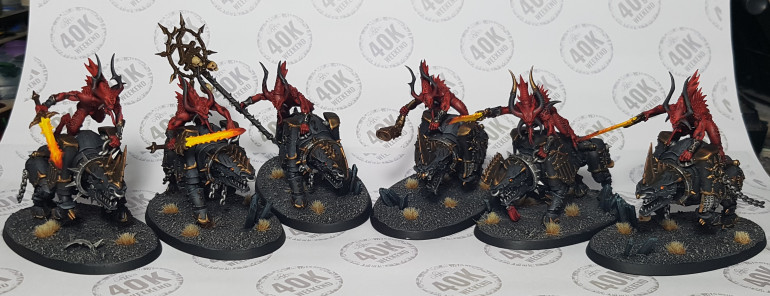
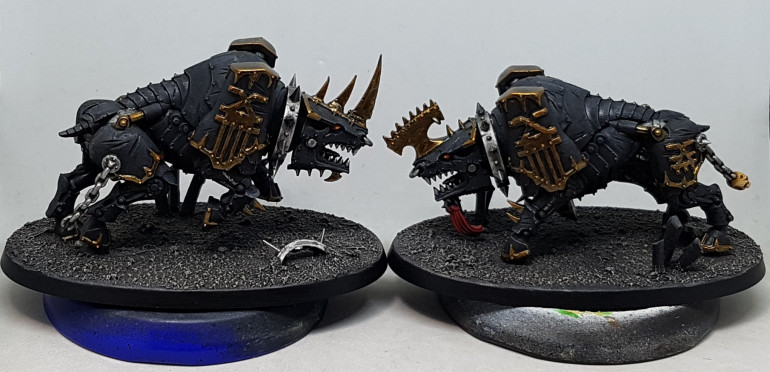 Friday 23/08/19, 2 weeks after the start: I've finished the Juggernauts and painted all the bases, except for the crystals. Its a 3 day weekend so I expect to finish the Flesh Hounds too. I'll do all the crystals together. The eyes were painted the same as the swords, but in reverse order and without the soot.
Works in Progress - Painting Shots Part 4 - Flesh Hounds and Karanak
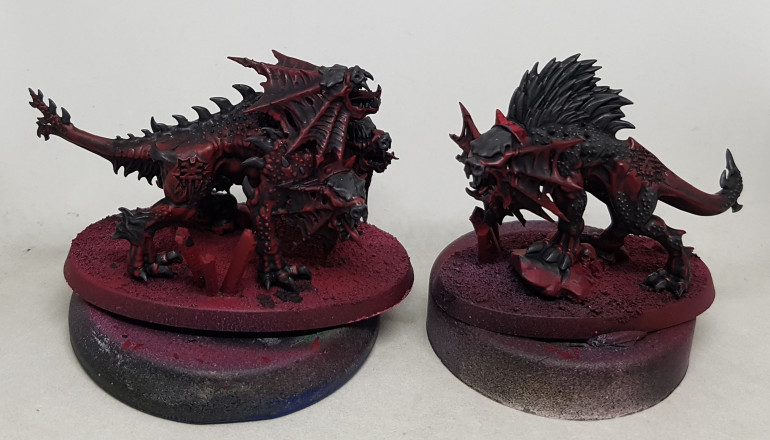 24/08/19 10:45: The first highlight on the red flesh is down. I'm trying to not let the highlights overpower the dark tones. I want these guys to look quite different to the Bloodletters
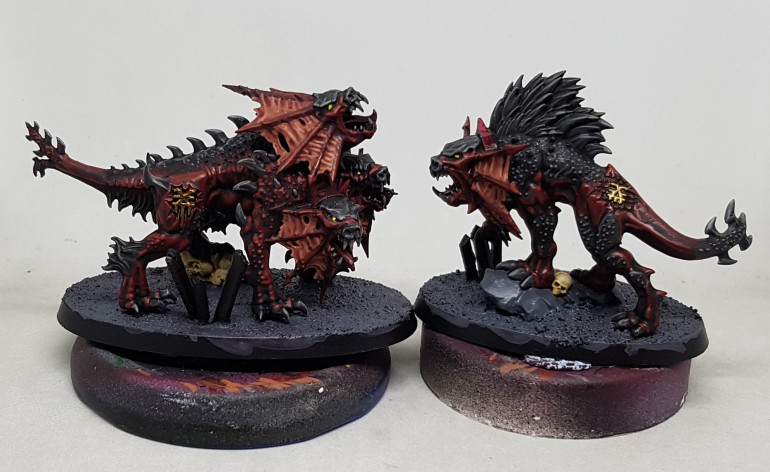 20:35: I did the skulls and the bronze at the same time as they were both small areas that had a long wash drying time. I applied both washes at the same time. I've also base coated the base so I can leave the wash over it to dry overnight.
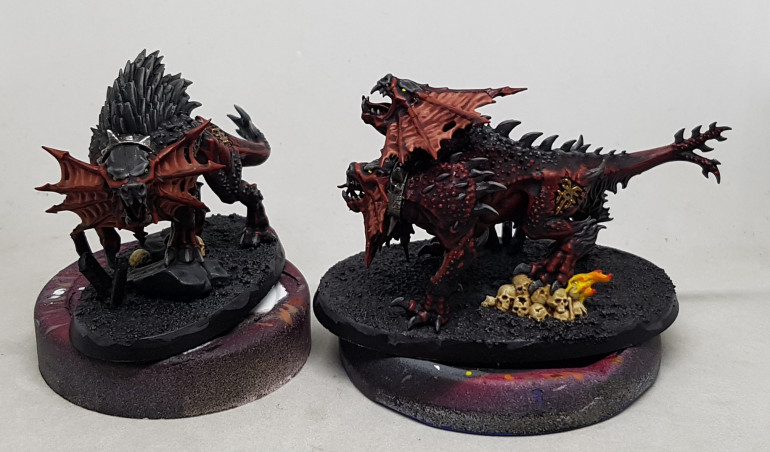 25/8/19 11:20: The wash on the ground has dried, and I've finished the iron and the fire. That's everything done except the bases I think.
Works in Progress - Painting Shots Part 5 - Skull Cannon / Blood Throne
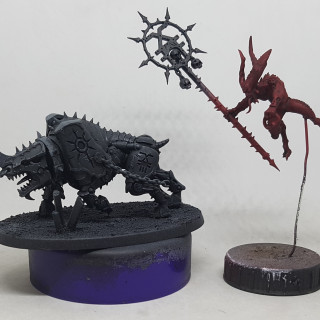
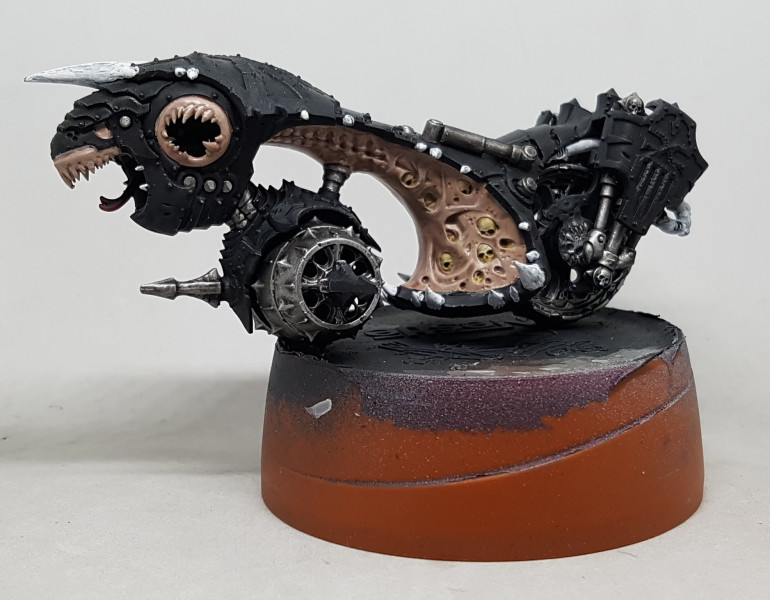
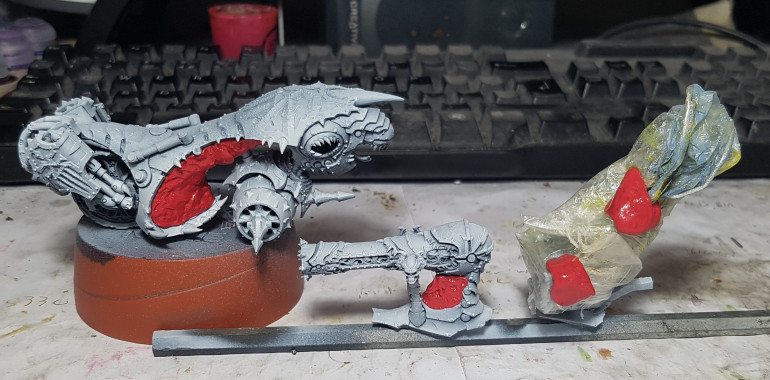 26/8/19 15:00: Its time to start work on the last model. I've masked out the larger flesh areas to preserve the preshade so I can airbrush on the black. It'll be a lot harder to do smoothly by hand.
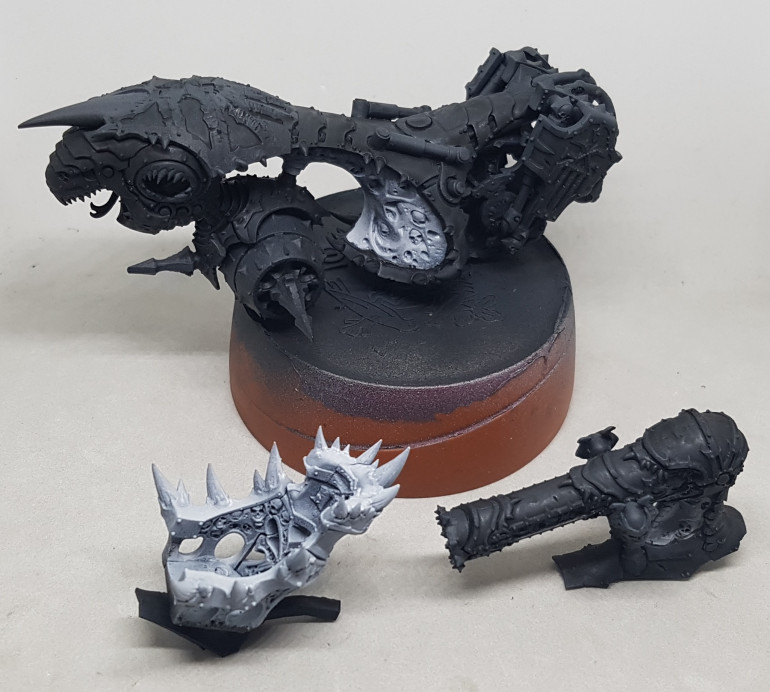 16:40 The black is now finished. It is 28 degrees in my painting studio (bedroom) and I think it may have messed with the way the wash has dried. Hopefully once the gold trim is down everything will look better.
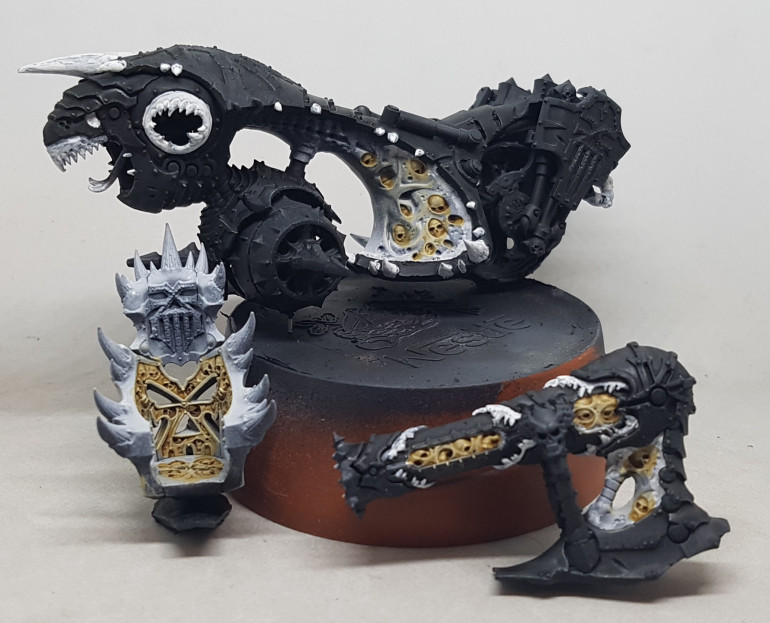 22:16 I reclaimed all the flesh, tooth, and bone areas with white, and then I've painted all the bone. Next up is the flesh I think, but not for a few days.
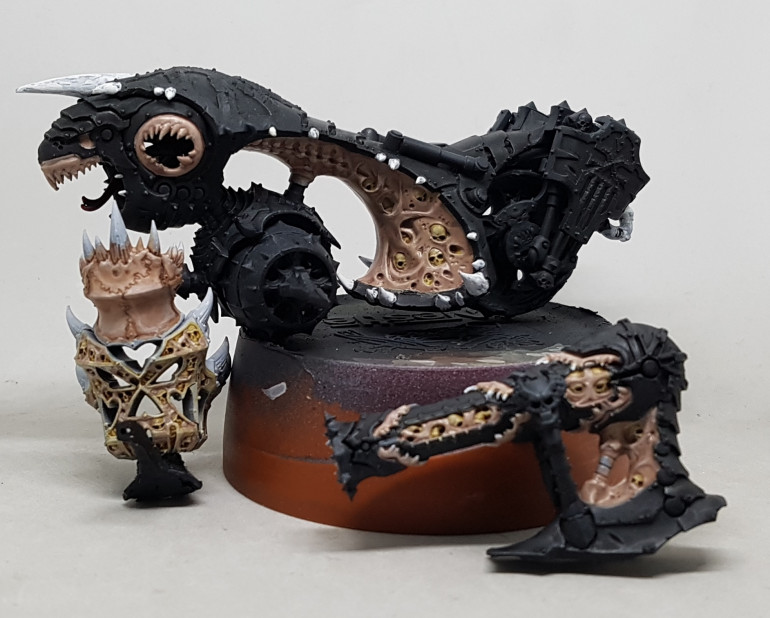 31/8/19 13:45 In my mind theres 3 types of flesh here. The living blighted flesh of the machine, the intestinal flesh round the back, and the flesh harvested from their victims and sewn in to the chair. I have painted the chair and the machine for now. I'll do the intestines after I've painted the iron around them.
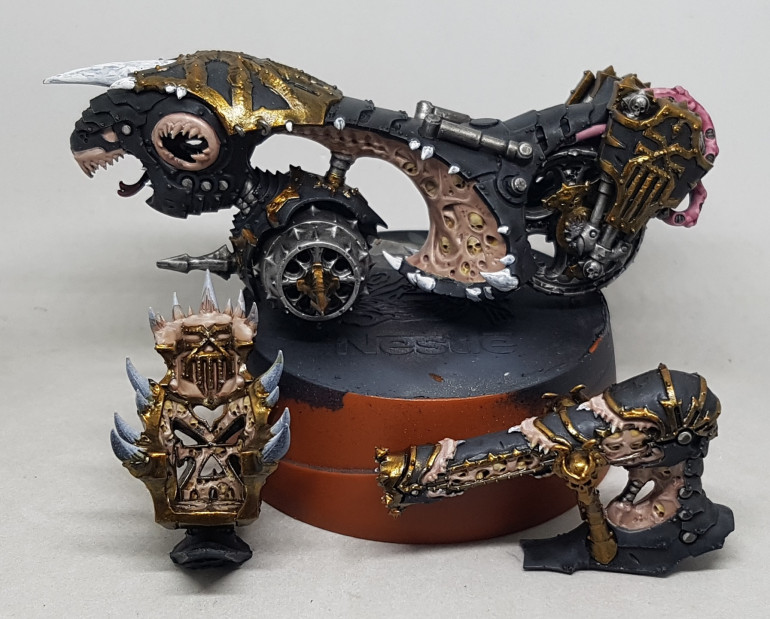 1/9/19 13:00: I've finished the brass and the intestines, and started picking out the iron rings around the edge. This should just leave the teeth, and a tidy up of the black. The guns and the throne have been realyl hard work. Every part of them is think strips next to thin strips. Brass over flesh over bone all in small spaces. So much care needed and such a largepotential for error.
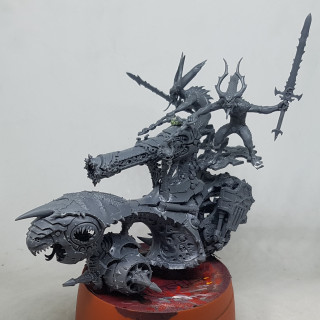
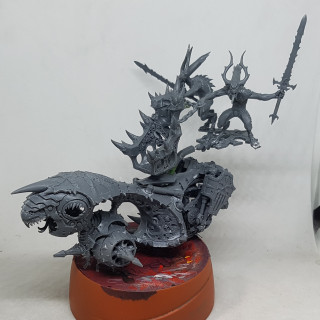
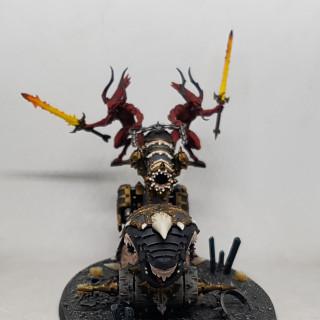
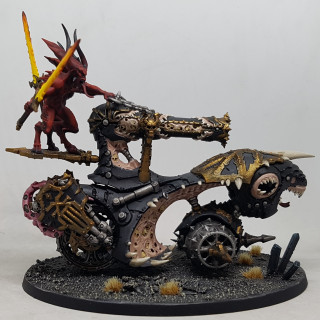
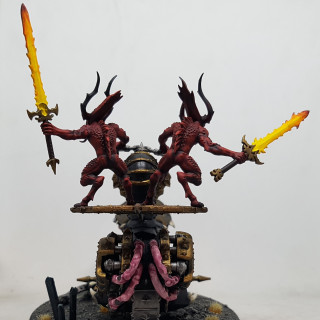
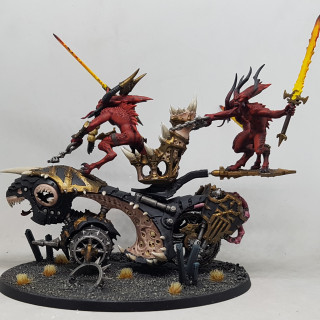
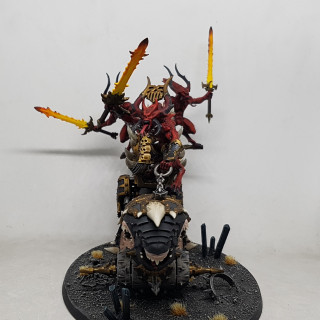
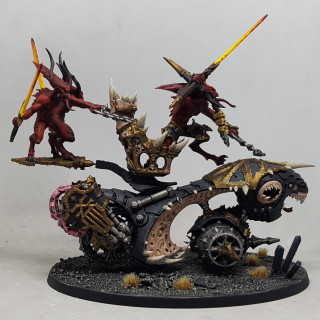
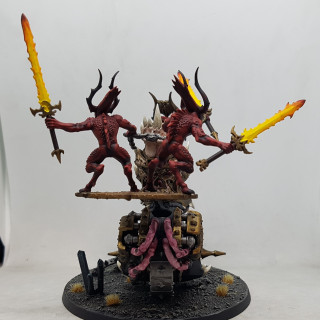
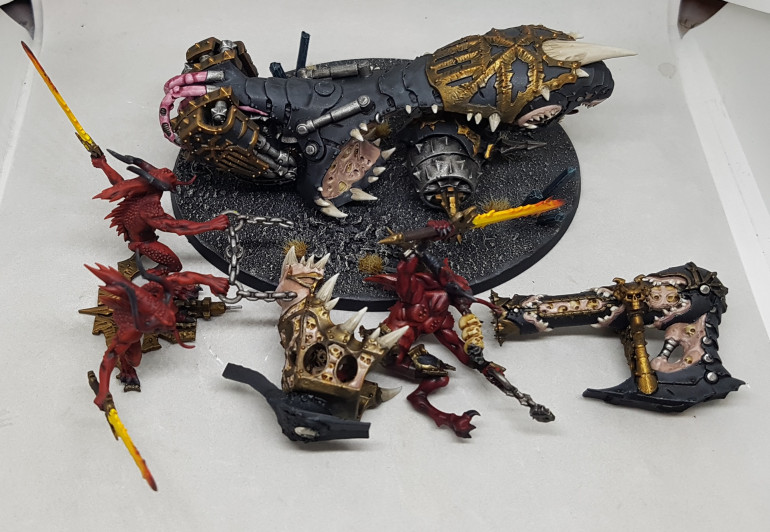 1/9/19 17:00 I finished, assembled, based and varnished all the parts. Here they are, as assembled as they get. Each piece here is magnetised or has pins to slot on to the body.
Below you will find a gallery of the thing assembled in both configurations, with images from all angles. I hope to take some in-action pics of the army when I get some free time later.
This is the last of the models from the Start Collecting box, and the last of my Khorne models. At some point in the future I plan on taking the 2 spare banners and turning them in to objective markers for a different game. Otherwise, that’s everything finished at last. I first put actual paint on these models on Friday 9th August, and finished the last on Sunday 1st September. That’s 4 weekends and a few evenings for 33 models (20 Bloodletters, 6 Bloodcrushers, 5 Flesh Hounds, Karanak, and the Skull Cannon)), or 8.5 days and a few 2 hour evenings. I definitely got more done on the hobby weekend. The atmosphere and the hobby group really helped generate momentum and encourage me to start earlier in the day and finish later at night.
EDIT: Apparently there is a little bit of gloss varnish still visible on the nose of the bike, reclecting light in the pics. I’ll have to take care of that and take more pics later
EDIT 2: I’ve applied matt varnish over the remaining gloss and replaced my pics below.
Works in Progress - Behemoth of Decay (Daemon Prince?)
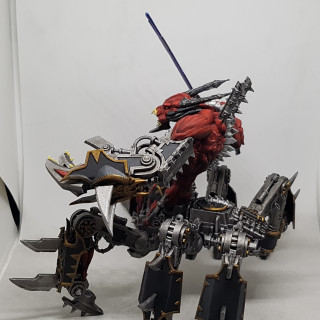
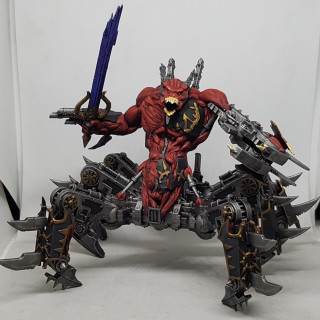
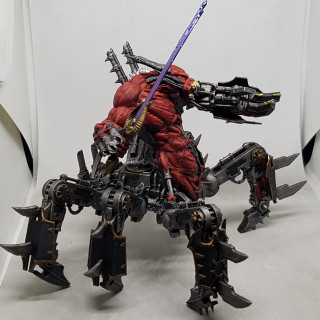
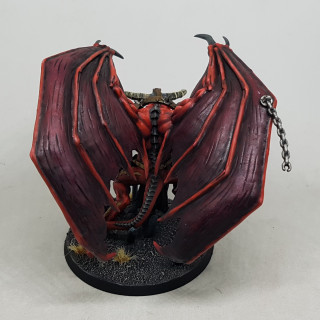
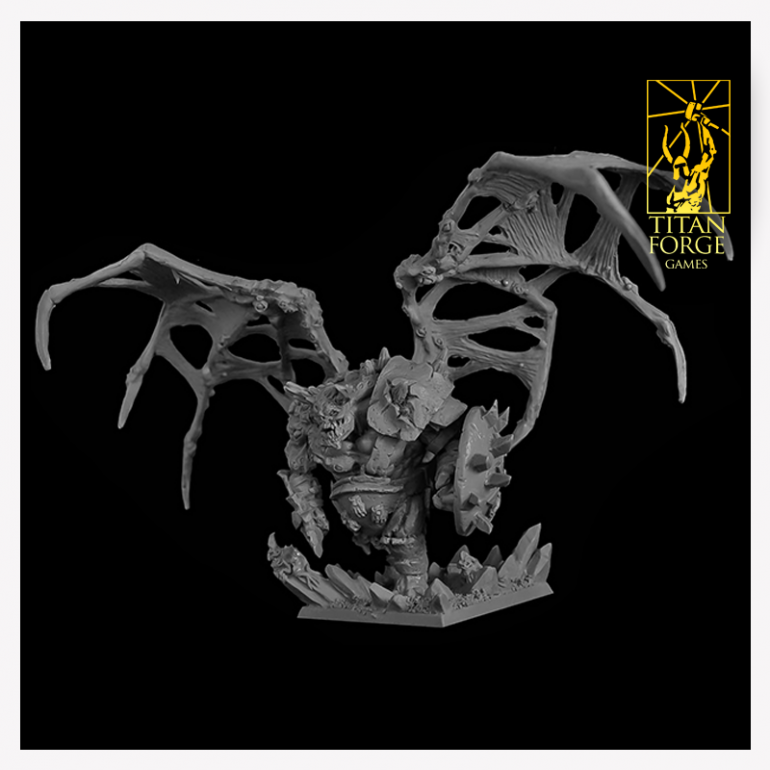
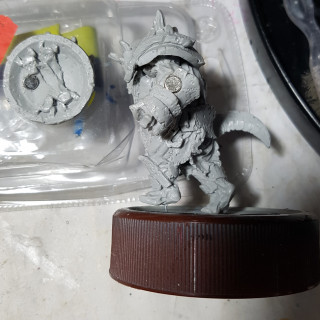
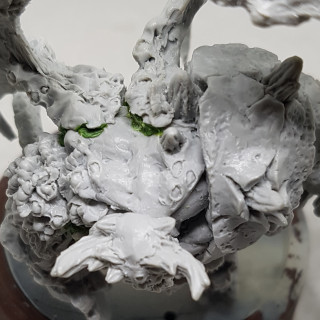
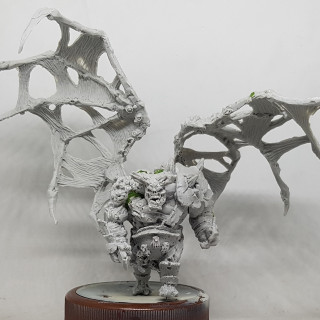
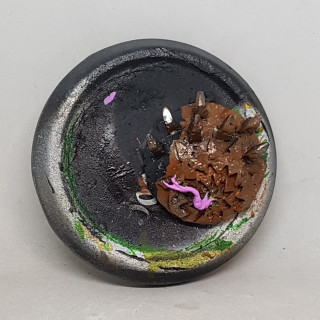
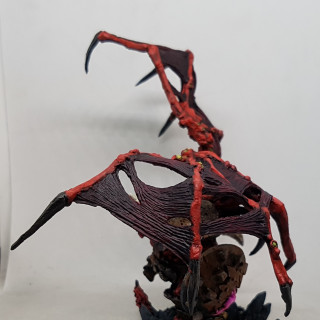
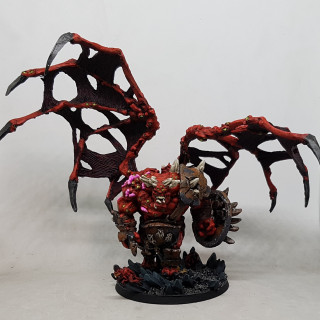
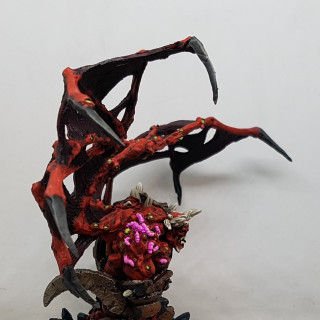
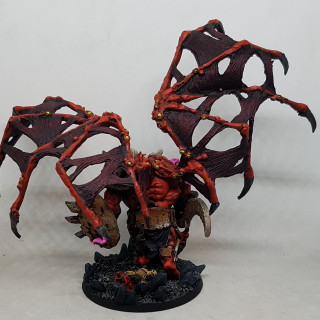
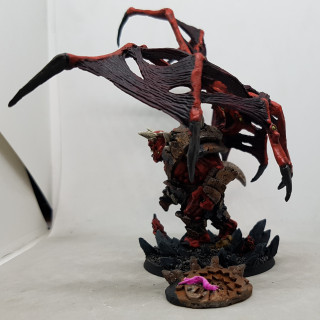
I’ve had this model sat around awaiting some love for a while. He’s not GW, but is compatabile. The “decay” suggests he would fit best in Nurgle, but as I don’t own any Nurgle, I’m gonna paint him up for Khorne, and say he’s survived a fight with Nurgle and got a little infected. Currently no comparable GW stat lines include shields, so my plan will be to magnetise the shield so I can remove it if I end up playing with someone who expects WYSIWYG. I might look in to doing something like that with the wings too, but I suspect that’ll lead to dissapointment and instability. My version came with a round base, not the square one shown below. I’ve a few other projects to get done before I start on this guy.
Link to manufacturers website: http://titan-forge.com/daemonic-kingdom/191-behemoth-of-decay-s
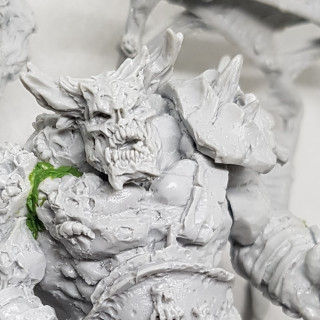
I’ve never worked with a Titan Forge mini before and I was under the impression they were a luxury line. However I’ve had to do a fair bit of cleanup and green stuff gap filling a repairs. His right arm had a huge gap under it and I almost requested a replacement part, but I decided to try and fix it. We will see how it looks once it’s primed. I’m chosing to assume I got a bad sculpt and they are usually better.
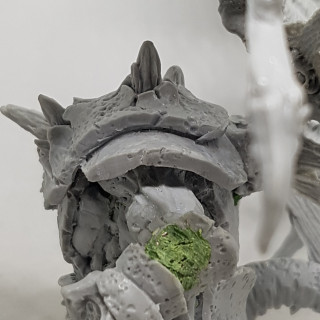
I’ve glued a magnet in to the shield and shield hand. I’ve put a thin layer of green stuff over the magnet in the gauntlet to try and hide it, and distressted the green stuf a little to match the gauntlet.
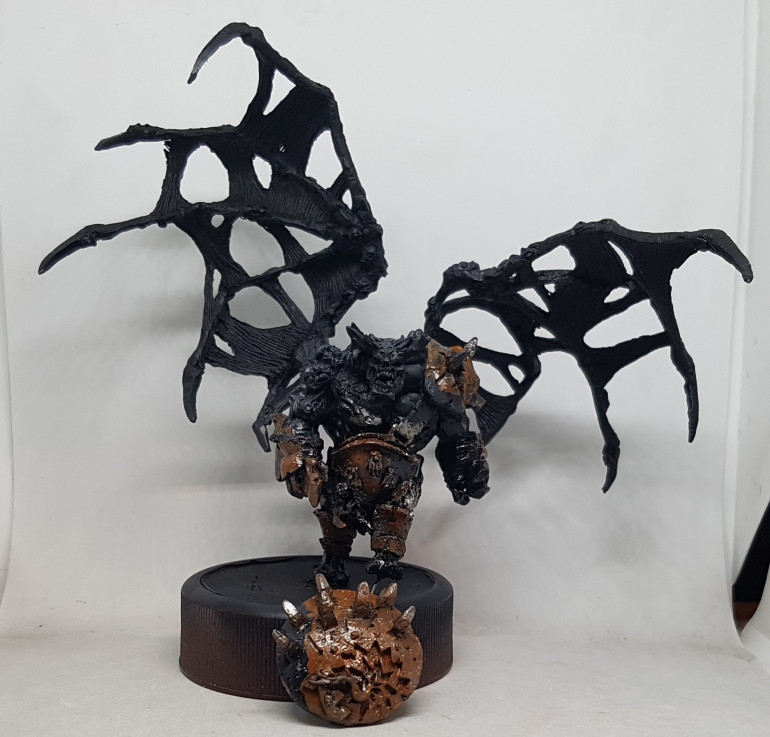 I painted the metal at the weekend. The blade was given a different base colour to the rest. I then rusted everything to hell following the Asset Drop guide that came with this model. I them airbrush gloss varnished it all, masked off most of it and used the airbrush to paint black armour over the top of the rust. Removing the masking agents reveals fragments of paint still yet to peel off from the rust. This all got varnish again and now I need to decide if I;m brave enough to mask off all the metal and spray the flesh.
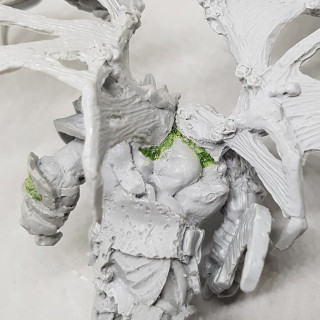
More work done. Flesh is finished, but the metal got damaged during the masking and needs repairs. I’m currently thinking I’ll leave that until closer to the end, although I have primed over the re-exposed resin. The wings will get more work done later, but that’ll be layers of washes and glazes so it can wait. I’ve picked out all the broken infected flesh with green, and I have applied a base coat on all the tentacles/maggots. I’ve also finished work on the base I think.
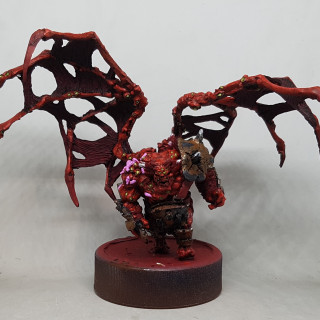
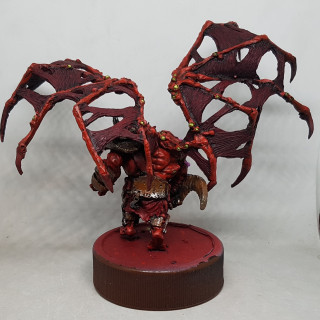
I finished him off over the weekend. Here he is in full rotation, and with the magnetised shield removed. I think thats the last of my Khorne-y daemons all done now.


