Night Lords by Mage updated 29/10/19 Forgefiend Update
Recommendations: 433
About the Project
Hey everyone, thanks for calling by. This is my Night Lords Chaos Space Marines army for Warhammer 40,000 Eight Edition. So far it is one half of Shadowspear but will be expanded upon down the line. It's my third Chaos Space Marine army since I started the game twenty-two years ago. The aim is to do it expediently to a tabletop or better than tabletop standard. Unlike some of my previous project logs this will have more a tutoring element incorporated. Thanks for reading!
Related Game: Warhammer 40,000
Related Company: Games Workshop
Related Genre: Science Fiction
This Project is Active
Entry 5: The Elusive Venomcrawler
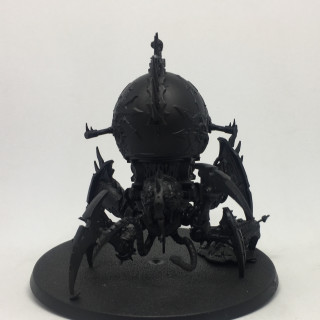
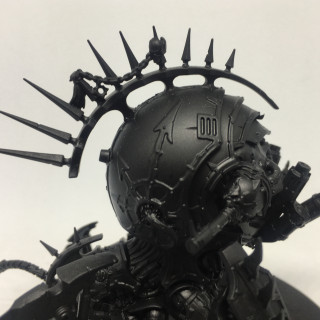
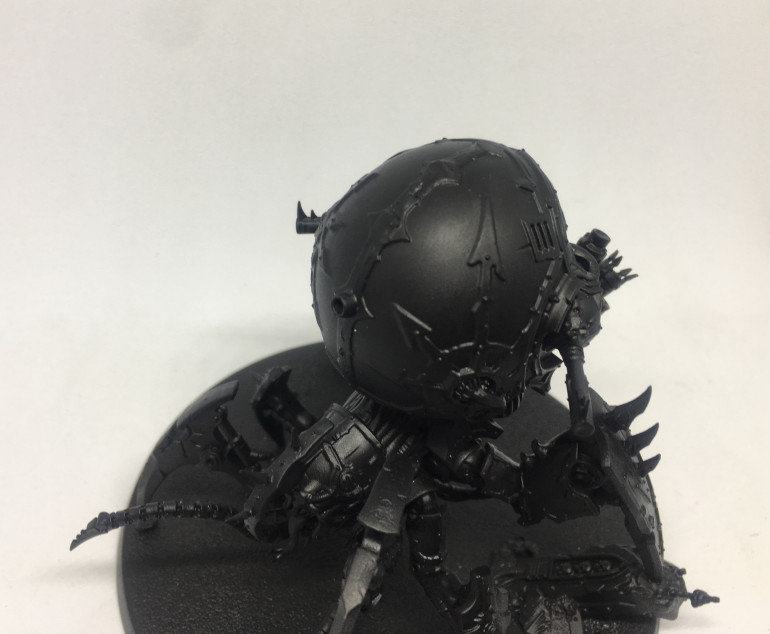
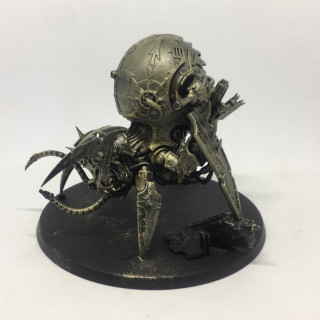
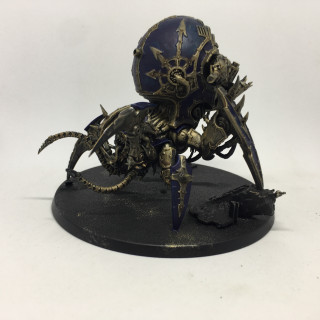
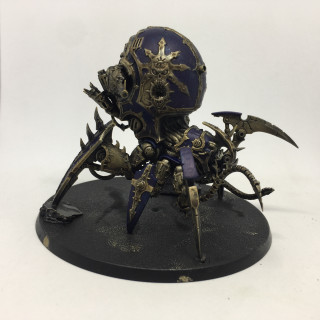
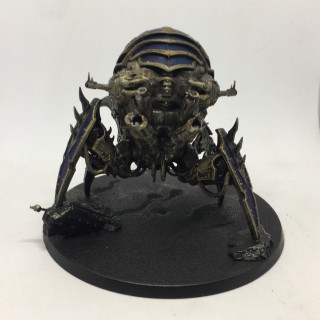
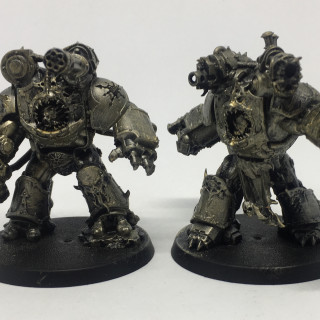
You may have noticed the Venomcrawler from Shadowspear has been absent. Well, moving my models around the delicate spike tips got damaged. One broke off and disappeared and the other is broken but not fallen off yet. Ill removed the entire spine, and when it is not raining I will prime the top. Also my girlfriend has all my hobby tools and glue at the moment for her AoS army.
I thought about it for a while but I think taking the spine off is the best solution for me personally. Then it will get the gold drybrush treatment!
I cut off the spines for a finish with a stanley knife, nearly slashing my thumb in the process. Remember when using a new knife that the blade is not as dulled over time…
I painted over the mess with Formula P3 Paint ‘Thamar Black’.
Next is a drybrush of Liberator Gold and a wash of Agrax Earthshade. I also added some of the blue basecoat after this step.
Entry 4: Revisions and Mixing it up
I decided to do something different with the gold since I lacked the right paint in a working condition and had spare Liberator Gold from my Conquest Magazine subscription. This turned out to be a better thing to use as I discovered, since it is a layer paint but works well for drybrushing. As for being a layer paint, it can help better than a Dry one with touching up mistakes down the line.
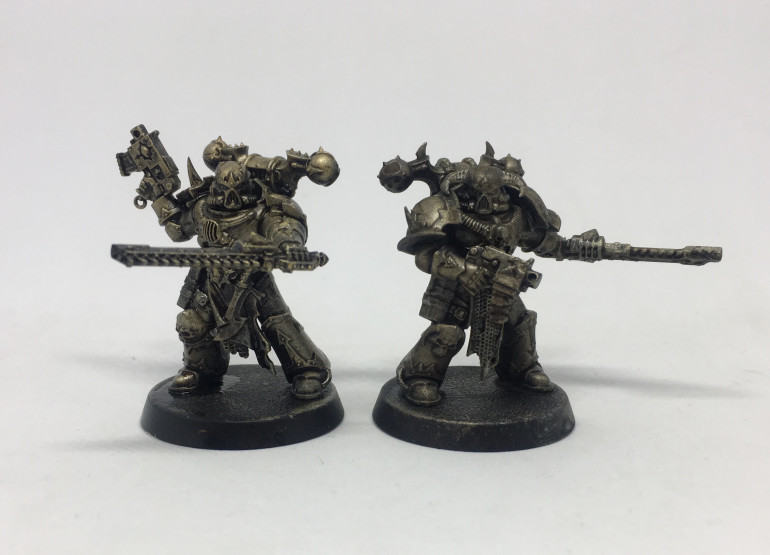
It turned out quite well, eh? Far more vibrant, all the better for applying lighter metals later as well as to darken down with wash. Speaking of which, below is a comparrison of two models I did. The test model that came before them had a water Agrax Earthshade wash over the gold.
With these two the one on the right had pure Agrax Earthshade applied while the one on the left had the slightly different Agrax Earthsade Gloss in a 1:1 ratio mixed with water added. Out of the three different gold finished, I preferred the one on the left of this photo. Pure Agrax Earthshade it was!
Entry 3: Completed Night Lord Test Model
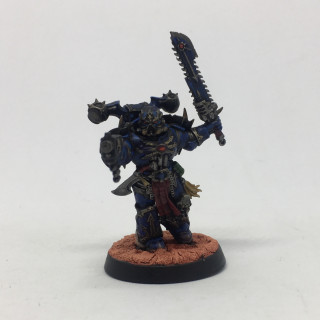
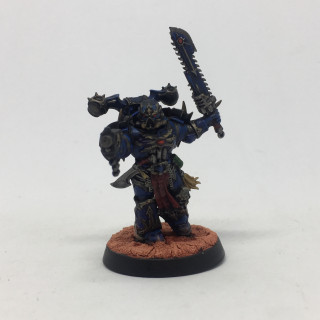
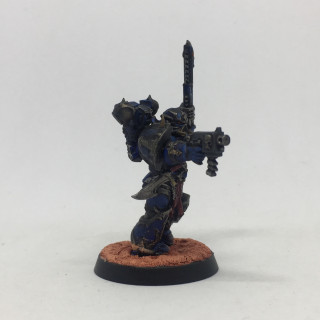
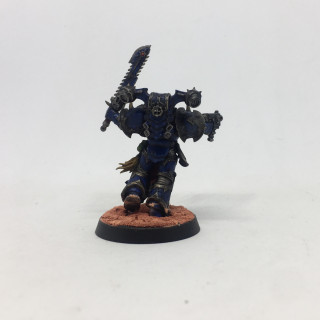
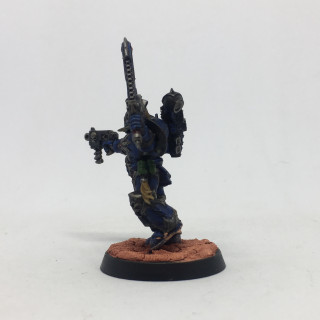
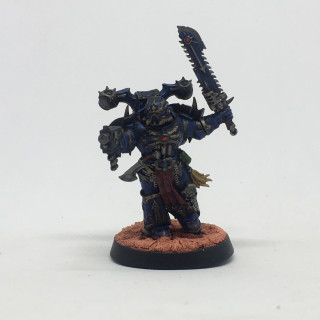
Above is my completed model including deviations and basing.
For the basing I used this guide:
https://www.youtube.com/watch?v=pzkFgRTOWZA
Please note I was far more liberal with the Kindelflame and even let it catch on the Night Lord as if he were running through that battlefield. I felt the warmer base complimented the dark metal, browns, blue and gold nicely.
However, in the latest issue of White Dwarf they are using PVA glue before the technical basing paint to assist with crackling. I might experiment with this at some point in the future, as it is something new and I am intruged to see how it will work out for me.
Entry 2: Painting Guides, Deviations and Work in Progress
I followed the guide in the previously linked video very closely. I deviated with:
> The Blue Power Armour: I used a Vallejo Game Colour Night Blue after applying the gold followed by the out of production Mordian Blue from Games Workshop. This is a very pigment rich paint so water it down. Even a thin coat is powerful.
> An extra blue Armour Highlight: On some parts of the model I added some Alaitoc Blue to the harder edge surfaces, but not all of them. Observe it on facial features, fingers, edges of the chainsword/backpack, boots, buttflap etc.
> An extra highlight on the Eyes and the Gem on the Chainsword: a small dot with a 60/40 mix of Wildrider red and water with a fine brush tip. Leave the majority of the original colour there: this is just a glint.
> The Grenades: a basecoat of Caliban green, followed by Incubi Darkness, followed by Death Guard Green (in hindsight just ignore the Caliban Green step) and a wash of Biel Tan Green. I tried it with Athonian Camoshade initially but it looked horrible.
> The Jewelled Eye on the Chest Plate: This was painted Mephison Red, Washed with Army Painter Purple Tone form a dropper bottle, and highlighted again with Mephiston Red followed by Evil Sunz Scarlett.
> The Casing on the Bolt Pistol: I used Mechanicus Standard Grey instead of Eshin Grey as I do not have any Eshin Grey at the moment
> The Fetish on the Waist: Two thin coats of Zandri dust followed by a wash of Seraphim Sepia
I will add a post on a finished test model as well as the base, since as the above changes are a bit numerous, in hindsight, and it is separate thing I wish to discuss. I dont want each post to be too lenghty.
Also note that if you are doing Horus Heresy era nightlords or want to go to town highlighting your boys ‘In Midnight Clad’ then look no further:
https://www.youtube.com/watch?v=YumAwDRAUaw
You may not want to overdo it, as Night Lords are supposed to be dark and menacing! 😉
Entry 1: Humble Beginnings
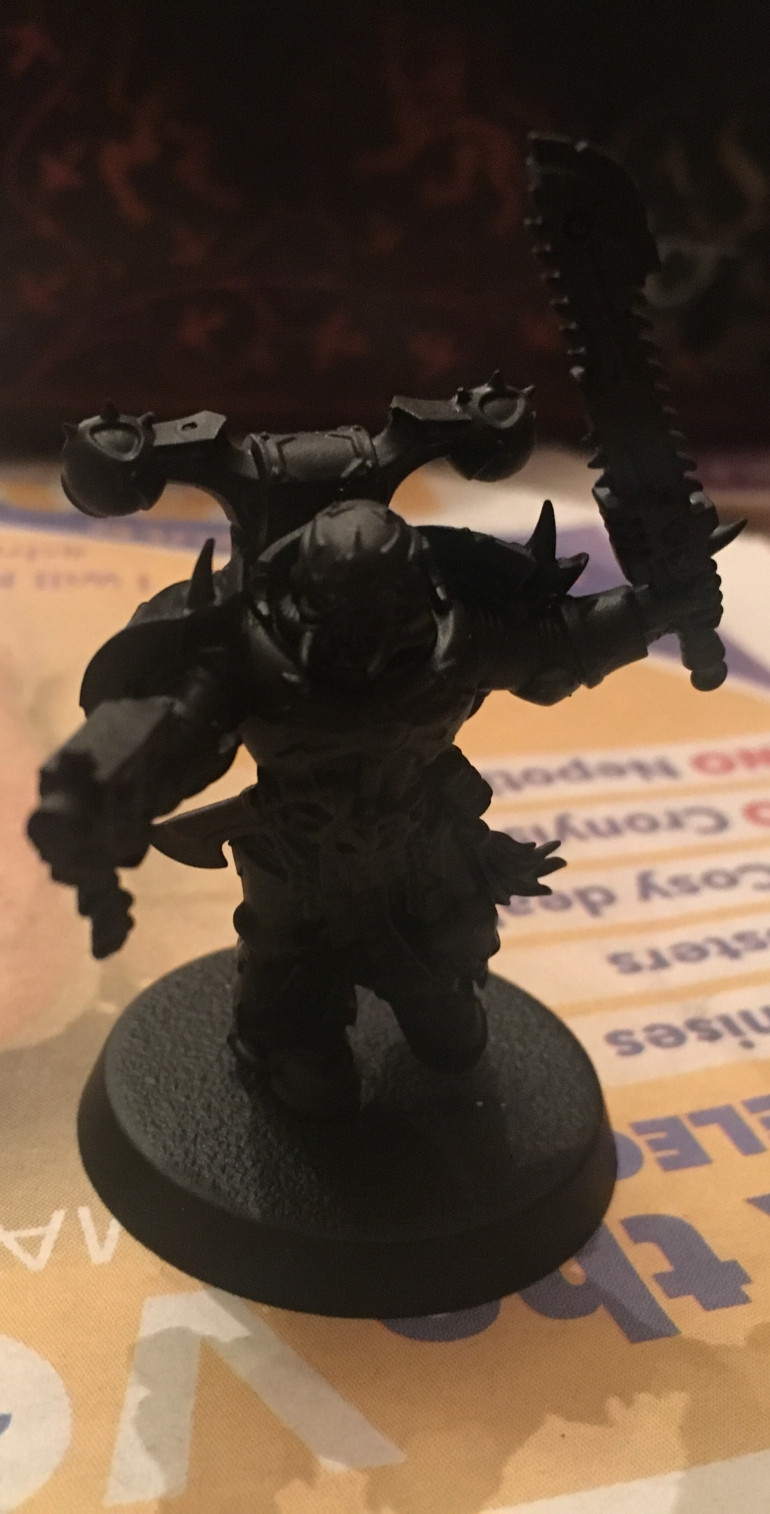
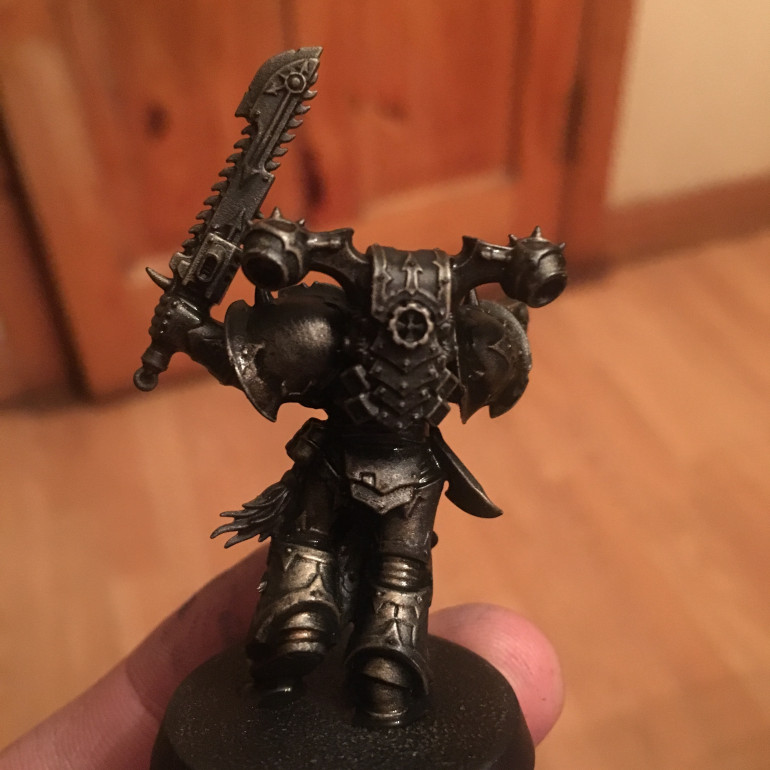
I began by assembling Shadowspear. Since it is a single-pose set I did not post pictures of assembly. Starting with one Chaos Space Marine with Bolt Pistol and Chainsword I sprayed him with Chaos Black. From there I checked out the internet for painting guides. I did not want to spend too long looking or use a lengthy guide so went to Warhammer TV on youtube.
These short, straightforward guides using the Citadel paint range by the company studio and painters itself was what I was looking for.
I started with this:
https://www.youtube.com/watch?v=6-dm9w0tKfo
I began by copying the guide.
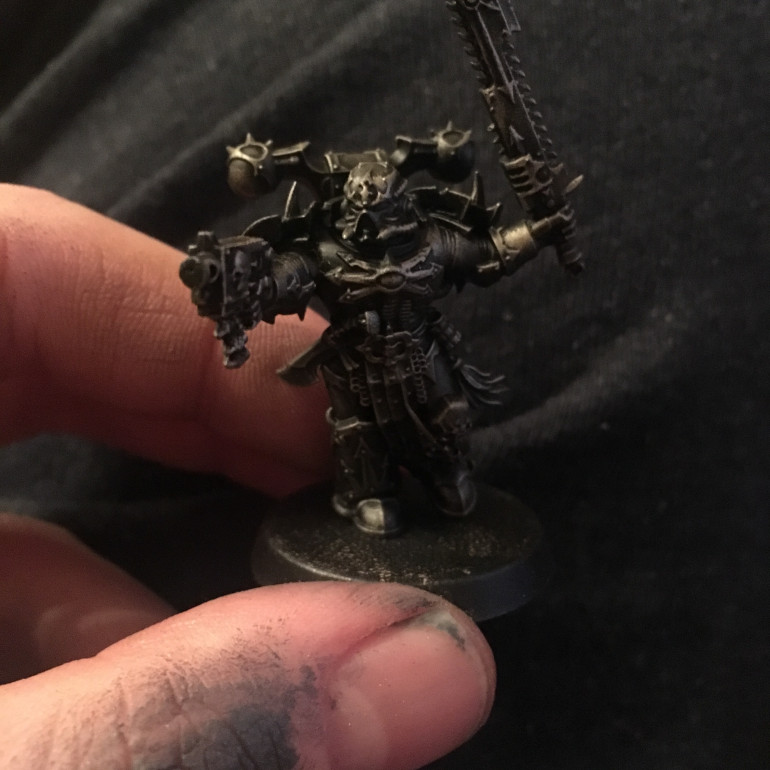
I added Griffon Gold. It did not turn out as vibrantly as the one in the above link as my pot had dried out – I remedied this later on a second test model. Nevertheless, I continued onward, making a few deviations along the way (I do not have Kantor Blue being one of the reasons).


