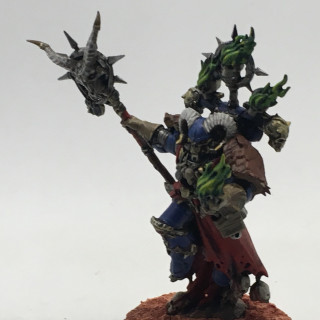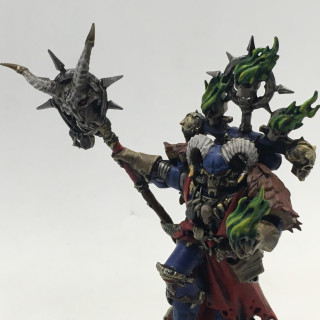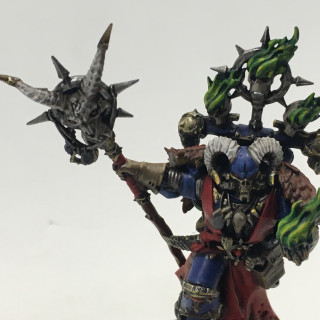
Night Lords by Mage updated 29/10/19 Forgefiend Update
Recommendations: 433
About the Project
Hey everyone, thanks for calling by. This is my Night Lords Chaos Space Marines army for Warhammer 40,000 Eight Edition. So far it is one half of Shadowspear but will be expanded upon down the line. It's my third Chaos Space Marine army since I started the game twenty-two years ago. The aim is to do it expediently to a tabletop or better than tabletop standard. Unlike some of my previous project logs this will have more a tutoring element incorporated. Thanks for reading!
Related Game: Warhammer 40,000
Related Company: Games Workshop
Related Genre: Science Fiction
This Project is Active
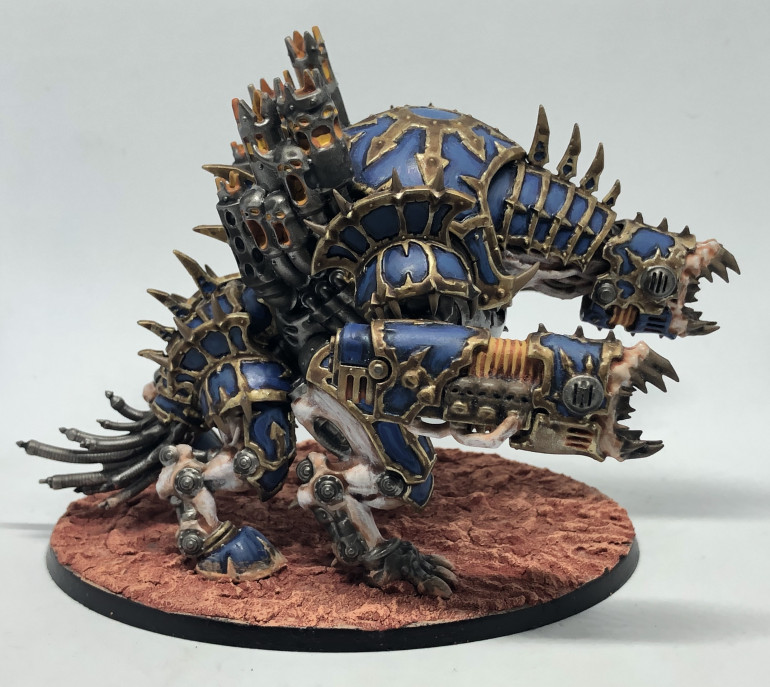
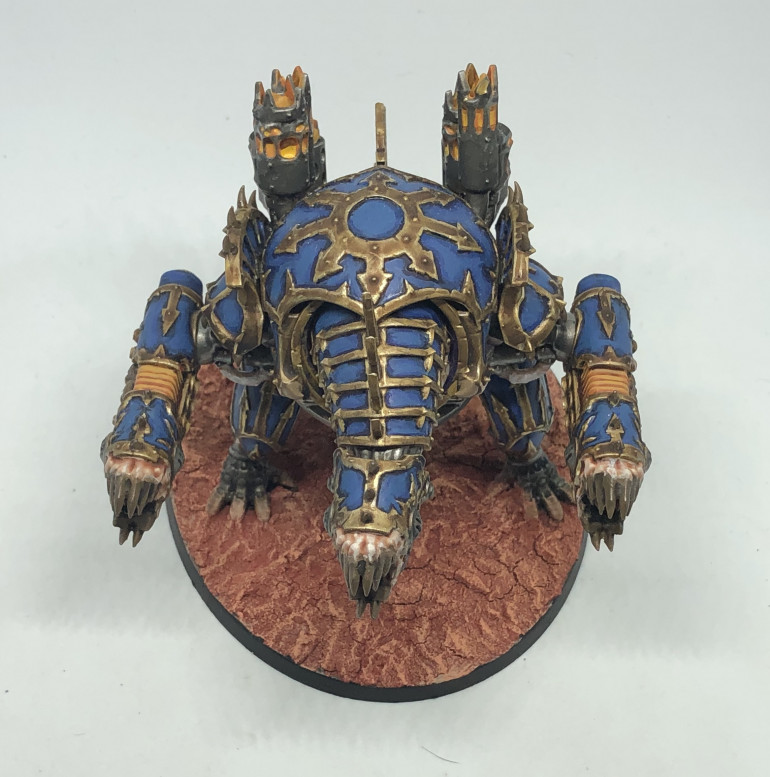
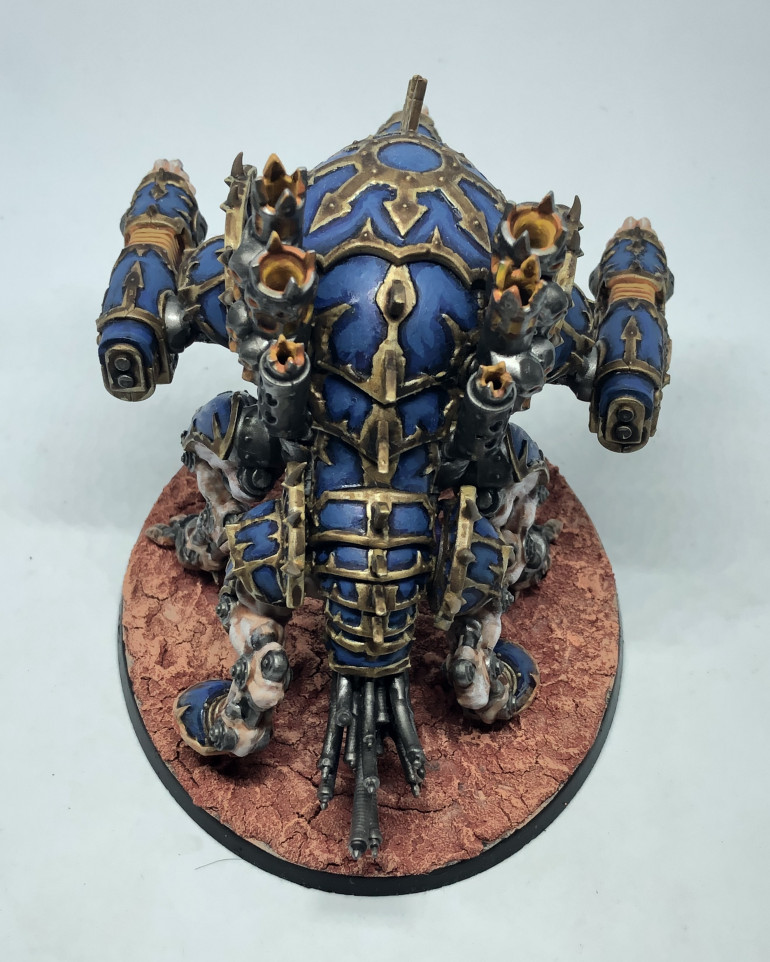
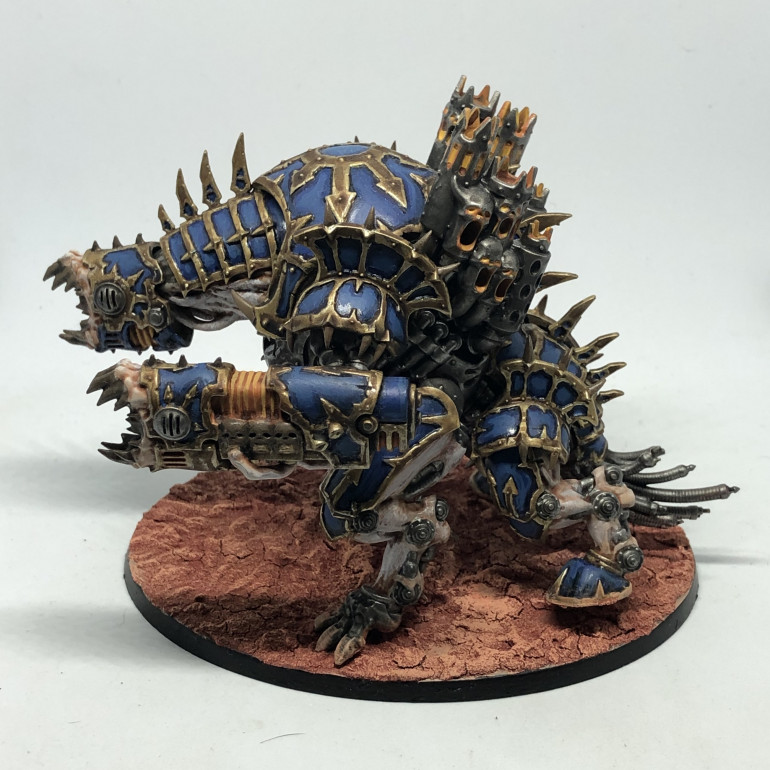
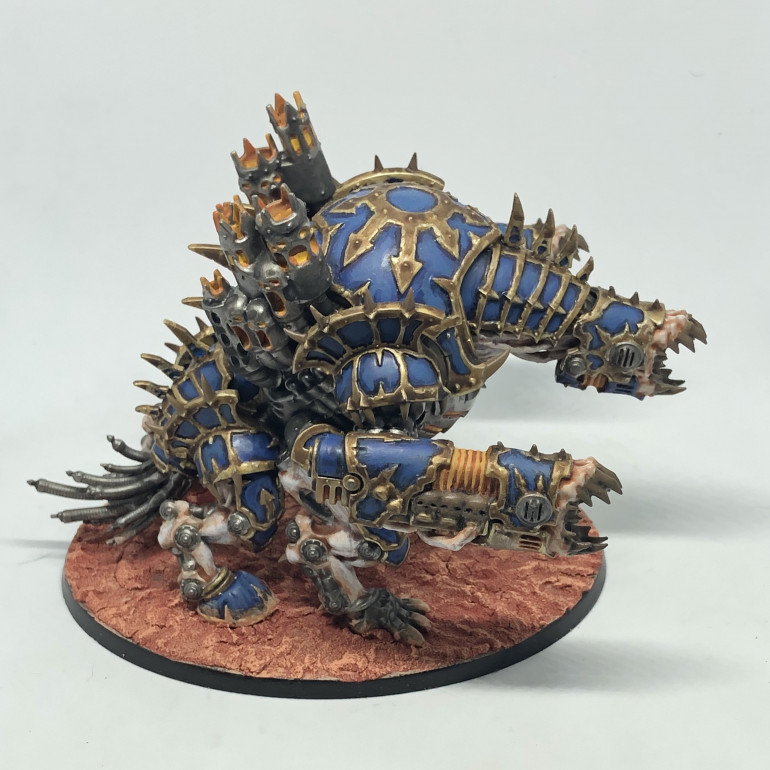
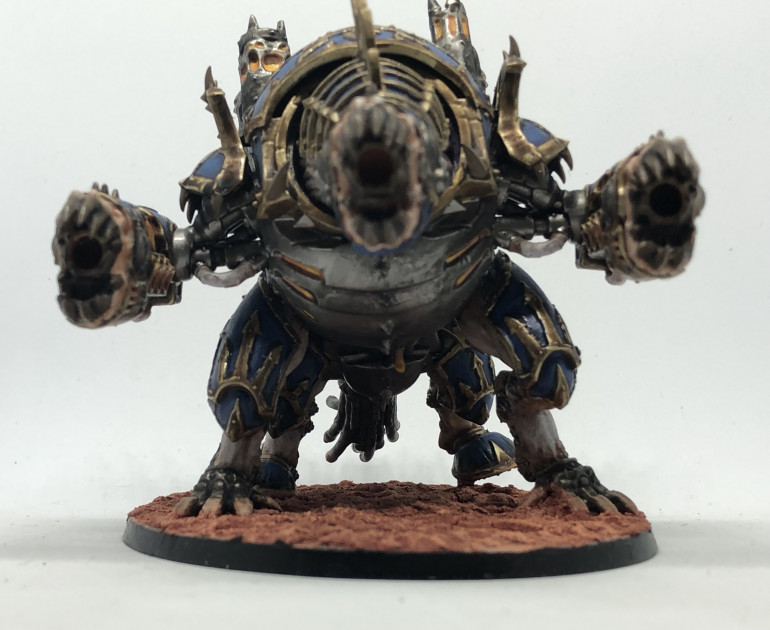
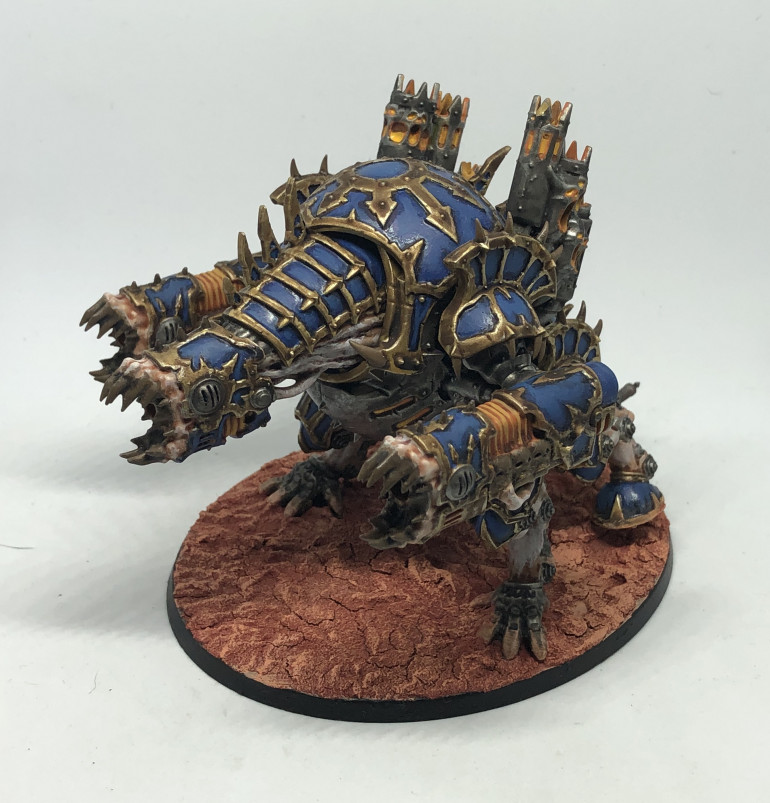
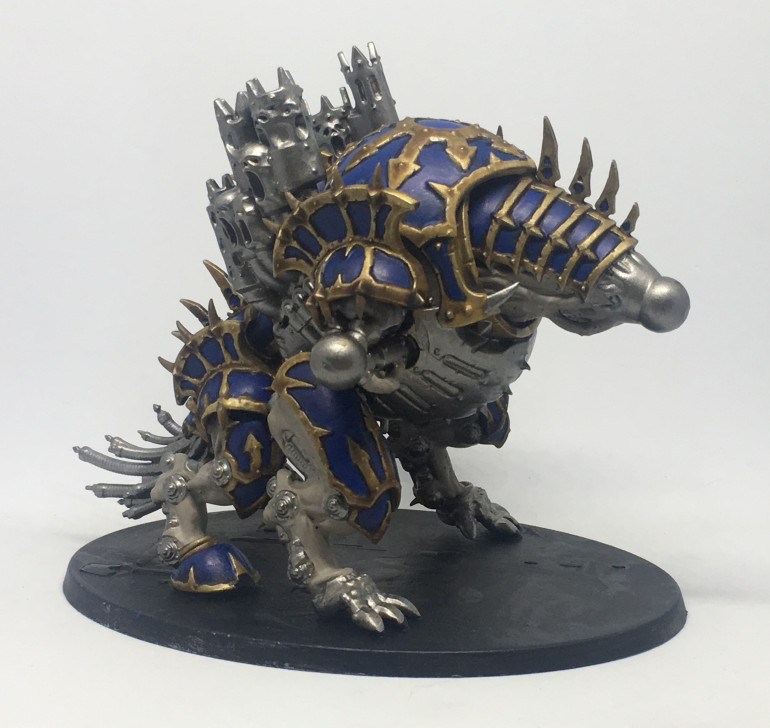
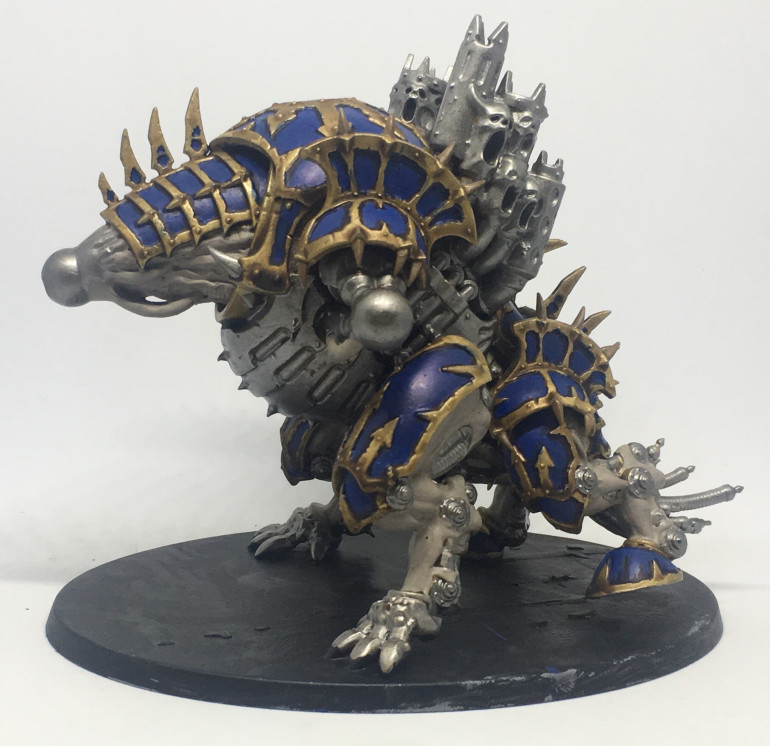
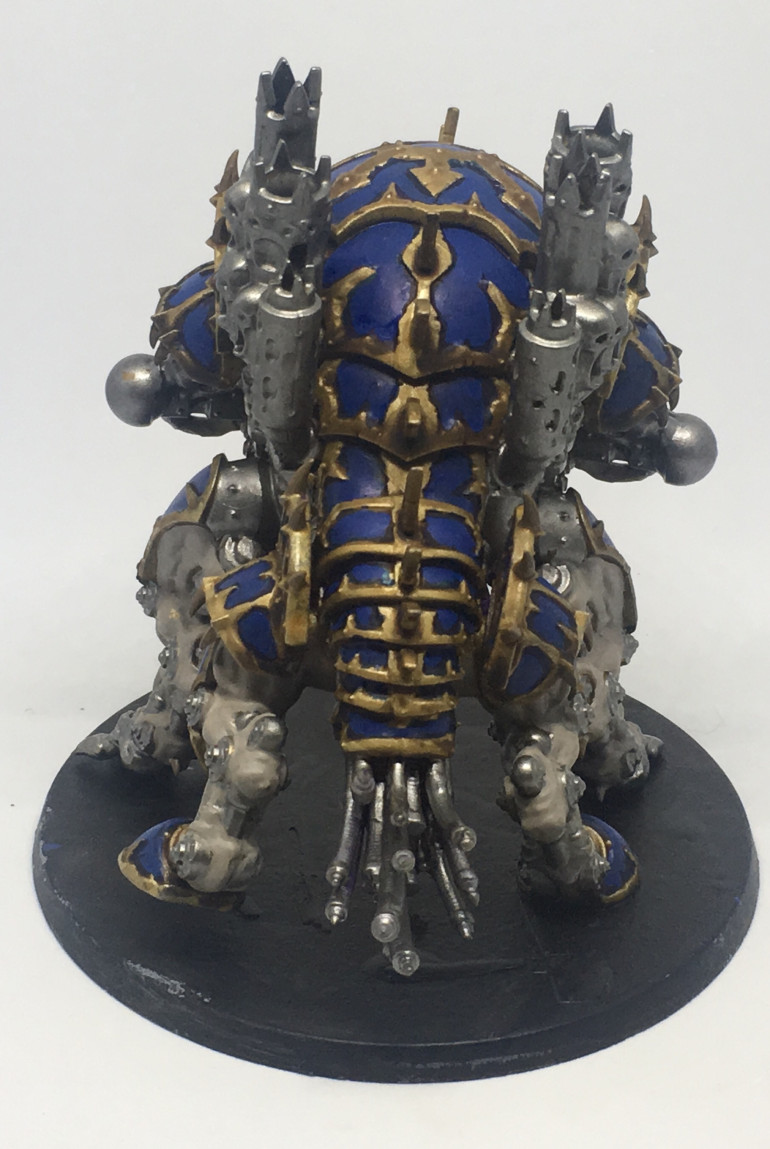
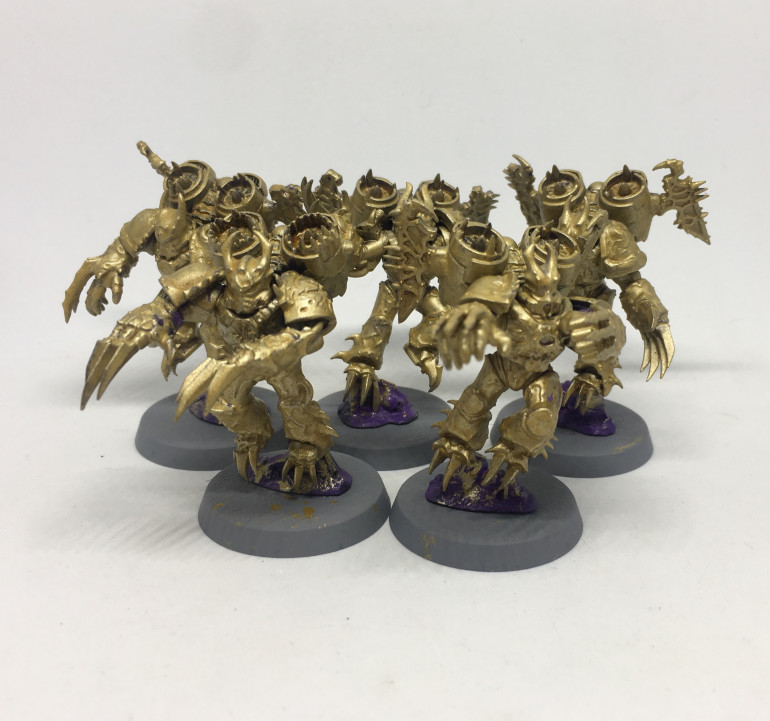
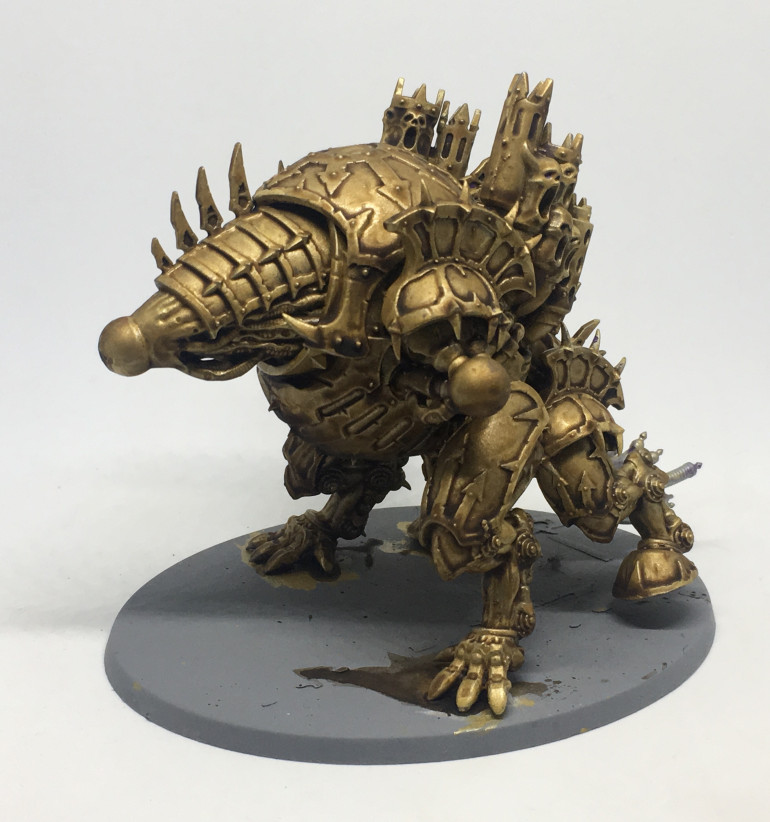
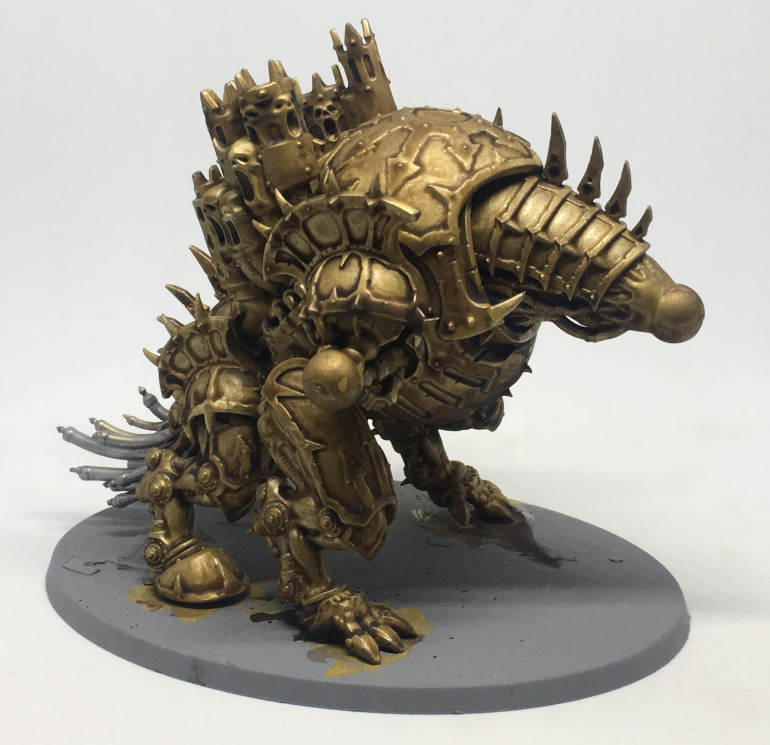
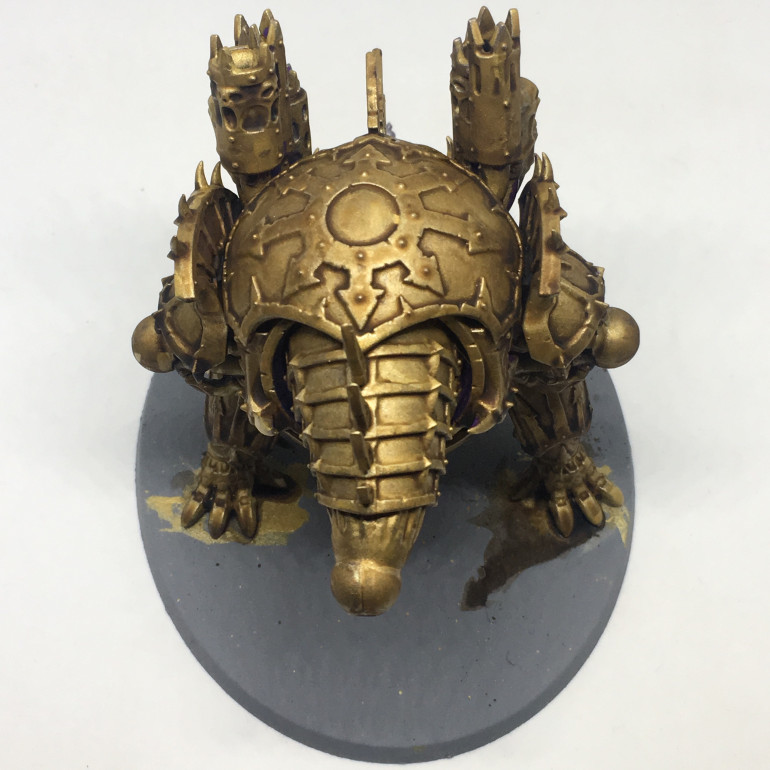
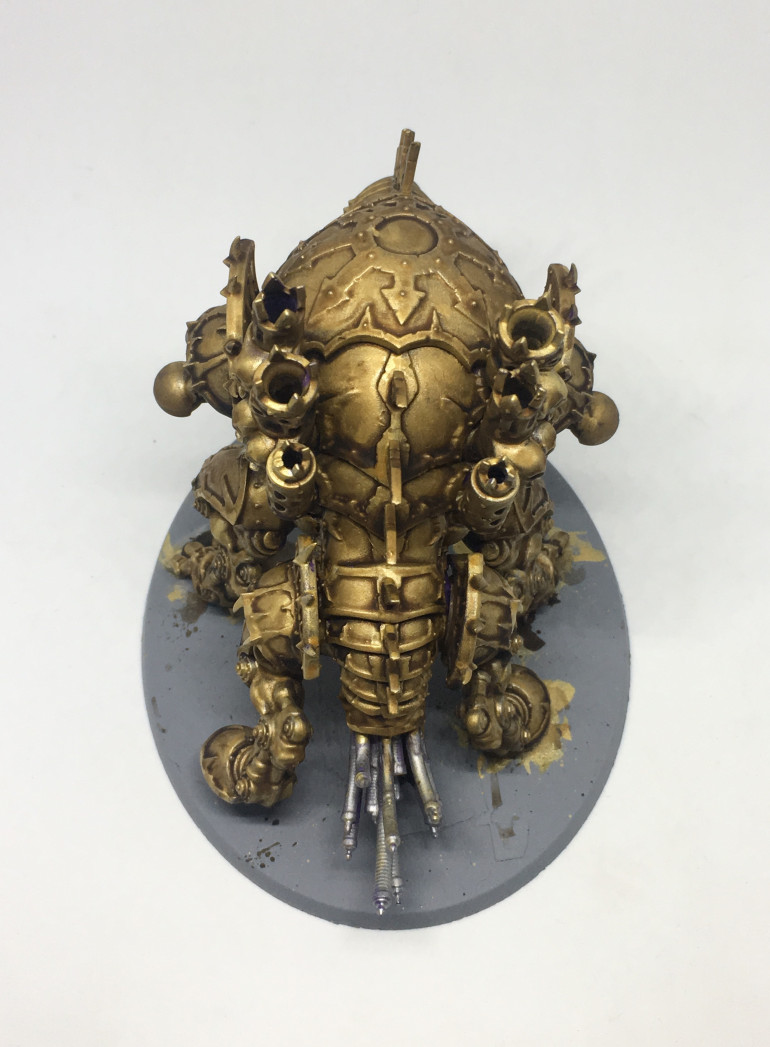
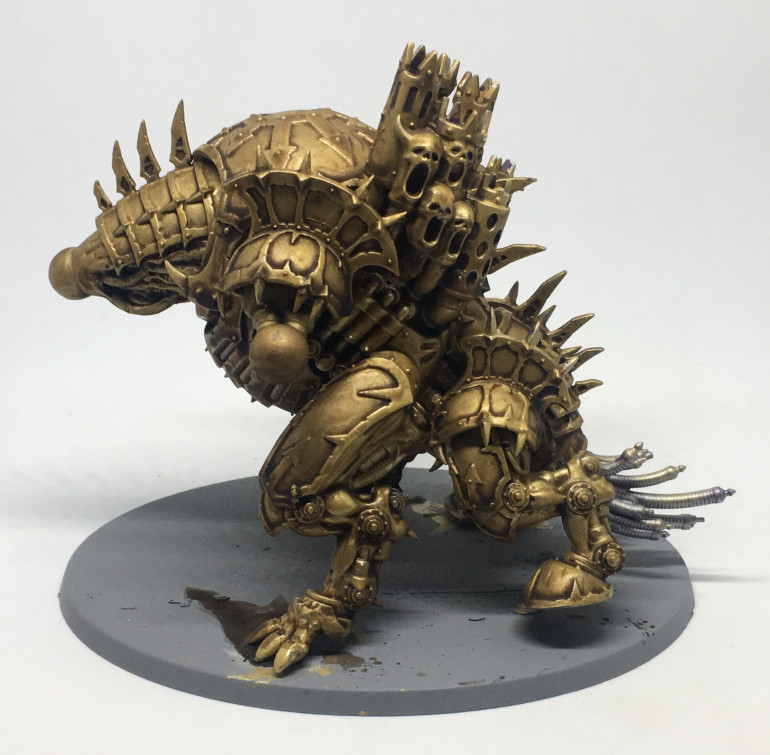
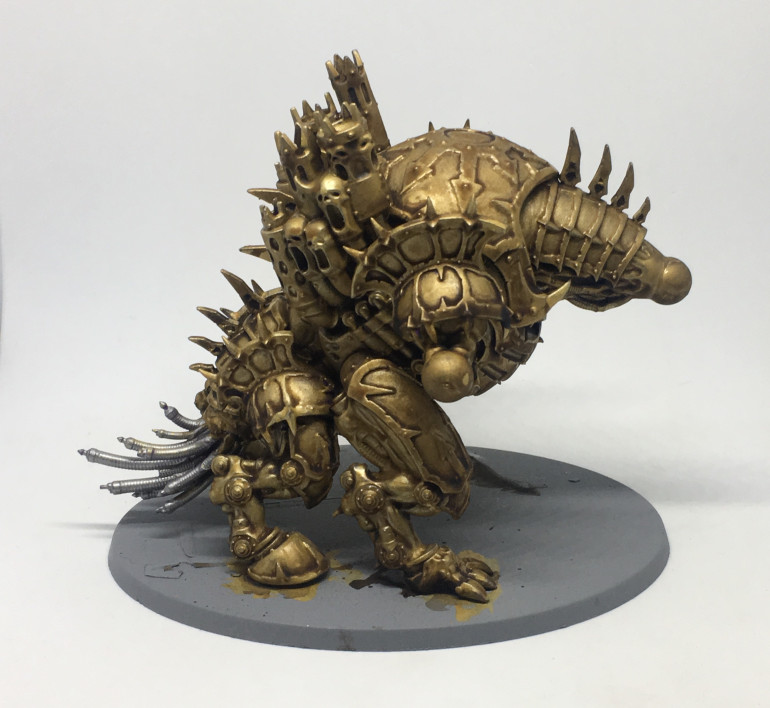
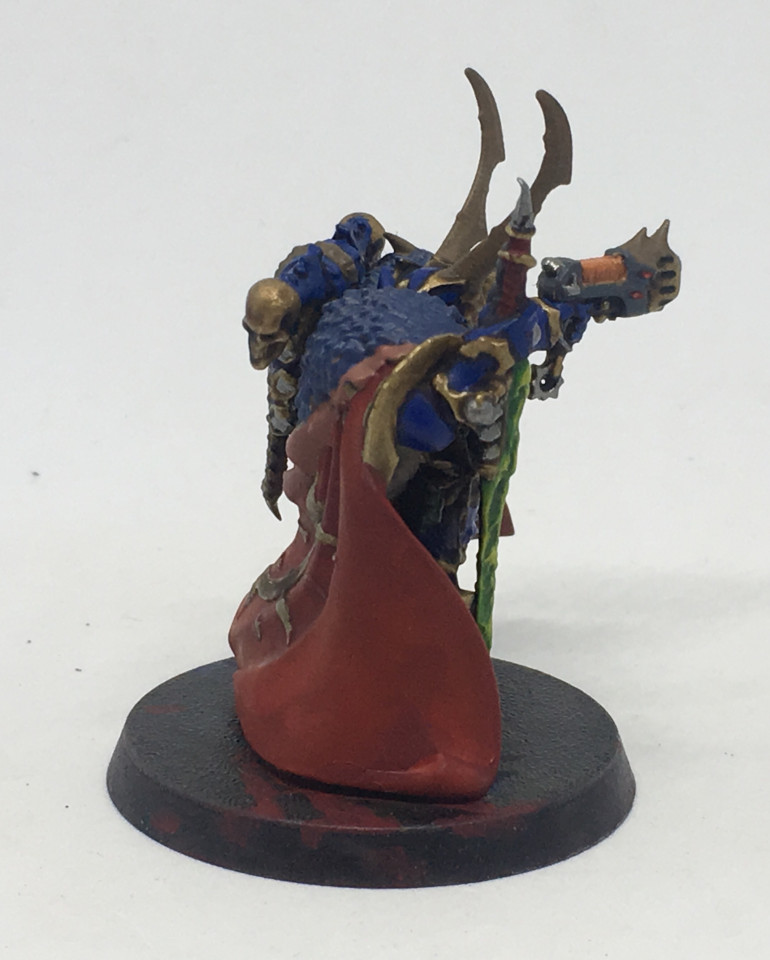
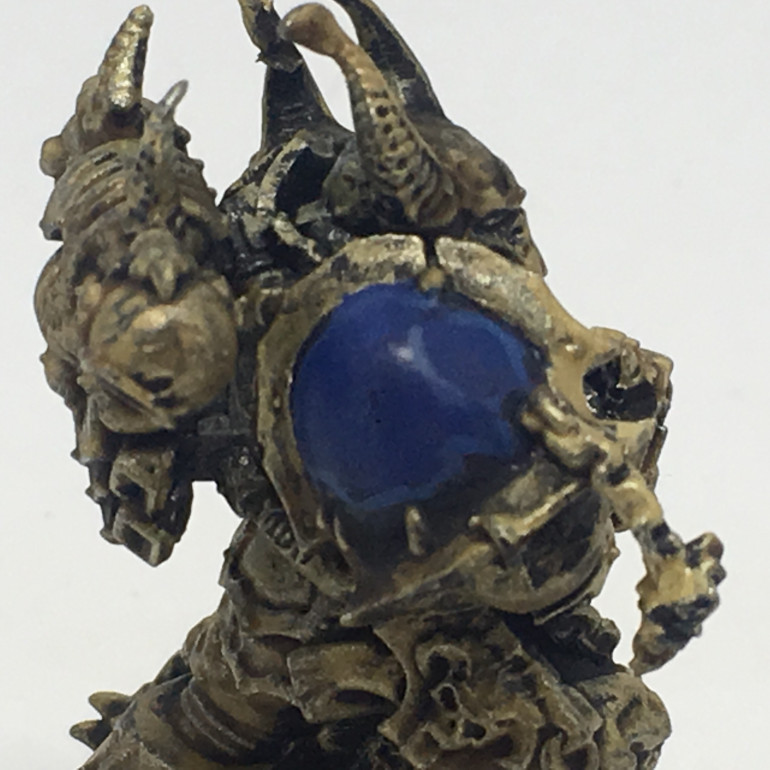
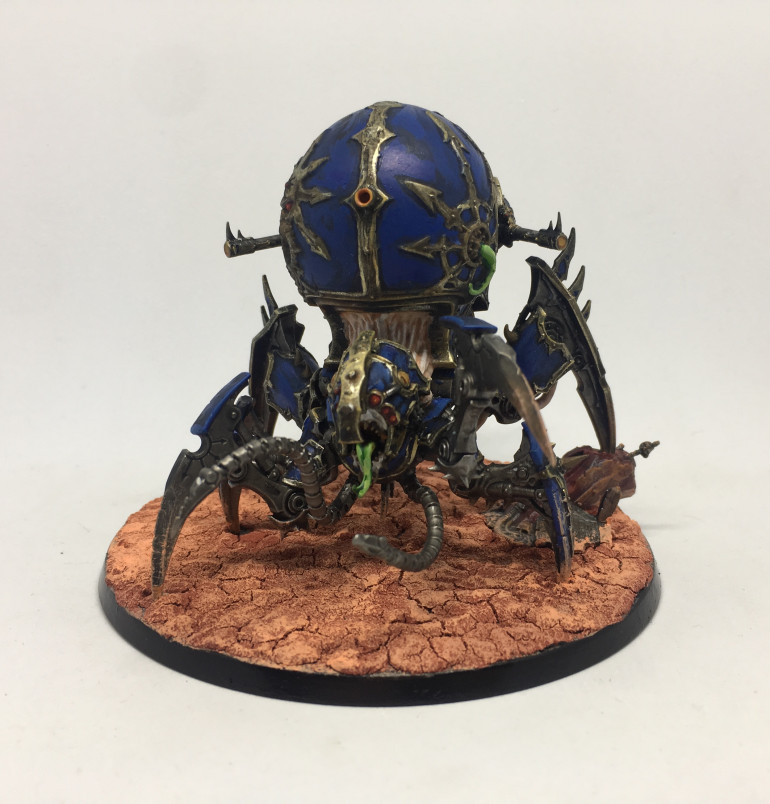
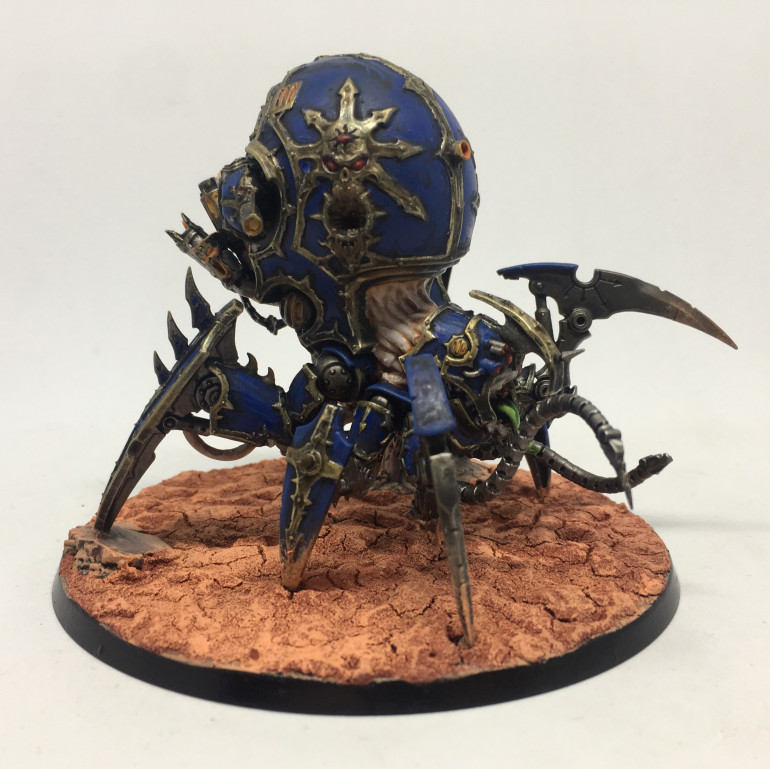
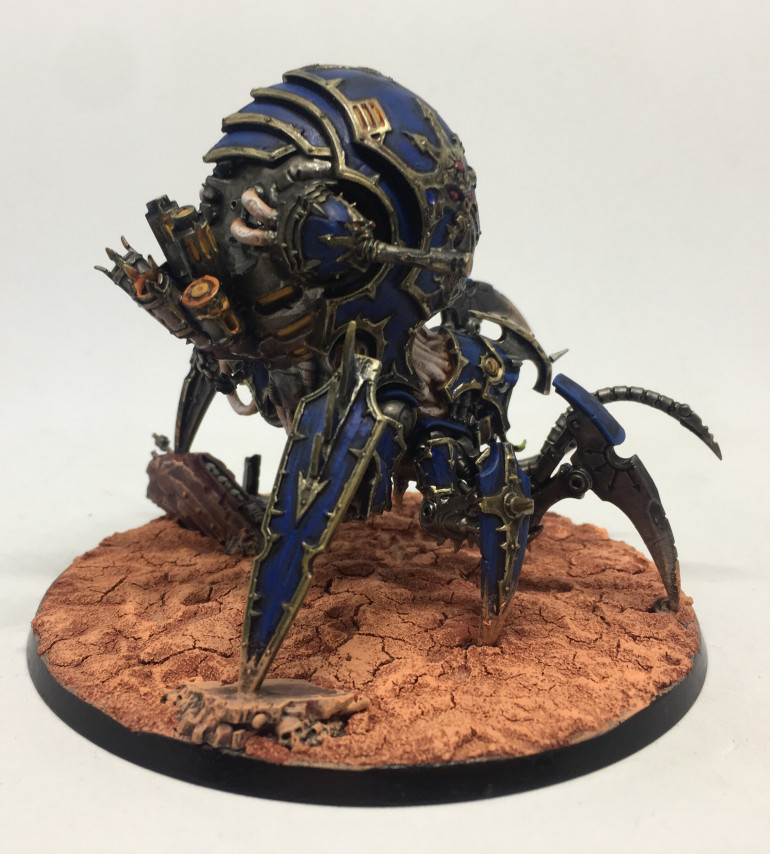
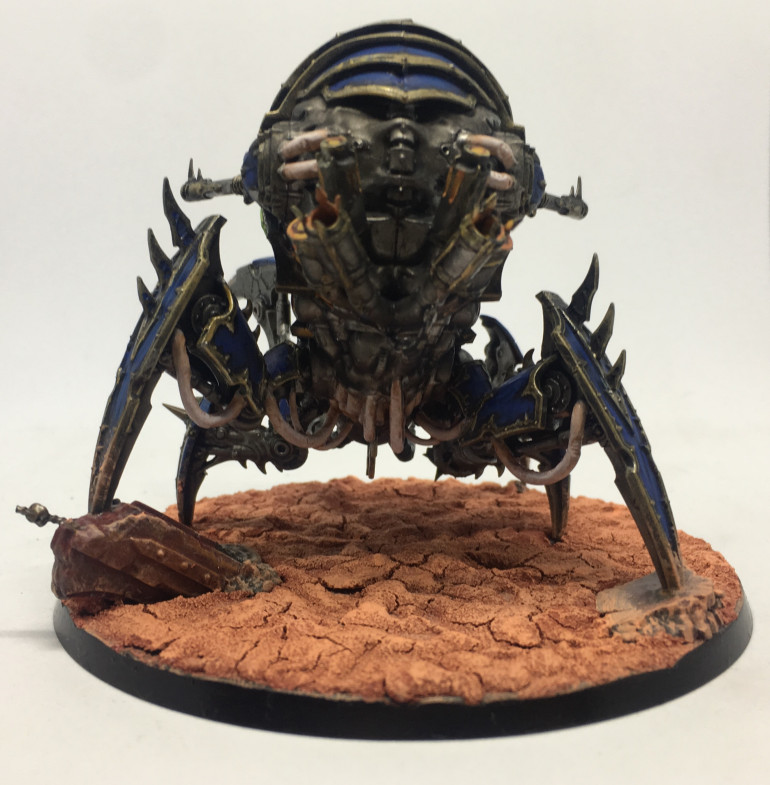
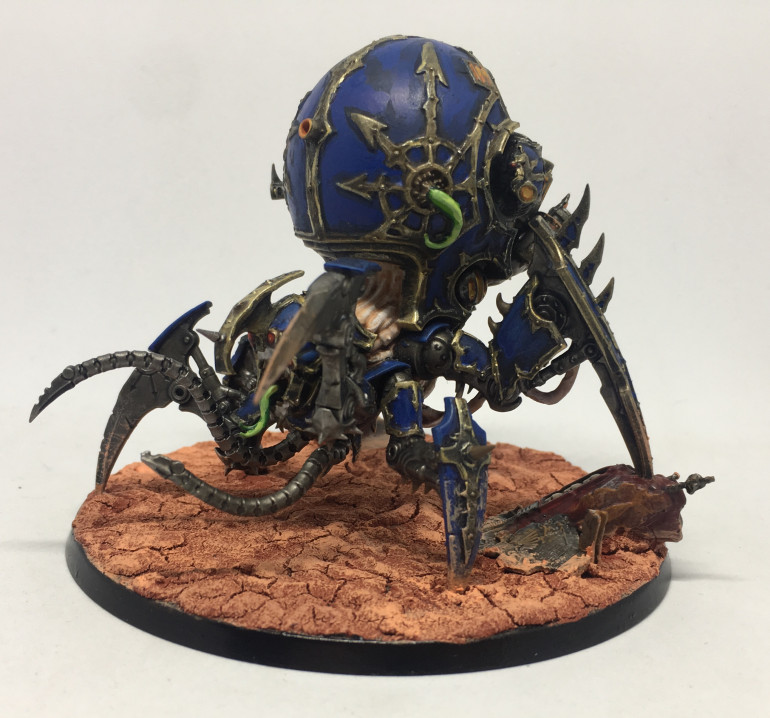
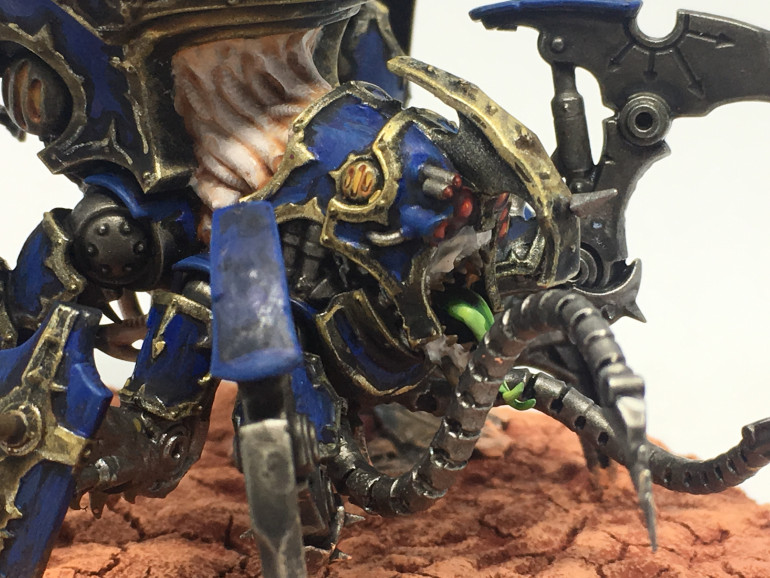
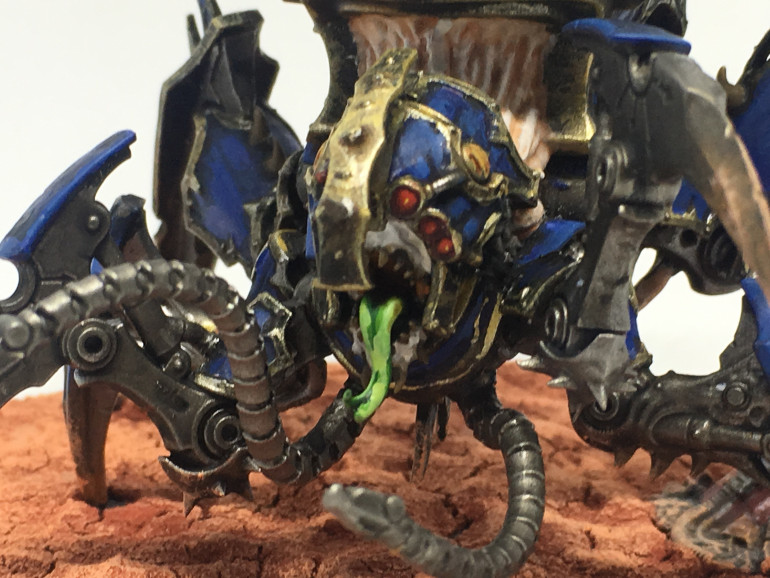
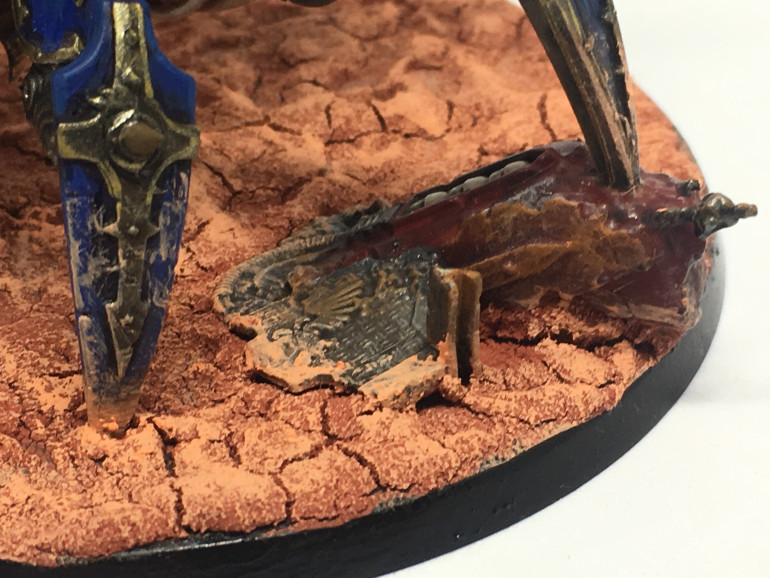
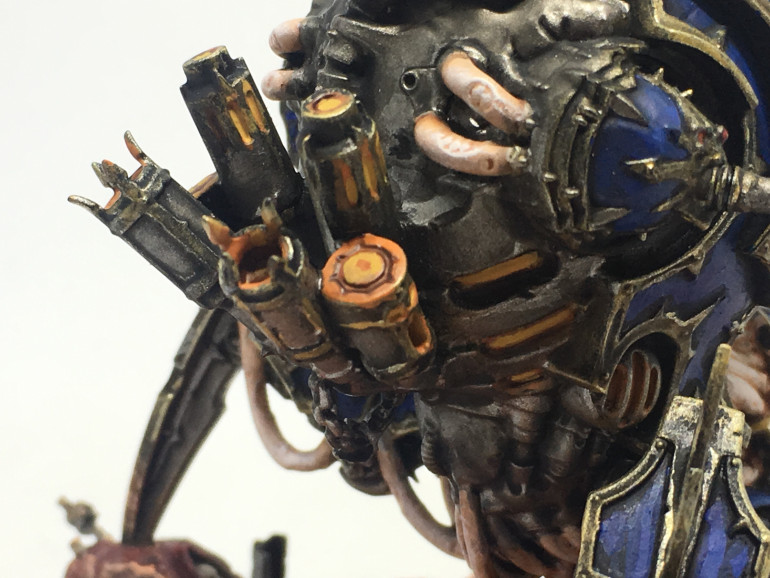
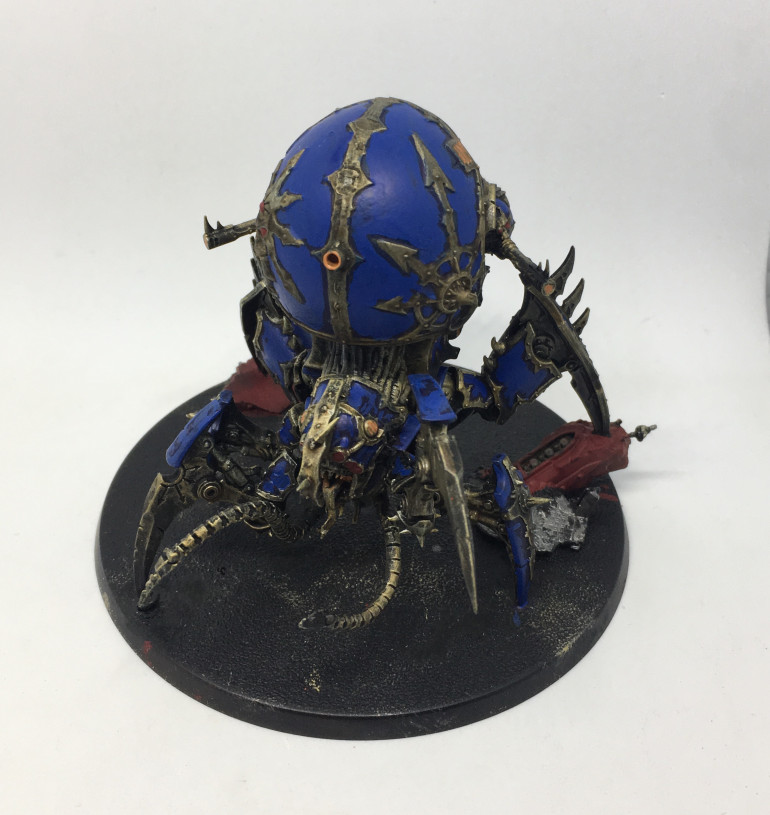
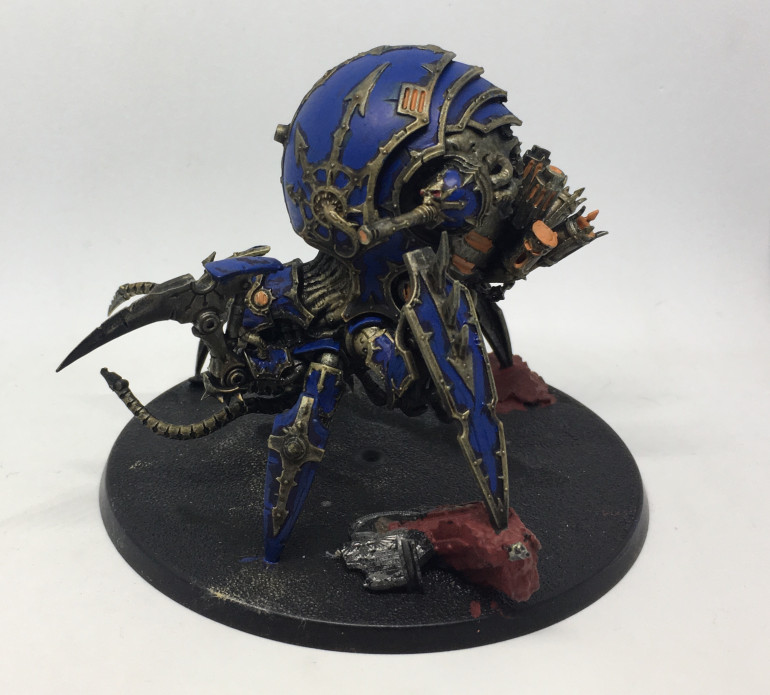
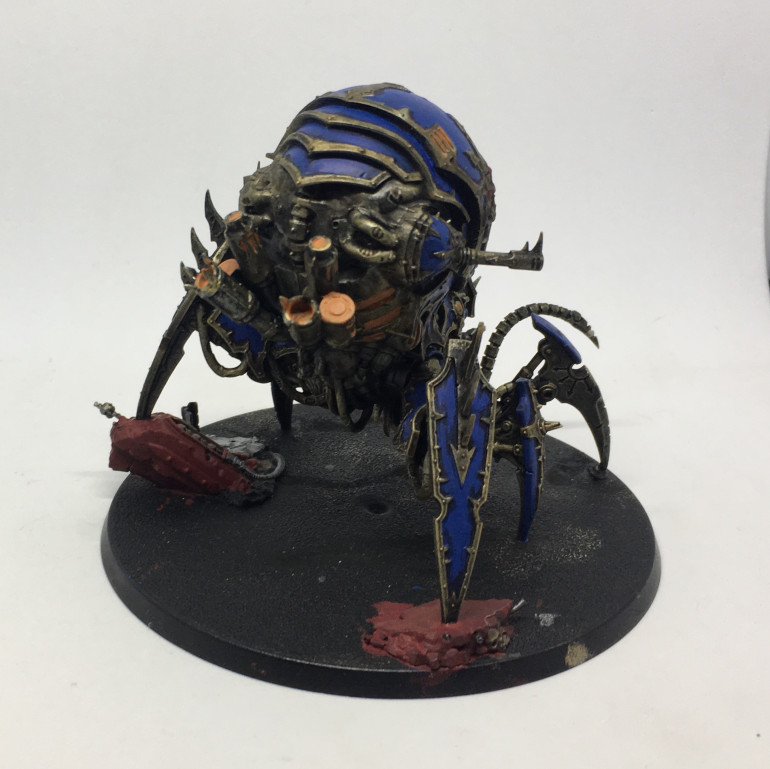
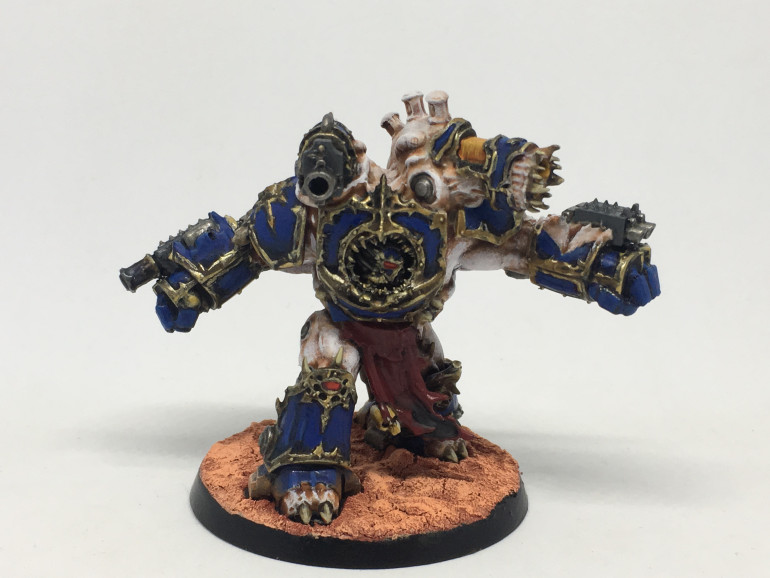
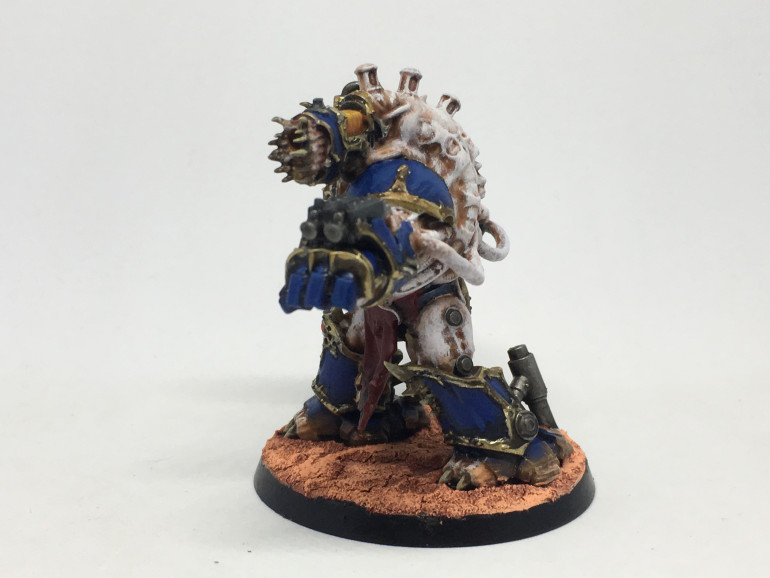
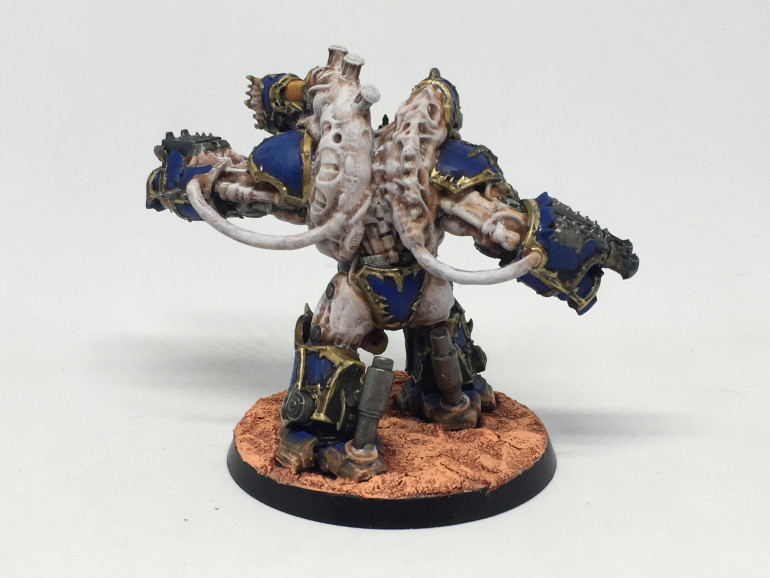
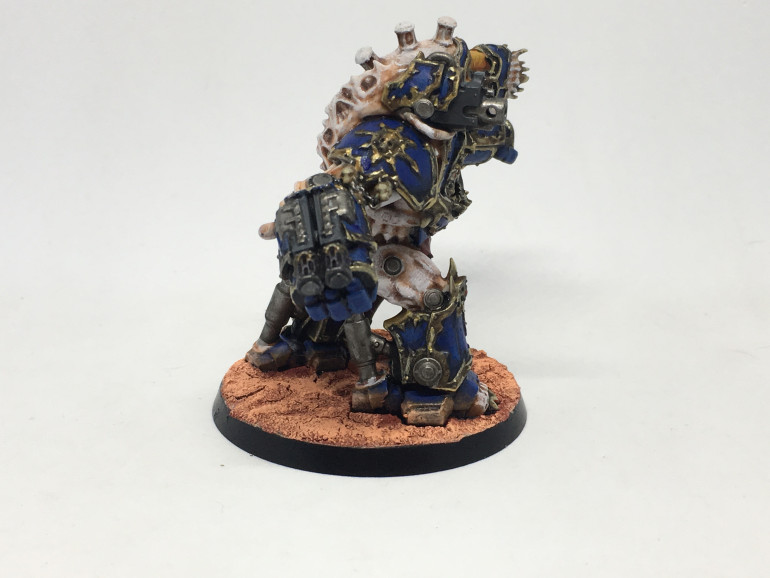
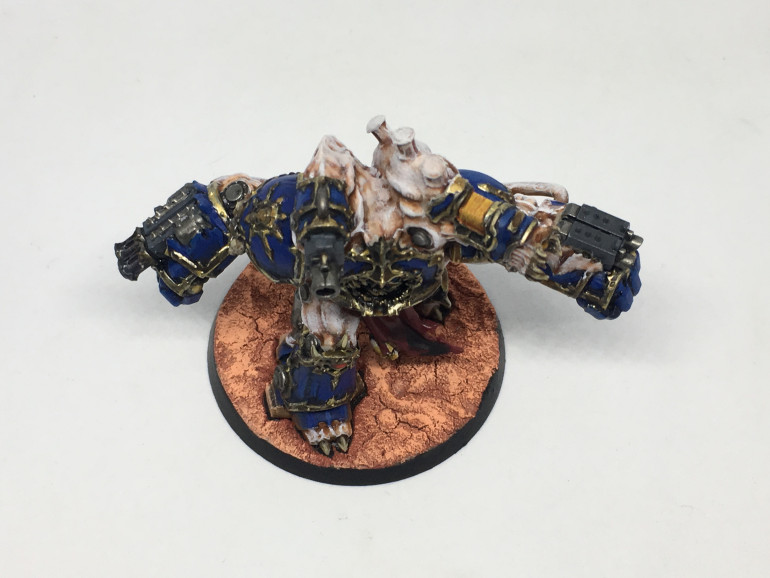
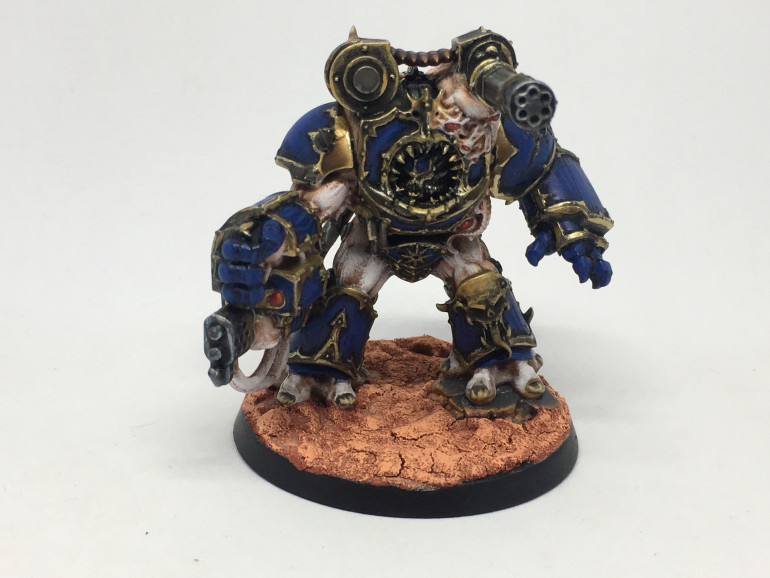
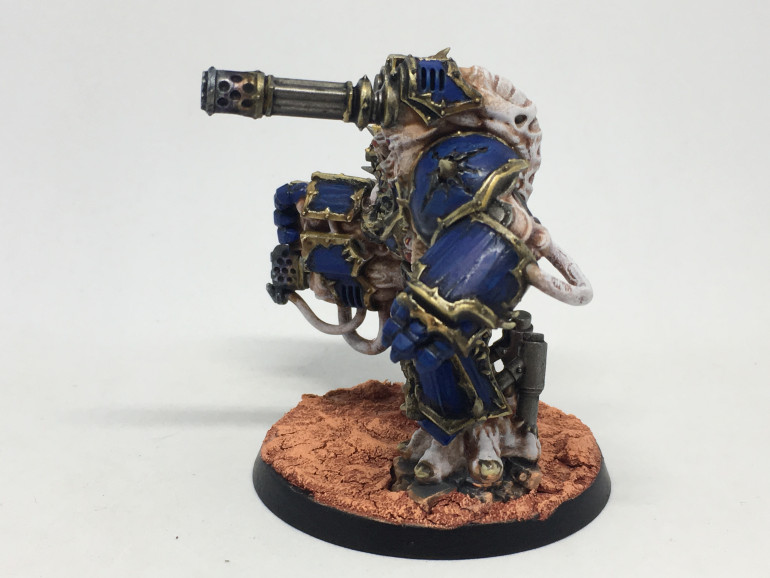
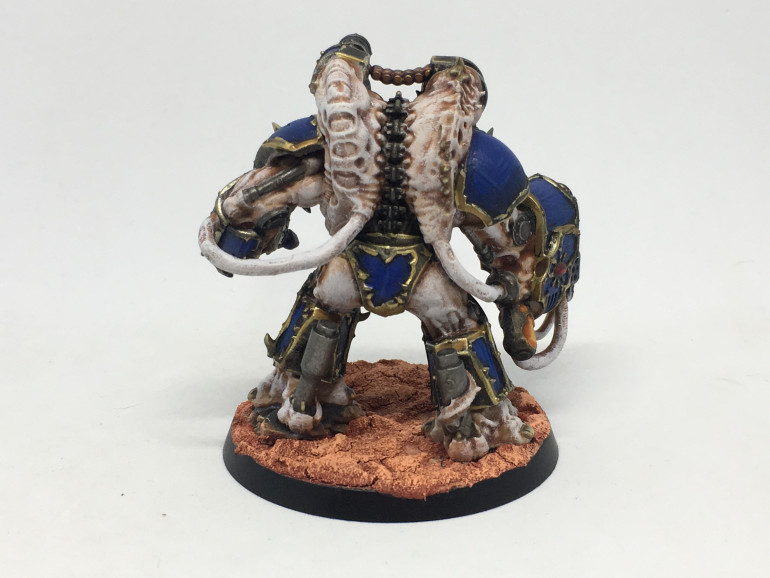
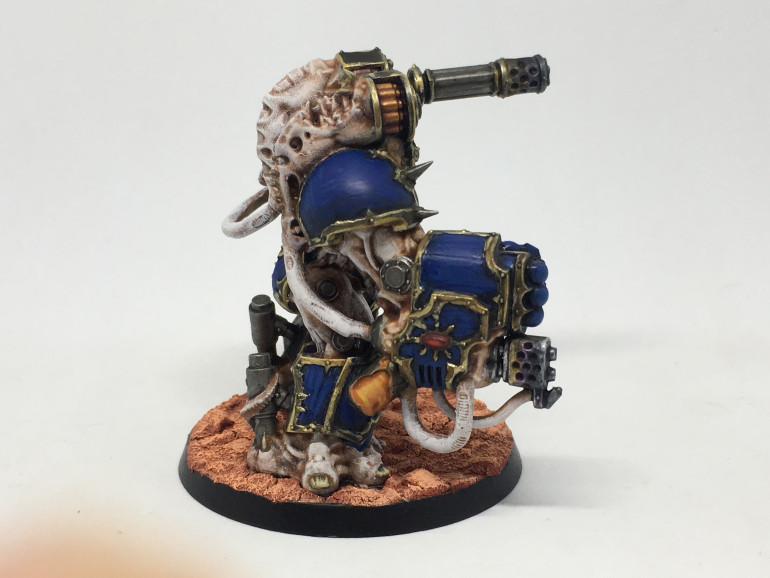
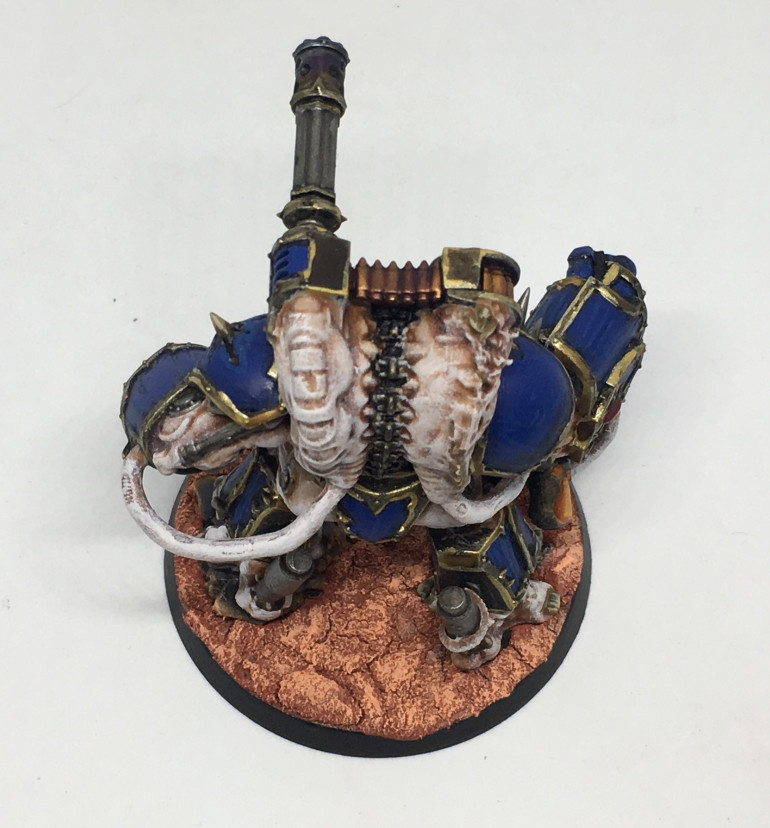
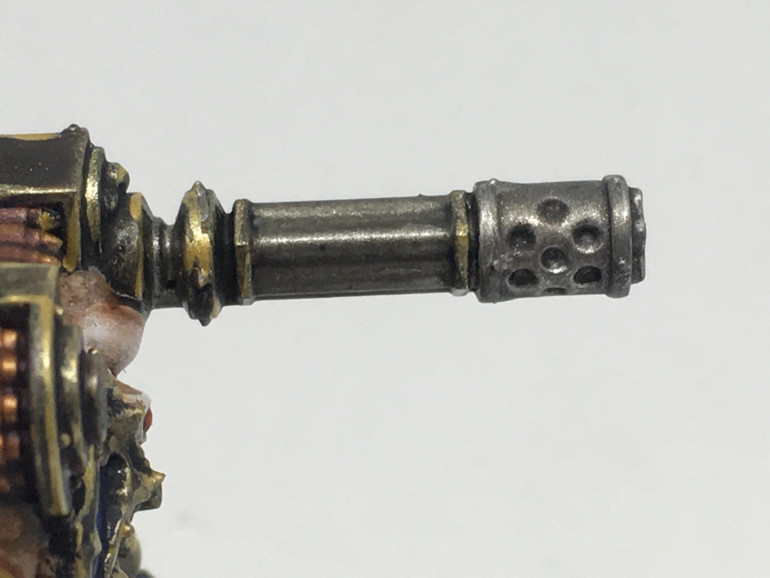
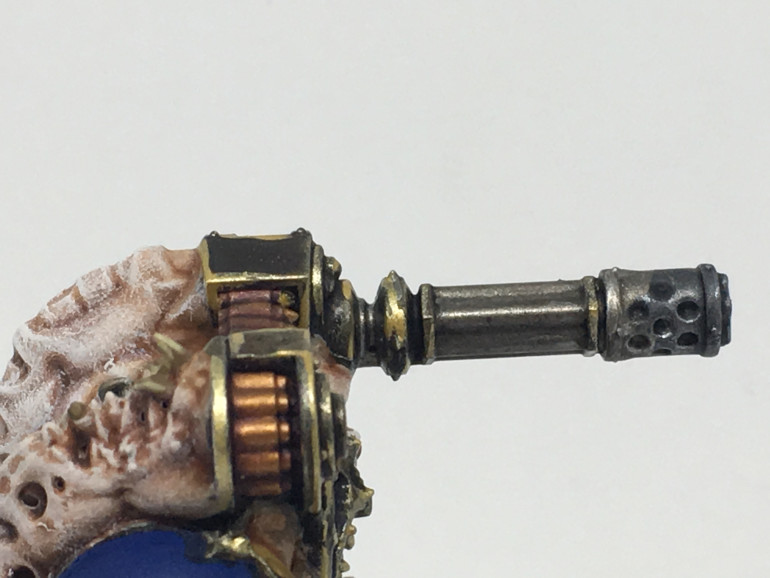
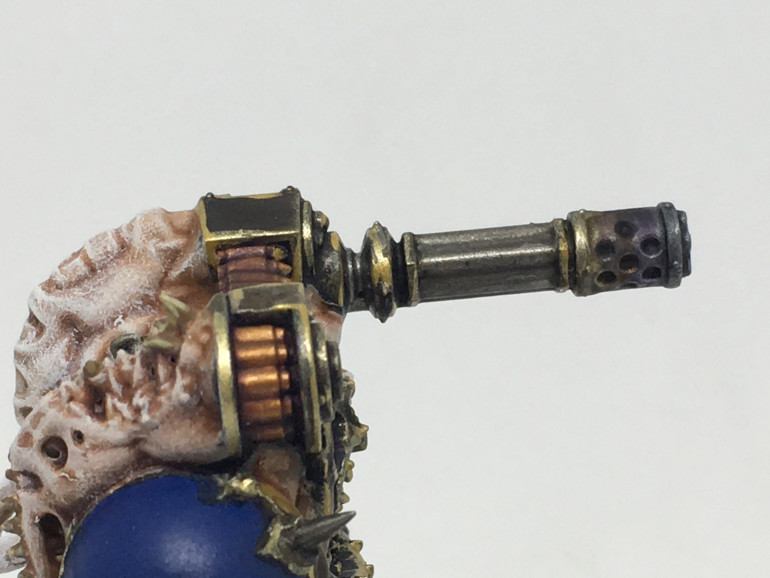
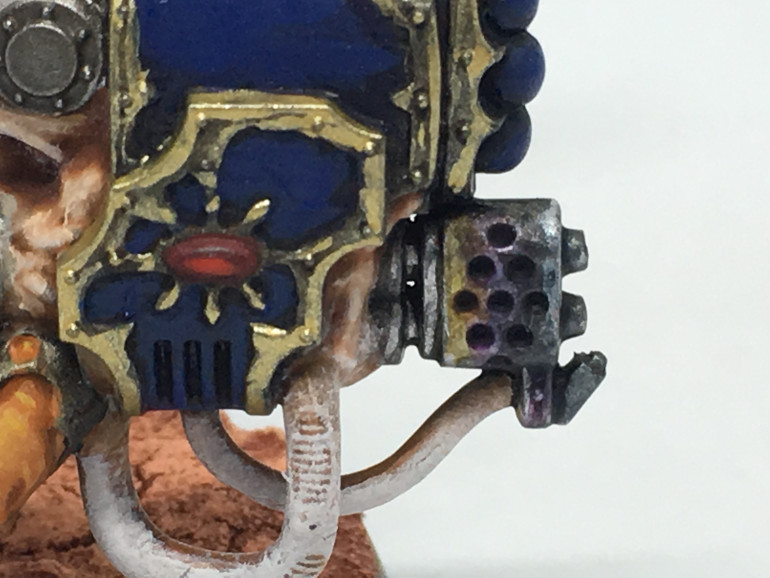
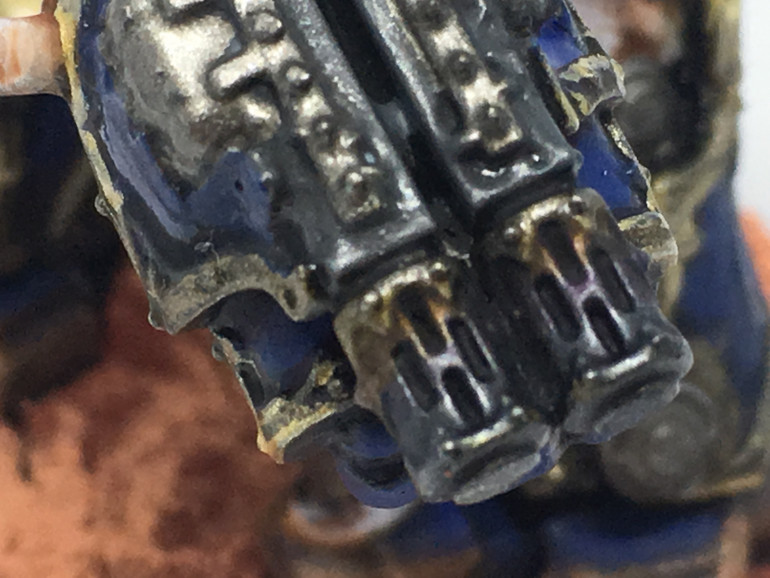
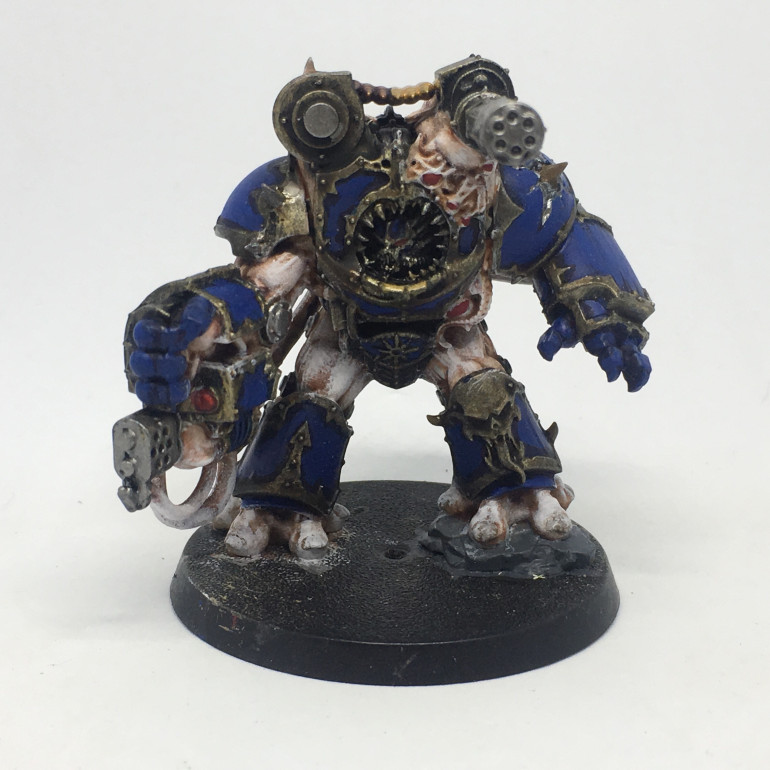
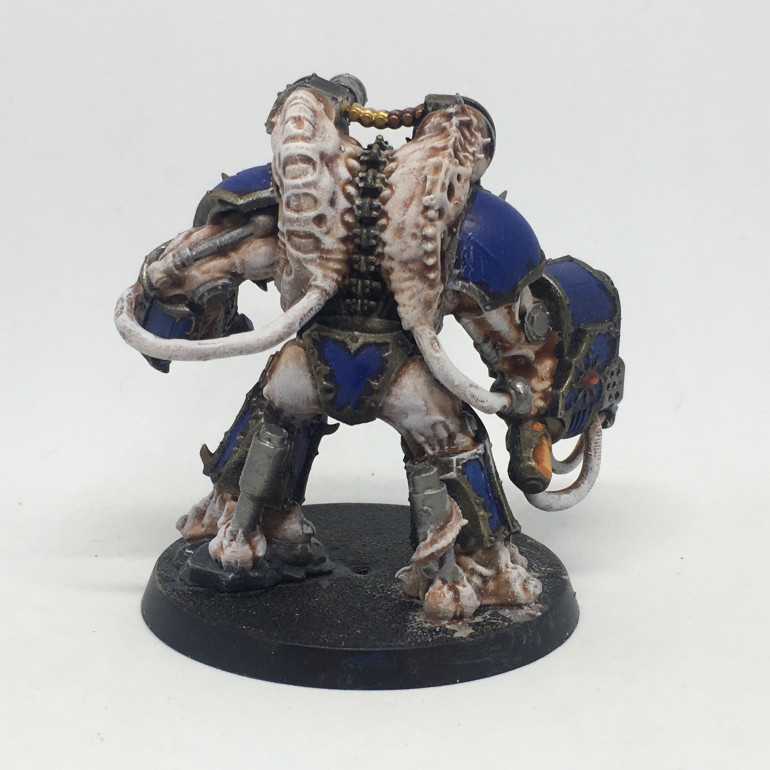
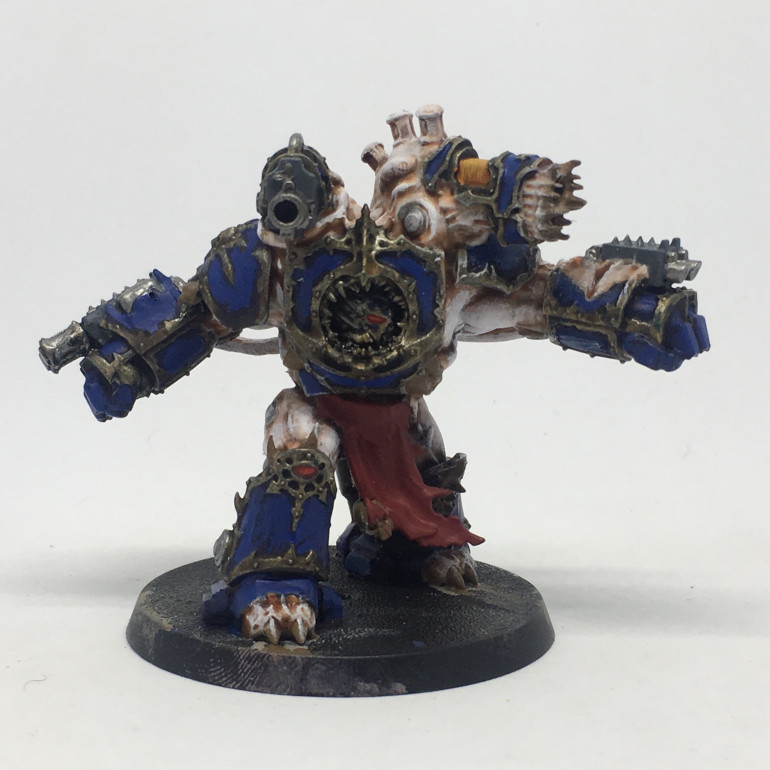
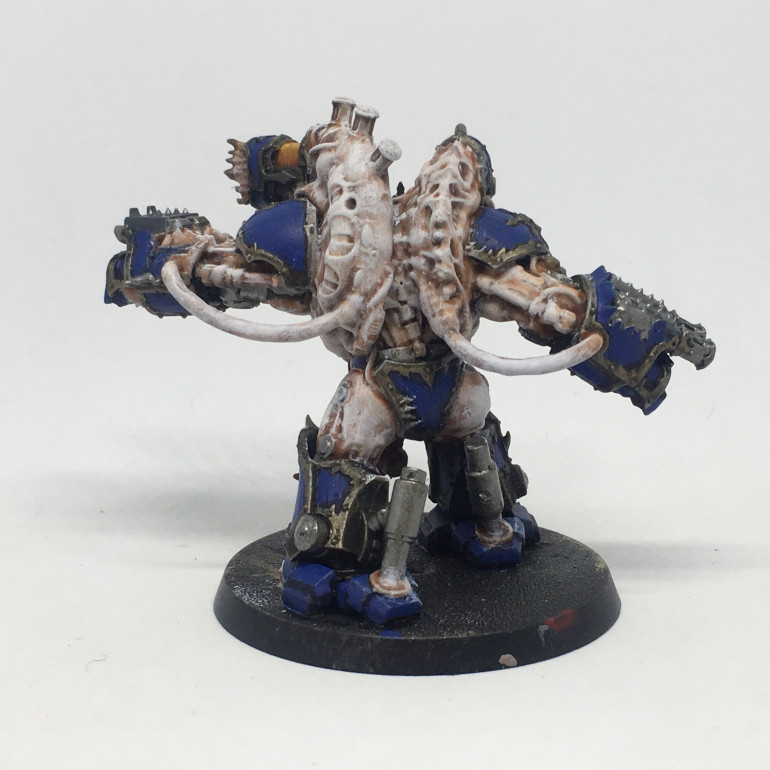
Entry 43: Completed Forgefiend
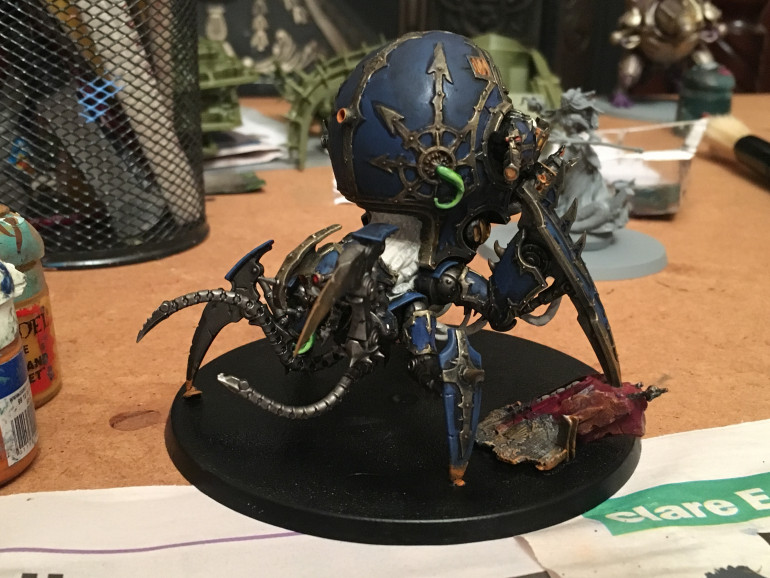
It has been a while since I updated this, and I have taken a break indeed from working on my Night Lords to give attention to my other smaller projects. This Forge Fiend was completed a while back and I have meant to post up pictures of it sooner. I am hoping to get back to my Nightlords sooner rather than later. Enjoy!
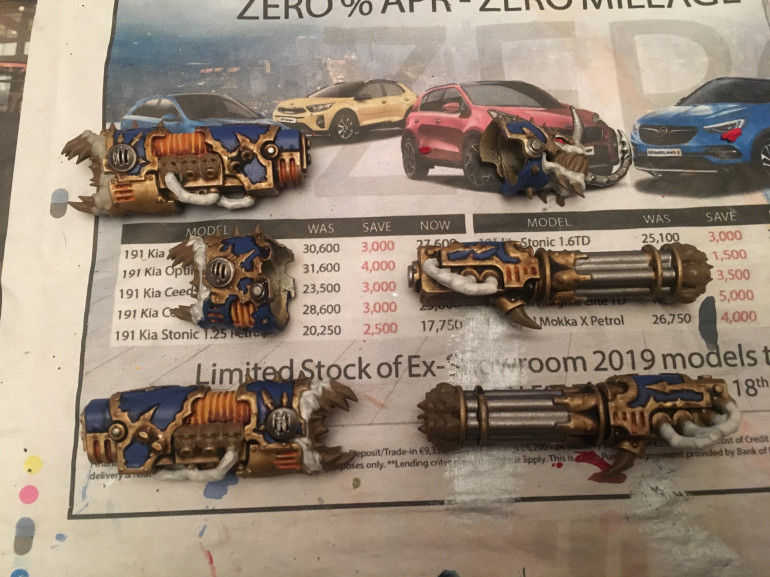
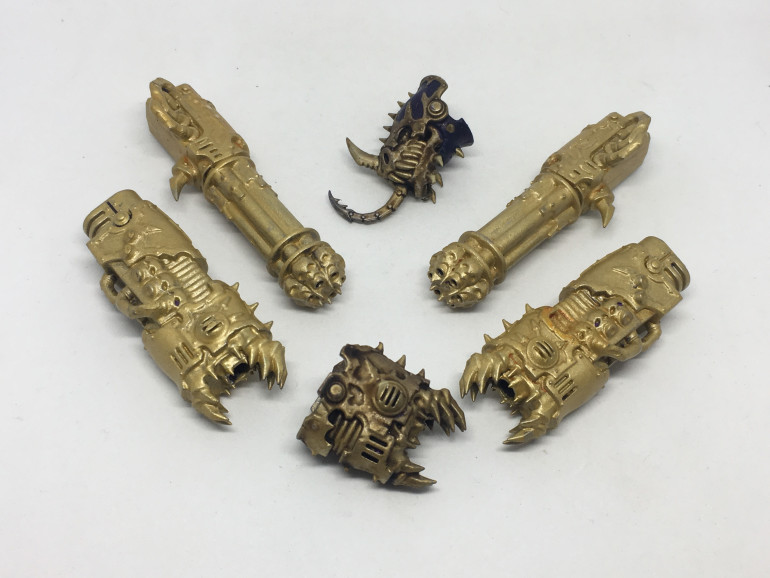
Entry 42:Update WIP Hellbrute Weapons and Heads
Progress of my Forgefiend has been slower than I have anticipated so enjoy this short and sweet post
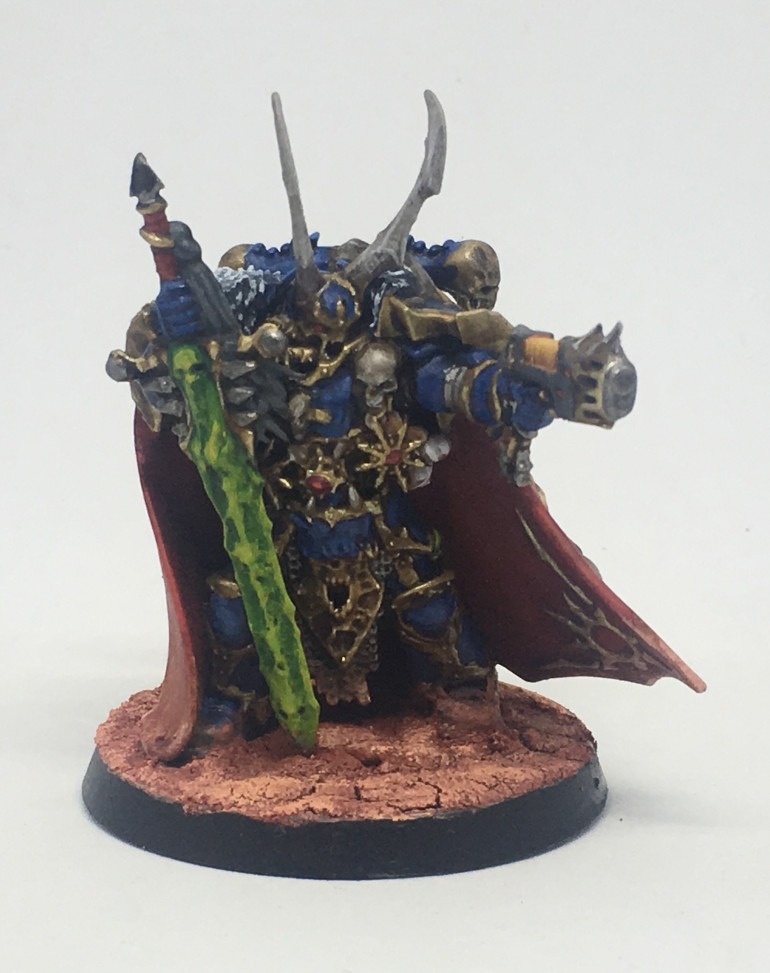
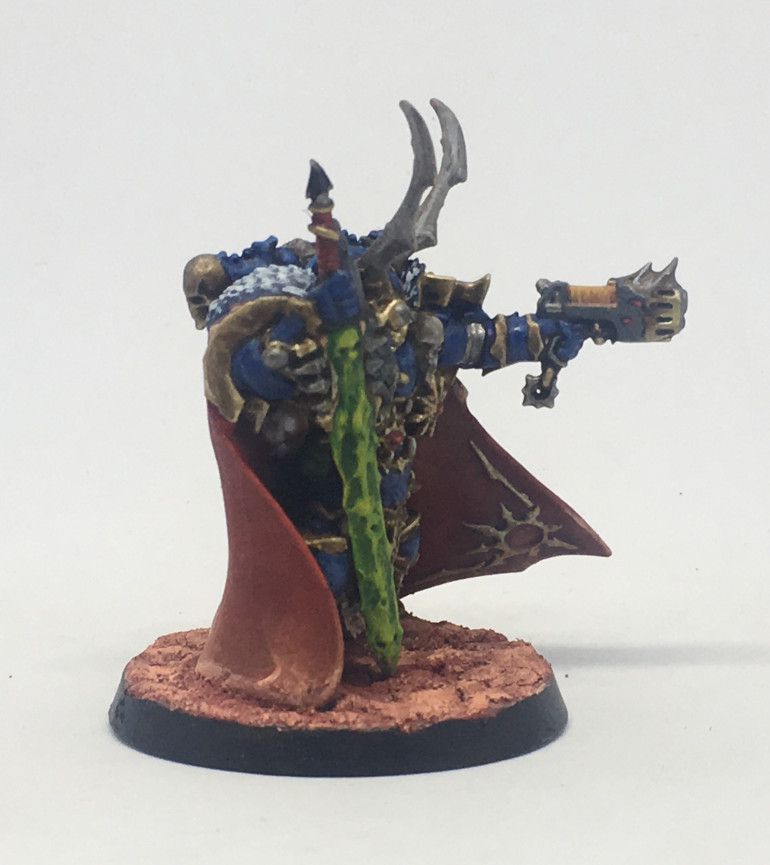
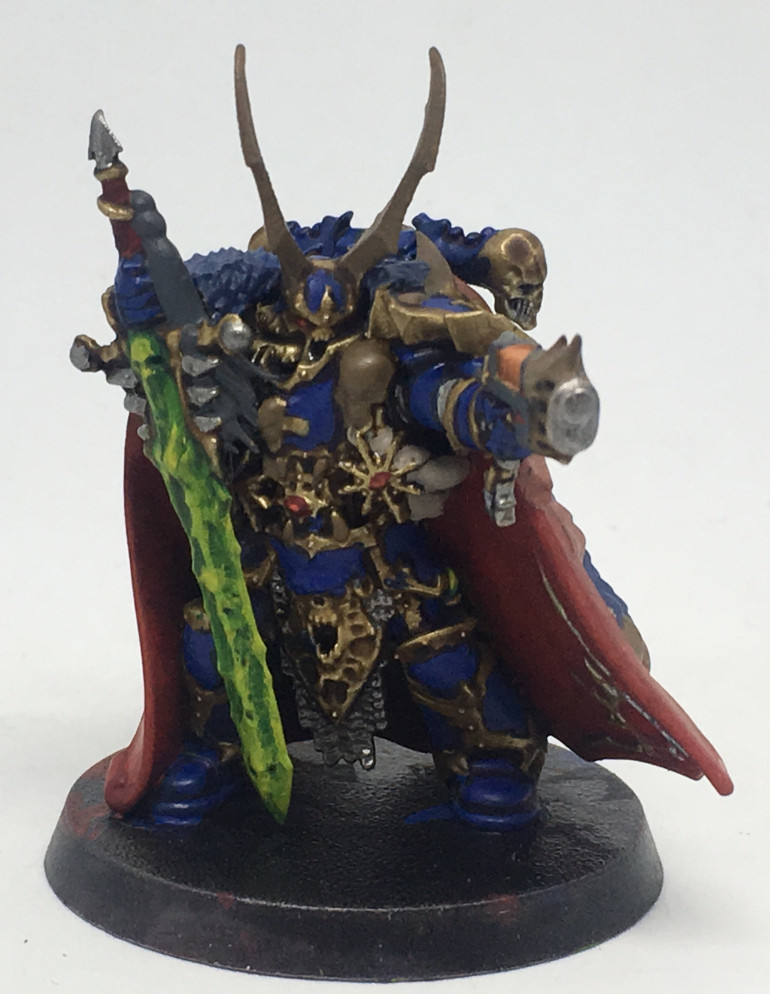
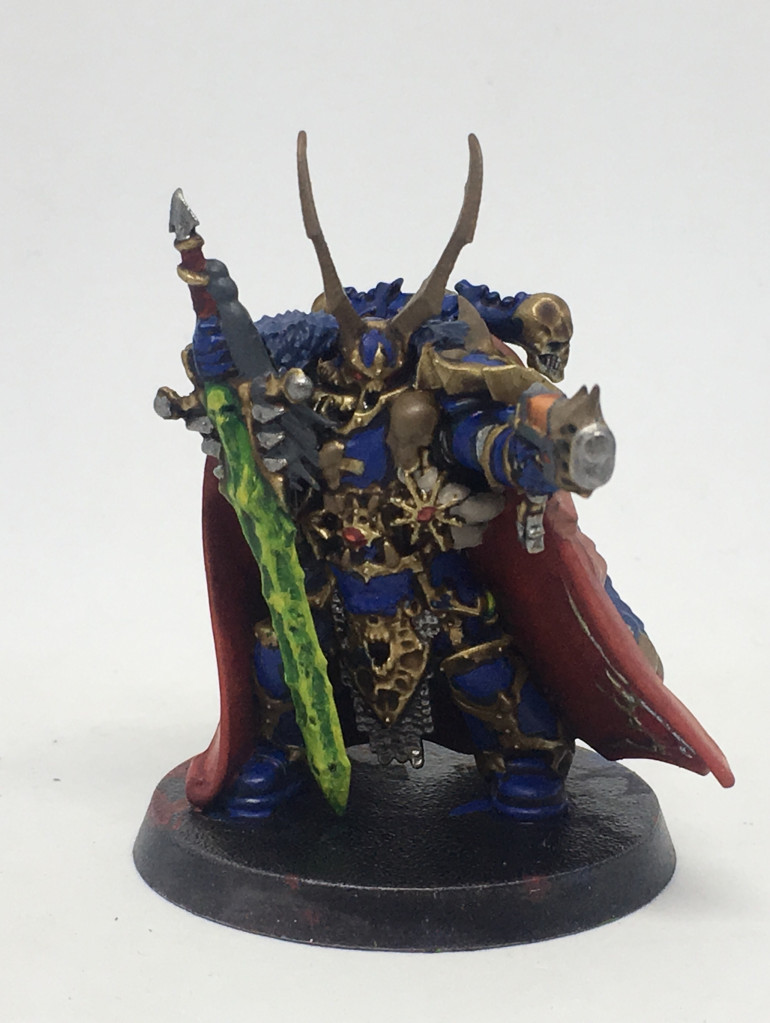
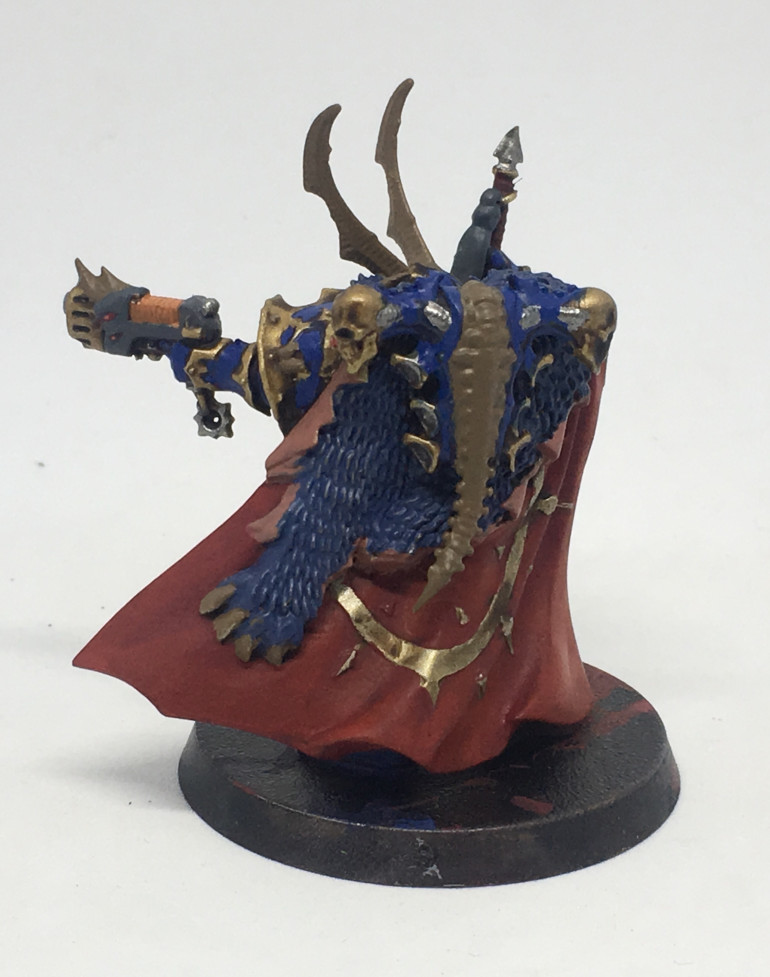
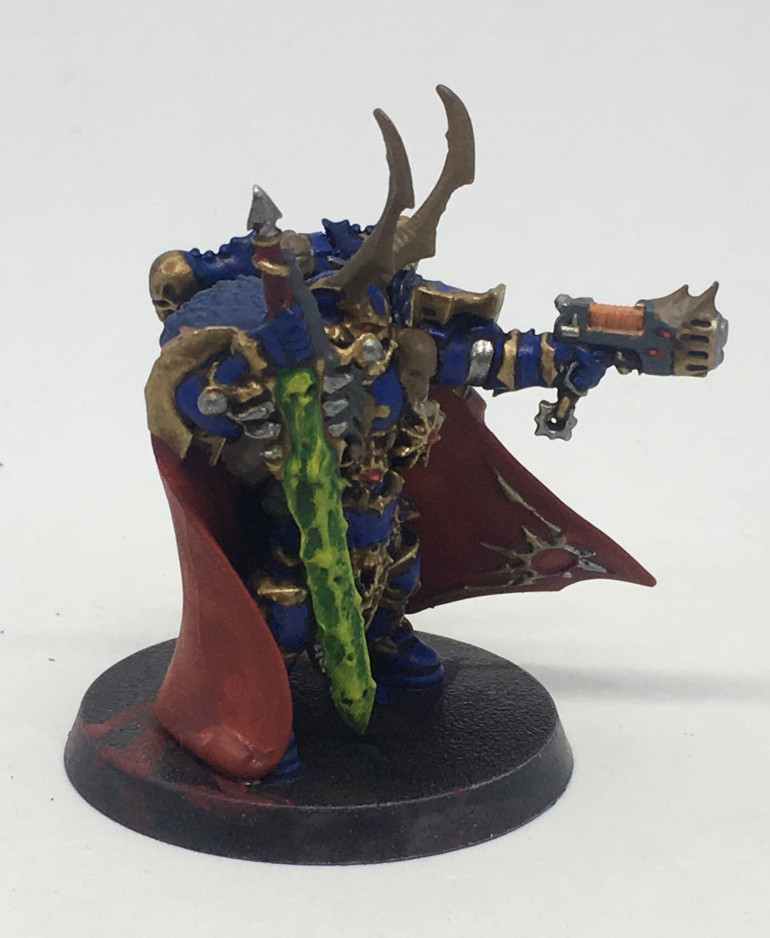
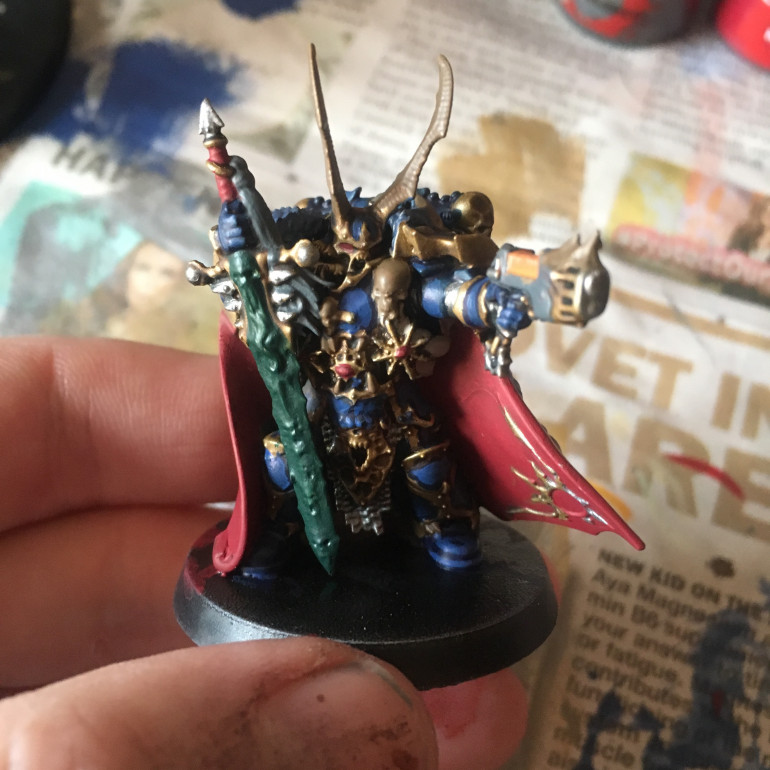
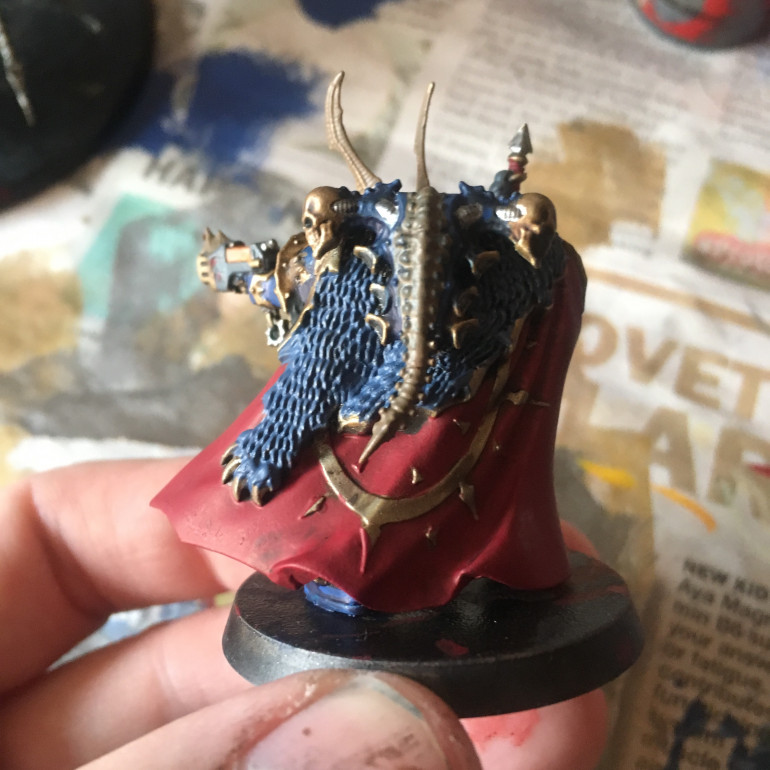
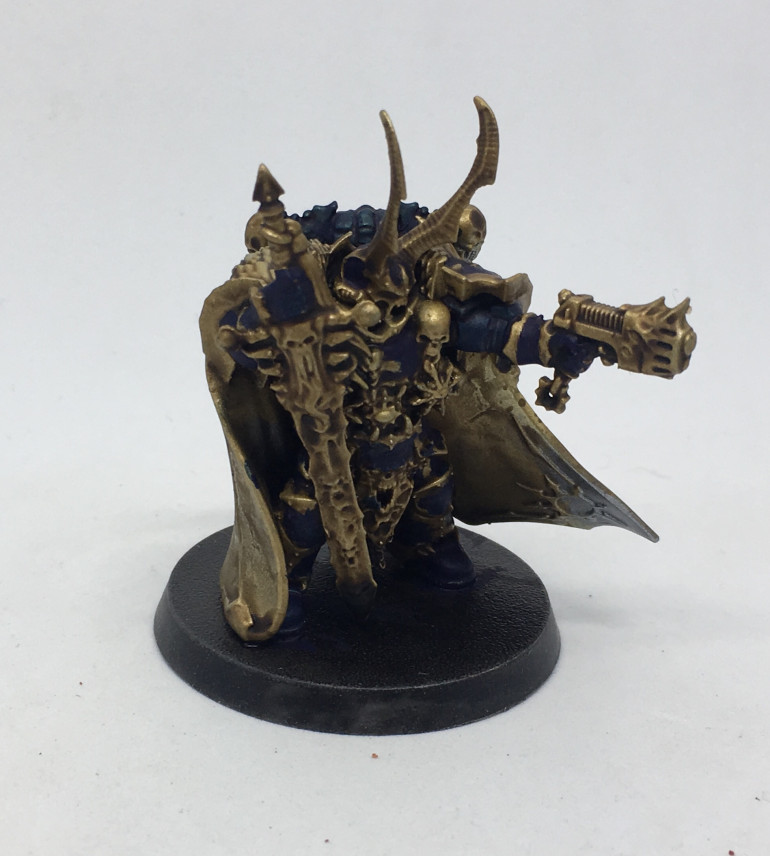
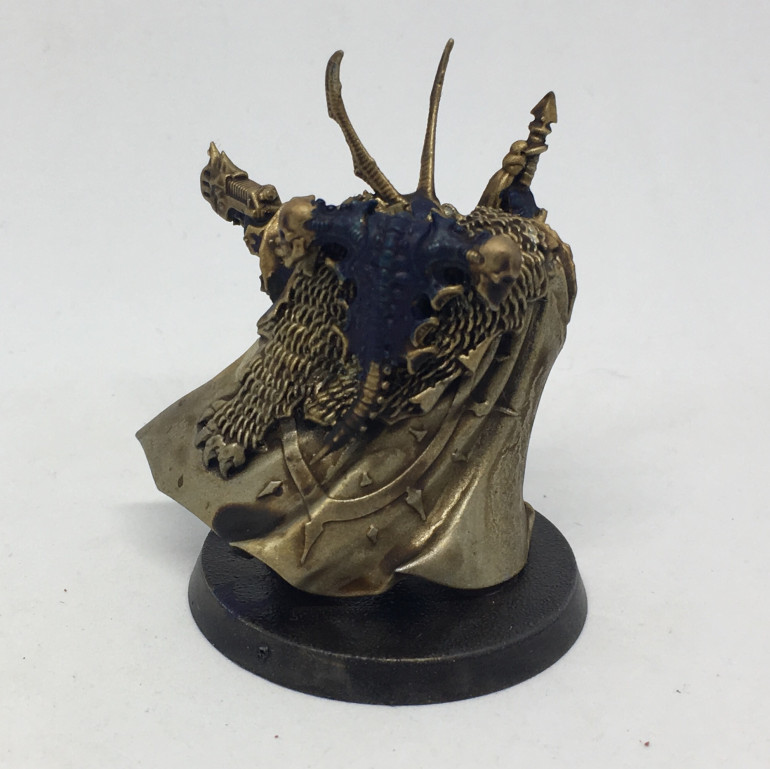
Entry 41: Chaos Lord Complete and Forgefiend WIP
I had a blast finishing the chaos Lord but either the extra details I made mistakes and had to put more work into him.
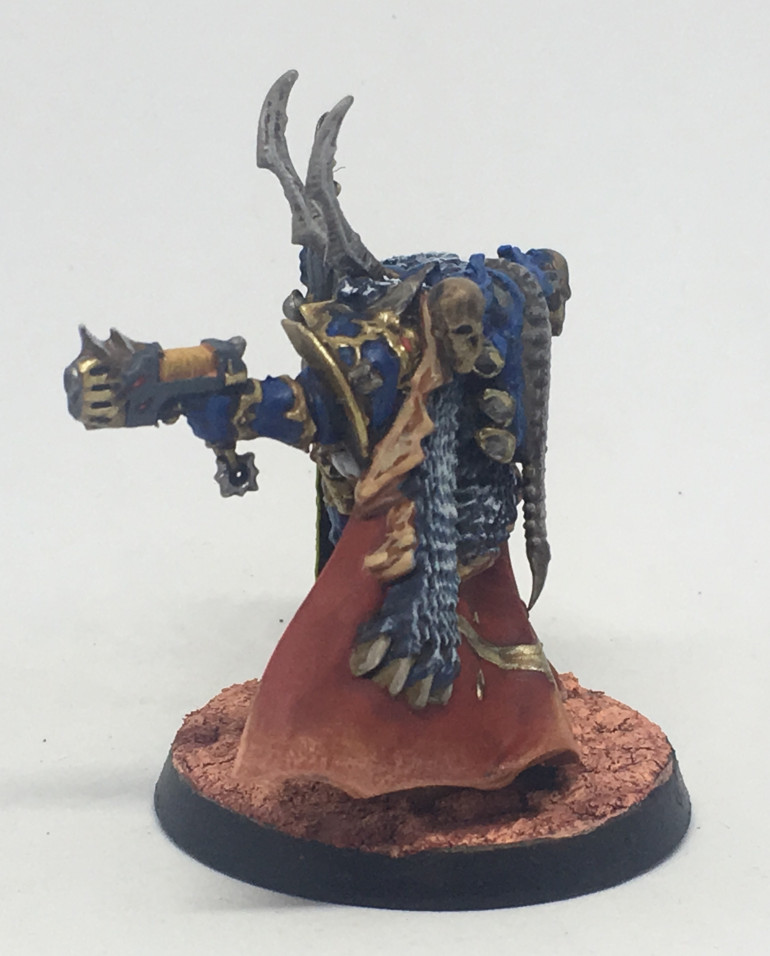
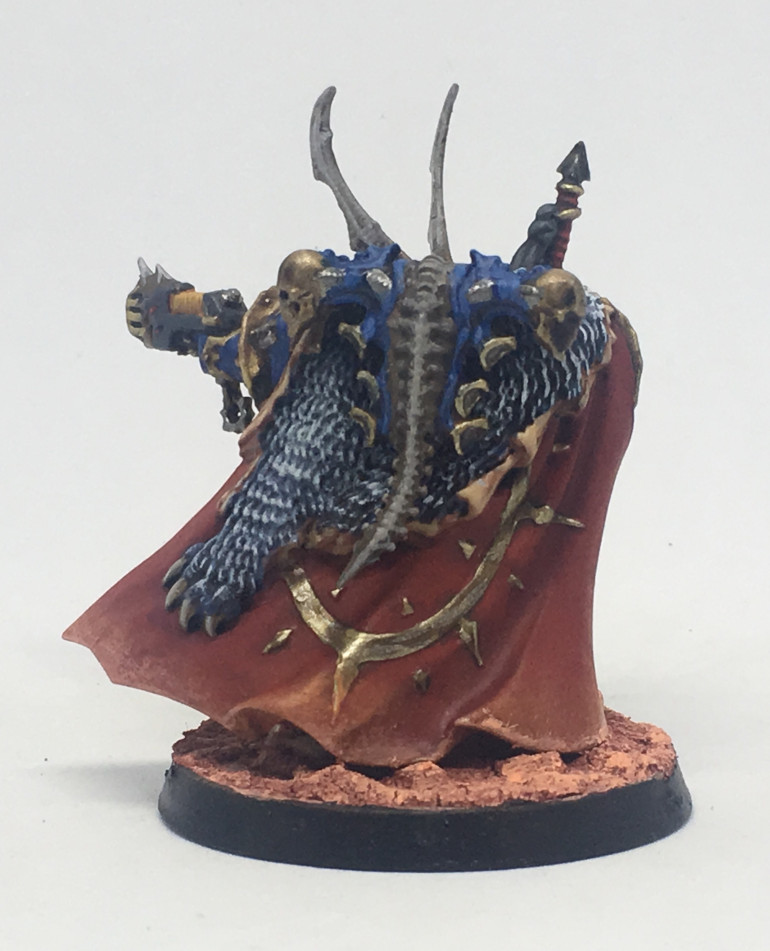
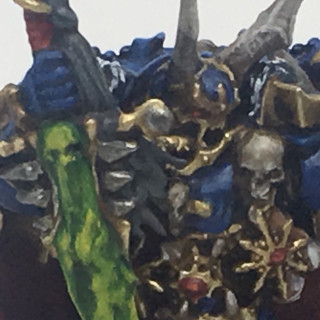
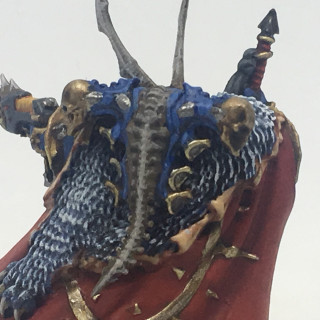
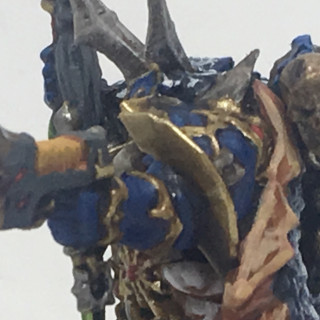
At the bottom are close ups of my favourite details. I’m very happy with this guy.
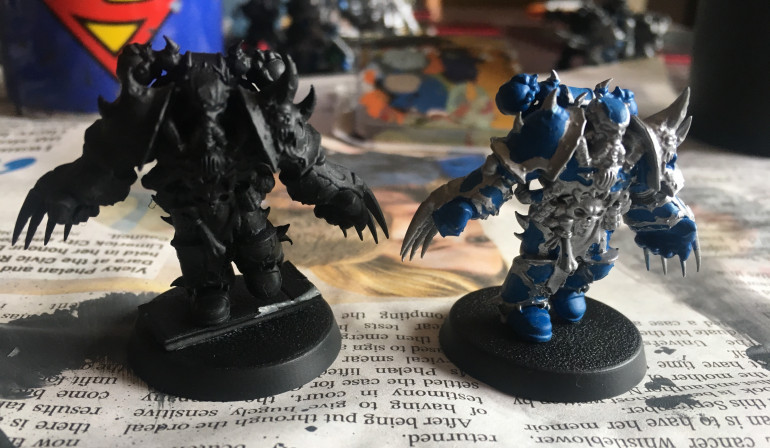
This is the Forgefiend I have been working on for the last couple of days. It’s a great model and fun to paint, despite the tiny numerous mistakes in making.
I think he looks great and it’s fun to be working on another Daemon Engine again so soon
Entry 40: Washes on Chosen and Warp Talons
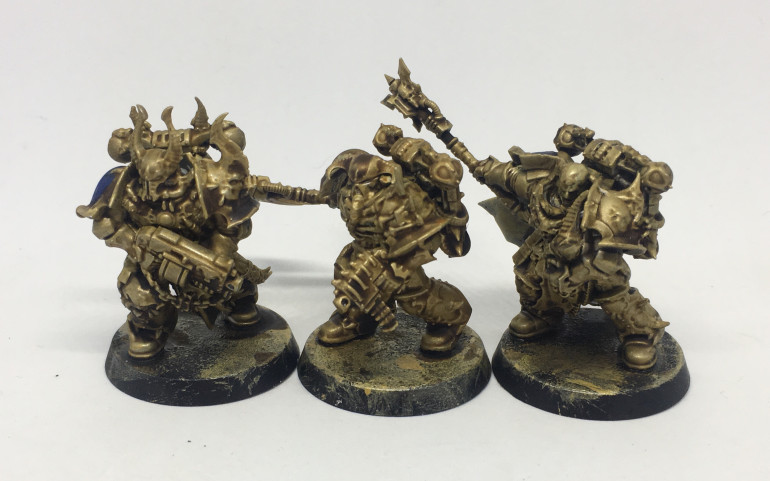
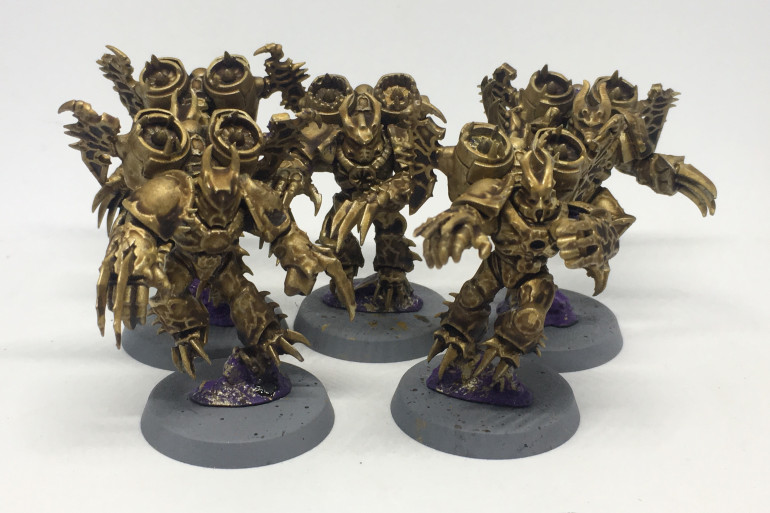
Not much to say other than I put the gold down and did washed, as well as comparison photos of the same models and the conversions I did. Short and sweet!
Entry 39: Initial Work on Hellbrute
A few years ago when the Daemon Engines came out I had mixed feelings about them. Now that time has passed and I have started work on this model, which admittedly has been on the backburner for too long, I have to say I really like them. They will a unique Chaos aspect of the Traitor Legions that was kind of missing since Epic 40,000 all those years ago.
And who cares if they kind of look like dino-bots? Since when were Transformers not cool?
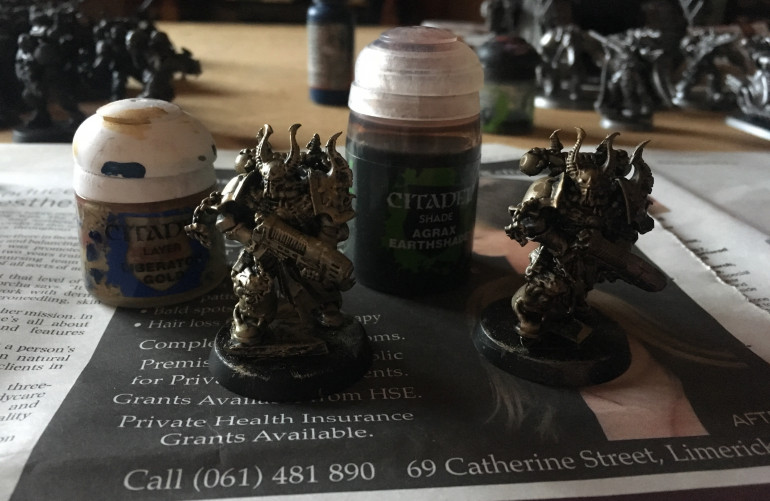
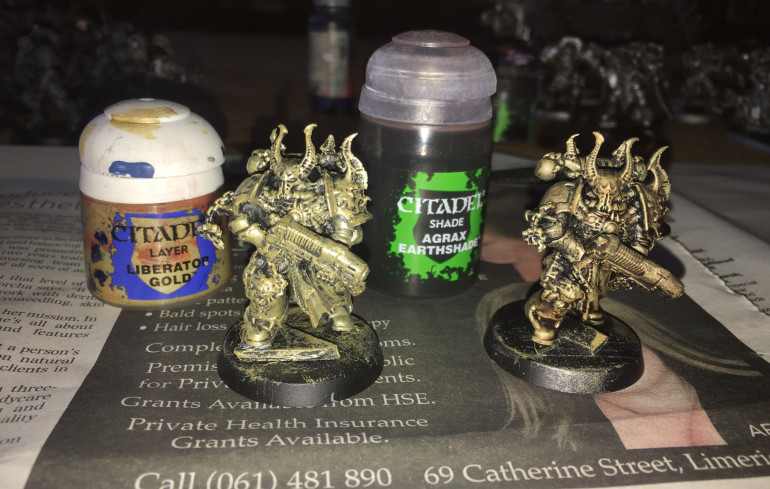
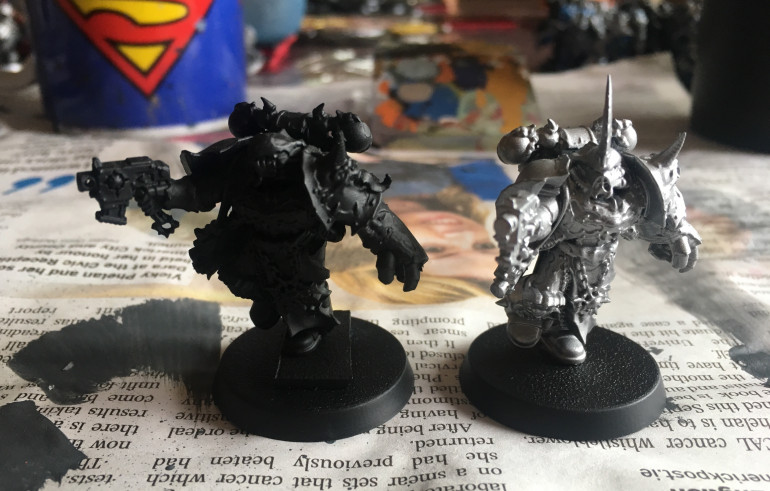
I furiously drybrushed this guy with gold paint before realising the previous purple paint job was still showing through. I gave him another coat of the same gold mixed with Lahmia medium. A little but is still showing through after an Agrax Earthshade wash but since I will be painting over some of this again with other colours it is a non issue.
One of the heads has a little progress while some of the weapons still need the Agrax Earthshade wash. I think it looks cool already even though I have not blocked in the base colours yet.
Entry 38: Chaos Lord half finished.
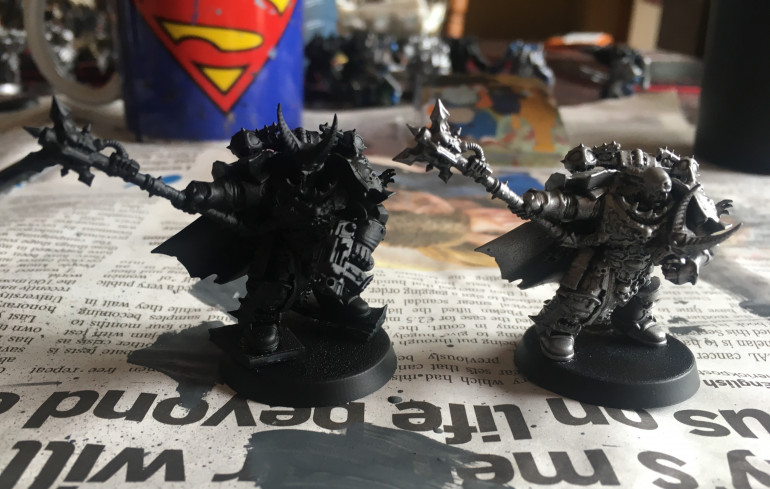
The rebased, repainted and reappropriated Chaos Lord from the old Dark Vengeance set has had significant work done this morning. Some details are finished, the gold needs touching up, and the rest of the model is ready to be finished off. Washes, touches and highlights need to be done and he will be ready for basing and I can call him finished.
With most of the unfinished details have their block colours done its hard to admit that he does not look great in the photos. Seeing the model in person is a different matter. It will be fun to finish him and throw up the completed pictures.
Entry 37: Night Lords Blue Tutorial
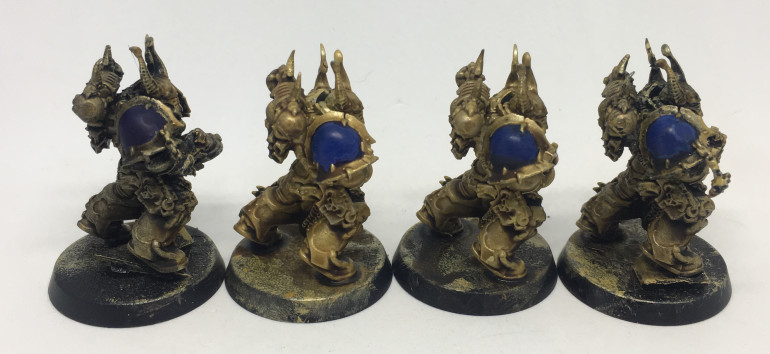
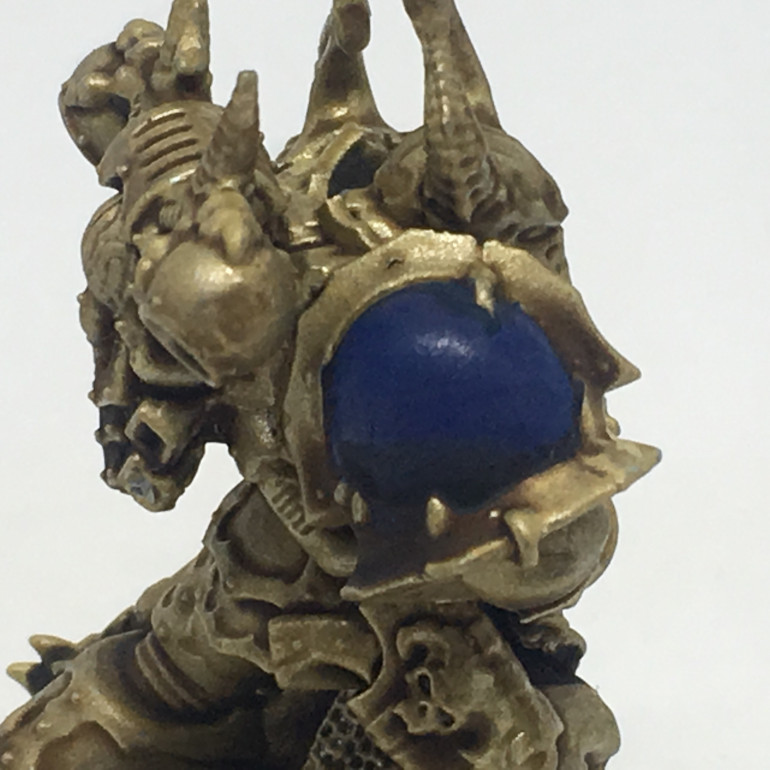
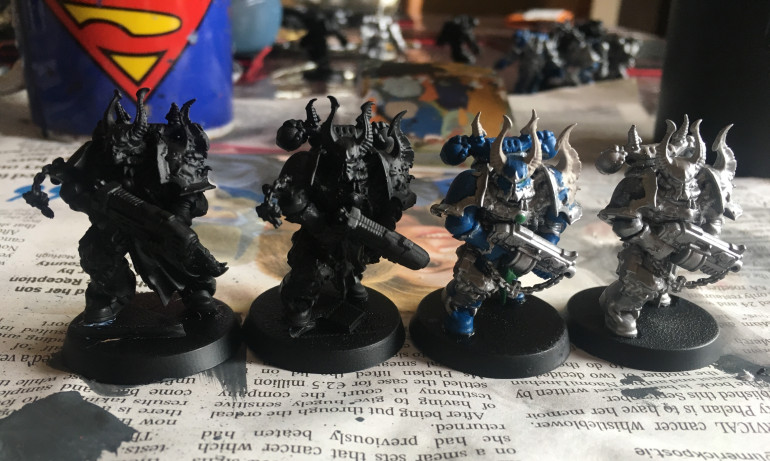
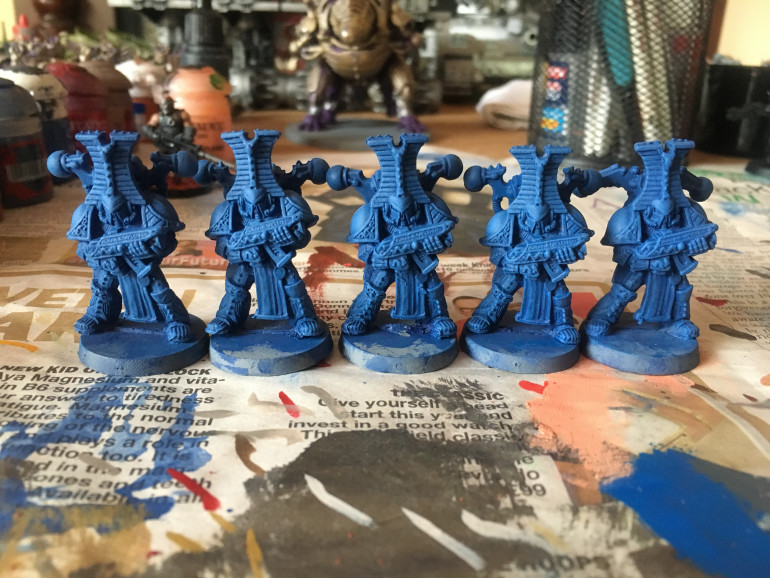
This is my Night Lords blue power armour technique. The first image is each stage step by step on four almost identical models. Also this is a handy tool if you have old paints or new paints and want to convert anything:
https://www.dakkadakka.com/wiki/en/Paint_Range_Compatibility_Chart
Stage 1: Vallejo Night Blue
Stage 2: Mordian Blue (Old GW) or Macragge Blue (New GW)
Stage 3: 40/60 mix of Water and Nuln Oil
Stage 4: Edge highlight of slightly, slightly, watered down Alaitoc Blue
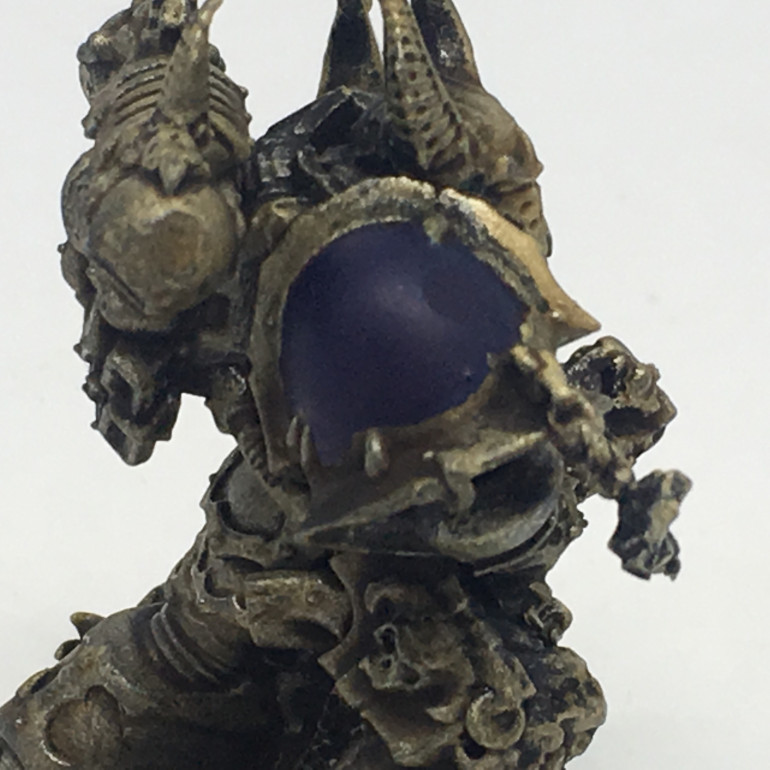 Apply Vallejo Night Blue. This stuff is thick and pigmenty so you need to add more than the normal amount of water.
 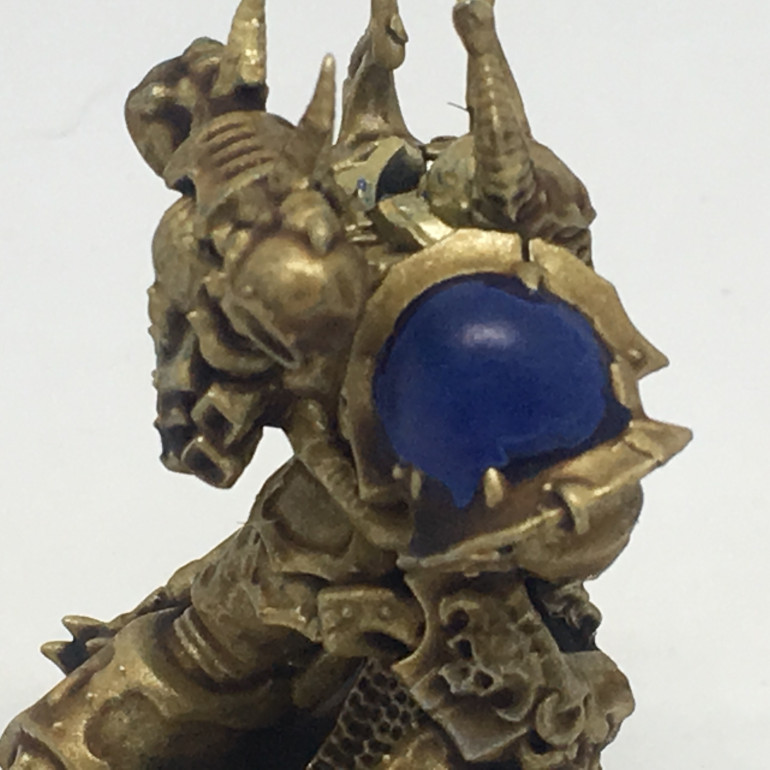 Apply Mordian Blue leaving the original colour in the recesses. Macragge Blue will do in the current range of GW paints
Entry 36: Finished Venomcrawler
Enjoy my finished venomcrawler. He was intimidating at first but it was a blast and I’m happy with the end result
Entry 35: A brief Gold Tutorial.
The Night Lords were never bright or vibrant. At present they are a broken legion: their Primarch is dead, there is little in the way of structure and they are a shadow of their former glory. They have to scavenge for equipment and resources out of desperation like vultures. I reason the gold trim would be dark and dirty.
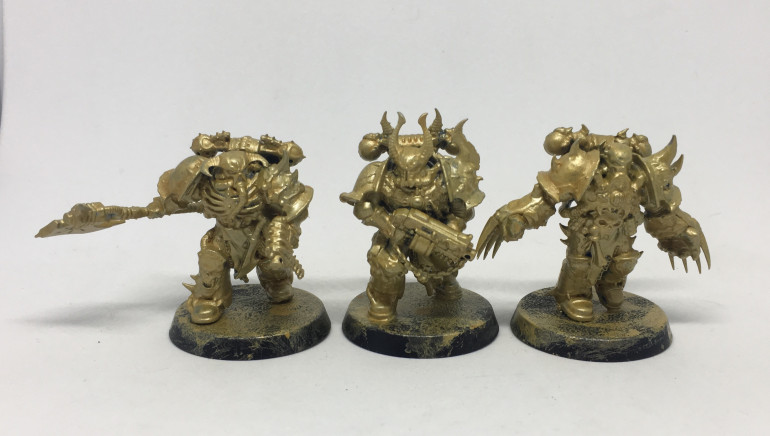
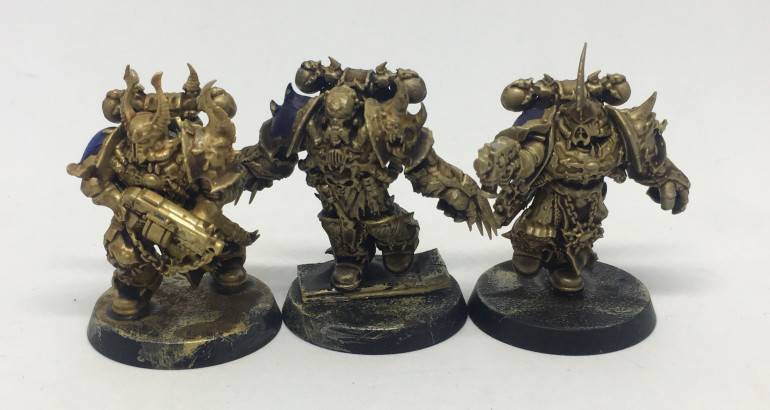
- Step 1: Drybrush Golden Griffon or Liberator Gold (I used Liberator Gold below)
- Step 2: A liberal wash of Agrax Eartshade (not Agrax Earthshade Gloss – it makes it too shiny and clean)
- Optional Step 3: Edge highlight the most prominent areas (shoulder pads, some of the backpack parts, parts of the helmet, chainsword trim) and straight edges only with Liberator Gold
Entry 34: Refurbished Chosen Part 2
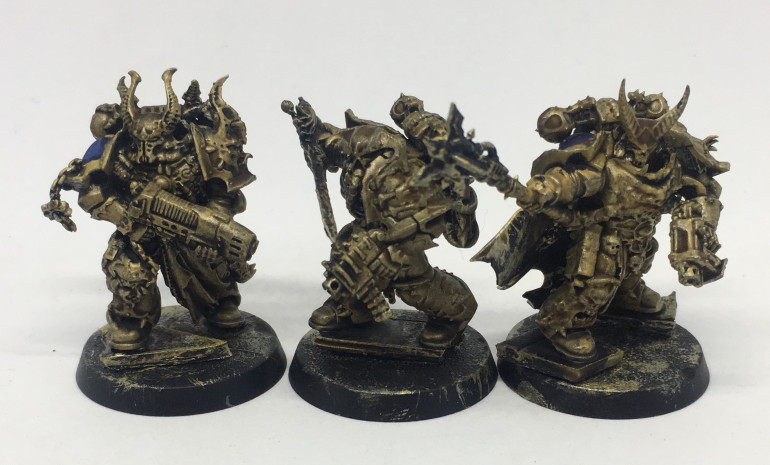
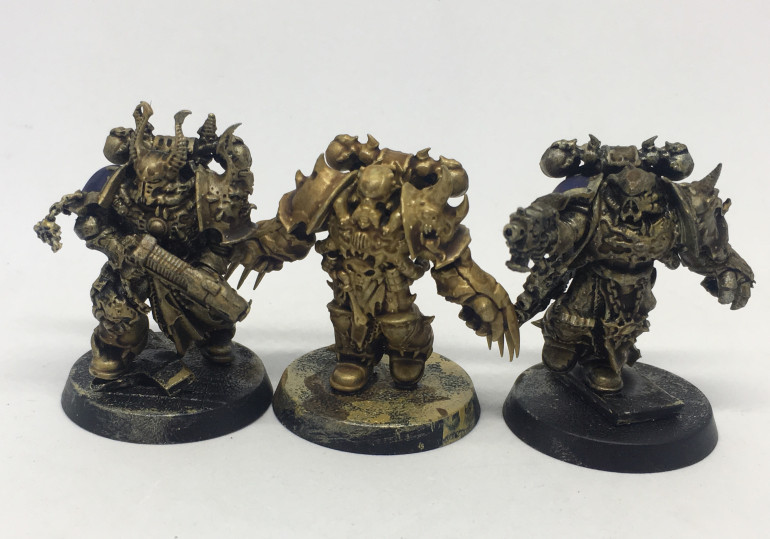
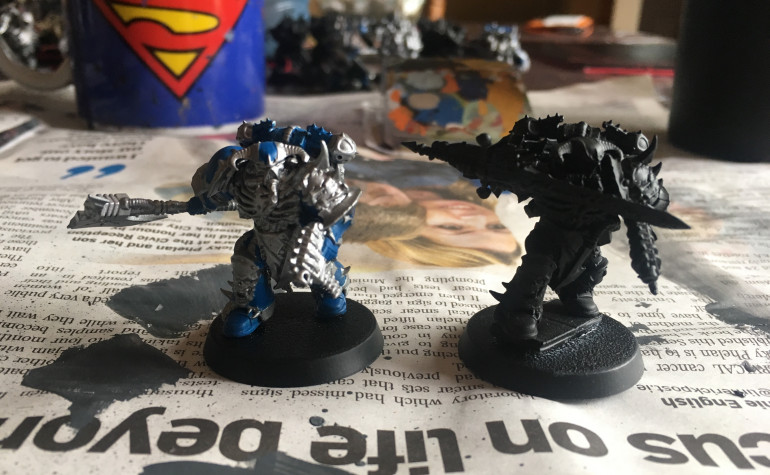
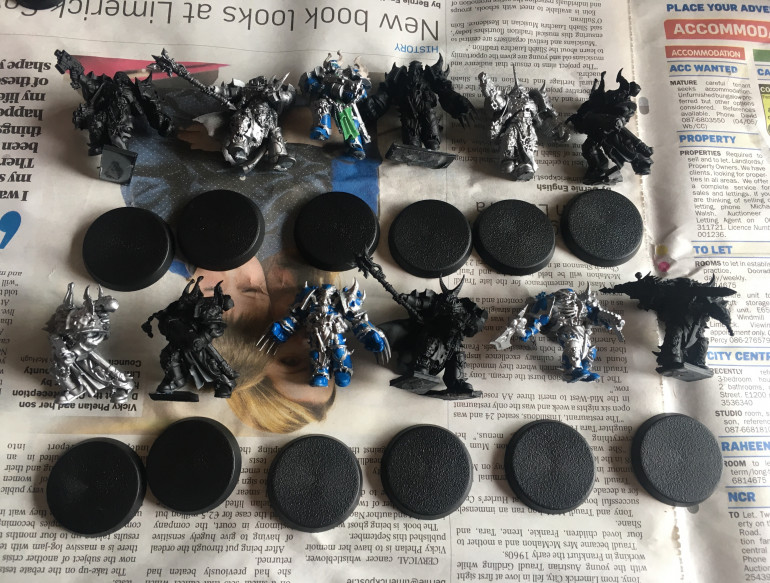
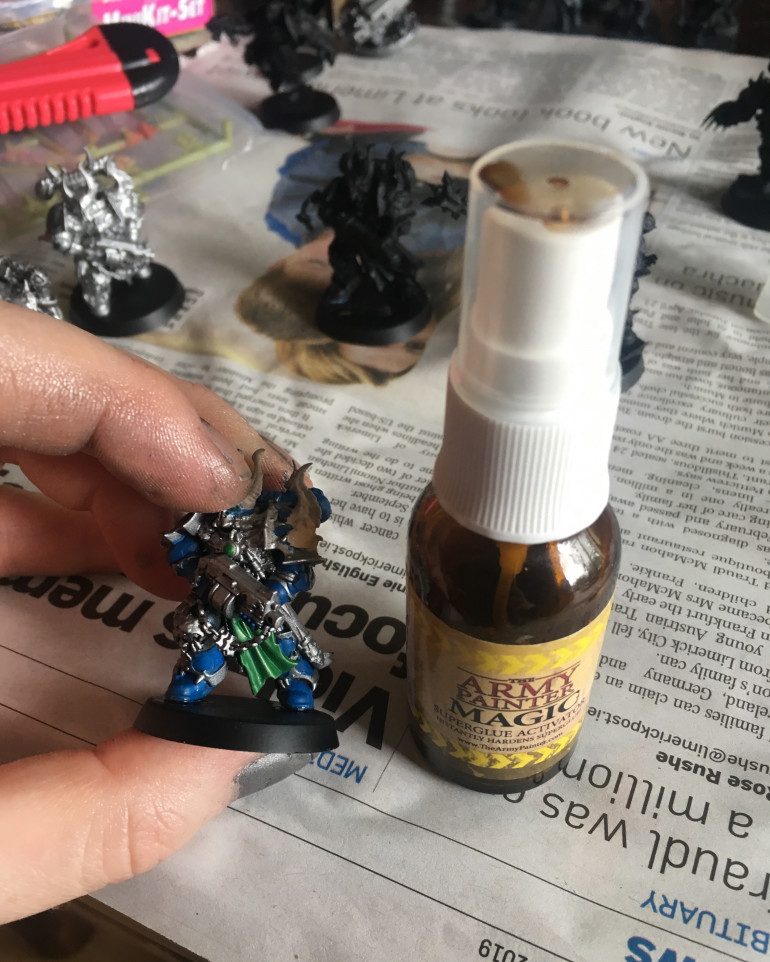
I attached all the models to their bases and have made comparative shots of the conversions I did on them. From here I began basecoating them. The next entry will have a short and sweet gold tutorial.
Entry 33: Refurbished Chosen Part 1
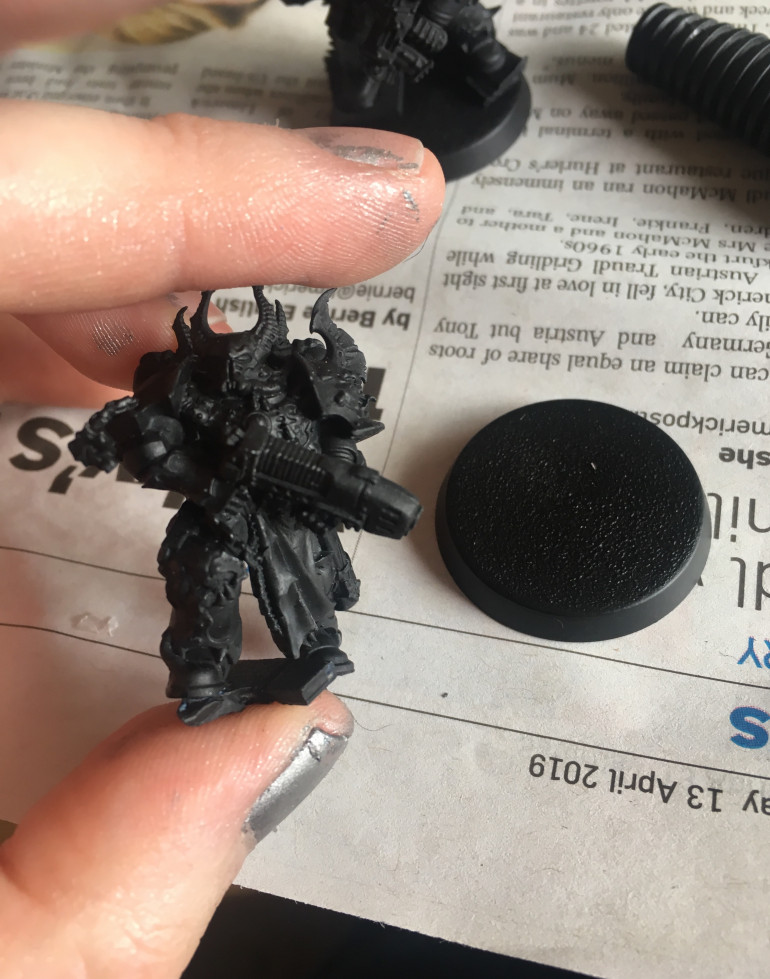
Many moons ago I bought two copies of Dark Vengenance, the Sixth / 7th Edition starter set for Warhammer 40,000. These came with an updated aesthetic from their predecessors which fall more into line with the current newer releases this year for the army.
Since they were going with my new Night Lords army with newer models I decided to rebase them. I ordered the bases direct from GW and collected them at my ‘local store’ in Dublin, a 2.5 hour drive away before seeing Airbourne live at The Academy.
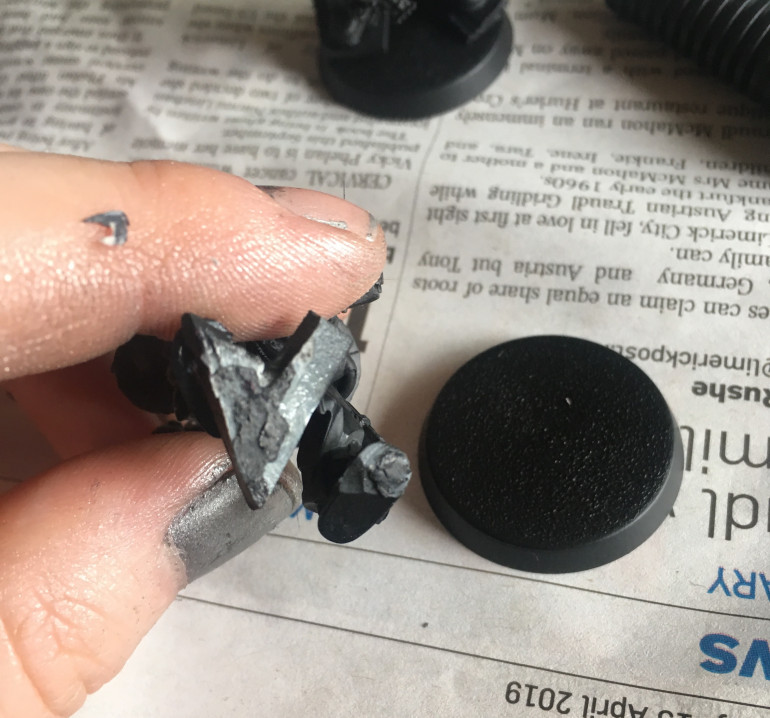
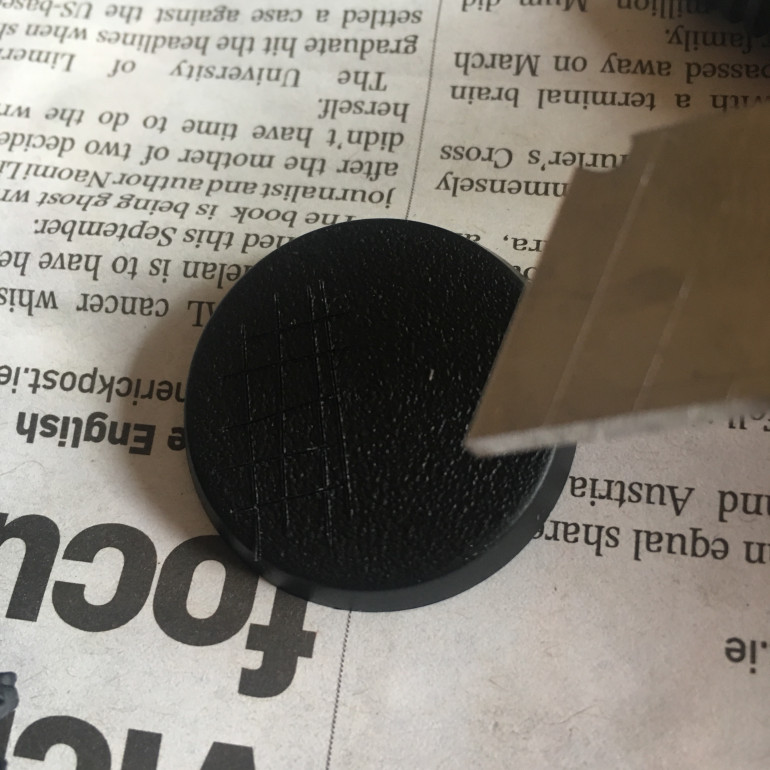
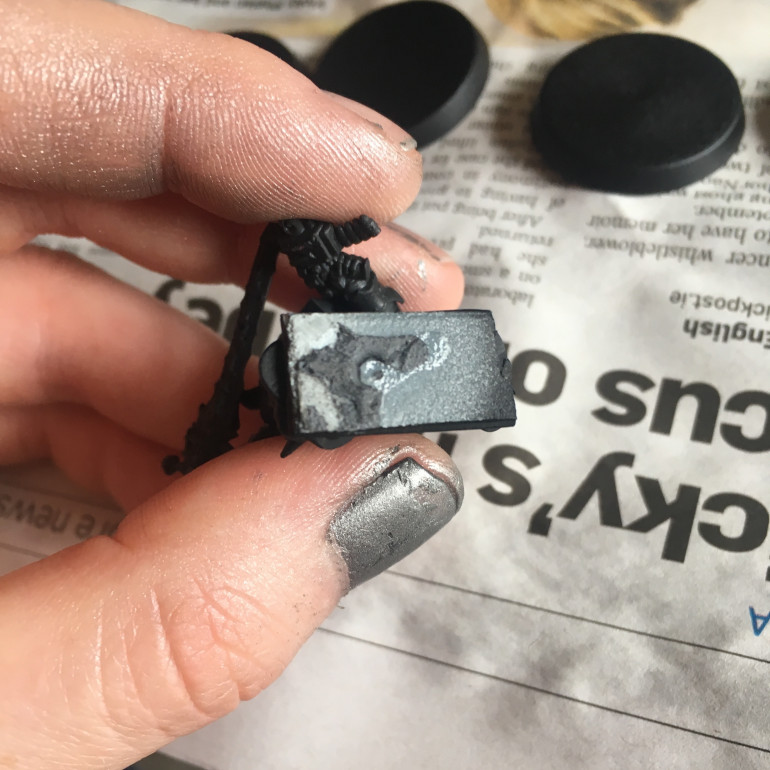 I used old WFB movement trays as stairs/ruins but the bottom of them was a little rough for rebasing.
Entry 32: Venomcrawler WIP shots
This model is beautiful and its a shame it was only available (For now) in Shadowspear. It was fun to put together and fun enough to paint even though I was a little intimidated by it: the silhoette, size and various surface textures seemed like a challenge at first but it has been fun!
Entry 31: Cultist Test Model
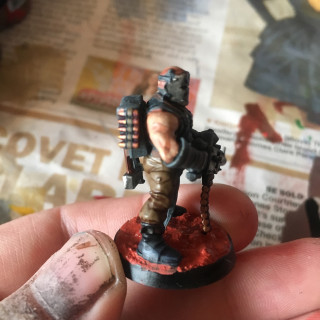
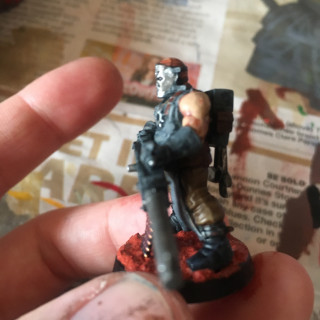
I was cleaning and tidying around my room and noticed I Kept bumping off a box full of older chaos models and they kinda broke and got battered gradually overtime.
Amongst it was many cultists. I took eight of the many many models and drybrushed them Mechanicus standard grey. I then continued to basecoat it but take shortcuts and Cut down steps to get a horde done (I have loads more)
I wished to use these in any army and keep them generic as possible if I expand and do other Legions or warbands.
I think the limited palette really works and they contrast nicely to the Nigh Lords
Entry 30: Chaos Lord continuation and Thousand Sons
I’m kind of half way through the basecoats of the Chaos Lord. As in; I’ve done the first thinning coat. Was 50/50 on doing the cape red but now I feel it’s just right: it ties him in as a Night Lord proper and makes him stand out as a leader.
I’m trying to limit my pallets which is tough as I like various colours. I was tempted to do his sword a bright turquoise blue but I’ll stick to green since the flames on the Master of Possession were done that way. I think it’s the right choice.
I’m really enjoying the sculpt and painting it too: I thought I’d get bored of painting the army by this stage but I’m not
I’m also drybrushing away with various blues on these vintage Thousand Sons for a seperate older chaos army
Entry 29: Chaos Lord
This is the old plastic out of production chaos Lord from dark vengeance . The faction in that set fighting the dark angels was the crimson slaughter, a renegade chapter of space marines
While it is a few years old it is still pretty cool and keeping in the scale and style of the current Newer chaos space marine models
Years ago I sprayed him with army painter plate mail. I believe I intended him to be alpha legion that project never came to fruition
He has been dusted, rebased to 32mm, and repainted. I did a drybrush and second thin layer of Gold, an agrax wash and will continue to work on him.
Entry 29: Venomcrawler WIP
The final model of the Chaos half is Shadowspear and the biggest. This will be ether fun, or tough and maybe both.
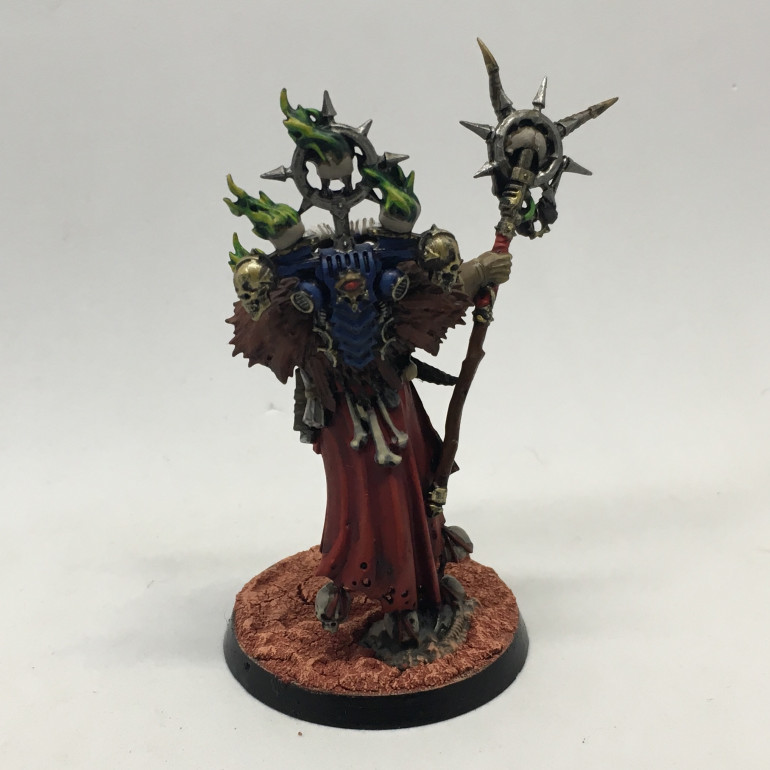
Entry 28: Completed Master of Possession
Not much to say here but this guy was a lot of fun to paint and it’s a shame he is out of production as painting and converting a second one would have been really cool!
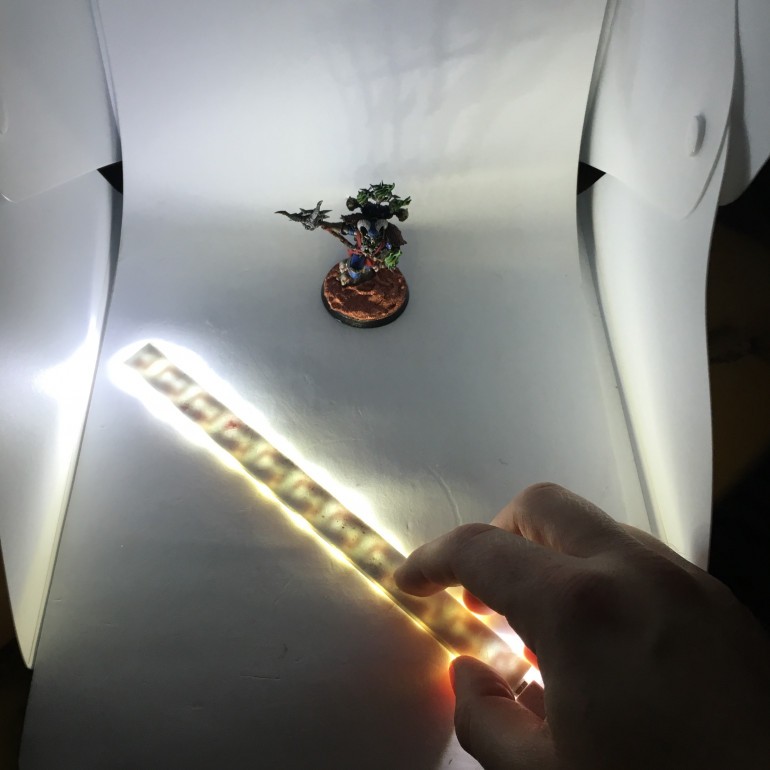
Also my might box broke when I adjusted it after the first picture and I’m quite annoyed. I’m tired of fixing it and will get a new one
Enjoy the different angles and close ups
Entry 27: Completed Obliterators
What can I say except damn, I’m happy with these.
Entry 26: Muzzle Burn aka Blueing Tutorial
To start with I followed this tutorial with one deviation:
I felt the barrel on the example was too dark. I decided to basecoat it with Leadbelcher and wash it with Nuln oil but not use as much Nuln Oil as the example. Furthermore I decided that layering Stormhost silver the area was better than soaring edge highlights.
I did make a goof with this tutorial too as I kind of god over excited and forgot to take pictures of the stage where the purple wash was applied and simply powered through to the next, so apologies for that. Whoops!
Below are two more completed examples. The twin meltaguns do not look as good. It was my first attempt and I used too much wash for too small an area, so it looks very dark with little transition and poor effect.
With the heavy flamethrower however it is much better. In future I will be using this on just medium and larger surface areas. The effort and how good it looks on smaller barrels is something that will prove self defeating without the desired effect until my skill improved.
Entry 25: Further Progressions with the Obliterators
After a break for a few days I am back to my Night Lords. I worked on assembling a few other models for different armies just to change it up but without stopping hobby as such.
I decided to drybrush these guys when I wasn’t using that technique on the Chaos Space Marine squad and Greater Possessed. It felt easier to do it with the larger surface areas but the flip side was it was messier, even with a handy Army Painter small drybrush. So I have had to do some touch ups. Liking the skin though.
Next entry will be a muzzle flare tutorial.
Feel free to comment 😉


