Manda’s (Amachan) Gaming Table
Recommendations: 819
About the Project
This project is about my gaming table that I want to be able to set-up quickly for different types of games from different genres. This part will just cover the main table and the generic scenery pieces that will fit in most genres.
Related Genre: General
This Project is On Hold
The Hill Progress
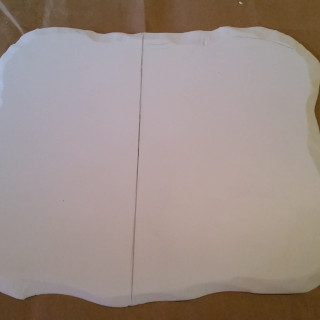
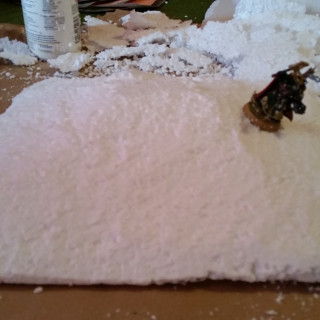
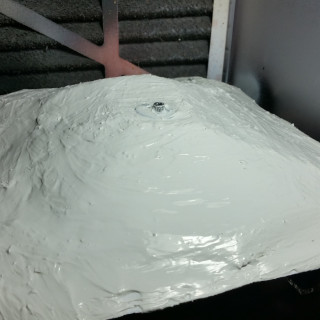
This is a hill for my gaming table. I started with a base for the hill. I cut it out 2 A4 sheets of ePVC foamboard. I then cut and shaped the core of the hill in the basic shape I want out of expanded polystyrene. I glued this to the base and waiting for it to dry and then I’ll shape the hill to fit perfectly to the base.
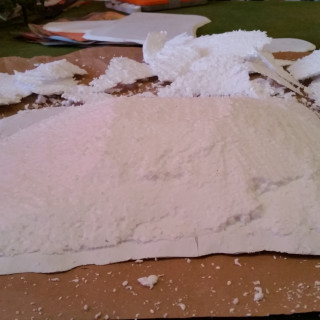
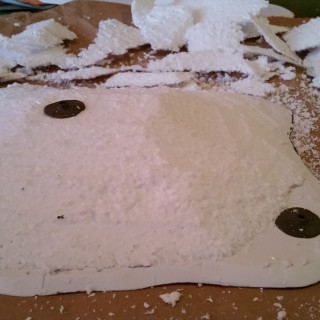
I shaped the hill down to the base and glued a couple of bases for trees on. Now when this is dry I can start smoothing it out with some filler. I covered the hill in a layer of filler to smooth out the surface, now when it’s dry I can start painting.
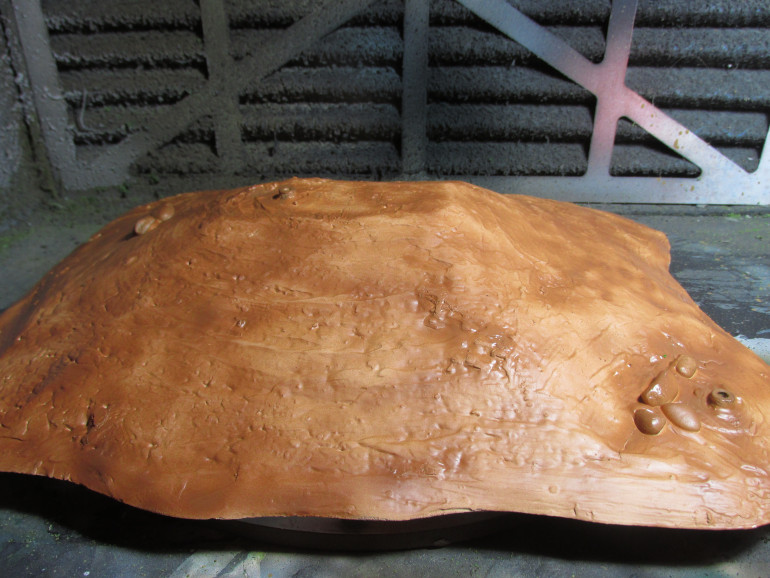
I sanded the surface a little to get rid of any big anomalies. I then tried to paint the hill with my airbrush using the same paint I used to paint my table. Not a great success. I had to thin the paint which at that point was just tinted thinner before I was happy enough to put it through my airbrush. I need to either use a proper airbrush paint or go for cheap spray cans for this.
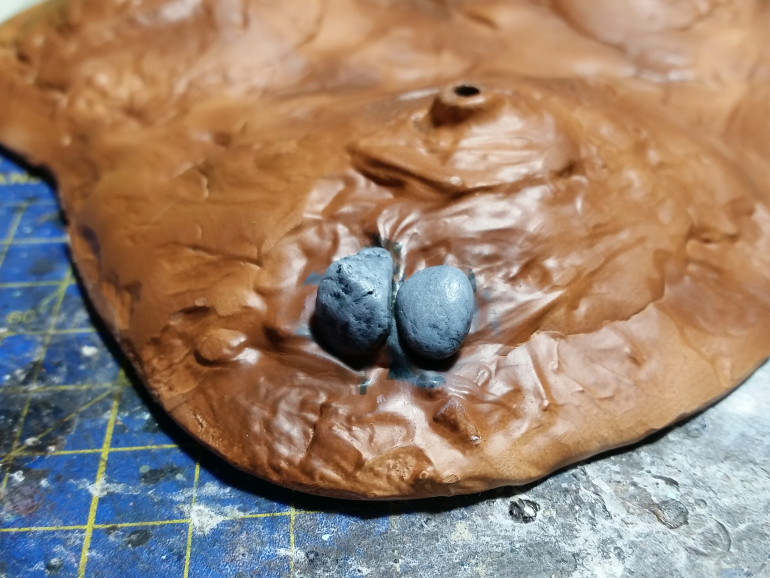
The rocks first got an overbrush coat of Vallejo Model Color Basalt Grey (70.869) and then coated the rocks with a coat of Secret Weapon Wash Algea (W013). After this I applied a heavy drybrush of Vallejo Model Color Medium Sea Grey (70.870) followed by a drybrush of Vallejo Model Air White Grey (71.119).
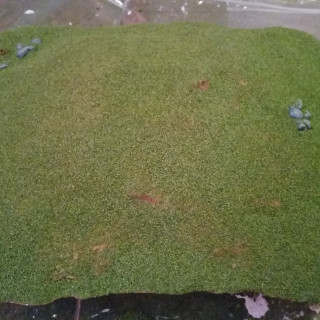
I covered most of the earth with some watered down PVA glue and I did the base layer of flock with the 3 tones. The darker in areas of shade, the lighter in areas of light and then a mid tone covering it all after that. Before the flock I did sprinkle a couple of leaves around the trees as well. When this was dry and the excess was shaken off I added some clump foliage and tufts around places to hide damages or just where I felt it would fit. After this has dried I sprayed it with watered down PVA to seal everything in and once that is dry the piece should be done.
Trees Part 2
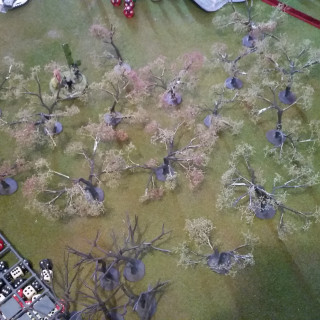
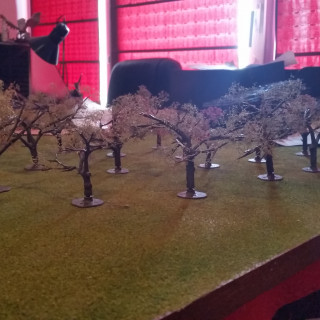
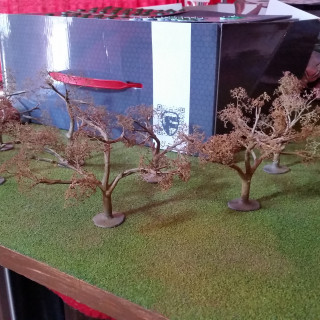
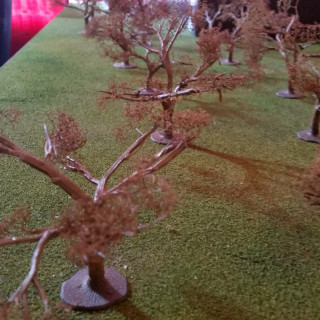
I got all the trees foliaged up. I sprayed them first with spray adhesive and then sprinkled on a coarse flock.
I sprayed a bit of watered down PVA over them to seal them in and toughen them up. Unfortunately some bits of the foliage did fall off, but overall I think they’re still great looking trees.
This was the first time for me making trees and I’m really happy with the results. I’ve learned quite a bit from doing these. Upcoming will be a part 3 where I will do some experiments to see if I can improve my technique.
I though I’d add the video that has inspired me to make the trees the way I do.
Trees Part 1
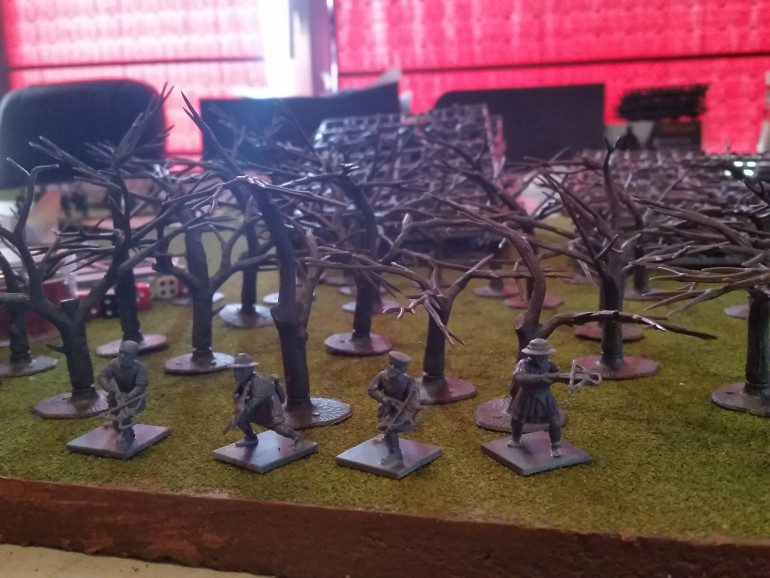
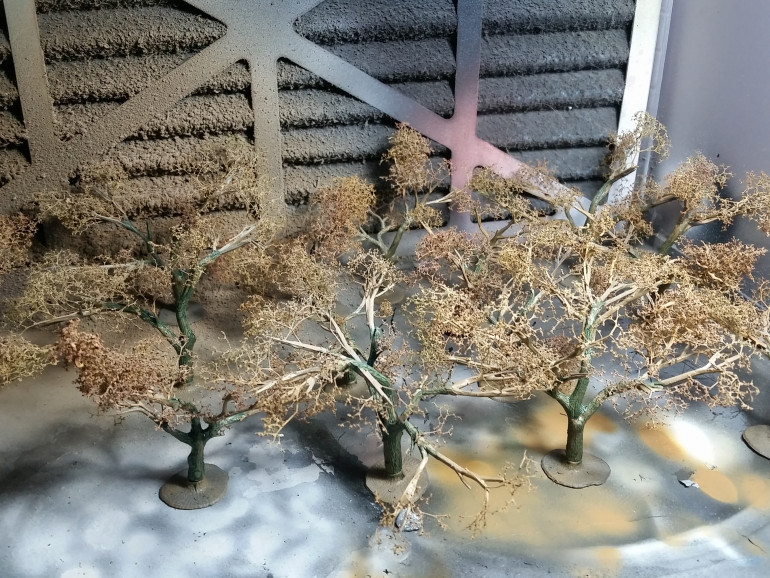
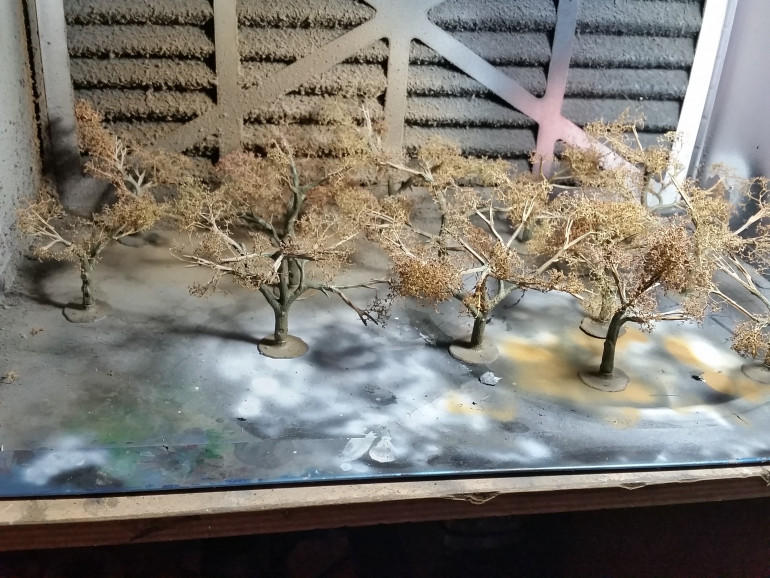
I got a pack of deciduous tree armatures from Woodland Scenics, Twisted them, snipped off some branches and stuck them in their base. I will not glue them in their base as I want them removable.
I then started the process of sticking bits of seafoam to the branches. I did not have enough seafoam, but I got enough done in order to at least work on the rest of the terrain.
I gave all the trees a base coat of Vallejo Model Air Brown Green (71.030) and then gave it a blast with my airbrush with Vallejo Model Air Sand (Ivory) (71.075) from the top for some shading.
The majority of the trunk of the trees got a coat of Secret Weapon Wash Algea (W013).
I was not happy with the result and had hoped the wash would settle more, maybe I need to thin it more next time. But to solve this I gave the trunks a dry brush of Vallejo Panzer Aces Old Wood (70.310) and am now happy with the results.
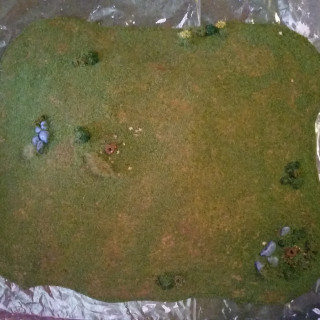
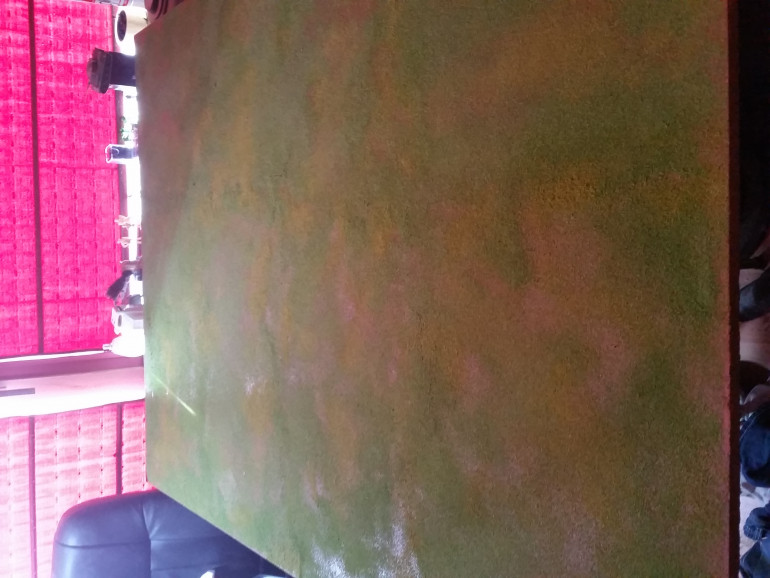
The Board is Finished!!!
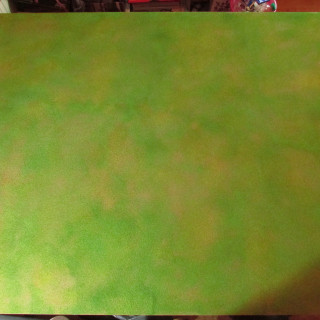
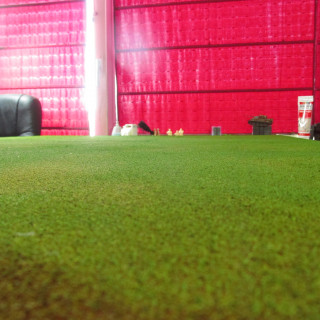
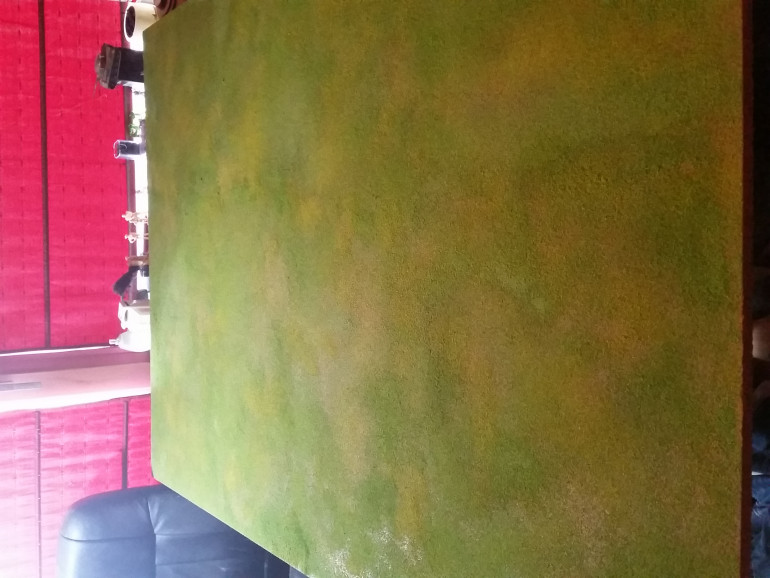
So here are the final pictures of my gaming table. I’m really happy with the results and many thanks to everyone who has contributed with tips to get this to come together like this. Now I just need to wait for some supplies and then I’ll start on the scenery pieces.
The Board Progress Update 9
I sprinkled on a little bit more flock with some watered down PVA and am really happy with the results now. Hopefully I can seal it in tomorrow and start work on the scenery bits.
The Board Progress Update 8
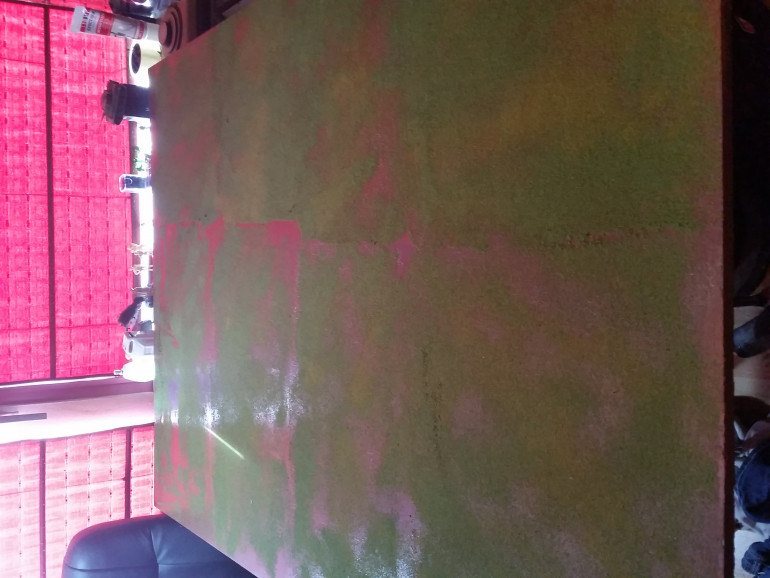
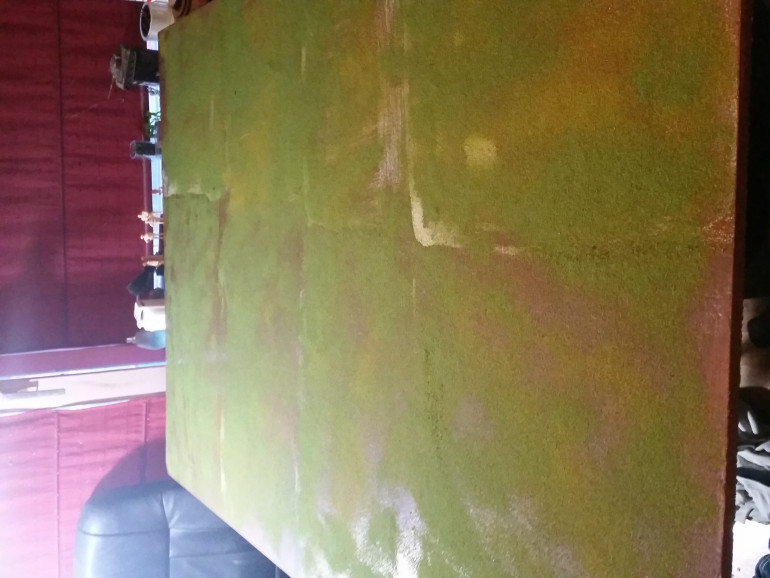
So, I let it dry and blew air over it with a fan to reveal how bad it was.
I then diluted PVA and sprinkled it on the table where I wanted to add more and then sprinkled on more flock over there. I’m far happier with how it is looking right now.
The Board Progress Update 7, A Flocking Disaster
I flocked the table and it feels like a flocking disaster….. Let’s wait until it dries and see how it turns out and fix up areas where possible.
The Board Progress Update 6
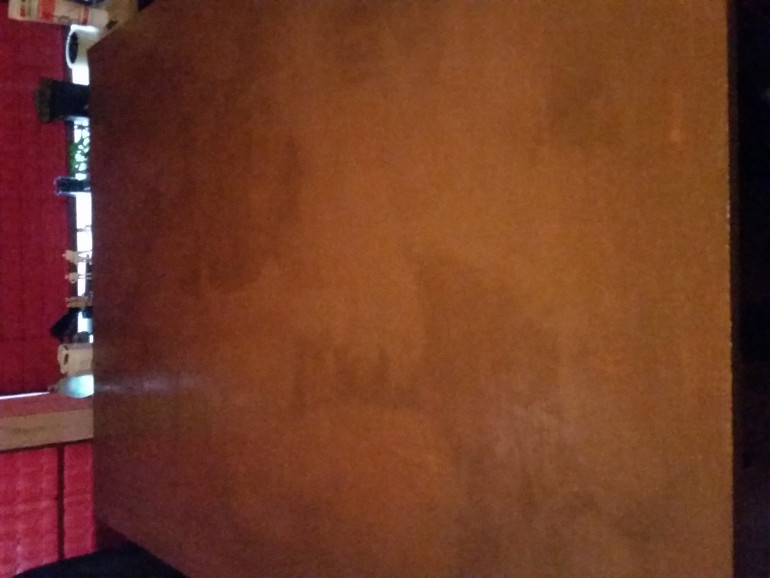
So the table is brown again. Now just letting it dry and waiting until the flock I ordered comes in, hopefully this week.
The Board Progress Update 5
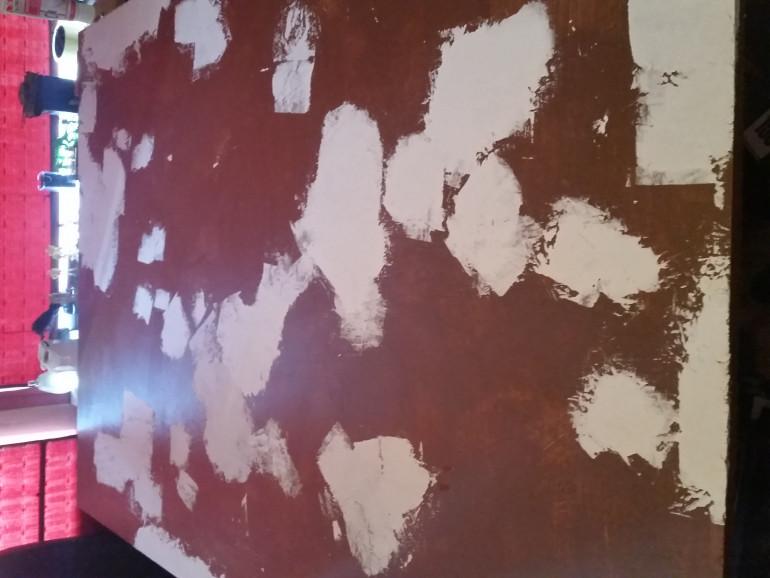
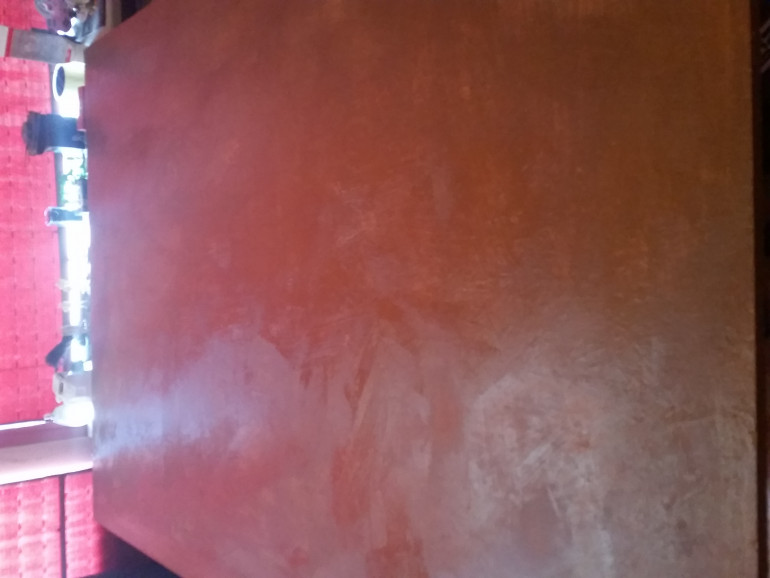
COW TABLE!!! ? Okay, there were a couple of rough patches the filler didn’t quite get into and showed up a lot when it was painted. So I went over them with filler. I will have to sand and paint those areas tomorrow.
The Board Progress Update 4
I sanded down the surface of my table and painted it brown. There are some brush strokes visible, but I’m not that worried about it because I’ll flock it anyway, what do you people think?
The Board Progress Update 3
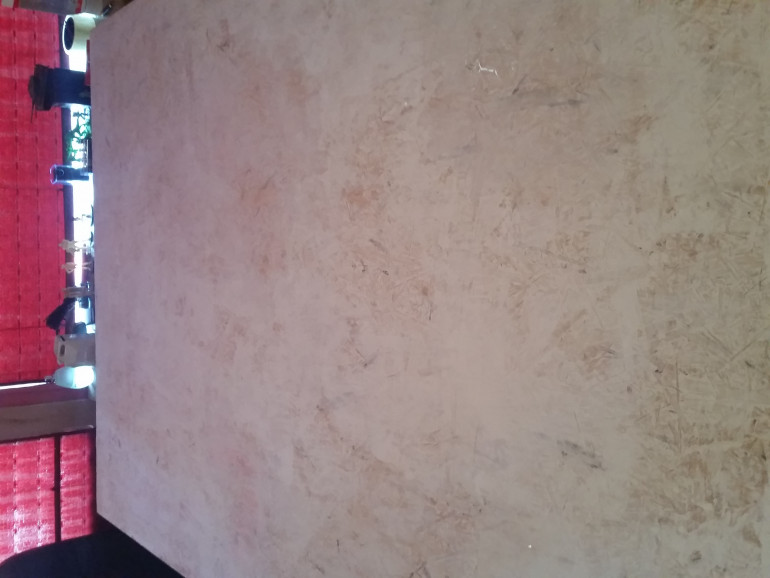
More progress on my gaming table. I sanded the surface smooth and brushed any debris off and then I used a thinned coat of filler to cover the table and fill in any last gaps. Just another pass of sanding left and then on to painting.
The Board Progress Update 2
Right, so one thing I didn’t know that was pointed out by a couple of nice people is that I need to seal in the whole board or it will warp. So I flipped it around and coated the whole underside in an acrylic polyurethane varnish in the hope that that will be enough.
The Board Progress Update 1
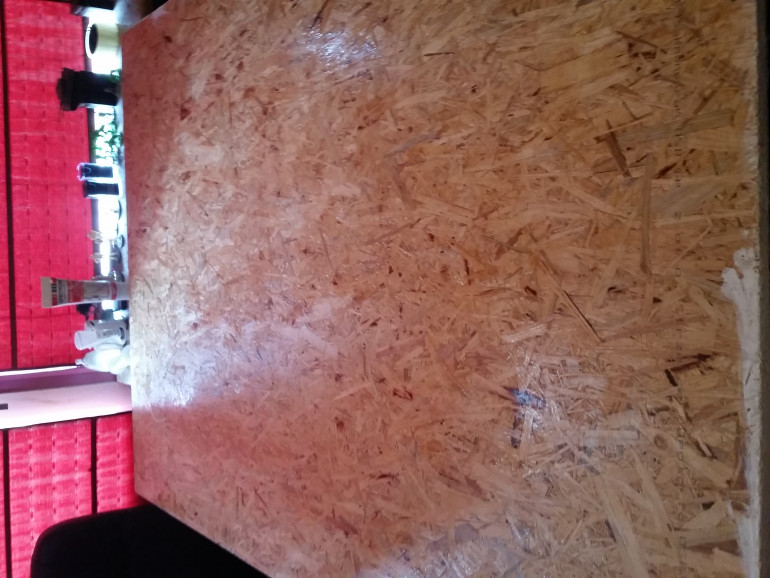
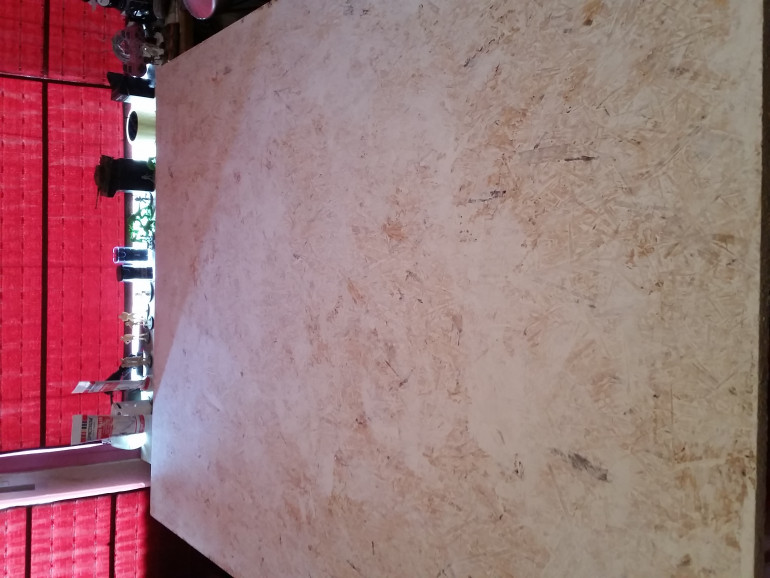
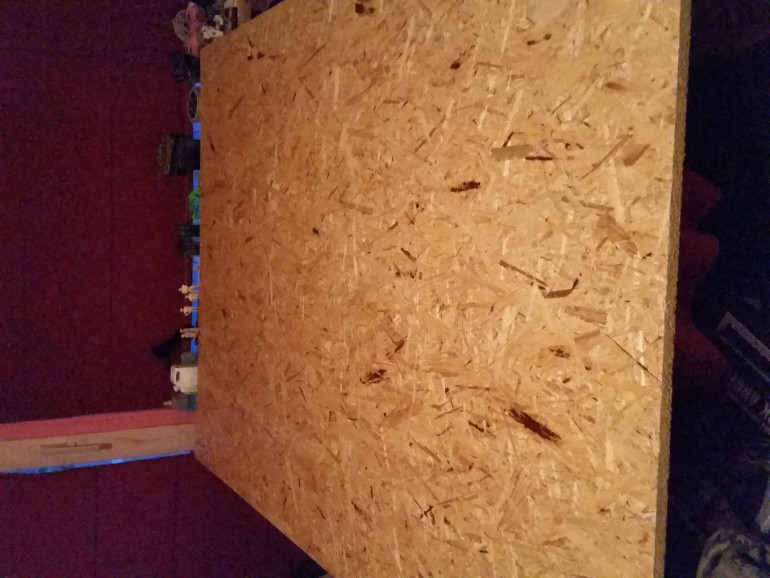
So I started work on my gaming table. The first layer of filler is down covering most of the gaps in the OSB. I will let this dry for a while and probably tomorrow do a second probably a bit more thinned down layer to get the last gaps I didn’t get.
The Plan.
To start off with I have a 174cm x 116cm or 5 ft, 8 1/2 inch x 3 ft, 9 43/64 inch plate of OSB to start from. This is a bit smaller than a standard 6×4, but close enough. If I were to use a 6×4 in my apartment you wouldn’t be able to get around it and it wouldn’t be useful as a gaming table.
The plan is to seal this in with a wood filler, paint it brown and then simply flock it.
So that’s the table done, but it’s rather boring isn’t it?
After that I’m going to make different scatter scenery bits to spread around the table. These will be generic scenery pieces that works for all types of games, but in order to genre the table I will also do some fantasy/historical and sci-fi scatter pieces. I will go into more debt on how I do things when I actually have done them.


![TerrainFest 2024 Begins! Build Terrain With OnTableTop & Win A £300 Prize! [Extended!]](https://images.beastsofwar.com/2024/10/TerrainFEST-2024-Social-Media-Post-Square-225-127.jpg)


