Skip to toolbar
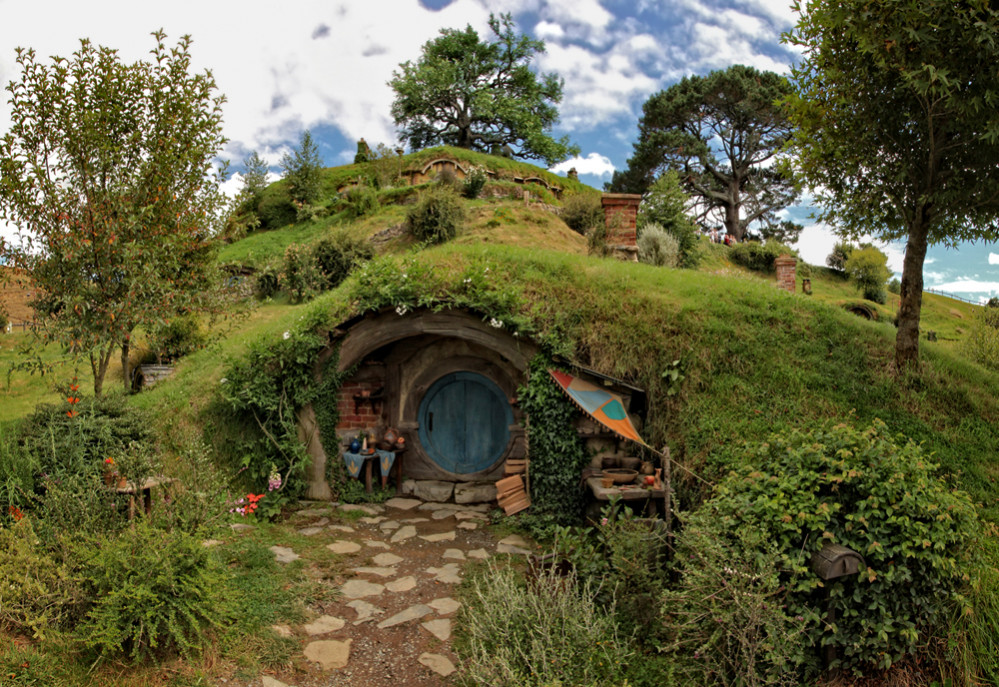
In a Hole in the Ground there Lived a Hobbit…

In a Hole in the Ground there Lived a Hobbit…

Supported by (Turn Off)

Project Blog by elessar2590 Cult of Games Member

Recommendations: 238

About the Project

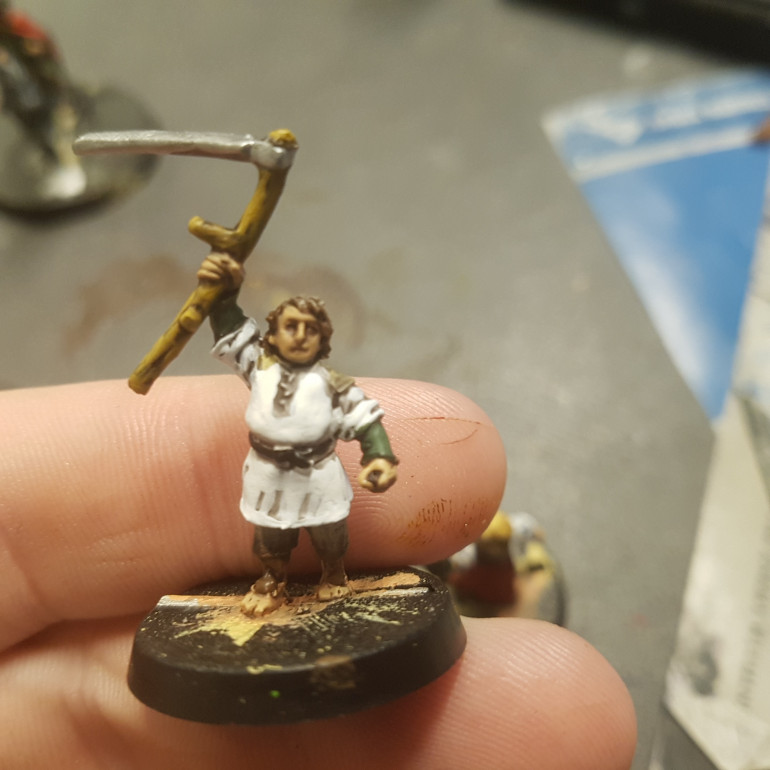
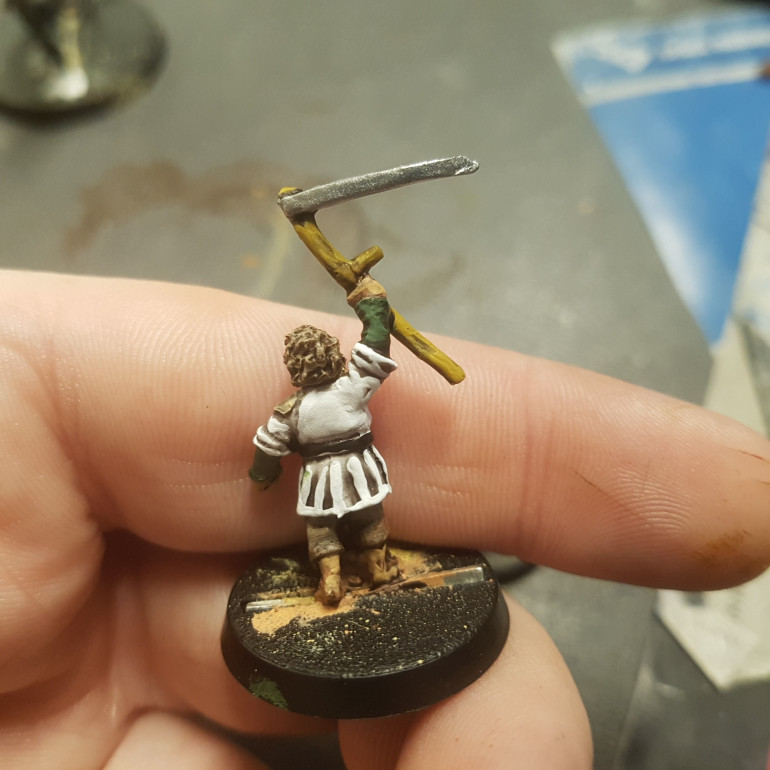
With Scouring of the Shire for LOTR SBG on the Horizon I decided it was time to start making some Hobbit Holes and Painting some Hobbits.

This Project is Completed

Building a Hobbit Hole

Tutoring 4
Skill 4
Idea 6
No Comments

Tools:

2x 4×3 XPS Foam Sheets
Stanley Knife with many new Blades
Cigarette Lighter
Coffee Stirrers
Card (From Mini’s Boxes is ideal)
40mm Round MDF Disks
25mm Round Base (No Slot)
PVA Glue
Lots of Flock
Various Cheap Acrylic Paint
Clump Foliage
Fine and Course Sandpaper.
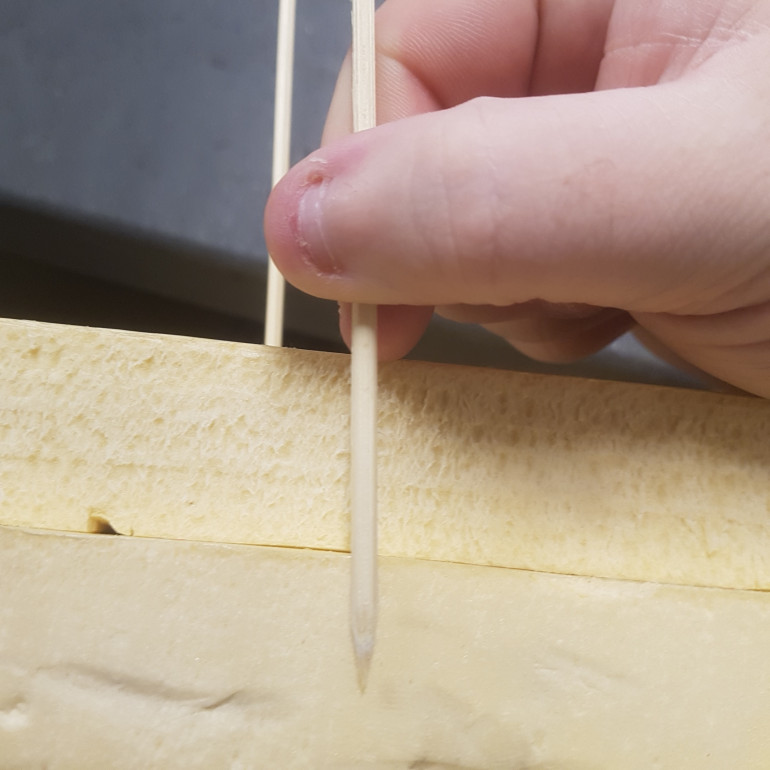
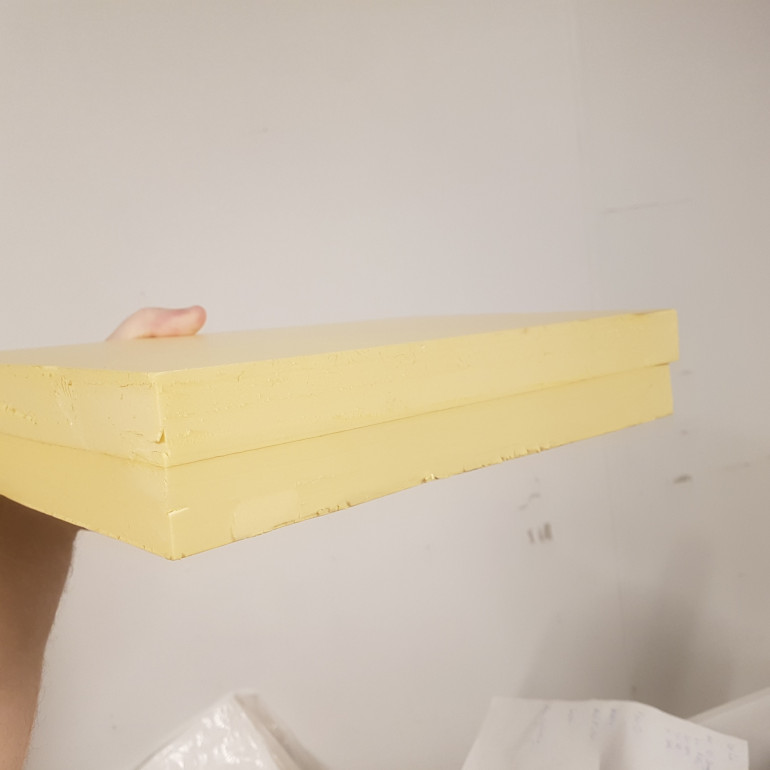
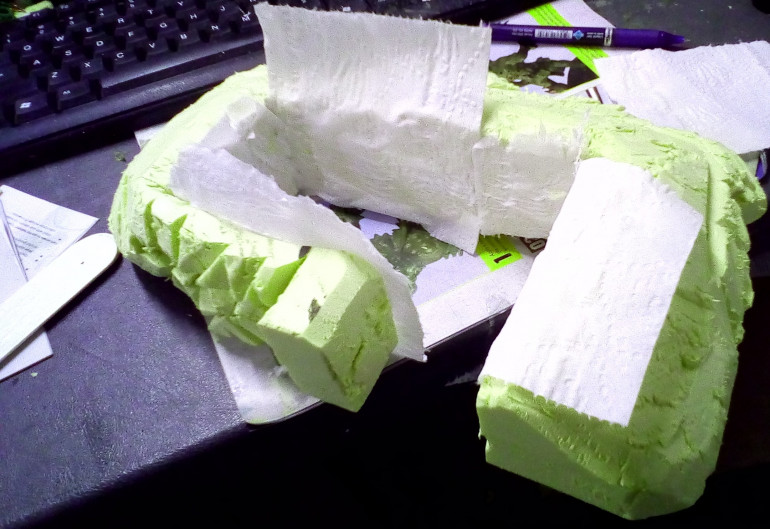
A Rough Rectangle of Foam was Cut once the Two Had DriedA Rough Rectangle of Foam was Cut once the Two Had Dried
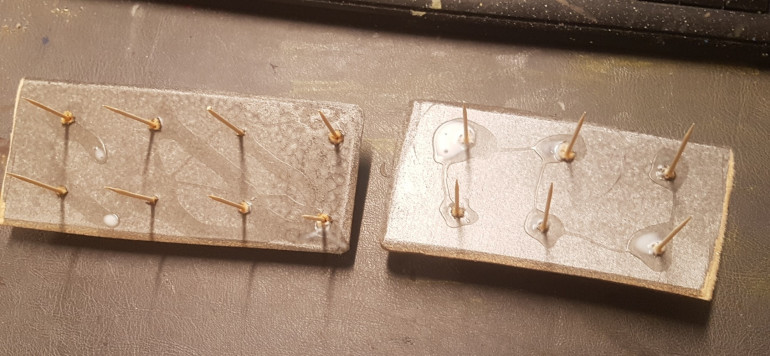
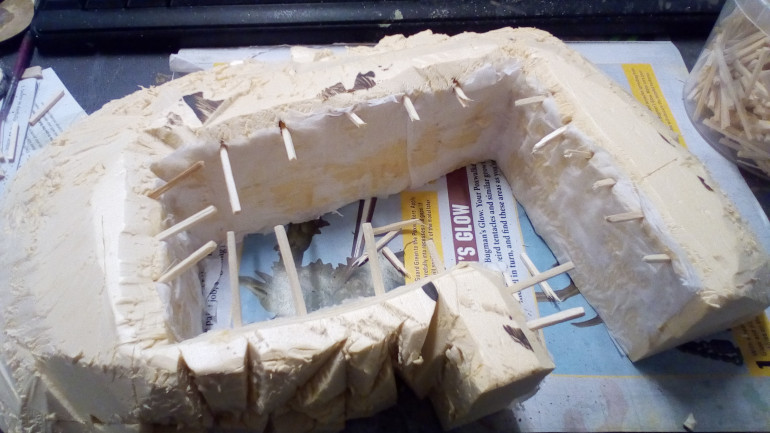
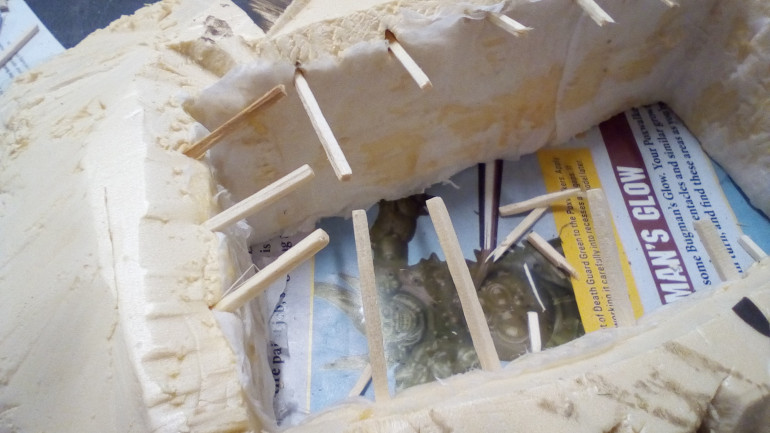
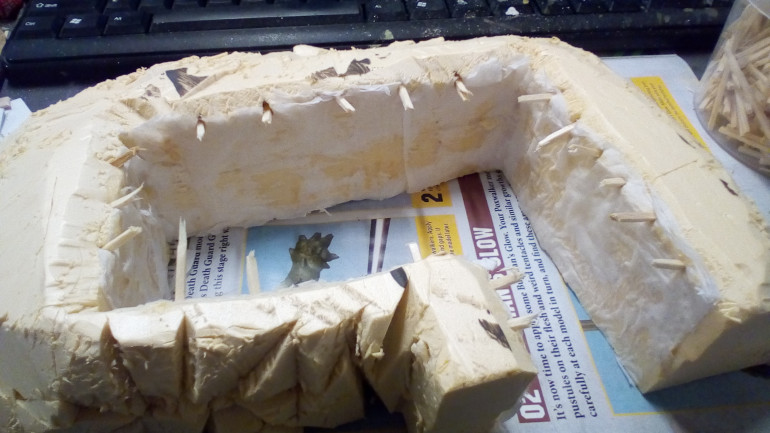
To Secure the Two Pieces and Prevent Splitting Skewers were Inserted into the Foam. The Skewers were Measured as Seen in the Picture before Sticking them in so they Did Not get in the Way of the Knife. To Secure the Two Pieces and Prevent Splitting Skewers were Inserted into the Foam. The Skewers were Measured as Seen in the Picture before Sticking them in so they Did Not get in the Way of the Knife.
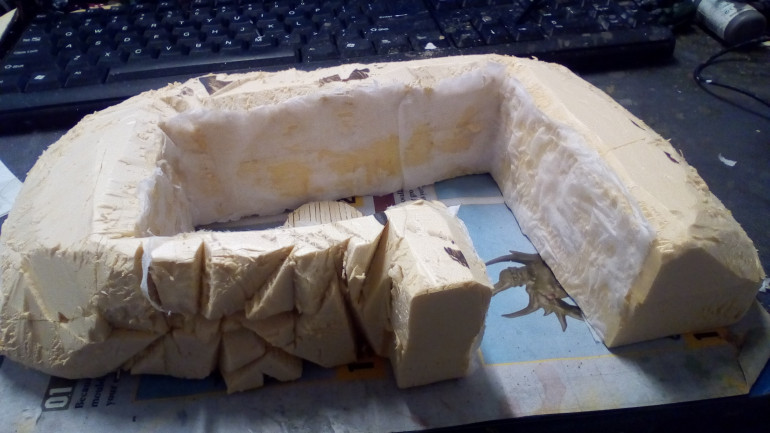
Using Small and Slow Cuts XPS Foam can be Cut with a Knife and You do Not Need a Hot Wire Cutter.Using Small and Slow Cuts XPS Foam can be Cut with a Knife and You do Not Need a Hot Wire Cutter.
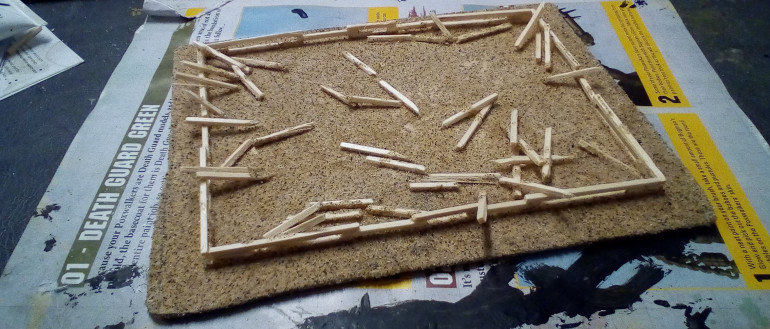
Here we Can See the Skewers Cut to Fit the Base.Here we Can See the Skewers Cut to Fit the Base.
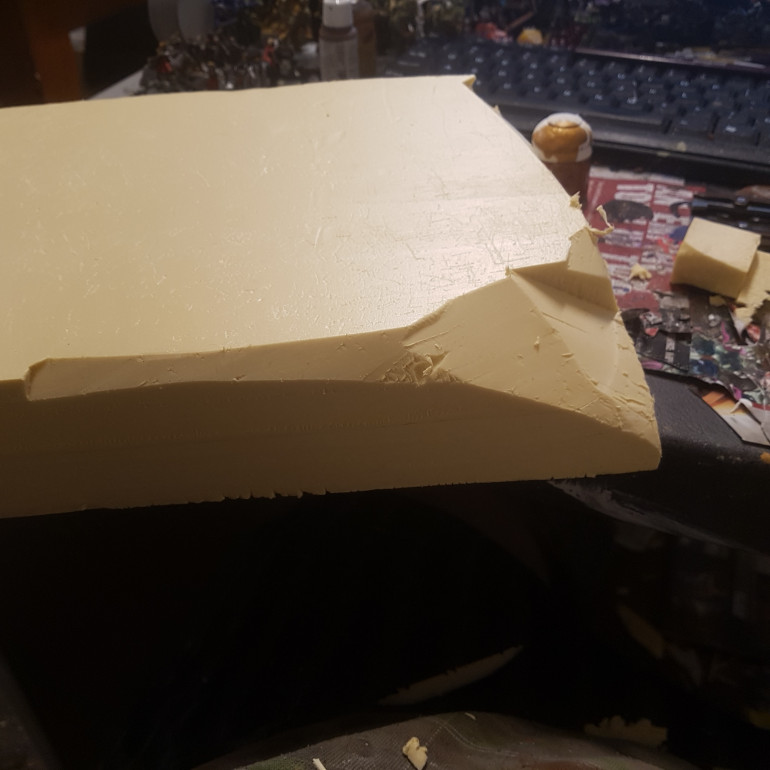
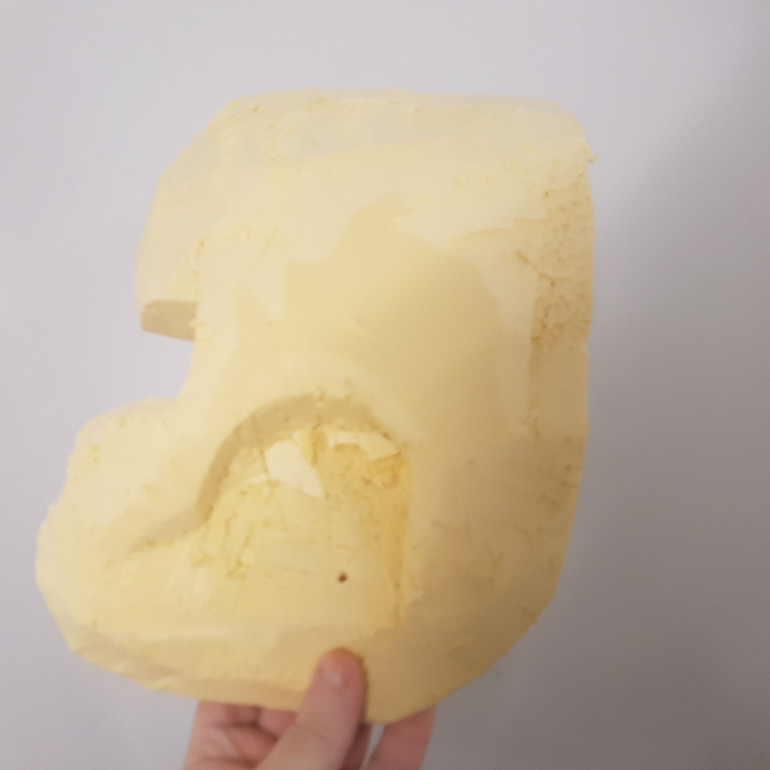
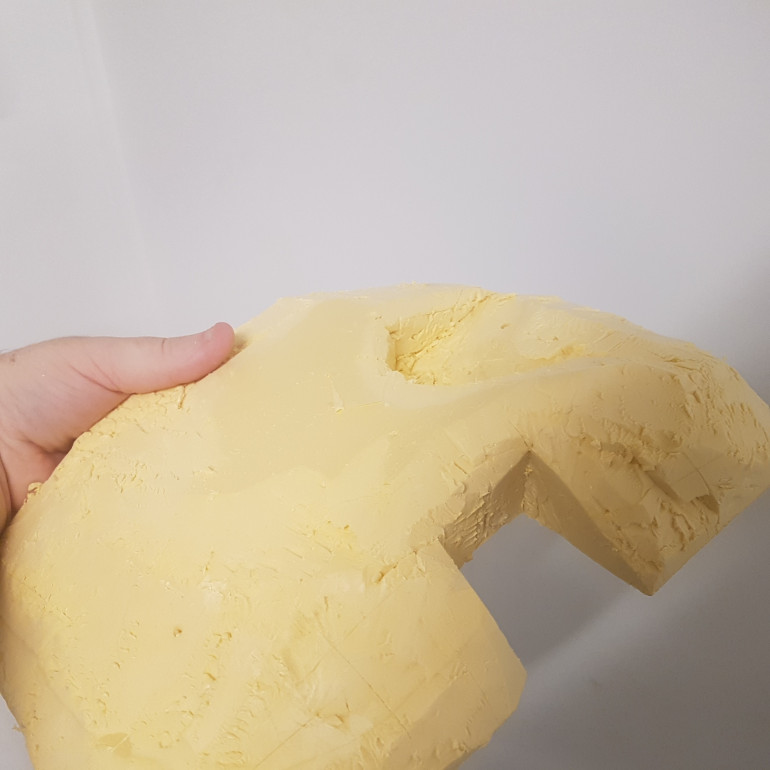
Start by Cutting the Rough Hill Shape.Start by Cutting the Rough Hill Shape.
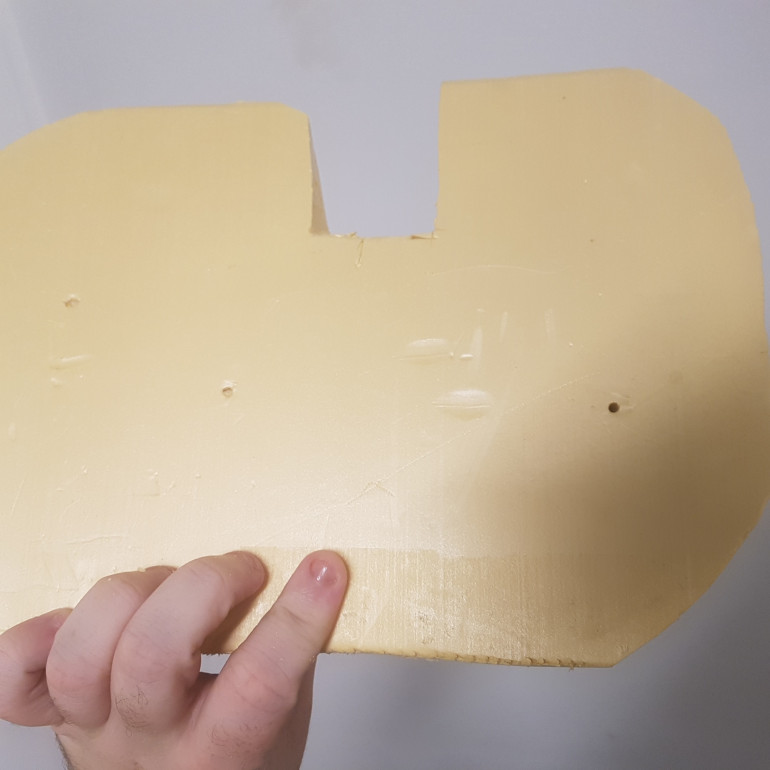
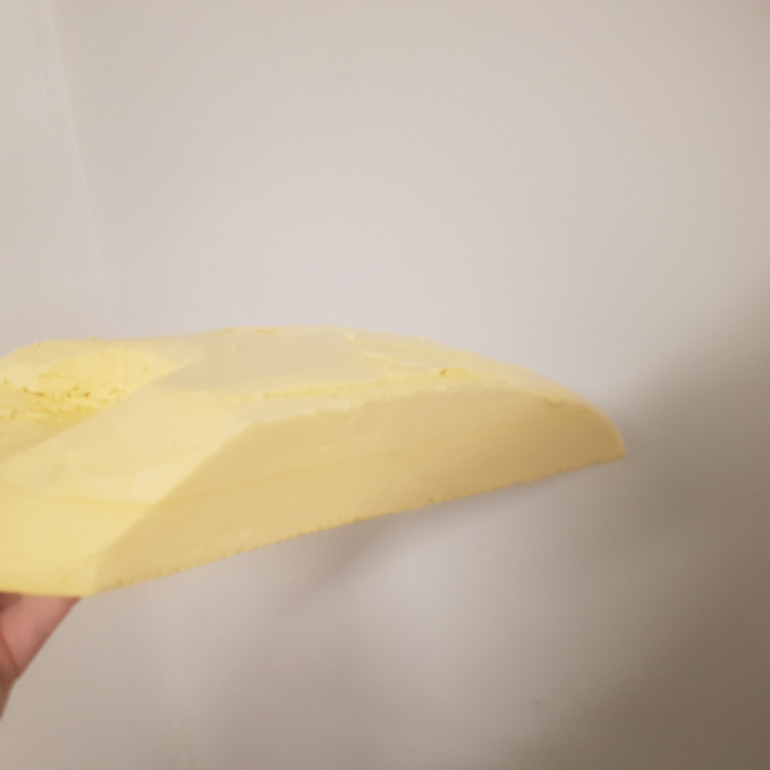
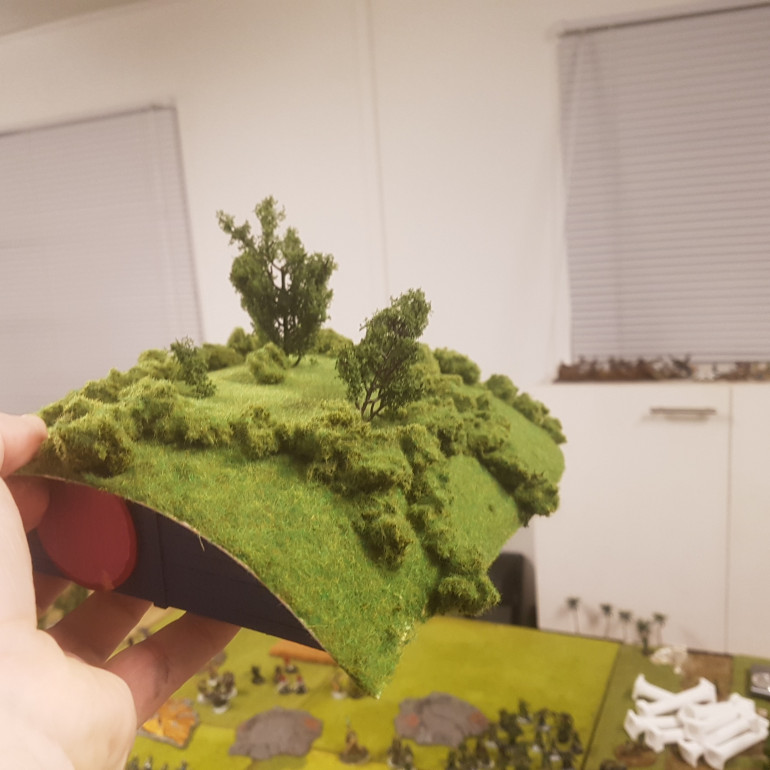
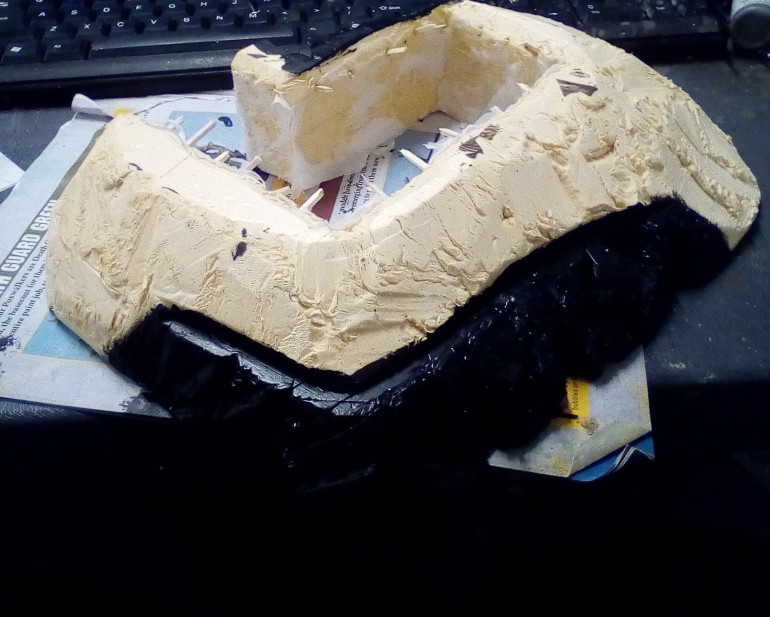
Here I've Added a Window Bay and a Small Place to Sit that will be Shaded by a TreeHere I've Added a Window Bay and a Small Place to Sit that will be Shaded by a Tree
Building a Hobbit Hole
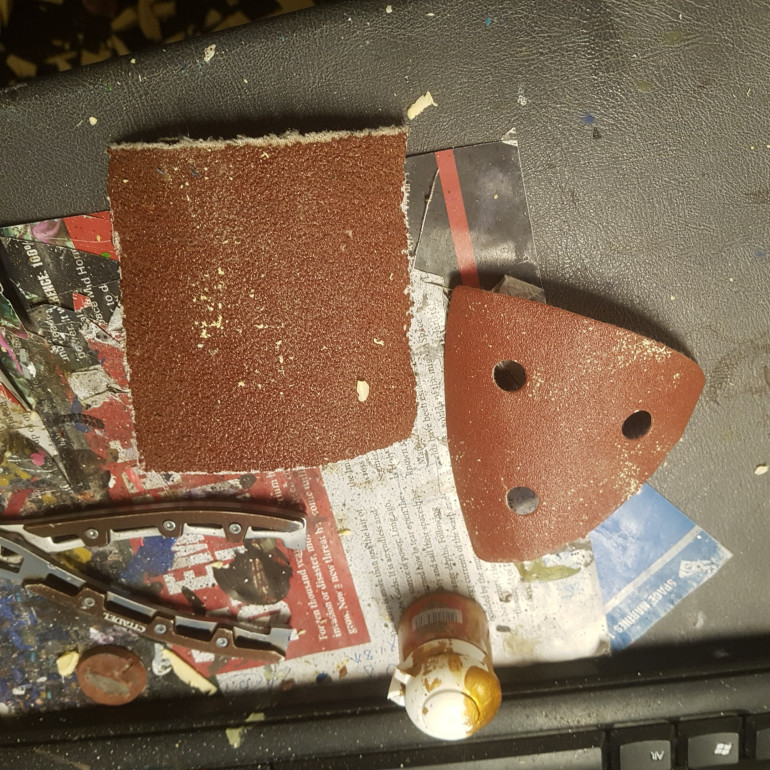
Two Different Grades of Sandpaper. The Triangular One is for an Orbital Sander and the Larger is a Belt Sander Belt Cut to Size.Two Different Grades of Sandpaper. The Triangular One is for an Orbital Sander and the Larger is a Belt Sander Belt Cut to Size.
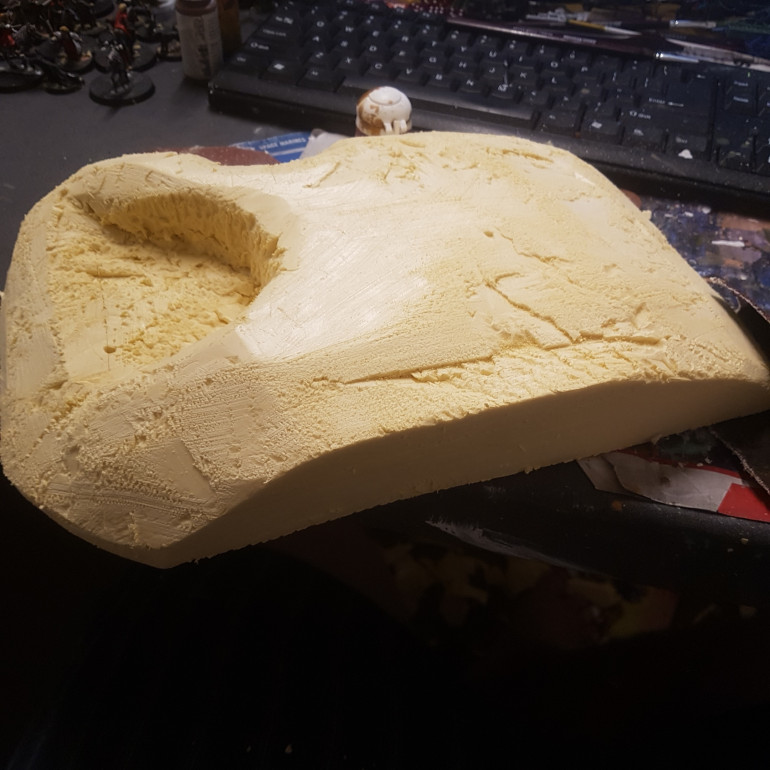
The Piece after Sanding but More Work Needs to be Done to get the Flat Areas RightThe Piece after Sanding but More Work Needs to be Done to get the Flat Areas Right

Cleaning up the Piece

Tutoring 4
Skill 5
Idea 5
No Comments

CAUTION TOXIC FUMES!!! DO ONLY IN A WELL VENTILATED AREA AND WITH PROTECTION!!!
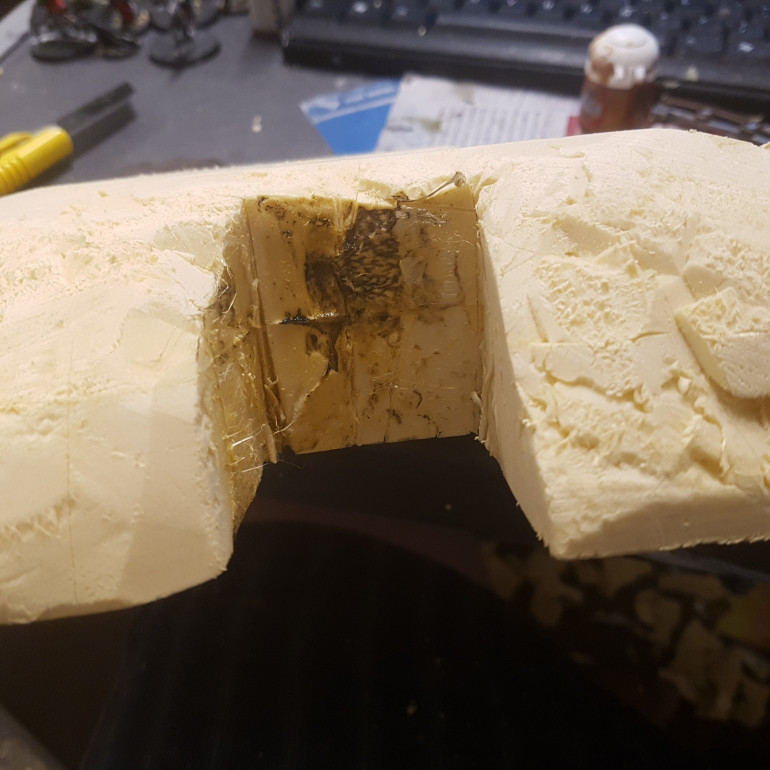
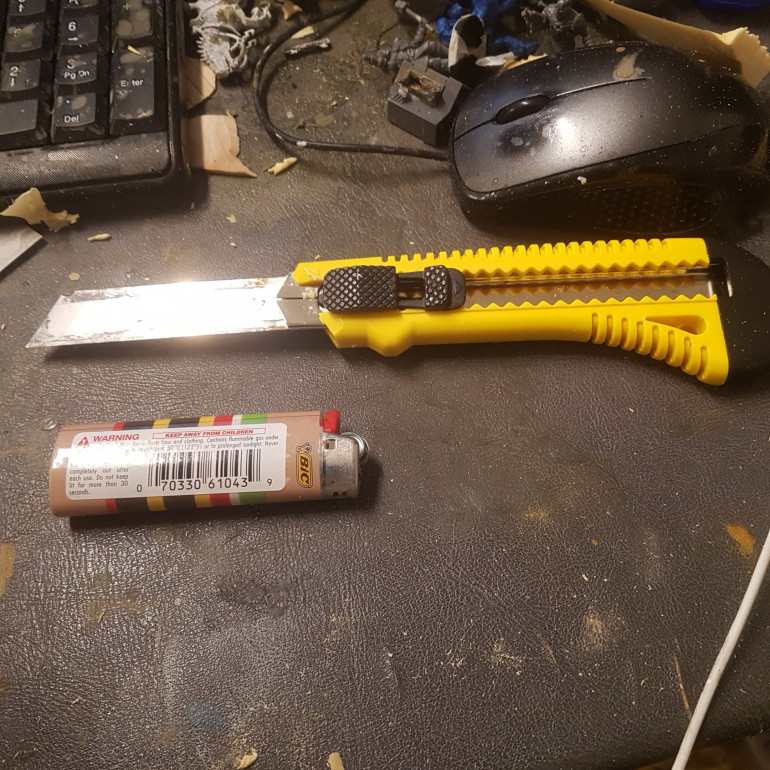
Now we Take our Knife and Fully Extended the BladeNow we Take our Knife and Fully Extended the Blade
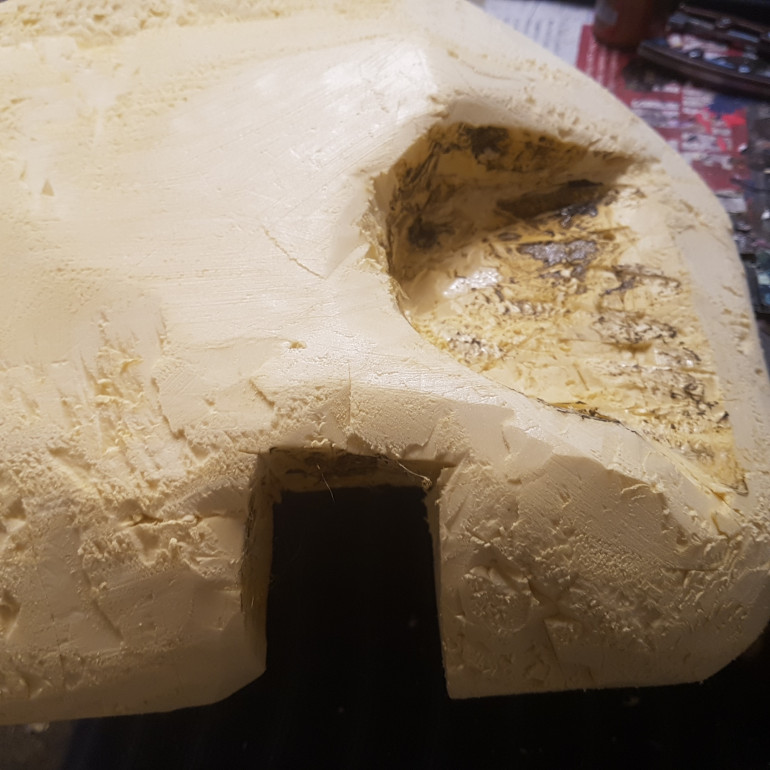
Then Heat the Blade until the Colour Changes and Gentle Press it Against the Areas you Want to be Flat. The Areas will then Flatten and harden.Then Heat the Blade until the Colour Changes and Gentle Press it Against the Areas you Want to be Flat. The Areas will then Flatten and harden.
Bit More Work to DoBit More Work to Do
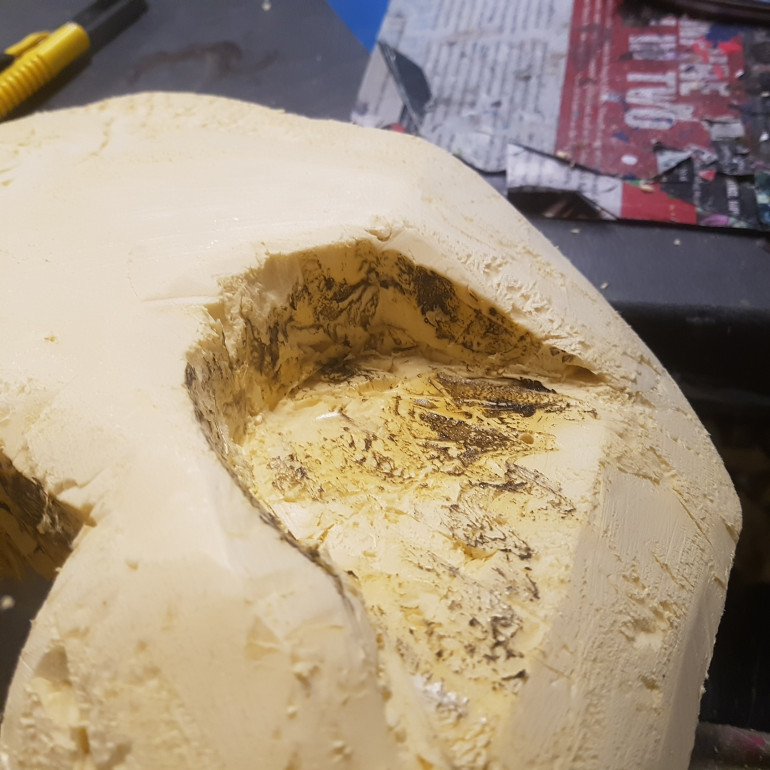
The Curved Areas can Also be DoneThe Curved Areas can Also be Done
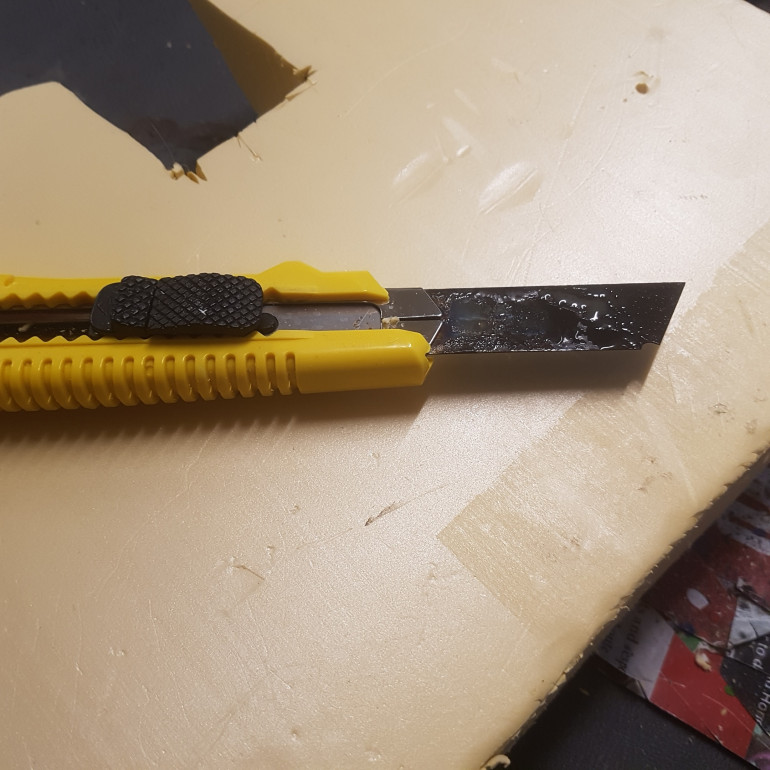
This WILL DESTROY A Blade so Have SparesThis WILL DESTROY A Blade so Have Spares
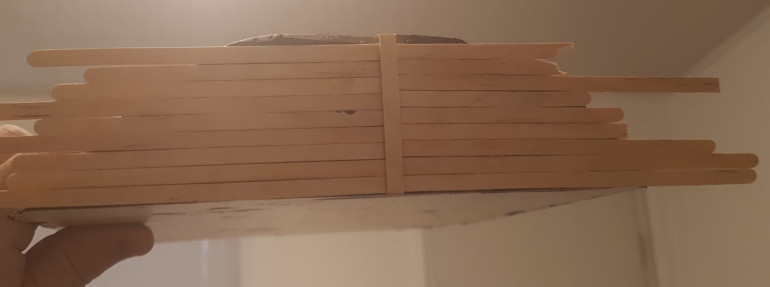
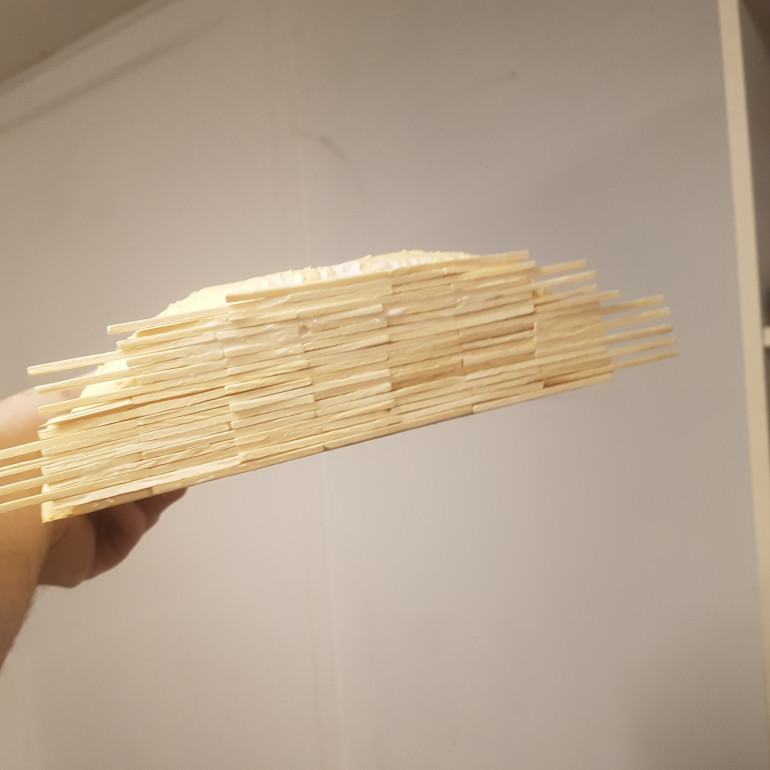
From a Different Build. Super Glue Coffee Stirrers to the Face that you Want to be the EntranceFrom a Different Build. Super Glue Coffee Stirrers to the Face that you Want to be the Entrance
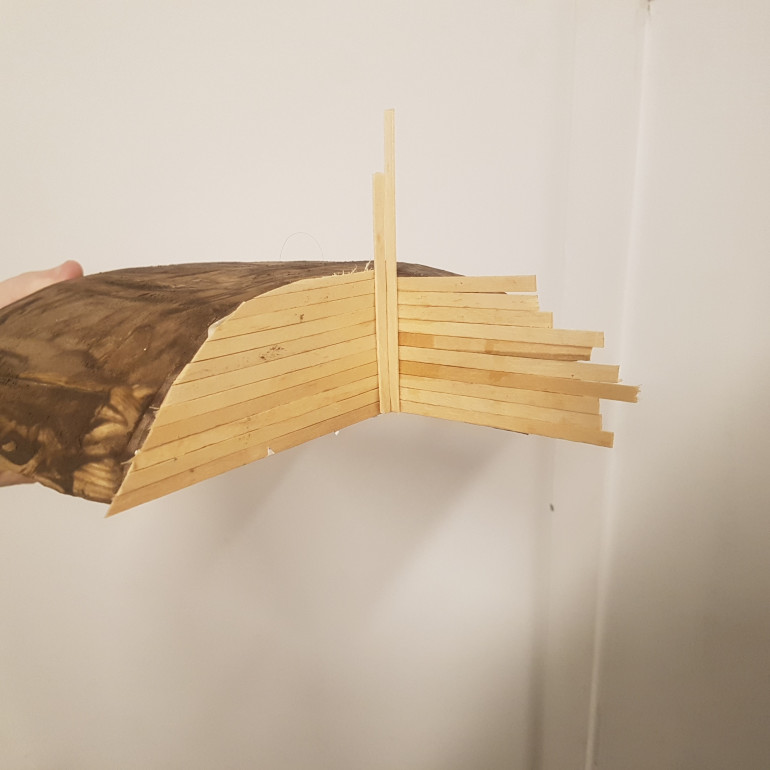
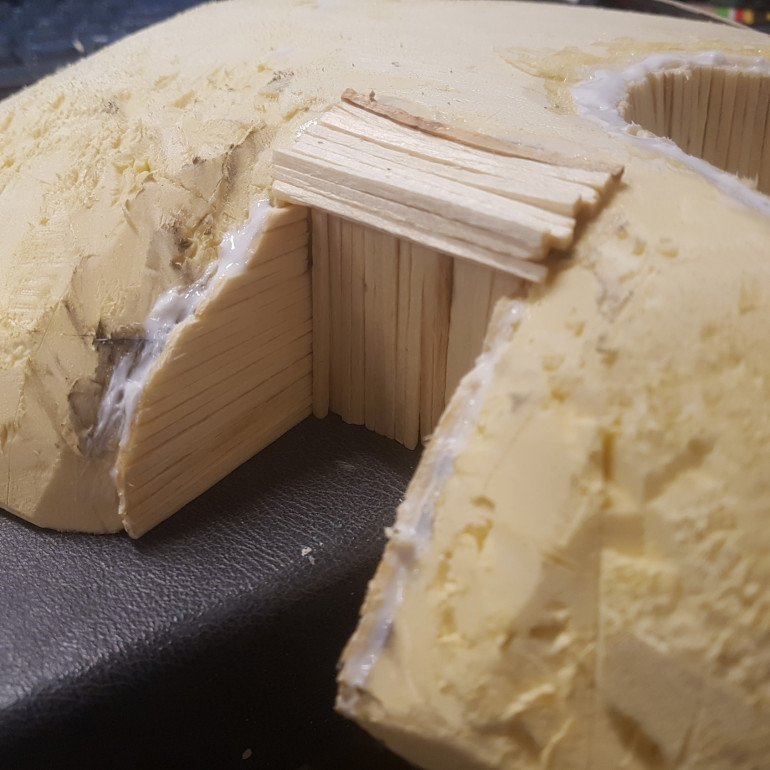
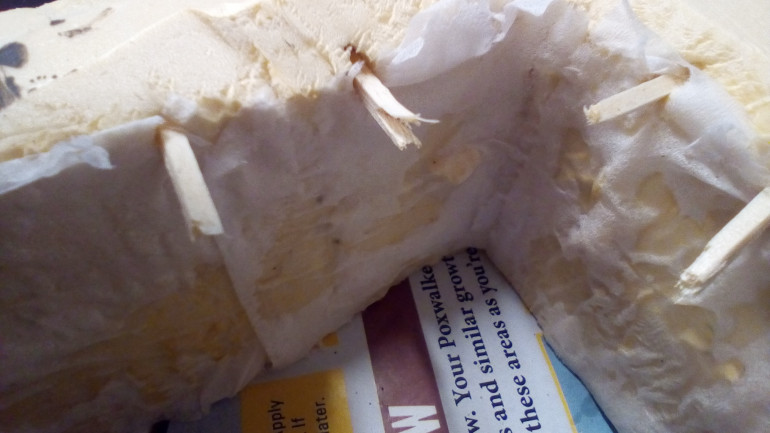
Here we Can see a Corner Section. Any Gaps are Hidden with Vertical SticksHere we Can see a Corner Section. Any Gaps are Hidden with Vertical Sticks
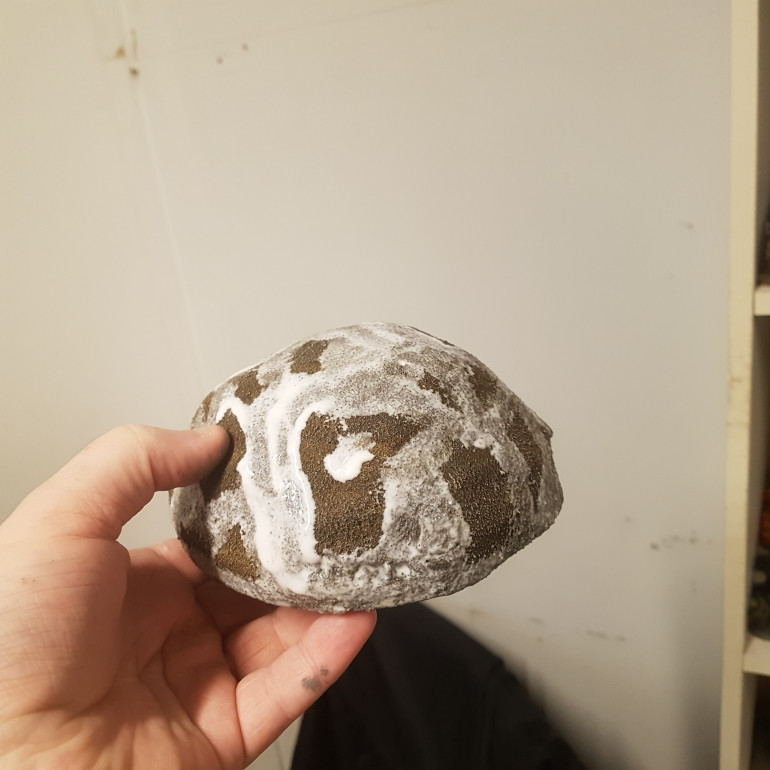
At this Stage Paint the Hobbit Hole so any Flock That comes off Doesn't Show Bare Foam. At this Stage Paint the Hobbit Hole so any Flock That comes off Doesn't Show Bare Foam.
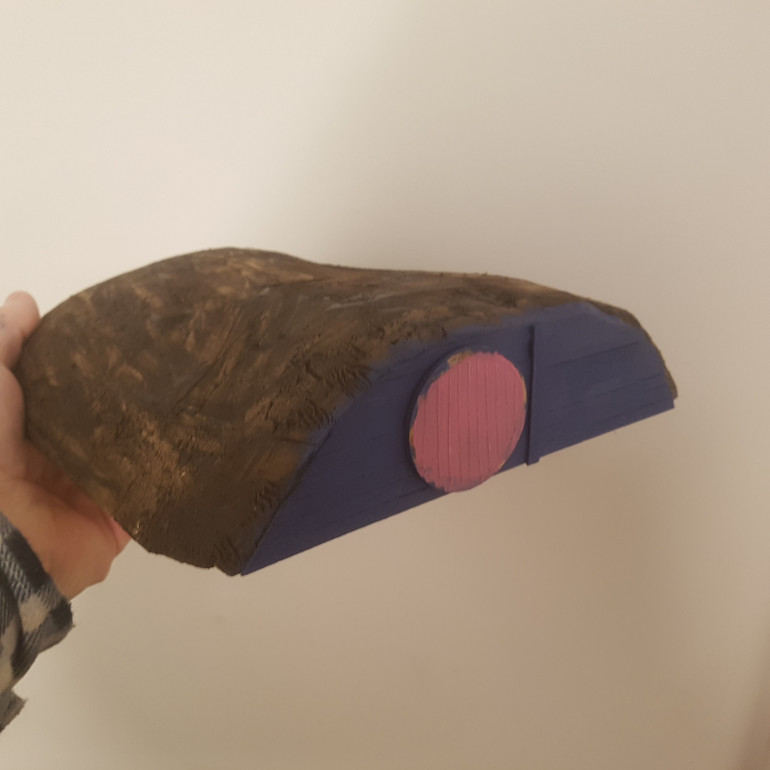
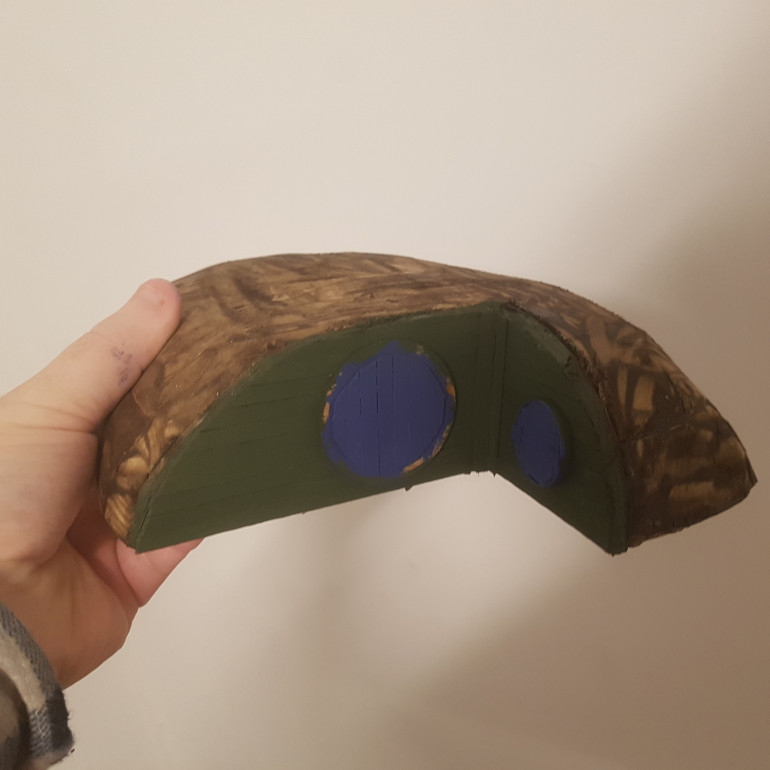
The Coffee Stirrers can be Cut to Fit the Shape. Then the Hobbit Hole can be Painted. A 40mm MDF Disk Is used to Represent the Door and can either be Scored or Laid over with Coffee Stirrers. The Coffee Stirrers can be Cut to Fit the Shape. Then the Hobbit Hole can be Painted. A 40mm MDF Disk Is used to Represent the Door and can either be Scored or Laid over with Coffee Stirrers.
Here we can See the Glued on Stirrer Approach. A 25mm Base was glued onto the Wall and Coffee Stirrers were Cut to Fit Inside.Here we can See the Glued on Stirrer Approach. A 25mm Base was glued onto the Wall and Coffee Stirrers were Cut to Fit Inside.

Flocking

Tutoring 5
Skill 6
Idea 6
No Comments
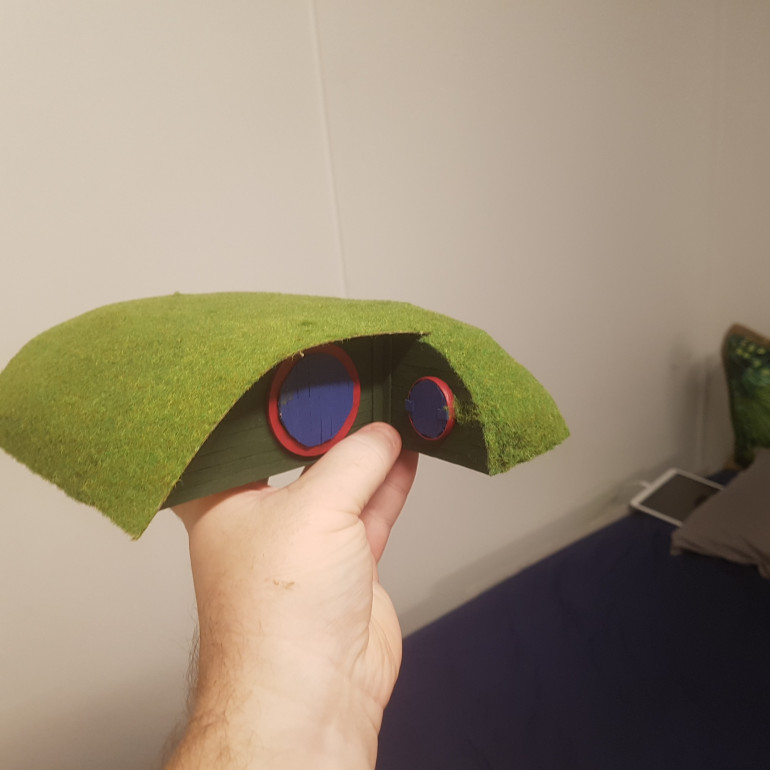
Pieces of Card Cut in a Paper Guillotine Was Super Glued to the Hobbit Hole to Simulate an Awning.Pieces of Card Cut in a Paper Guillotine Was Super Glued to the Hobbit Hole to Simulate an Awning.
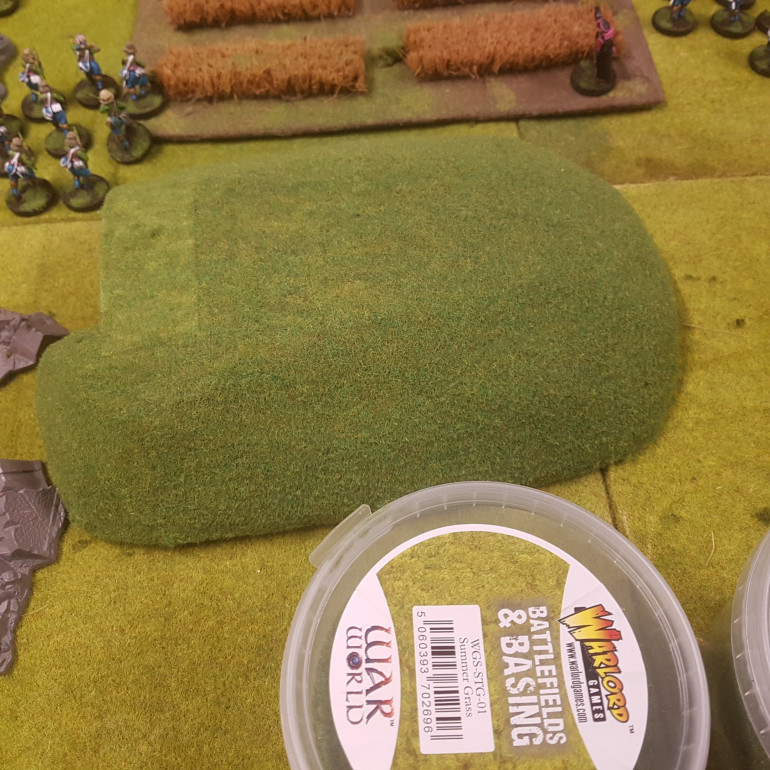
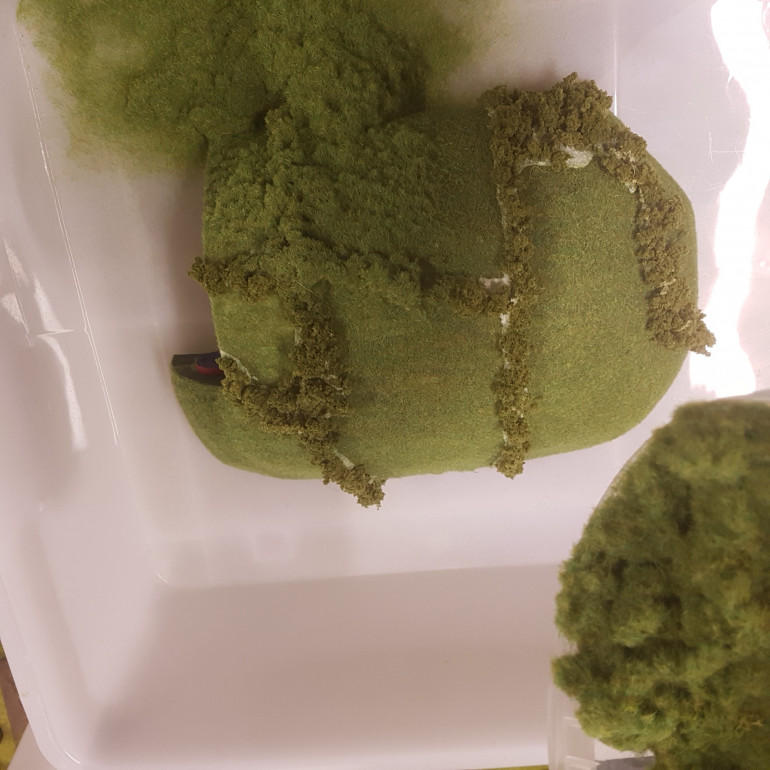
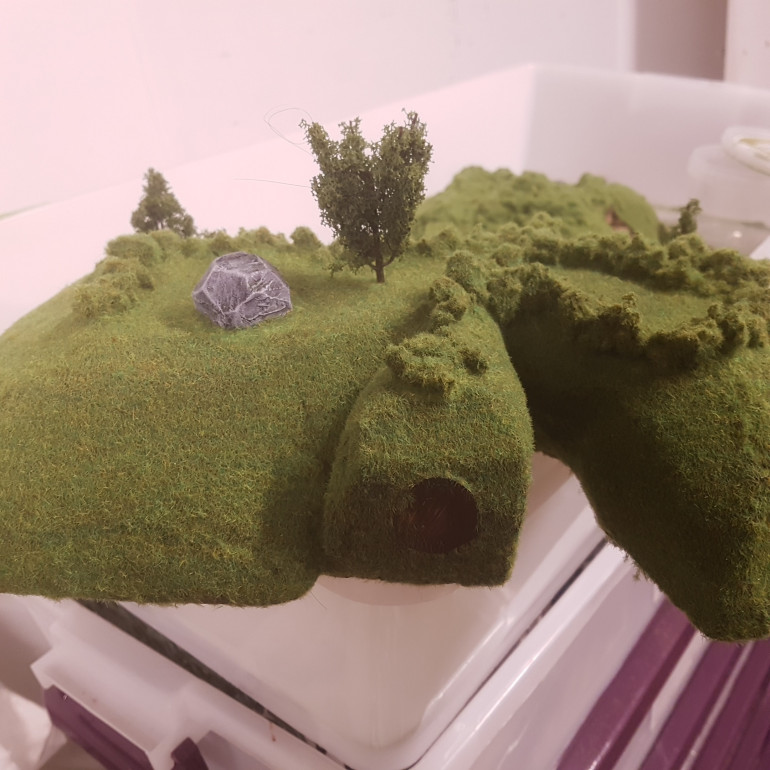
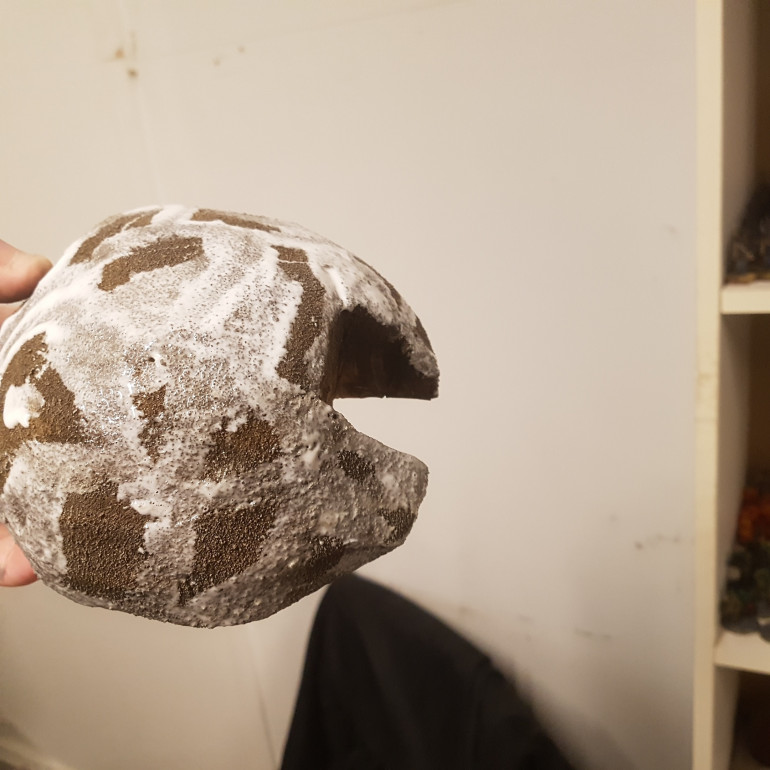
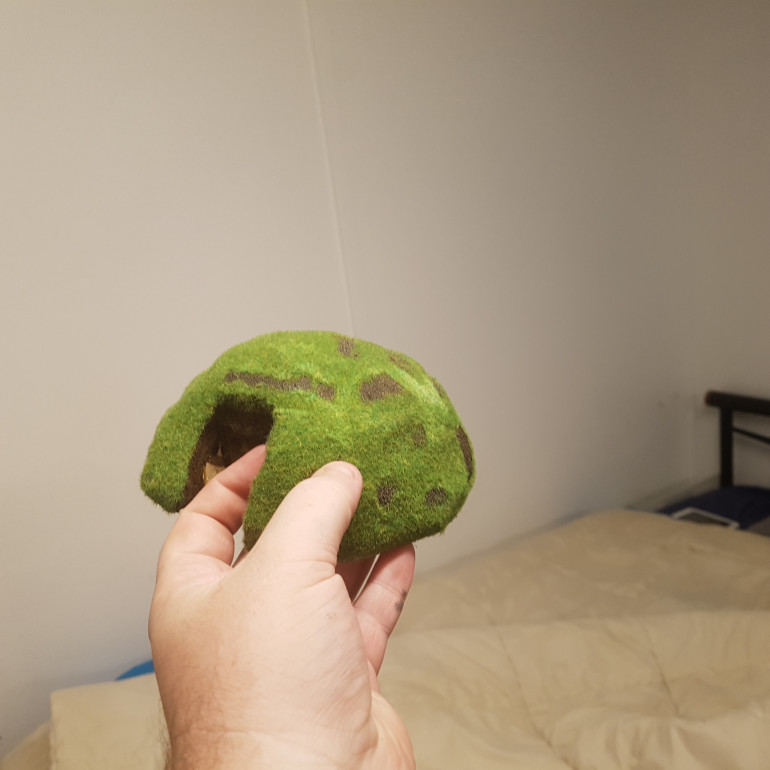
Then Apply PVA and Cover the Hobbit Hole in Flock. I Used Warlord Scenics: Summer Grass Which was Brilliant. I Barely Used Any and Covered Two Large AreasThen Apply PVA and Cover the Hobbit Hole in Flock. I Used Warlord Scenics: Summer Grass Which was Brilliant. I Barely Used Any and Covered Two Large Areas
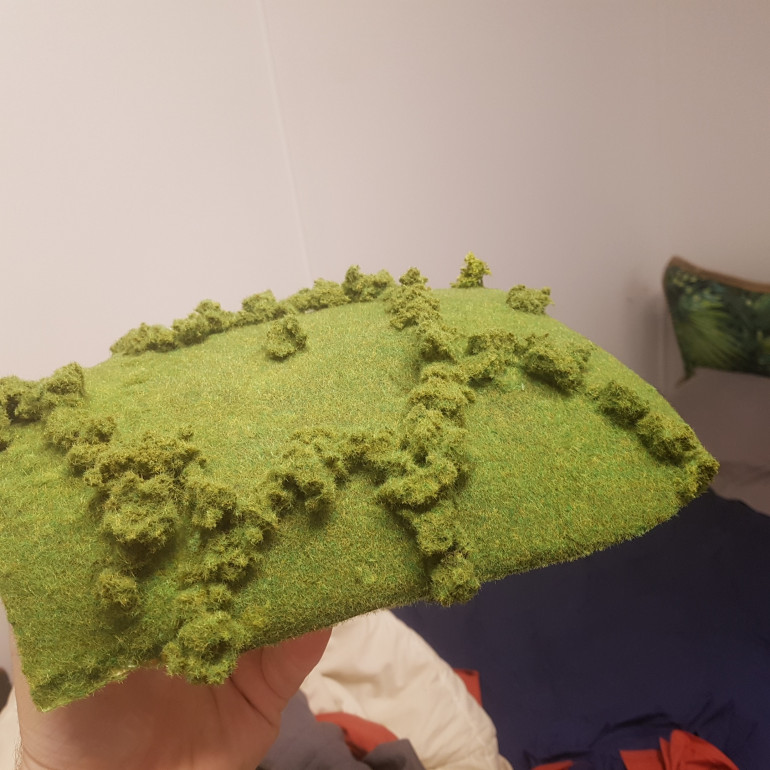
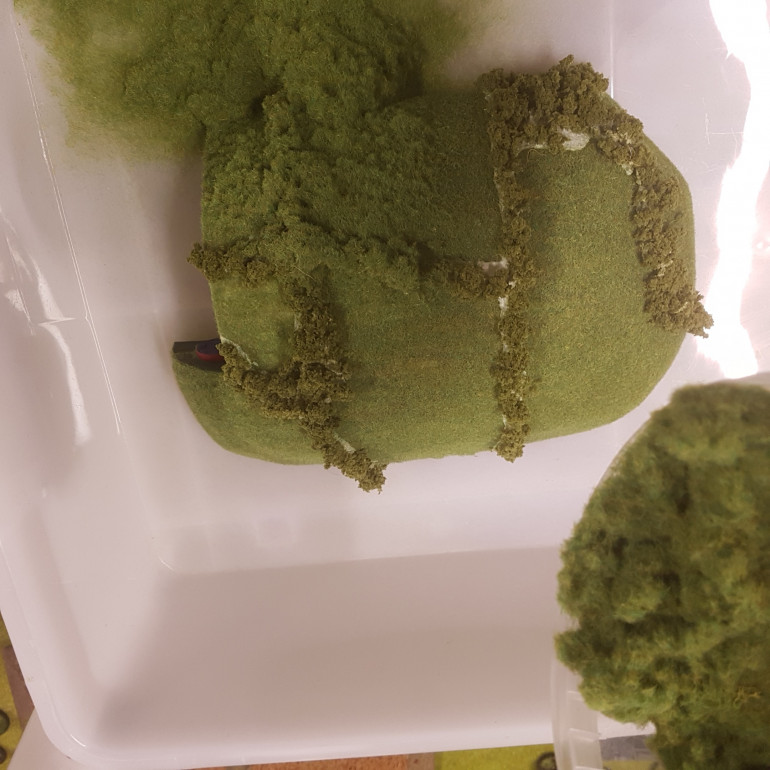
After the PVA Dried Flock Grass was Glued Down and More Flock Scattered On them to Break up the Plain AreasAfter the PVA Dried Flock Grass was Glued Down and More Flock Scattered On them to Break up the Plain Areas
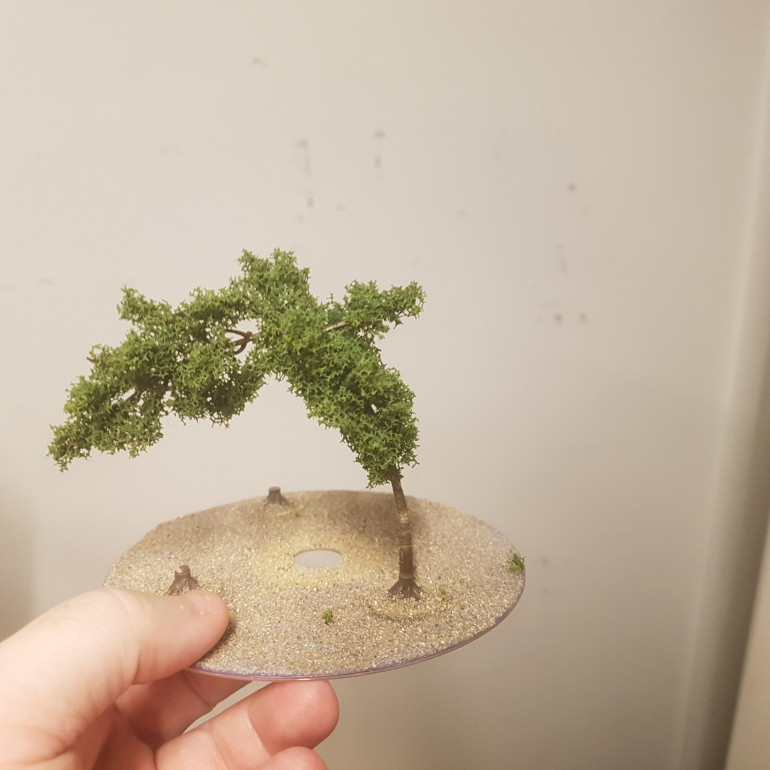
We All have some Damaged Scenery and while this Might be Useless for anything Else it will Make a Fine Hobbit Sized Tree.We All have some Damaged Scenery and while this Might be Useless for anything Else it will Make a Fine Hobbit Sized Tree.
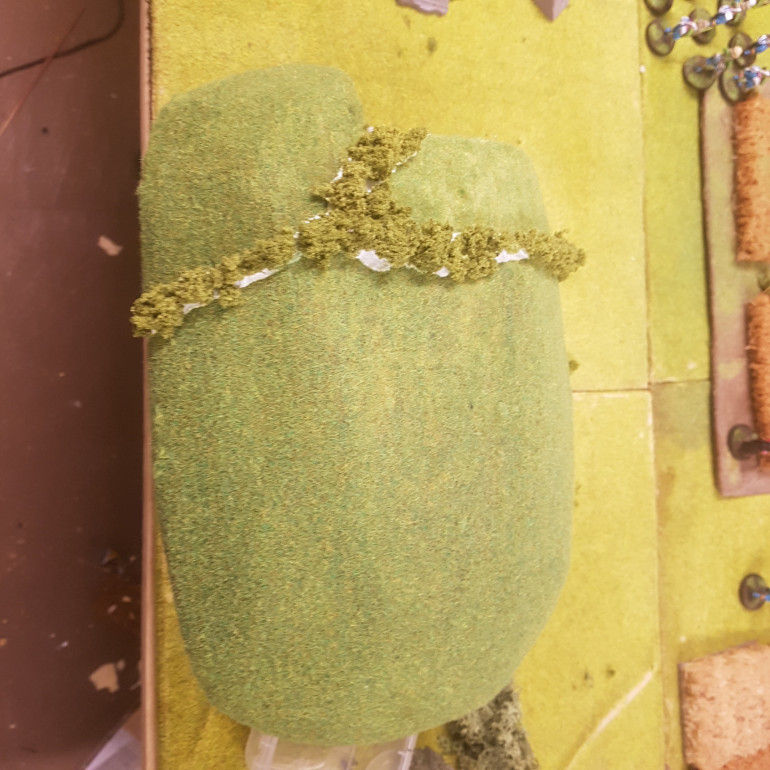
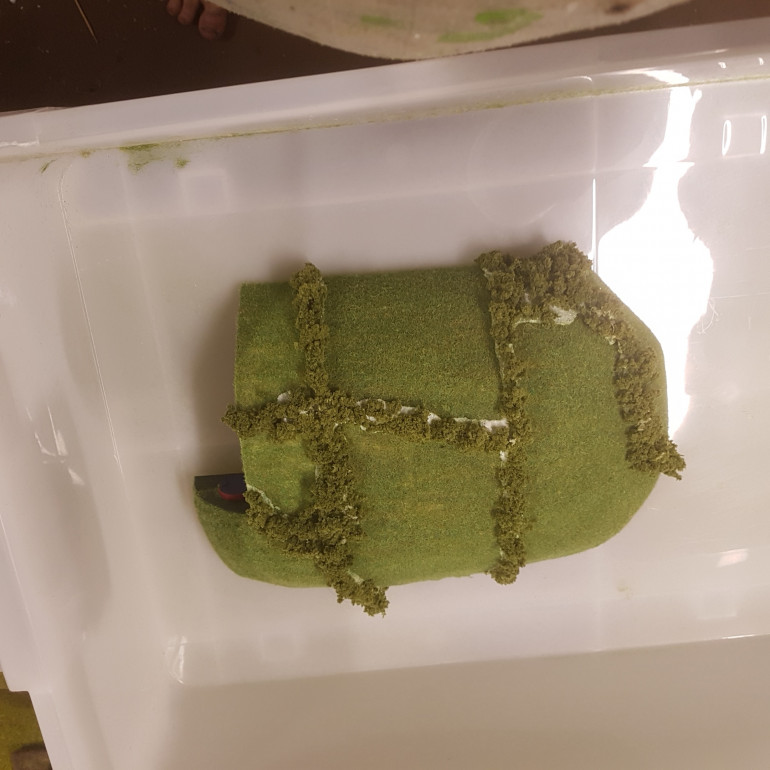
Our Naked Hobbit Hole, Very Plain and Very UninterestingOur Naked Hobbit Hole, Very Plain and Very Uninteresting
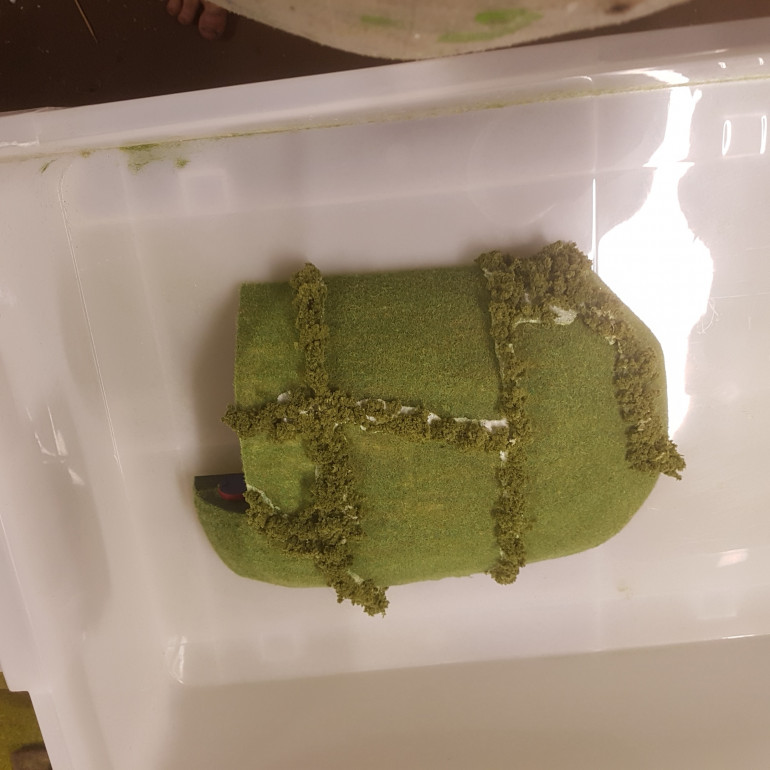
The Flocking TubThe Flocking Tub
I Made a Line over the Edge of the Card to Hide the Join. Then more Lines were made to Break up the Shape.I Made a Line over the Edge of the Card to Hide the Join. Then more Lines were made to Break up the Shape.
After Enough of the Roof was Broken Up Flock was Added. The PVA Will Soak into the Clump Foliage and Hide the Gaps and Blend it In.After Enough of the Roof was Broken Up Flock was Added. The PVA Will Soak into the Clump Foliage and Hide the Gaps and Blend it In.
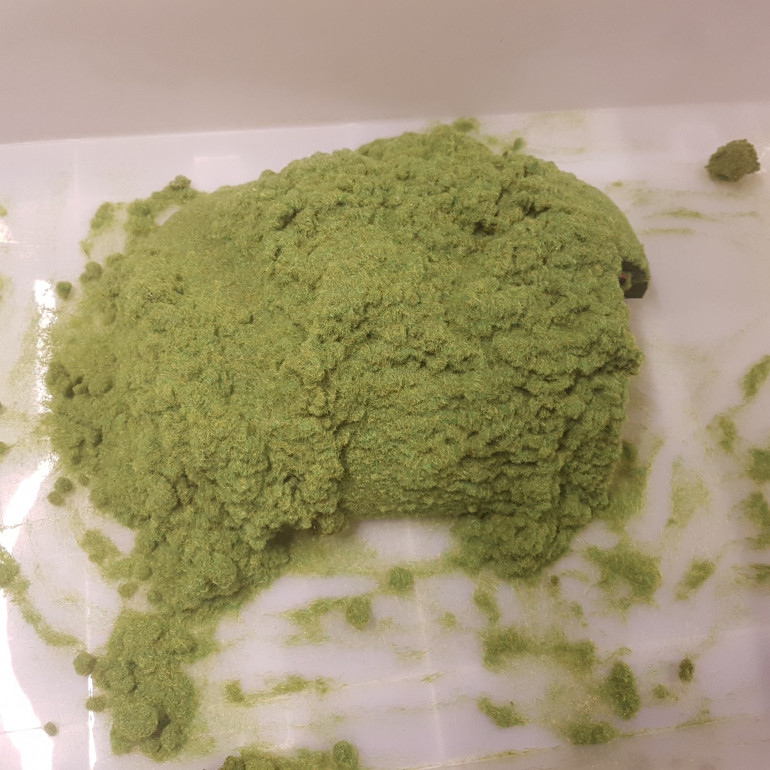
Apply the Flock In Great AmountsApply the Flock In Great Amounts
Flocking
Total Coverage is EssentialTotal Coverage is Essential
With Some Off Cuts of a Useless Tree the Roof is Broken Up and Now just Needs Colour. The Awning is then Painted Brown to Look like Wood.With Some Off Cuts of a Useless Tree the Roof is Broken Up and Now just Needs Colour. The Awning is then Painted Brown to Look like Wood.

Chimney's and Fences

Tutoring 4
Skill 5
Idea 5
No Comments
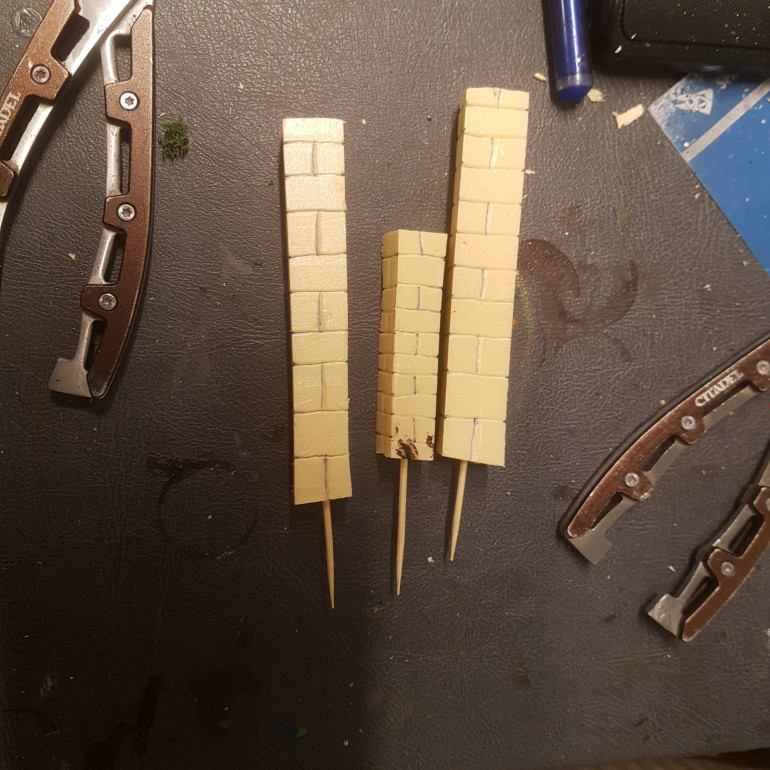
I took some Off Cuts and Scored Rough Bricks into them.I took some Off Cuts and Scored Rough Bricks into them.

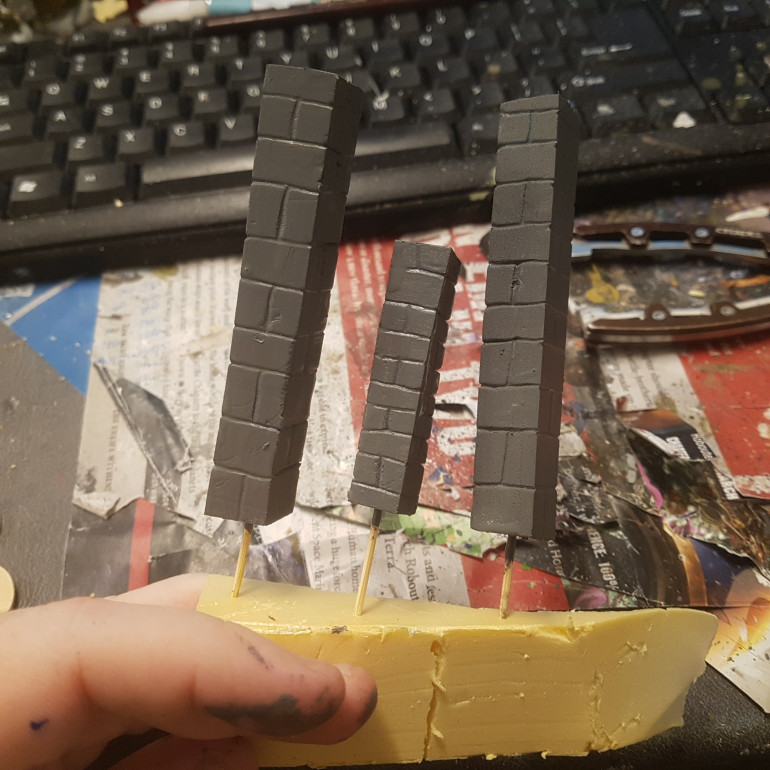
I want to be Able to Transport these and If all the Tree’s, Chimneys and other Large Accessories can be Removed that will Make it Easier. So I decided that the Chimney’s will be a Temporary Feature Stuck in with a Toothpick When Needed.

The Chimney's were Painted Army Painter Dungeon GreyThe Chimney's were Painted Army Painter Dungeon Grey
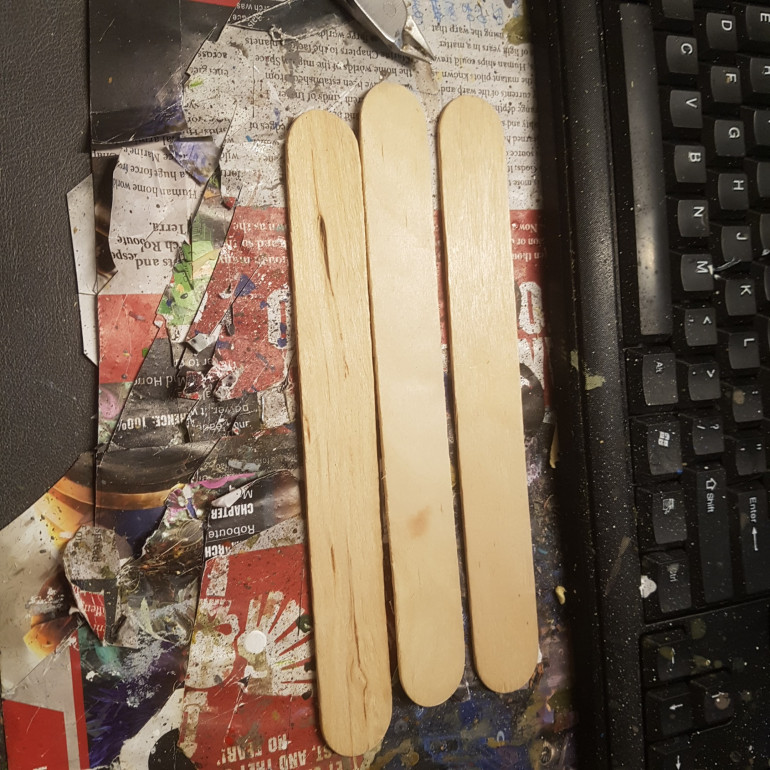
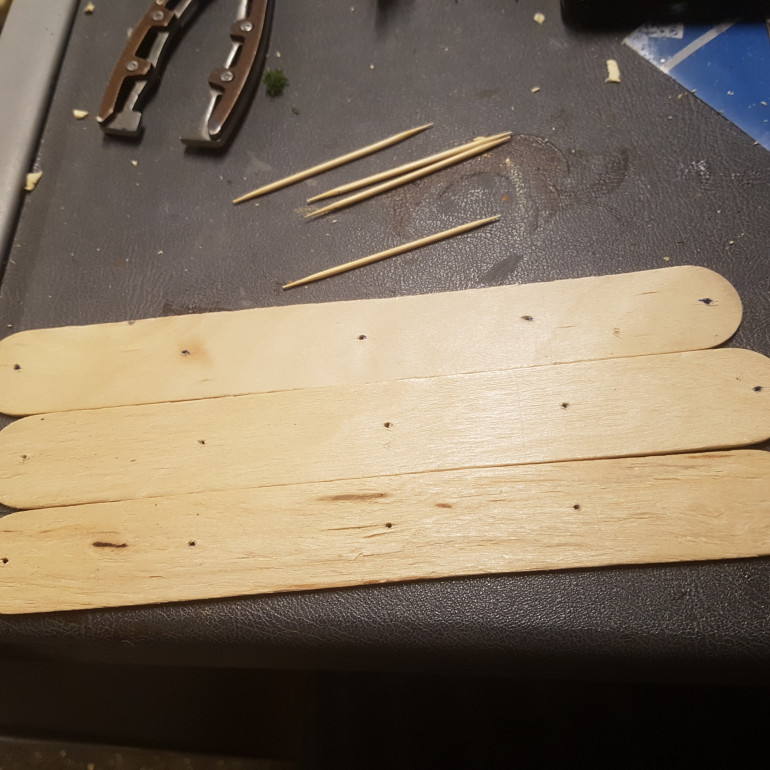
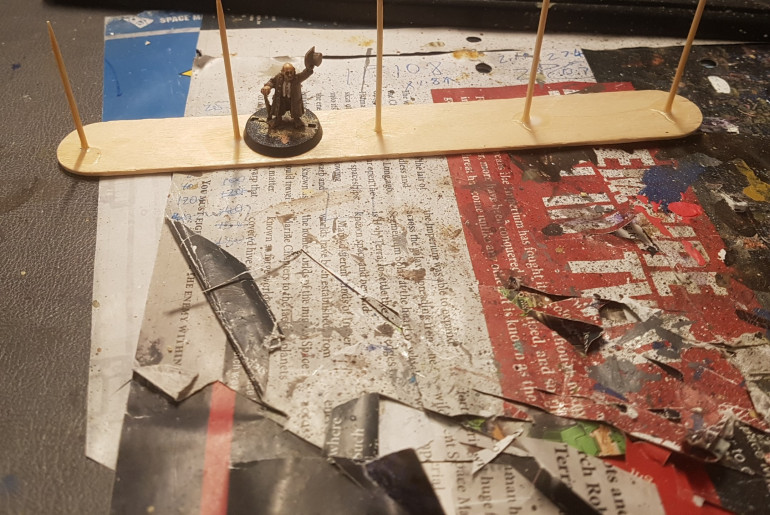
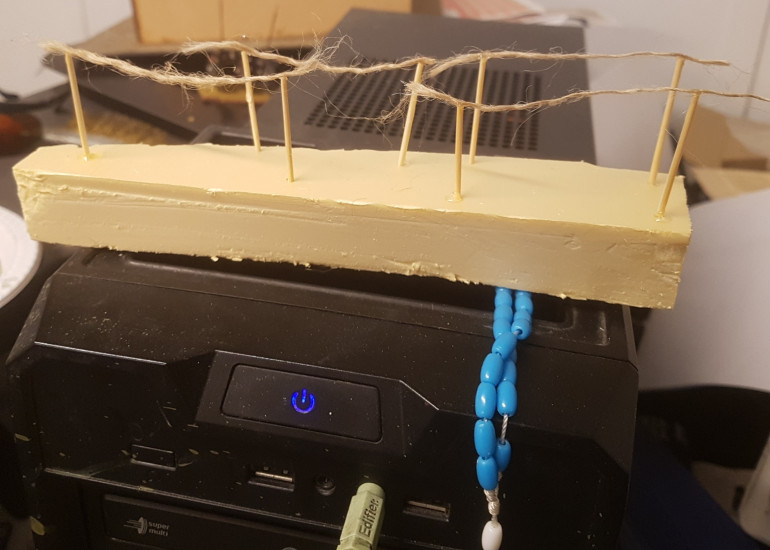
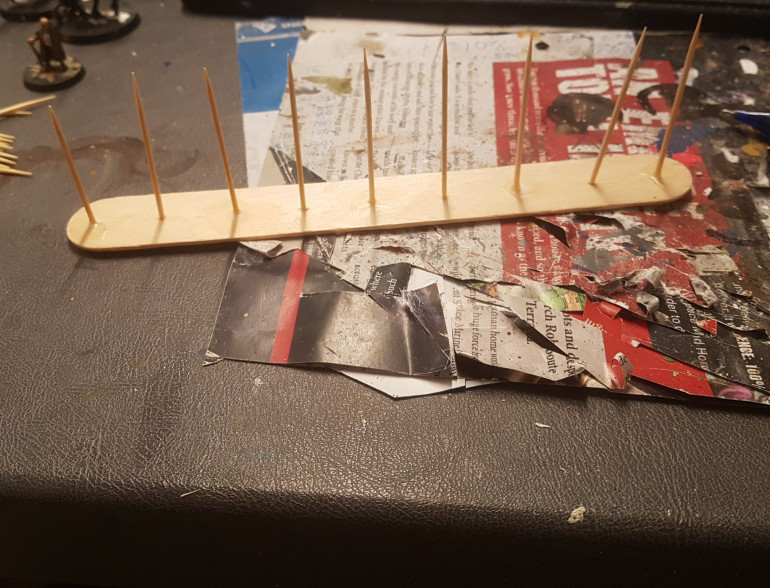
These Large Popsicle Sticks From the $2 Shop Will be the Bases for My Fences.These Large Popsicle Sticks From the $2 Shop Will be the Bases for My Fences.
Lines were Marked at the Length of a Toothpick and Drilled out.Lines were Marked at the Length of a Toothpick and Drilled out.
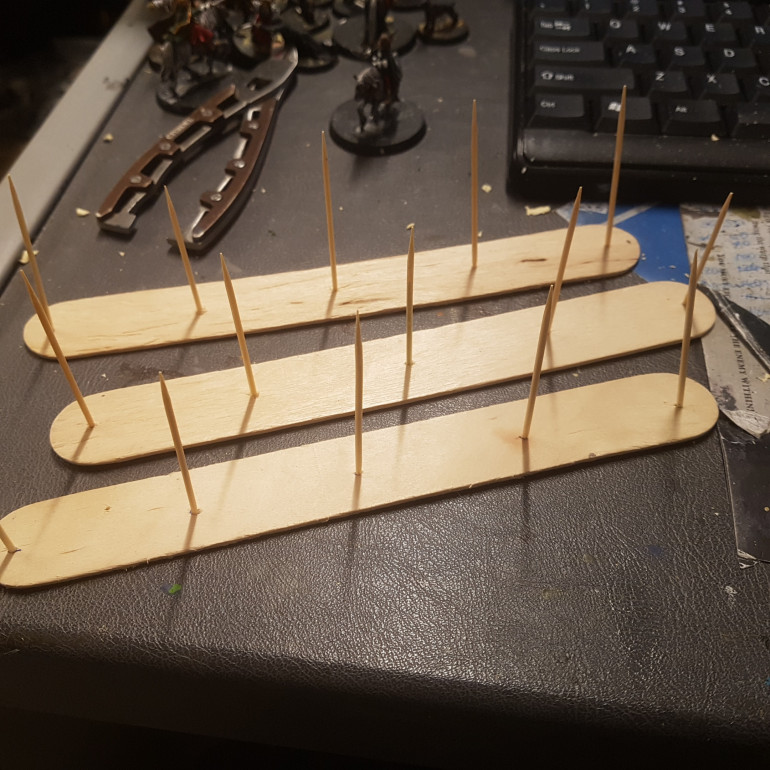
The Toothpicks were then Fitted in and The Excess Cut Off. A Tight Fit Helps to Keep Everything StraightThe Toothpicks were then Fitted in and The Excess Cut Off. A Tight Fit Helps to Keep Everything Straight
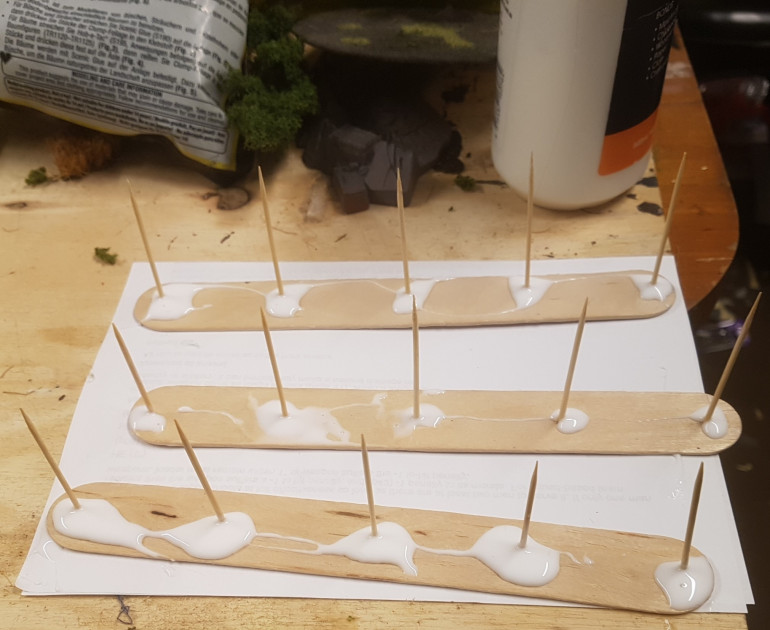
The Toothpicks Were then Glued with PVAThe Toothpicks Were then Glued with PVA
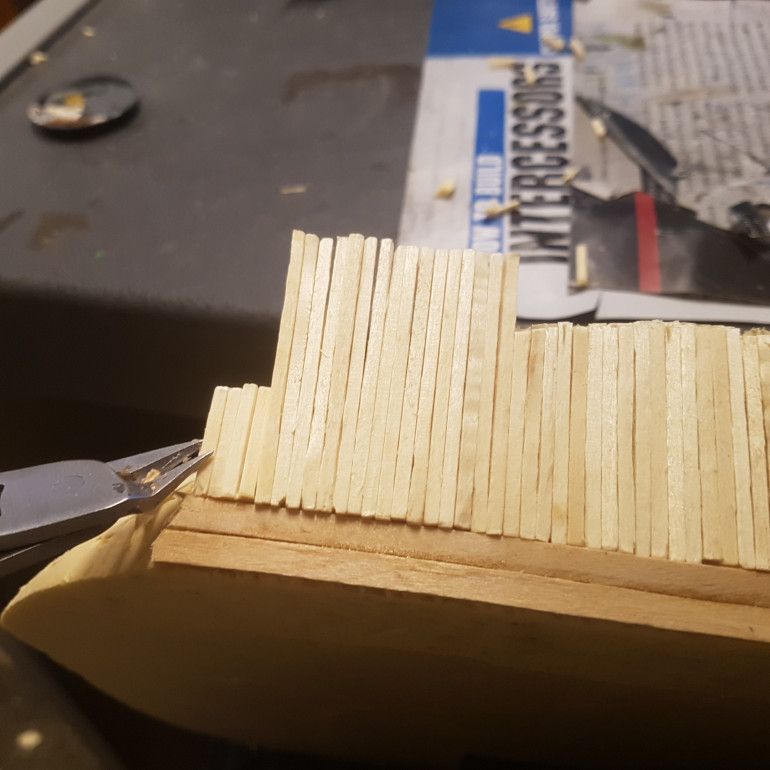
Going Back to The Hobbit Hole. Two Coffee Stirrers Were Glued in Place to Give me a Solid Base to Work from Rather than  Ragged Cut. Then Small Square Wood Was Glues in Place. Only the End were Trimmed to any Degree Because they Tilted when Attached as a Whole.Going Back to The Hobbit Hole. Two Coffee Stirrers Were Glued in Place to Give me a Solid Base to Work from Rather than Ragged Cut. Then Small Square Wood Was Glues in Place. Only the End were Trimmed to any Degree Because they Tilted when Attached as a Whole.

The Hobbits Themselves

Tutoring 2
Skill 5
Idea 5
No Comments
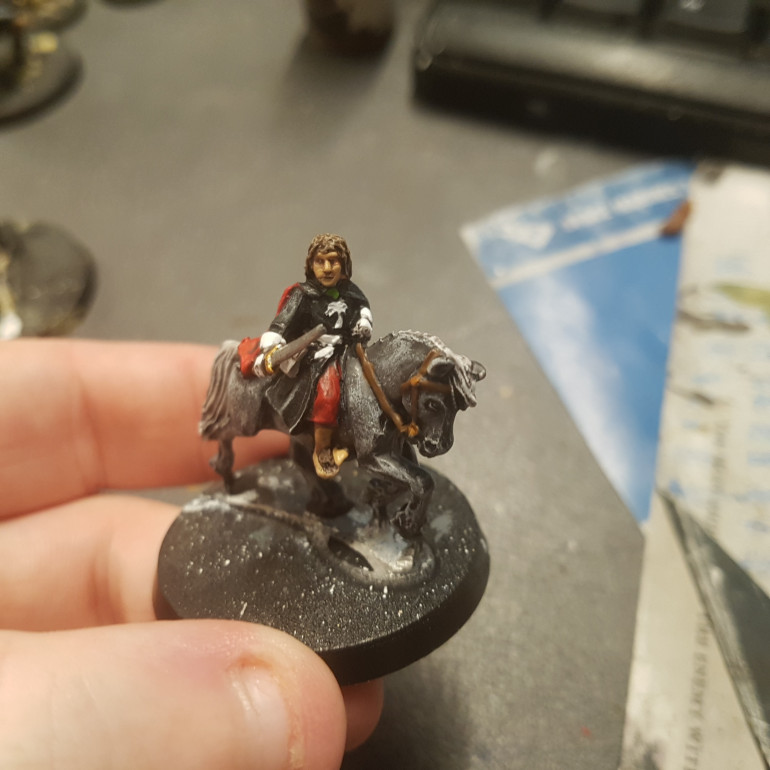
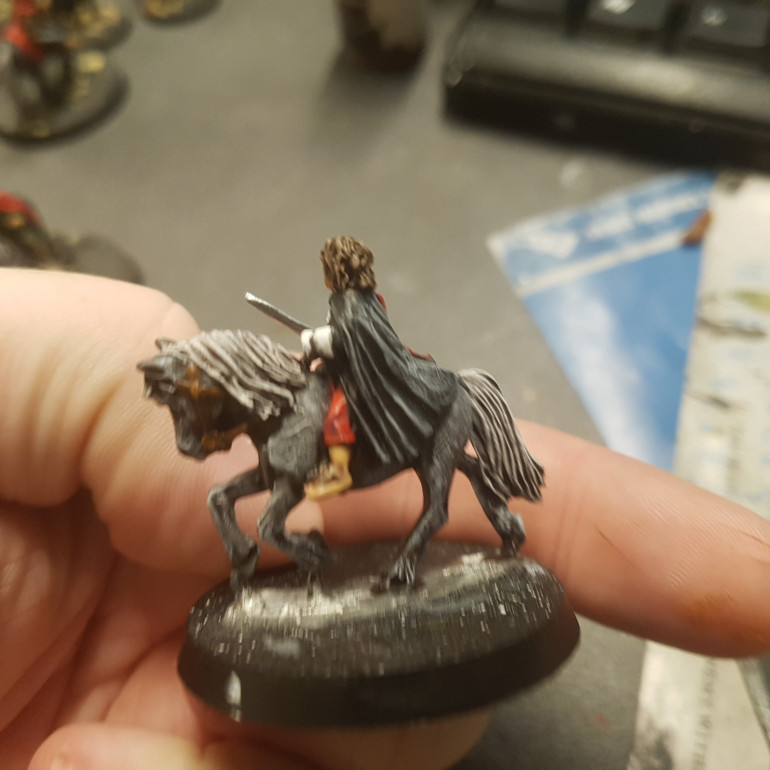
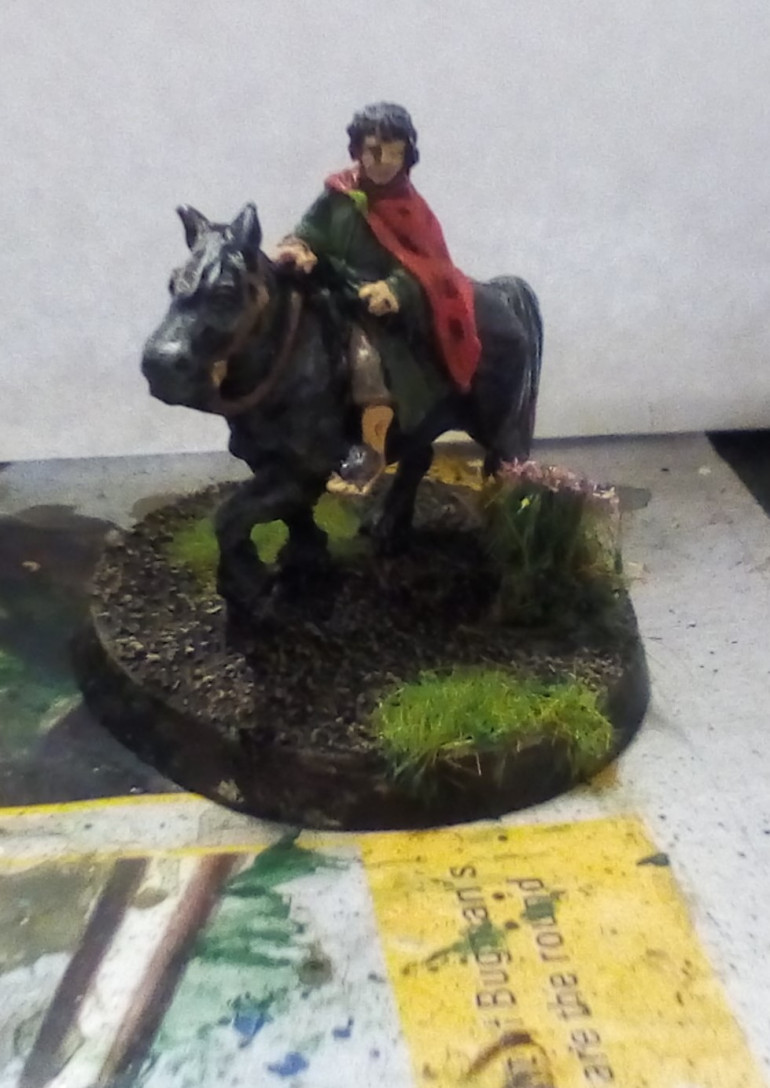
Frodo of the Nine Fingers on PonyFrodo of the Nine Fingers on Pony
The Hobbits Themselves
Samwise the Brave with Sting on PonySamwise the Brave with Sting on Pony
The Hobbits Themselves
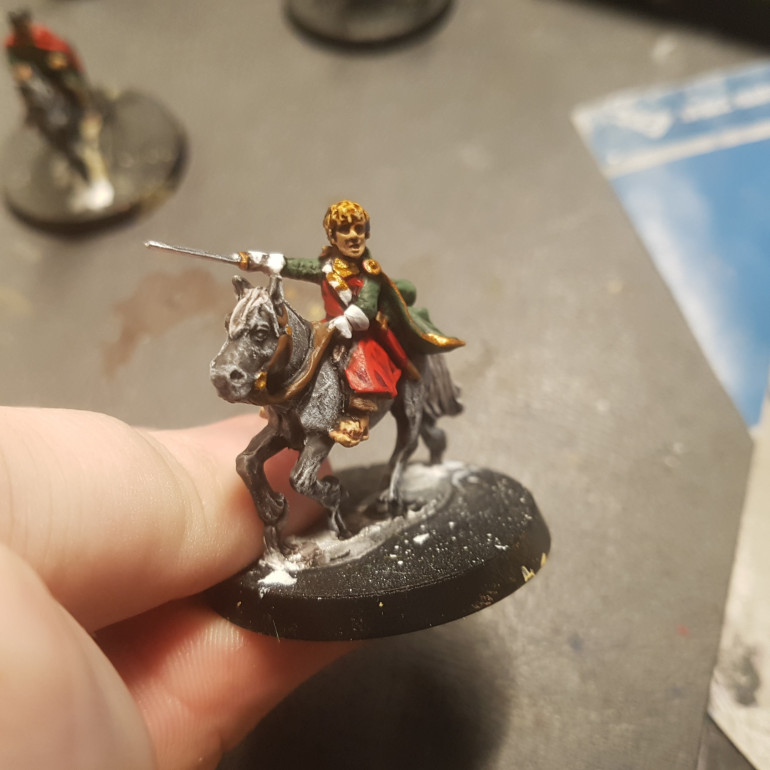
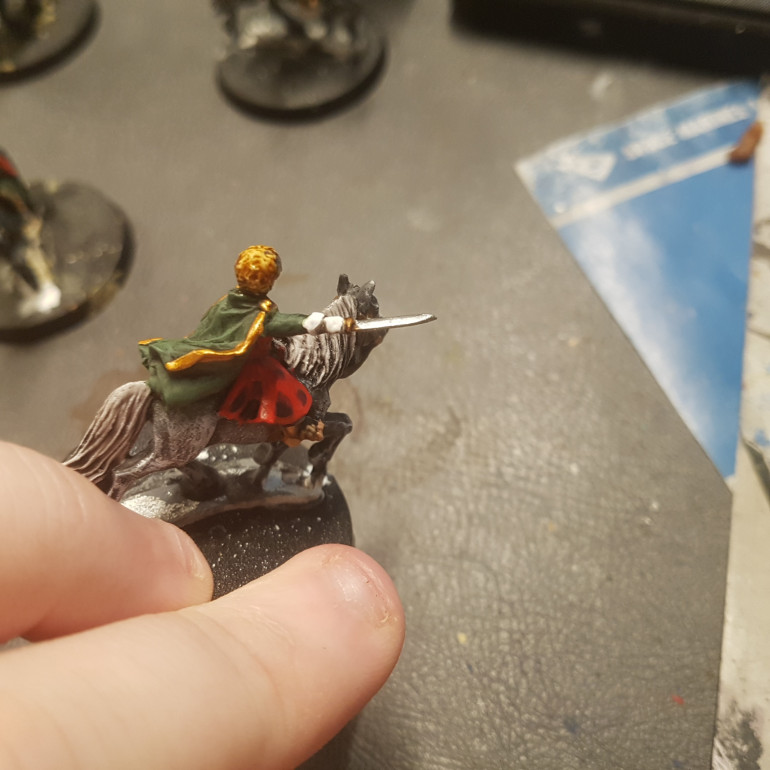
Peregrin Took, Guard of the Citadel on PonyPeregrin Took, Guard of the Citadel on Pony
The Hobbits Themselves
Meriadoc Brandybuck, Knight of the MarkMeriadoc Brandybuck, Knight of the Mark
The Hobbits Themselves
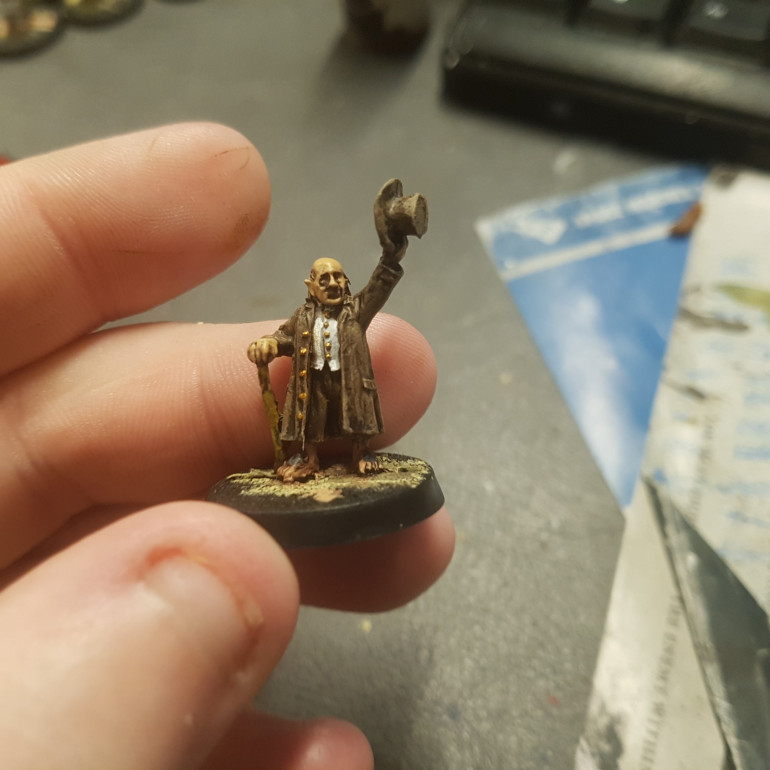
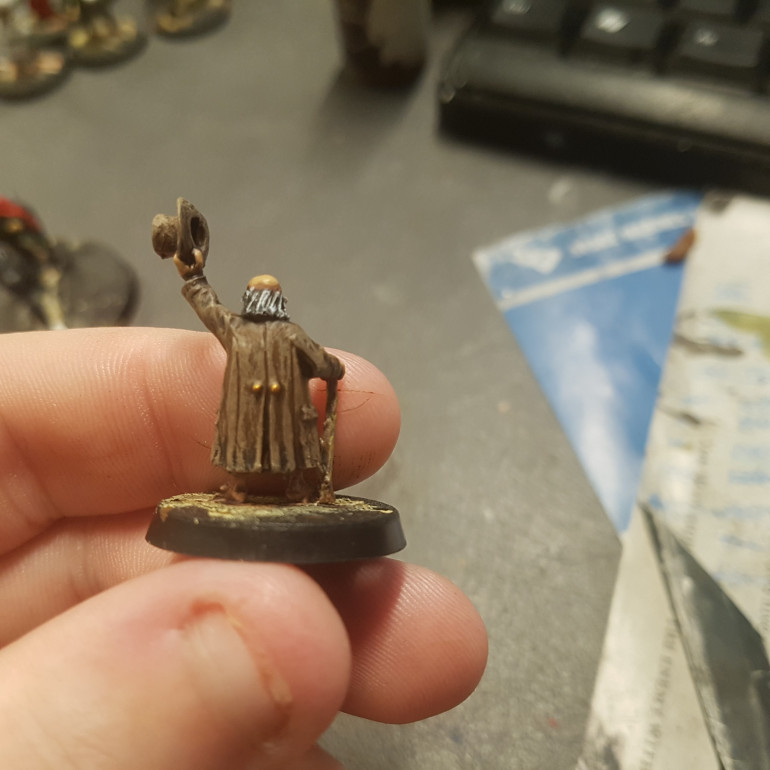
Paladin Took, Father of Peregrin TookPaladin Took, Father of Peregrin Took
The Hobbits Themselves
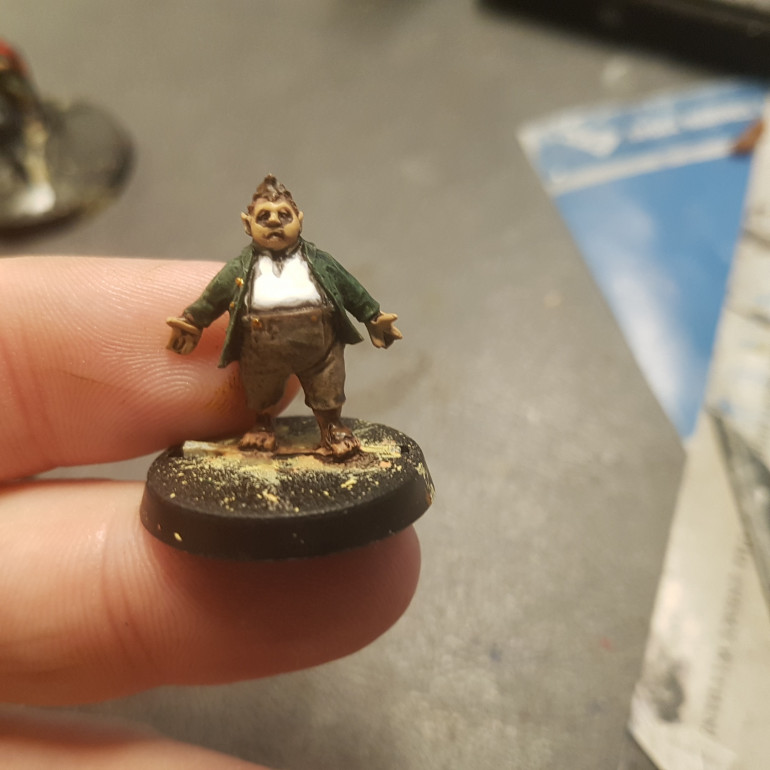
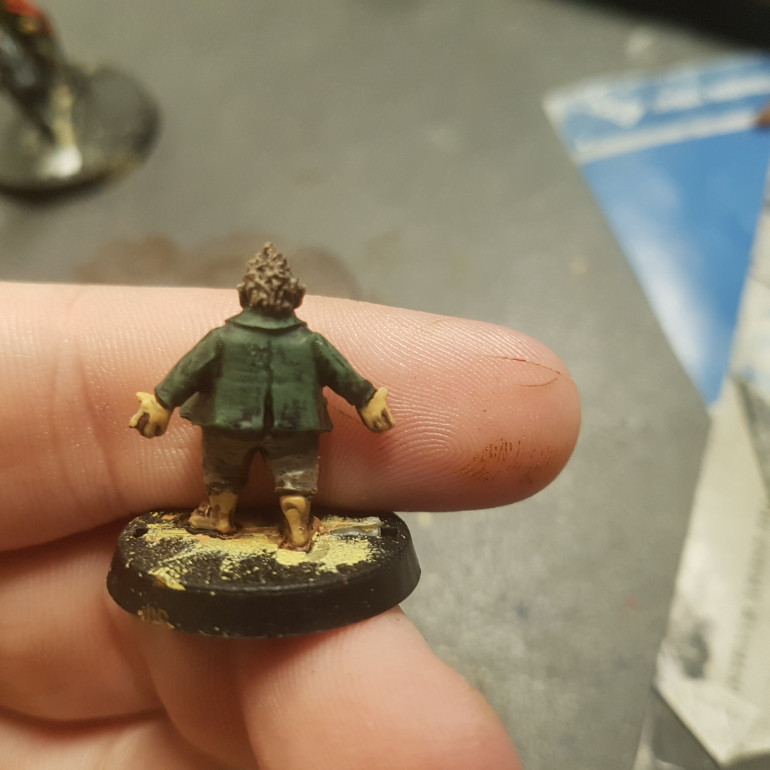
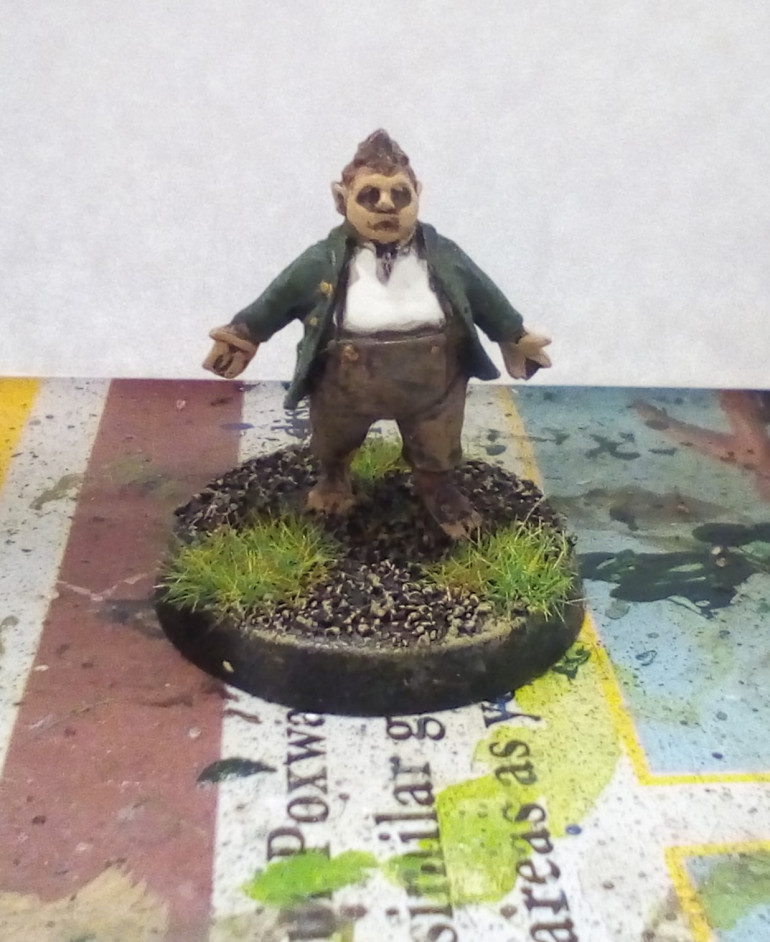
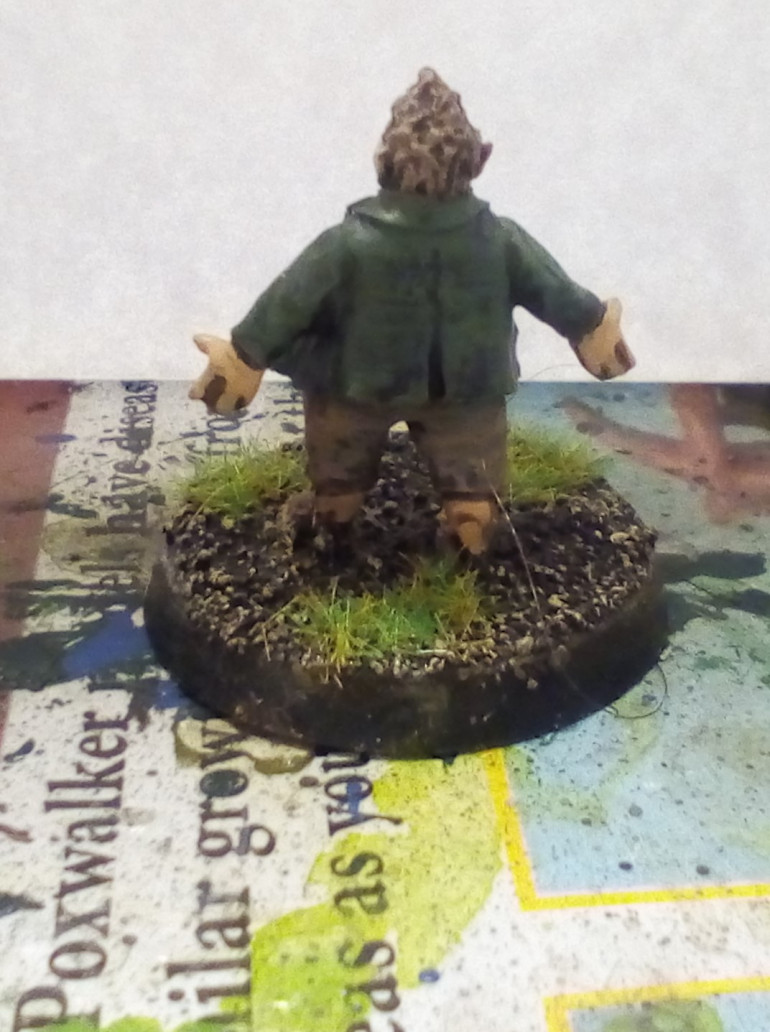
Fredegar Fredegar "Fatty" Bolger, He's Actually Quite Brave and in the Fellowship of the Ring Basically Acts as the Decoy when Frodo and Co. Leave the Shire. He had the Balls to Go up Against the Wraiths by Blowing a Horn and Rousing Half of Buckland to Drive them Off
The Hobbits Themselves

More of the Hobbits and the Villains
Tutoring 2
Skill 6
Idea 5
No Comments
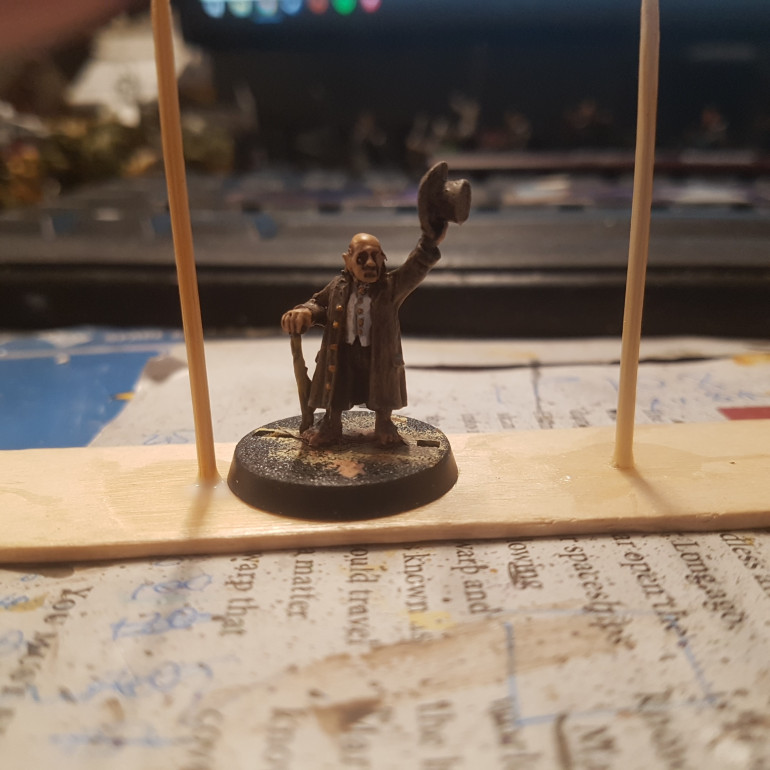
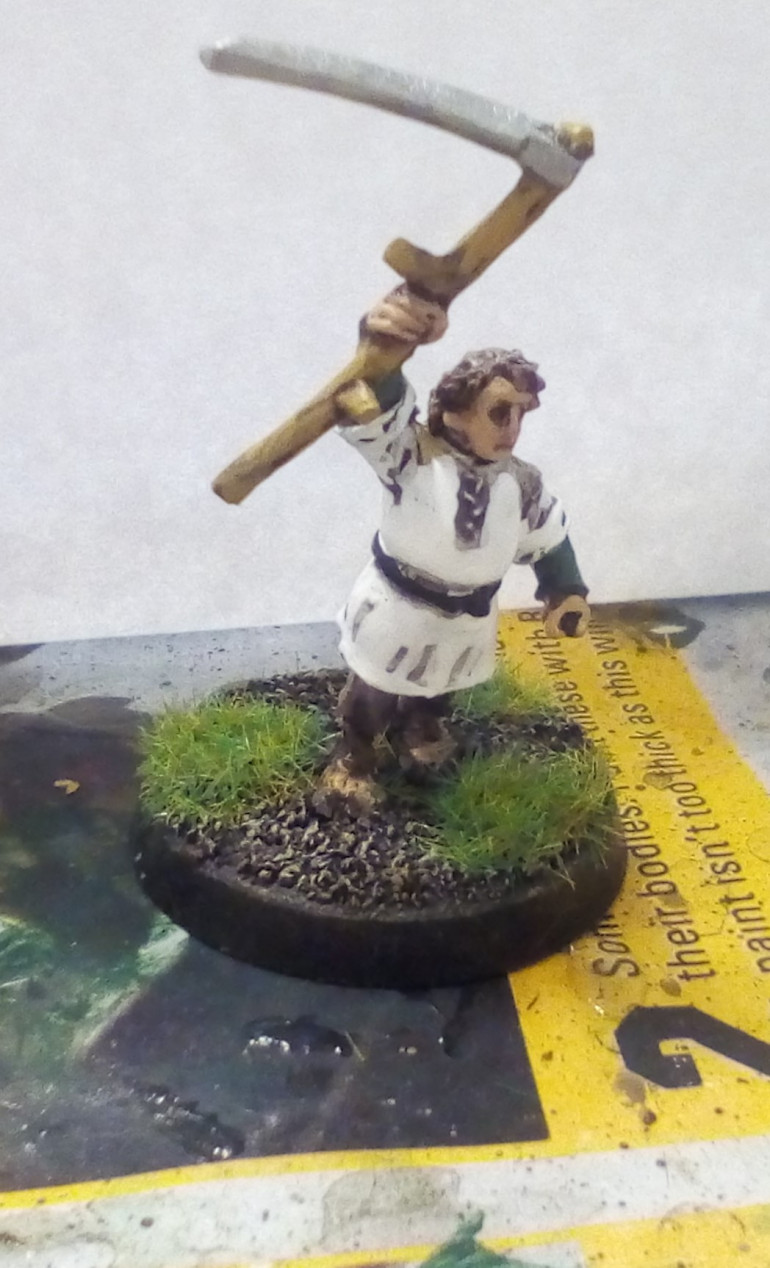
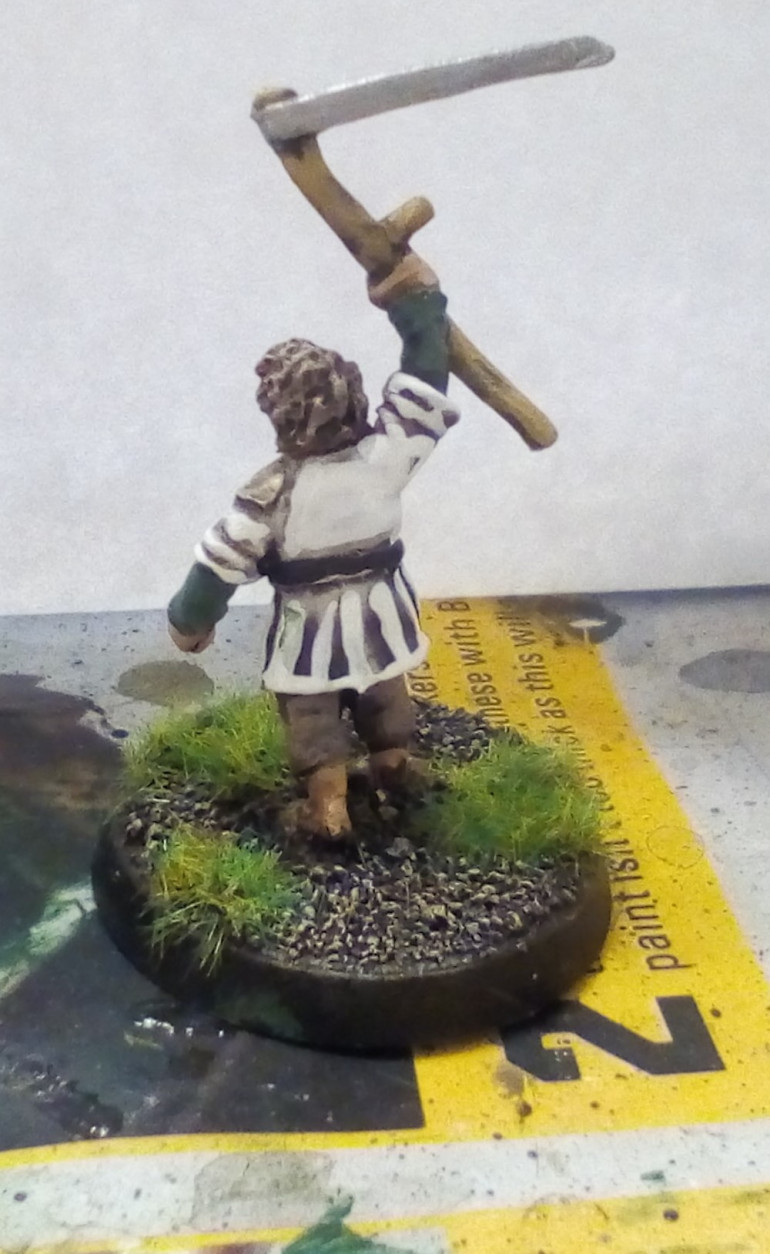
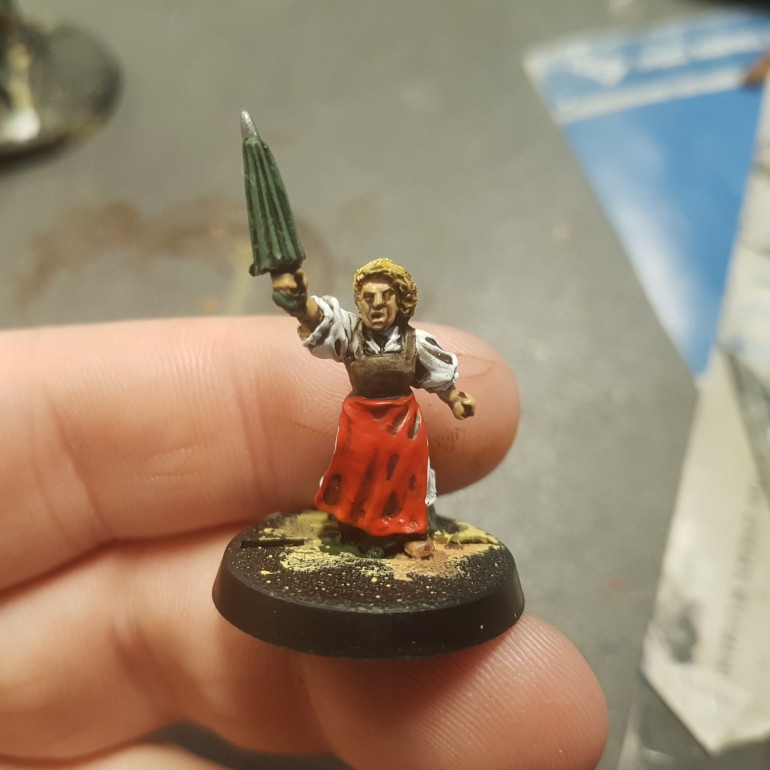
Farmer Maggot, Get Out of his Fields!Farmer Maggot, Get Out of his Fields!
I Thought You Were Told to Get Out of His Fields?!?!I Thought You Were Told to Get Out of His Fields?!?!
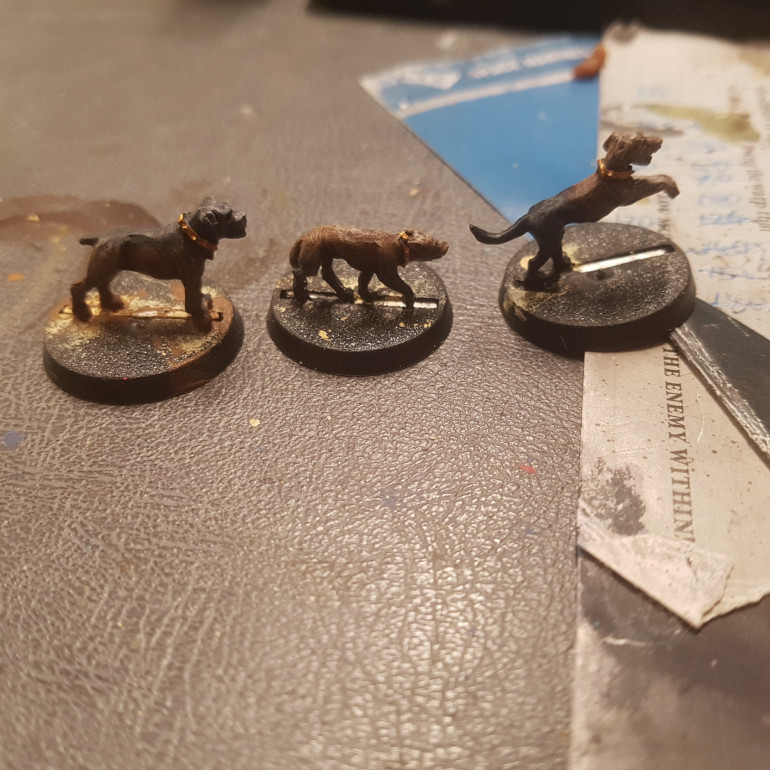
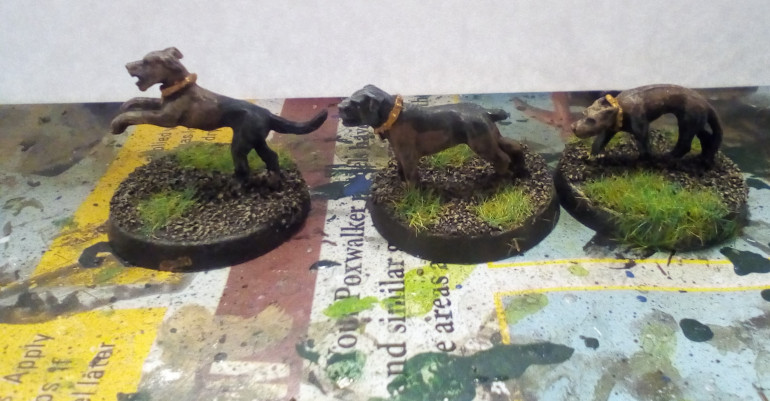
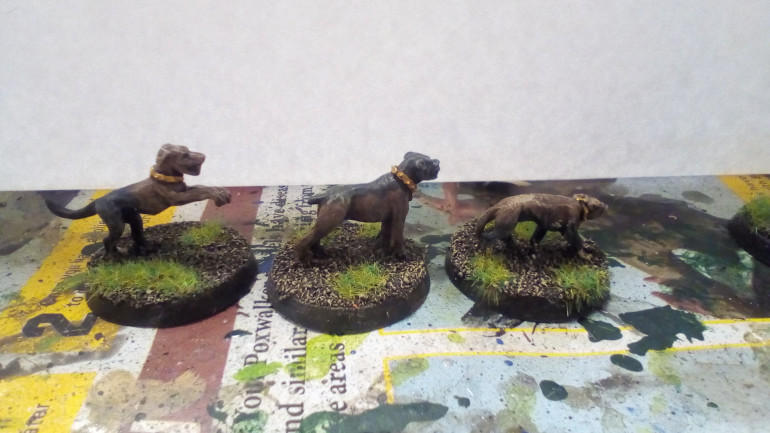
Grip Fang and Wolf from left to Right. This is What Happens When you Don't Get out of His Field!Grip Fang and Wolf from left to Right. This is What Happens When you Don't Get out of His Field!
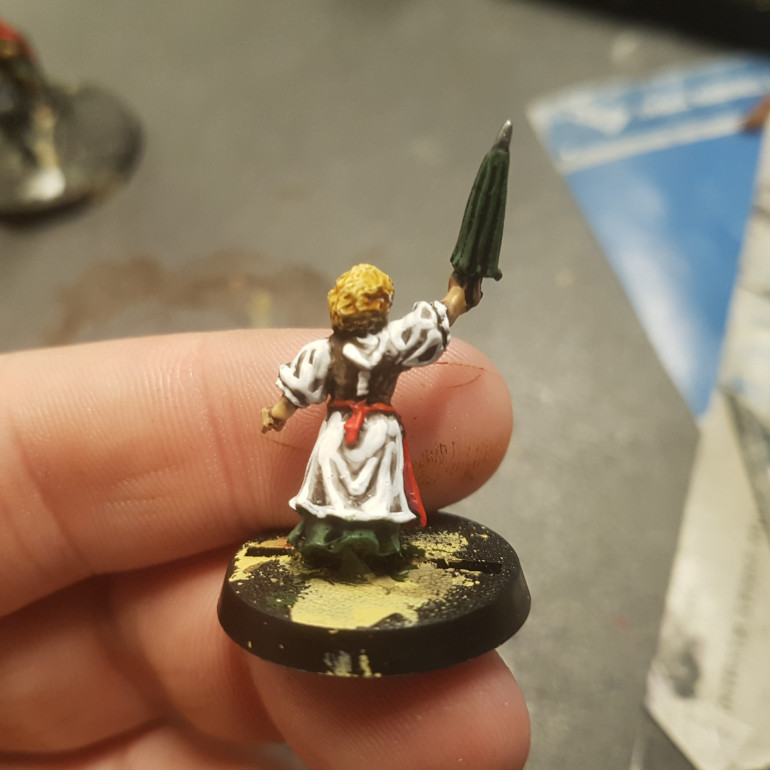
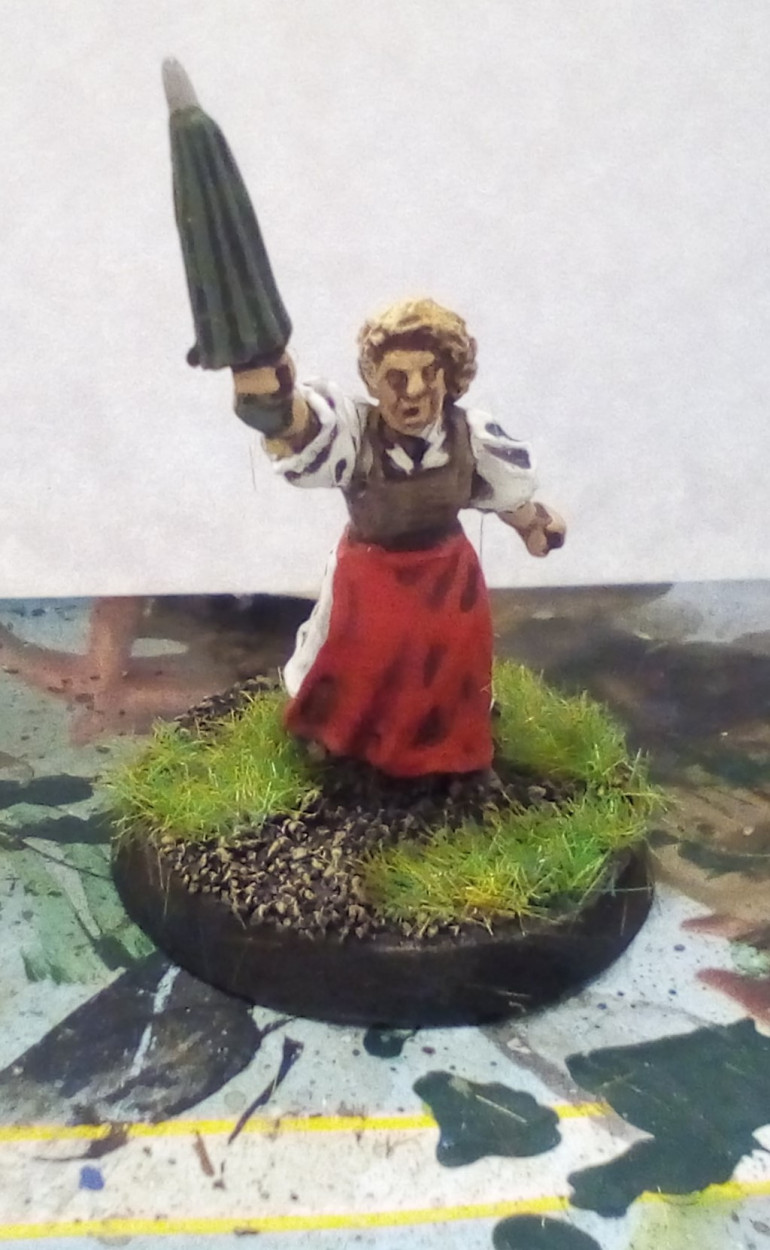
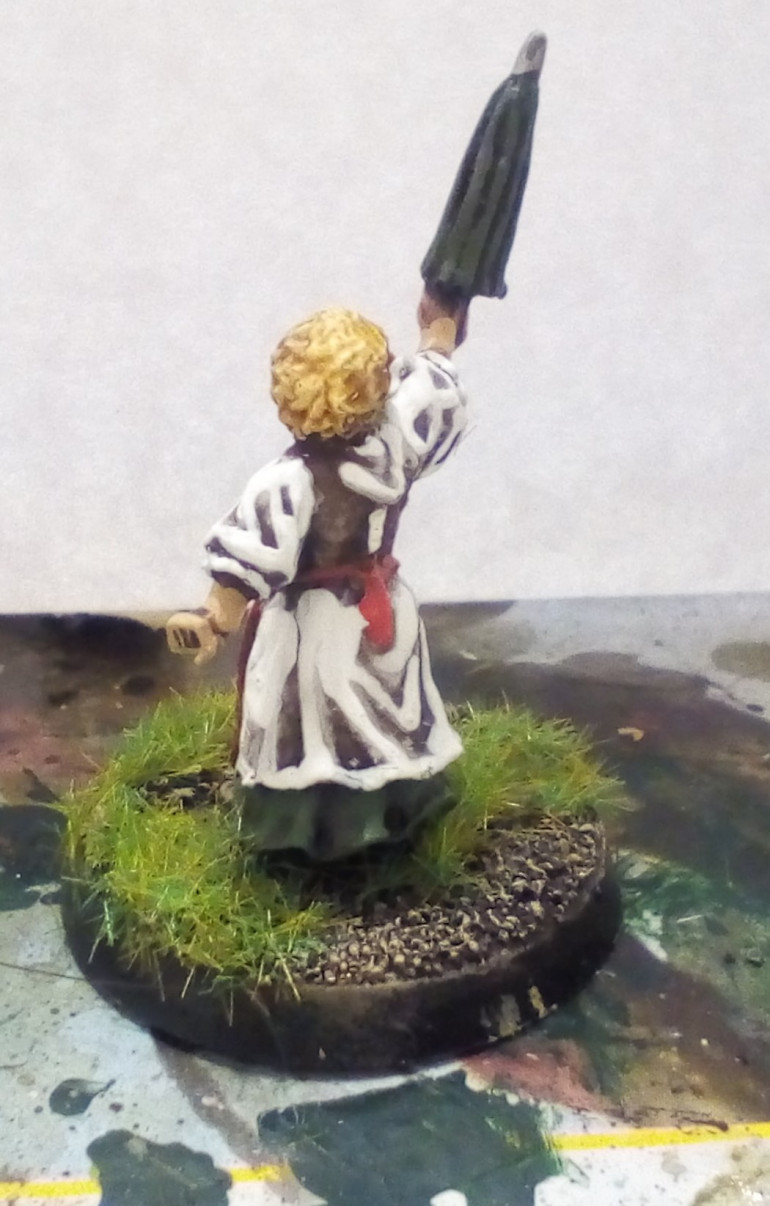
Lobellia Sackville-Baggins, Mother of Lotho Baggins who Basically Gave Saruman the Shire and Set him up in Bag End. He Was then Murdered and Possibly Eaten by Grima Lobellia Sackville-Baggins, Mother of Lotho Baggins who Basically Gave Saruman the Shire and Set him up in Bag End. He Was then Murdered and Possibly Eaten by Grima "Worm" Wormtongue
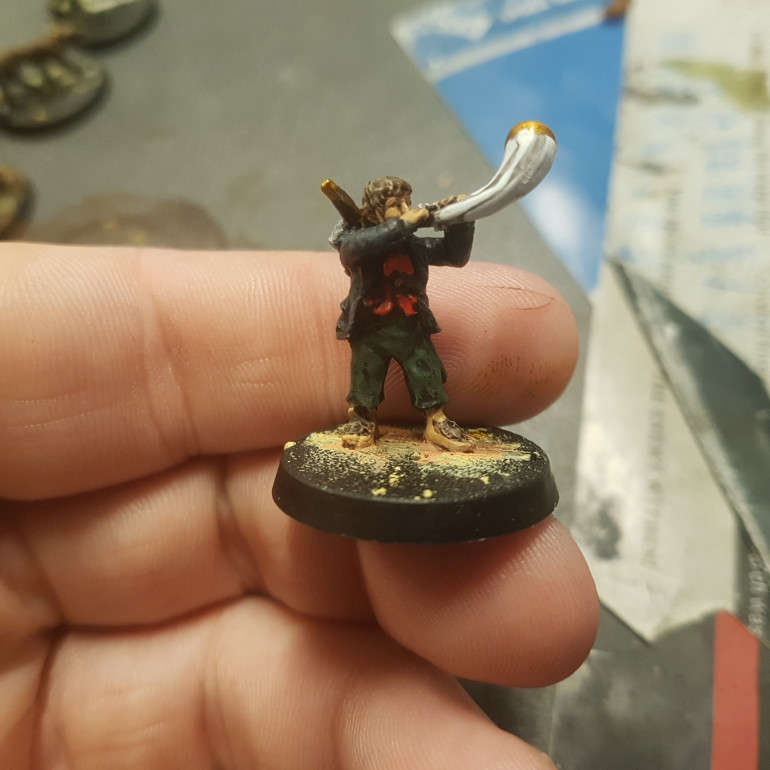
More of the Hobbits and the Villains
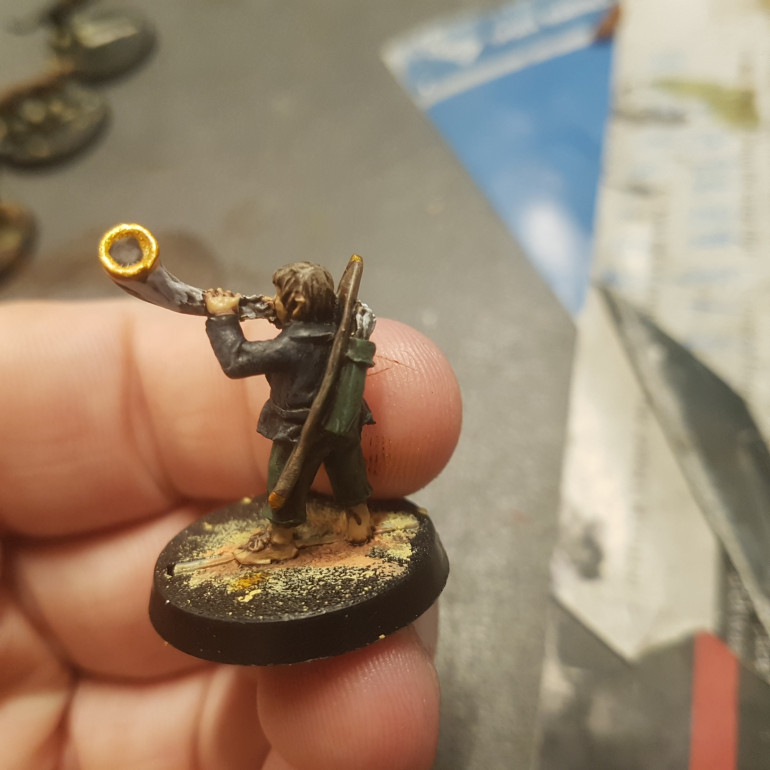
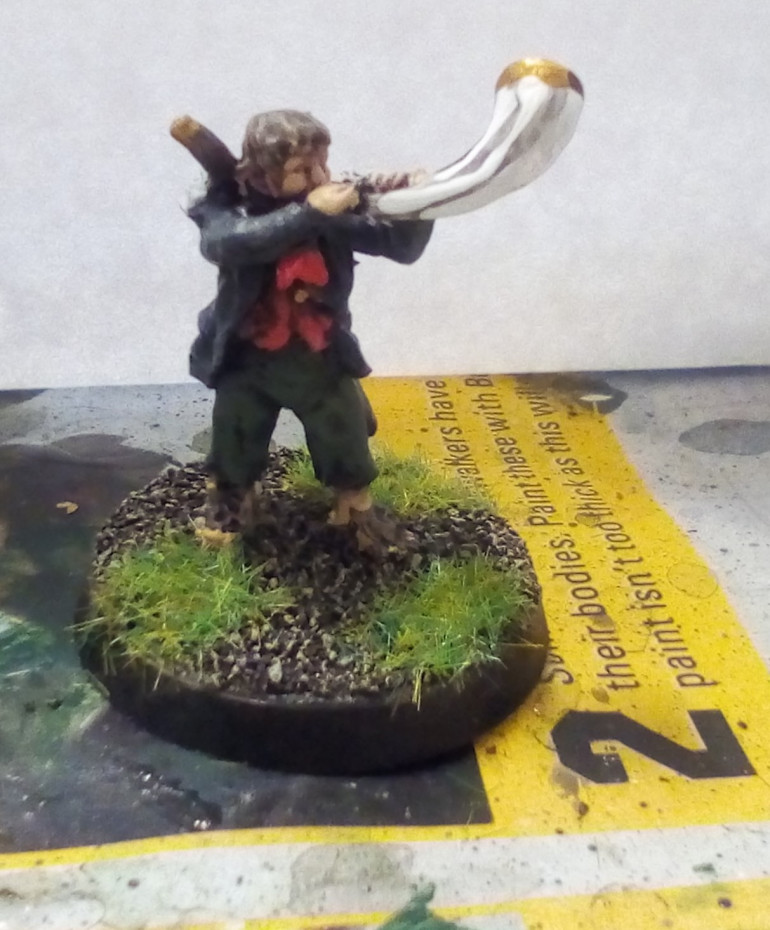
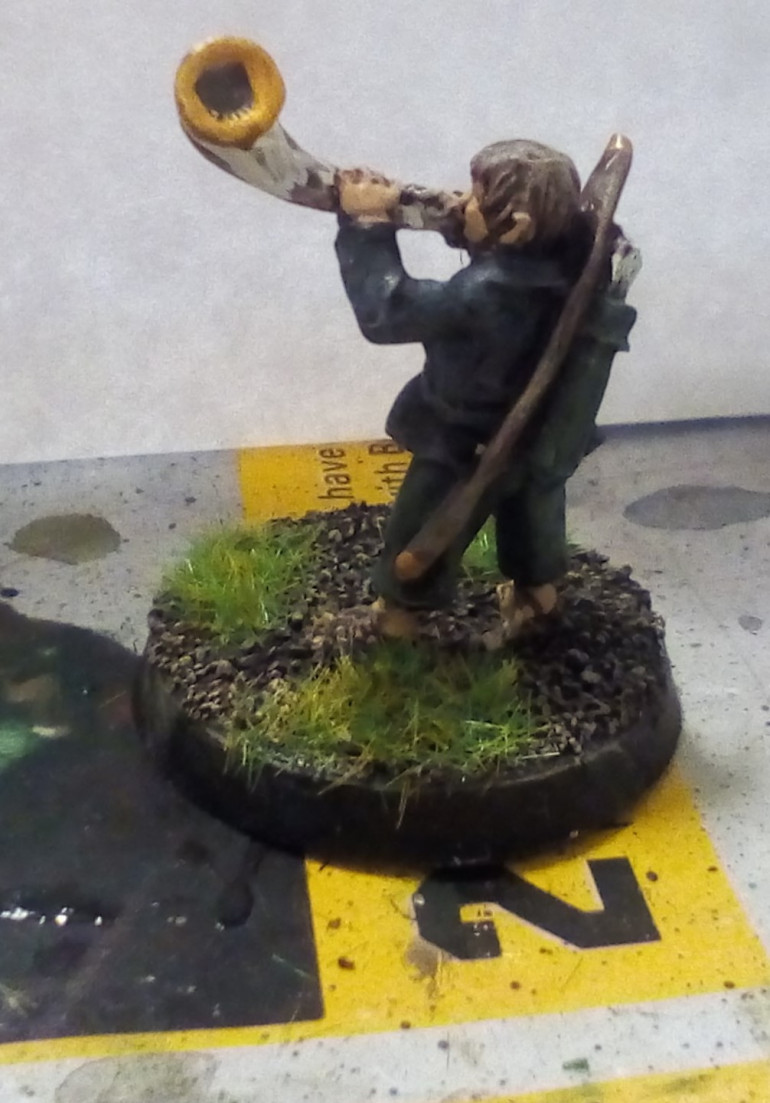
A Hobbit Archer with a Signal Horn. In Game it's a Warhorn and Has the Honour of Being the Very First Warhorn of it's Kind Coming out in 2004 almost a Decade Before any OthersA Hobbit Archer with a Signal Horn. In Game it's a Warhorn and Has the Honour of Being the Very First Warhorn of it's Kind Coming out in 2004 almost a Decade Before any Others
More of the Hobbits and the Villains
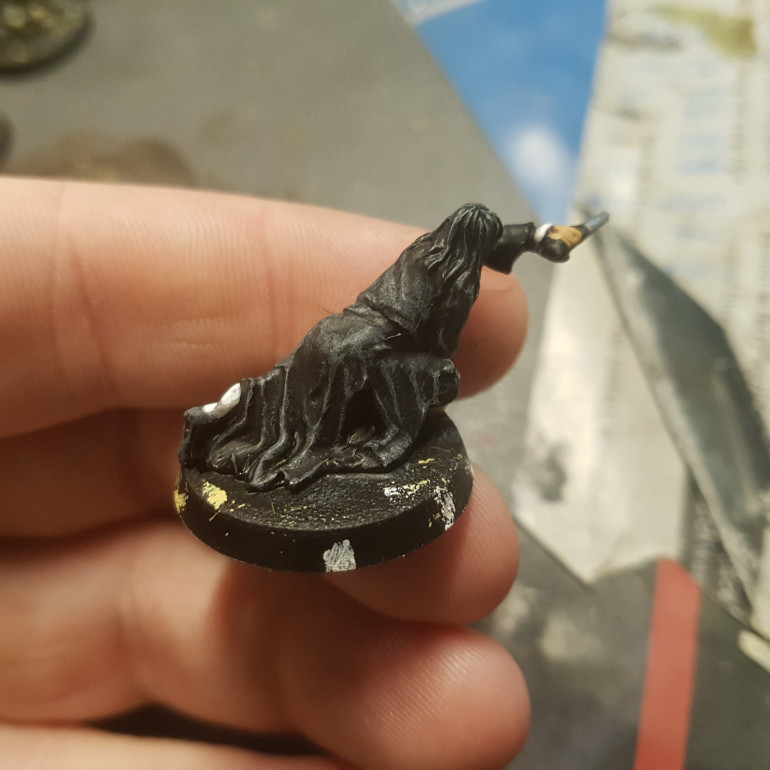
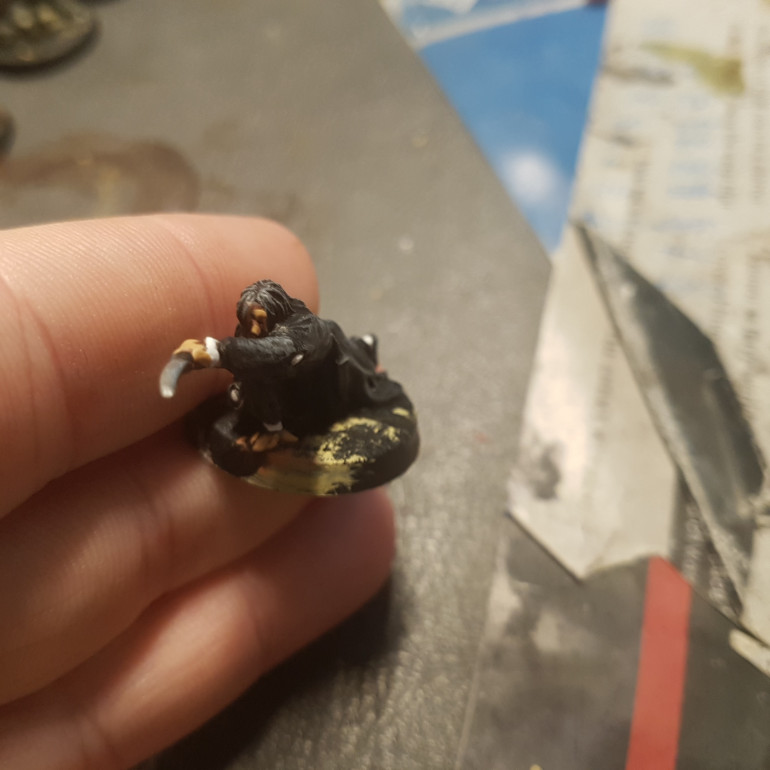
Grim Wormtongue now Known Simply as Worm. He is a Truly Broken Man who Kills Saruman. Tolkein Describes him as Crawling like a Dog and Before he Cuts Saruman's Throat (Yeah Scouring of the Shire is Dark also he Might Eat People) He is Described as Snarling like a Dog. Saruman often Refers to the Rohirrim and Dogs in the same Sentence, he Taunts Theoden by saying that in Rohan the Brats roll on the Floor with the Dogs.Grim Wormtongue now Known Simply as Worm. He is a Truly Broken Man who Kills Saruman. Tolkein Describes him as Crawling like a Dog and Before he Cuts Saruman's Throat (Yeah Scouring of the Shire is Dark also he Might Eat People) He is Described as Snarling like a Dog. Saruman often Refers to the Rohirrim and Dogs in the same Sentence, he Taunts Theoden by saying that in Rohan the Brats roll on the Floor with the Dogs.
More of the Hobbits and the Villains
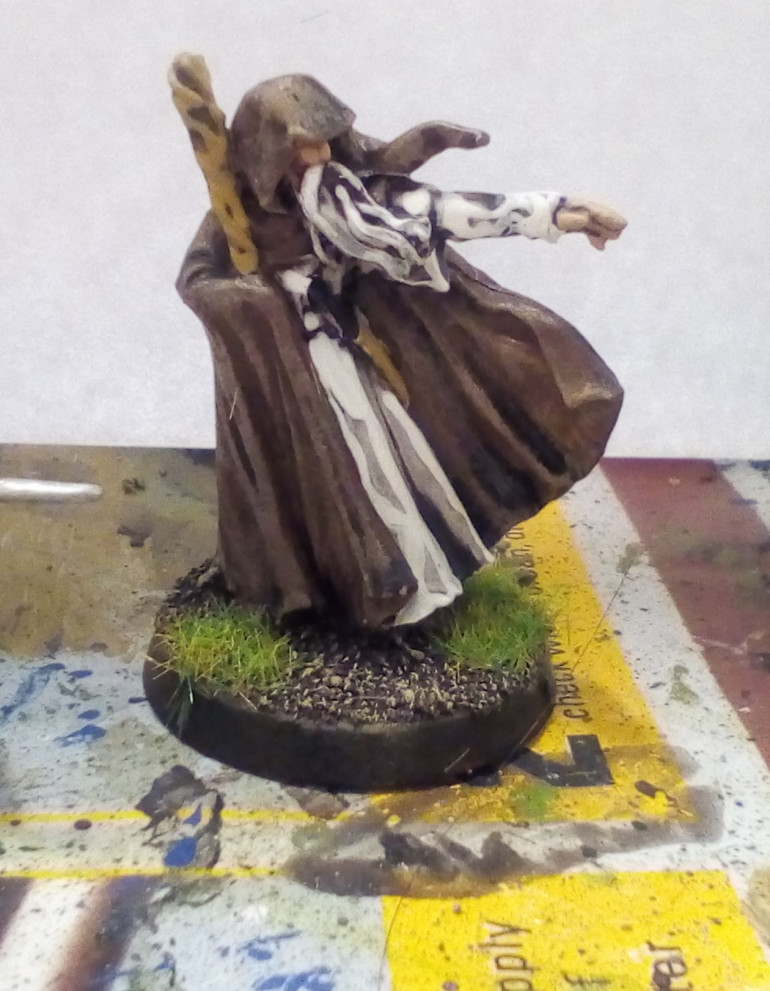
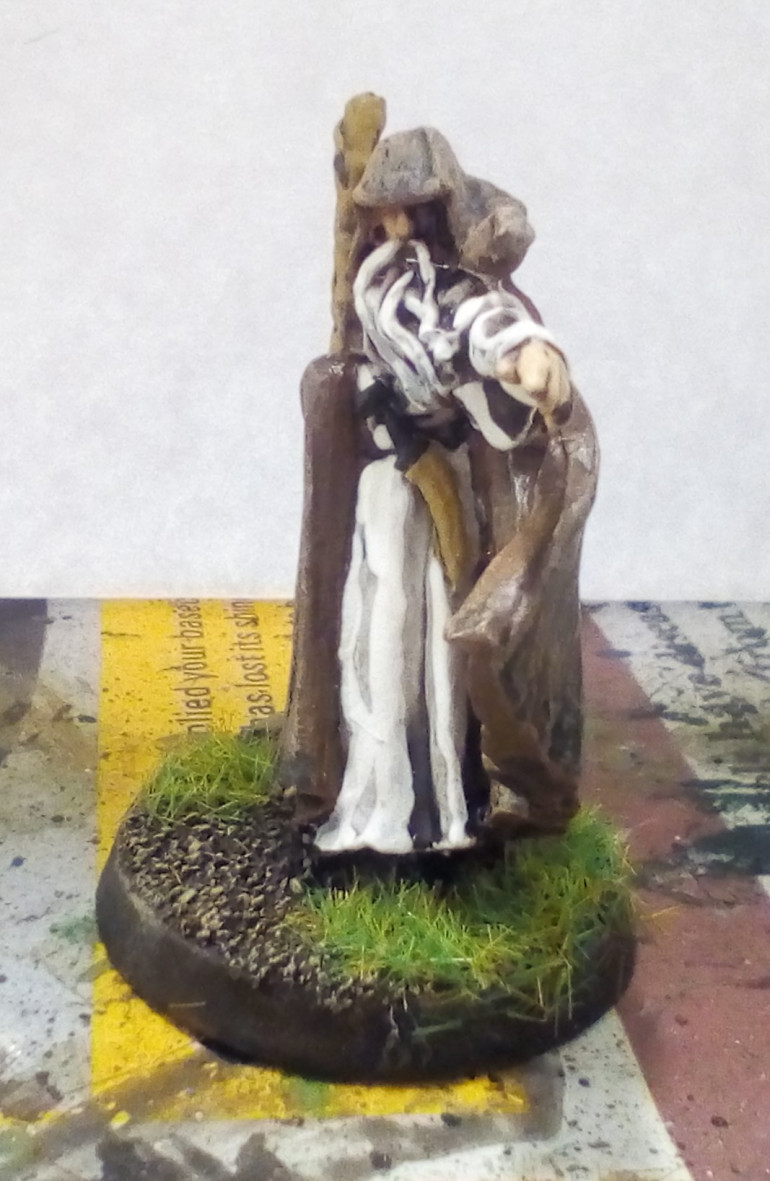
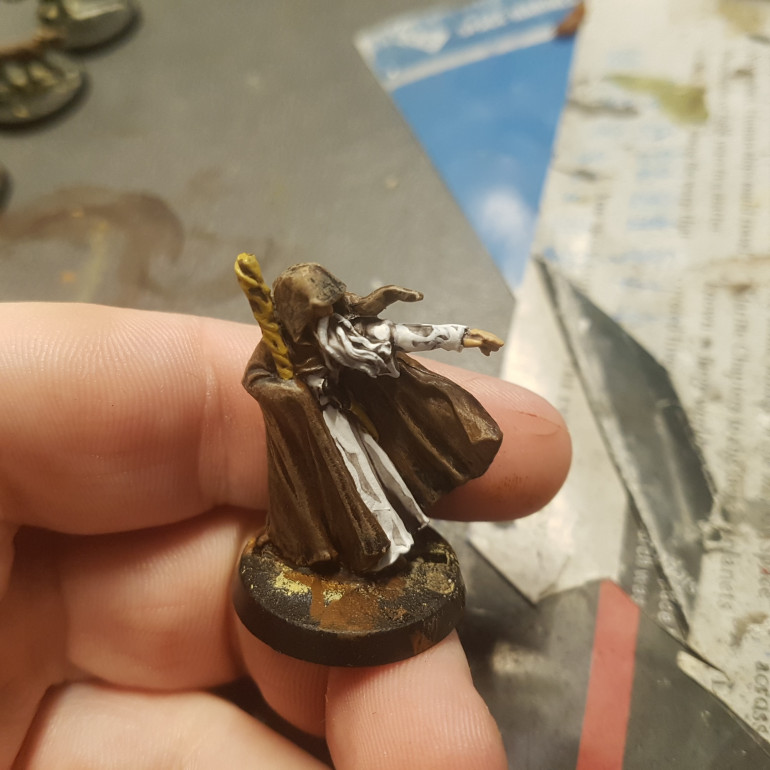
Saruman Formerly of the White Council, his Staff Shattered by Gandalf, is now Known by the Orcish Name Saruman Formerly of the White Council, his Staff Shattered by Gandalf, is now Known by the Orcish Name "Sharkey" Which Means "Old Man".
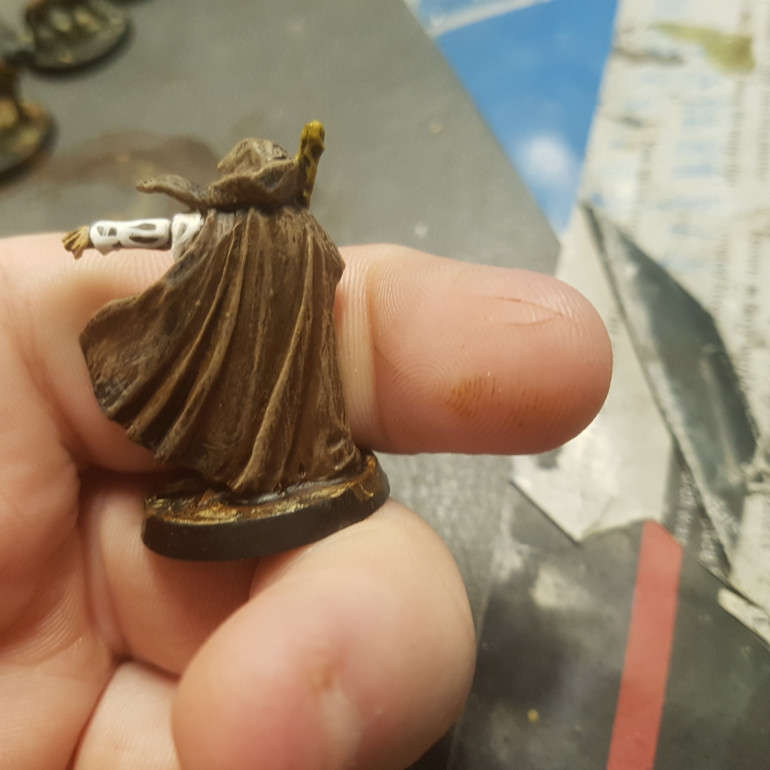
Saruman Lost his Greatest Power, His Voice. Now he Only had Orcs and Evil Men to Ruin the One Thing his Enemy Gandalf Held Dear. Seriously his Voice was Insanely Powerful and Unless you Consciously Resisted it he could Convince you of Anything. He actually has the Rider of Rohan on HIS SIDE When Gandalf, the Three Hunters and The Rohirrim Confromt him at Orthanc. He CONVINCED THE MEN HE JUST TRIED TO MURDER THAT HE WAS ON THEIR SIDE AND GANDALF, THE GUY WHO SAVED THEM, WAS THE REAL BAD GUY. You can Read that Chapter Here http://www.henneth-annun.net/events_view.cfm?evid=861sSaruman Lost his Greatest Power, His Voice. Now he Only had Orcs and Evil Men to Ruin the One Thing his Enemy Gandalf Held Dear. Seriously his Voice was Insanely Powerful and Unless you Consciously Resisted it he could Convince you of Anything. He actually has the Rider of Rohan on HIS SIDE When Gandalf, the Three Hunters and The Rohirrim Confromt him at Orthanc. He CONVINCED THE MEN HE JUST TRIED TO MURDER THAT HE WAS ON THEIR SIDE AND GANDALF, THE GUY WHO SAVED THEM, WAS THE REAL BAD GUY. You can Read that Chapter Here http://www.henneth-annun.net/events_view.cfm?evid=861s

I have the Foot Versions of the Main Heroes on their Way via Ebay. All the Stuff I have now came direct from GW and it looks like I got the Last Farmer Maggot in the Country.

I’ll be Picking up the New Stuff as it Comes out and Next Week I’ll Order Some Hobbit Warriors.

Fences and Failures
Tutoring 2
Skill 4
Idea 4
No Comments
For Scale I Used Paladin Took Since He was Upright, of Standard Height and The Easiest to Use.For Scale I Used Paladin Took Since He was Upright, of Standard Height and The Easiest to Use.
This Is When I realised Something was not Right.This Is When I realised Something was not Right.
I was Working from a Tutorial Written in Lord of the Rings SBG Battle Games in Middle Earth and Had Totally Forgotten to Add the Vertical Sticks in Between.I was Working from a Tutorial Written in Lord of the Rings SBG Battle Games in Middle Earth and Had Totally Forgotten to Add the Vertical Sticks in Between.
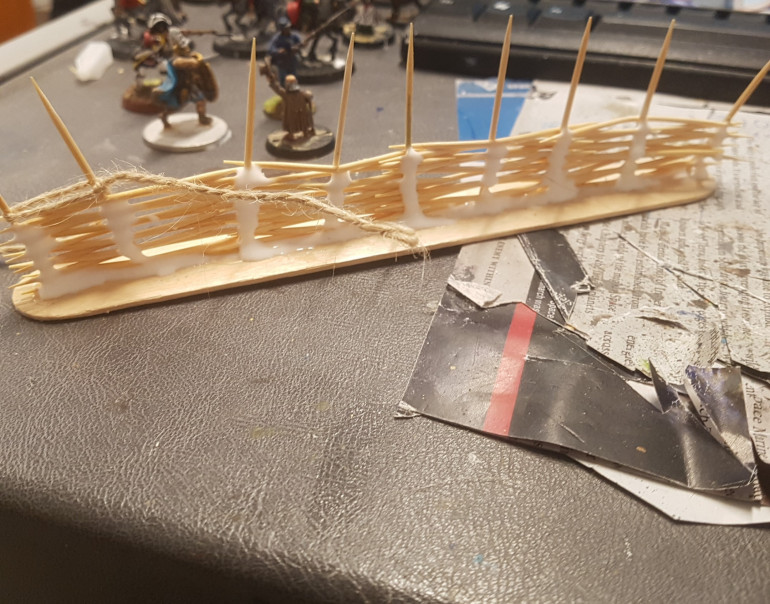
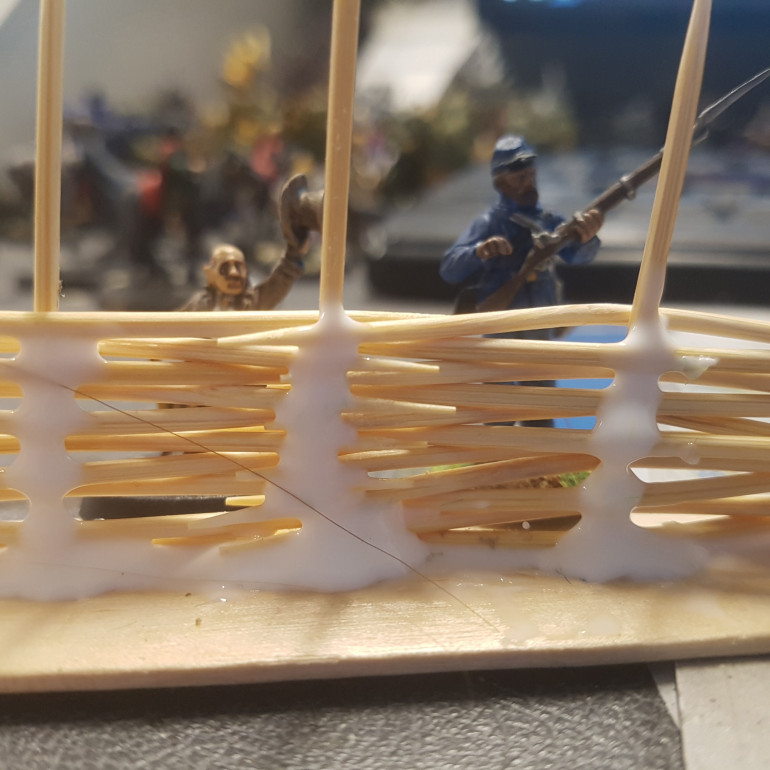
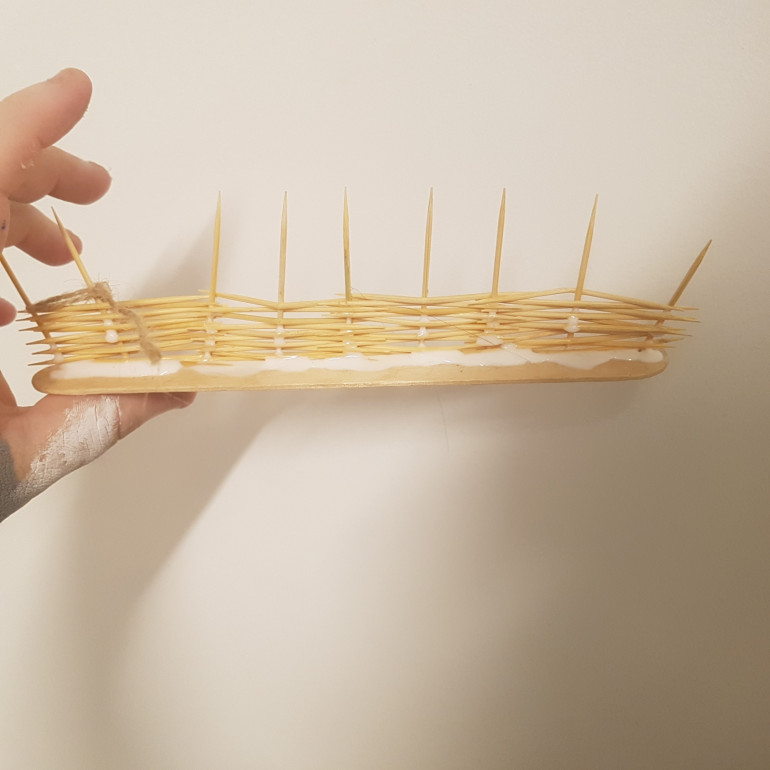
Then Toothpicks were Bend into Place. This was so Infuriating and Prone to failure I abandoned the Other Two Fences. I Will Use this for Scenery on a Hobbit Hole Rather than a Stand Alone Fence.Then Toothpicks were Bend into Place. This was so Infuriating and Prone to failure I abandoned the Other Two Fences. I Will Use this for Scenery on a Hobbit Hole Rather than a Stand Alone Fence.
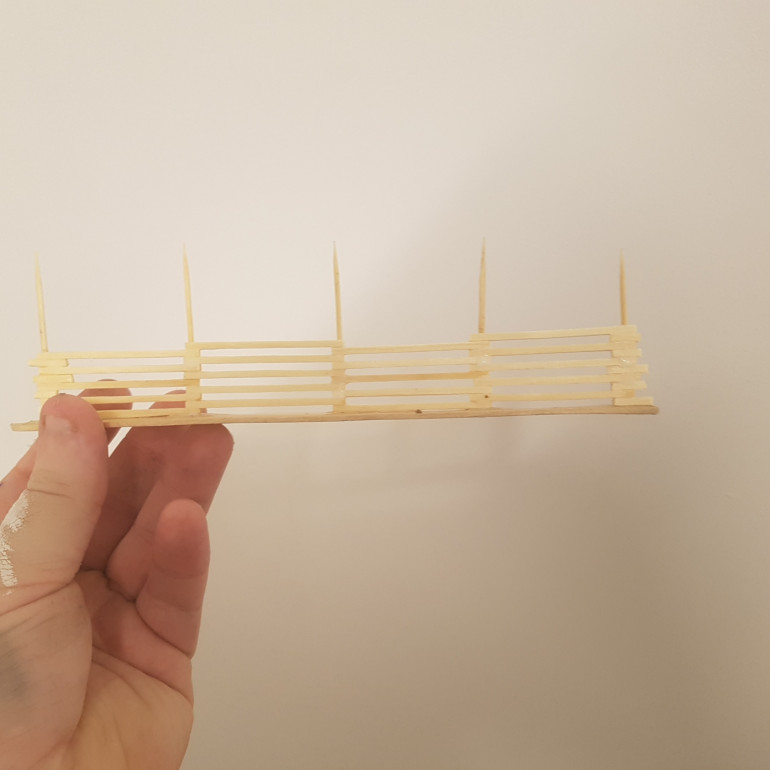
Glue was Applied at the End to Secure EverythingGlue was Applied at the End to Secure Everything
The Final ProductThe Final Product
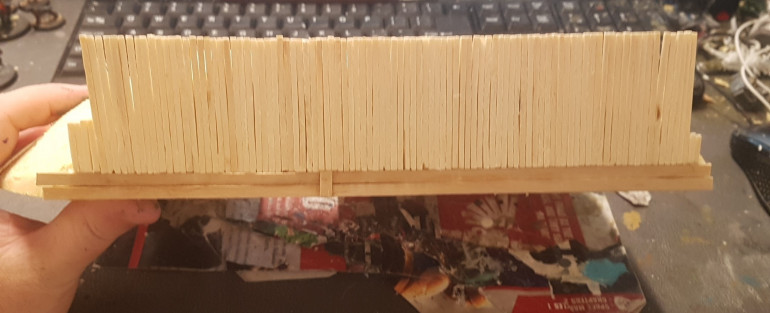
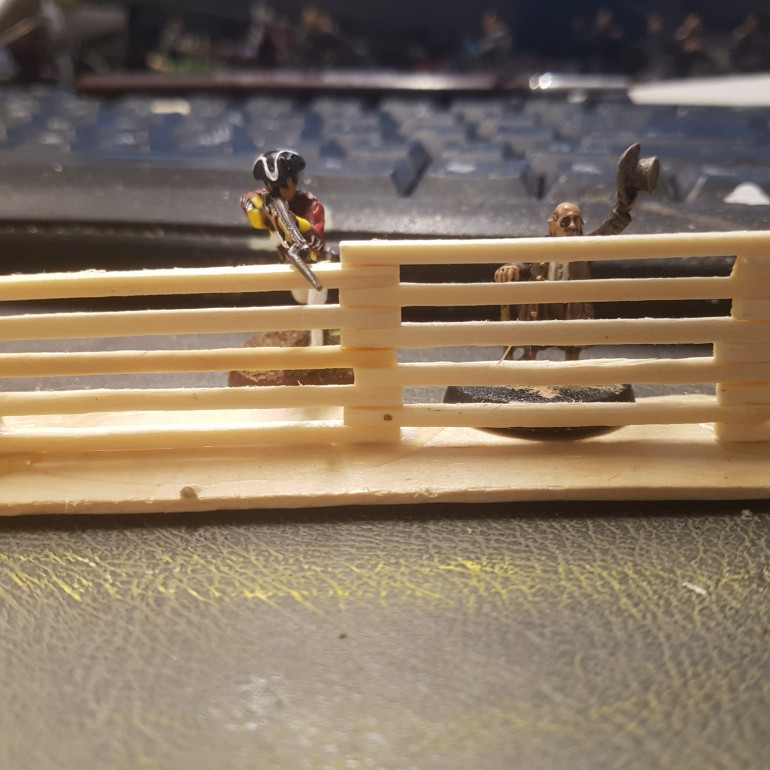
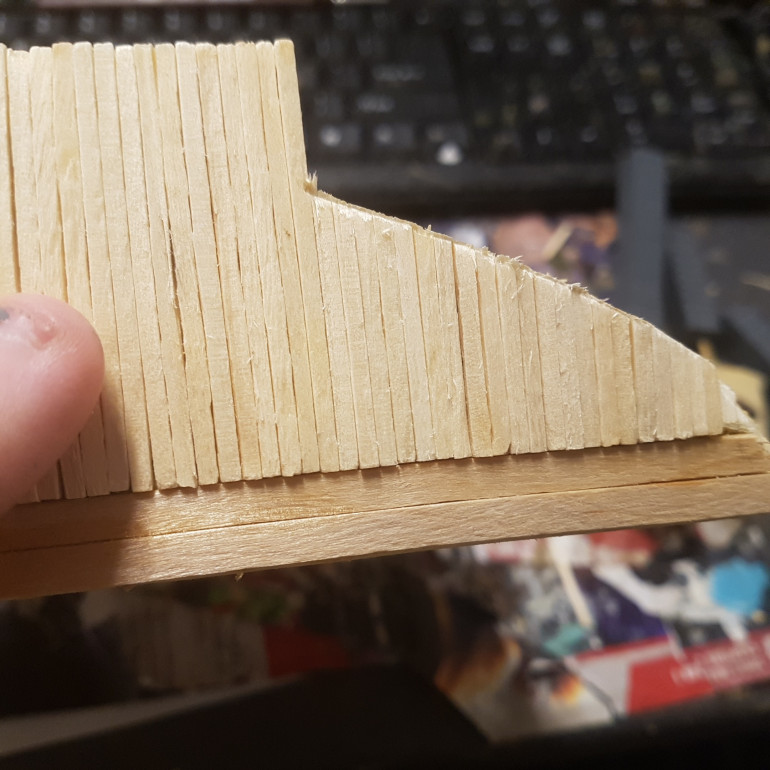
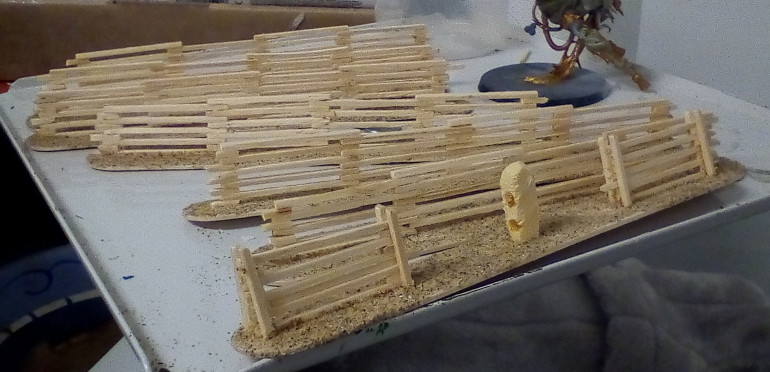
These are the Fences I Will Proceed with. They are Matchsticks Glues to a Large Popsicle Stick until Chest High to a Hobbit or Gut Height to a Man that Way they can be Used for Multiple ThingsThese are the Fences I Will Proceed with. They are Matchsticks Glues to a Large Popsicle Stick until Chest High to a Hobbit or Gut Height to a Man that Way they can be Used for Multiple Things
A Size ComparisonA Size Comparison
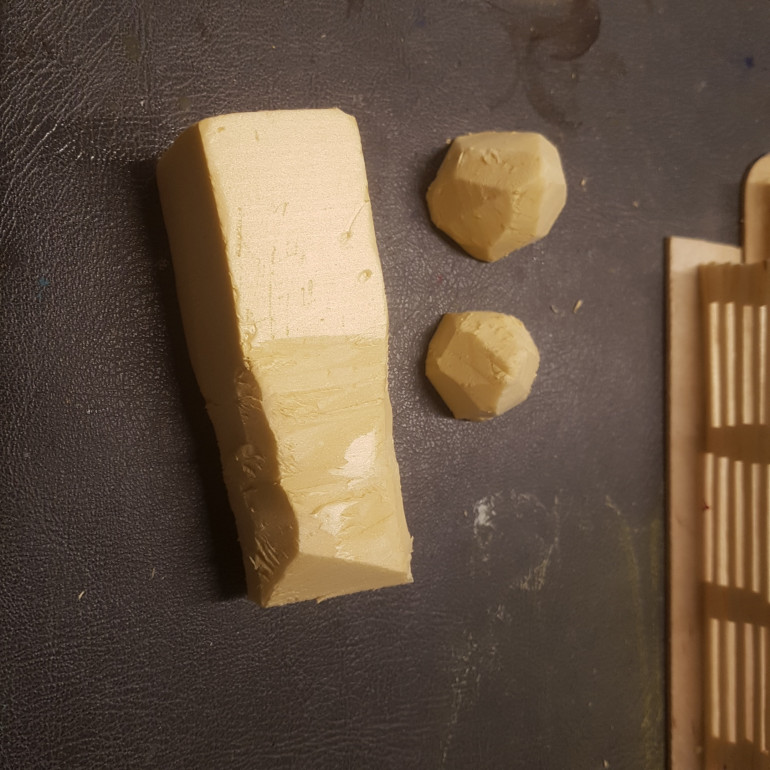
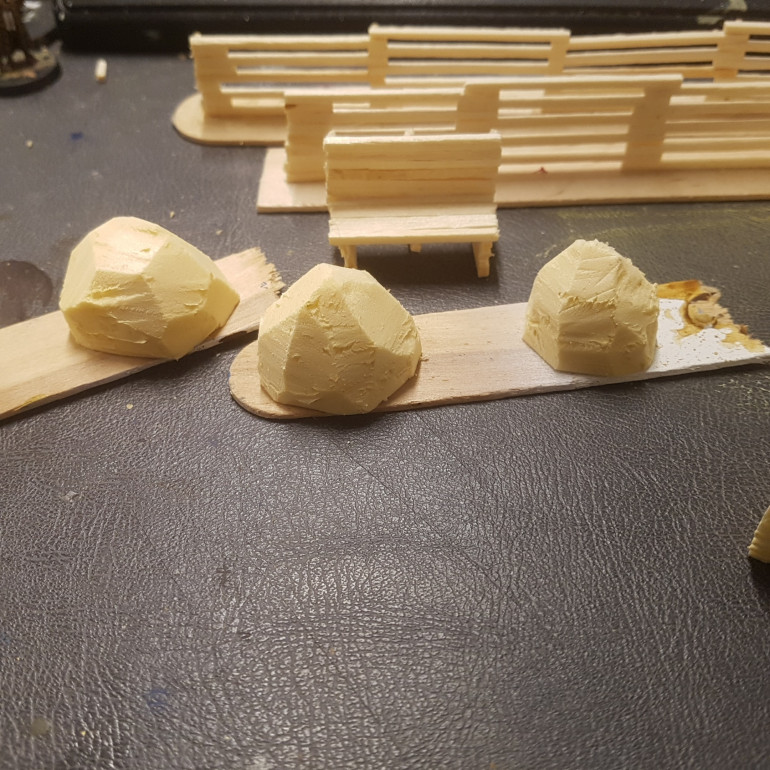
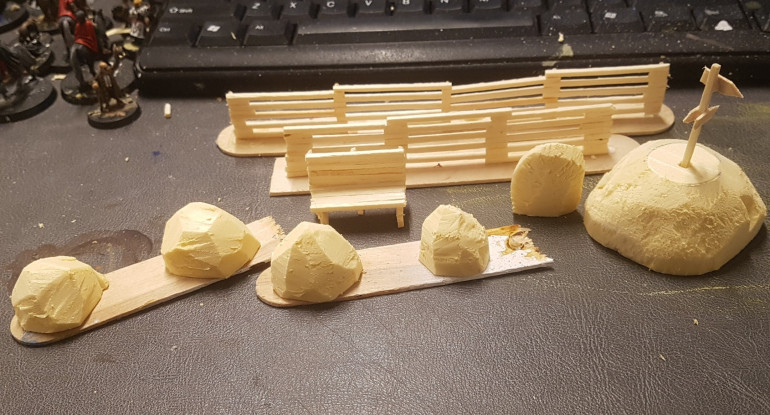
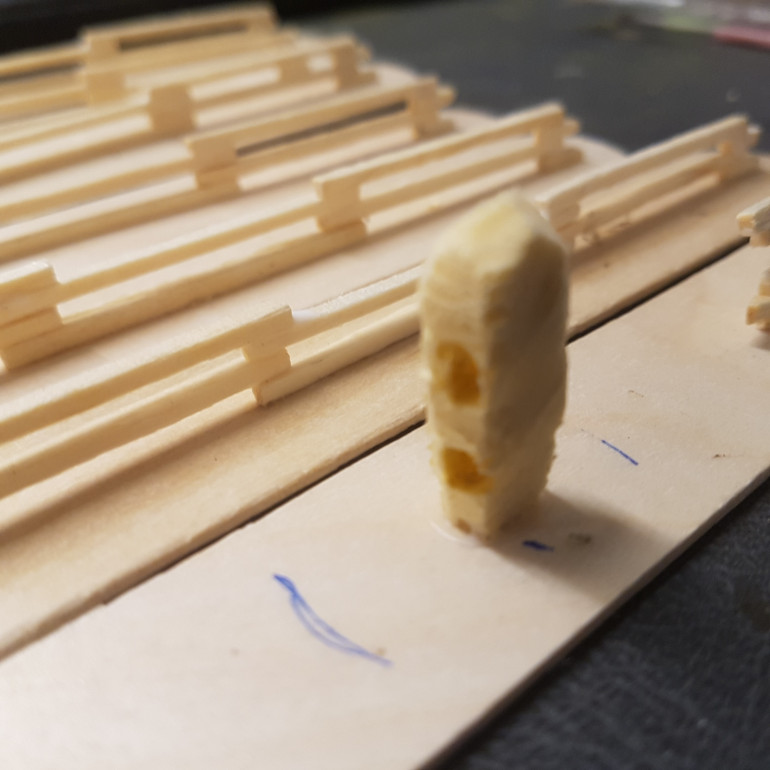
To make Rocks I Carved an Offcut into Roughly a Rectangle. Then I Rounded the End and Cut it off Before Repeating the Process. To make Rocks I Carved an Offcut into Roughly a Rectangle. Then I Rounded the End and Cut it off Before Repeating the Process.
They Were Glued to Wood for PaintingThey Were Glued to Wood for Painting
The Work so Far that Day. The Work so Far that Day.
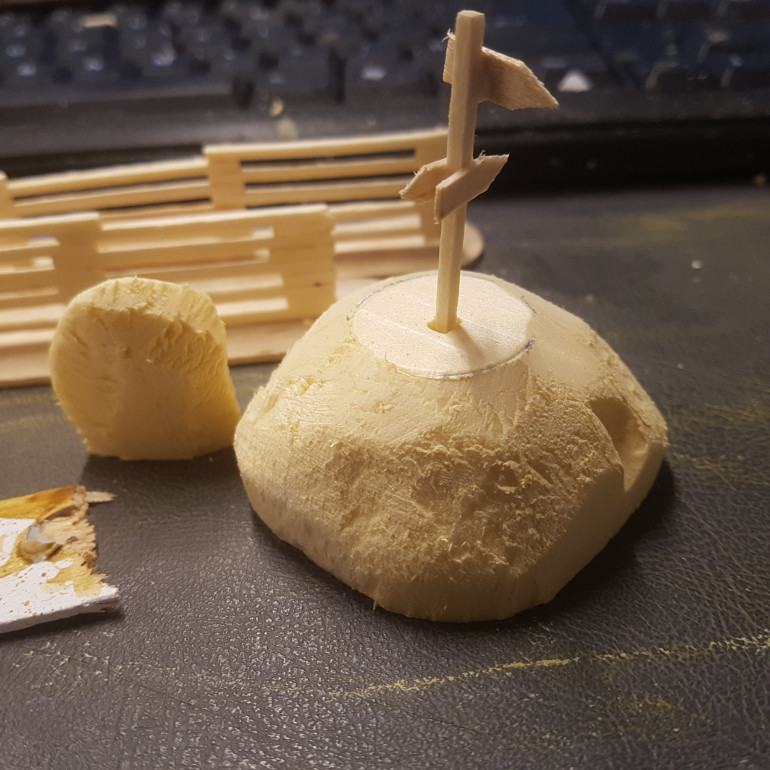
A Signpost on a Large Rock.A Signpost on a Large Rock.

More Work on the Hobbit Hole

Tutoring 4
Skill 5
Idea 5
No Comments
The Matchsticks were Trimmed into ShapeThe Matchsticks were Trimmed into Shape
I've Found an Old Pair of Clipper Works Great for this Sort of Work. Use an Old Pair not a Good PairI've Found an Old Pair of Clipper Works Great for this Sort of Work. Use an Old Pair not a Good Pair
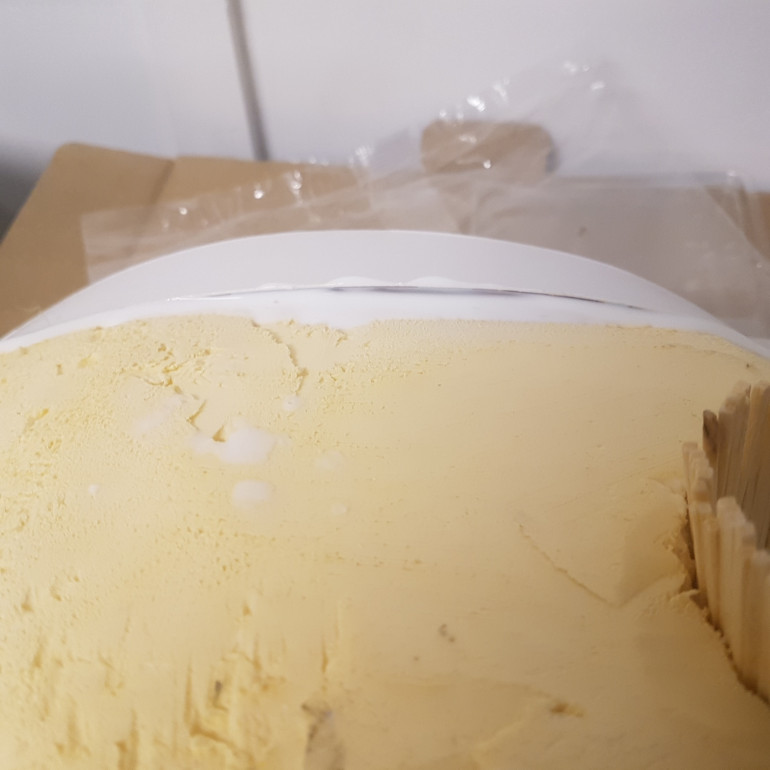
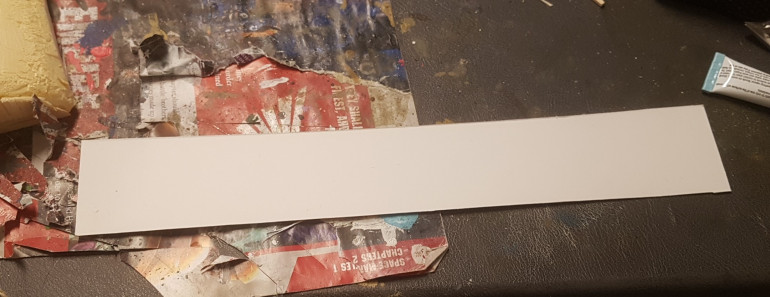
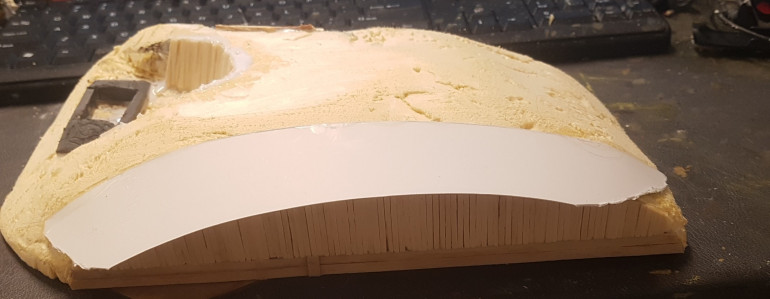
A Piece of Card Was Cut to Size and Will be Used for The AwningA Piece of Card Was Cut to Size and Will be Used for The Awning
GW Boxes Work Great for this. I've Used a Dark Imperium Box Since it was Big Enough.GW Boxes Work Great for this. I've Used a Dark Imperium Box Since it was Big Enough.
The Awning was the Glued in Place. Super Glue was Used to Fix the Main Points and PVA For the Main BondThe Awning was the Glued in Place. Super Glue was Used to Fix the Main Points and PVA For the Main Bond
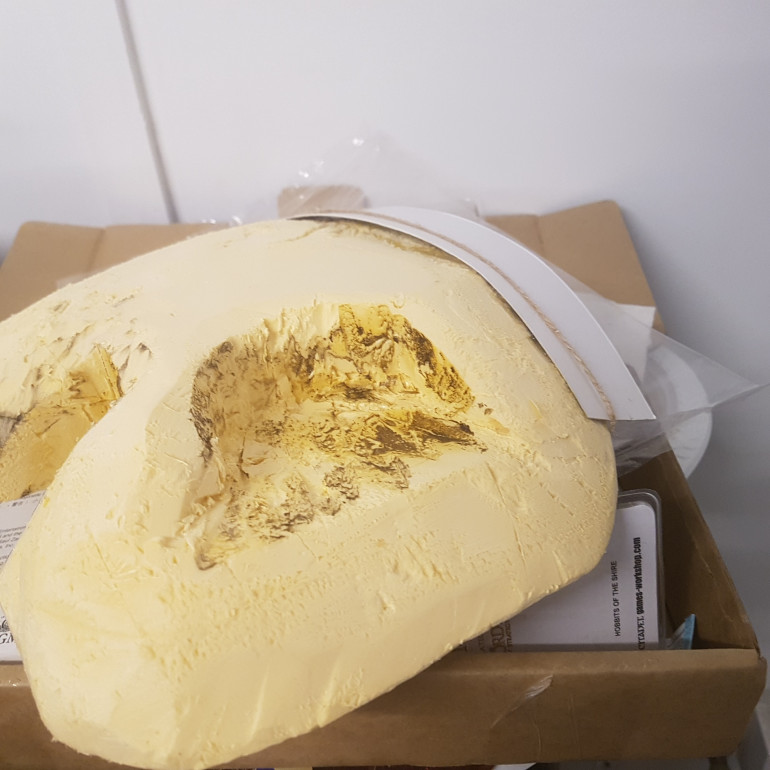
String was then Used to Secure the Awning in Place. I make a Lot of Jute String Slings so Have Kilometers of this Stuff Lying Around.String was then Used to Secure the Awning in Place. I make a Lot of Jute String Slings so Have Kilometers of this Stuff Lying Around.
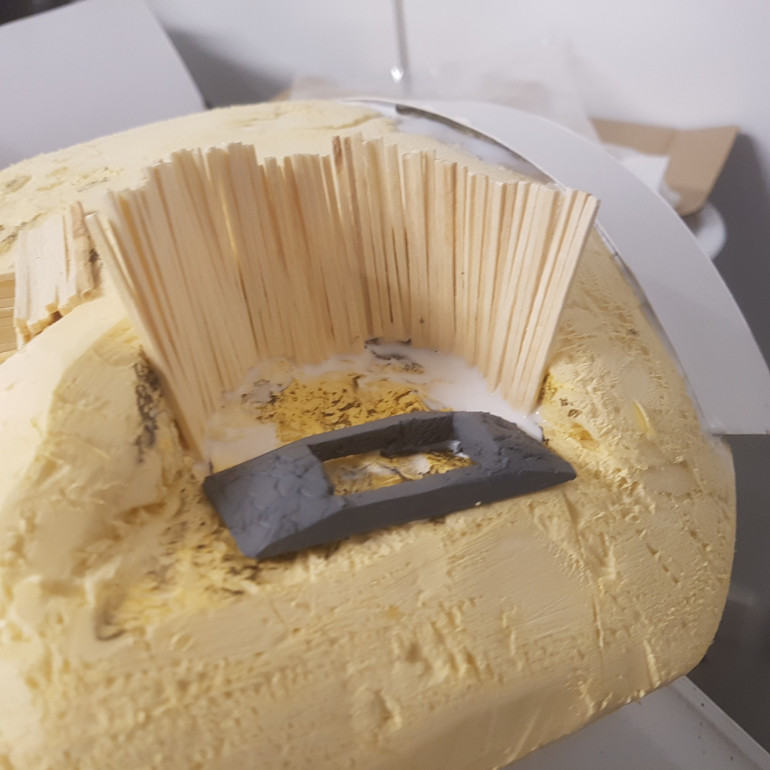
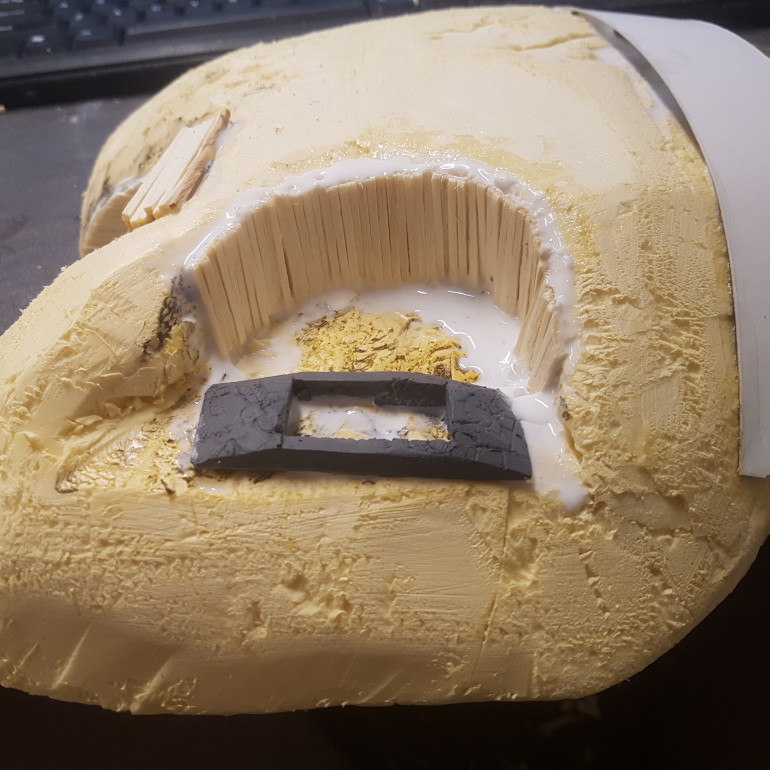
This will be a Small Garden with a Bench Shaded by a Tree. I Made a Retaining Wall from Matchsticks and a Small Stone Garden Bed from a Foam Off CutThis will be a Small Garden with a Bench Shaded by a Tree. I Made a Retaining Wall from Matchsticks and a Small Stone Garden Bed from a Foam Off Cut
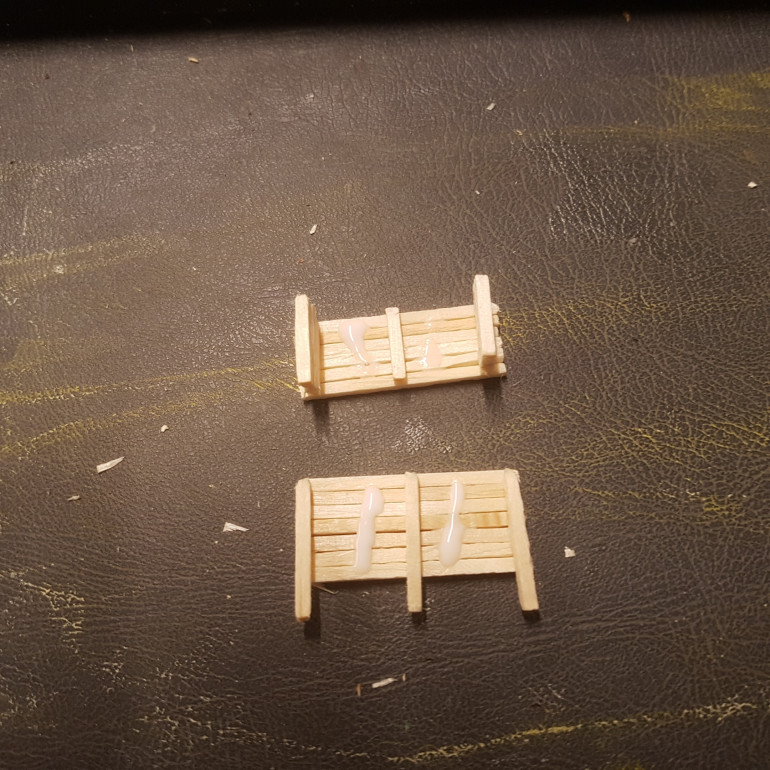
The Bench in Two Very Simple PiecesThe Bench in Two Very Simple Pieces
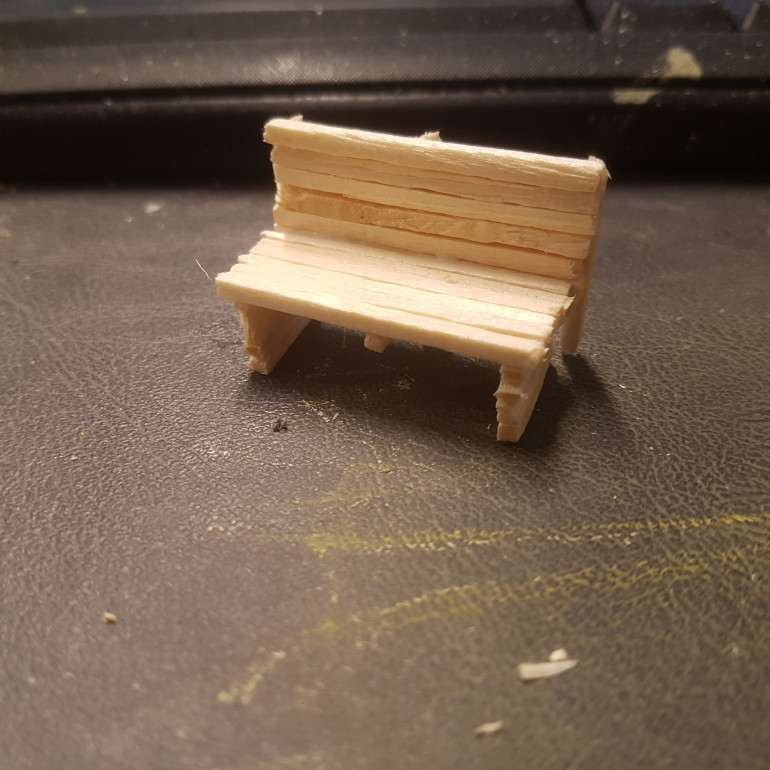
The Bench Together. Only the Front will be Visible.The Bench Together. Only the Front will be Visible.
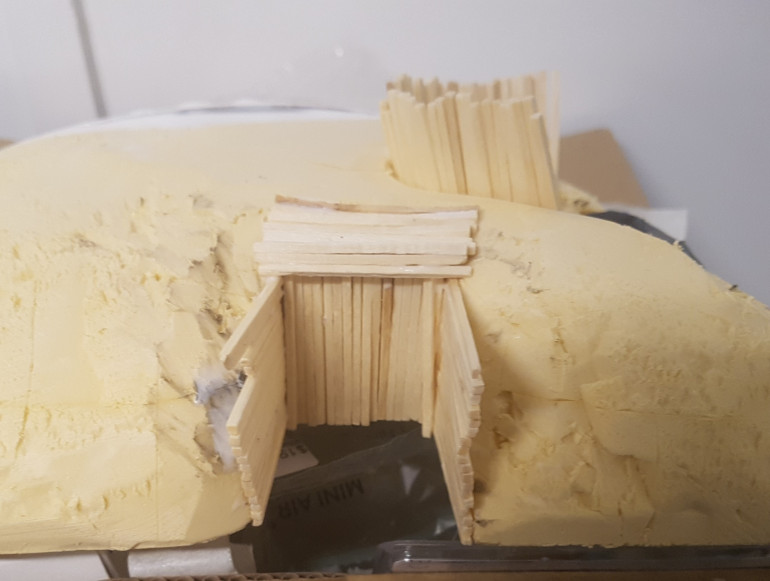
The Rear Door was Prepared with More Matchstick Retaining Walls.The Rear Door was Prepared with More Matchstick Retaining Walls.
The Retaining Walls Around the Garden and the Rear Door Were Cut Roughly to Shape. The Ends of these Will be Covered with Flock AnywayThe Retaining Walls Around the Garden and the Rear Door Were Cut Roughly to Shape. The Ends of these Will be Covered with Flock Anyway
More Work on the Hobbit Hole

Making Another Hobbit Hole

Tutoring 4
Skill 5
Idea 5
No Comments
Before I Start the New One I Cut the Awning of the Last One to SizeBefore I Start the New One I Cut the Awning of the Last One to Size
I;m Going for a More Panel These HereI;m Going for a More Panel These Here
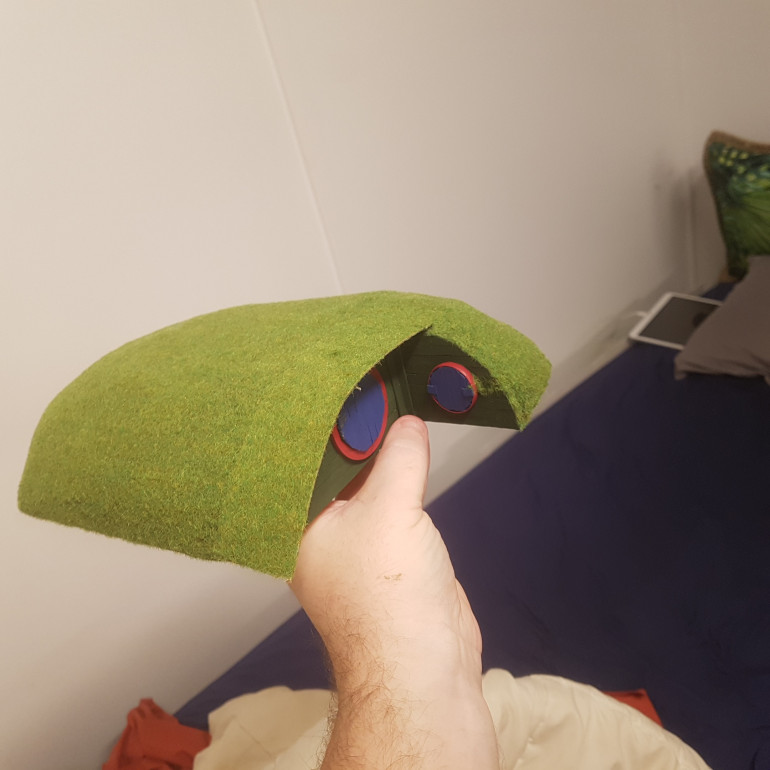
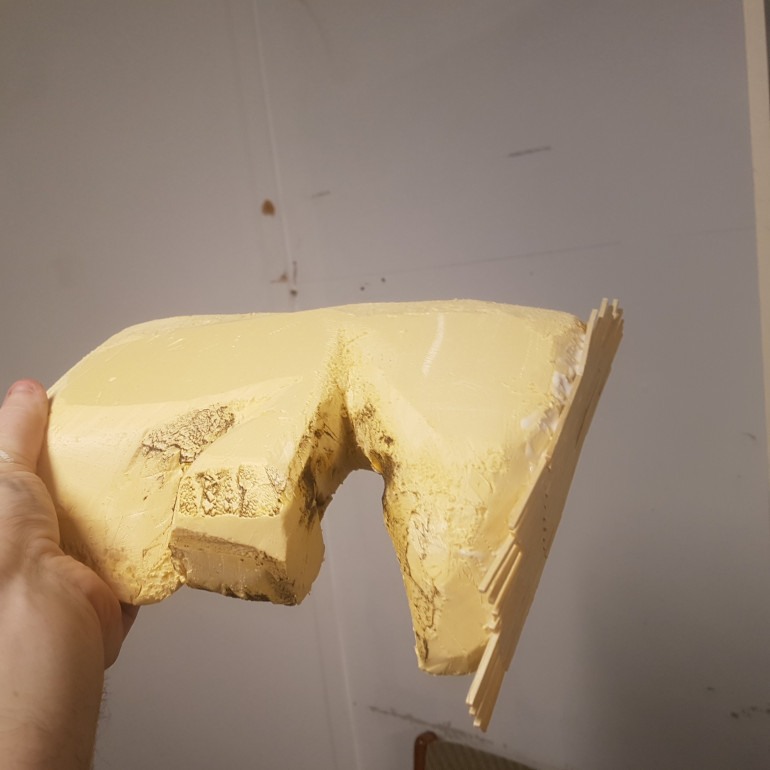
Here we Have a Window Jutting Out and An Indent where a Tree will be Once the Hobbit Hole is BasedHere we Have a Window Jutting Out and An Indent where a Tree will be Once the Hobbit Hole is Based
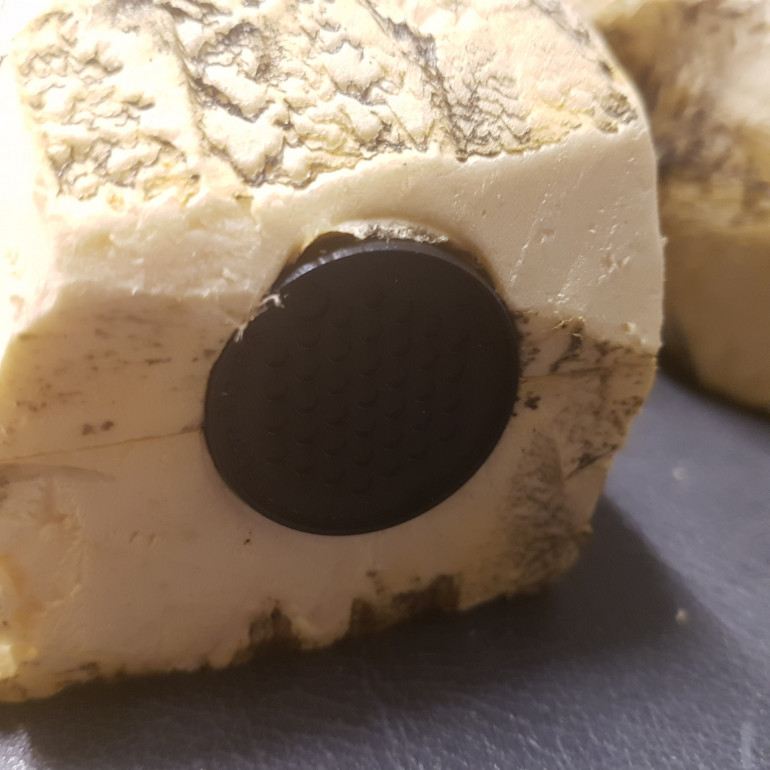
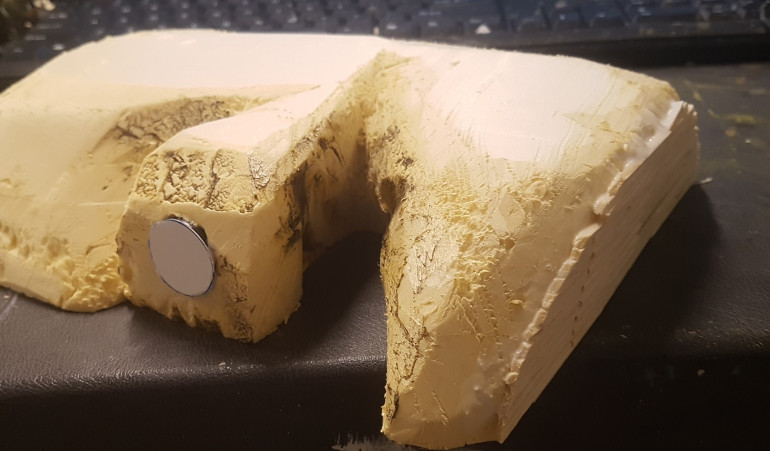
After Gluing a 10 Cent Piece (25mm Coin) to a Handle I Heated it With a Lighter and Melted a Perfect Hole for a 25mm Base to be Inserted.After Gluing a 10 Cent Piece (25mm Coin) to a Handle I Heated it With a Lighter and Melted a Perfect Hole for a 25mm Base to be Inserted.
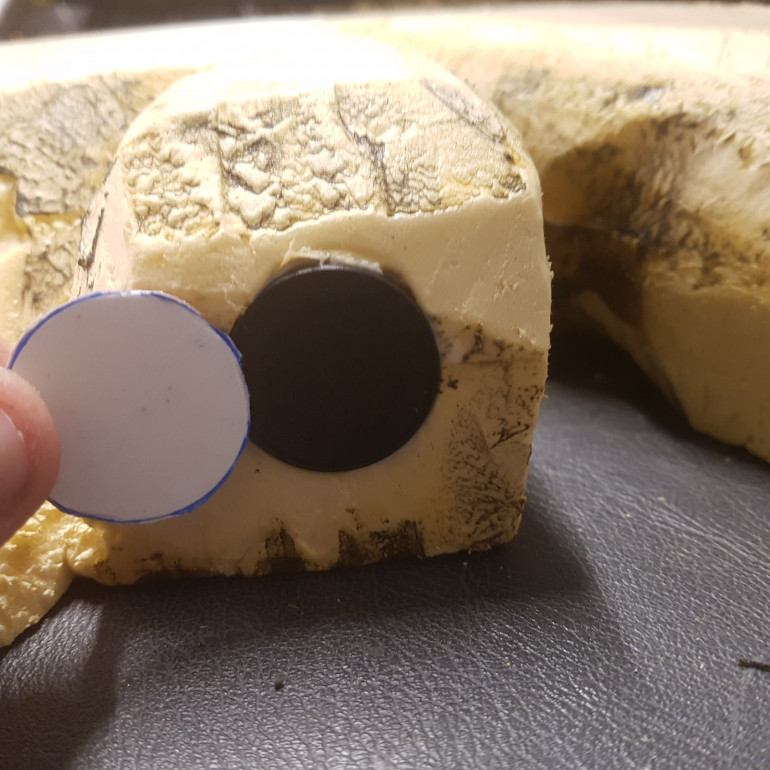
A 25mm Circle was then Cut to SizeA 25mm Circle was then Cut to Size
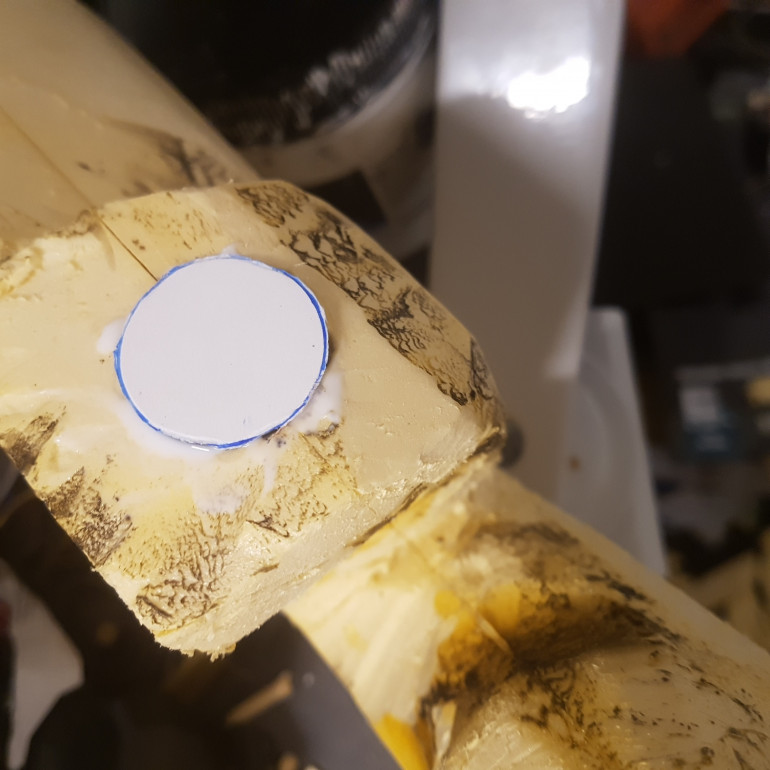
This was then Glued over the Base. This will be Painted Later to Resemble ShuttersThis was then Glued over the Base. This will be Painted Later to Resemble Shutters
A Quick TrimA Quick Trim

Some Colour for the Hobbit Holes

Tutoring 4
Skill 5
Idea 5
2 Comments

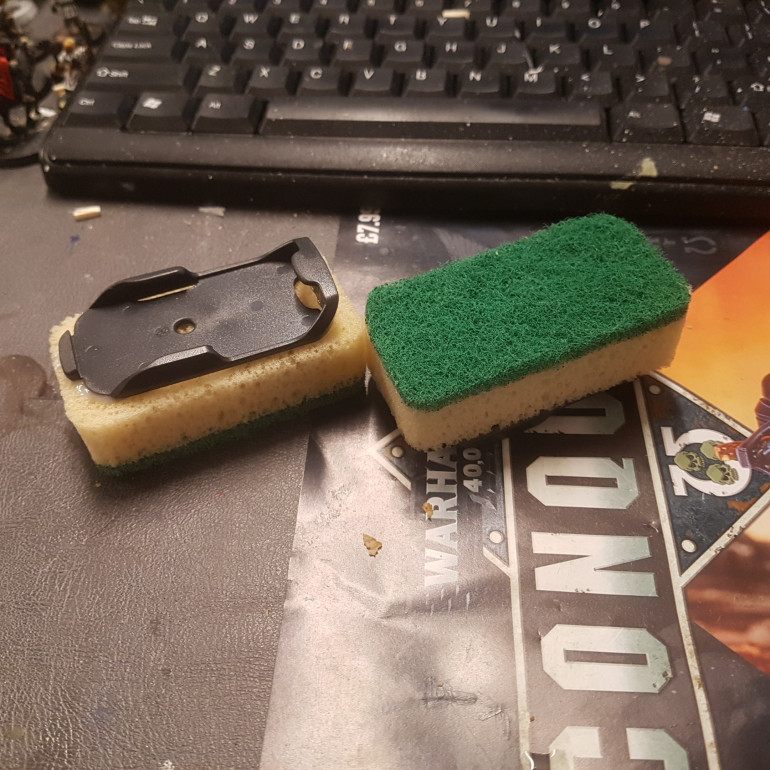
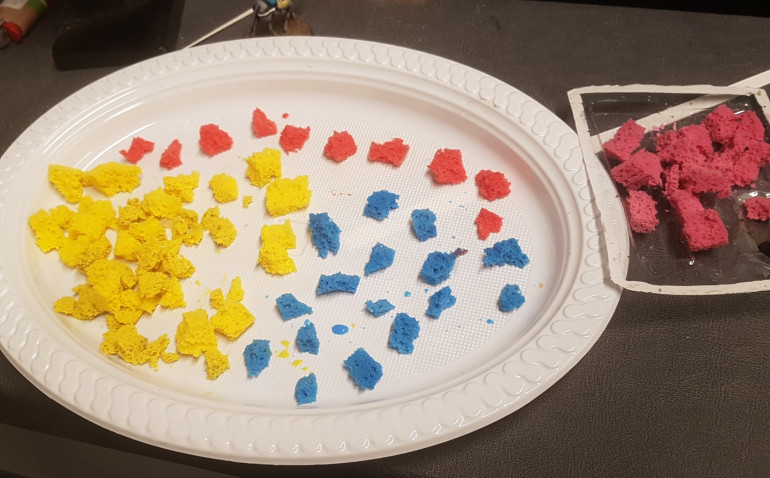
I want to Break up the Greed on the Hobbit Holes with some Splashes of Colour. A Friend of Mine used this Method to make Tiny Flowers for his Elves Bases Years Ago so I’m trying it now for Large Clumps of Flowers.

The Materials are Two Small Sponges, Remove the Green PartThe Materials are Two Small Sponges, Remove the Green Part
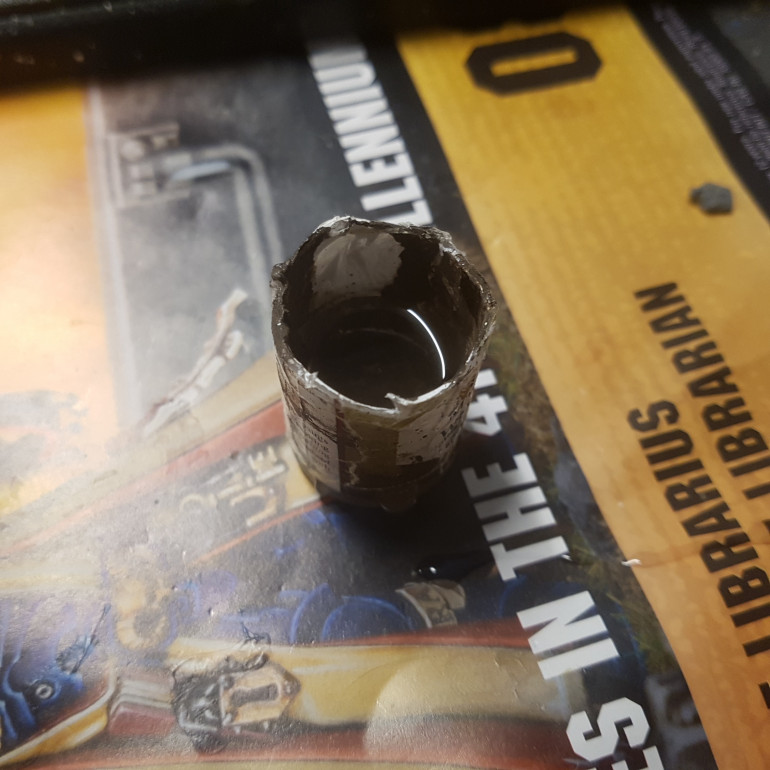
My Initial Mixing Pot was an Old Army Painter BottleMy Initial Mixing Pot was an Old Army Painter Bottle
It Worked Fine, Mixed Well and Coloured the Sponge but Tipped Over Very EasilyIt Worked Fine, Mixed Well and Coloured the Sponge but Tipped Over Very Easily
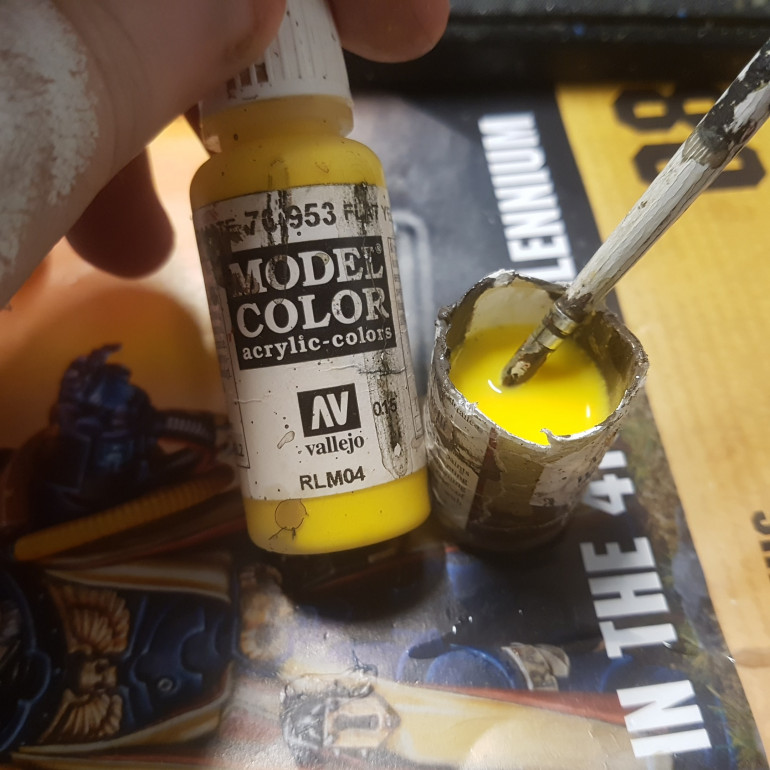
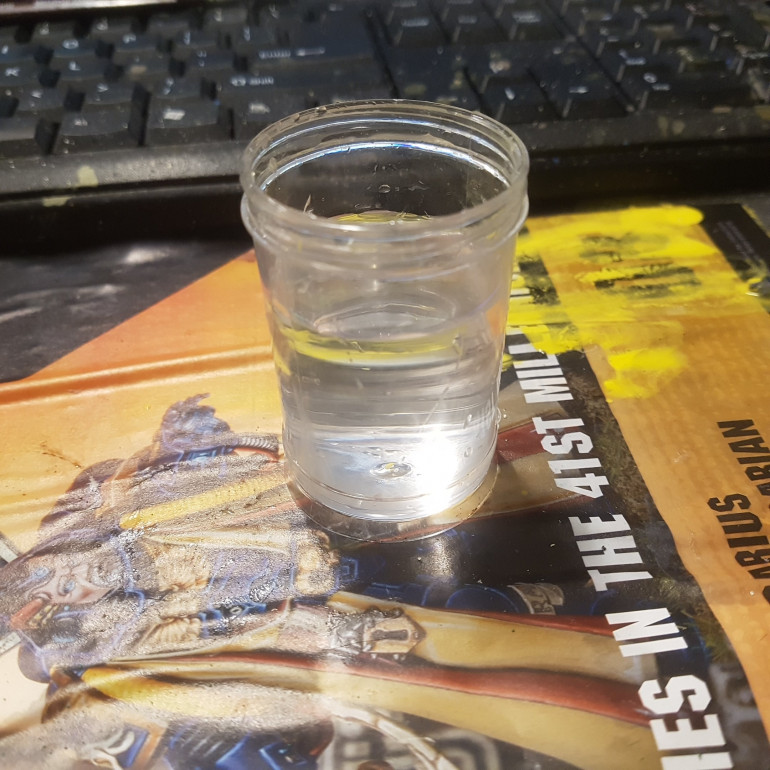
You can see the Spillage in the Background. Instead I'm Using a Toothpick HolderYou can see the Spillage in the Background. Instead I'm Using a Toothpick Holder
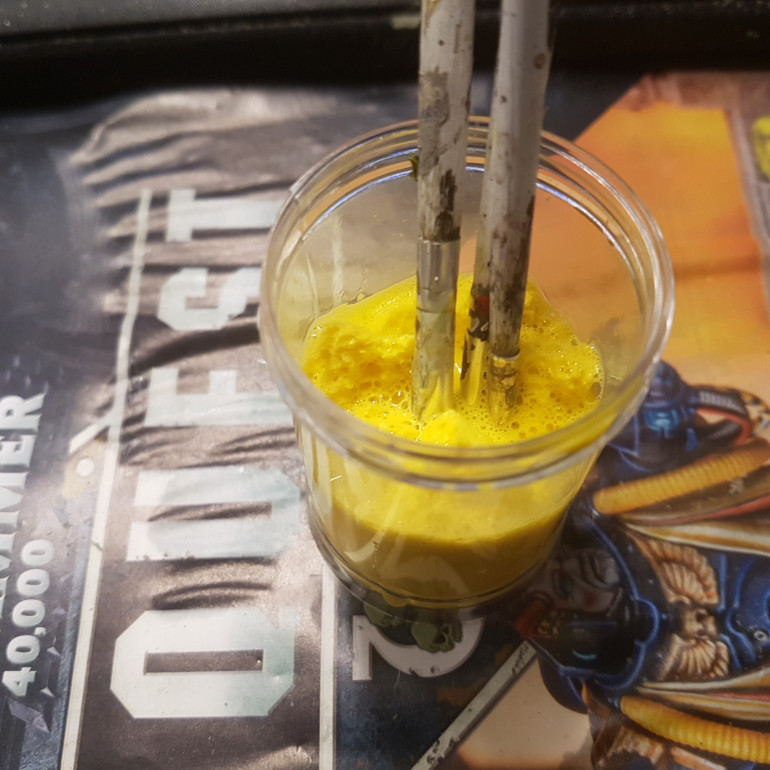
It was Easy Enough. Fill with Water, Apply a Bit of Paint and Squish with Old Brushes to Soak the ColourIt was Easy Enough. Fill with Water, Apply a Bit of Paint and Squish with Old Brushes to Soak the Colour
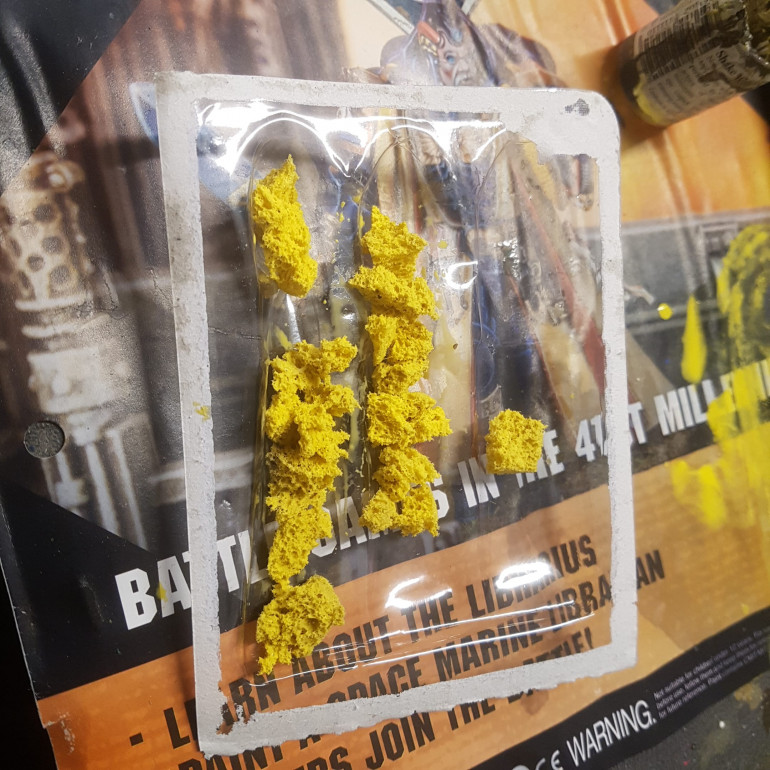
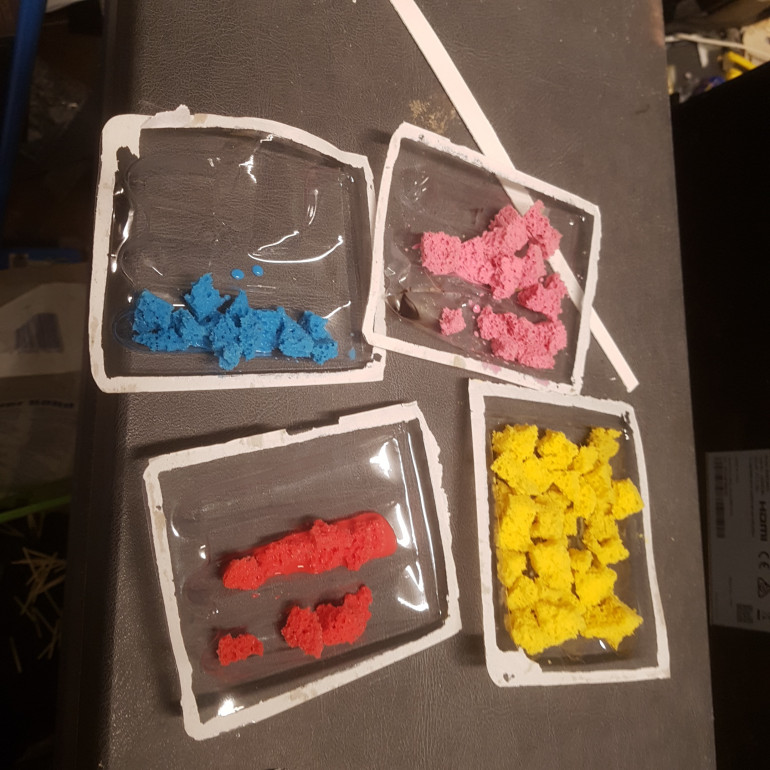
The Colour was then Left to Dry and the Container Washed and Repeated for Other ColoursThe Colour was then Left to Dry and the Container Washed and Repeated for Other Colours
Some Colour for the Hobbit Holes
The Finished Product Waiting to DryThe Finished Product Waiting to Dry

Something Different

Tutoring 2
Skill 4
Idea 4
No Comments
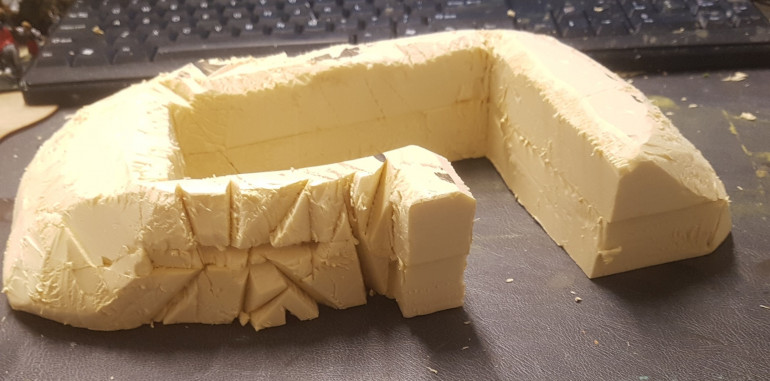
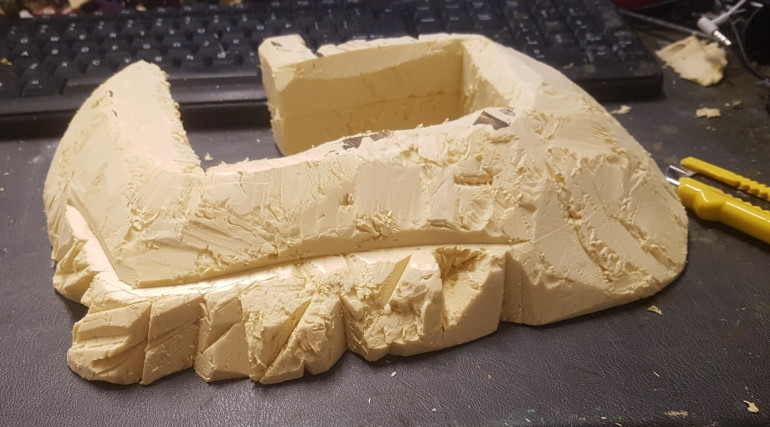
This Will be a Ruined Hobbit Hole with a Rock Face on Front and BackThis Will be a Ruined Hobbit Hole with a Rock Face on Front and Back
Something Different
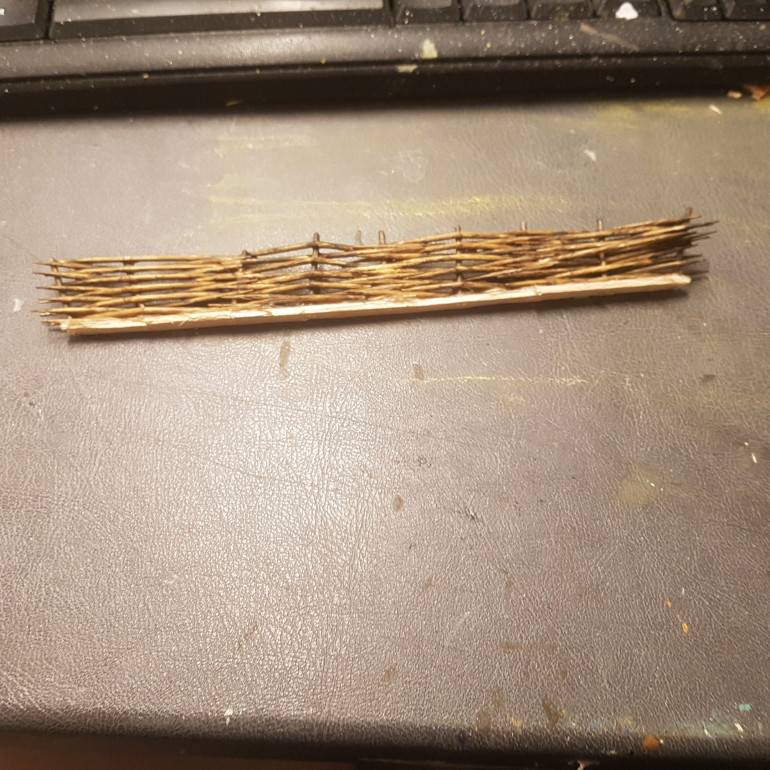
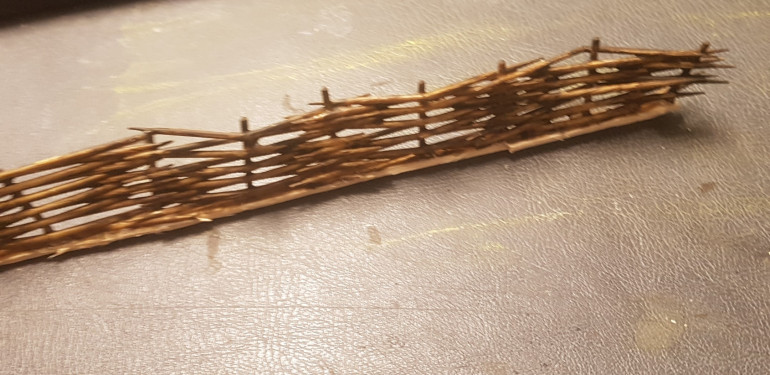
The Wicker Fence was Cut to a Very Slim BaseThe Wicker Fence was Cut to a Very Slim Base
Something Different
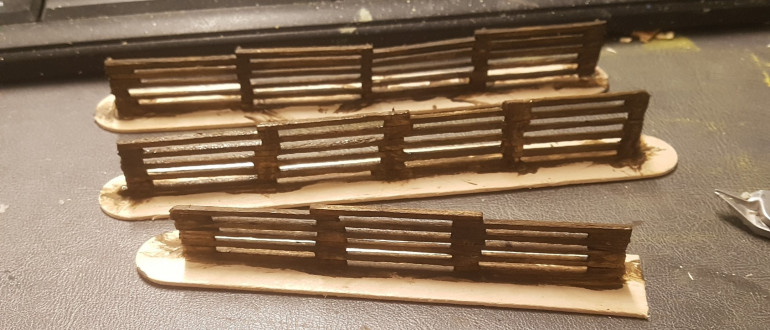
All Fences got a Single Coat of Cheap Acrylic PaintAll Fences got a Single Coat of Cheap Acrylic Paint
I Made these a While Ago but They'll work for the More Ravaged Parts of the Shire. Just a Welcome Mat Cut Up and Glued to a Base then Painted to Look BurntI Made these a While Ago but They'll work for the More Ravaged Parts of the Shire. Just a Welcome Mat Cut Up and Glued to a Base then Painted to Look Burnt
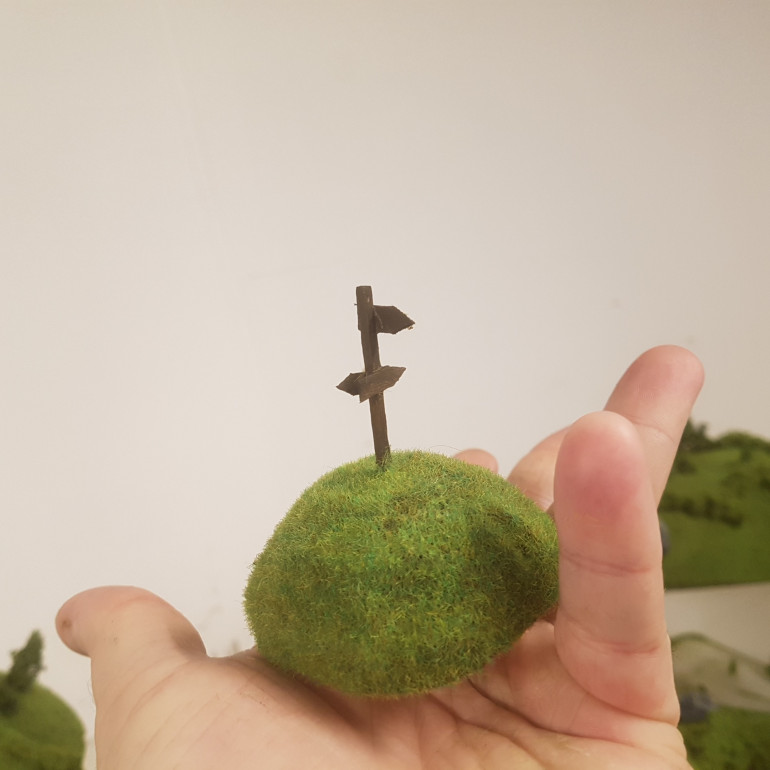
The Signpost FlockedThe Signpost Flocked
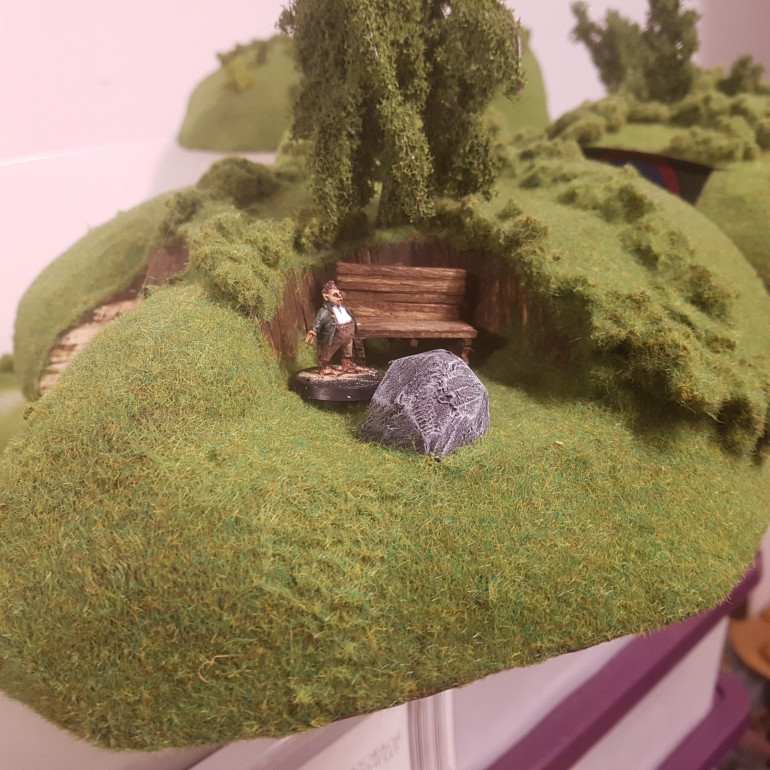
Fatty Next to the Shaded SeatFatty Next to the Shaded Seat
These Will be Grape Vines, Not 100% Sure How but I have a Few Ideas. I'm Thinking String with Very Bright Grass Like Strands on it.These Will be Grape Vines, Not 100% Sure How but I have a Few Ideas. I'm Thinking String with Very Bright Grass Like Strands on it.
One Big (For A Hobbit) Animal PenOne Big (For A Hobbit) Animal Pen
4 Small Garden Beds4 Small Garden Beds

A Splash of Colour

Tutoring 6
Skill 7
Idea 6
1 Comment

The Hobbit Holes are Coming Along but the Solid Green needs Breaking Up.

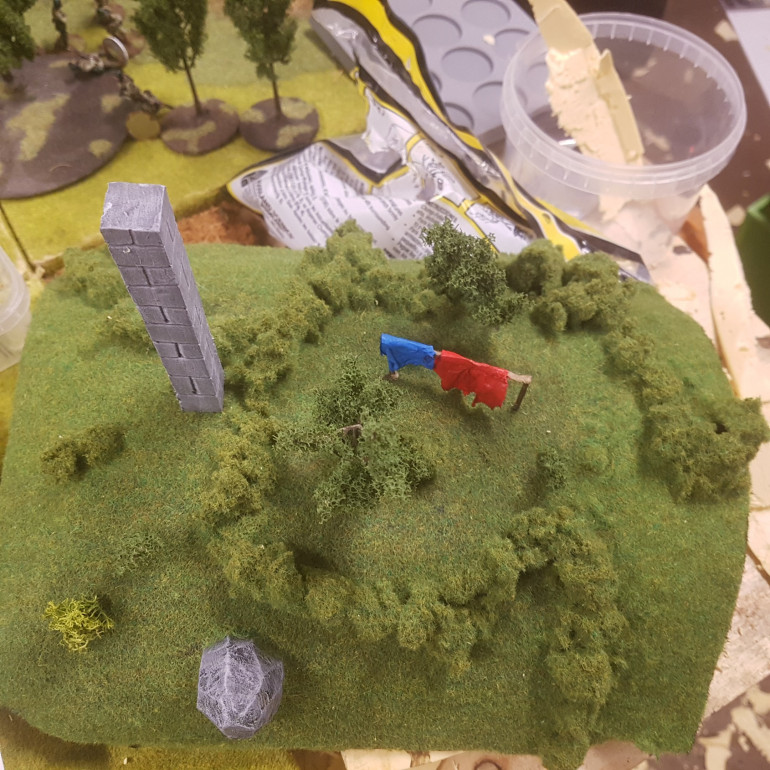
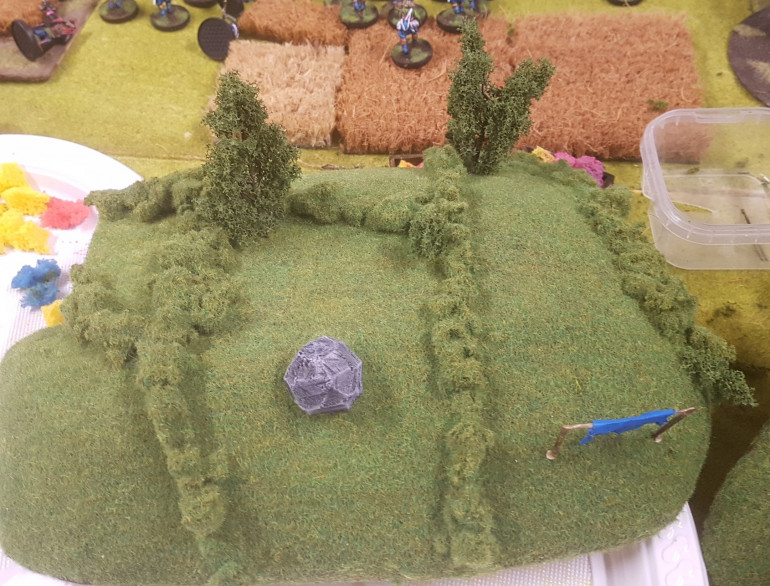
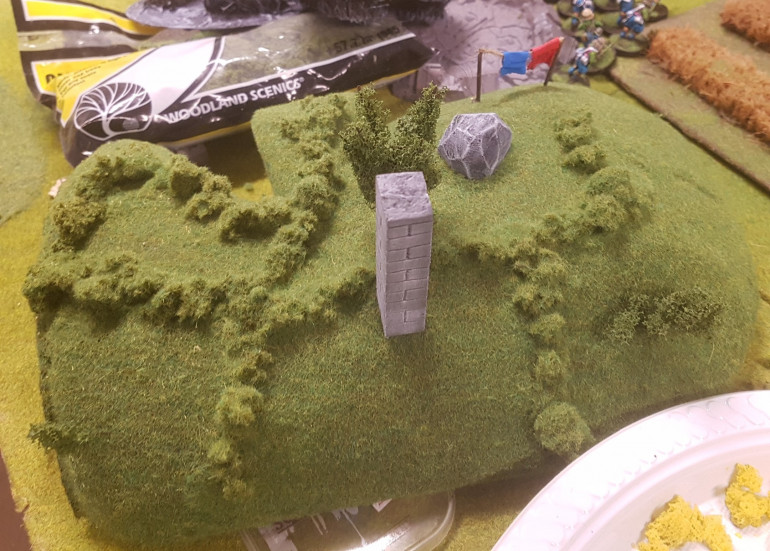
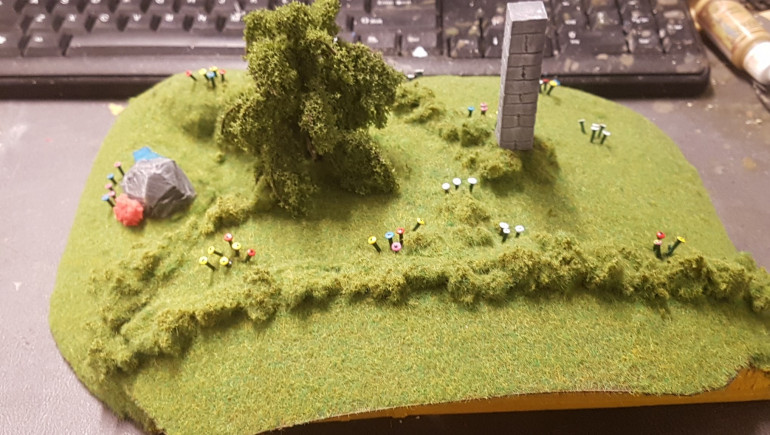
Later in the Week I’ll be Adding Flowers Made from Pins but for Now I decided to add some Clotheslines and Rocks
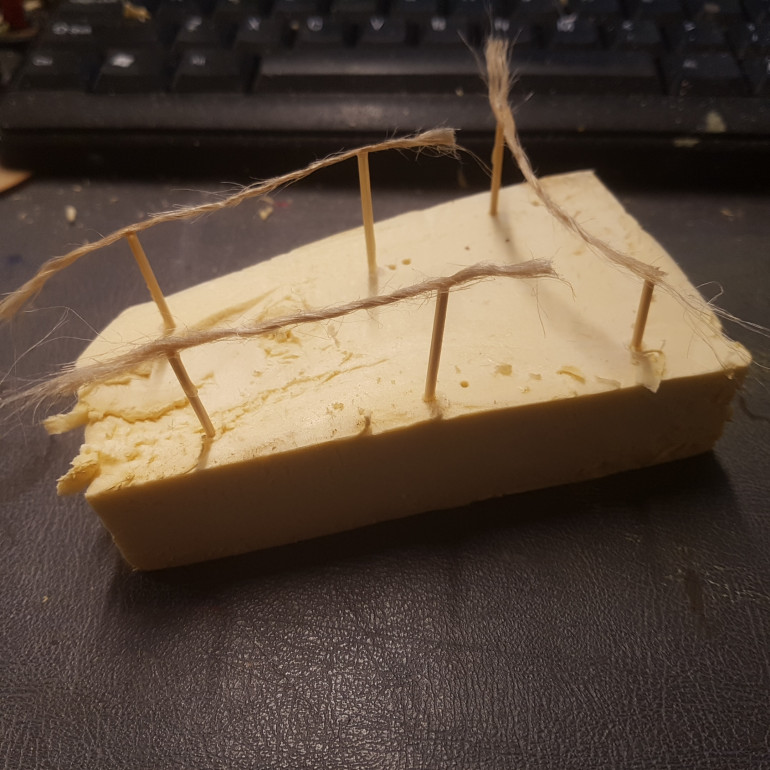
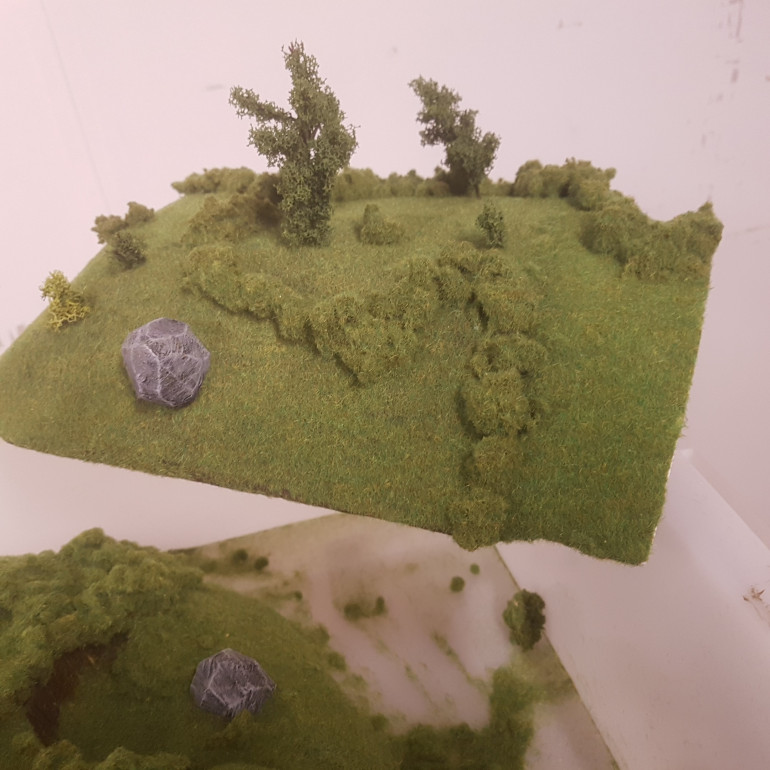
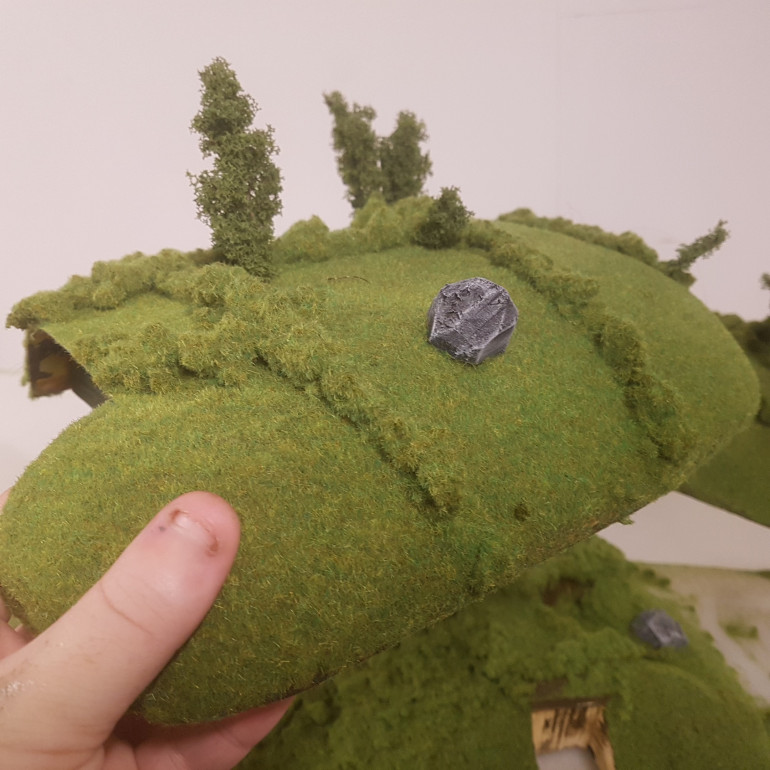
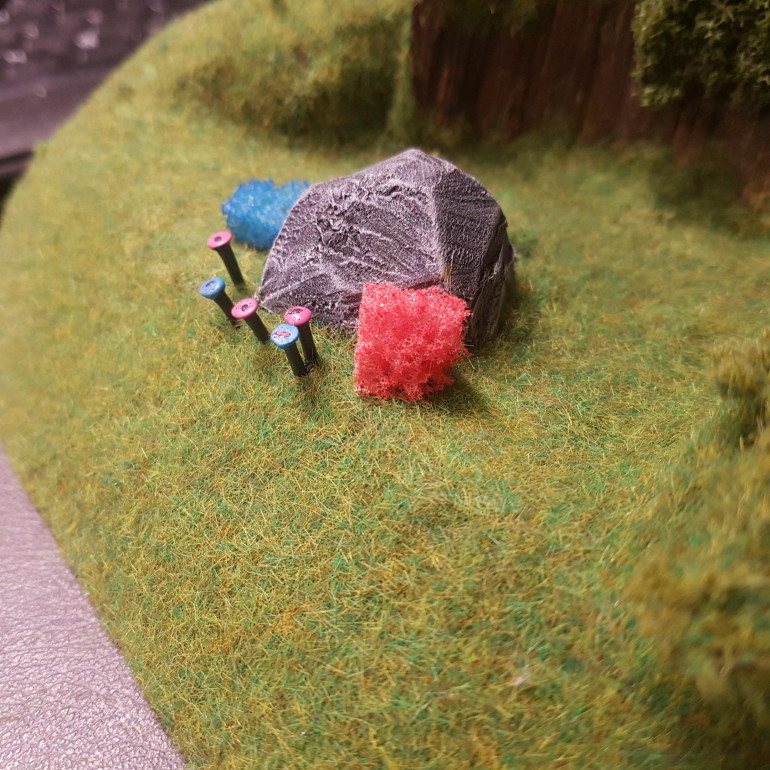
Each Hobbit Hole got a XPS Foam Rock. These are Very Easy to Make Each Hobbit Hole got a XPS Foam Rock. These are Very Easy to Make
A Splash of Colour
A Splash of Colour
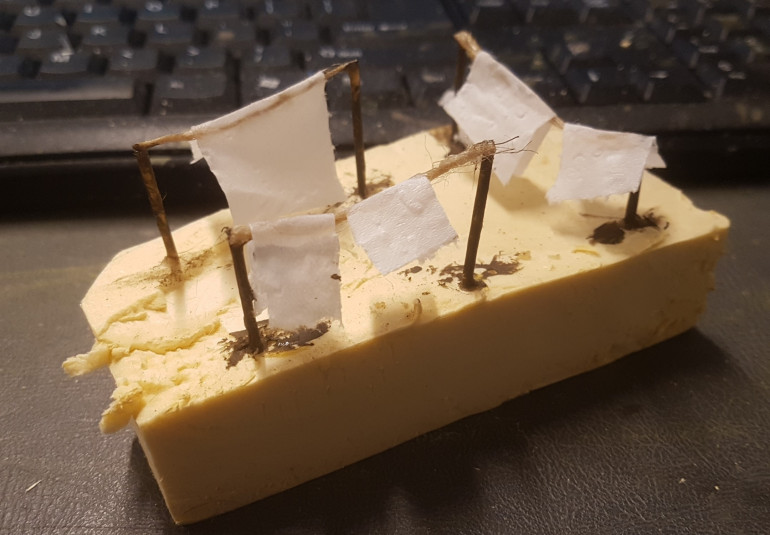
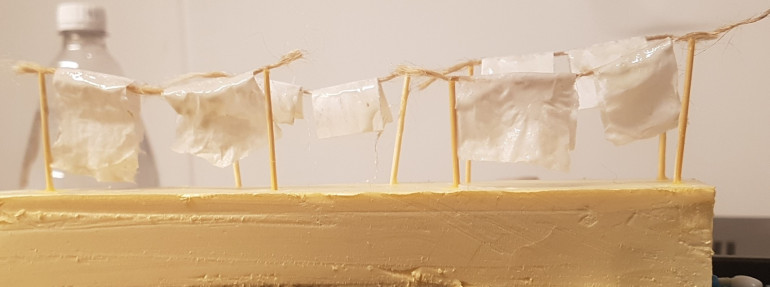
To Start a Washing Line I Stuck Two Toothpicks into a Piece of Foam. Then Trimmed them to Size and Super Glued a Single Strand of Jute String. Once the Glue was Dry then Fix Them in Place with More Glue.To Start a Washing Line I Stuck Two Toothpicks into a Piece of Foam. Then Trimmed them to Size and Super Glued a Single Strand of Jute String. Once the Glue was Dry then Fix Them in Place with More Glue.
Once that was Dry the Entire Line was Covered in Superglue and a Piece of Tissue was Draped over Them. The Poles were then Painted with Cheap PaintOnce that was Dry the Entire Line was Covered in Superglue and a Piece of Tissue was Draped over Them. The Poles were then Painted with Cheap Paint
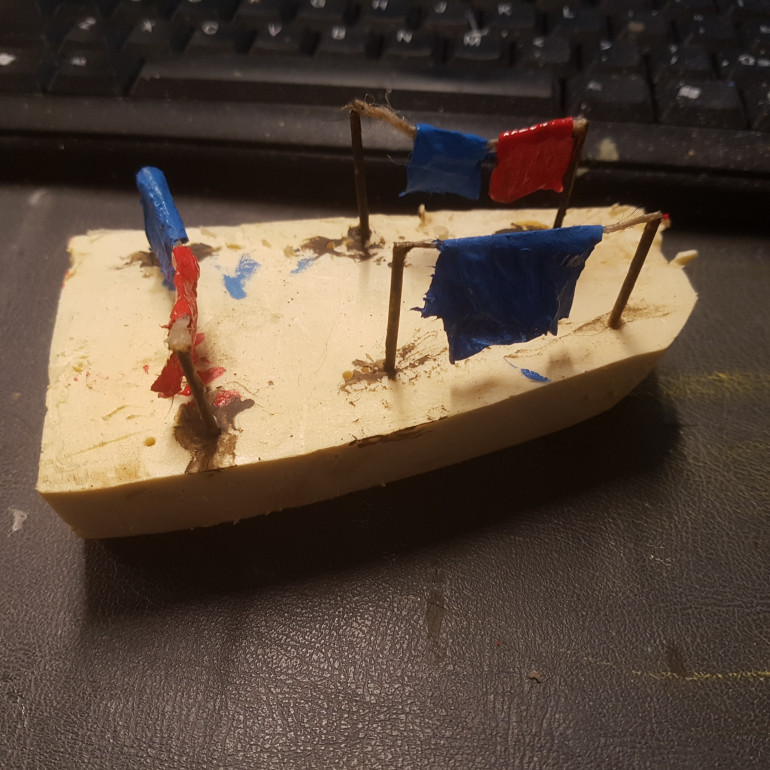
The The "Sheets" were then Painted Red or Blue
The Second BatchThe Second Batch
I Like the Effect that the Bright Colours Have. It Really Breaks up the Monotone Green.I Like the Effect that the Bright Colours Have. It Really Breaks up the Monotone Green.
A Splash of Colour
The Chimney's Will get Some Creeping Vines and Funnels Later in the WeekThe Chimney's Will get Some Creeping Vines and Funnels Later in the Week

Flowers, Clotheslines and a Barrow

Tutoring 4
Skill 5
Idea 5
2 Comments
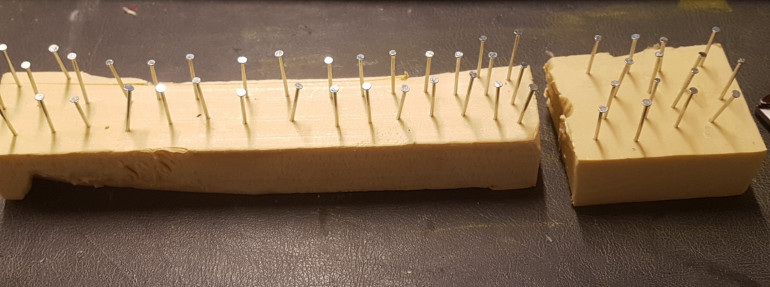
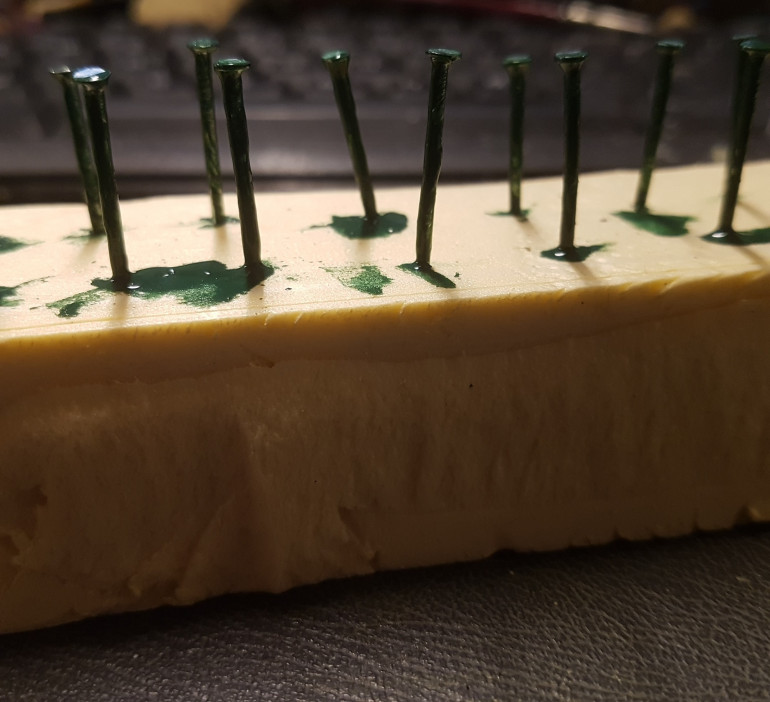
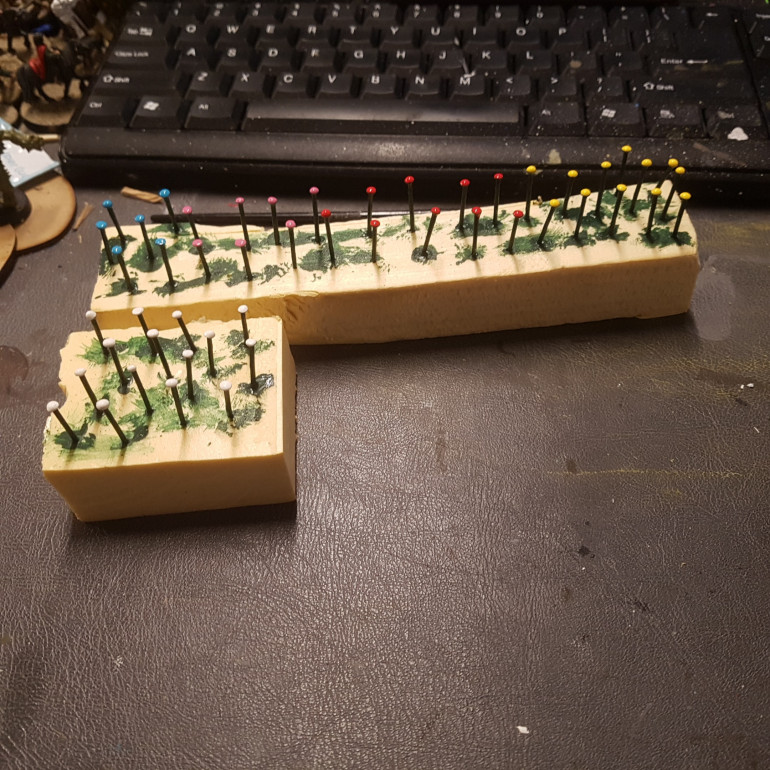
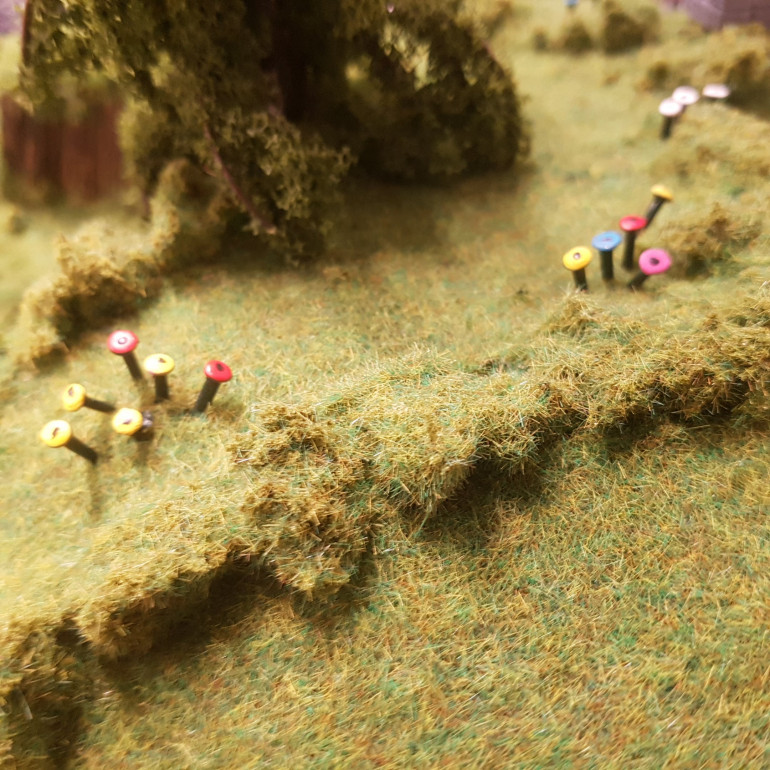
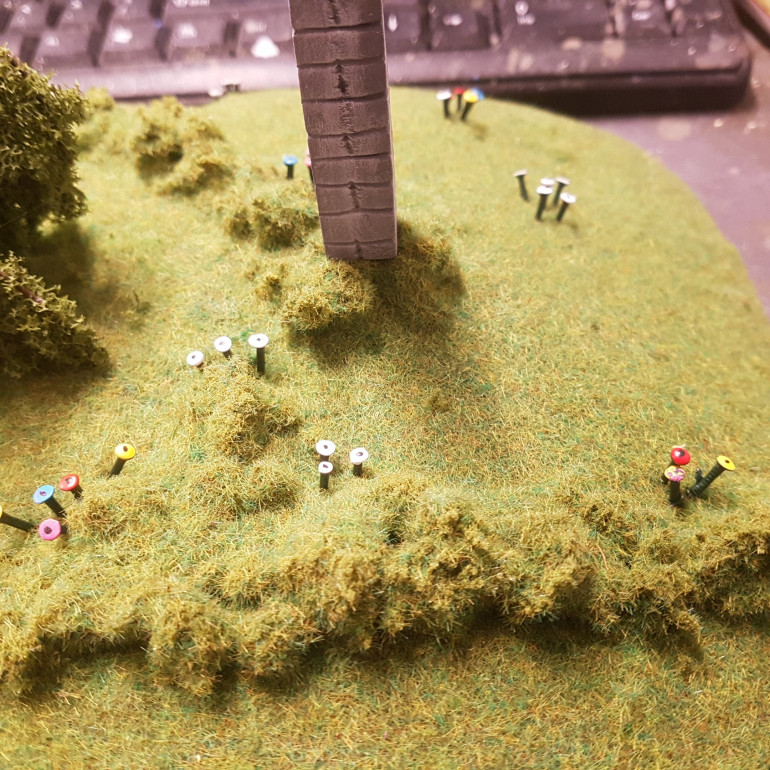
I Picked up a Nail Variety Pack at my Local Hardware and Stuck the Smaller Ones into a Piece of XPS Foam. There's a mix of Head Sizes which is Fine for What I'm After.I Picked up a Nail Variety Pack at my Local Hardware and Stuck the Smaller Ones into a Piece of XPS Foam. There's a mix of Head Sizes which is Fine for What I'm After.
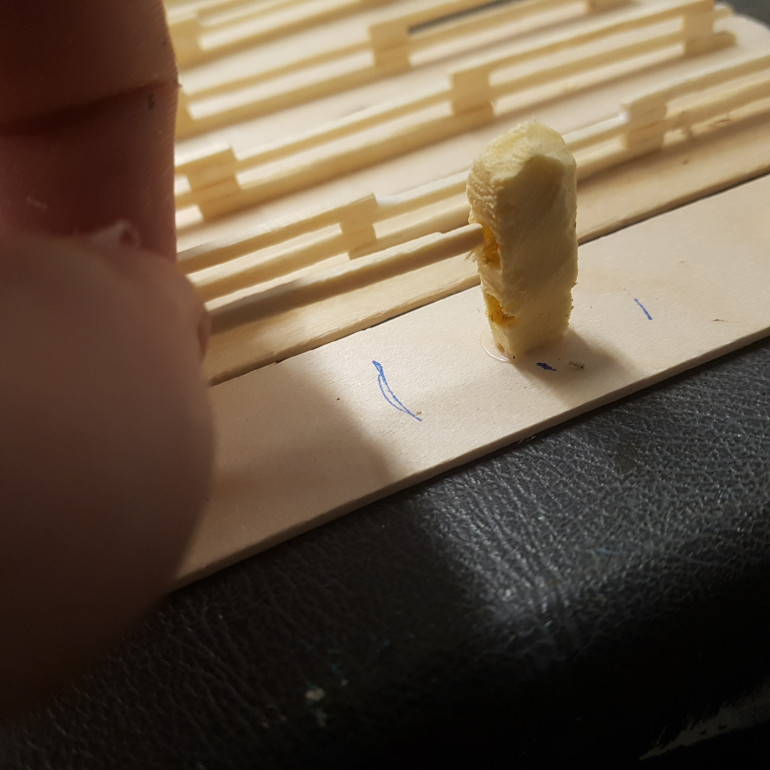
They were Then Painted Green, They'll Need at Least One Maybe Two More Coats.They were Then Painted Green, They'll Need at Least One Maybe Two More Coats.
A Close UpA Close Up
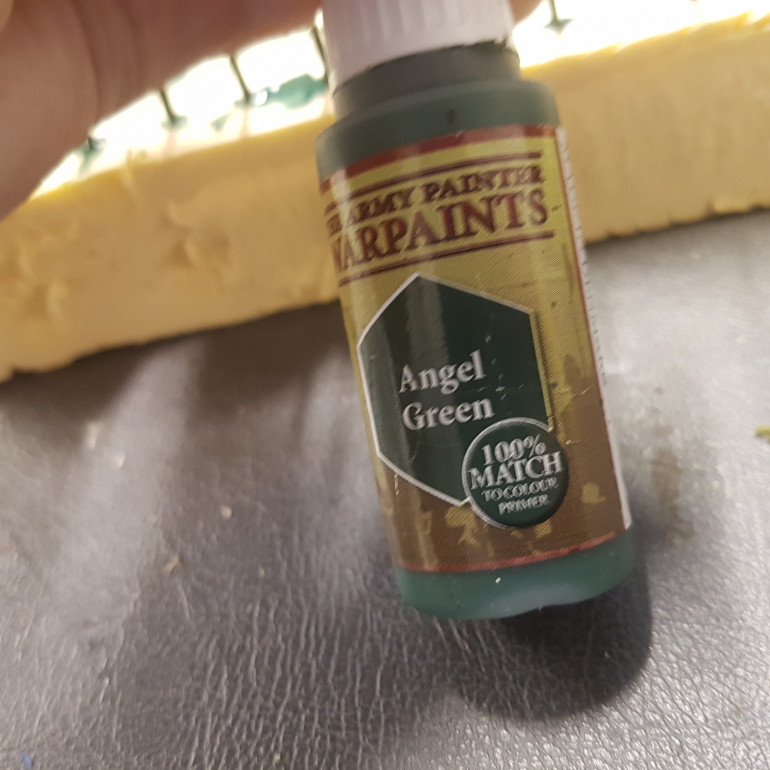
The PaintThe Paint
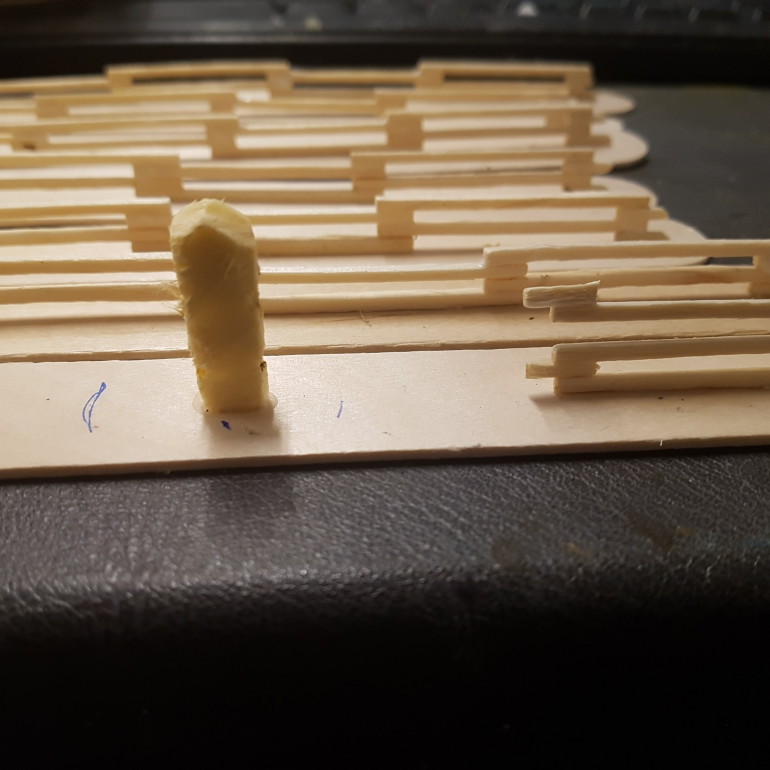
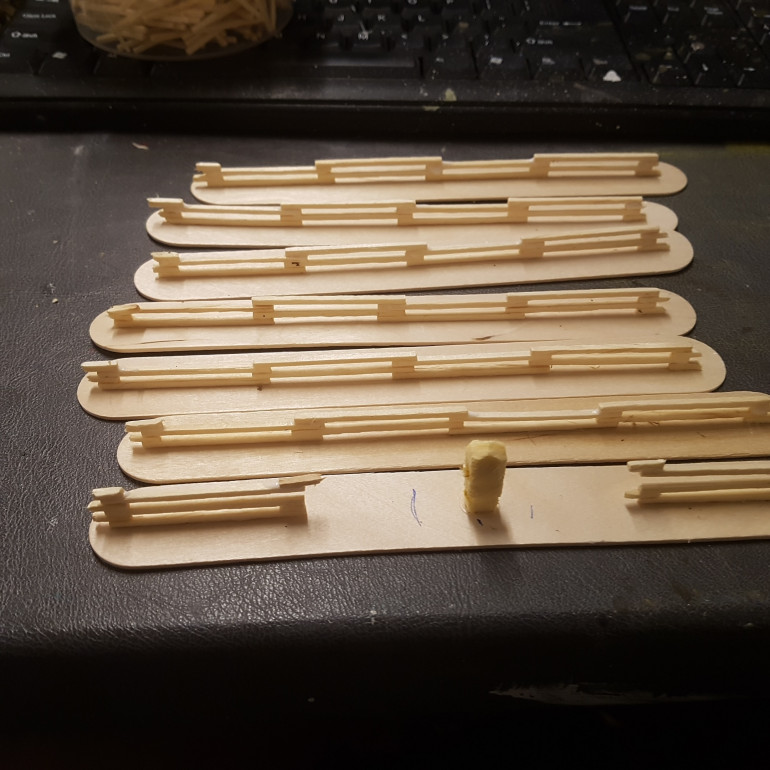
Here's some More Fences. The Foam Piece is a Rock with Holes in it that will Form a Dual Gate.Here's some More Fences. The Foam Piece is a Rock with Holes in it that will Form a Dual Gate.
You can see a Space Left in the Front Fence for a Loose Piece of Wood to Slide into.You can see a Space Left in the Front Fence for a Loose Piece of Wood to Slide into.
The Holes were Made by Heating Up a Very Thin Brass Spear and Sliding it ThroughThe Holes were Made by Heating Up a Very Thin Brass Spear and Sliding it Through
The Finished Fence will have Two Horizontal Pieces of Wood that can Slide in and Out of the Stone to Open and Close the Gate.The Finished Fence will have Two Horizontal Pieces of Wood that can Slide in and Out of the Stone to Open and Close the Gate.
One of Four Barrow's I made Earlier now being FlockedOne of Four Barrow's I made Earlier now being Flocked
Flowers, Clotheslines and a Barrow
The Flocked Barrow. These can be Used for Either Barrow Downs Barrows, Rohirrim Barrows or just Generic Barrows.The Flocked Barrow. These can be Used for Either Barrow Downs Barrows, Rohirrim Barrows or just Generic Barrows.
The Clotheslines got some PVAThe Clotheslines got some PVA

Flowers

Tutoring 2
Skill 3
Idea 3
No Comments
The Flowers Painted and Ready for the Black DotThe Flowers Painted and Ready for the Black Dot
More WashingMore Washing
The Flowers, not 100% sure about them just yet. I've got some proper Flower Tufts coming next week so I'll see which way I goThe Flowers, not 100% sure about them just yet. I've got some proper Flower Tufts coming next week so I'll see which way I go
Flowers
Flowers
Flowers

Basing the Hobbit Holes

Tutoring 3
Skill 5
Idea 5
No Comments

Apologies for the Pic Quality I Broke my Phone so I'm Using one with not as Good a Camera
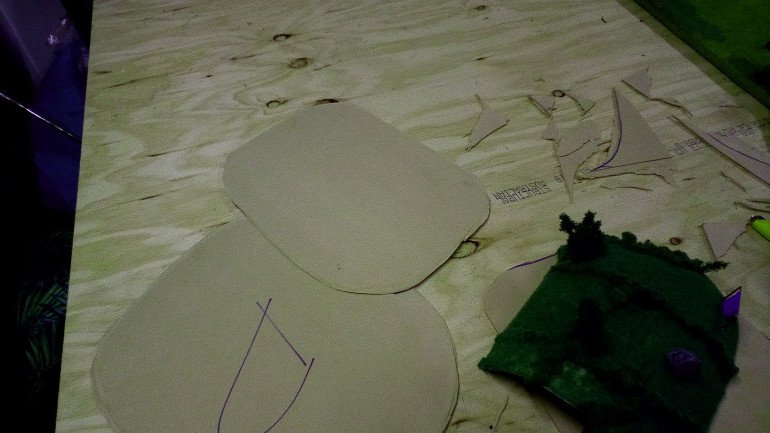
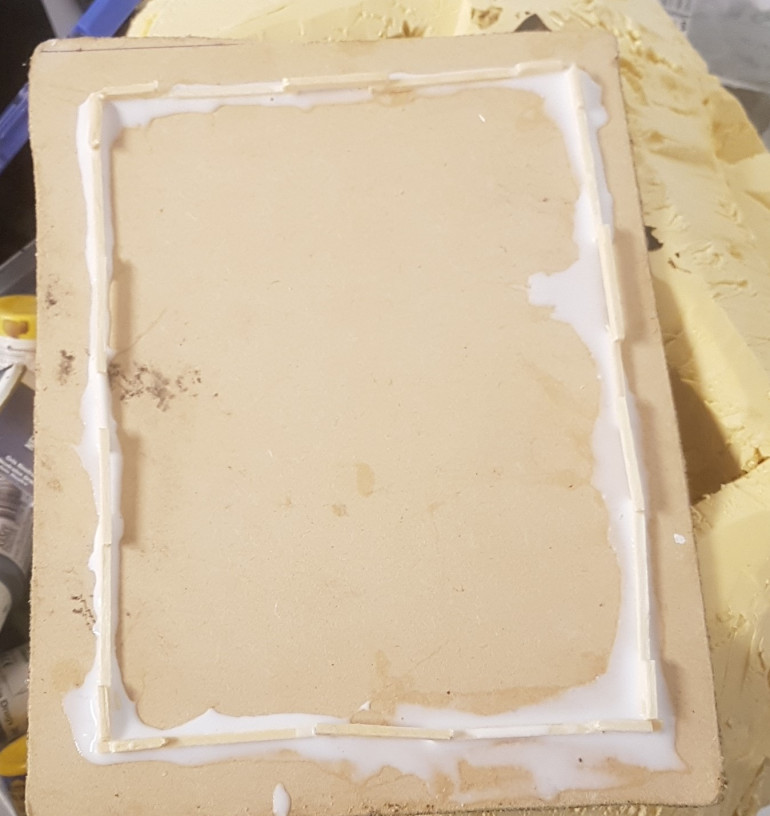
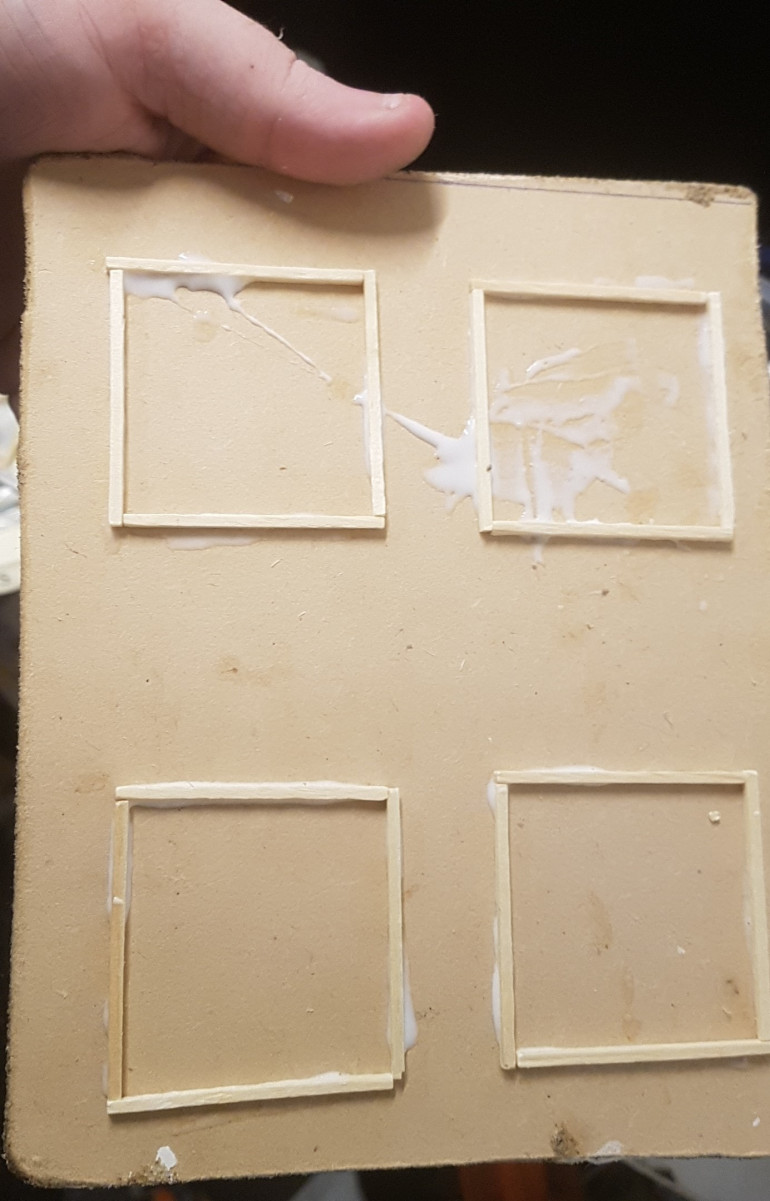
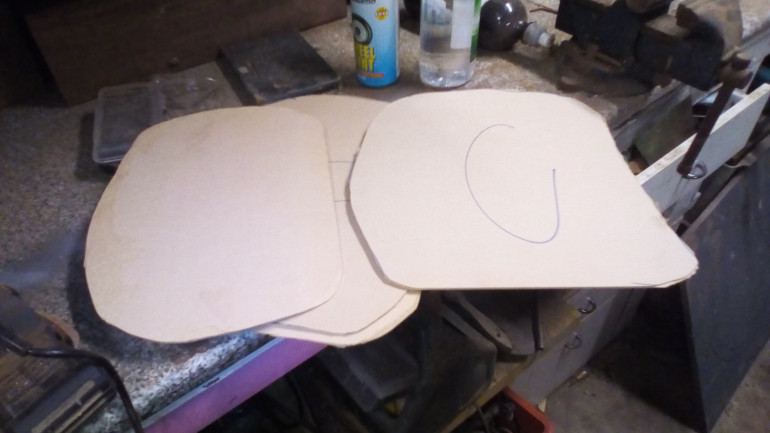
Four MDF Bases were Cut to Size and Beveled with an Orbital SanderFour MDF Bases were Cut to Size and Beveled with an Orbital Sander
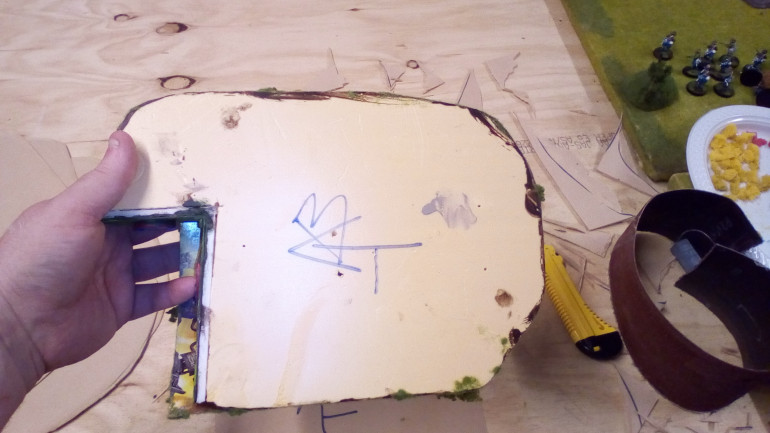
The Buildings were Matched to the Bases with Letters and in some Cases Directional MarkingsThe Buildings were Matched to the Bases with Letters and in some Cases Directional Markings
Again Sorry for the Picture Quality, Combination of a Dodgy Camera and Me Having Zero Idea how to Tune It InAgain Sorry for the Picture Quality, Combination of a Dodgy Camera and Me Having Zero Idea how to Tune It In
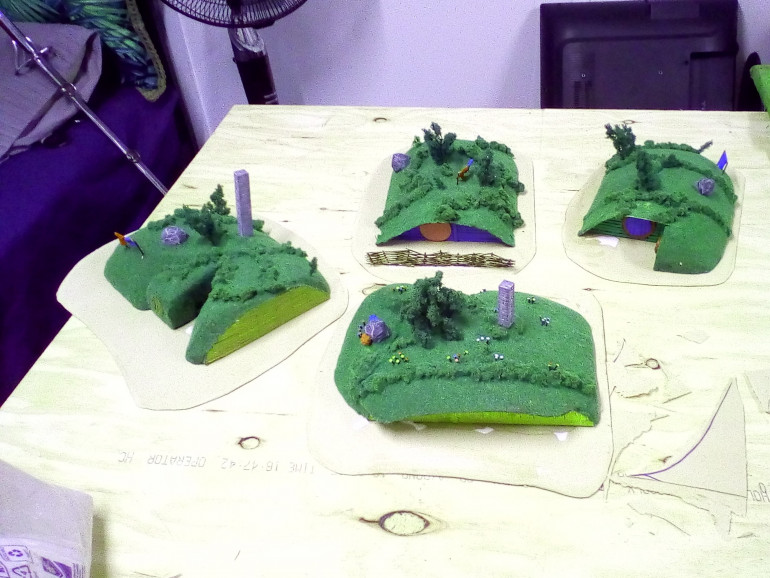
All the Hobbit Holes are Glued to their Bases. They Have Since been Based with Sand.All the Hobbit Holes are Glued to their Bases. They Have Since been Based with Sand.
A Ruined Hobbit Hole Getting some WallpaperA Ruined Hobbit Hole Getting some Wallpaper
Trimming off the ExcessTrimming off the Excess
One End of a Matchstick was Cut to a Point and Pushed into the Foam then the Opposite End was Roughly Snapped Off.One End of a Matchstick was Cut to a Point and Pushed into the Foam then the Opposite End was Roughly Snapped Off.
Basing the Hobbit Holes

Some More Work on the Shire

Tutoring 2
Skill 4
Idea 4
No Comments
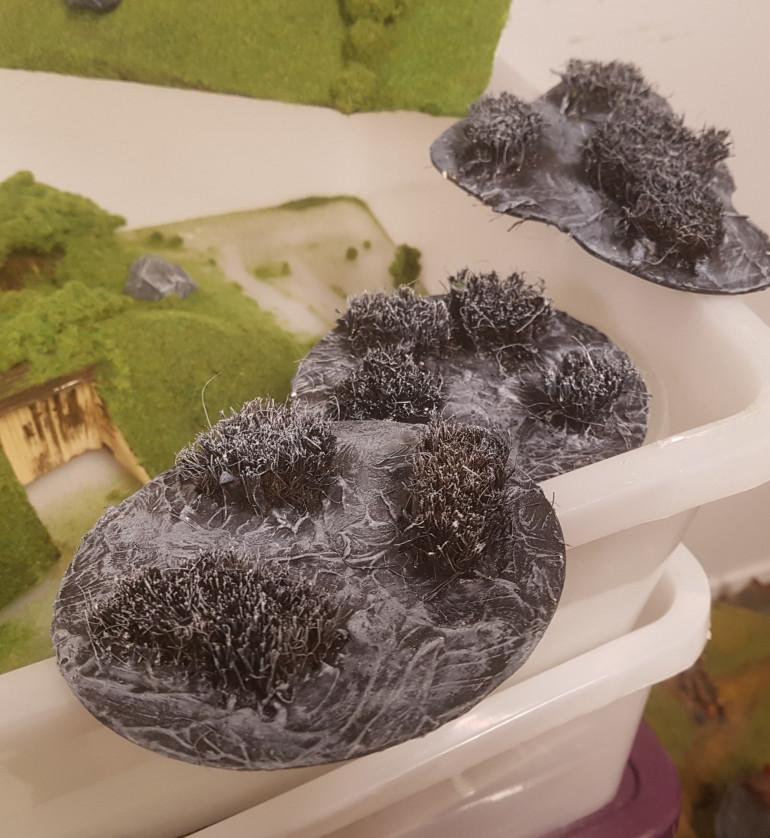
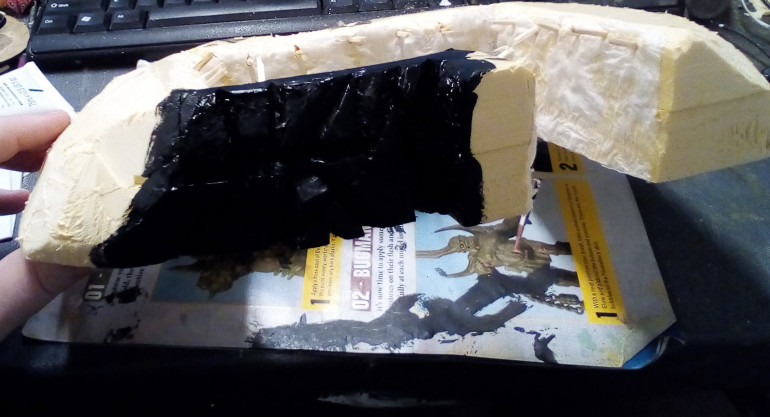
The Rock Faces were painted BlackThe Rock Faces were painted Black
Some More Work on the Shire
A Ruined Animal PenA Ruined Animal Pen
Some FencesSome Fences

Home are the Heroes

Tutoring 1
Skill 3
Idea 3
No Comments
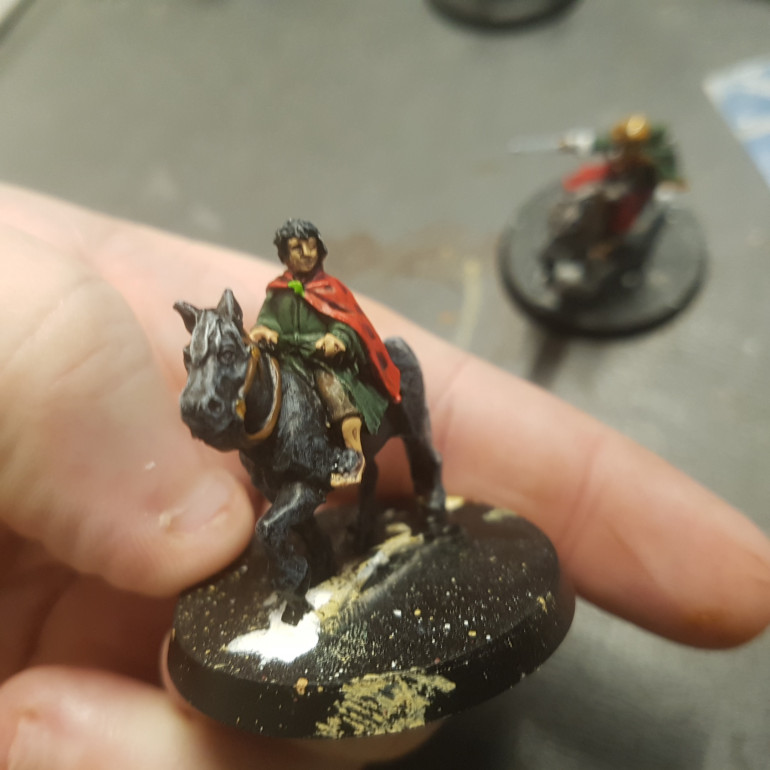
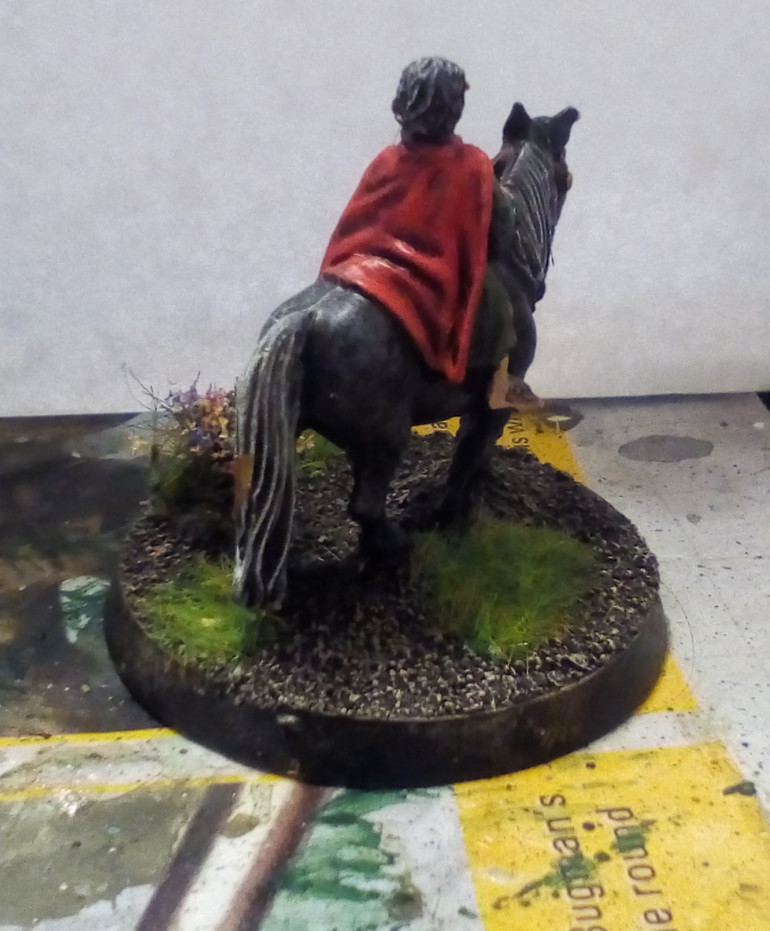
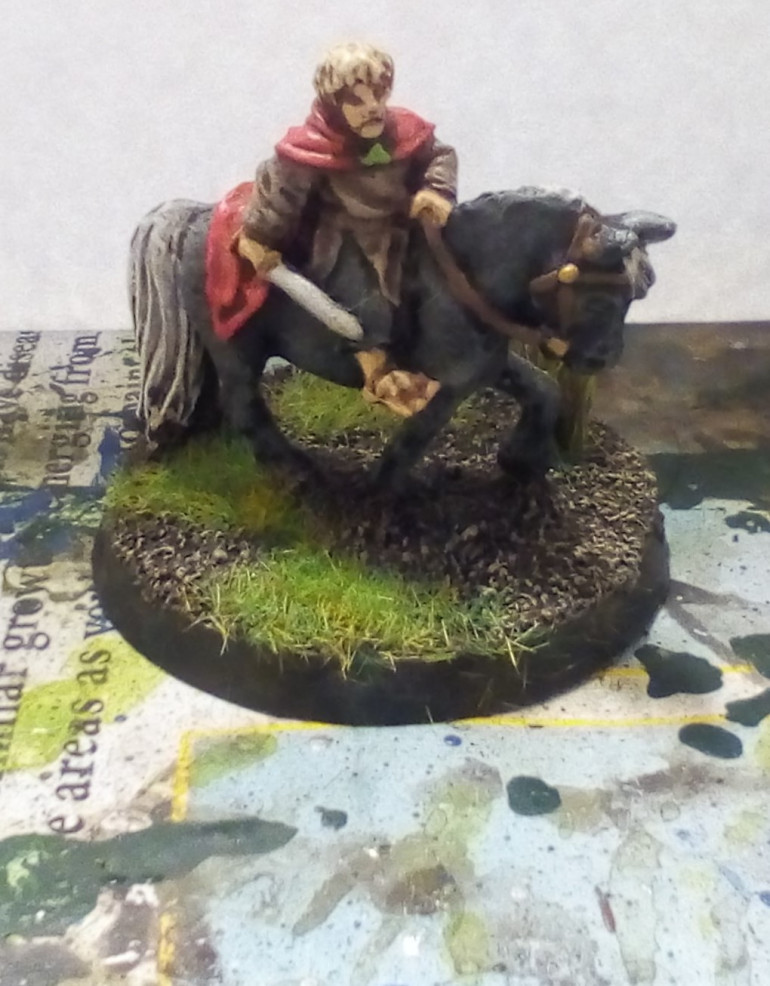
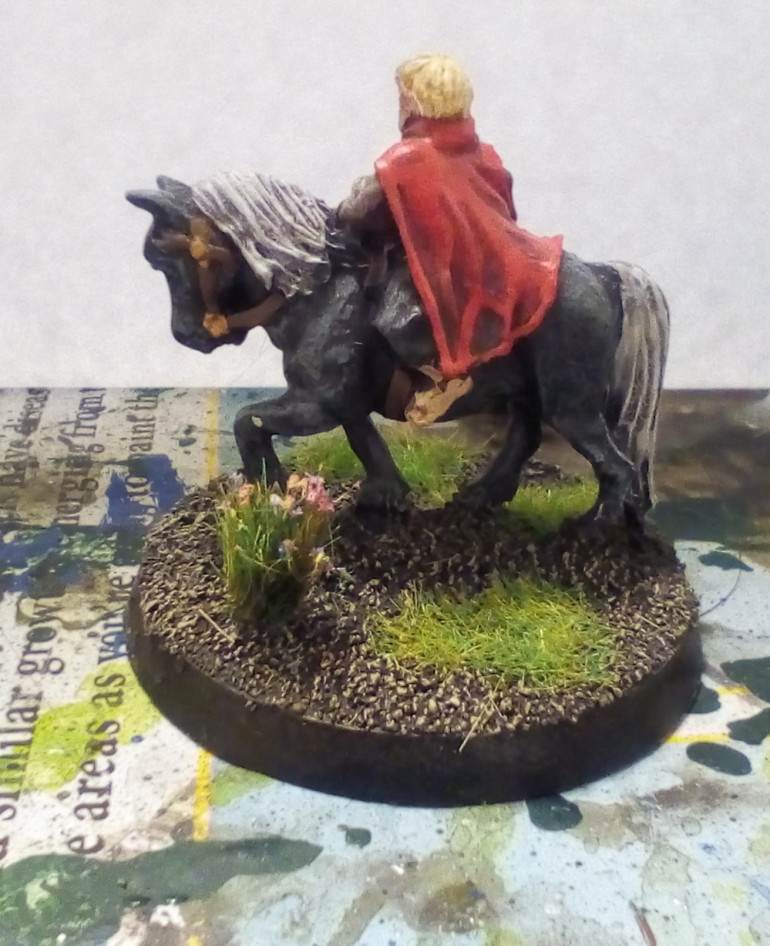
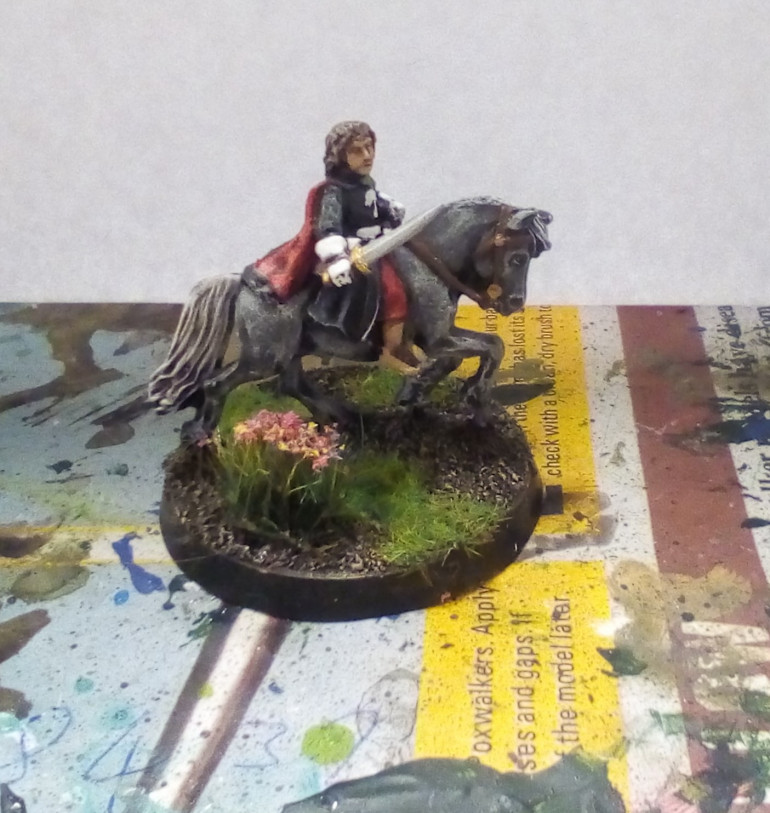
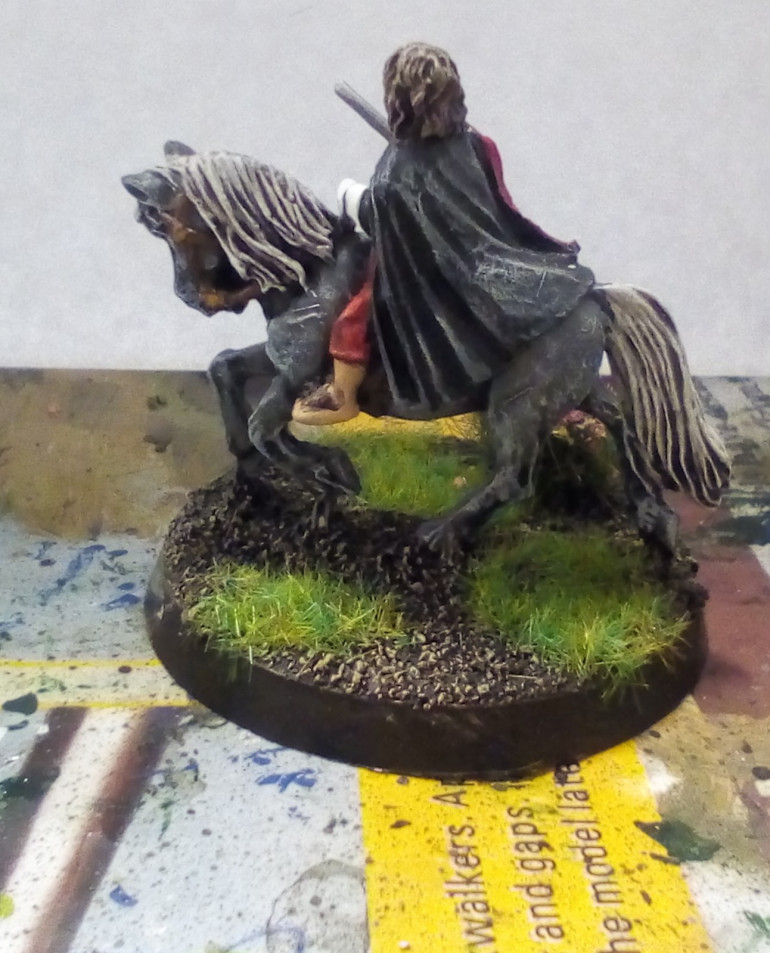
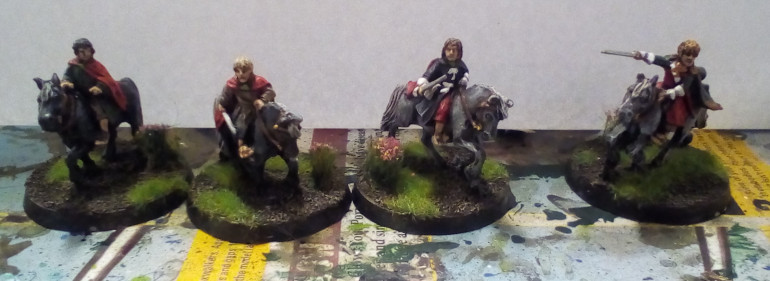
Frodo on PonyFrodo on Pony
Home are the Heroes
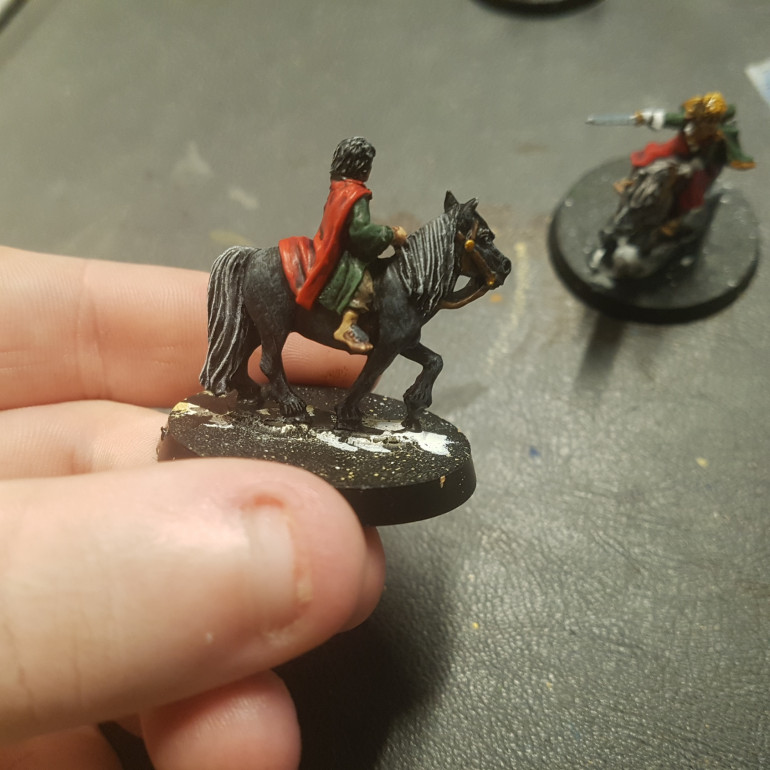
Sam on PonySam on Pony
Home are the Heroes
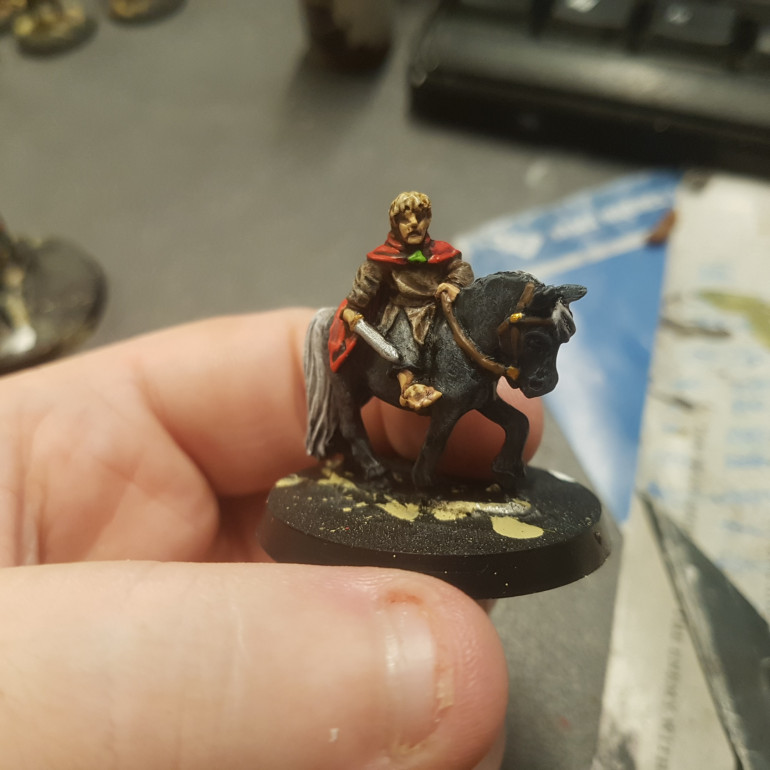
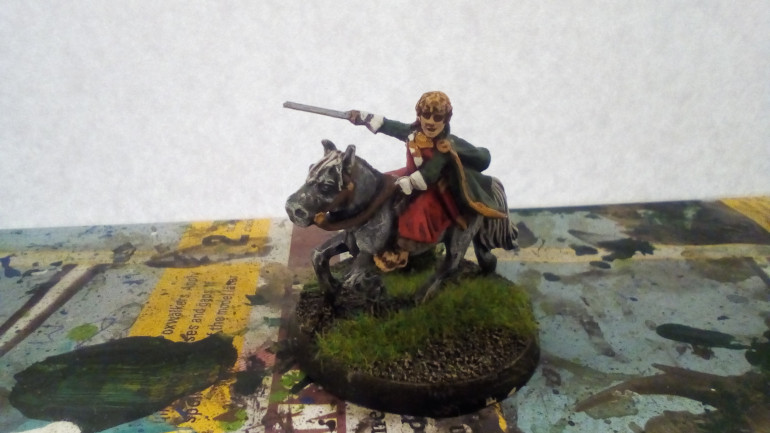
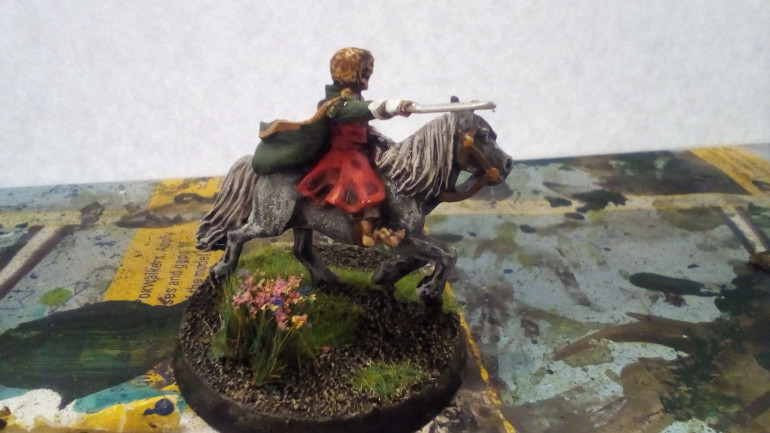
Pippin on PonyPippin on Pony
Home are the Heroes
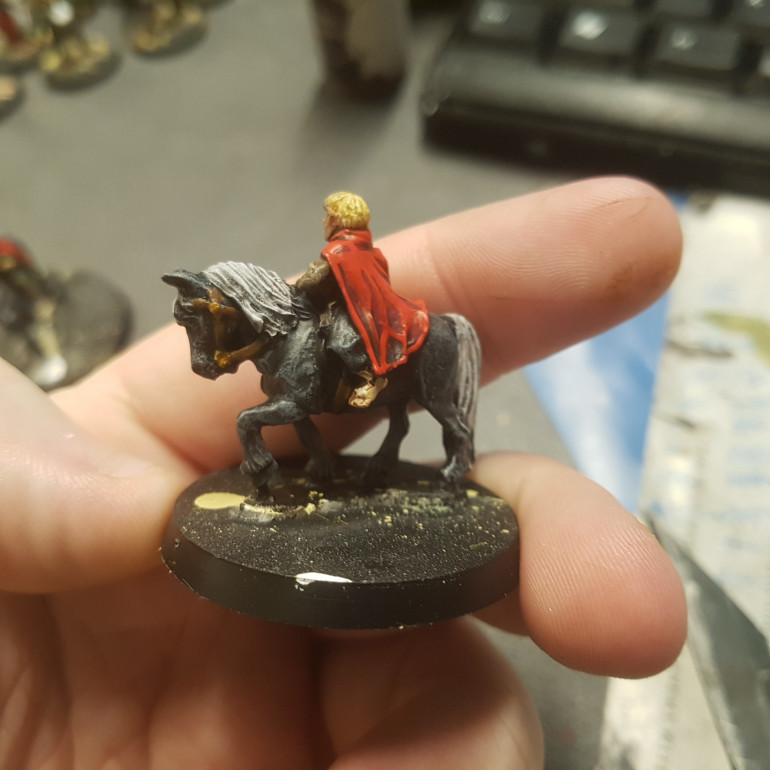
Merry on PonyMerry on Pony
Home are the Heroes
Home are the Heroes

The Rest of the Heroes

Tutoring 1
Skill 3
Idea 3
No Comments
Farmer MaggotFarmer Maggot
The Rest of the Heroes
Maggot's Hounds. Grip, Fang and WolfMaggot's Hounds. Grip, Fang and Wolf
The Rest of the Heroes
Hobbit Archer with Signal HornHobbit Archer with Signal Horn
The Rest of the Heroes
Lobellia Sackville-BagginsLobellia Sackville-Baggins
The Rest of the Heroes
Fatty BolgerFatty Bolger
The Rest of the Heroes

The Villains

Tutoring 1
Skill 4
Idea 4
1 Comment
Saruman, Now Known as SharkeySaruman, Now Known as Sharkey
The Villains
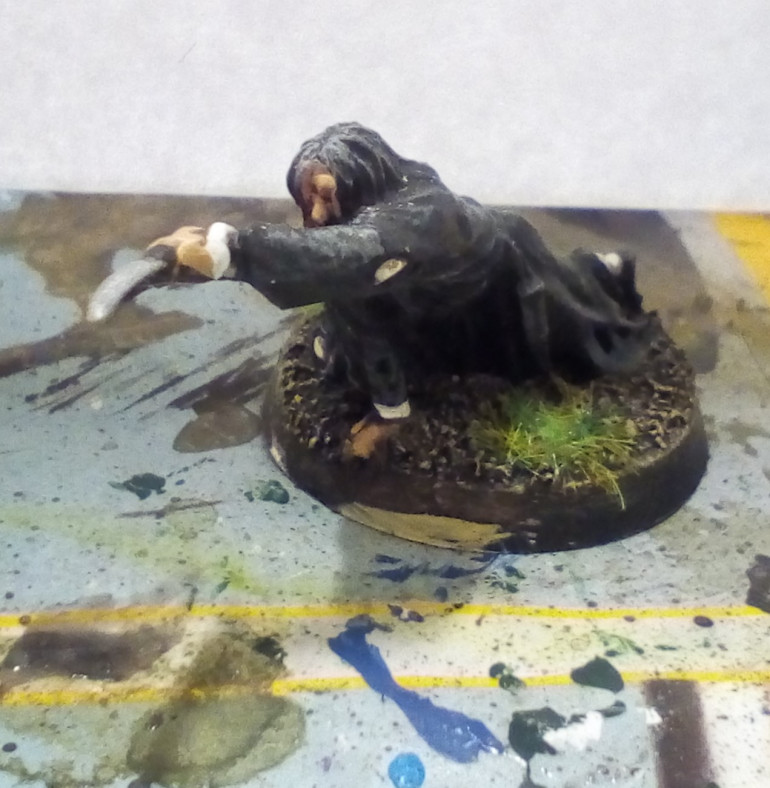
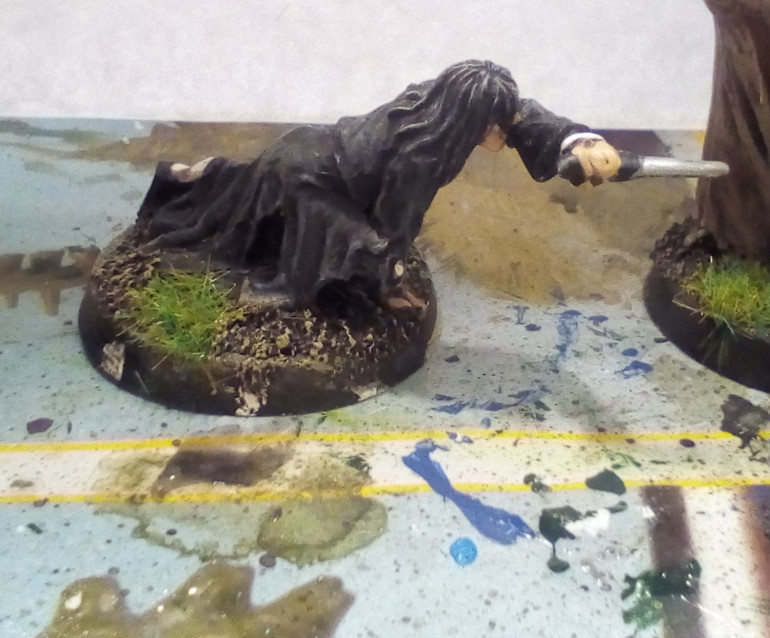
Grima Grima "Worm" Wormtongue
The Villains
The Villains

If anyone wants to listed to a free audiobook version of the “Scouring of the Shire” here’s a link

The Rangers

Tutoring 1
Skill 2
Idea 2
No Comments

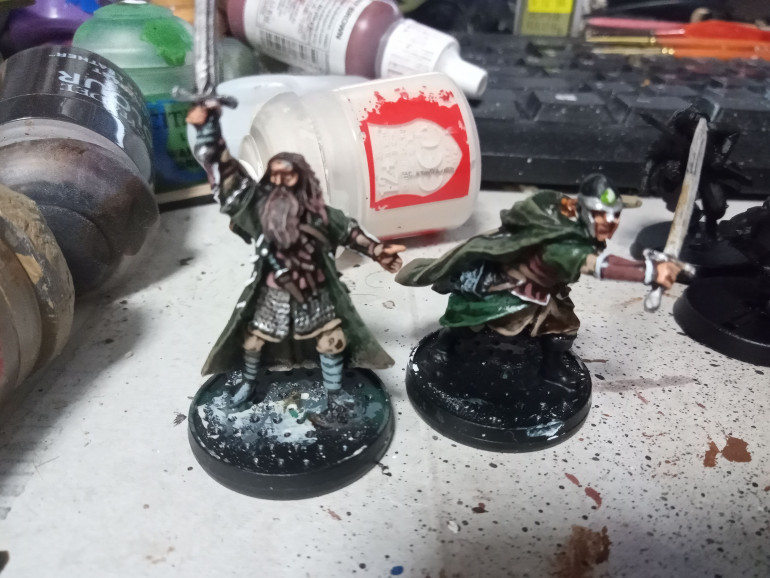
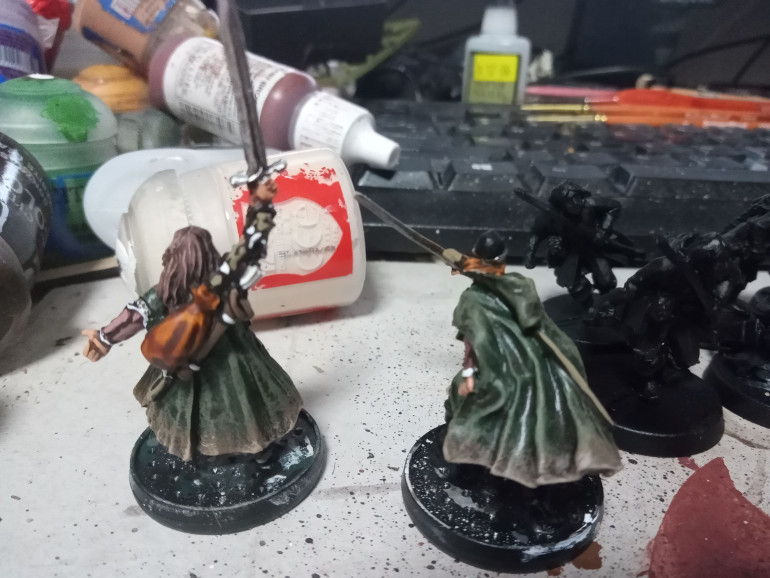
After a long break I’m back painting my Lord of the Rings.

The first Covid Tournament is going on in about a month here in Brisbane, 35 spots all filled within 36 hours so I wanted to do something special for this one.

One army I’ve always wanted to do is the all hero Ranger Army of Arathorn (Aragorn’s Father) made up of purely Dunedain.

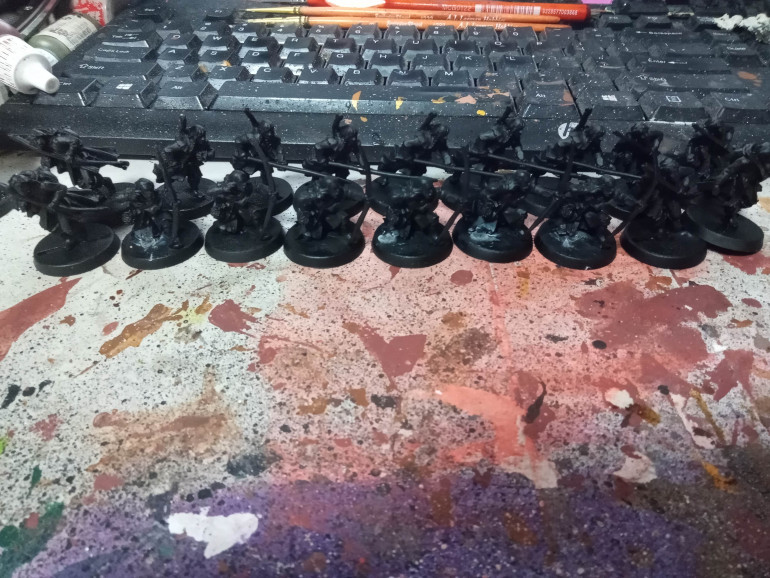
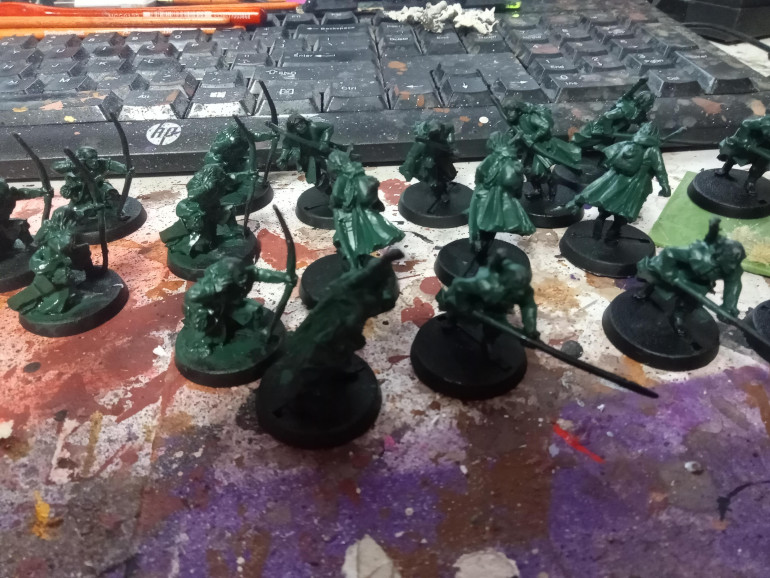
I went for an old school Black Undercoat and followed it up with a Caliban Green for the Coats.

I did these earlier in the weekI did these earlier in the week
The Rangers
The Rangers
The Rangers

Supported by (Turn Off)