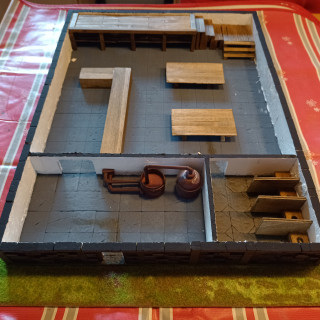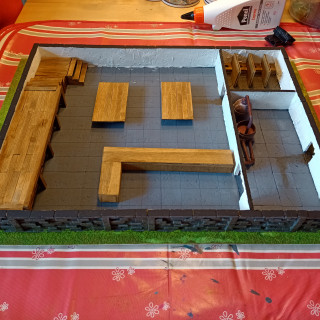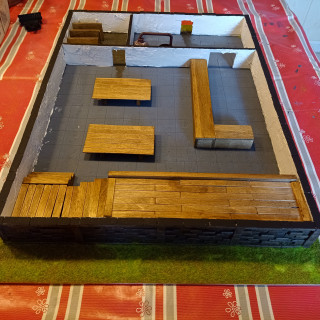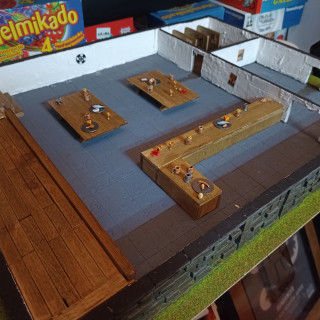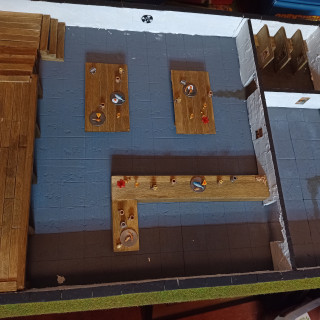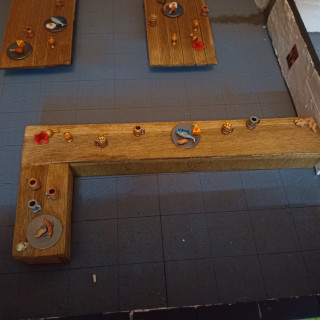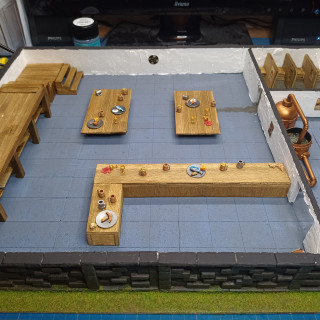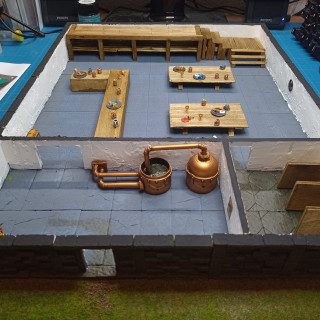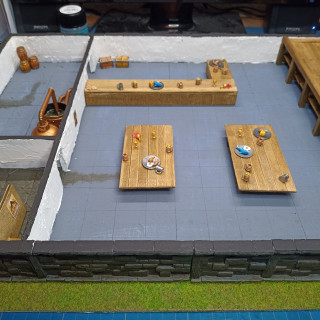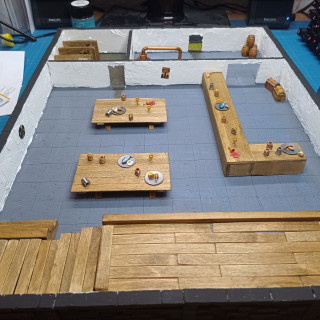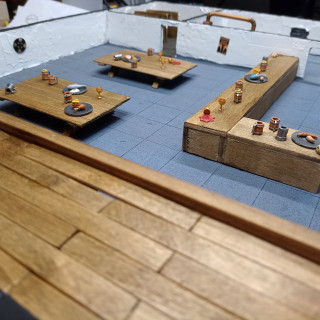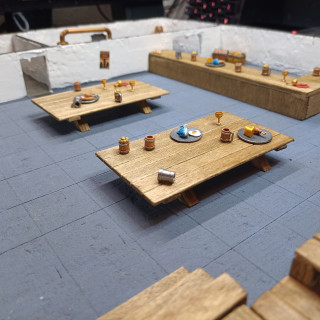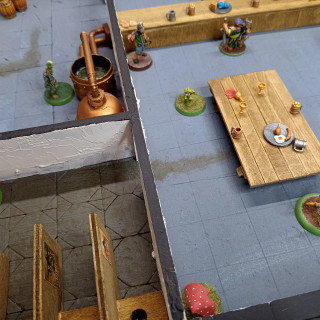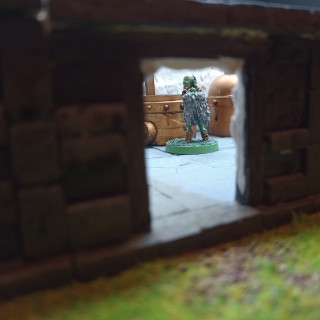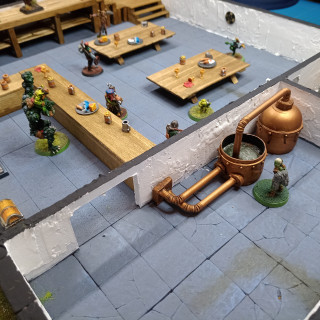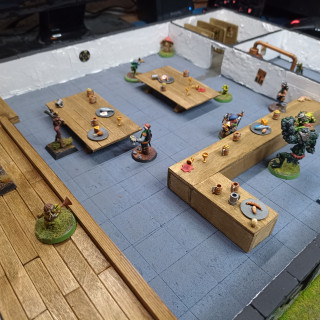
Did you spill my pint? OI! Come ‘ere!
Recommendations: 258
About the Project
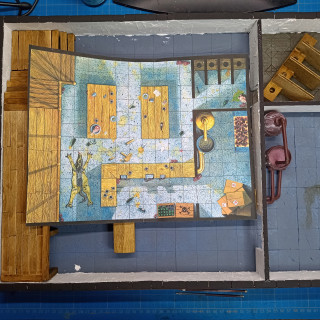
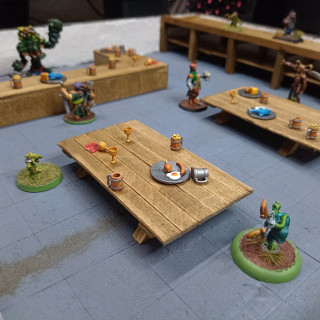
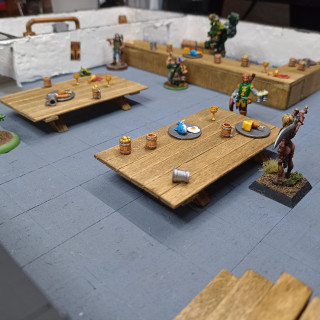
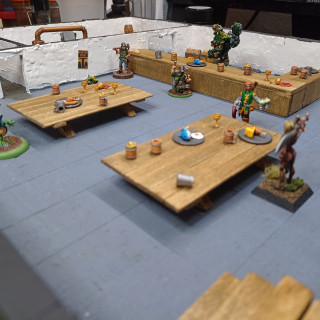
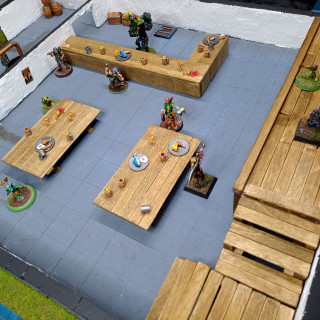
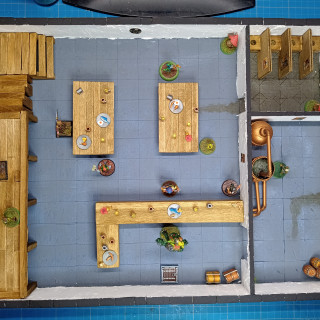
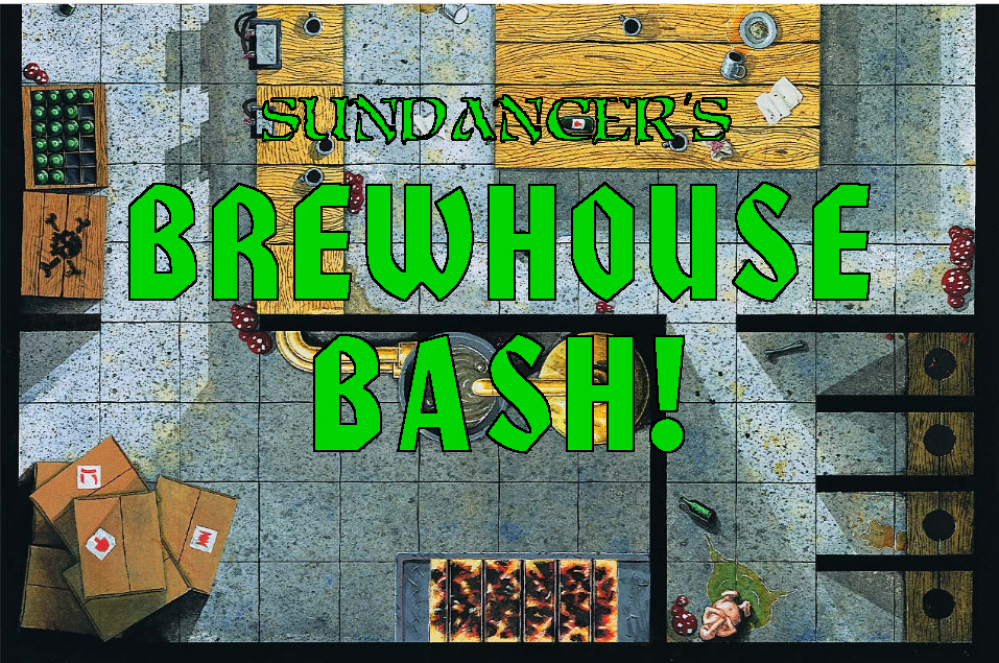
Back in 07/1998 Games Workshop released a fun game called "Brewhouse Bash". It was just a couple of cardboard pieces in the White Dwarf from July and was aimed to be played the brand new Gorka Morka Orks. Now I happened to find my copy of this nice game in the much needed spring cleaning and suddenly I felt a touch. The touch of Gork an' Mork! An' they said "OI! Git! Build us da temple with lotz of drinkin' and fightin' in!" So here I am.... WAAAAAAAAAAAAAGH!
Related Game: Warhammer 40,000
Related Company: Games Workshop
Related Genre: Humour
This Project is Completed
Foundations!
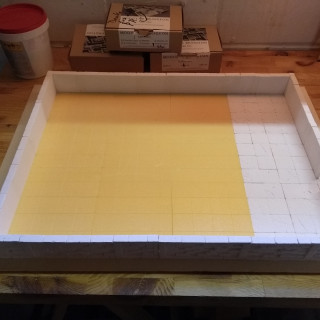
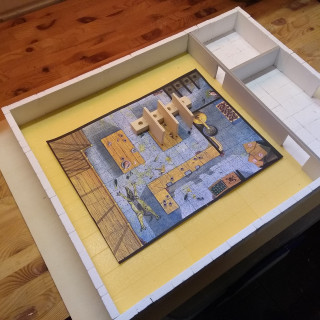
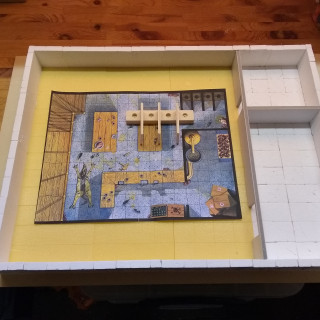
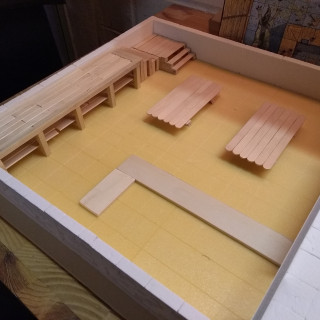
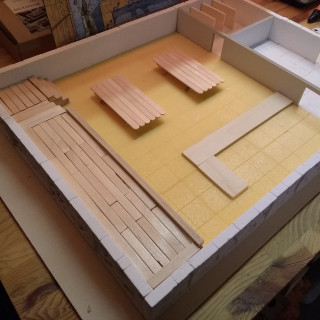
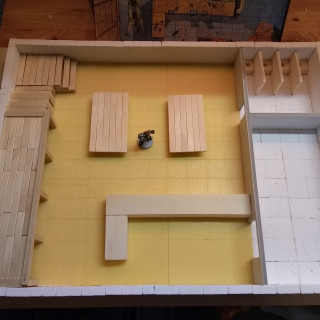
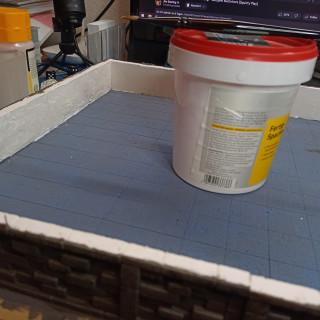
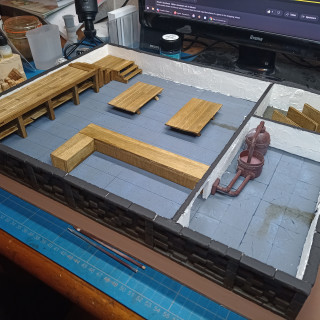
So we need a good foundation. First I struggled if I should build this on 4mm wood board or 3cm XPS. I chose the 4mm wood just because it was almost perfect in size plus that way I would be able to make it a terrain piece and not only a gaming table.
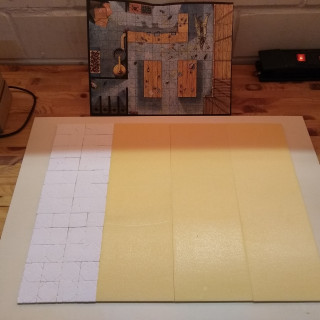
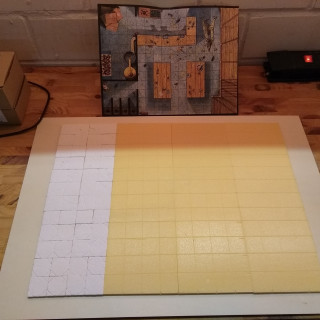
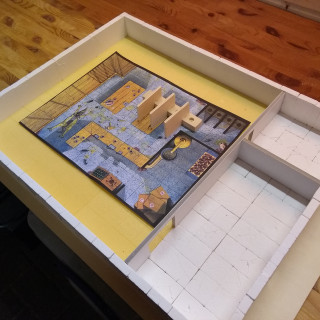
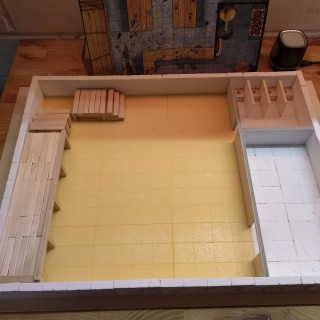
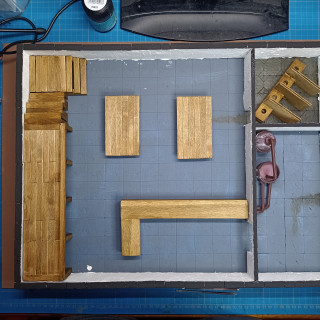
My initial idea was to use tiles from the Modular Dungeon Kickstarter but the area is 12 x 16 fields. So I would need 192 tiles. And I only had approximately 120 left. But since that would also have gotten *really* heavy I opted for a mixed solution. Kitchen and “the restrooms” would get each a set of tiles and the main room would be made from XPS. The Modular Dungeon tiles are made from stewalin (a synthetic, plastic-enriched moulding compound with excellent casting precision)
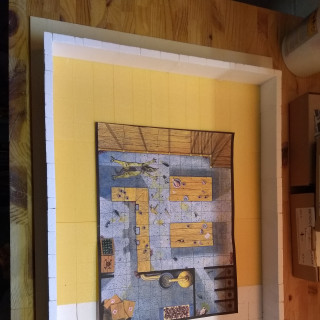
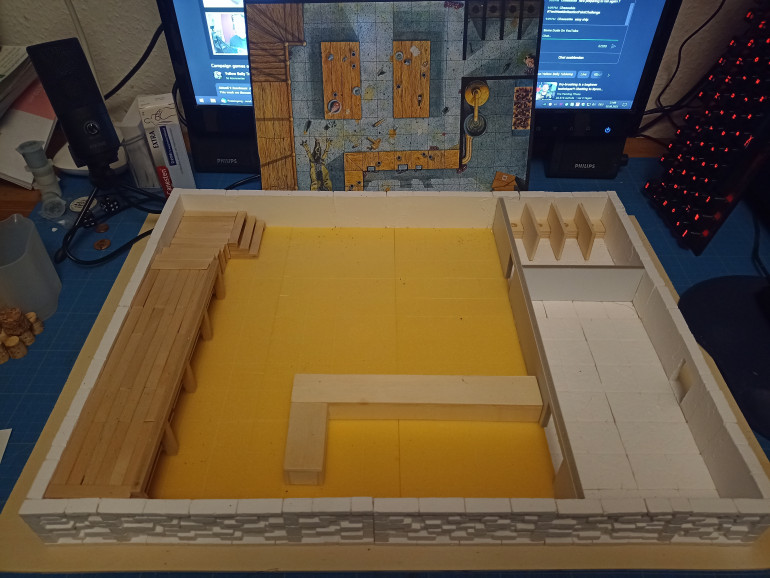
Thanks to the glory of my hot wire cutter THERMOCUT 230/E and the Guider Pro 2.0 I made three 120x360x5 parts and glued them down. After that settled I glued the tiles and cut a grit into the glued down XPS.
And now everything has to dry.
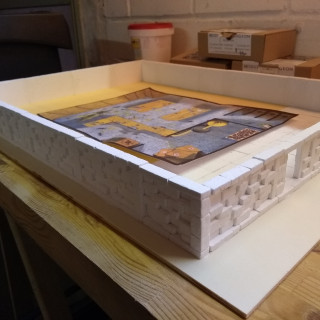
To build a wall!
With the last miniatures from Star Wars Legion build and painted and “A Plague Tale: Innocence” finished I now can build some more.
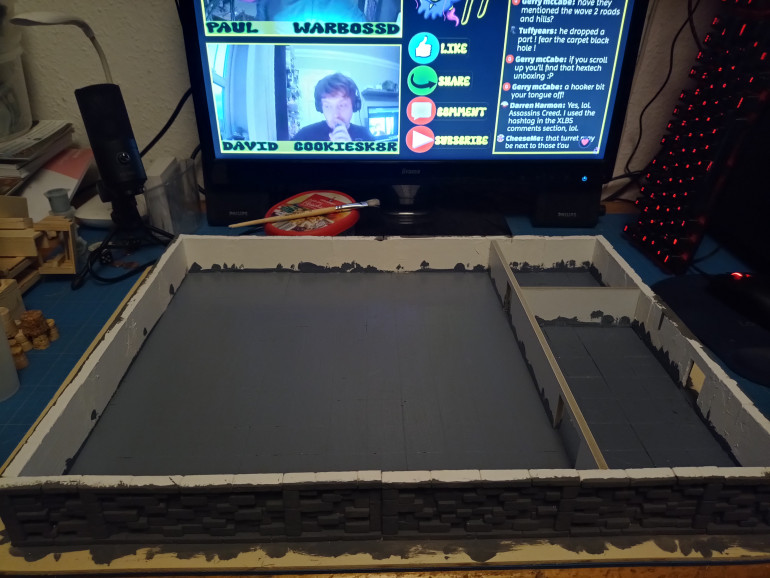
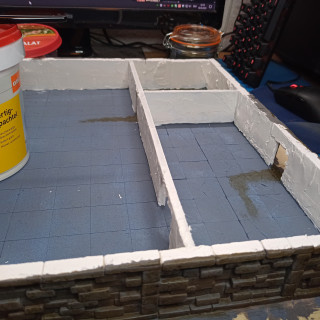
The walls got up fast, I slapped on some spackle and now comes the worst part. Wait for it to dry. Let’s look at glue and spackel dry together!
Pressing issues...
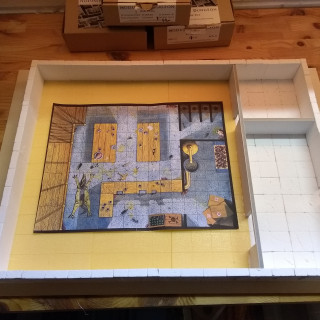
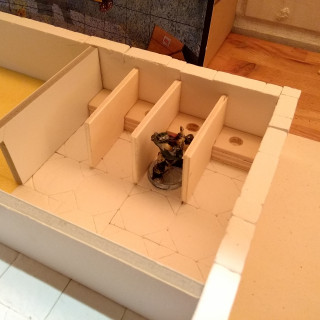
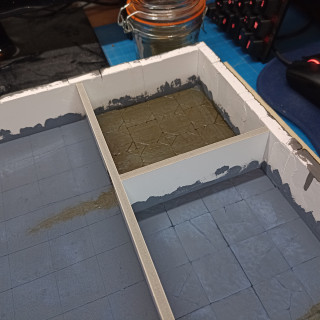
Even orks have their needs… a kitchen for food and latrines for “after beer and food”.
Community input needed!
So I’m at the stage where I need to get the stairs build. Since the original plan is 2D only I’m indecisive on how to build the stairs.
Option 1:
Make a XPS core and glue wood on it. Pro: sturdy, easy and keeps the room in the 2D playable area. Con: doesn’t look so good.
Option 2:
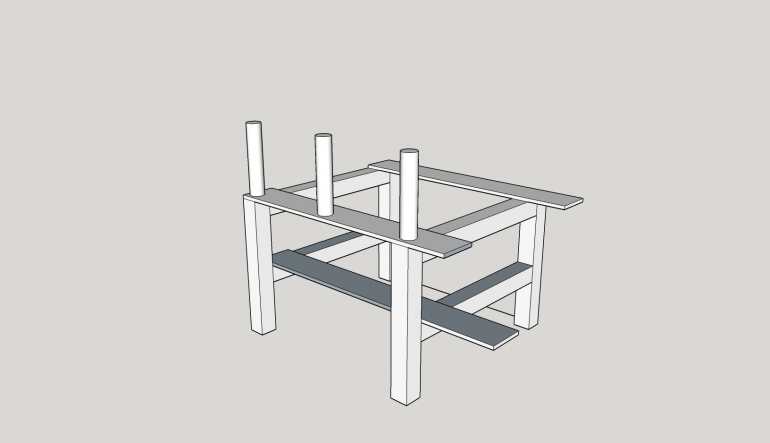
Use 4x4mm wood to construct a substructure and build the stairs on top of that. Pro: looks great, can leave space to put miniatures under the stairs. Con: fiddly to build
Option 3:
Don’t build stairs at all, add another door. Pro: least amount of work. Con: would be the original plan.
So what do you lot think? Any ideas? What would you prefer? Please leave a comment.
Possible stair prototype
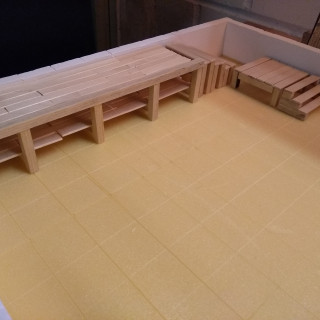
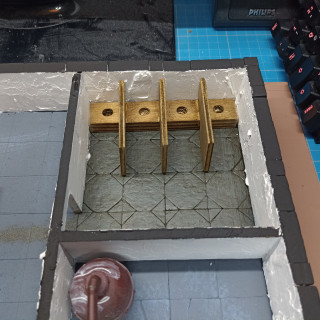
Maybe I will do stairs with shelves below. That blocks the tiles beneath the stairway and if it goes terribly wrong then there is no one to be blamed “but my shelves” (bad Sean Connery pun here)
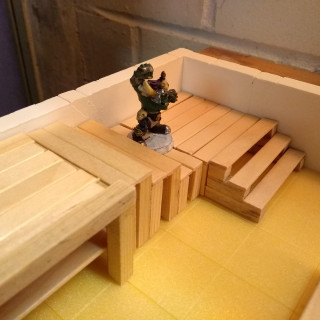
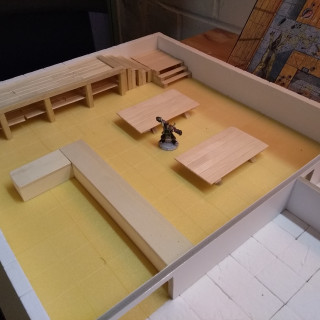
Stairway... to heaaaven....
Or hell. Took my almost 4 hours. But now it’s done. At least the stairway.
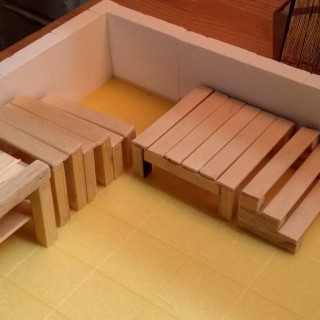
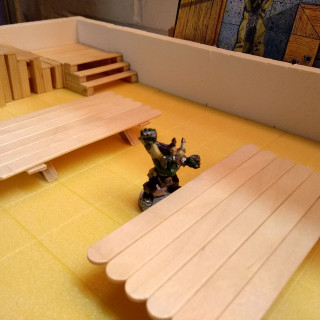
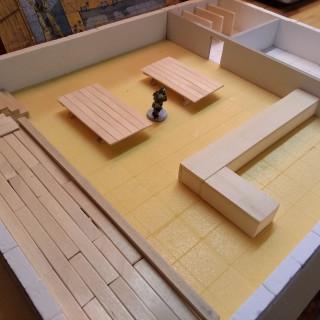
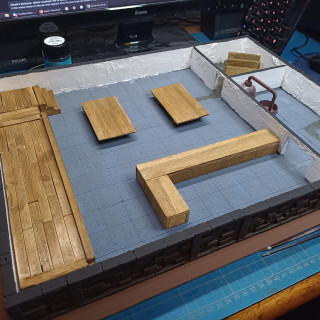
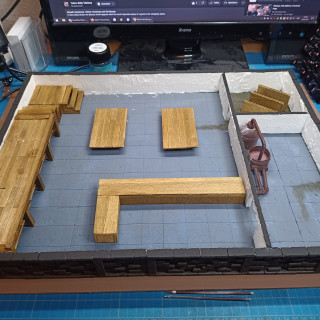
Tables have turned... up.
I think the round bits will have to go.
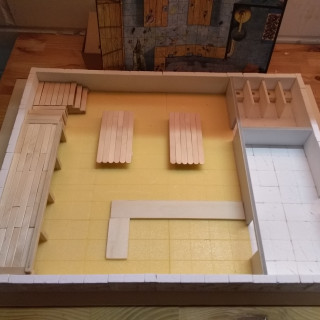
First one at the bar
So, just to see how big it all is I put an old Blood Bowl Ork into the thing. And he fits in the toilets. Yeah!
But, as mentioned, the tables needed some reworking. Plus the bar is now open!
You are the choosen one
Close to 9pm on July 31st.
I now declare the poll on my YouTube community closed and this here project is what was chosen.
You don’t know what I’m talking about? You could ask @brennon or watch this video
Progress
Though life has thrown literal spanners into my gears I did manage to get some progress done!
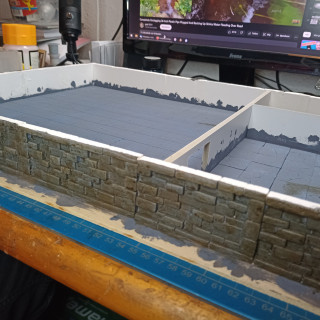
Some more paint and dry brushing, a DIY brown wash and filler for the walls to make them less flat.
Adding the DIY wash to the plain bright wood furniture really made a difference.
And adding filler to the wall also made a difference. The stall didn’t fit. Sandpaper to the rescue!
So far not to bad if I may say so myself.
Next up: static grass and stuff
Prepare your Angus!
Sorry but there won’t be much of description. It’s washes, static grass and glue from here on. You have been warned!
And DONE!
Enjoy this short video with a little fly by at the end! Thanks @brennon for being a good sport!


