Adventures in Burrows & Badgers
Recommendations: 243
About the Project
My adventures with Burrows & Badgers, the anthropomorphic fantasy skirmish game that is basically set in all my childhood favourite cartoons. How could I resist?
Related Game: Burrows & Badgers
Related Company: Oathsworn Miniatures
Related Genre: Fantasy
This Project is Active
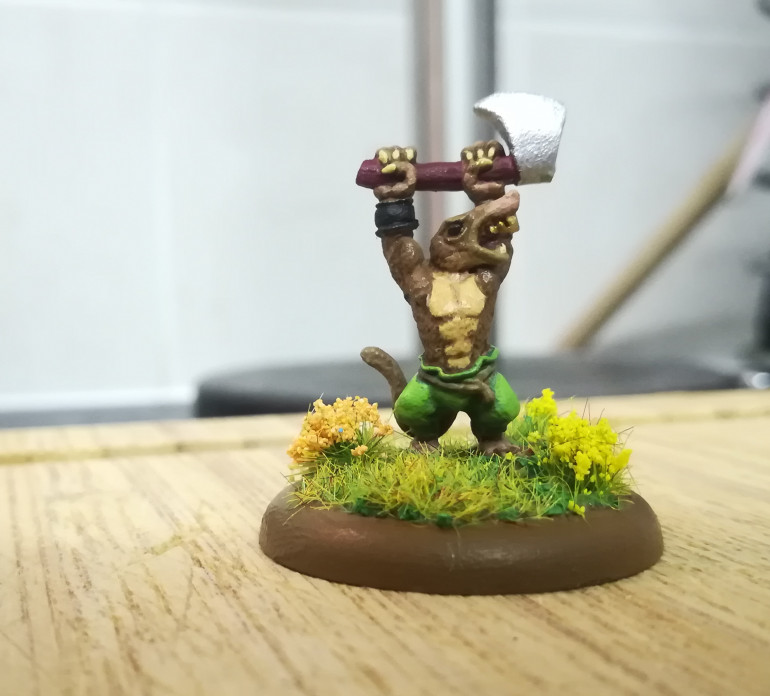
Look out, it's Shredder Steve!
Shredder Steve is a bit annoyed. Not only has he been ordered to put on his regulation trousers by Auntie Claws but he got up too late and missed breakfast.
Fairly simple paint job on this one, I’ll very likely go back to him for a bit of highlighting and maybe some drybrushing on the fur. I discovered that almost all of my paintbrushes are knackered into an L-shaped fork so I didn’t want to push my luck any further.
It’s my first time using a brown undercoat instead of the normal black and it has been distinctly OK, the army painter spray I have has a much longer range than my citadel ones do so it was a bit easy to accidentally lay it on thick – you can see the rough finish on the axe blade especially.
It’s been a while but I’ve made some new friends who have jumped into the game with both feet so it’s new warband and impending campaign time!
Caught!
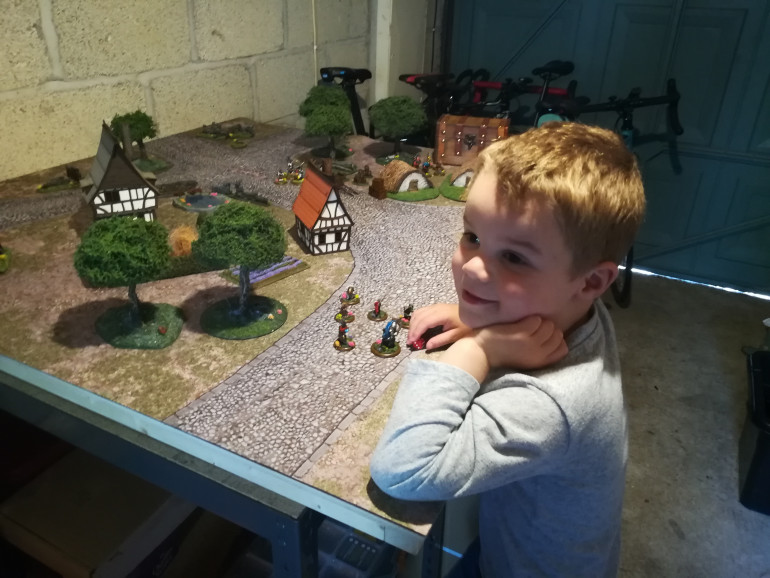
I snuck off into the garage to check on some bits of foam and their PVA when my boys arrived home suddenly.
In they rushed! I was busted playing with secret daddy toys.
Cries of “what have you got there? Can I see?” echoed through my head as visions of crushed terrain and mangled white metal filled my mind’s eye.
I showed my eldest what I was doing, gluing some abstract pink foam shapes together, and proudly told him “daddy’s making a house!”
The obvious confusion playing on my son’s face was deflating to see, surely it at least looks house-shaped?
“Can I help?” came the question.
How to get out of this? There’s not really anything at the moment that he can help with, he’s only 4 so I’ll probably get in trouble if I hand him a knife and say “cut out 1500 foam bricks, I want to build a tower.”
“To hell with it,” I thought, “he’ll be alright I’m sure”
To much protest I kicked him out of the garage with the promise that I would fetch him shortly and somehow managed to tidy everything up.
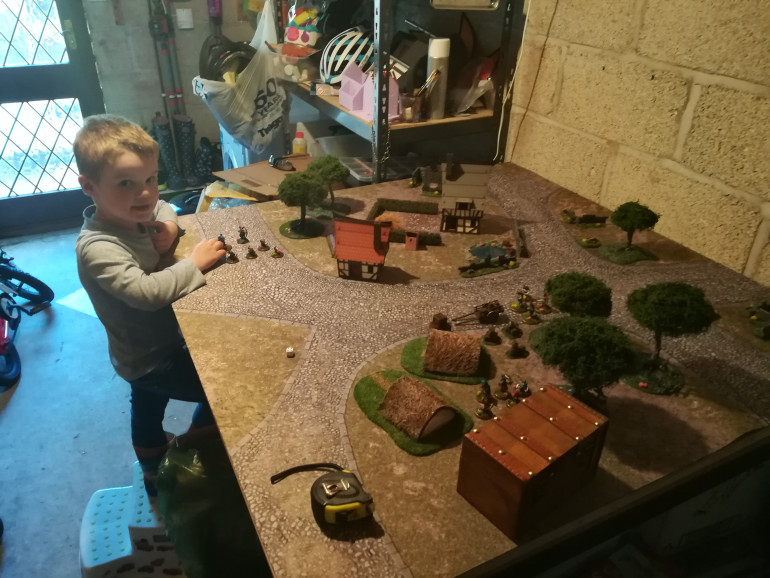
After he rejoined me I further made his day by opening box after box of toys (terrain) and a case of models to play with. (“Can I hold it? What is it?”)
I let him see and hold them and to his credit he only dropped one (poor stoat now has a flat spot on his hammer) and he quickly learned his lesson to look at them over the table instead of bringing them to himself.
We played a couple of short games of “roll better than me to push me over” and “roll six to shoot someone and knock them over” which, naturally, he easily won with his loaded dice. He was also pretty good with not insisting on doing the actual knocking over.
Afterwards he said “I love you for letting me play with your toys” which I’ll take any day of the week. It was fun!
I’ve got some paper terrain to build and some mini gangs to paint which will let him play with less important models instead of my precious ones!
Otter Mercenary WIP
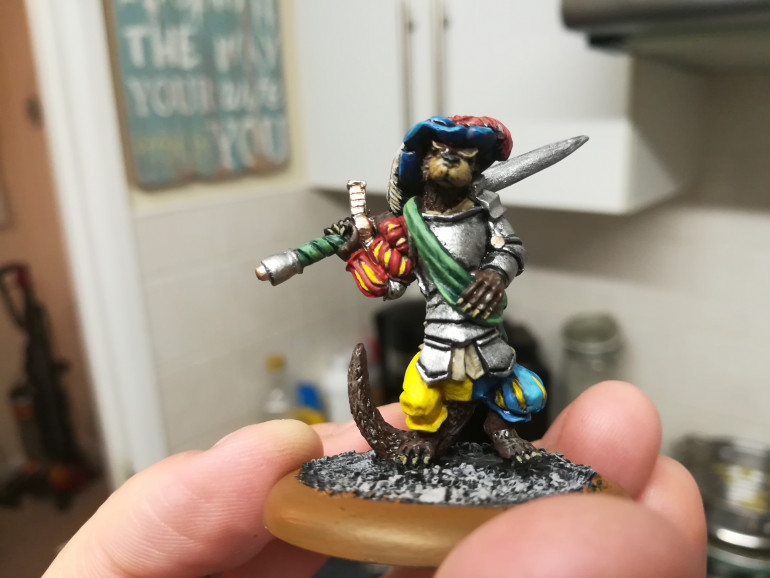
I’ve loved this mini since I first saw the range, but I was suitably intimidated by the potential so I avoided him for a while.
Now I’ve amassed paint and a bit of experience I thought I’d give the Landsknecht-inspired Otter Mercenary a go.
There’s plenty to tidy up here, I ended up accidentally painting late in the day under a yellowy rubbish light so it was hard to see by the time I stopped. I’m happy with how he’s turning out though!
Bright colours have been the name of the game with my Oathsworn minis and this is a perfect one to take that up a notch.
I’ll bust out the really fine brush to try and fix up the yellow in the recesses of the pleated cloth, it’s proving tricky to get a nice clean line between them and because there’s a big contrast there any mistakes are extra visible.
Overall though a really fun mini and one I can’t wait to see on the table!
Leonard the Hare Barkeep
A short entry this time around, it took me a while to find some concentration but then I got flowing all of a suddden and didn’t want to stop painting!
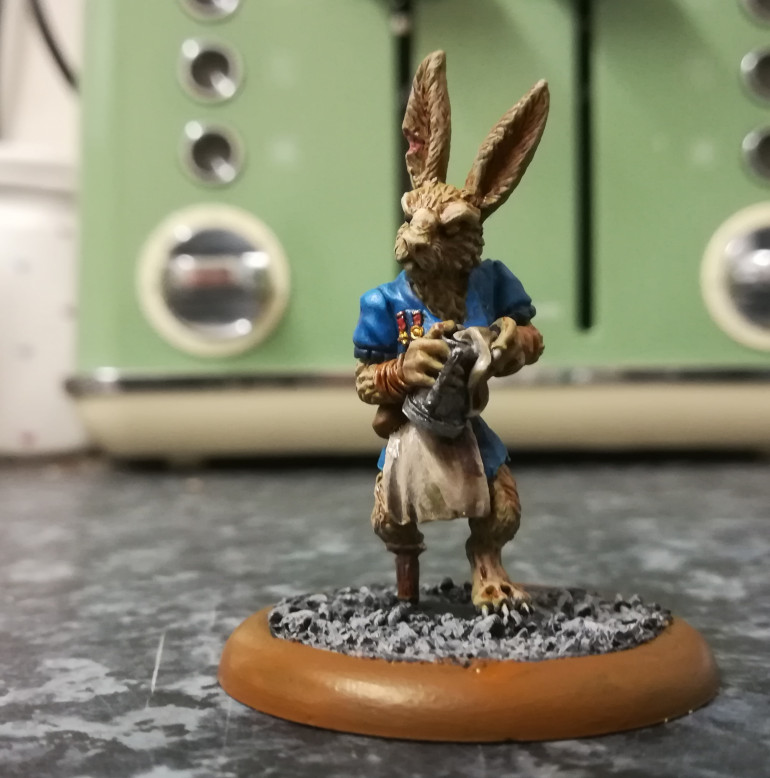
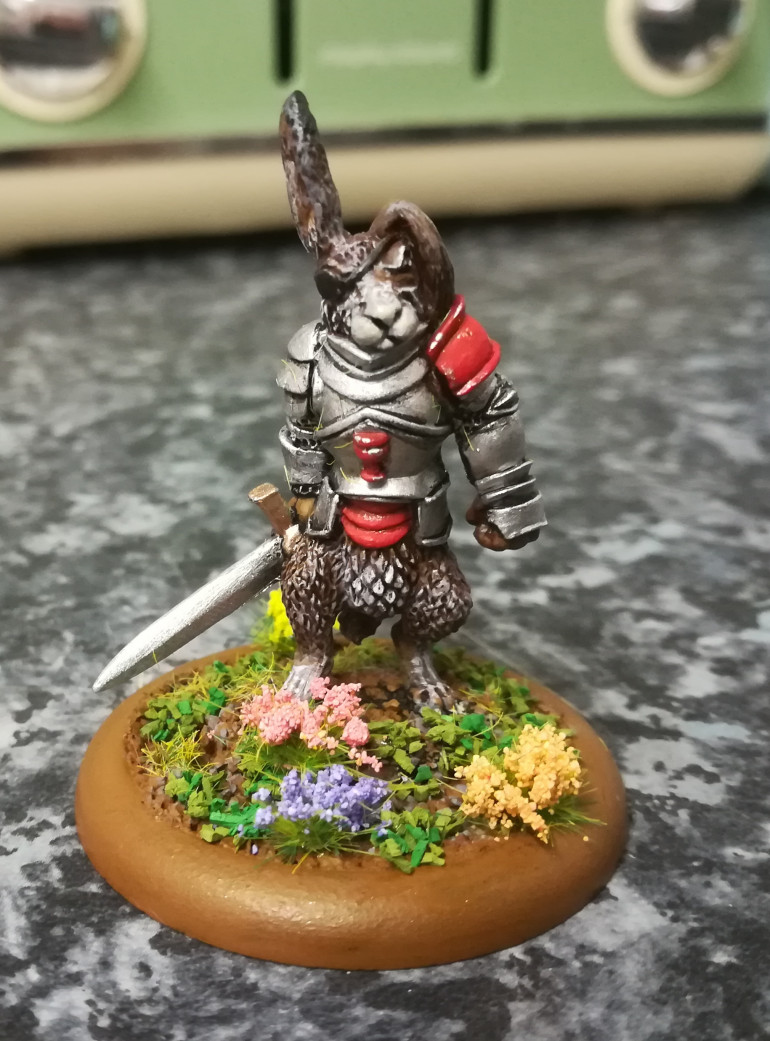
Leonard is a battered old veteran who’s mates with Montgomery and married to Auntie Claws. He doesn’t look particularly happy about either of those facts!
This mini has bags of interesting little details without being crowded. He’s quickly become my favourite!
In terms of pallette I kept a fairly simple colour scheme on him, but went for a more tan base to work the fur up from. Top layer highlight is the elf flesh drybrush colour which I wondered might be a bit pink but the tone is really nice on it.
His scarred ear is a bit of khorne red with some cadian fleshtone. I wanted it to stand out a bit against the tan fur.
Some of the brushwork on his tunic tucked in under his chin was quite difficult to find the right angle for but I didn’t mind it being a little darker and less well layered there as it would be a shadowed part in real life anyway.
To add a bit of extra interest I painted one of his eyes as a false eye made of brass (is that even a good idea? a metal false eye?) so he really has been in the wars.
E. Stoatbart Haulage Company (Part 2)
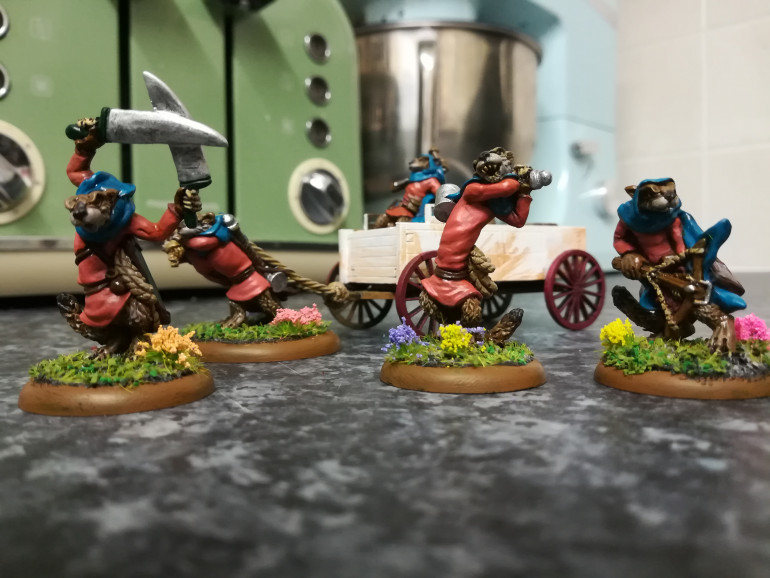
I picked up the stoats where I left off; looking a bit paint-light and with suspiciously red tunics.
First step was to apply some orange as a layer but this turned out to be a heavy contrast from the red which didn’t work very well.
To remedy that I applied the orange as s fresh layer with only the very deepest recesses showing any of the red base underneath. Then a casadora yellow wash over that. I used it more like a glaze and it warmed the orange nicely.
Since I decided in my infinite wisdom to paint all six at once I avoided the fur until a bit later which made for quite the bizarre order of operations. I ended up painting the clothes then the metals then the darker leathers then the fur and wood.
I’ve really enjoyed painting this set and hopefully we’ll have a go at the included scenario this week!
Hang on wait, the metal then the wood underneath it?
Yeah… I didn’t think that through.
As an observation I used a lot of reikland flesh shade on these minis and it’s so much less intense than my bottle of flesh wash that is still going strong.
Many a time with the flesh wash I’ve annihilated layers where the pigment sticks to everything rather than settling in the details, making the whole thing brown, but the new wash works really nicely.
E. Stoatbart Haulage Company (Part 1)
I picked up the lovely Stoatbart haulage set for Burrows and Badgers as soon as it was available on the Oathsworn webstore straight after Salute 2019.
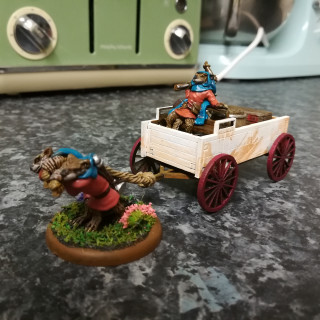
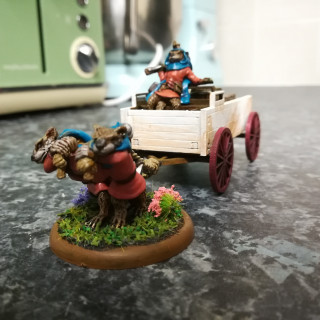
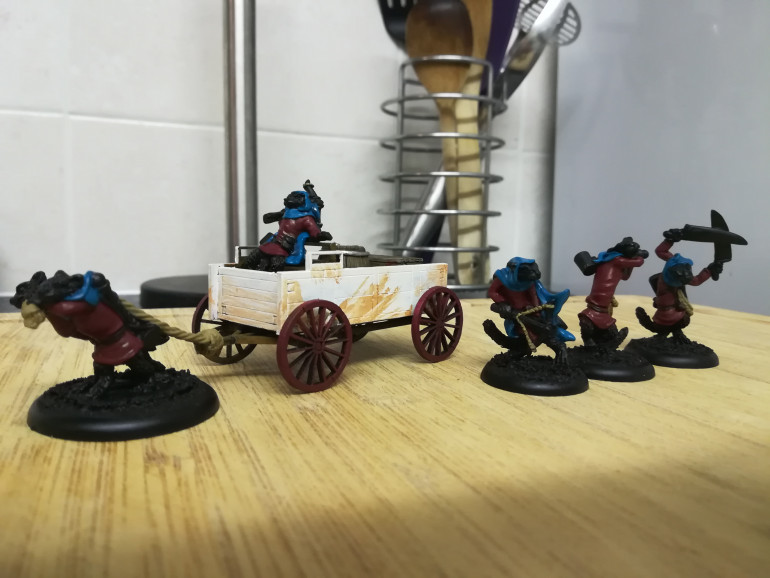
I’m a sucker for a bundled scenario and this one looks a lot of fun. The set consists of three stoats in two positions; riding or pulling the wagon and free-standing.
In the scenario they can come away or return to the wagon as the defending player chooses so there’s a certain amount of care needed in ensuring the models have matching paint schemes.
Since they’re a haulage company it’s also a nice way to give them matching clothes and cloaks as if they’re in uniform.
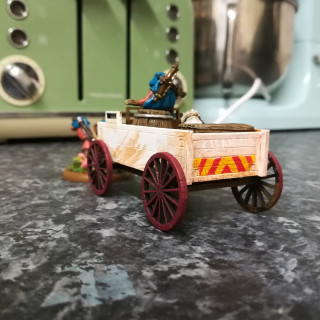
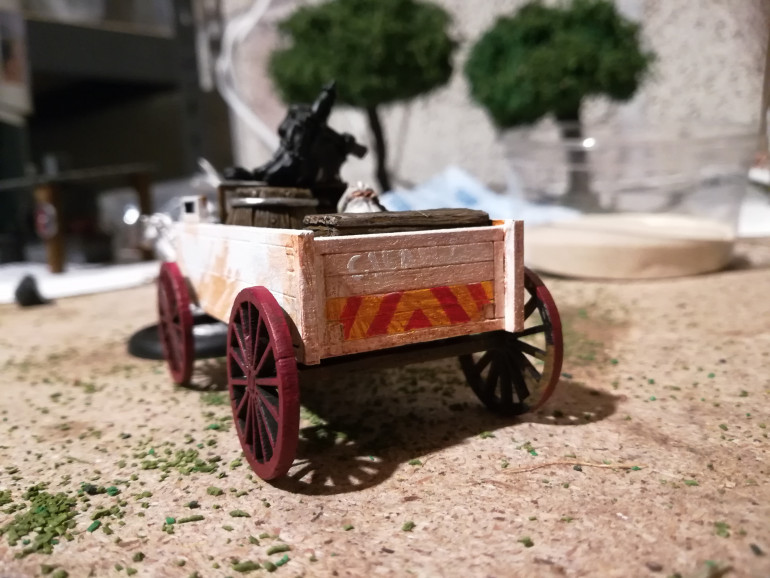
White van stoats
Because it amuses me I’ve decided to paint them up as “white van stoats” with customary warning chevrons and dirt covering. If I can make it look OK I’ll do them a crumpled pile of parking fines in the passenger footwell too.
One of the things I like about Burrows & Badgers is that a little bit of anachronism is amusing and helps keep a light-hearted feel. Maybe I’m just chanelling my inner Pratchett but it feels right.
For the uniforms I just picked up some vallejo turqouise that I wanted to try out. I’m not sure if I’ve mixed it well enough, it has a bit of a weird waxy looking finish that I’m not crazy about, but it seems OK otherwise.
I used all my powers of colour theory and just looked at a colour wheel and found the complement for that turqoise which is a red-orange apparently.
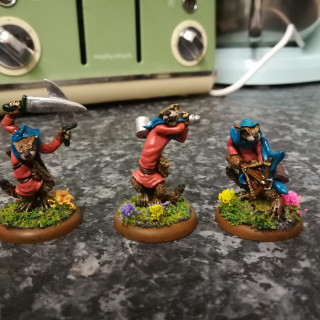
Armed with my two main colours the Stoatbart uniform is a lovely turqouise hood and cloak with a red-orange tunic.
Pic above is WIP and I want to bring the red up to the orange with a bit of Squig Orange.
Fur-wise they’ll be as close as I can get to the natural british stoat colouring; lightish brown fur, black nose and tip of the tail with a white underside.
Now I have made my life a bit difficult because I prep my bases before priming, which means I had to decide whether to glue the towing stoats (who share a base) together before I painted them. The usual issue here is that you end up with weird unpainted bits on the inside that you don’t notice for ages then drive you crazy. I decided to stick with the established method so I didn’t have to try and brush on a primer to the base after the fact – I use the grit to mask the integrated base as well as I can.
I’m just taking my time and doing a bit of long-distance brushwork to see if I can at least hide my crimes a bit, but we’ll see how they turn out.
I’m hoping to finish up the figures tonight so we’ll see how they turn out! I’m looking forward to playing the scenario with my wife (I think I’ll be the defender, I need the numerical superiority over that damned wildcat!)
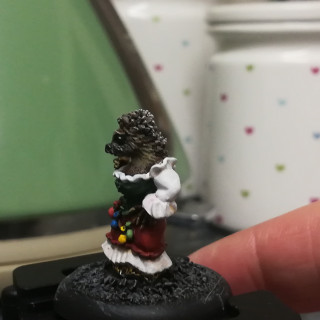
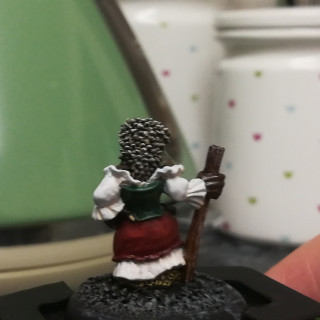
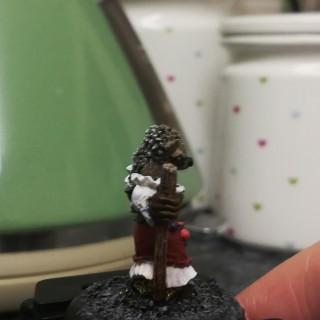
Auntie Claws
A step-by-step of dubious quality
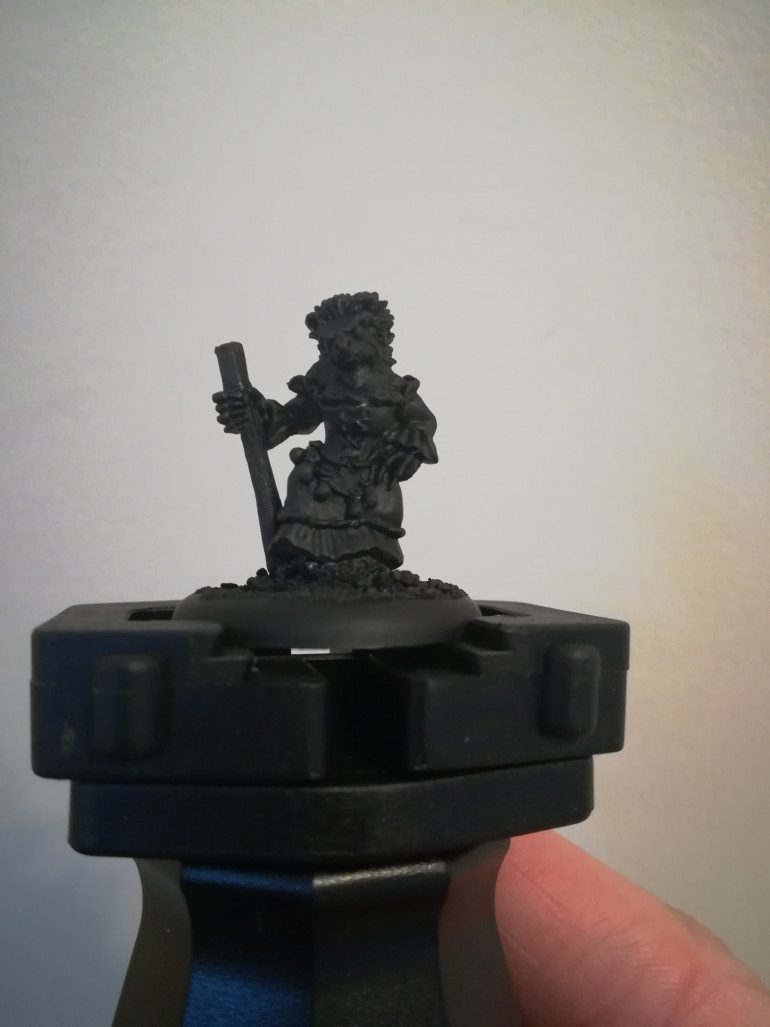
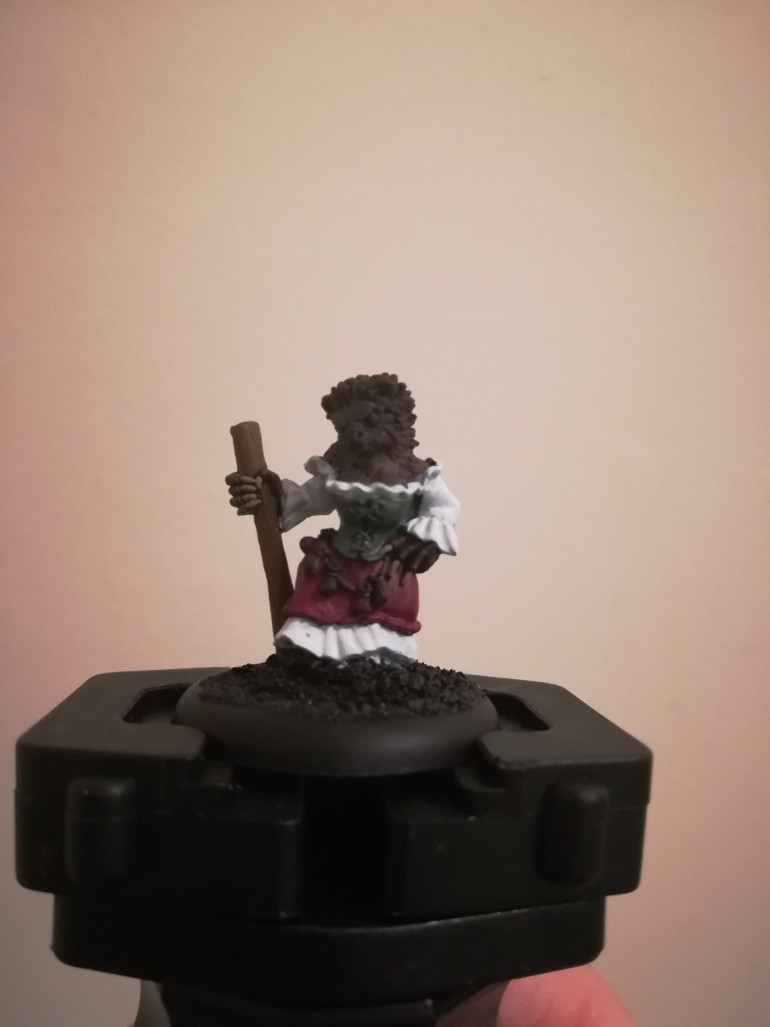
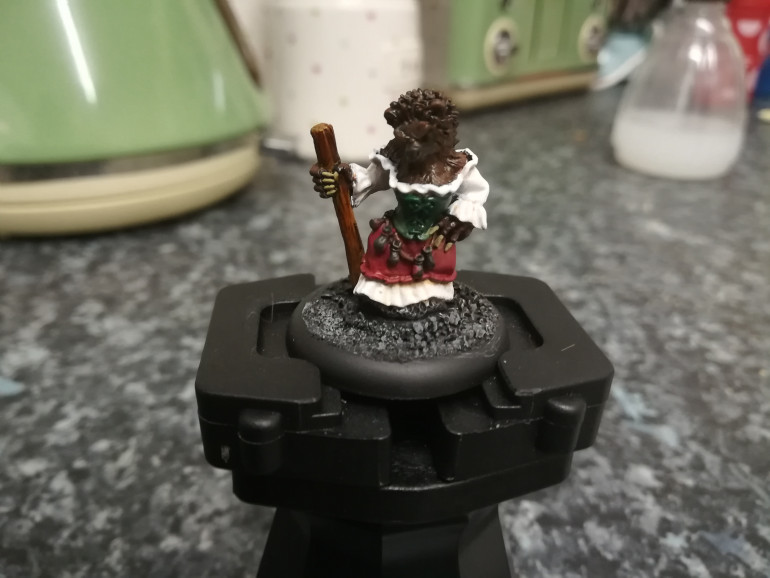
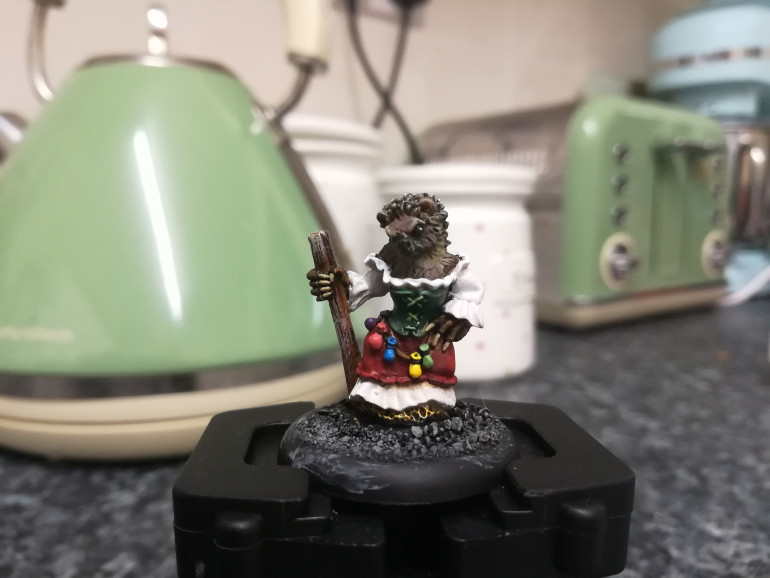
Since this is the first mini I’ve painted since I started this project log I thought it was only fair to try and do a step-by-step on my process of painting up the hedgehog alchemist from Oathsworn.
Named by Jeff on the Burrows and Badgers Facebook group (cheers!), Aunty Claws is a grumpy-looking hog with a big stick and a bigger dress on.
It’s a lovely sculpt. I did originally buy her as a replacement magic user but looking closer at the details on the model- a bit of chainmail poking out under the skirts, an angry expression and a sturdy-looking staff- has got me wondering whether she’d make quite a good hitter instead. My warband is certainly a bit light in the muscle department.
I’ll try to explain my process for the painting with accompanying photos. I’m afraid the lighting and my phone camera were both rubbish so hopefully the pictures won’t be too gruesome.
Priming
Pretty ordinary step here.
To prep the model I removed mold lines (very very few, mostly found by running my finger over the model and looking for sharp bits that shouldn’t be) missing one on the skirt, typical.
Next I glued down the integrated base onto the 30mm round base supplied – it’s one of the recessed ones so we can flatten it out somewhat with little effort.
Next a bit of PVA and some grit to finish the base.
Once that was all dry basecoated with the pretty bog standard GW black primer. I don’t have a wonderful set-up for priming so I did have to go back in with a brush and get some of the nooks with some Abaddon Black.
Base layers
I always start a mini by trying to block out the base colours for larger areas. Not only does this make me take time to really look at a sculpt and see details or edges I might miss but it also lets me preview my colour scheme!
I don’t brush it on particularly carefully but I do thin the paint to make sure I can get it to flow on nicely. After all, we’re trying to provide ourselves with a base on which we’re going to apply more colour.
When you apply this base layer, especially with the paint thinned, it may take two or three coats to get a good coverage, let the previous coat dry for a few mins before you come back to it to prevent introducting lumpy bristle marks!
For this step miniature I used:
- Ceramic White – controversial, more on this later
- Waaagh Green
- Khorne red
- Bestial Brown – Mournfang Brown these days
- Scorched Brown – Equivalent new shade is Rhinox Hide, I have loads of old paints that are still going strong.
Washes
Once the base layers are looking good with no obvious thin patches looking a bit dark I moved on to a quick wash over those areas.
I didn’t wash the white (yet!) because I wasn’t really sure what I was going to do here. I’d already gone in at max brightness so didn’t leave myself much room for manoeuvre. We’ll talk about that in a bit.
For the bodice and skirt I went for washes in the same hue as the layer, it helps further deepen the colours and helps to make them look a bit more natural.
You’ll want to play with the amount of wash on your bristles, everyone has accidentally flooded a miniature with a wash and had to quickly draw it back off using a bit of paper towel or a dry brush! Having said that if you do get a bit much on then wait a sec until the brush is clearing and come back and gently draw it out from where it’s pooling.
Since we’re going to layer up you can’t go too wrong, just avoid getting any of that wash on the white. It’ll show up ridiculously brightly and make you panic.
On this model the most effective wash was probably the brown, it settled nicely in the fur details and into the spines and brought a lot of the detail out.
The pictures aren’t wonderful but hopefully you can make out the difference.
Layers
Next step was to apply some layers to the model. This step seems like a big leap and maybe I should have stopped frantically painting to take more photos but we’ll muddle through!
Really though I only used two layer colours on the bodice, skirt and fur respectively.
Each colour had a thin layer of the base colour again to bring the higher and flatter points back up from the wash. Going back on with the same colour was a revelation to me when somebody suggested it; I always assumed I’d have to go to a lighter shade immediately.
Partly this takes off the sheen of a wash and allows you to bring the layer as close as you’d like to the washed area. For some models where you don’t want wash in anything but the deepest recesses a light swipe of the bristles can really work.
For this one I actually wanted the washes to play a big part in the colour so I used the base colours to bring up only the highest and flattest points of the clothing, being careful to avoid my precious white!
For the fur I tried to emulate the colour of a british hedgehog. They have a black nose and very dark fur that runs along the nose and cheeks a short distance. Then it blends into fairly light-coloured brown fur round the edges of the face.
After that hedgehog spines are acually very dark, near black, with beige/white tips to them which is basically a mini painters dream because a bit of dry brushing will sort those out with very little drama.
Once that first layer was appied on each I went back with a lighter shade.
For the bodice I went with Warboss Green which, if you know your GW greens, isn’t a particularly light colour for a top layer/highlight. This was intentional because I really wanted the white to stand out from a distance (mission accomplished, it looks ridiculous)
I very gently picked out the edges of the garment along with the stitching at the front (what do you even call that?) the effect is subtle but definitely visible.
For the skirt a tiny bit of Blood Red (Evil Sunz Scarlet now) just on the high points and again to pick out the edging on the hem. I really used a very small amount of this since I wanted the gradient but definitely not too much brightness.
The fur took a little bit longer: I wasn’t happy with the forehead ending up too bright, her pose means she’s forehead-first if you look at her on a tabletop so having a bright beacon of brown looking like a splodge didn’t work at all for me.
For the brighter parts of the fur I went in with a bit of the Bestial Brown to brighten the edges of the face plus a touch on the neck, chin and shoulders.
Once that was done I went for a very very light drybrush of Kislev flesh over the details of the face and the lighter parts of the fur. This brought up a bunch of hidden details and helped the black areas to look a bit more natural all in all. Pretty pleased!
For the spines I overbrushed (like drybrushing but a bit more soggy) the spines with the kislev flesh and then drybrushed the very tips with the Ceramic White.
I gave the staff a drybrush with Rakarth Flesh, which I also use to hit the gravel on the base so I did that too. I wanted the staff to look like it’s a bit aged and weathered, so to add a bit of beige/grey to the details gives it that look.
Once I was happy with those I picked out the leather strap for the pouches using the browns and then picked bright colours out of my collection for the pouches. These I didn’t layer or shade, just a single colour giving a pastel finish. Another chance to contrast the dark clothes and add a splash of colour.
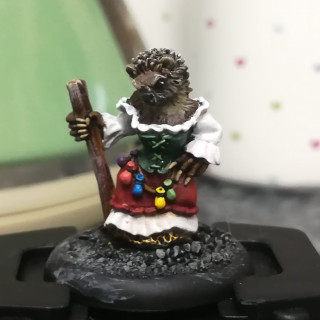
And done!
I wandered off for a bit, came back to look at my photos, saw loads of small errors and played around with things for a bit but ultimately decided I was happy with the result.
Now I mentioned that starting with the white was controversial. Basically I painted myself into a corner with that immediately where any colour or wash I added would look ‘wrong’ and that adding any shadow for contrast was instantly a nightmare.
I watered down some Flesh Wash (Reikland Fleshshade) to a ridiculous degree then applied just the tiniest most invisible amount to nooks and crannies, along seams and anywhere that might not stay that white for long.
Despite the tiniest bit it didn’t look quite right and I layered most of it back out with the white immediately. There are a very few grubby-looking spots that help break it up a little bit but I have to say I’m not disappointed at all, it’s just certainly a look! Next time I’ll start from an off white base coat and bring it up to white to go for a more ivory-looking finish I think.
Overall a lovely sculpt yet again with bags of character. I’ll be musing on who she is and what role she’ll take in my warband.
Bernard
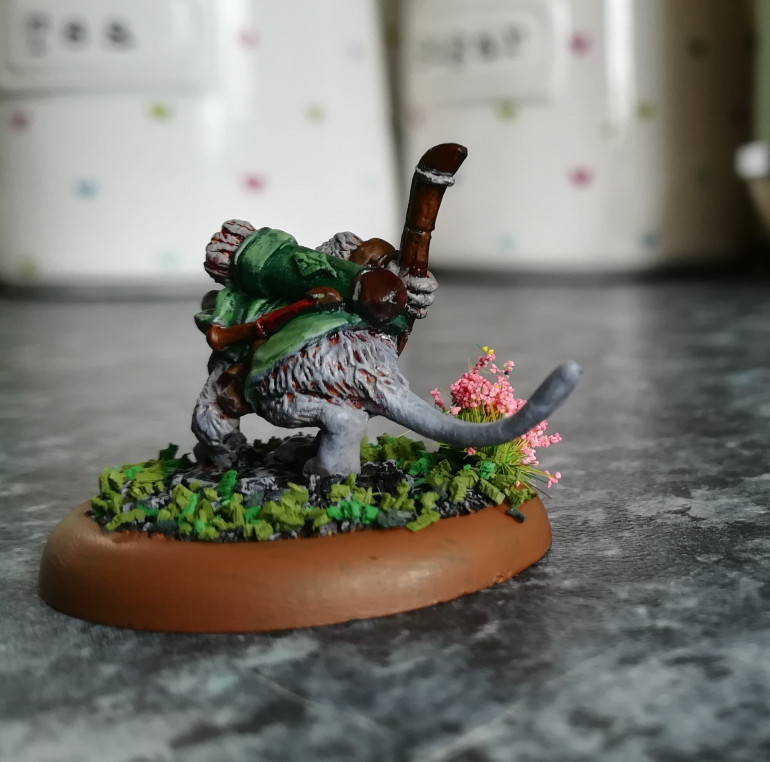
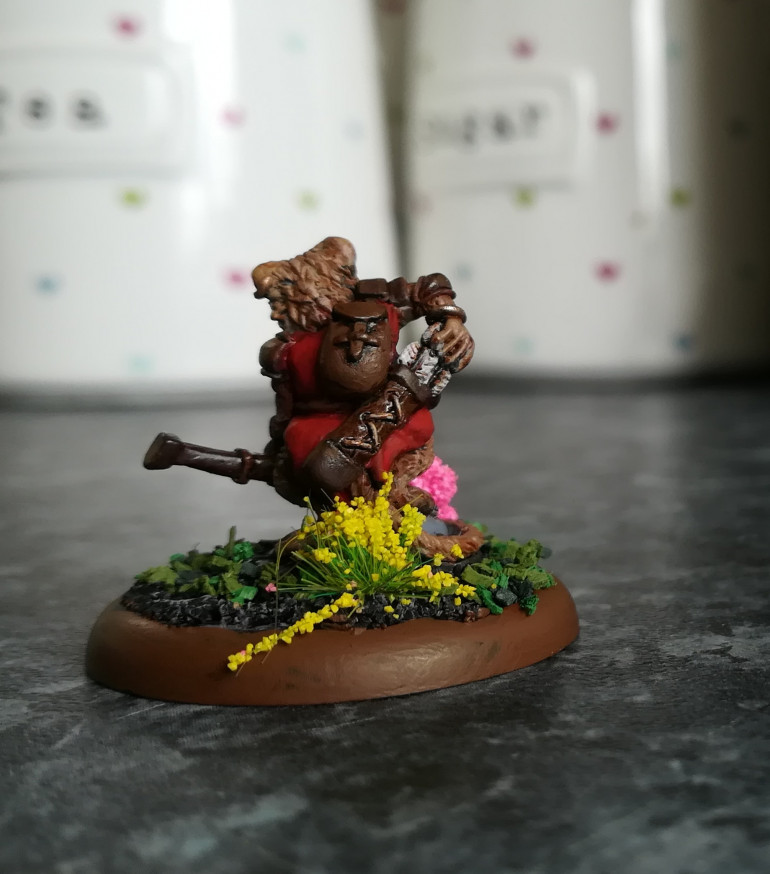
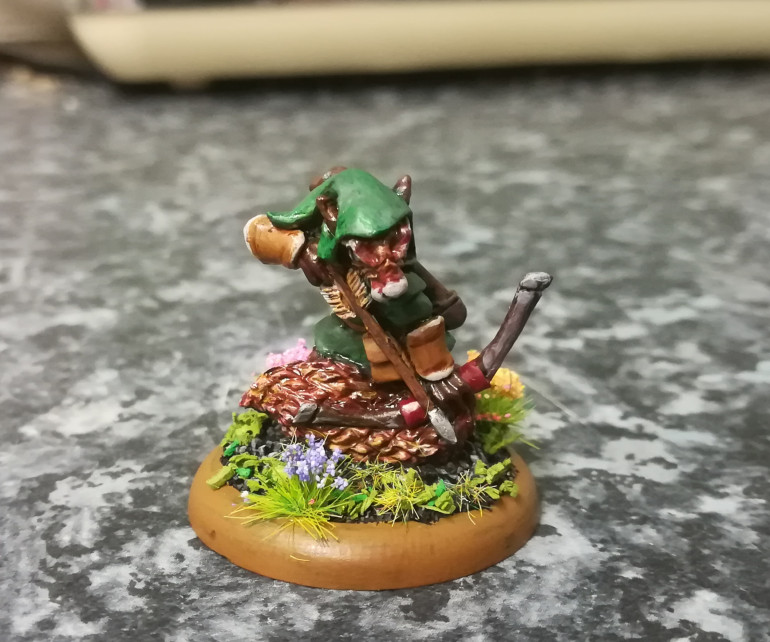
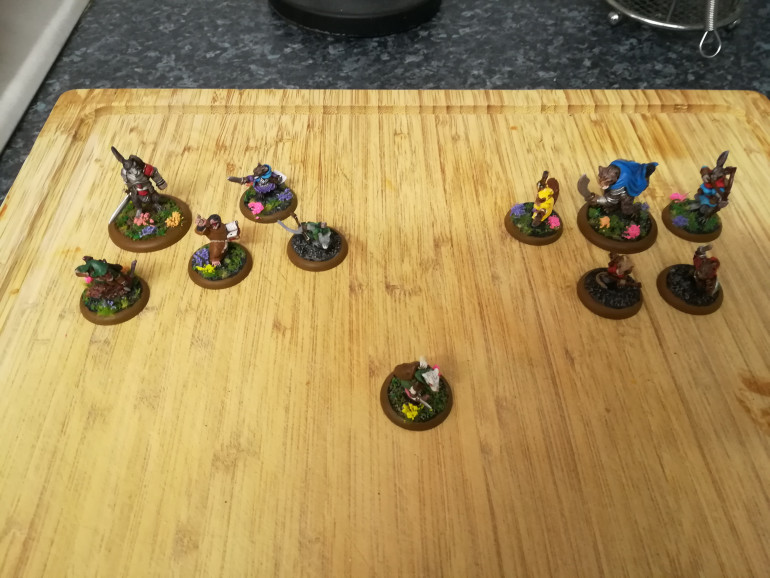
The counterpart to young Agatha, Bernard is (well, was) brought in to back up Fenton as my ranged contingent. He managed to put some good shooting into Sweep last game and allowed me to capture an objective after he charged in to finish the job.
To match Fenton, he has a more Disney’s robin hood colour scheme with the green tunic and ranger look. It suits the model’s pose too.
Sooty
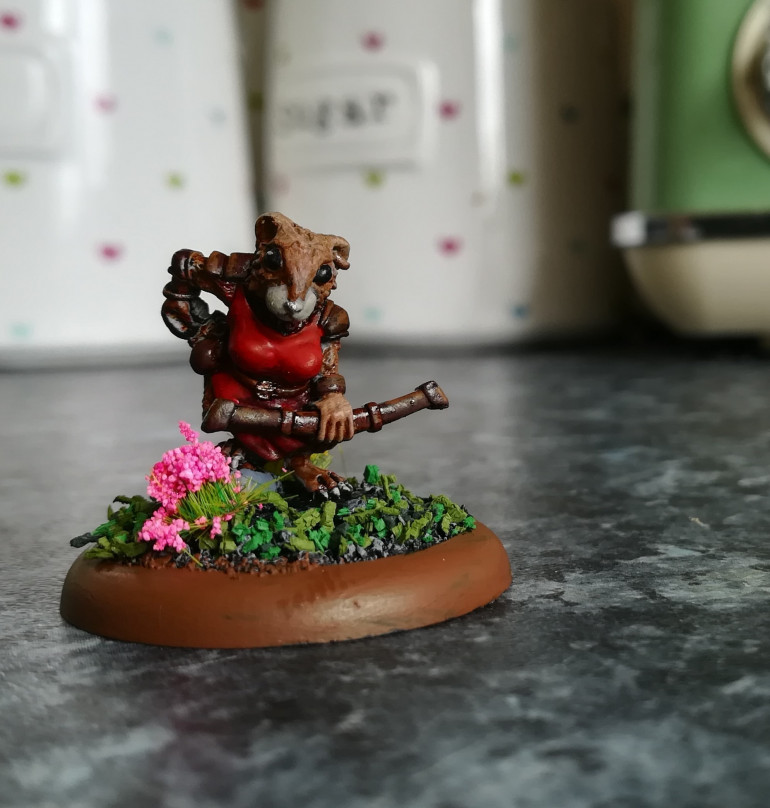
Sooty is the other mouse in my wife’s warband. She’s part of the ranged support and stuck the boot in with poor Fenton when nobody was looking.
She’s a dormouse so went for the fairer fur colour which was quite nice to do.
Her red tunic is intentionally darker than previous models; I liked the contrast between the fur and the tunic, plus somebody told me to do that.
We're mostly caught up
I realised I don’t have a proper photo for a couple of finished mice (Sooty and Bernard) so I will add those in the style of the previous entries.
Now we’re up to date though I’ll try to remember to take some photos as I paint up my next mini and hopefully show my process.
I’ve also got the wonderful Stoatbart set to finish, but since each character in that set has two minis (one pulling or riding the cart and one on foot) I’ll tackle those in pairs, so I’ll want a good run of sessions to ensure they are all to the same standard.
Since Fenton got himself killed by a dormouse last game I’ll be on the lookout for a new member of the warband. It’ll either be Fenton’s long-lost identical twin brother or a model I’m looking forward to painting: the hedgehog alchemist.
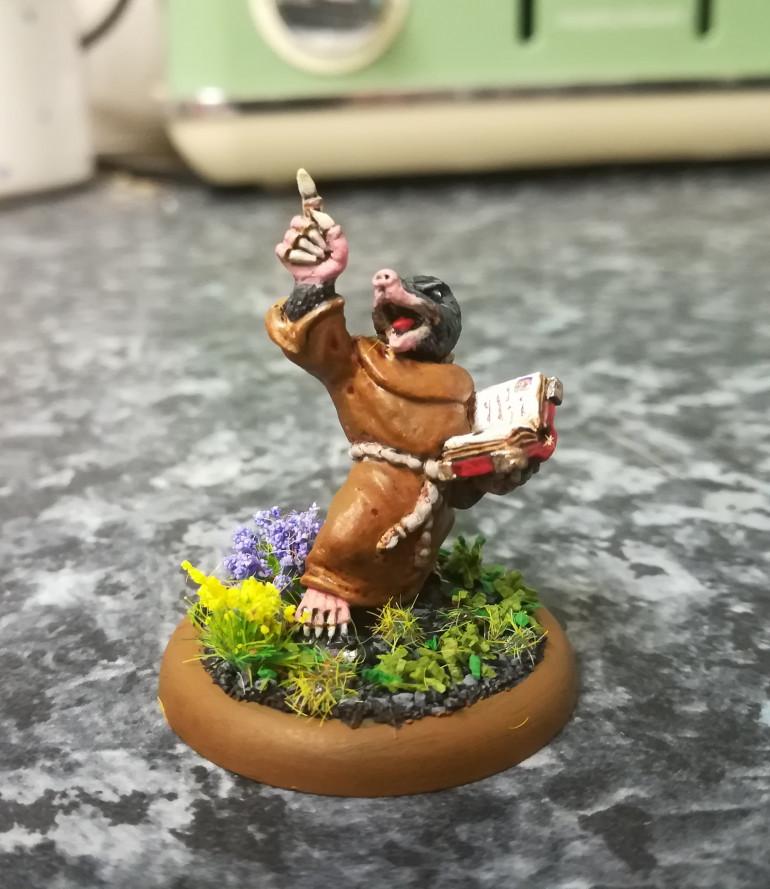
I like hedgehogs and inexplicably I didn’t get one the first time around, so I snuck one in originally to replace the useless Brother Weylon (I take it back!) but looks like I could use a bit more magic support for Montgomery.
Her model shows a few layers of clothing and a number of pouches for alchemy components so I think she’ll turn out to be quite a colourful model.
Horatio
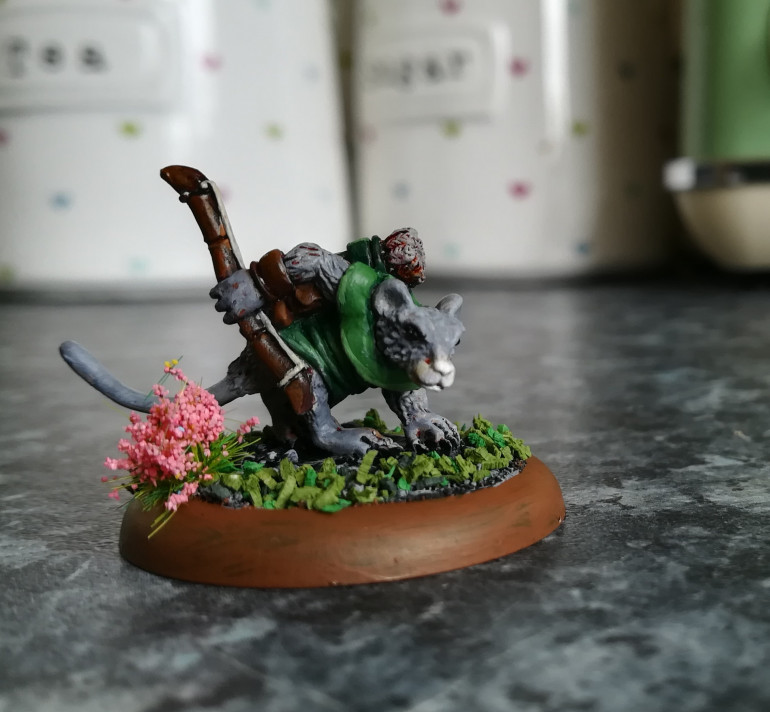
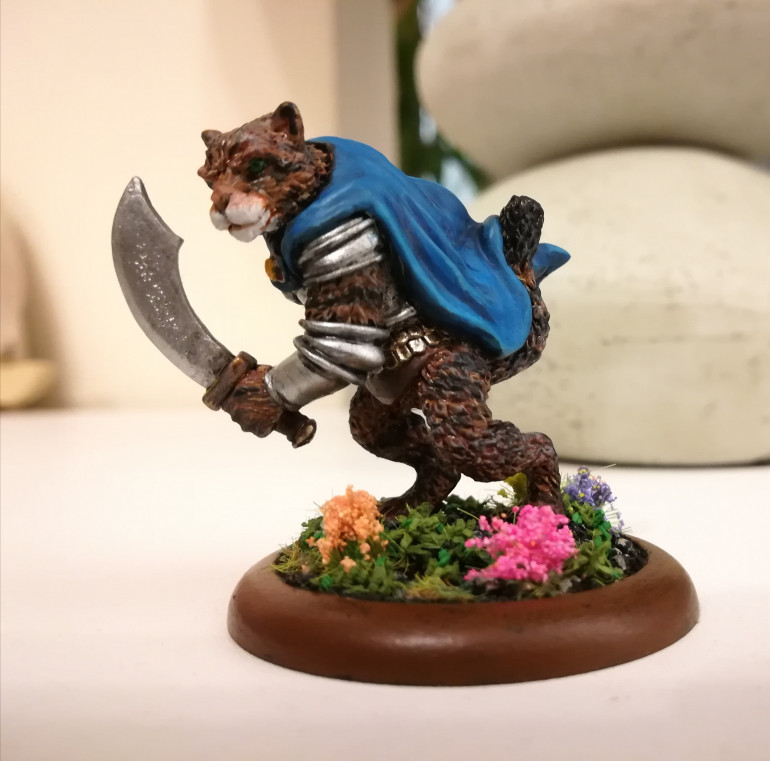
Horatio is a nightmare. He always beats up my warband and causes endless trouble wherever he goes. Therefore he’s a perfect leader for my wife’s warband (mistake…)
Still early on when I painted him so the cloak isn’t perfect. It’s got a lot of flatter areas so it’s harder to fake it with the layering. Turned out good in the end though.
The fur was surprisingly tricky. I tried to give him a good wildcat pattern (tabby!) but it ended up being a bit more abstract. The picture doesn’t show it but he actually has proper green cat eyes compared to all the other black eyes with white highlight on.
Sweep and Agatha: Mice extraordinaire
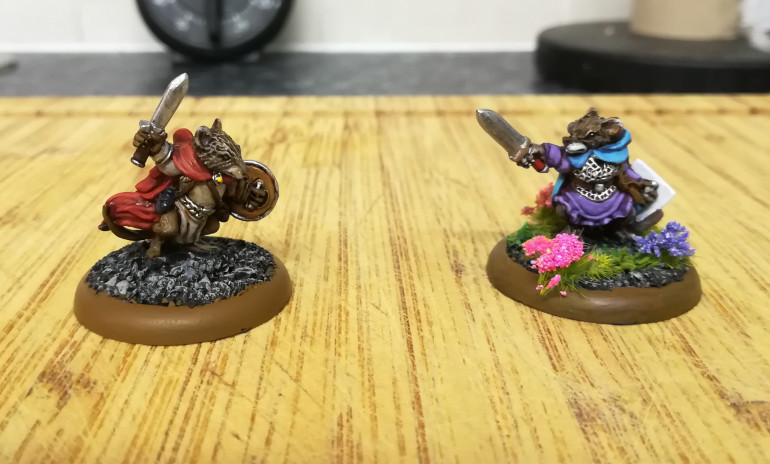
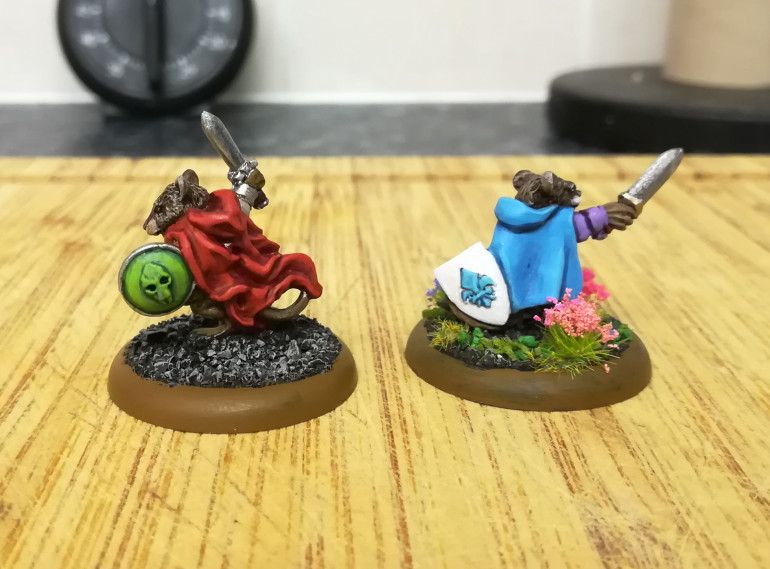
For these two (Sweep on the left and Agatha on the right) I focused on getting nice effects on their cloaks and shields. I’d been struggling a bit when models had larger flatter areas so a shield, while small, provided a good practice for that.
The mouse shieldmaiden is one of my favourites in the range so I especially wanted to paint her up well for my warband.
Pickle!
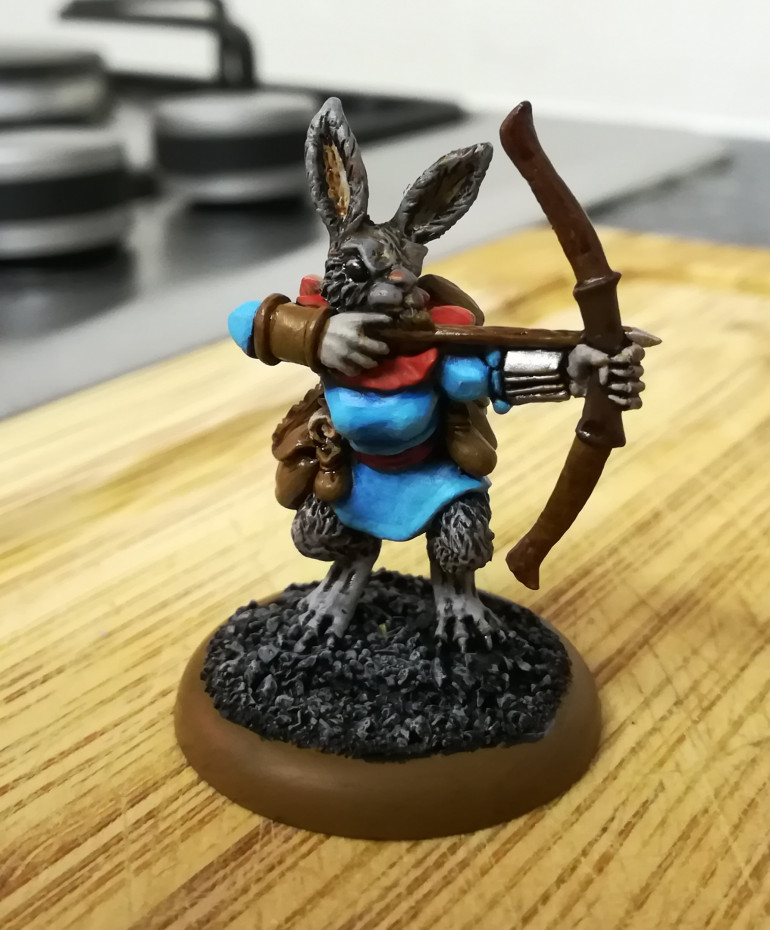
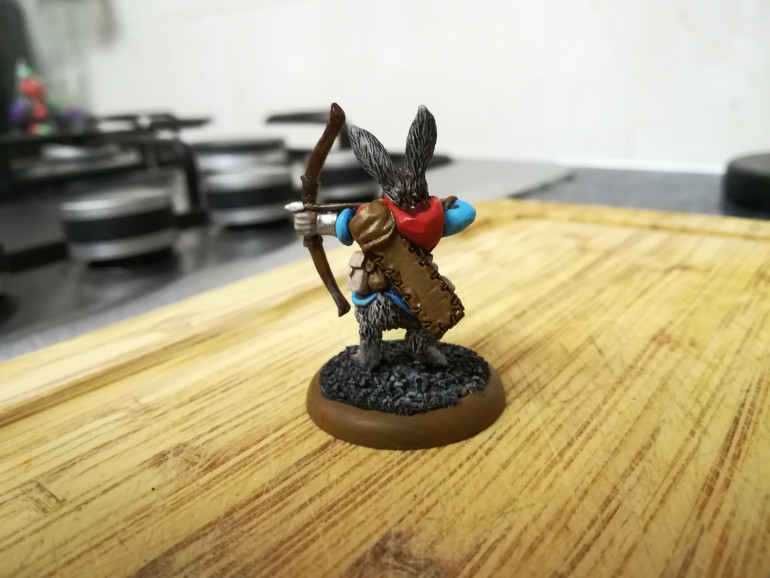
Shamelessly named after our own pet rabbit, Pickle is the second for my Wife’s warband.
Another go at nice bright blues on the clothes and establishing my style for B&B. On the tabletop she looks great! Visible from anywhere but not over the top.
Nutkin
My wife, being new to tabletop wargaming and also not as nerdy as me, took too long to name her animals. I did it for her.
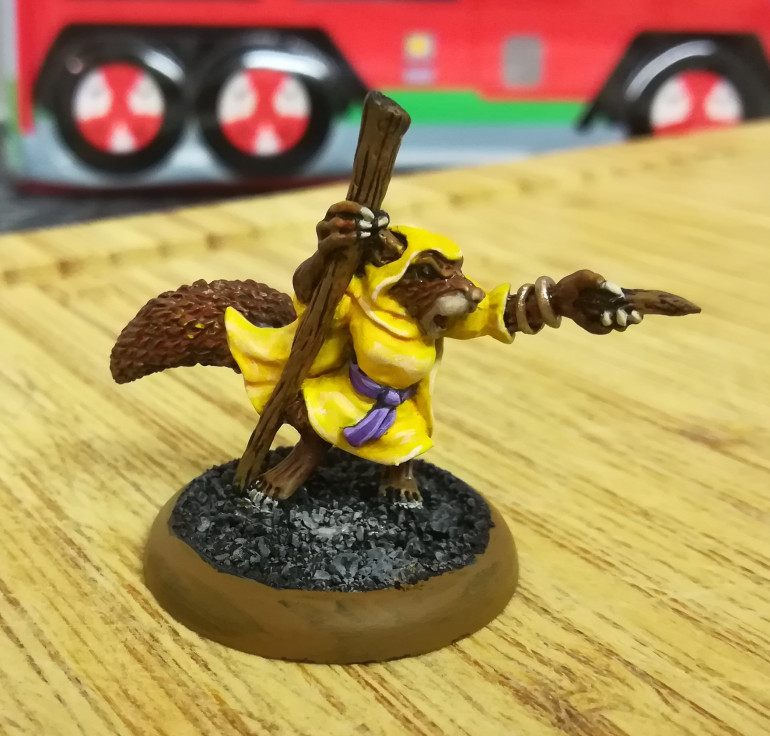
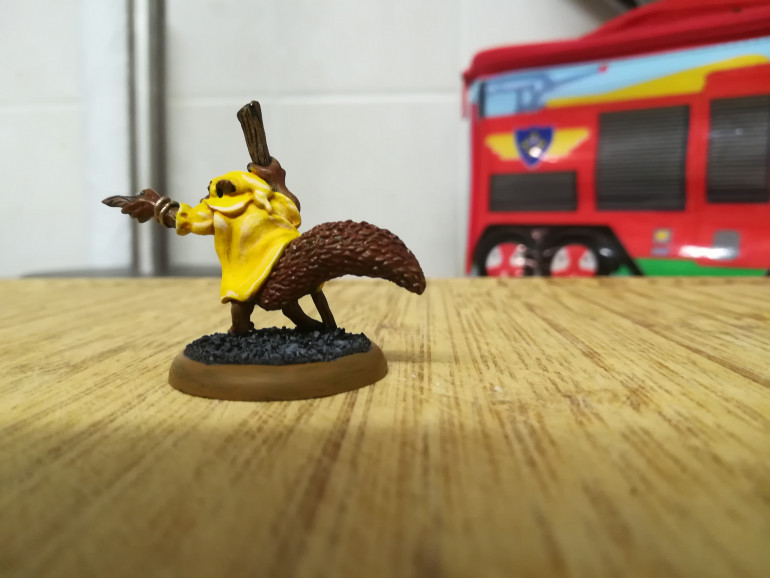
So presenting Nutkin, the squirrel witch.
I decided I was fed up with never having successfully painted yellow before so that was the challenge this time around. I’m happy with the results, it only took a few coats to get the base yellow on nicely (Yriel yellow I think?) and then highlighted up with a few shades and layers on top.
I went all the way to a white edge highlight to really bring it up nice and bright, it’s worked a treat!
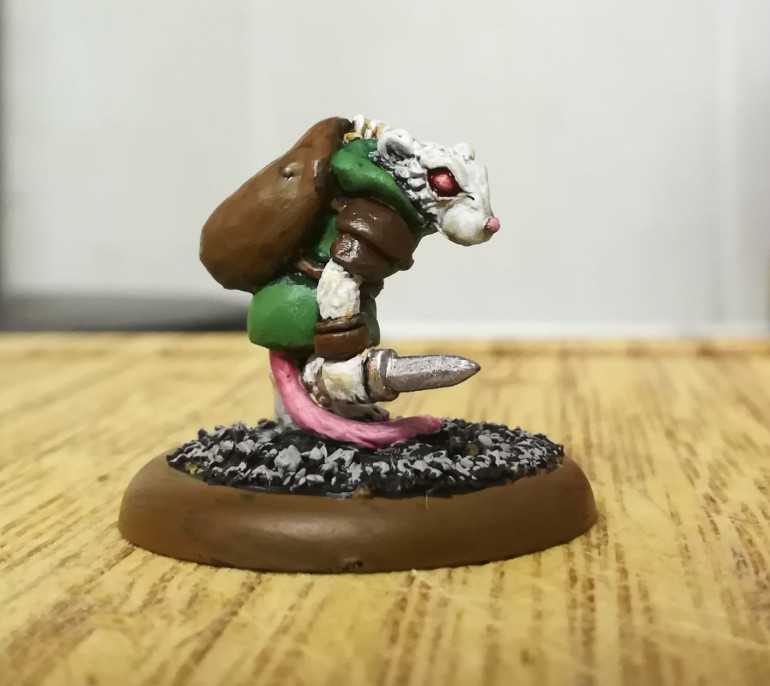
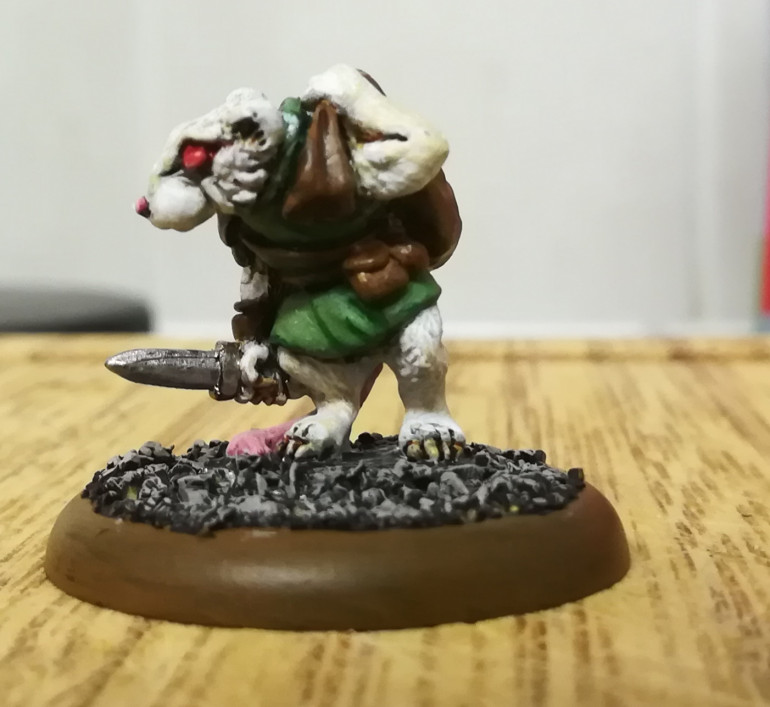
Gromley the mouse burglar
Gromley is a freebie if you buy the rules directly from Oathsworn (and comes with a scenario of his own!) so he doesn’t feature in either warband.
I decided to try making him an albino mouse to practice my whites. Not convinced (I’ve accidentally made him look simultaneously dirty and unfinished) but I was pleased with how his tunic and hood turned out. Sticking with the bright and summery theme means I can go quite bright on the layers without feeling like it looks daft.
Brother Waylon
Brother Waylon, the short-sighted spellcaster.
Over the span of two games he went from most useless to MVP. Most recently tunneled in to hold an objective on turn one and survived wound-free for the entire game, holding off a ferocious mouse.
As an aside; I’m loving the summer meadows grass and flowers basing (and terrain) scheme. The Kingdom of Northymbria has plenty of turmoil but that doesn’t stop it being (basically) the british countryside!
Fenton
Fenton (was!) the second in my warband. He utilises the Rock Steady skill to give him a bit of a move-and-shoot skillset. It worked really well until he got killed by a mouse called Sooty.
Painting a squirrel was surprisingly tricky, I didn’t really have any paints to make him more on the ginger side so he’s ended up kinda brown with a red wash. I did a better job on another squirrel later on.
Montgomery
Montgomery is the leader of my warband. He’s two days from retirement perpetually.
Unfortunately he gets battered every game but my warband is low on muscle so he has to get stuck in every time.
I thought about giving him a red suit of armour but decided against it and just went for a bit of a spot colour. I’ve since seen an excellent blue/red two-tone colour scheme on this model and I’m totally jealous I didn’t think of it first.
Roster-wise he’s got improved strike and block dice with a 2h weapon and the zweihander skill. The idea is that he’s meant to hit hard and then leg it.
I can't remember how I discovered Burrows and Badgers
I can’t actually remember how I stumbled across Burrows and Badgers a distant couple of months ago. What I do remember is falling in love with the miniatures immediately and being pleased at the reviews of the game to find that it was a small-scale skirmish game with graduating dice roll-off mechanics.
It’s like someone took all my childhood favourite films and cartoons and made a miniatures game out of them – result!
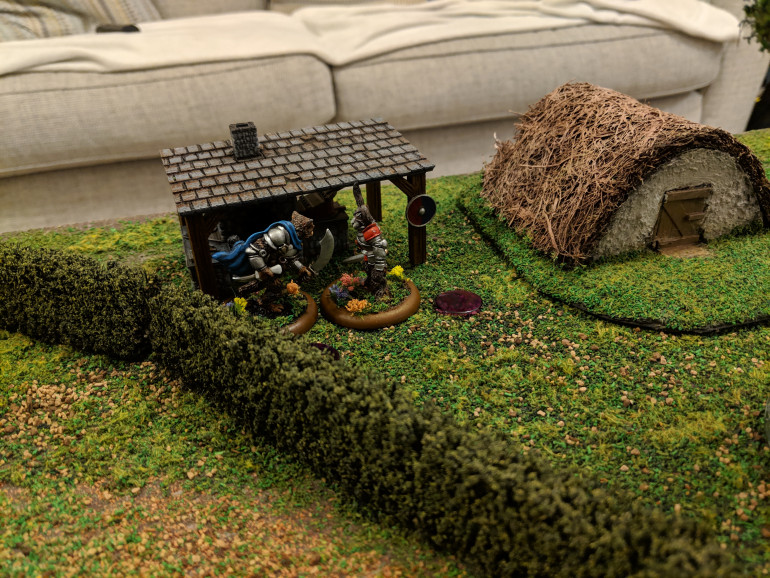
Naturally I immediately ordered two warbands’ worth of miniatures and the rulebook from Oathsworn to lure my wife into playing with me. Also I went on a terrain-making spree like nothing I’d ever tried before.
The Facebook group for the game is top notch and since Michael and Jo are very active there it’s rewarding to share progress and games (also to get quick responses to rules questions!)


