Titanicus – Legio Loki
Recommendations: 8
About the Project
Building and painting an Adeptus Titanicus force.
Related Game: Adeptus Titanicus
Related Company: Games Workshop
Related Genre: Science Fiction
This Project is Active
#6 Hazard Stripes
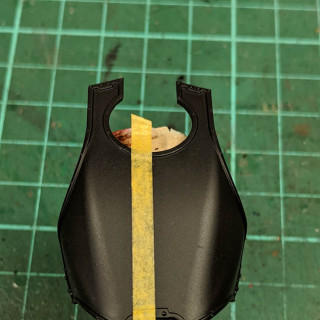
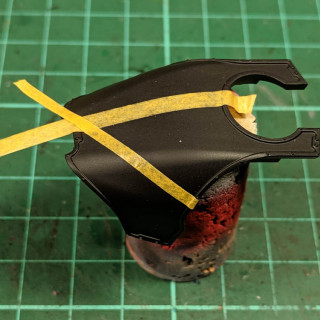
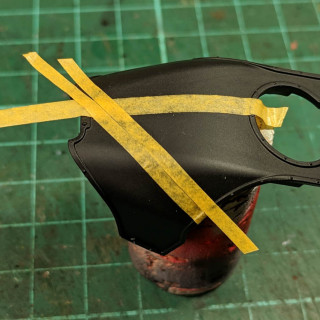
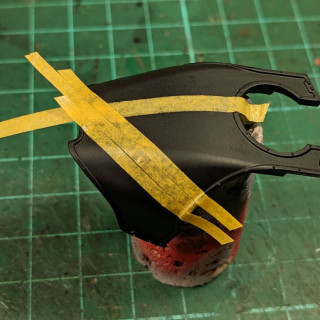
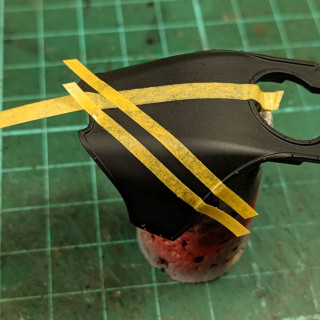
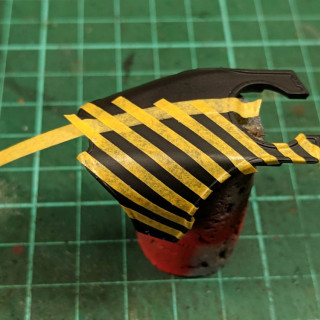
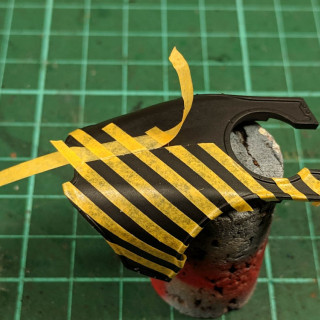
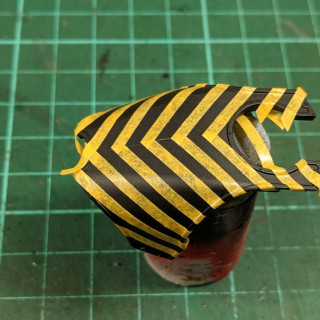
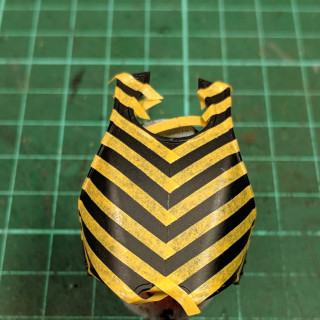
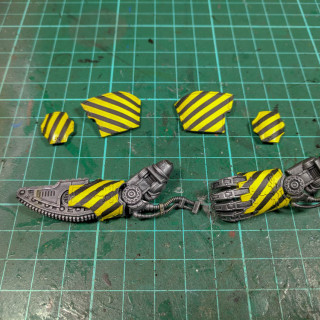
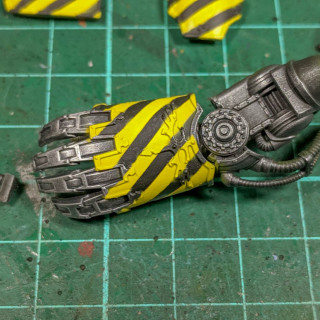
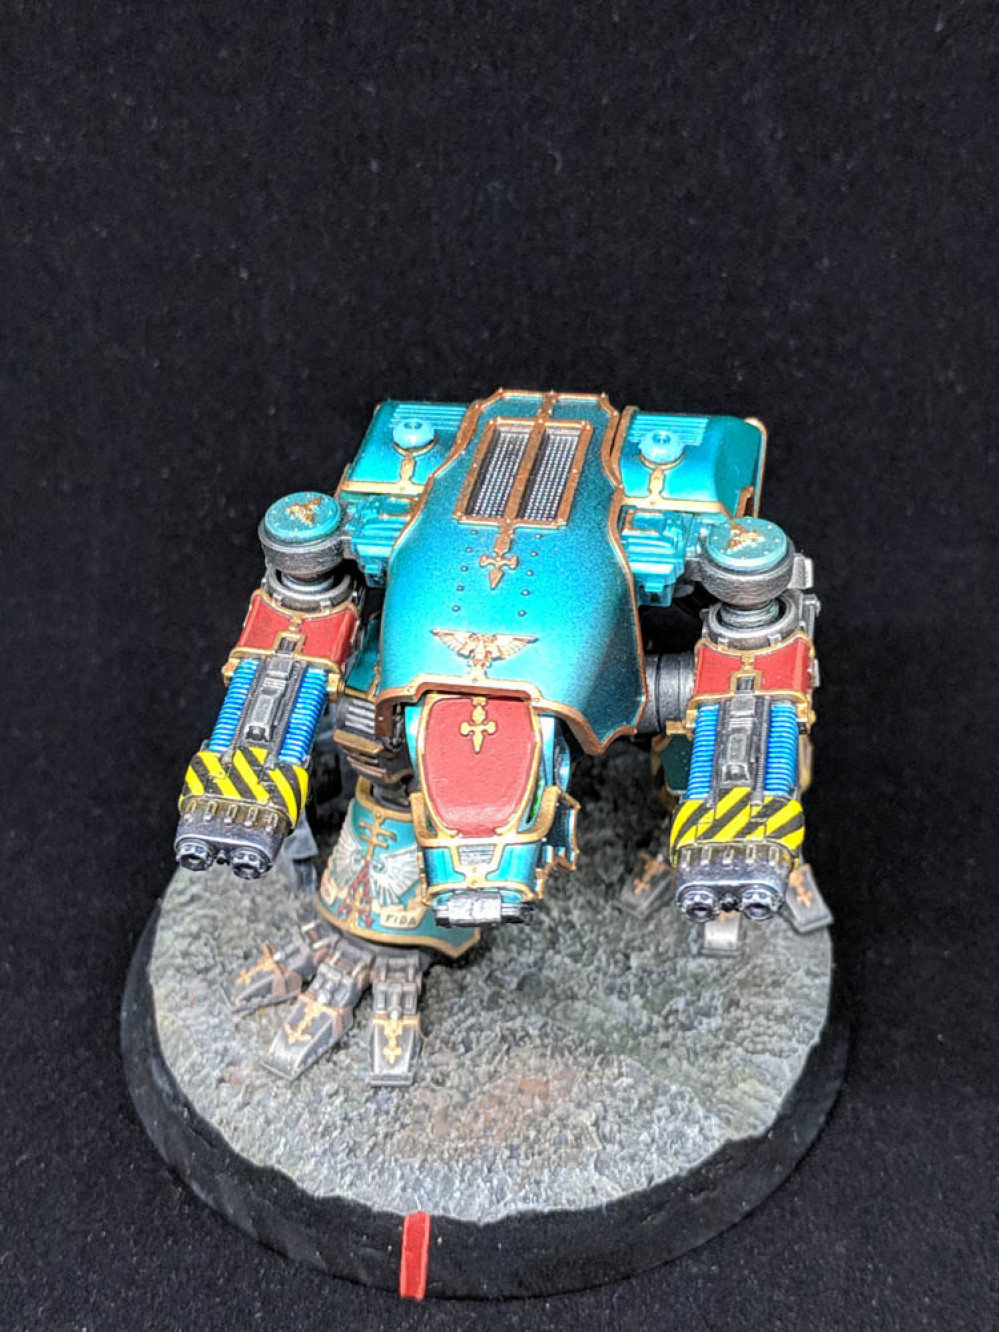
The actual painting of the hazard strips is really easy what takes the time is the prep work before you start painting. All of these were done with the airbrush which I find is the best and for me the only way I can paint a reasonably smooth yellow. For me the trick with these stripes is taking my time and masking everything up carefully. I used some Tamiya masking tape in a couple of sizes for the different areas but whilst the size of the tape was different the process was the same. The first piece of tape is used as a guide that everything else works from. With this piece in place I then place another piece of tape on either side before removing the original piece. Then I put the original piece alongside one the other bits of tape to act as a spacer before applying the next piece alongside this. It’s then just a case of rinse and repeat until you have the area you want to paint covered
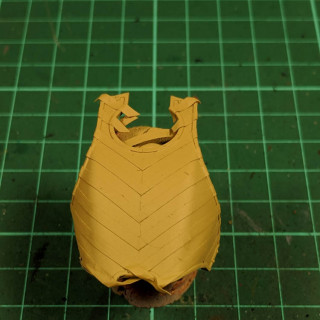
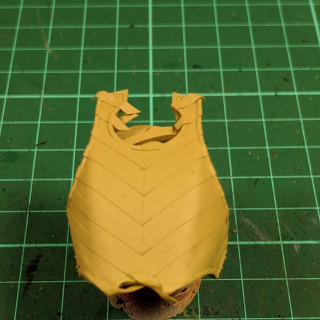
For the carapace I added another step right at the start to establish the centre line and laid the strips up to this. Once all the stripes were in place I used a sharp knife to cut the stripes in line with the centre piece and then pulled this off. The result is all of the stripes lining up with the centre line. Then the stripes on the other side are centred on the once already in place.
Once all of the masking is completed, and for me this is the part that takes the longest it’s time for paint. My method for painting yellow is to use the air brush and I start with a yellow Vallejo Surface Primer playing down a few thin coats. I find that taking your time and doing thin coats gives the best results. If you try to cover everything in one go the paint is to ‘wet’ and ends up either streaking or soaking under the tape. Once the primer is dry I then use thinned down bright yellow, in this case it was a scale 75 one. Again it’s about building up thin layers so the paint doesn’t get runny and streaky.
Then once everything is touch dry I carefully peal of the tape and touch up any bits where the yellow has run or there is any overspray.
#5: The Bases:
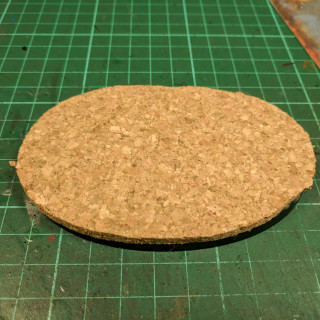
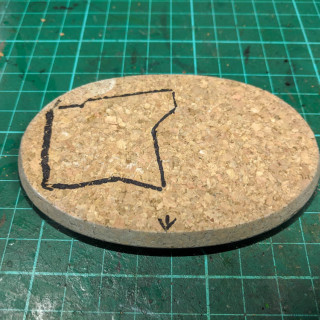
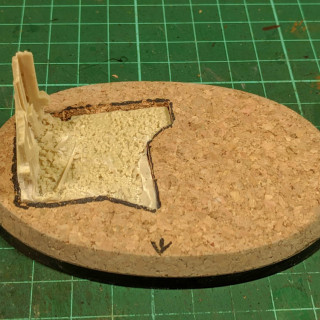
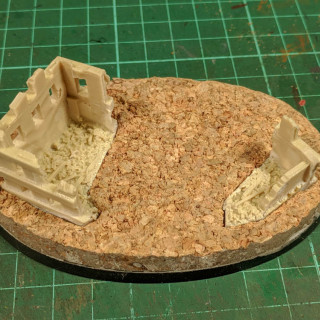
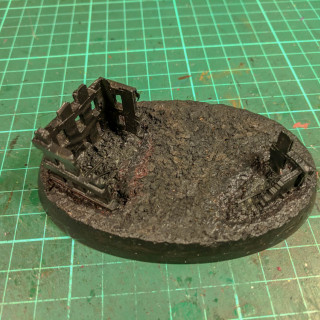
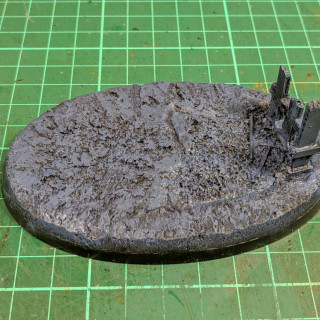
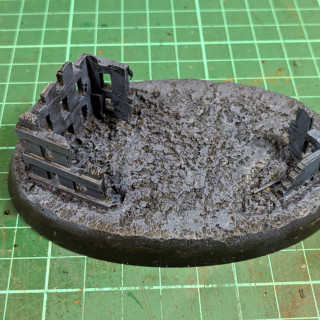
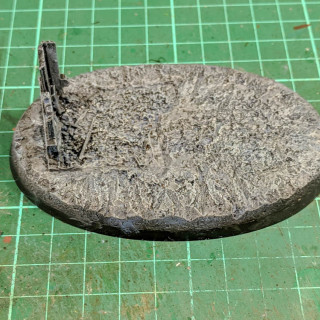
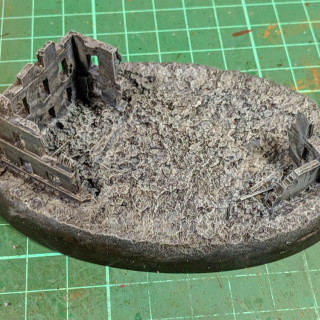
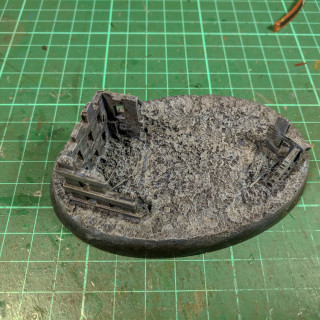
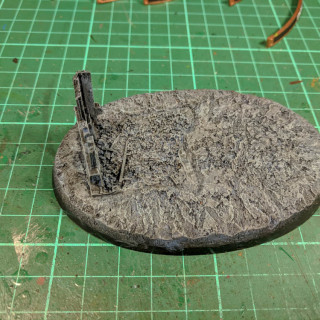
The bases came about more by accident than by design. I’ve based quite a few D&D models using cork over the last couple of months and I’ve really liked how they turned out. So when looking for a way to base these I just went with what I had been doing for other models. The cork itself came from e-bay and I picked up several sheets when I got it. To make the bases I simply used a sharpie to draw around the base to get a rough size. This was then cut out and glued onto the base using PVA glue. I did score both the plastic base and the cork to give the glue a bit more purchase. Have made a few of these now this next stage is key and that is to put a weight on the base to press everything down and then leave it for a few days. I know that sounds a bit excessive but the PVA does take a long time of properly cure, especially the bit in the centre of the base. The next step once everything is dry is to cut the cork to size and as an extra step I use some progressively finer sand paper to get a nice smooth finish to things.
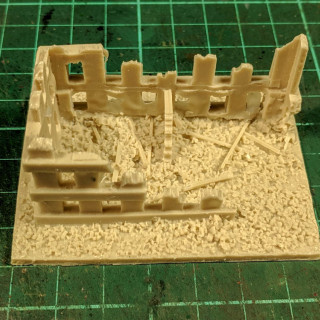
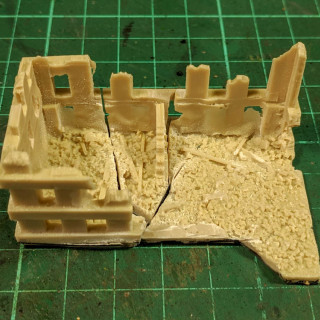
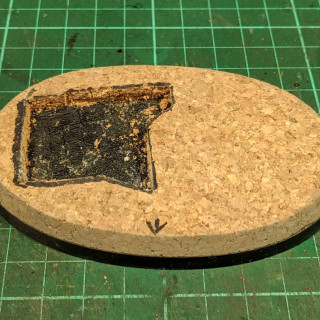
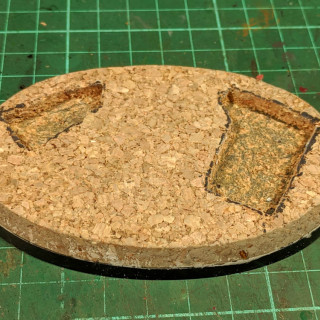
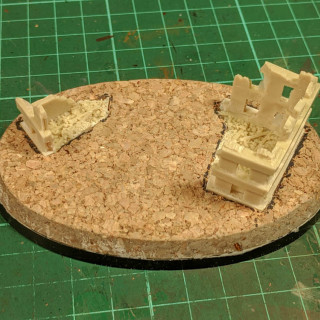
I couldn’t find any of the official ruined buildings so again turned to e-bay and picked up some resin once that I think work quite well. I cut these up to get them to fit on the bases but if you do this make sure you are in a well ventilated space and use a mask as there is a lot of dust involved. It was then back to the sharpie to mark out where the buildings would go so that I could cut the cork out and slot the building parts in. The final stage was to scuff up the cork so that once it is painted it has more of a rubble effect.
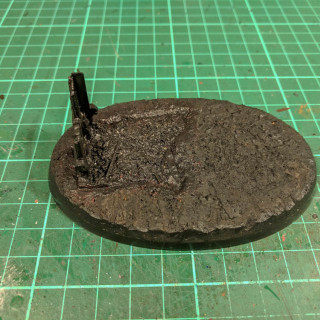
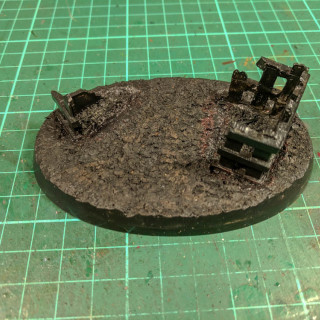
When it came to painting I’ve used a black surface primer to start with and then used a dark grey as the first cover. This was applied as a very heavy dry brush so some of the black remains in the recesses. I’ve then continued with this process adding a couple of lighter layers to give what I hope is the effect of a ruined landscape. A final wash with Nuln Oil darkened things down and has the base 95 percent finished. The last stage will be the final weathering but I need to wait until the legs are fixed to the base before doing this. I will also add a name plate from Versatile Terrain as final stage.
#4: Reaver Builds:
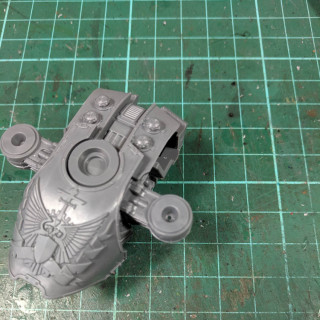
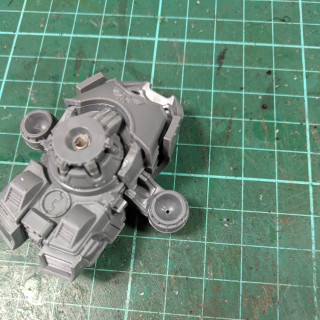
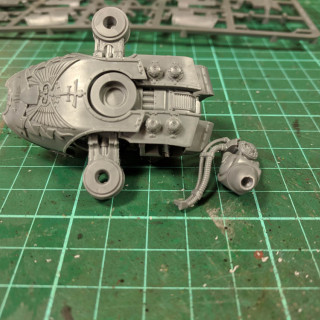
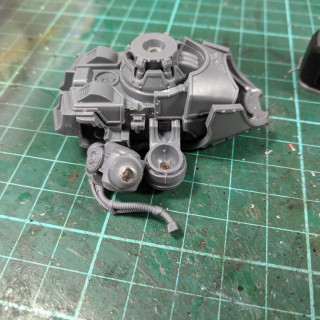
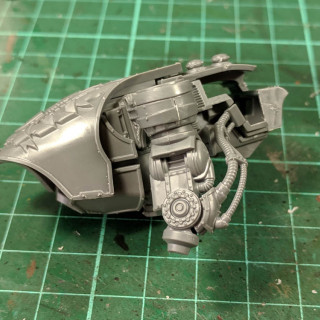
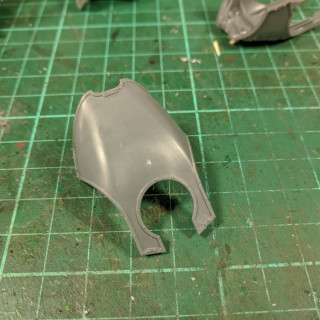
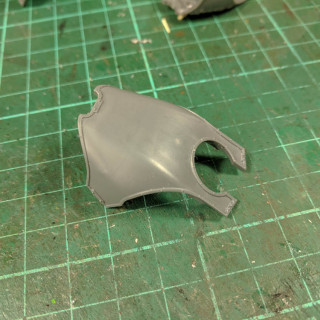
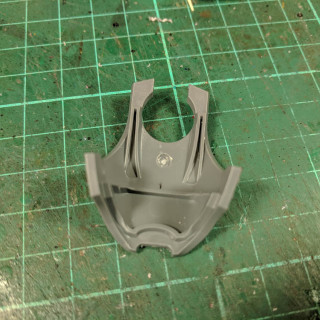
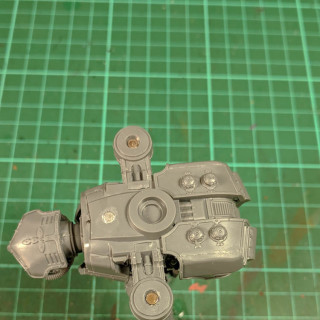
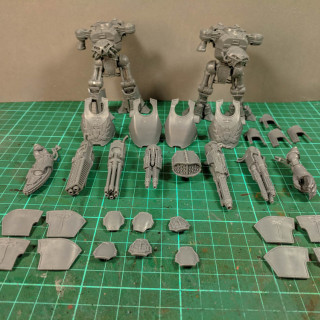
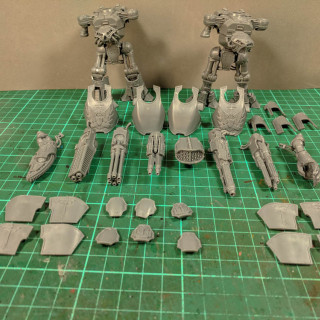
Now it’s time for the big boys, or in titan terms I suppose we looking at the middle weights. Fast enough to get in and out of the fight quickly whilst still packing a good punch. Now I know there are lot of tutorials out there that have you painting the armour panels whilst they are on the sprue but I’ve not gone down that route. The reason is the way I got the effect I did with the Warhounds was by painting everything in situ an zenith approach with the airbrush which I couldn’t do it the plates were still on the sprue. So I’ve built everything and the plan was to blue tac the armour into place but things weren’t staying in place so I thought about using some magnets as a way round that problem. But once I’d started I got a bit carried way. The result has been that there are eight different elements that now magnetised. The bonus with be that I can paint all the armour panels that come in the box which then means I can give the same chaise lots of different look just by swapping out selected panels.
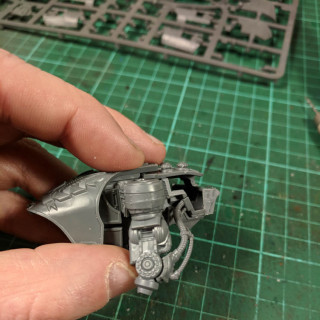
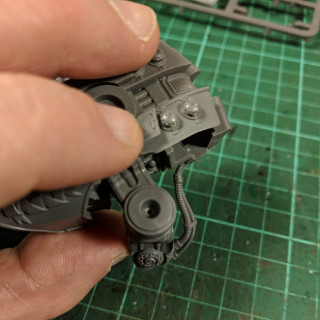
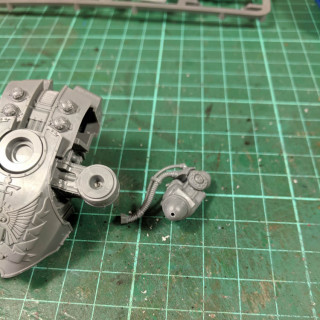
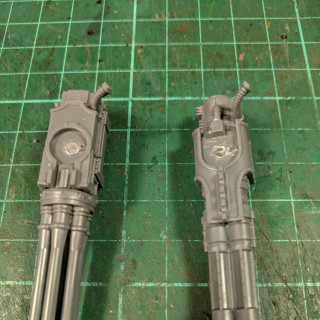
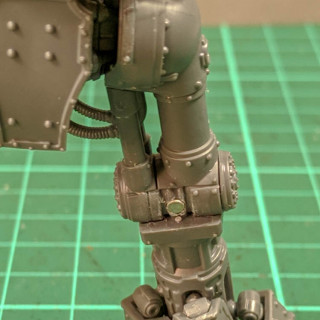
For the weapon arms I’ve gone with two different approaches to magnetising the part and on the right weapon arm I’ve put the magnets on the weapons themselves leaving the arm glued to the body. It does mean that the cables don’t meet up exactly but they are close enough for a gaming model.
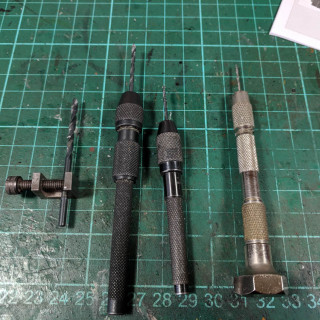
For the left arm I put the magnets in the shoulder socket and actually drilled down through the shoulder into the arm to ensure that everything is lined up. A top tip here is to start off with a small drill bit and then slowly build up in size until you get to the size you need. It takes a little bit longer but makes the whole process a lot easier and you don’t blow out any of the plastic int the process.
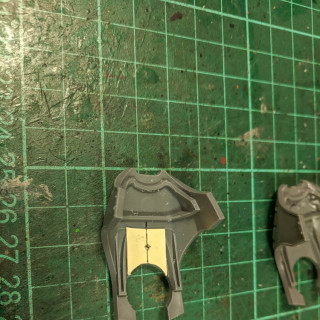
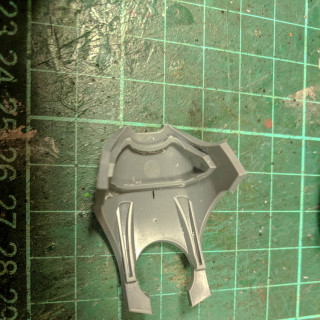
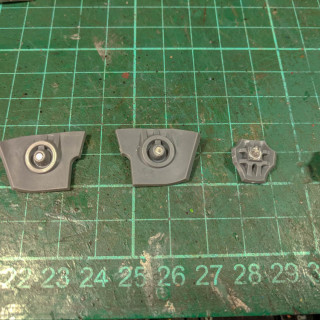
I then did the work to magnetise the armour panels and to do this I made a simple card templet so that all the magnets ended up in the same place. When drilling into the thin plates it’s just a case of taking your time and go nice and slowly so you don’t actually drill all the way through. If you have your finger resting on the plate then you will feel when the drill is getting close. Just take your time. If you go a little to fare so you end up with a bit of pimple you can flatten this back down with your nail to smooth things out. I also added magnets to the knees so that the knee pads could be swapped out as well.
At the end of the day I now have two fully built Reaver titans ready to be painted.
#3: Cerastus Knights:
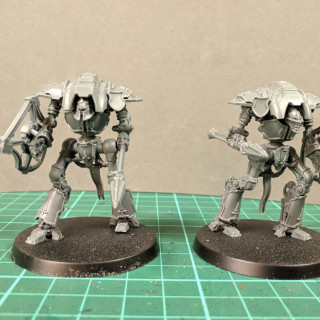
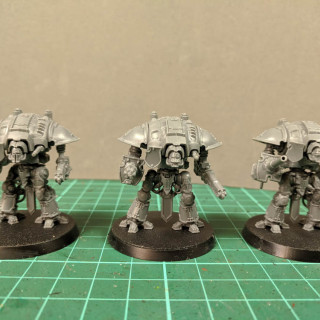
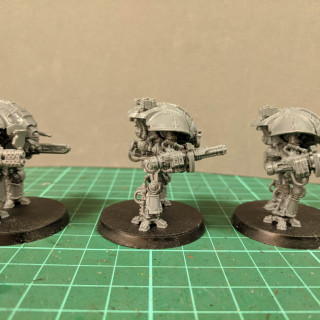
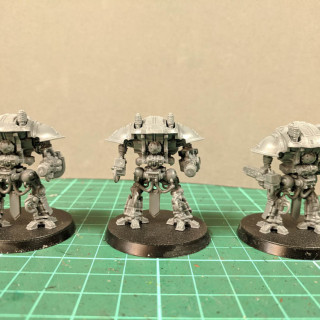
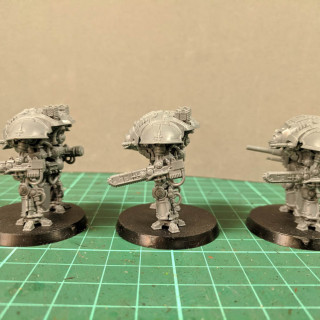
The Cerastus Knights are nearly as tall as a Warhound but when stand them side by side they are very spindly in comparison. But they do look really cool and at the end of the day it’s all about how cool it looks so I had to have a few. Like the Questoris Knights I’ve magnetised the waist and the arms although there is nothing to swap them out for at the moment. But just like the other knights there are rules for other weapons so there may be more options coming in the future.
#2: Questoris Knight Builds:
Now I’ve talked up the titan I’m starting with some Questoris knights. Mainly because I thought they would be a quick build but I can’t believe just how many part there are on them. They aren’t complicated to build but when you consider they are about the same size a classic marine there are about twice as many parts. I made things a bit more complicated for myself by magnetising a few parts. I did the waist because I like to be able to alter the pose by twisting the body and it’s an easy thing to do. I also magnetised the weapon arms which again wasn’t really necessary because there are no spare weapons on the sprue. But my thinking is that the there are supposed to be some more weapon options coming in the future so it might not be a complete waste of time. One thing I would say if you are thinking of doing the same thing then drill the wholes for the magnets before you put the carapace armour on as access is much easier. I didn’t so it’s possible to add them later its just a lot more fiddly so why make life hard for yourself.
#1: Introduction:
I just wanted to try and set the scene for this project so you can get an idea of what to expect and with a bit of look it will also keep me honest and stop me from straying to far from what I have planned. I’ve loved the idea of being able field Titans on the table top since they cam out but have only just got round to panting them. Part of the slow start was deciding what colour scheme to go with and as I’d been wanting to try an Alpha Legion style for some I decided to try it on these. Having lots of flat armour panels seemed to lend itself to this colour. So with the colour decided and a tentative link to the Alpha Legion I’ve decided to call my legion the Legio Loki. The thinking behind it is that they are something of sneaky legion always changing their approach so in game terms I can swap and change between the different legion traits for different games. I’m also going to paint up several different armour plates that can be swapped out for different games giving the Titans a different feel each time I field them. In fluff terms this would represent the Legio changing the look of their Titans to stop the enemy knowing their true strength and disposition.
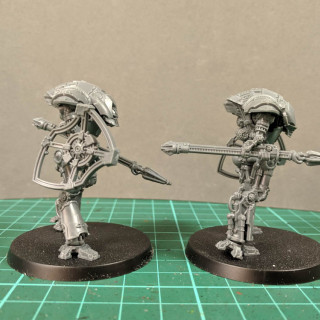
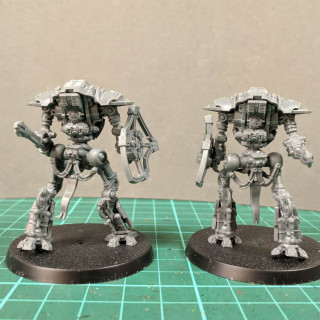
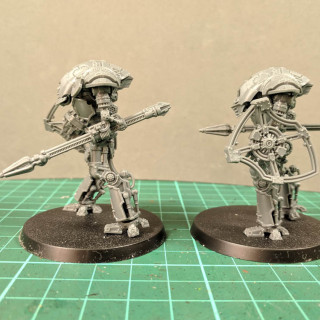
I was going to start this a couple of weeks ago with the Warhound’ but I got a bit carried away and didn’t’ take enough work in progress pictures but it give you a good idea of what I want to do with the rest of the models. So that’s the intro and I’m hoping to keep plodding away at the rest with reasonably regular updates.


